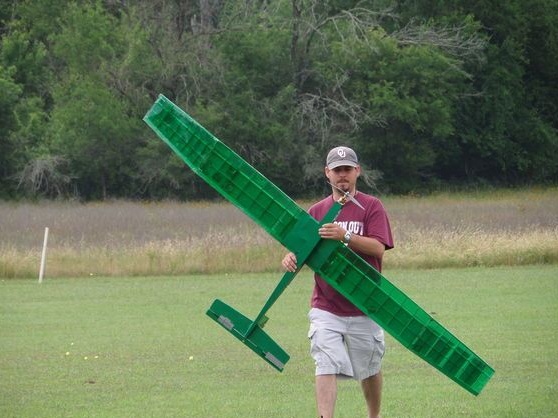
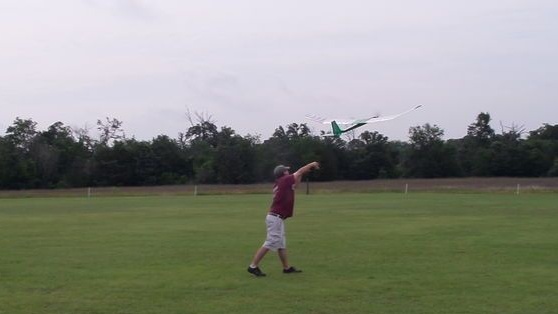
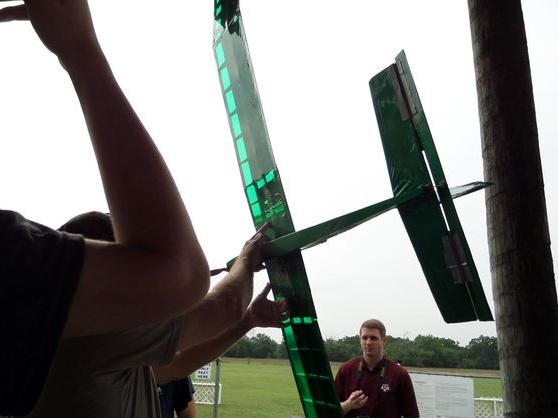
Today we will look at how you can do it yourself model plane flying on solar energy. This is a rather promising project in the field of alternative energy. It is possible that in this way airplanes will fly in the future and transport us with you.
Going to homemade it’s not difficult, if you have already assembled aircraft models, assembling this homemade product will not be much more difficult. The peculiarity here is only in the installation of solar panels on the wings. The main work takes place on the wings, first the frame is made, panels are installed, and then the frame is covered with a film so that sunlight can enter the wing.
Materials and tools for homemade:
Material List:
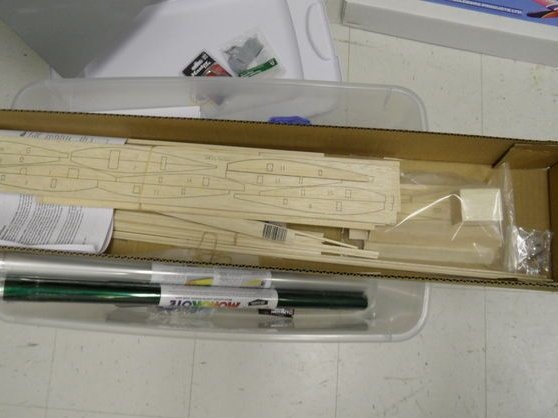
- a finished glider (or it can be assembled from scratch from a ceiling tile);
- electric motor;
- servomotors;
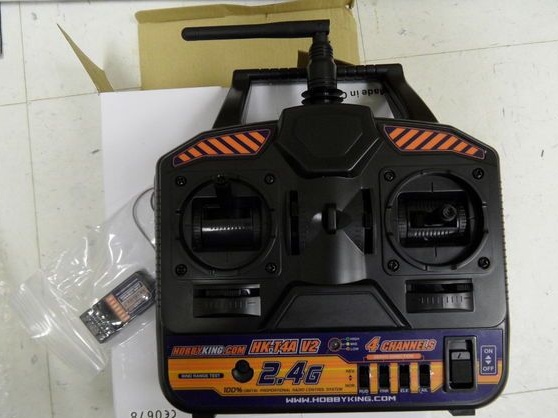
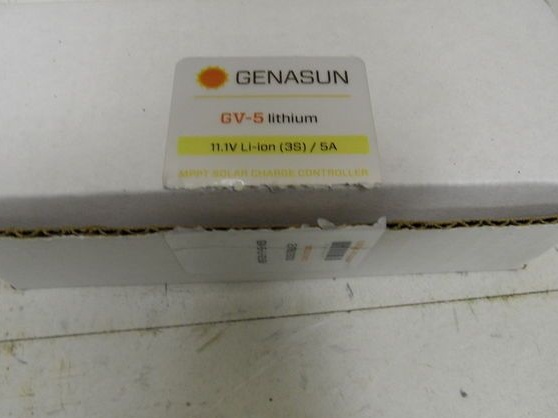
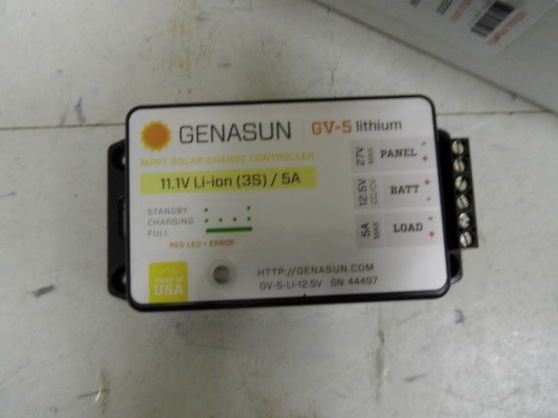
- engine controller, battery charging controller and other electronics;
- glue;
- heat shrink;
- battery;
- solar panel (individual elements)
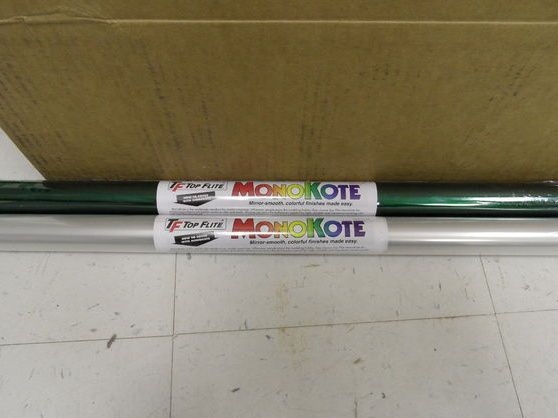
- monocot film (for tightening the wing);
- hair dryer.

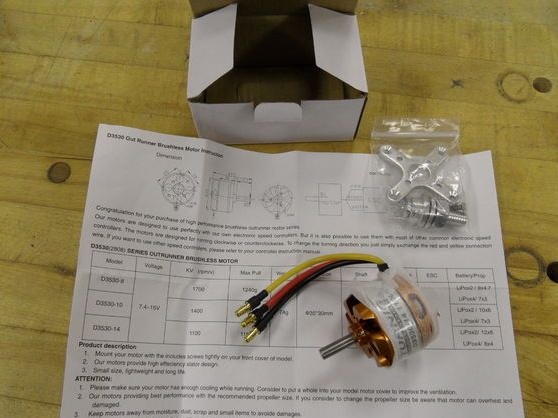
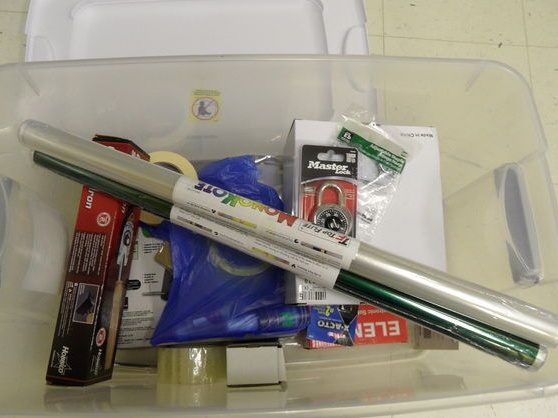
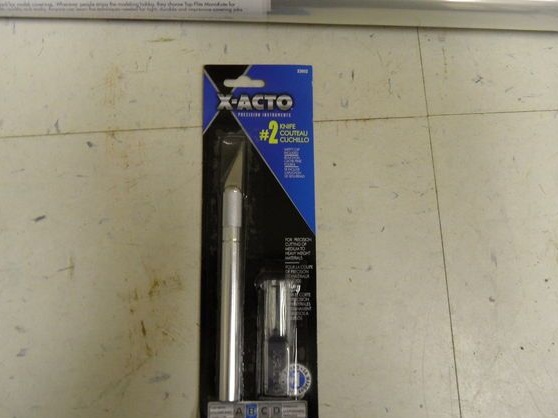
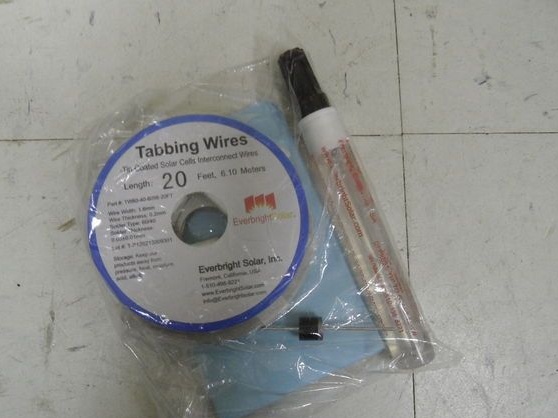
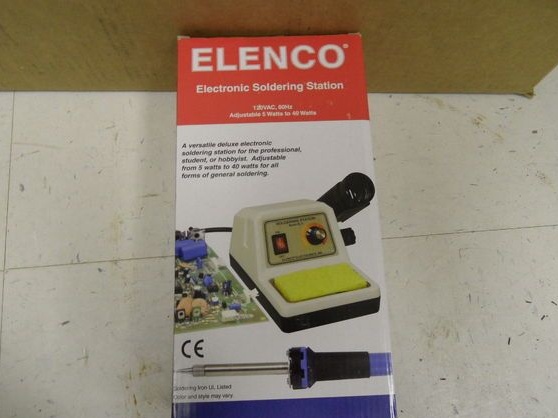
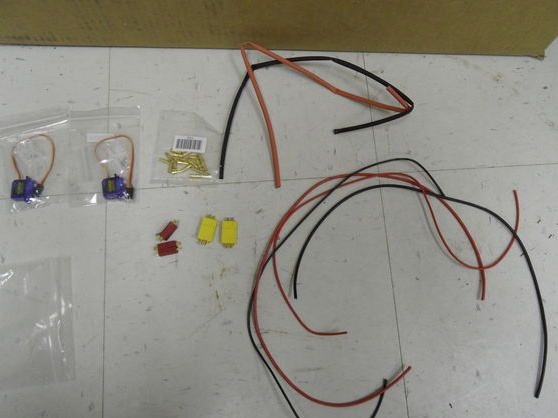

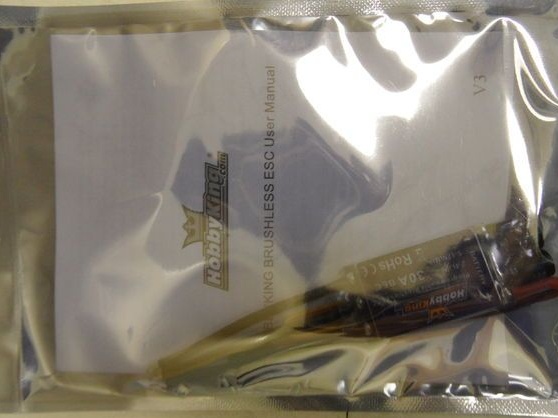


List of tools: soldering iron with flux and solder, wire cutters, glue gun, building hair dryer, screwdrivers, stationery knife and more.
The process of manufacturing an aircraft model:
Step one. Create a wing
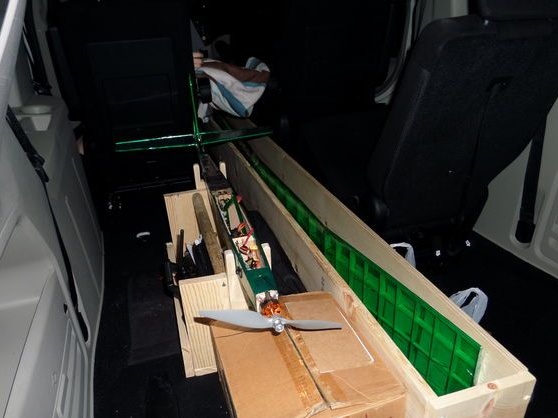
To begin construction homemade work follows with the development and assembly of the wing. Here, the most important criterion is its area, since the wing will need to place as many solar panels as possible. It is also important not to forget that in general the panels form a considerable weight. Any materials can be used, the main thing is that the wing is strong and at the same time as light.
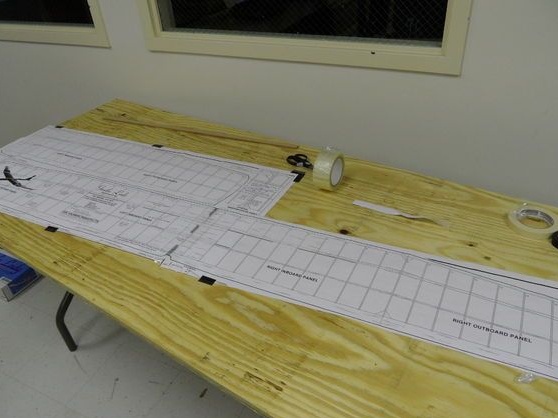
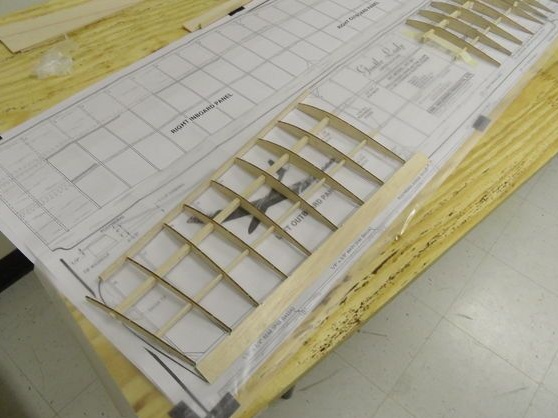
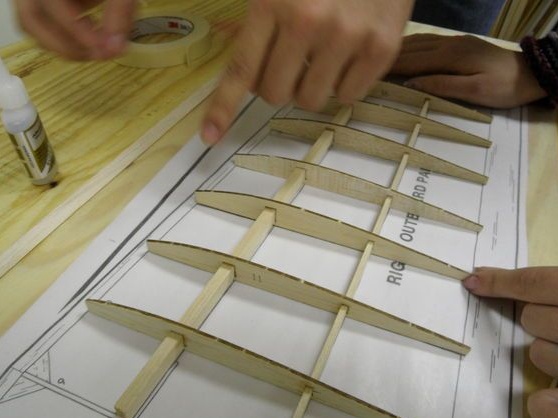
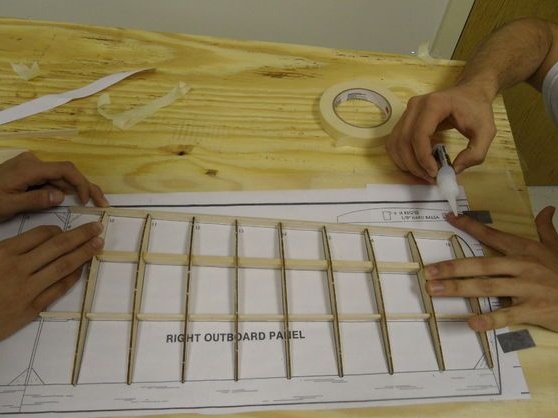
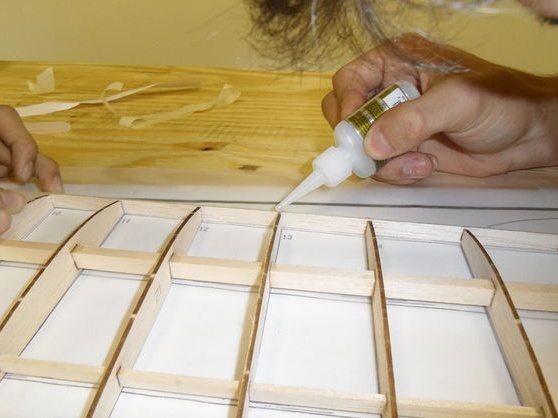
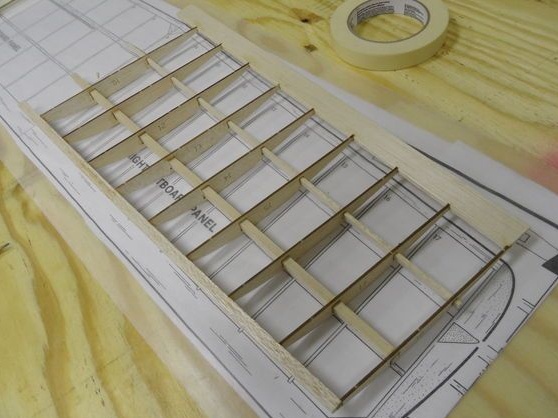
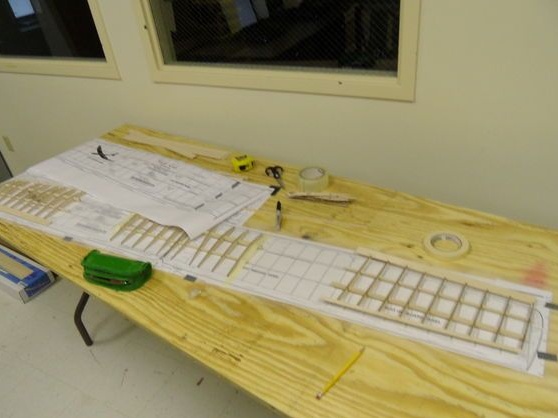
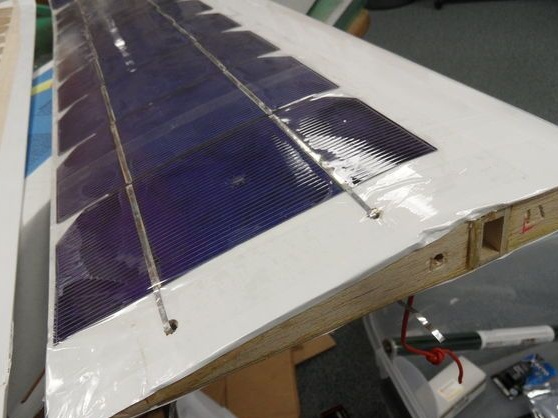
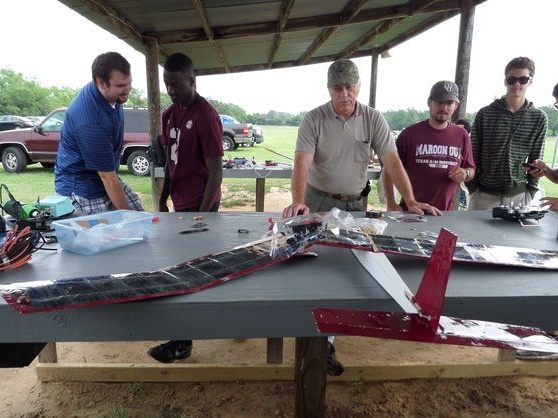
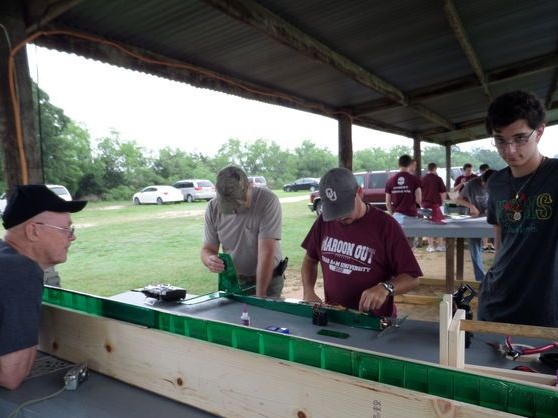
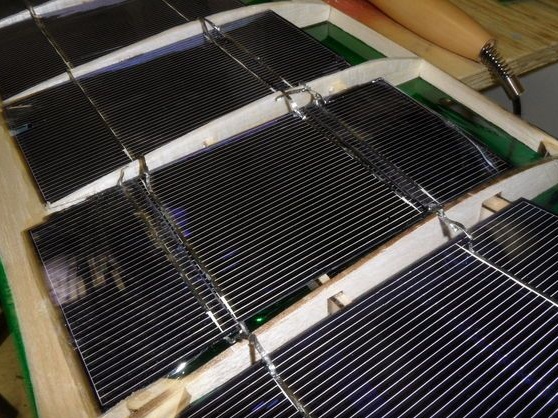
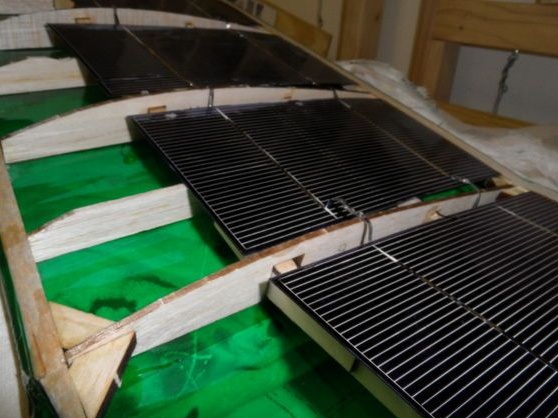
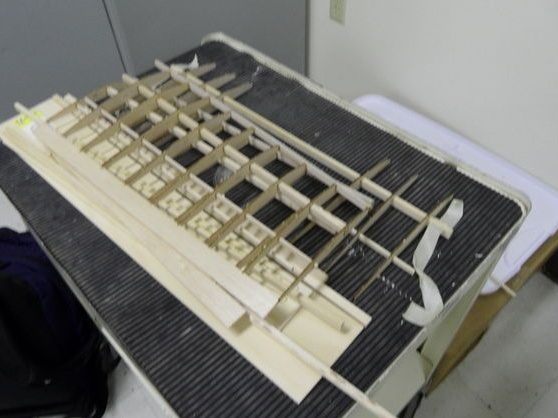
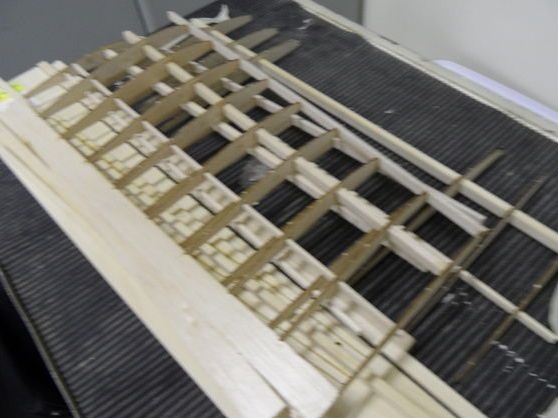
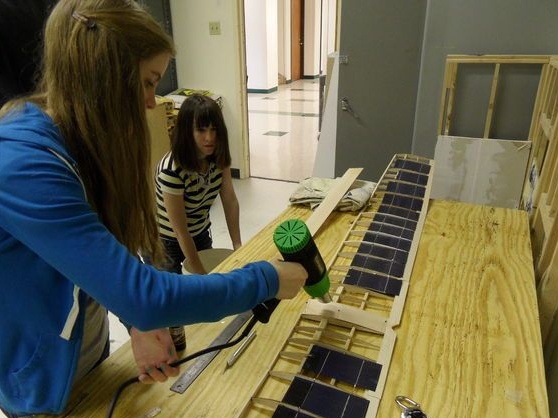
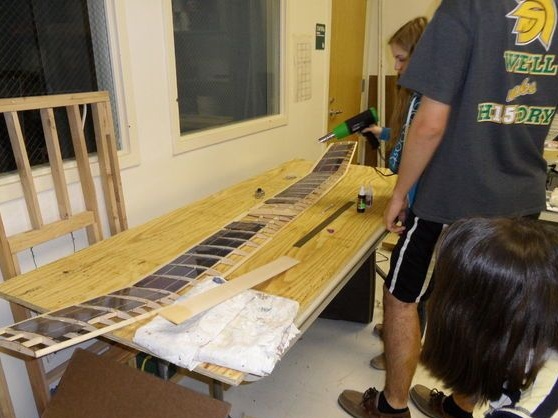
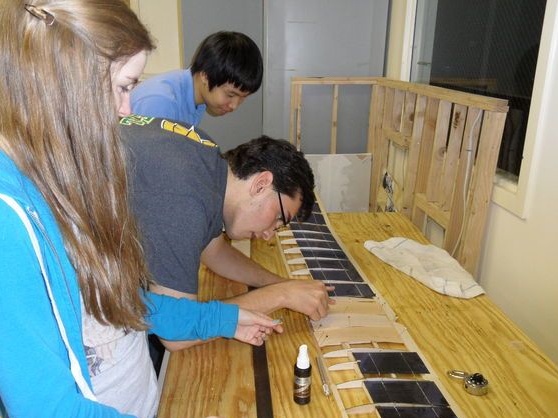
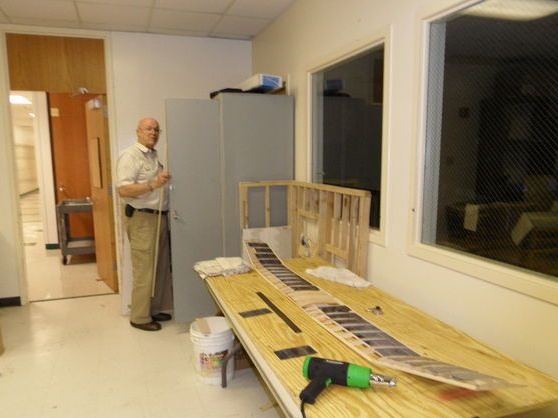
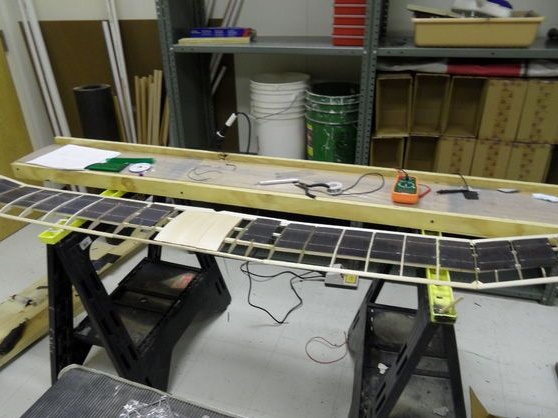
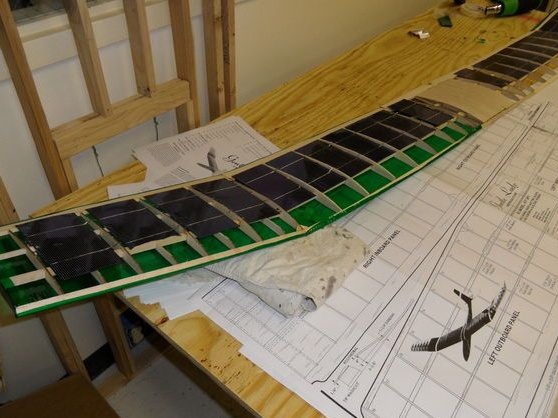
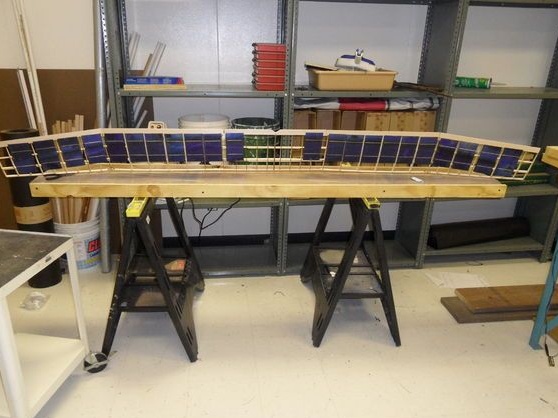
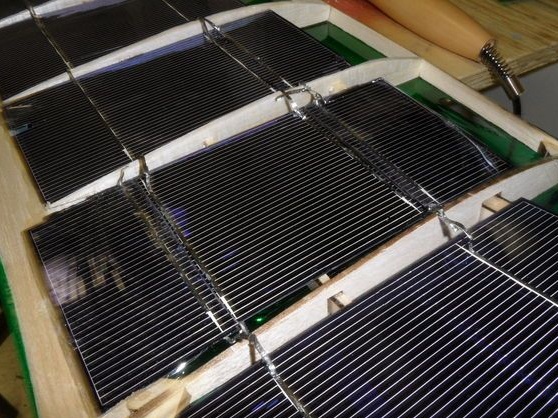
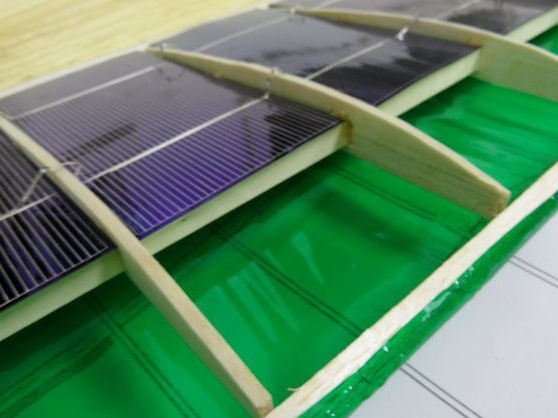
First, the author collects the "skeleton" of the wing, it provides special niches for installing solar panels. The skeleton can be made of thin plywood or other materials.
Step Two Installation of solar panels
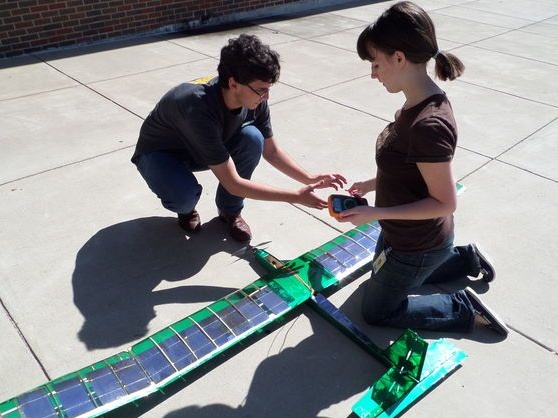
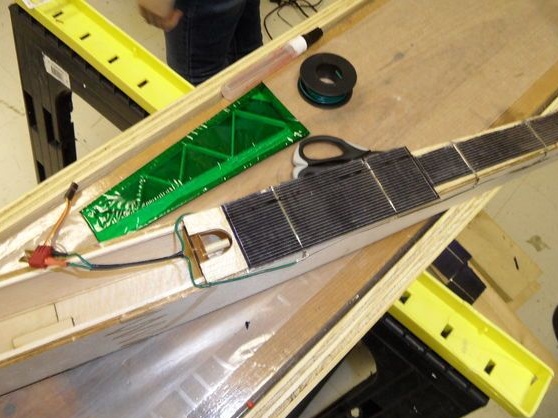
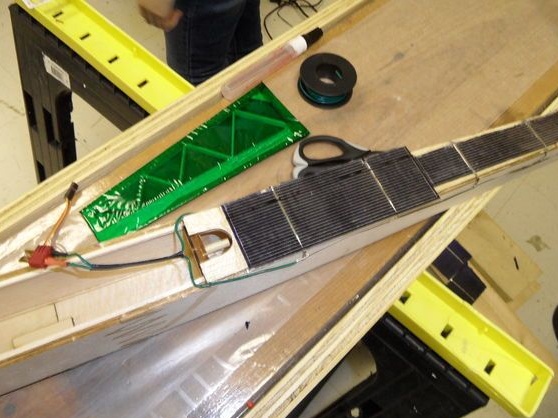
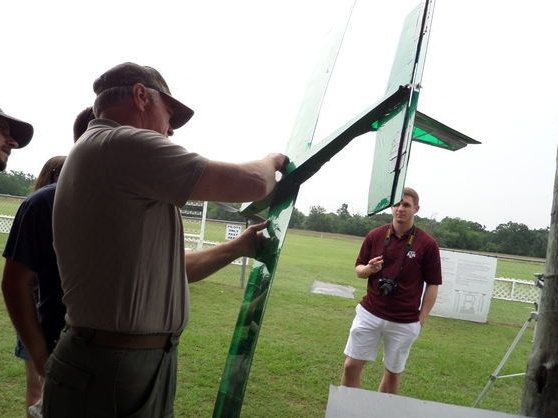
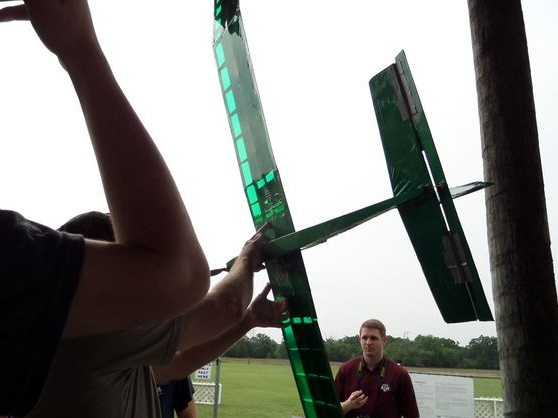
In the next step, the author installs solar panels. This is a very important task, since the panels are quite fragile. If they are not properly fixed on the wing, they will crack and be damaged at the slightest deflection. The author fastens the panels between the edges of the wing. You will also have to cut the panels, so that before that it is advisable to look for information on how to work with them. The panels are connected in series using a soldering iron.
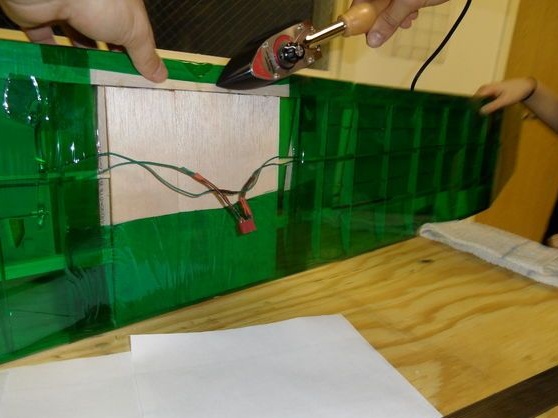
In conclusion, from each wing to the center, one must not forget to withdraw the power wires.
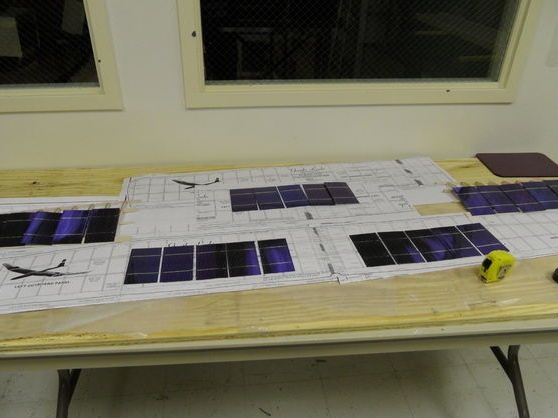
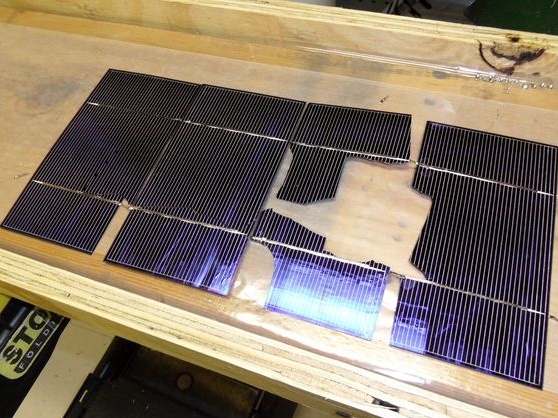

Step Three Fuselage, wing skin and electronics
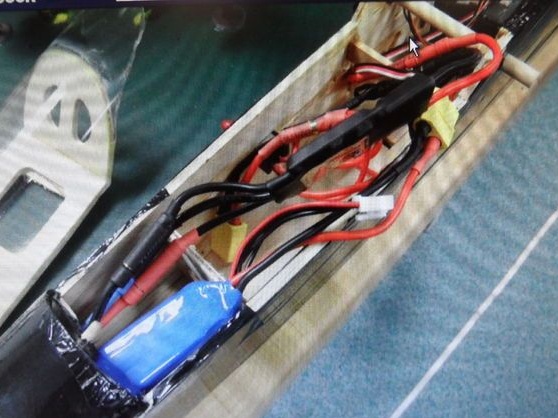
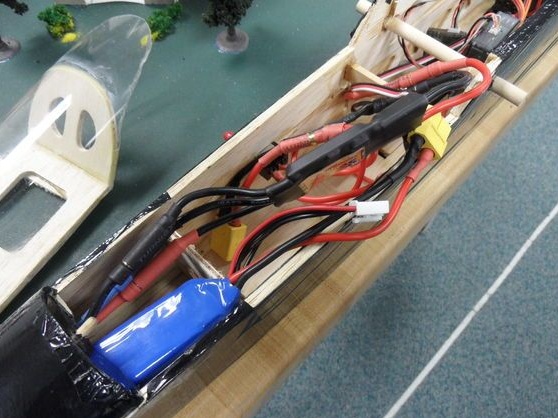
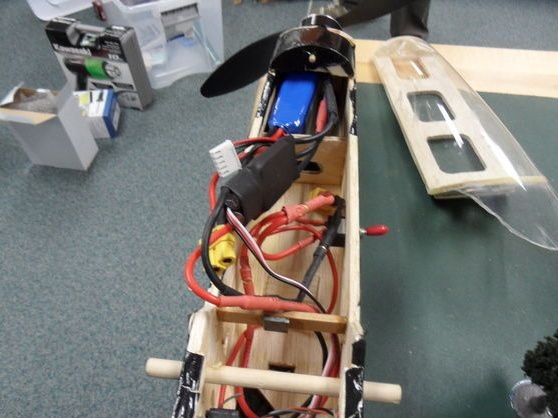
The fuselage of the model is not going to be complicated, you just need to follow the design of the aircraft. It will be more difficult to lay the wiring correctly, while its weight must be taken into account, since it is easy to shift the center of gravity. The wiring must be well insulated to prevent short circuits; heat shrinkage is used for such purposes. You will also have to conjure with the installation and connection of servomotors.
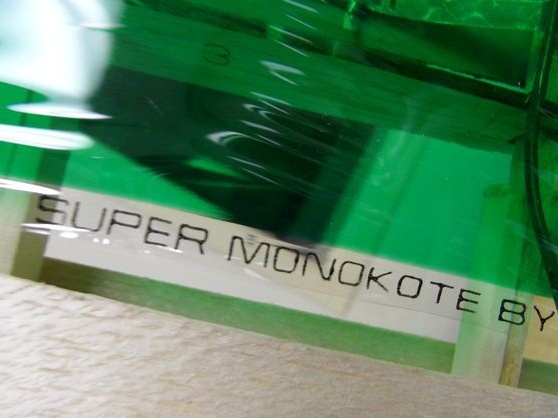
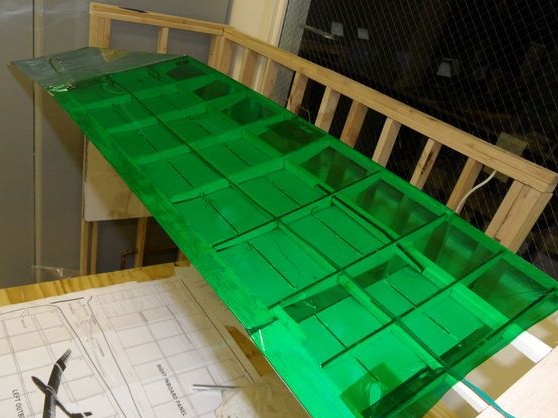
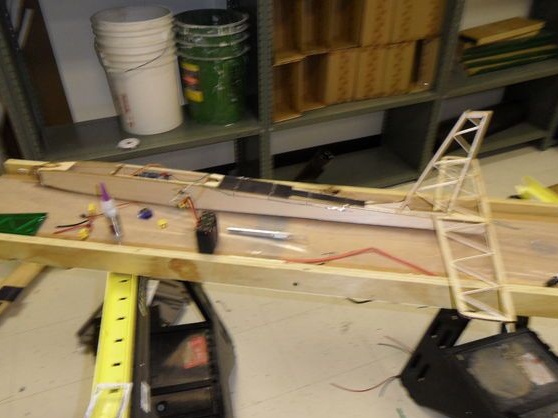
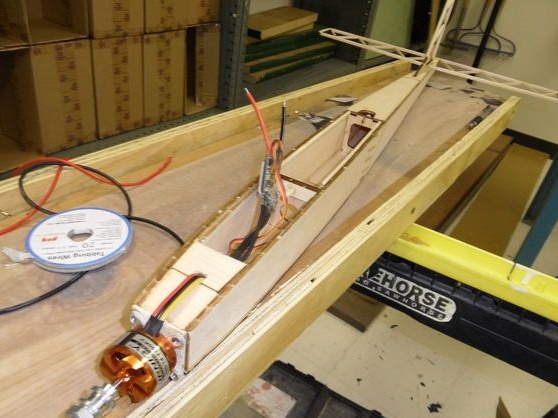
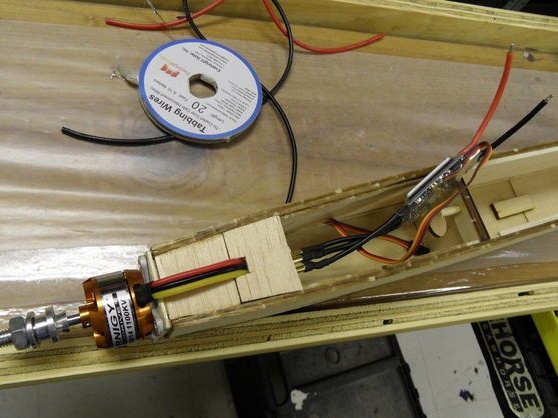
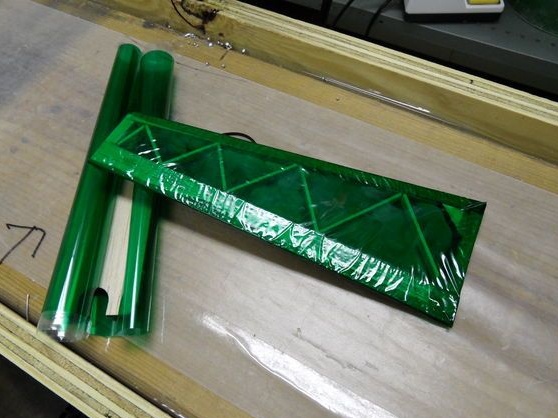
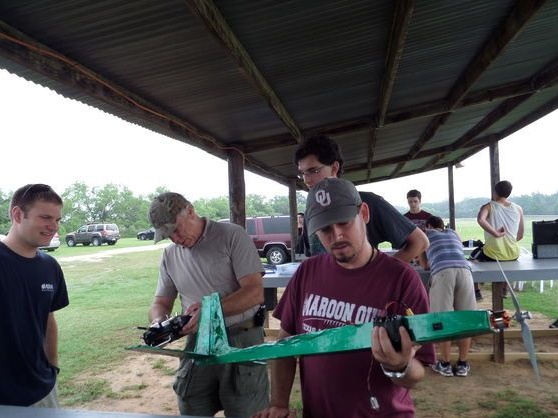
As for the wing skin, it is made of monocot film. Everything is simple here, the shrink film is pulled onto the wing, and then it shrinks well with a construction hairdryer. It is important that the top of the film is transparent, as it must transmit sunlight to the solar panels.
Step Four Testing electronics before launch
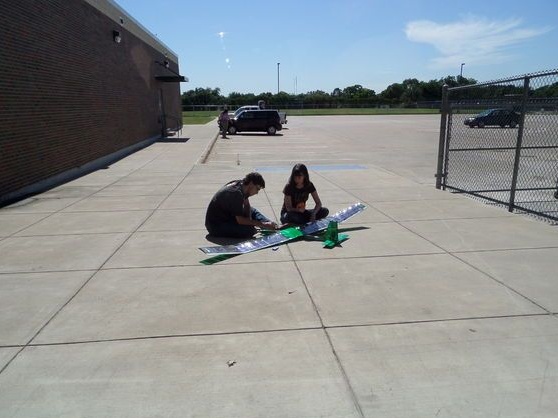
After assembly, the aircraft model needs to be taken outside in sunny weather and determined that the solar panel produces the right voltage. The author’s battery began to charge when the panel gave out a voltage of 12V.
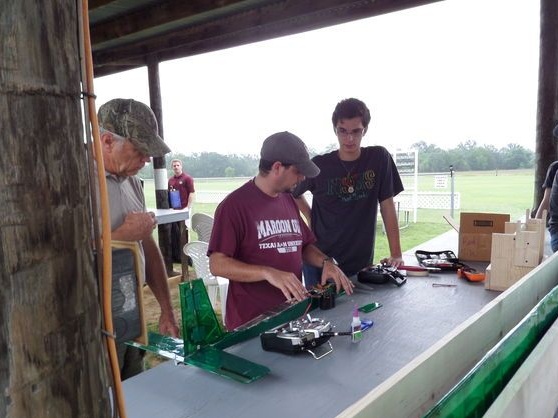
You will also need to check whether the transmitter, servomotors are working, and whether the main traction motor is turned on.
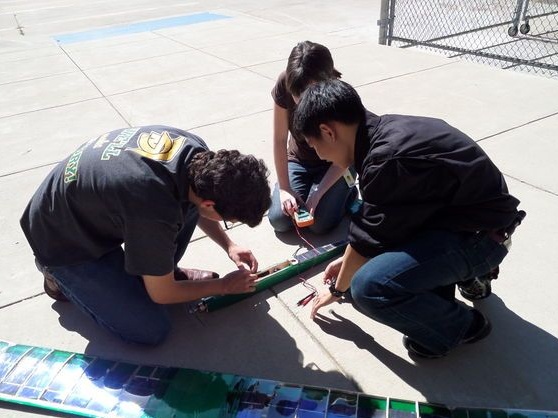
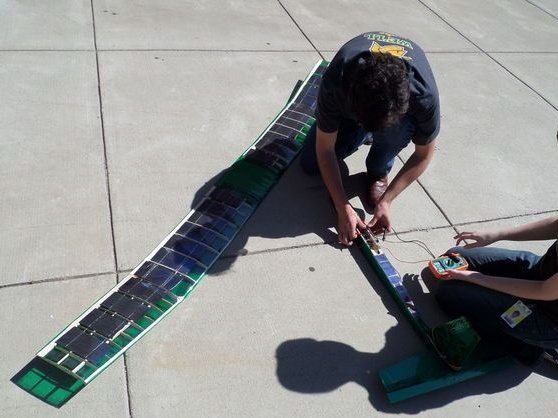
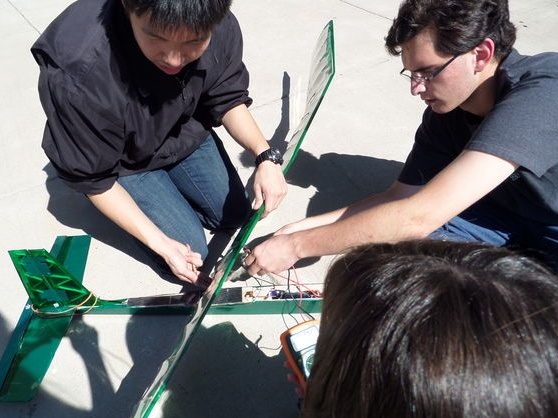
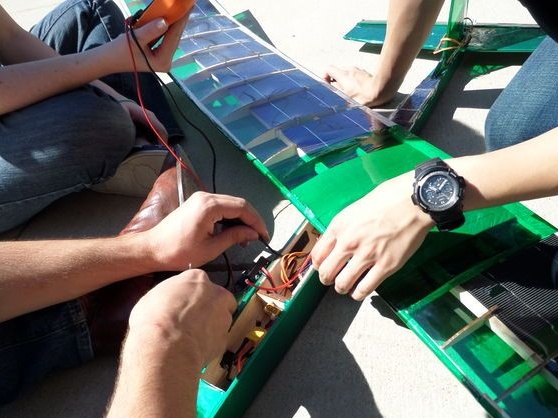
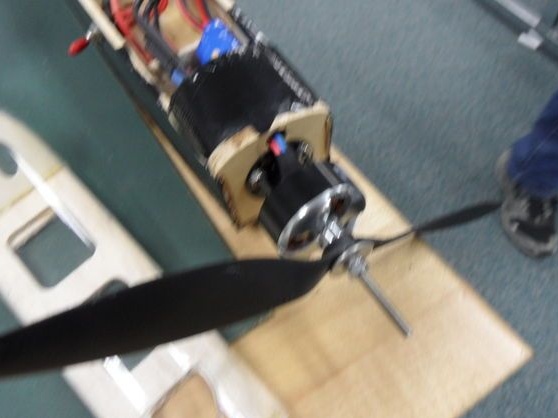
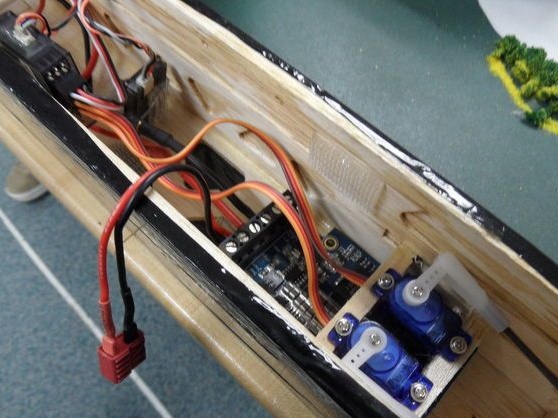
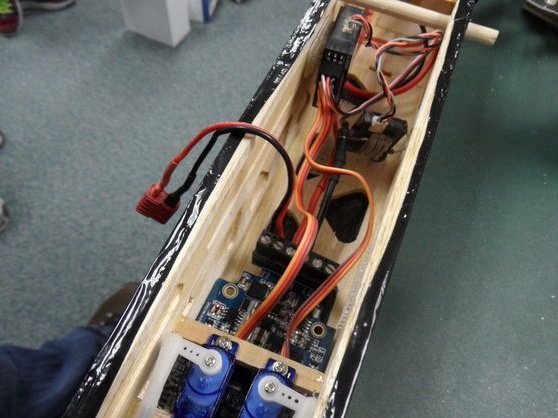
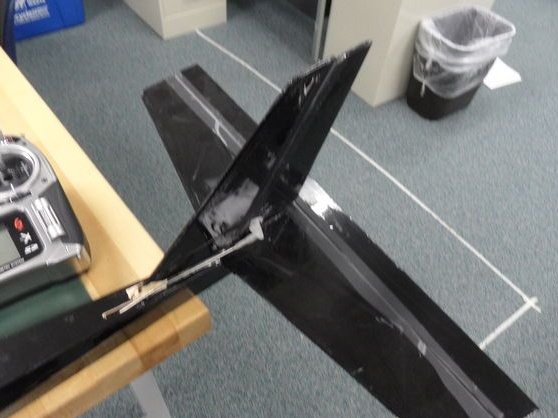
It is also advisable to check the operation of the main engine, does it experience overload. If the engine heats up, it will quickly burn out. To fix this problem, install a smaller screw.
Step Five First test
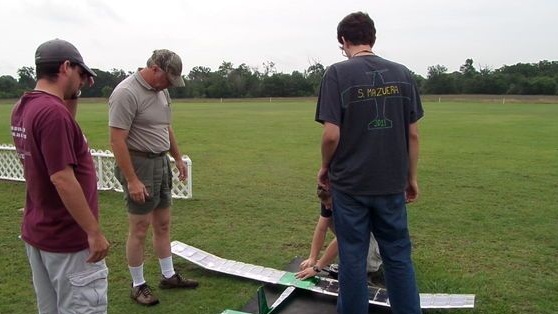
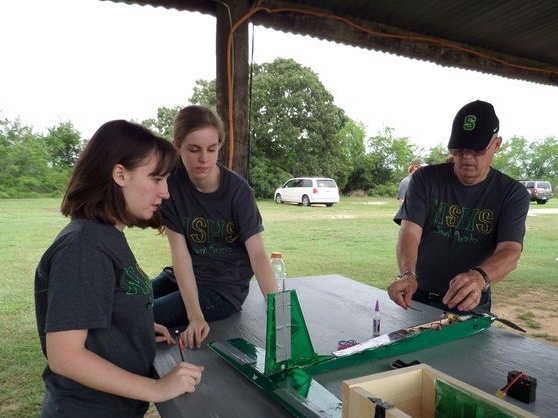
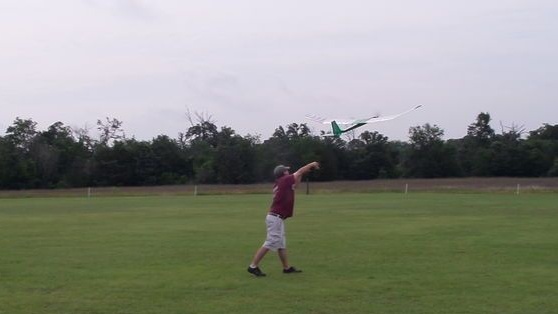
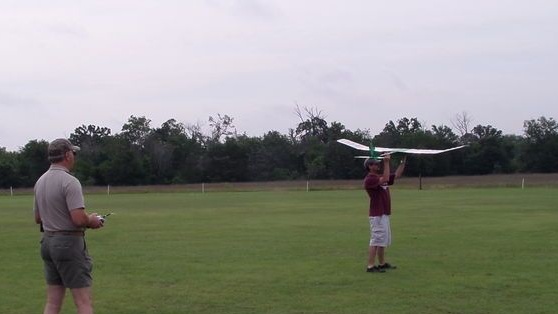
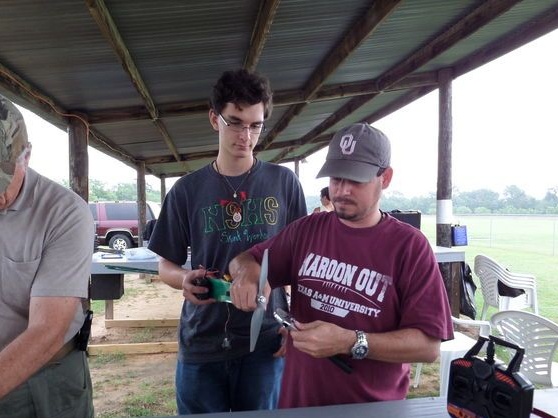
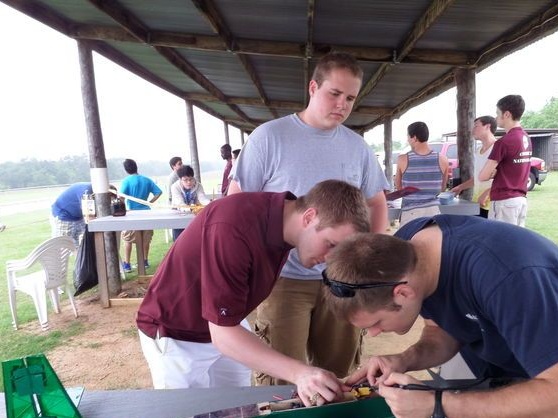
Since solar panels are installed on the wings of the aircraft, a pilot error is unacceptable here, since the panels may break if the aircraft falls. In this regard, it is better to entrust the first launches to a person who has experience in this matter. After launch, you can see what is wrong with the aircraft and modify it if necessary.
Testing should be done in dry, calm weather.
Step Six Conclusions
The disadvantage of this model was that the batteries could only be charged at voltages above 12V. And to get such a voltage, you need absolutely sunny weather. But at the time of the test, the creators had cloudy weather. But in general, it’s not difficult to finalize this problem, you just need to change the charge controller and possibly the battery.
In any case, this is a great project on how to develop green energy and what we will see in the future. Various electronic devices can be converted to this type of energy, cars, airplanes and even spacecraft.
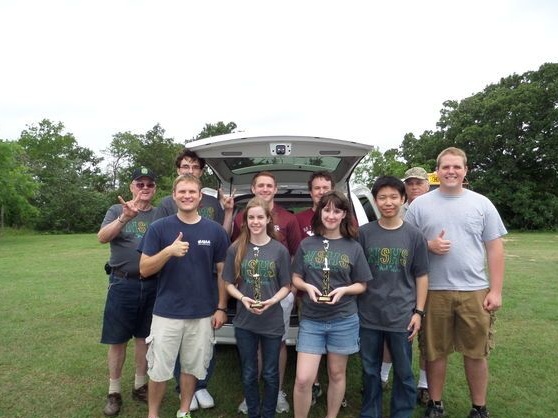
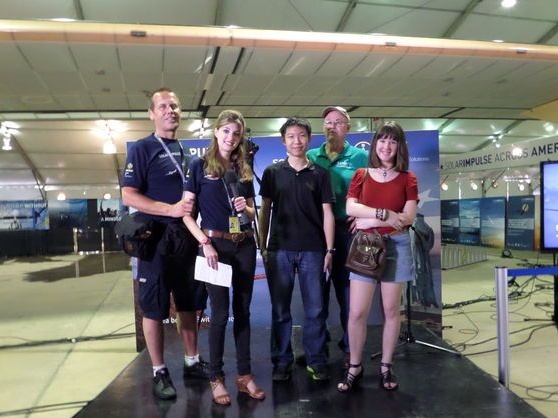
In the future, the creators plan to make the aircraft model almost completely autonomous. Here, an automatic piloting system, cameras and other equipment will be installed. The authors also plan to install light sensors on the model, this will allow the model to monitor the sun and fly to where there is most of all the sun's rays. If you look more globally, then such a model can fly around the whole earth like a satellite and make wonderful shots, though not every government agrees with this.
