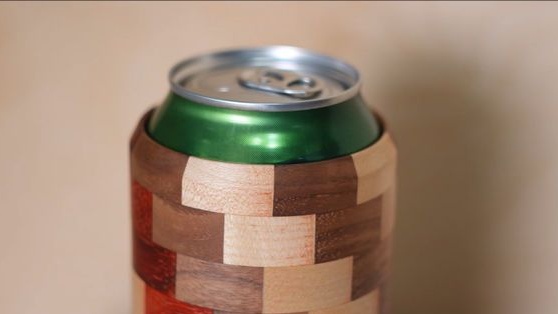
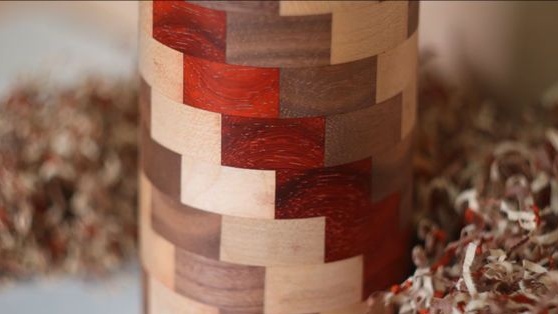
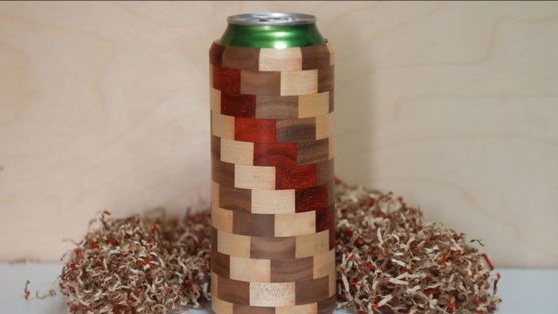
This cup holder, or better to say a tan)) is made specifically so that the chilled drink placed in a wooden shirt does not get the warmth coming from the hand and vice versa, so that the cold can does not bring your hand down with its cold. In this position, the drink in the jar will remain cool longer, which will allow for a long time to enjoy the coolness of lemonade.
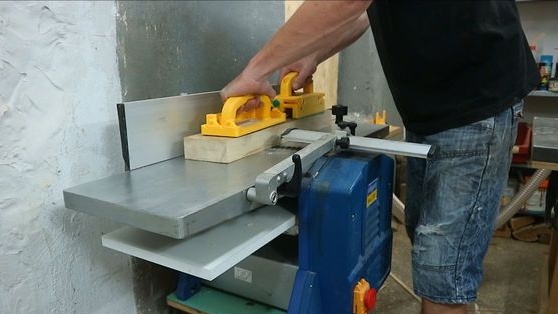
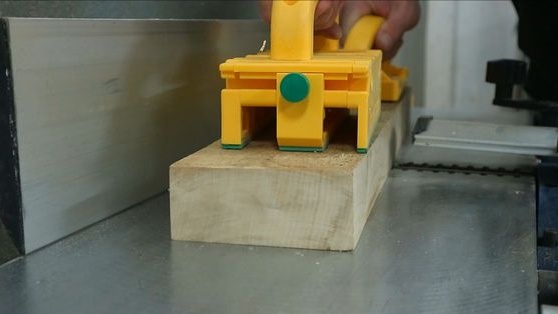
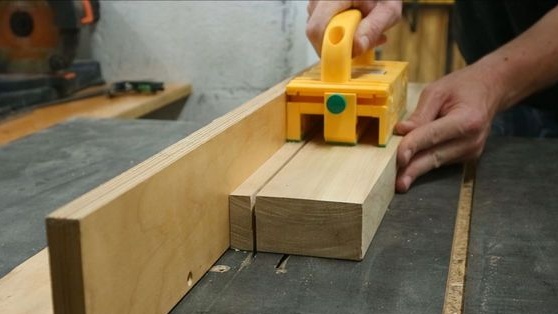
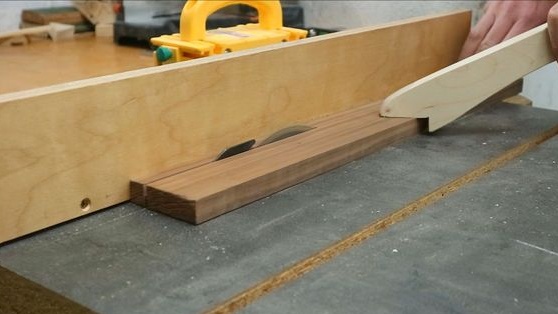
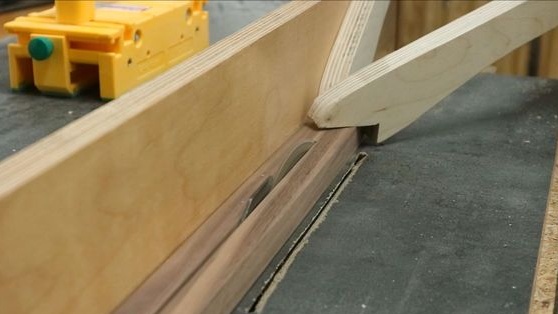
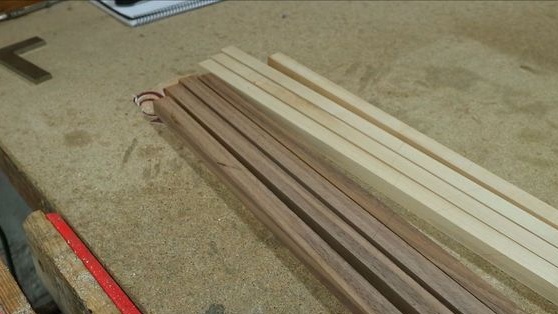
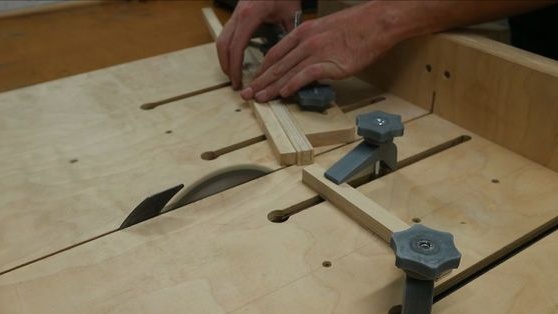
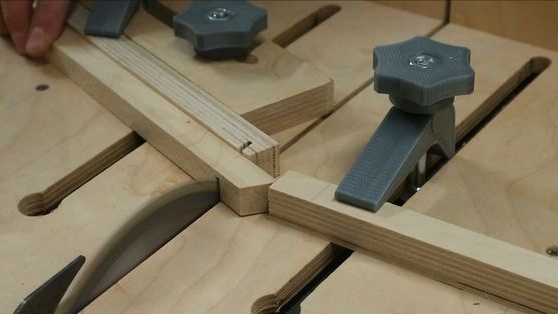
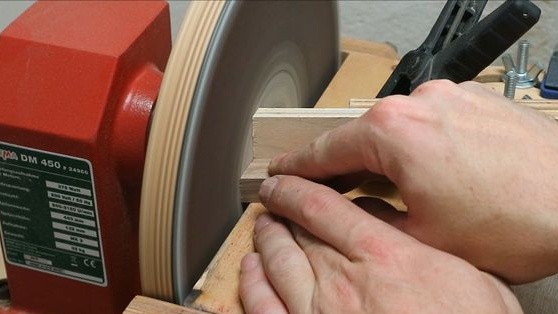
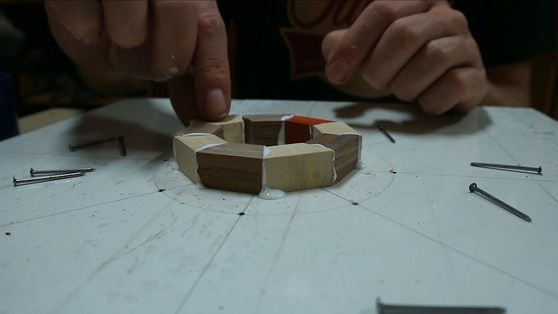
To make such a cup holder, the author gathered the trimmings remaining after the previous work in his trimming workshop, sawed the rails on a stationary circular saw, and passed through the surface gage. Then I made a small drawing, namely, I drew a circle with an octagon inside - this is necessary for the correct fit of the segments.
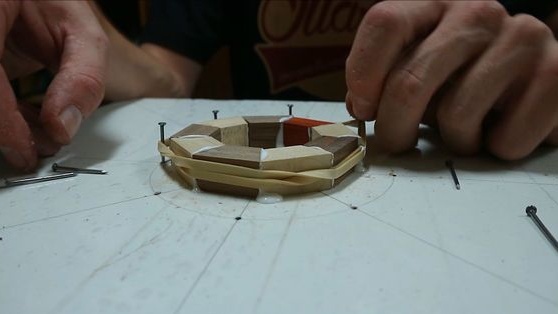
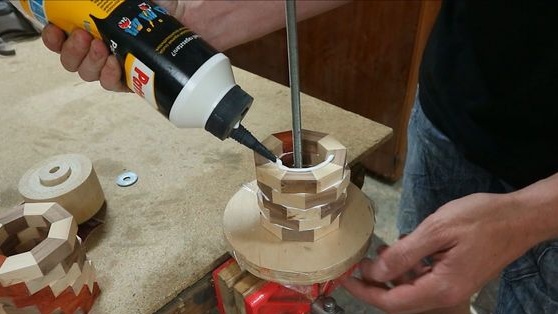
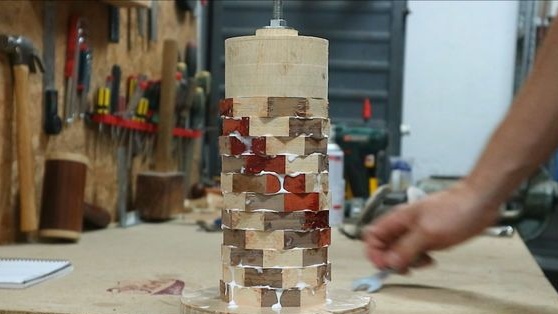
Sawing rails into segments, then they need to be glued together alternating wood species. Glued blanks are pulled together with an elastic band and remain in this position for 24 hours, then the resulting wooden rings are already glued together in a single structure and pulled together under a makeshift press, the whole thing dries for another day.
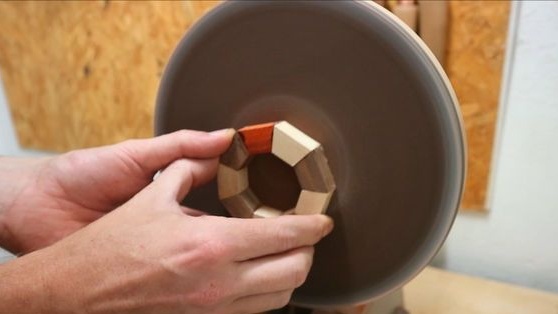
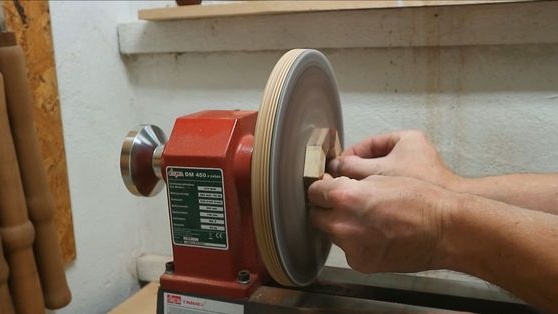
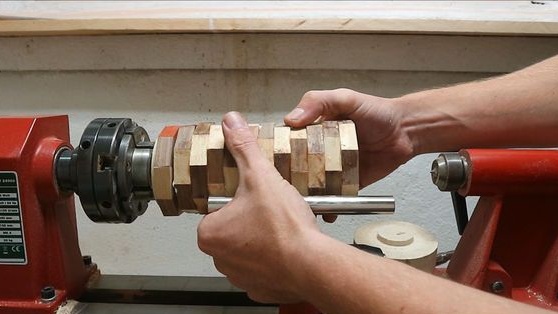
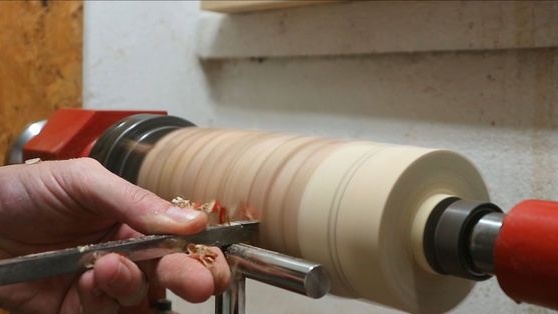
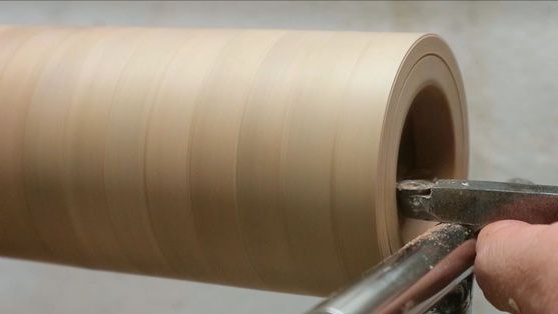
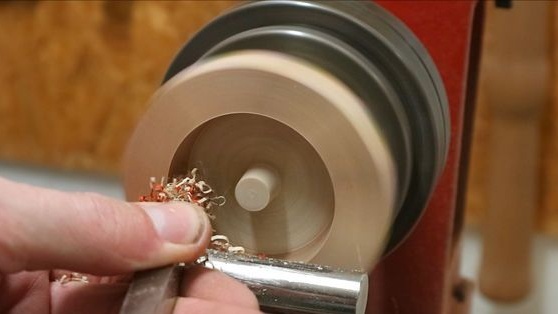
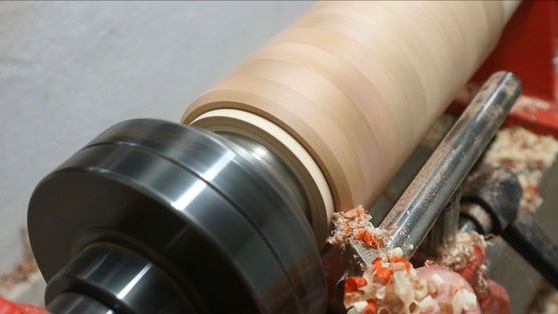
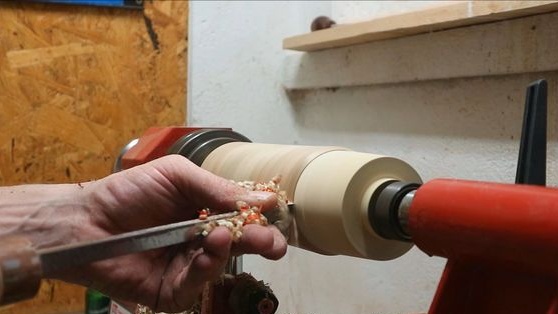
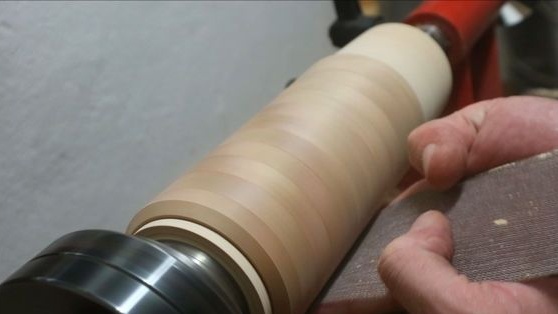
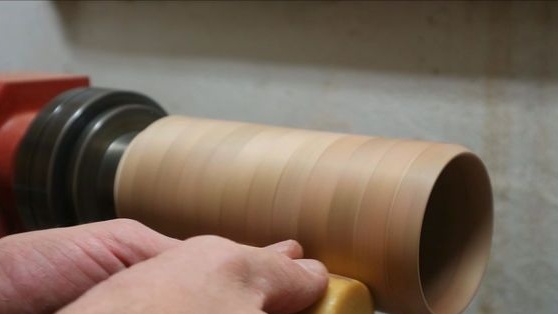
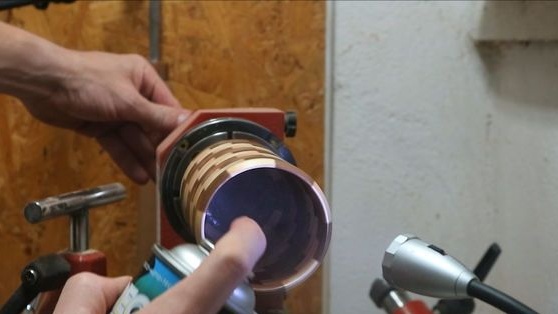
After that, the workpiece is processed on a wood lathe and it is given an already finished shape and appearance.
And so, let's carefully consider the whole process of creating a cup holder.
Materials
1. wood of different species
2. wood glue or PVA for wood
Instruments
1. stationary circular saw
2. wood lathe
3. sandpaper
4. clamp
5. incisors
6. spray can
Step-by-step instructions for creating a cup holder made of wood with your own hands.
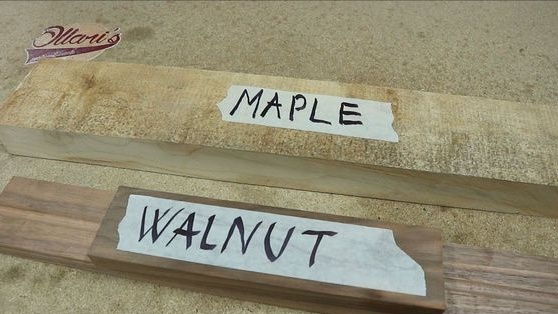
First of all, the author prepared wood trimming of different types of wood.
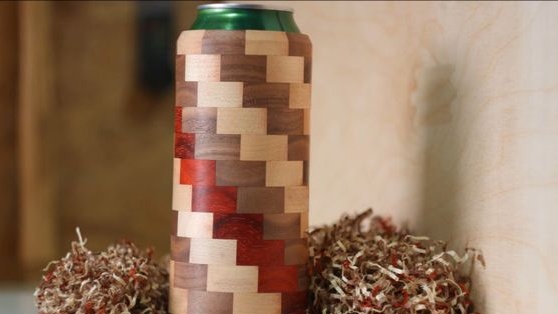
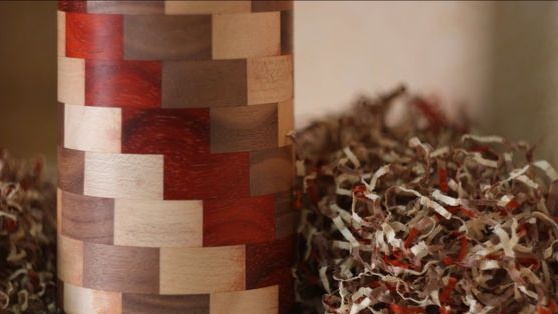
This example can be used as an idea for a small business;)
Step-by-step instructions are provided for you, so we take and do it. Go for it friends!
That's all, thank you all for your attention!
Come visit often and do not miss the latest in the world of homemade goods!
