If you often have to work with wood, then this instruction is for you. Today we will figure out how to make a good knife for processing wood. In addition, it can be useful to a carpenter, shoemaker, and indeed to any master. Everything is assembled quickly from pre-prepared materials.
Materials and tools for homemade:
- a piece of high carbon steel (the author chose XC75);
- a grinder with a cutting disc or a hacksaw for metal, in extreme cases;
- belt sander (or other suitable tool);
- two pins made of brass or other metal with a diameter of 6 mm;
- a piece of brass tube with a diameter of 10 mm;
- epoxy;
- hardwood for the manufacture of pens;
- clamps and square;
- drying oil;
- marker and ruler;
- 20 cm flat leather cord.
The process of making a knife:
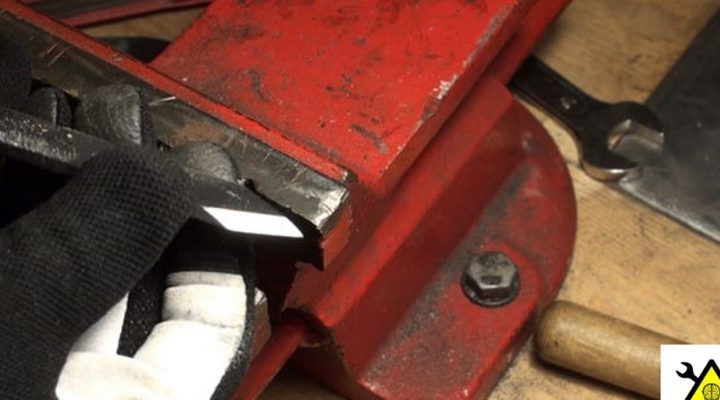
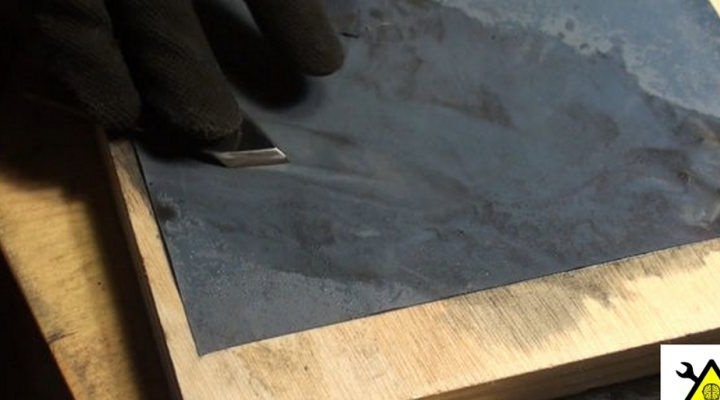
Step one. Cut steel
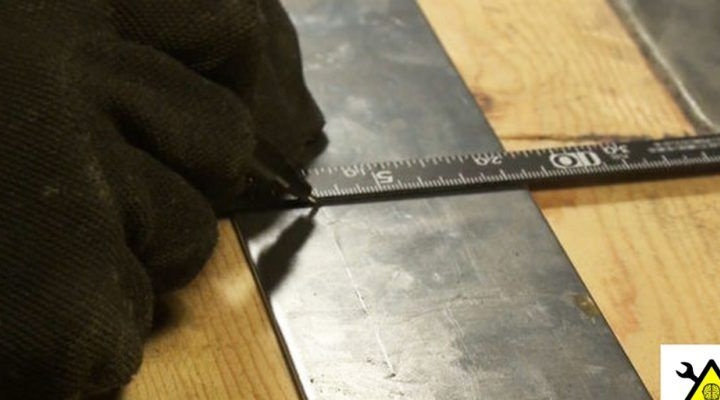
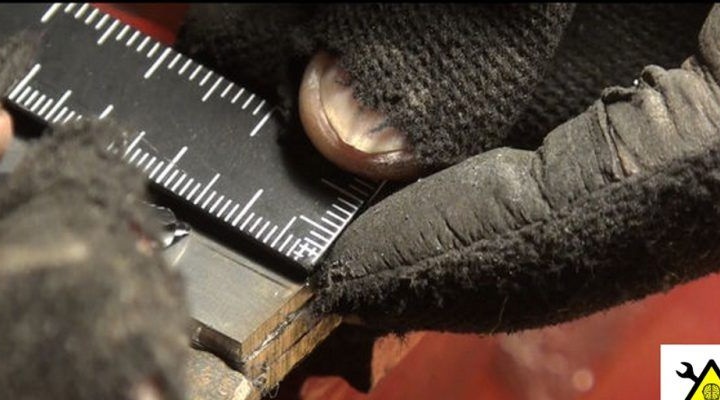
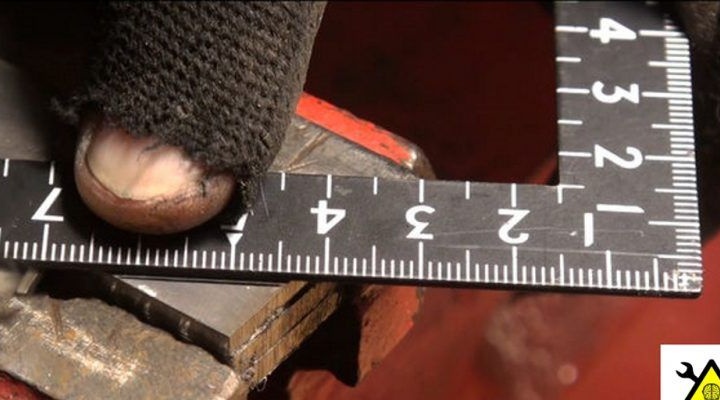
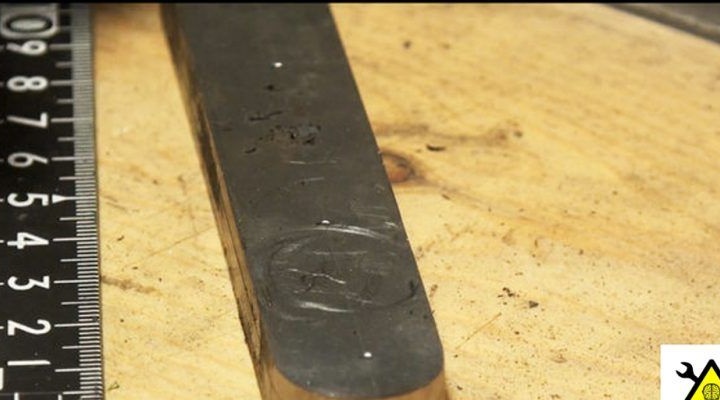
Before you start cutting the workpiece, you still need to determine the size of the future knife. The author has a plate width of 3 cm. The main thing here is to draw a straight line, for these purposes it is best to use a caliper and a ruler. Scratching the line too deep is not recommended, as it will then be difficult to remove.
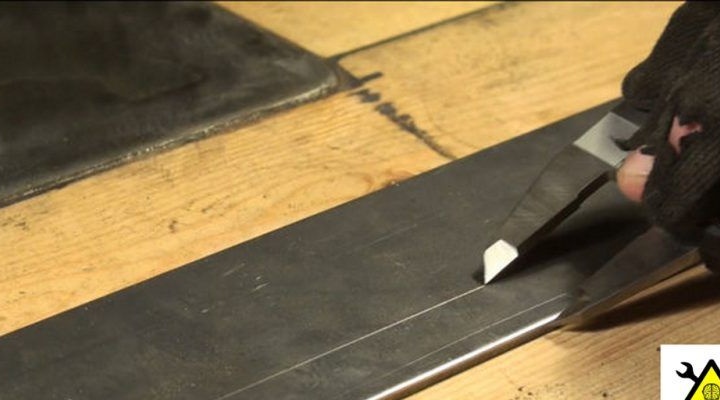
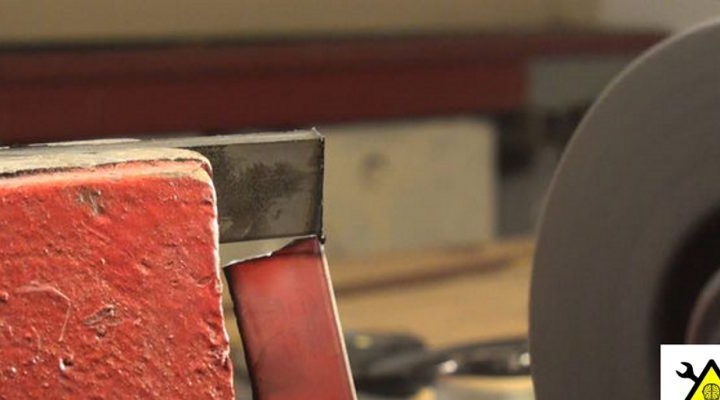
Well, now the strip of length you need can be cut off. The author had a length of 15 cm. In order to cut a piece evenly, a wooden block must be attached to the steel and only then should it be cut.
Sawing the steel lengthwise to the desired length, then you can trim the excess.
Step Two Workpiece Alignment
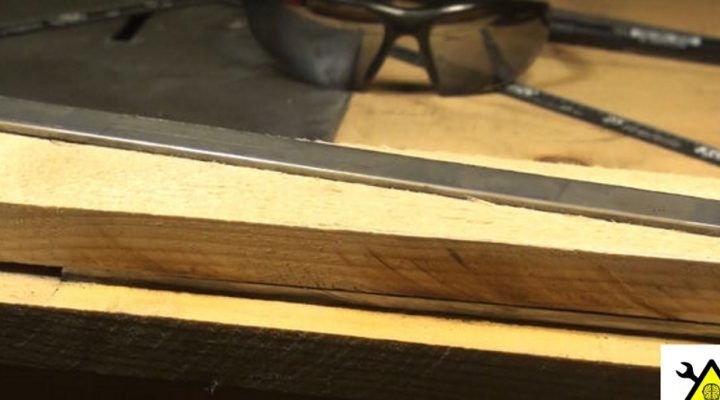
This step will be necessary for those who are going to make several blades at once. Both blanks must first be glued with tape, and then tightened with a clamp so that they do not move. Now the belt sander comes to the rescue. Using it, you need to grind both workpieces at the same level, that is, make them absolutely identical.

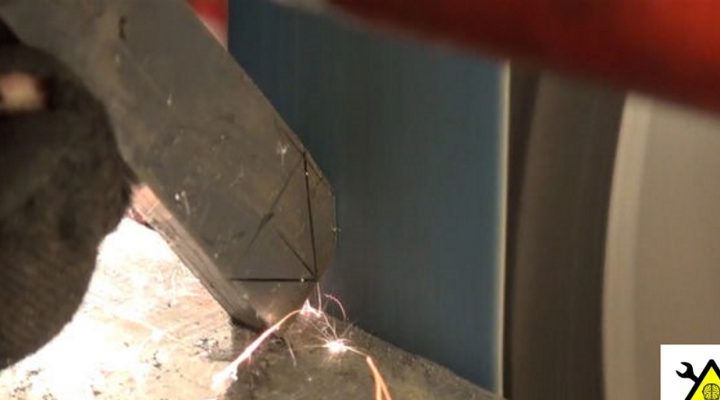
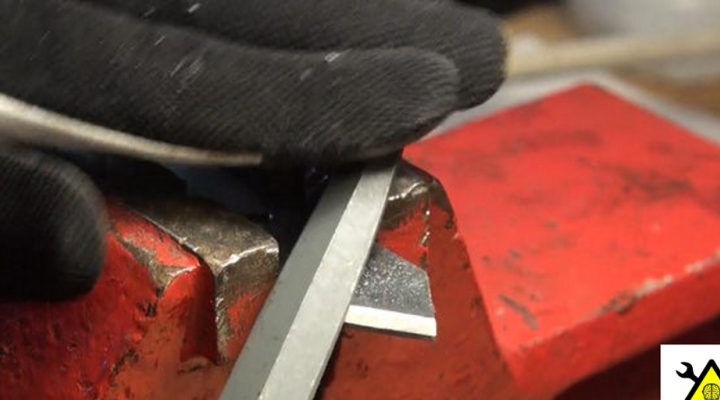
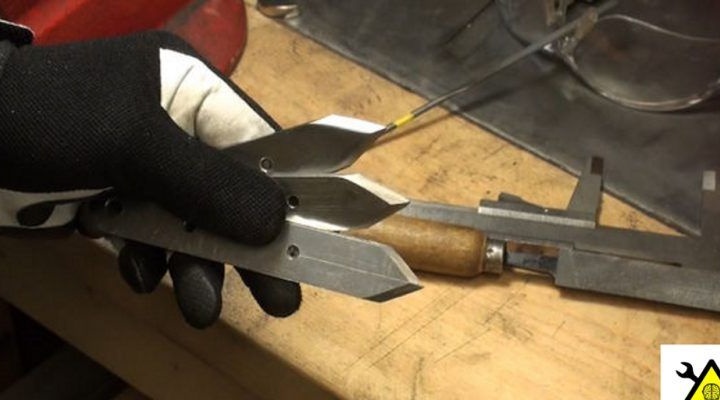
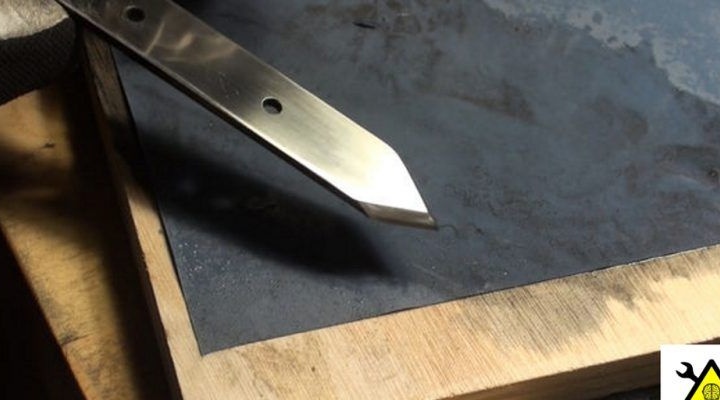
Step Three We draw a profile of the future blade
The profile of the blade is set by the author himself, which he needs. First, draw the center line, and then the triangle. The angle of the blade is also selected depending on the needs.

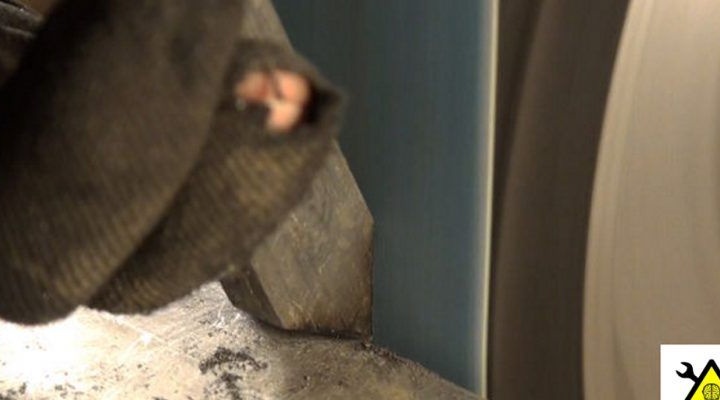
Step Four We form the main profile of the blade
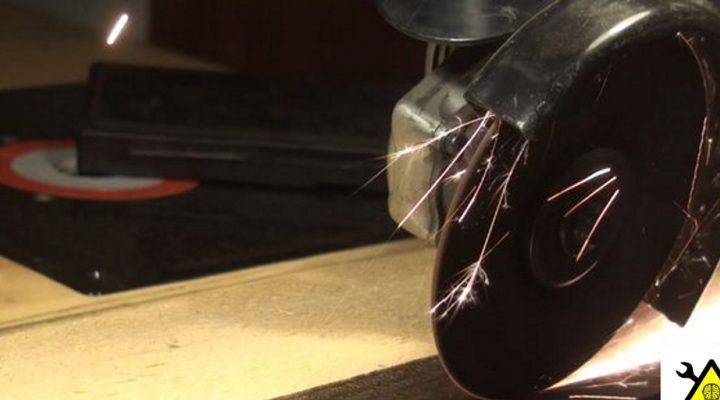
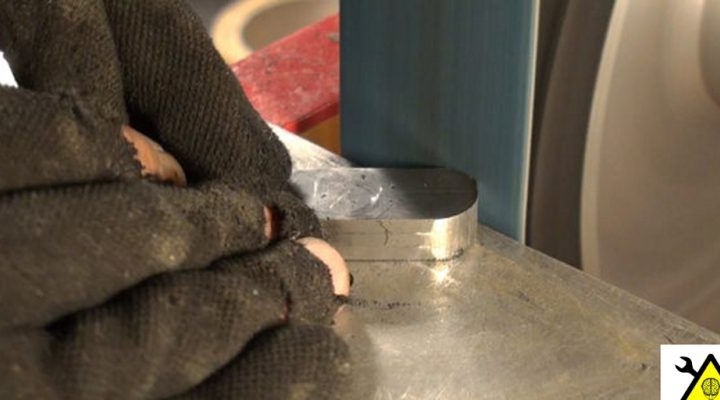
At this step, using the grinder, the author forms the main profile of the knife. But if you need to remove a lot of metal, then you can cut it off with a grinder, and then grind the workpiece on a tape machine.
At the same stage, the back of the knife is also formed, it should be semicircular in shape.
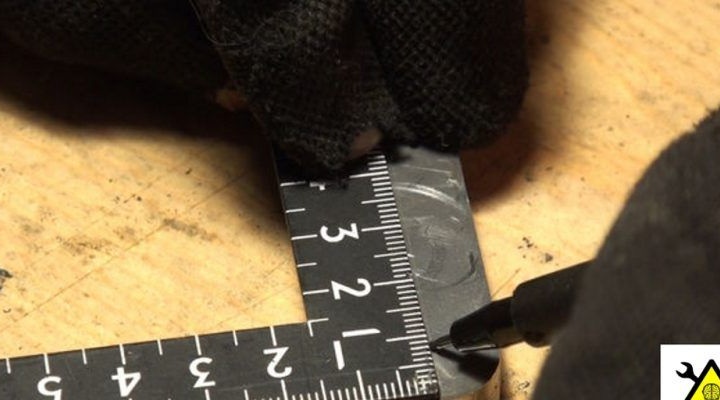
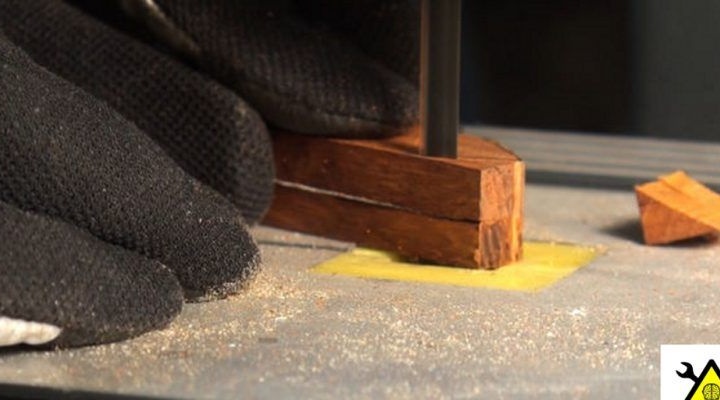
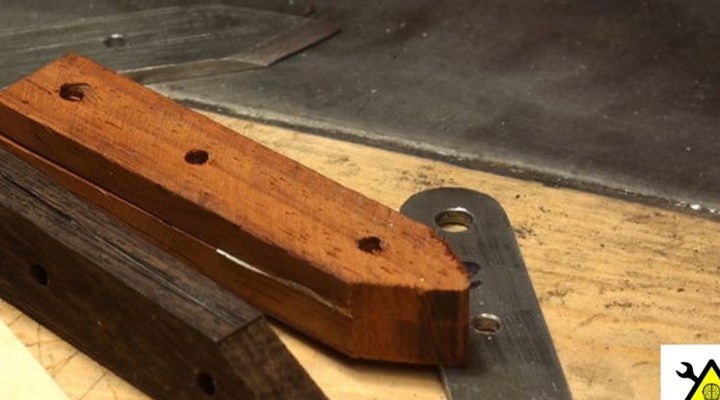
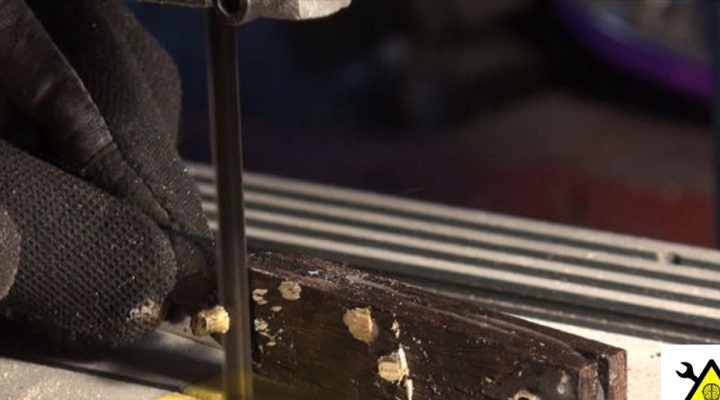
Step Five Hole marking
To fix the handle, drill holes in the workpiece.First you need to carefully mark everything, and then use a punch. The diameter of the holes is selected depending on the diameter of the pins.
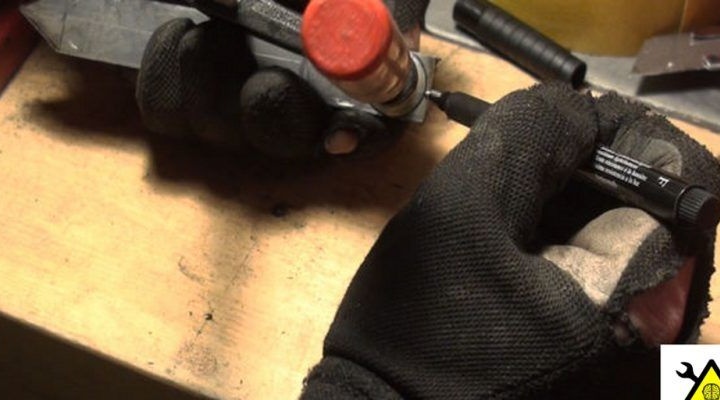
Step Six Drilling holes
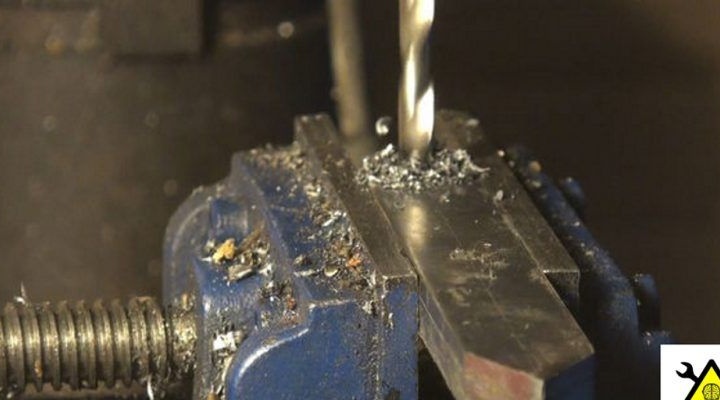
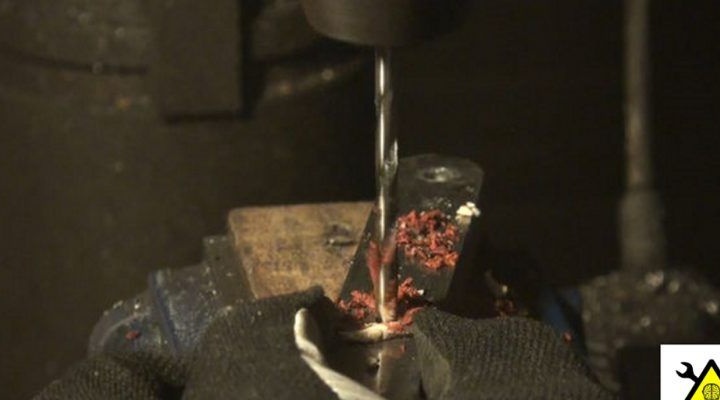
Now the author is drilling holes in the blade, a drilling machine is best for such purposes. First, the holes are drilled with a small drill as centering holes. Here you need to use little or WD40 to reduce the heating of the drill. Well, then the holes expand to the desired diameter.
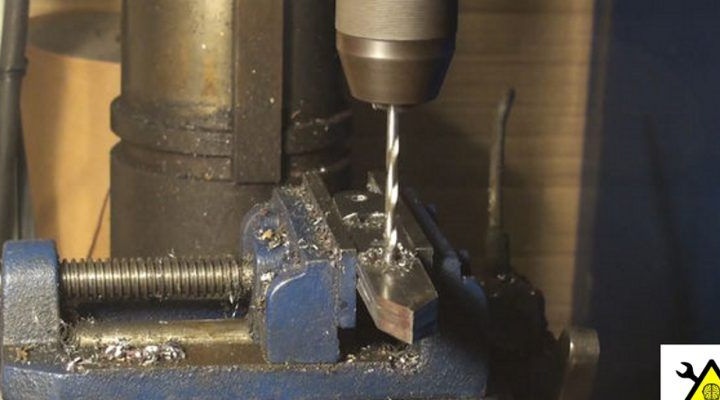
Pins will be installed in holes that are drilled closer to the end of the blade. And the extreme hole is needed to install a brass tube.
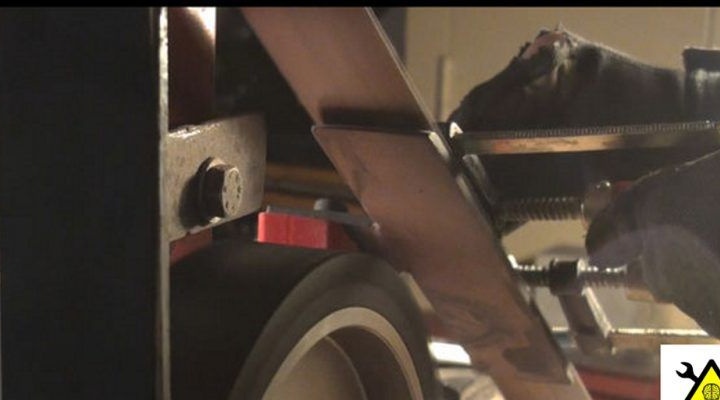
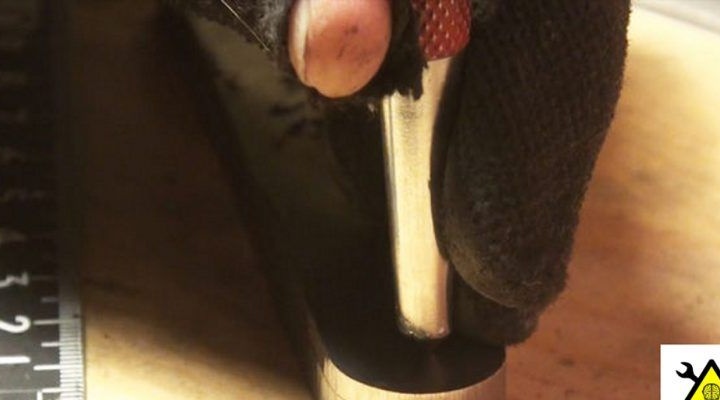
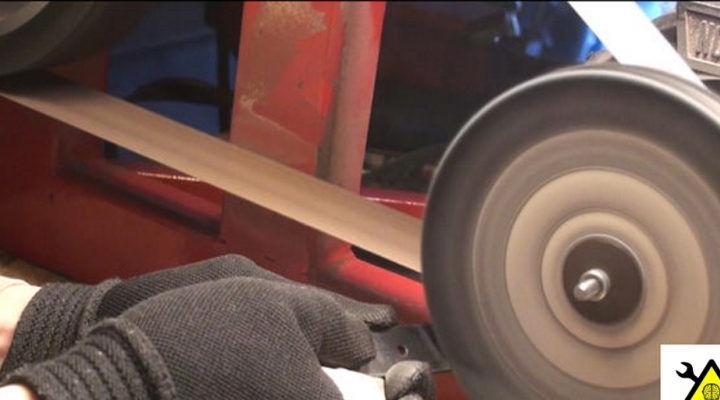
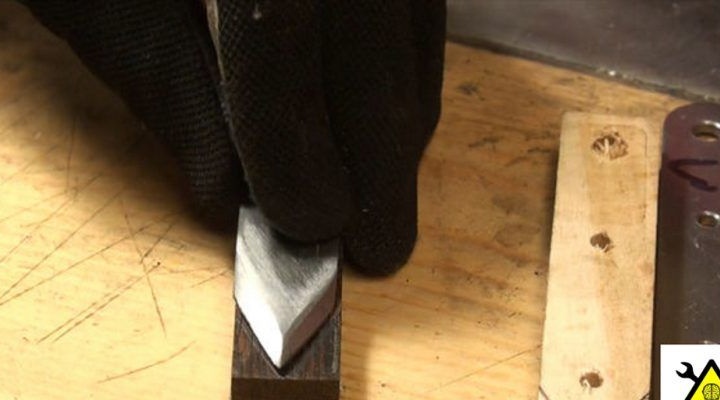
Seventh step. Make the descent
At this stage, the entire final knife profile is specified. Significantly, this process becomes simpler and better with a belt sander, it is important not to overheat the metal. Of course, the work can be carried out with a file, but it will all be long and hard. The most important thing here is to get the slopes at the same angle.
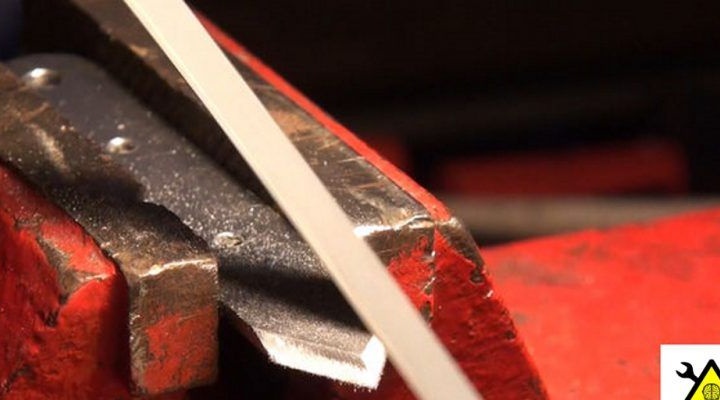
First, the author forms the descent on one side, and then on the other. In case of an error, you should not be very upset, as it can be easily fixed.
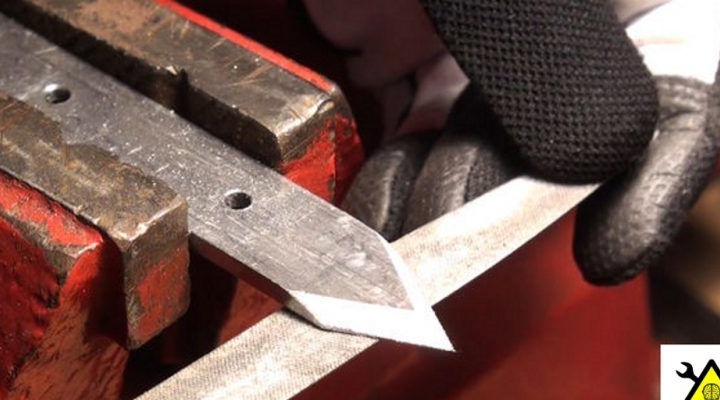
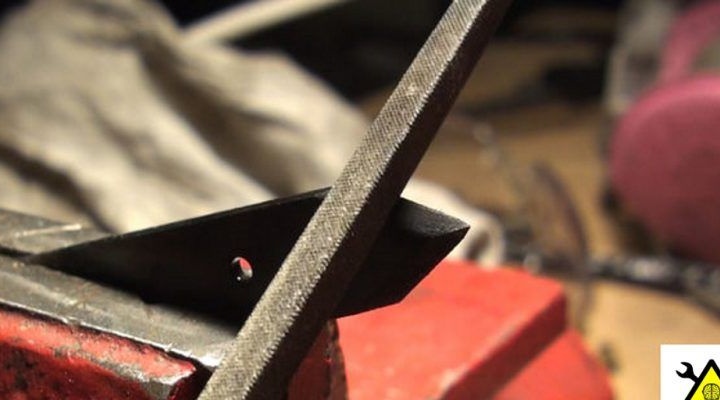
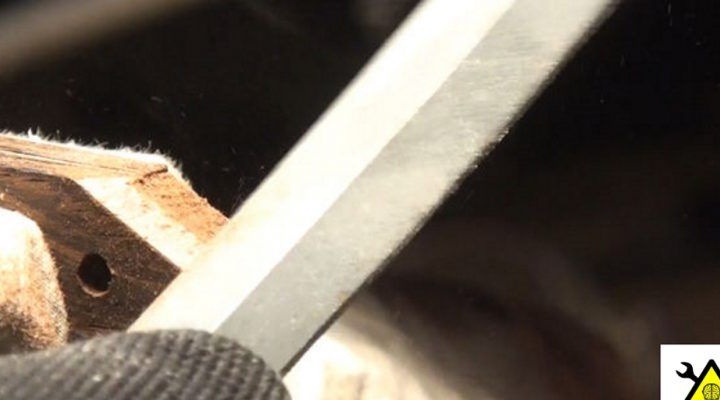
Step Eight. Debugging
Before hardening, the slopes will need to be brought to perfect shape. For such purposes, the author uses a small file. You can still use sandpaper. Also at this stage, the knife can already be sharpened for the first time before hardening.
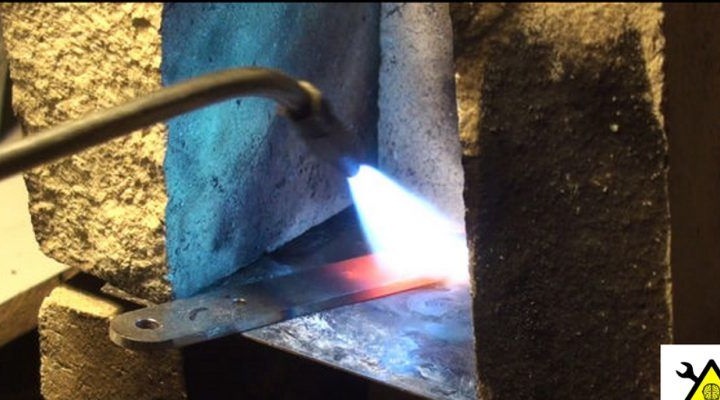
Step Nine. We turn to the hardening of the knife
For hardening XC75 steel, it must be heated to a temperature of 790-810ºC / 1454-1490ºF, and then cooled in oil. The color of the metal should be in the range from red to bright red. The author warms the whole thing with the help of a burner. You need to try to warm the blade evenly, avoiding the ingress of fire on the tip of the knife. The metal should warm up from the middle to the ends. After that, the metal is immersed in oil. There will be splashes and a lot of smoke, so you need to use eye protection and breathing.

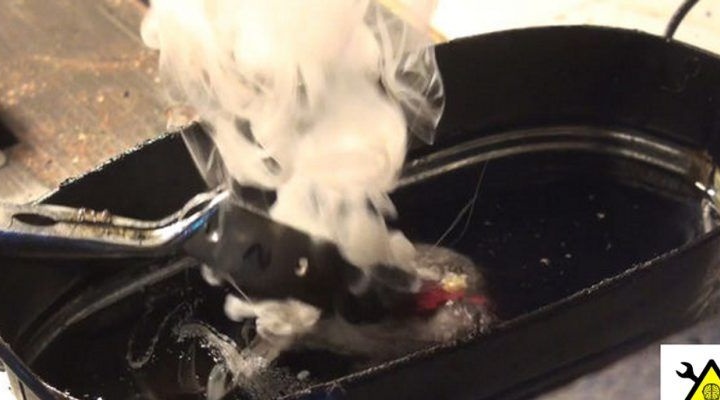
After the steel has cooled, it must be checked. Lightly hitting the blade with a file, you should hear a ringing. If you try to scratch the blade with a file, it should not be taken. In this case, the blade will be hardened correctly.
Step Ten Release the metal
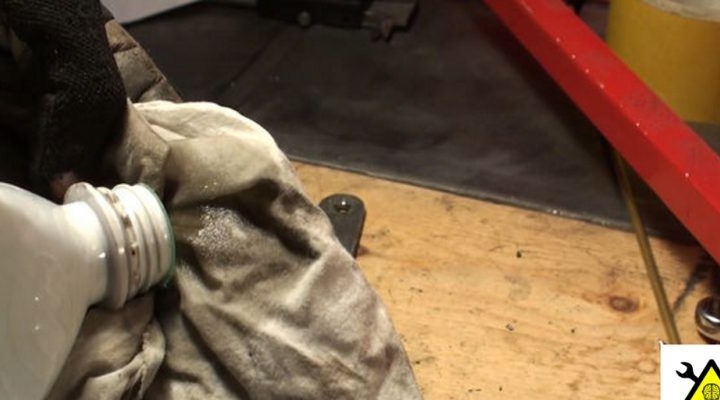
After hardening, the steel will become strong but brittle, so that the knife can easily break under load. To make it more flexible, the metal needs to be heated again to a certain temperature. But before that, with the help of emery paper, the burned oil is cleaned from the blade, since it will not be visible because of it, whether the metal was released.
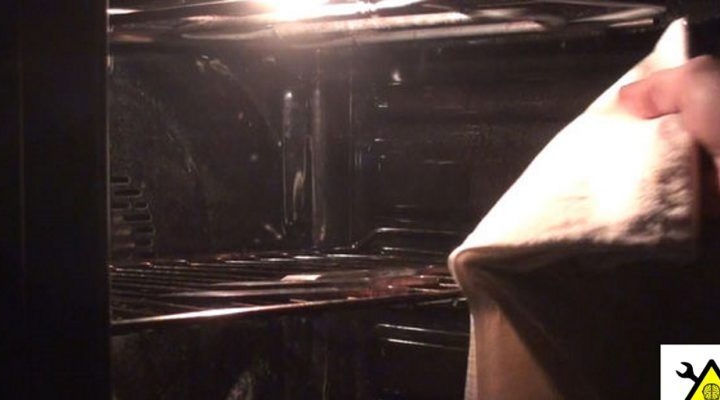
Now the blade goes to the oven with a temperature of 230ºC / 446ºF, then it should lie down for one hour. As a result, the blade should be in color between light yellow and blue. After warming up, the blade should be left to cool gradually overnight.
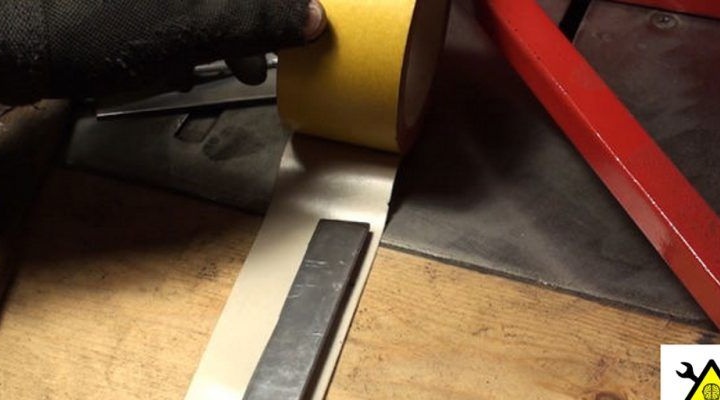
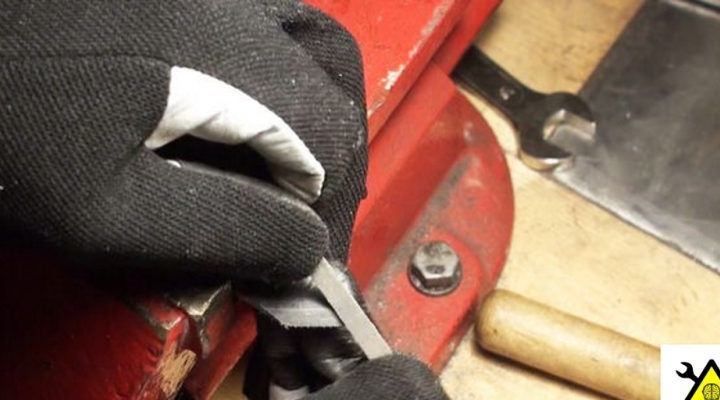
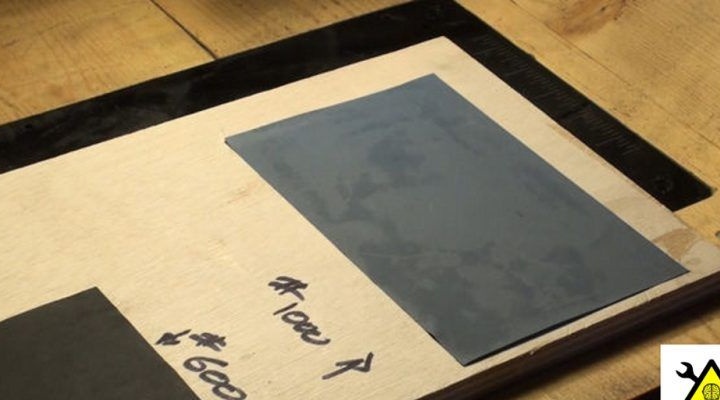
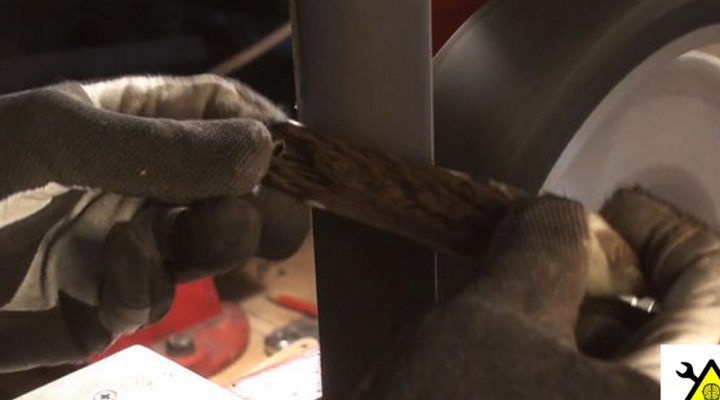
Step 11. Grind and polish the knife.
First, the author polishes the surface of the knife with an emery cloth with a grain size of 600 and 1000. It must be glued to a flat surface and preferably moistened with water for greater efficiency. Also, a belt sander will come to the rescue.
Step 12. Making the handle
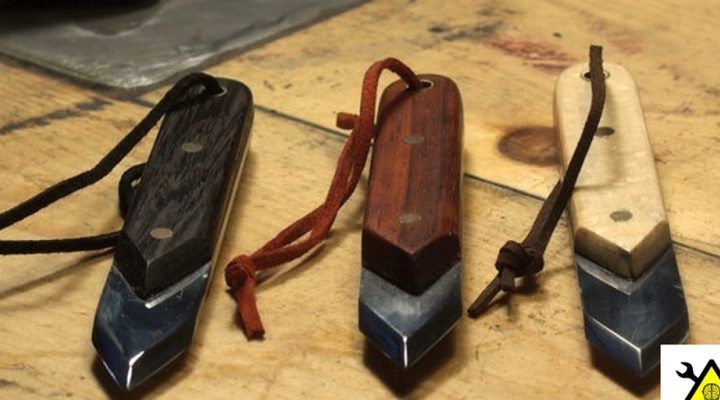
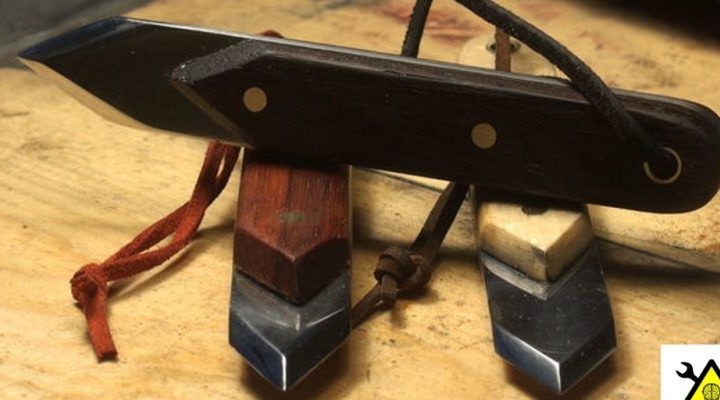
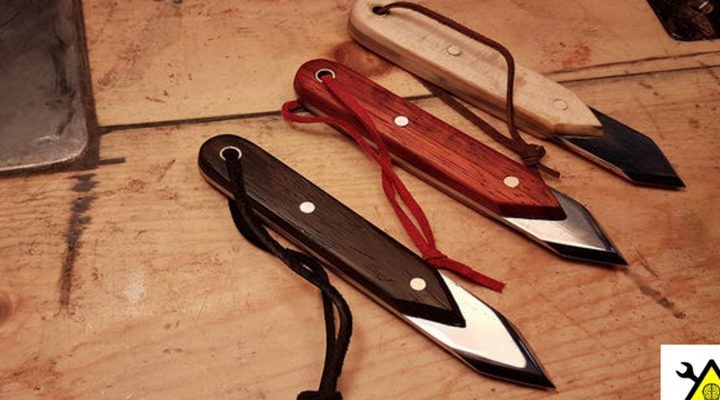
In total, the author made three knives and for each of them different types of wood were used. These are mahogany, wenge and Japanese beech.

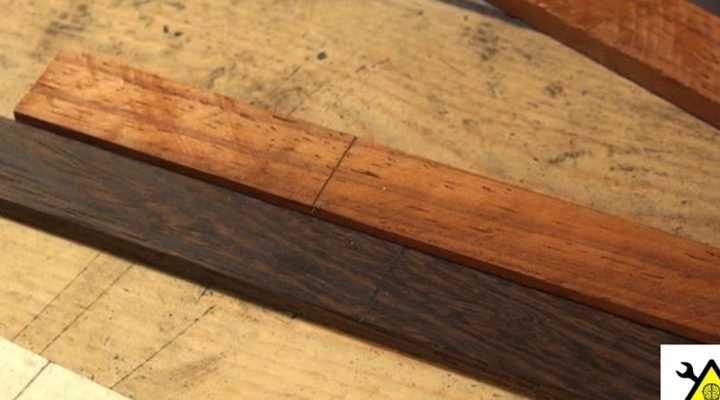
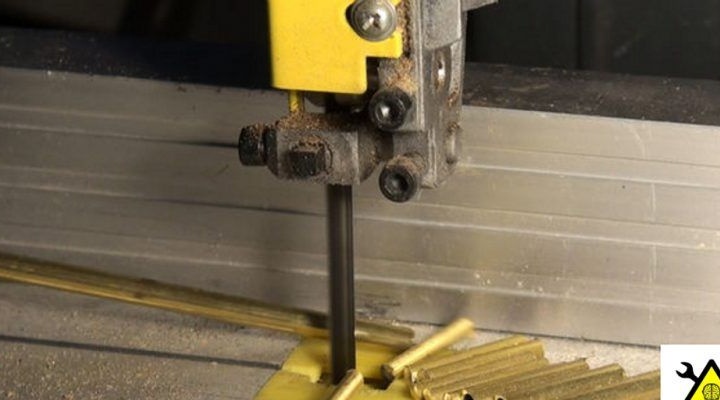
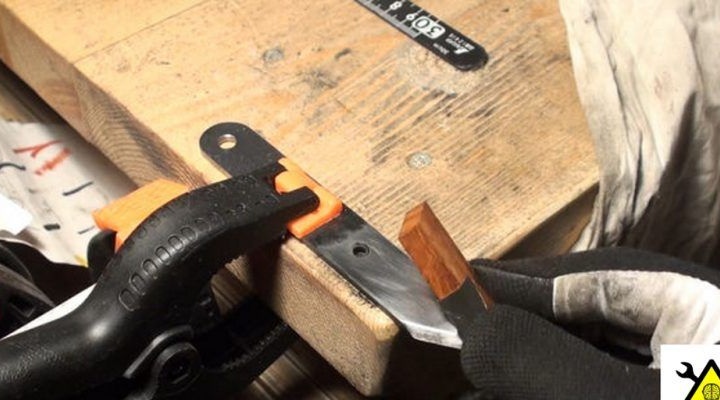
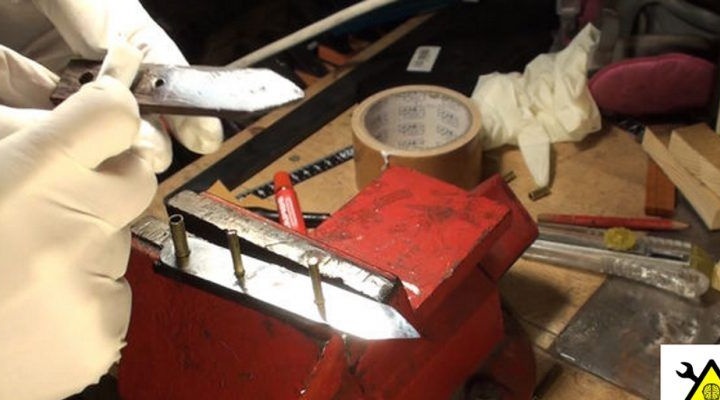
To make the handle, you need to cut two strips 3 cm wide, that is, the width of the handle. Still here, two pins with a diameter of 6 mm and a piece of brass tube for fixing the pads will be needed.


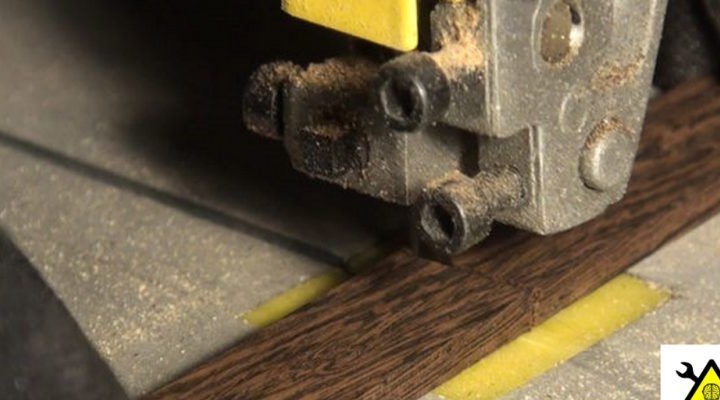
Now one side of the handle with tape must be glued to the blade and drill holes. Similarly, holes are drilled in the second half. Then the handle will be very easy to assemble. You can still connect the two parts and drill through a hole.
In conclusion, the handle is ground together with a blade on a belt sander. Here you will need to set the bevels in accordance with the shape of the blade.
Step 13. The final assembly phase
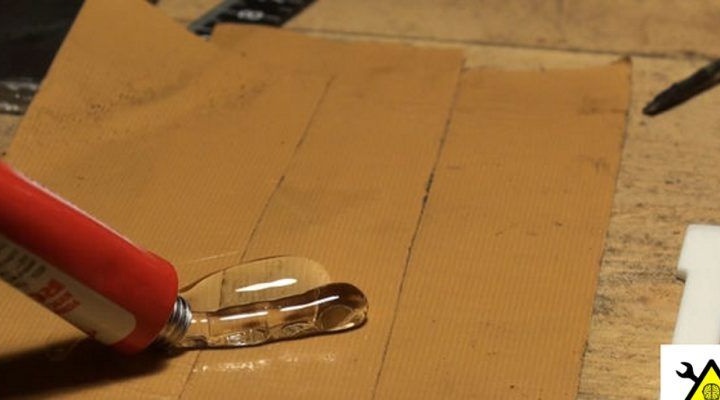
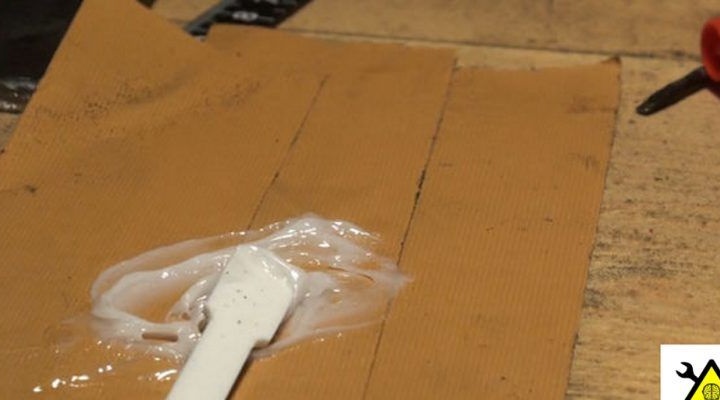
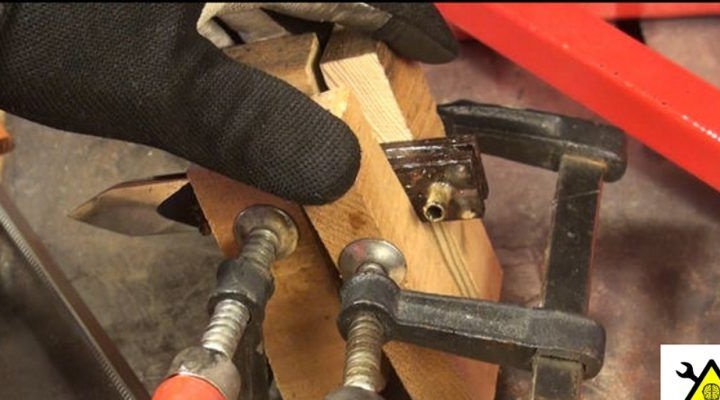
Now the knife can be assembled. Both halves are carefully lubricated with epoxy and pressed to the blade. You also need to remember to install the pins. For reliable bonding, the handle is clamped with clamps. The remaining glue can immediately be removed with a paper towel.
Now it remains only to wait until the glue dries. After that, the knife goes to the final grinding. Here it will be necessary to cut off the protruding pins and then polish everything flush.
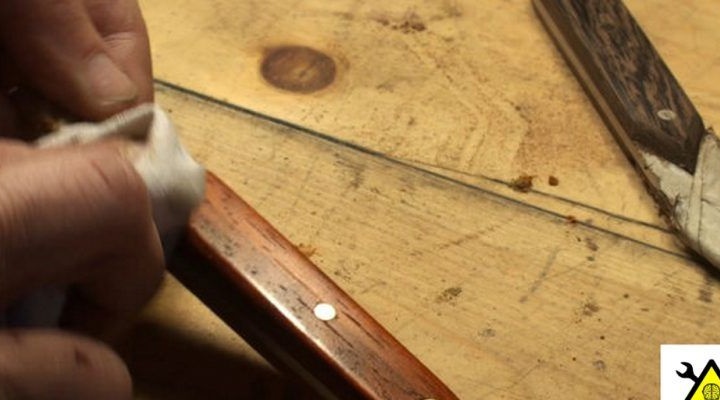
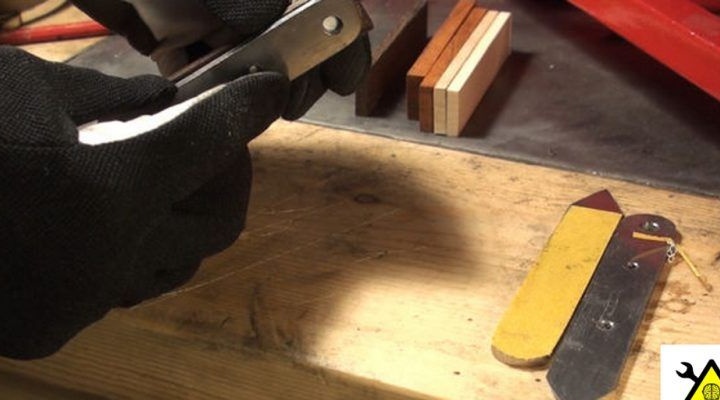
The final step will be to impregnate the tree with linseed oil or beeswax for protection. Another blade can be brought to perfect sharpness using water stone. In order to safely hang the knives, the author equips them with leather straps.