
Often in life there is a need to unscrew something, to pick it up and so on. And sometimes it can even save a life. For example, something may break in the car, but there will not be a screwdriver. Or imagine that you were closed or you yourself closed in your office and can not get out. Then you could use a screwdriver to unscrew the lock and get out. Of course, situations are diverse, from the simplest to the most incredible, which cannot be predicted.
For such purposes, you can buy and carry a small multitool, but even such a thing will be quite cumbersome. One author decided to make a multitool on his own, and chose lipstick as a body.
Feature homemade that she does not cause suspicion in anyone, well, who will check the lipstick, unless of course it lies in a man’s purse?

And since the homemade product is oriented for women, it must meet such criteria as:
- have a small size (to put it in a mono bag or cosmetic bag);
- be functional;
- have a beautiful appearance;
- have a wide range of tools;
- making homemade products should not be difficult.
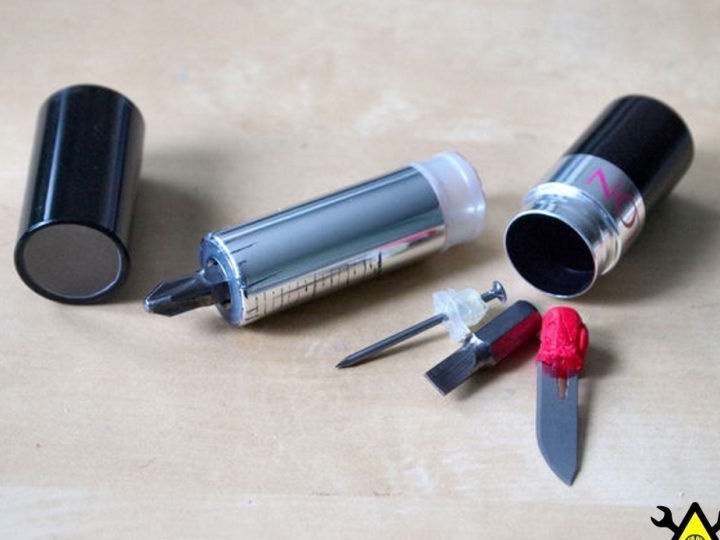
The manufactured tool has such functions as:
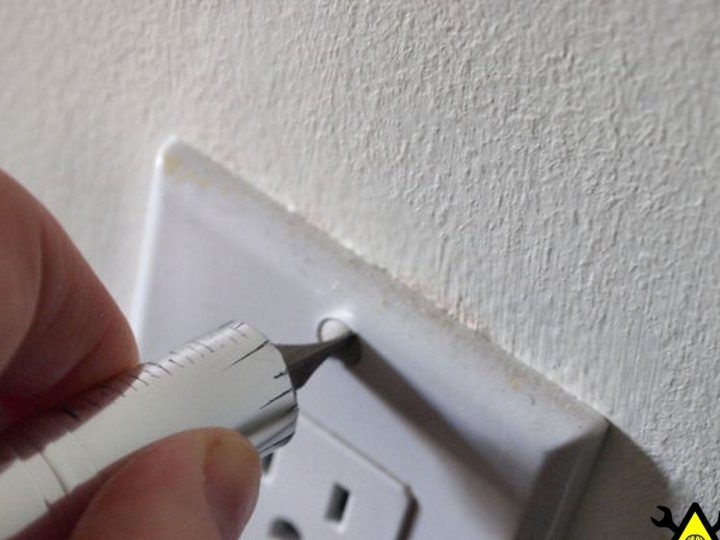
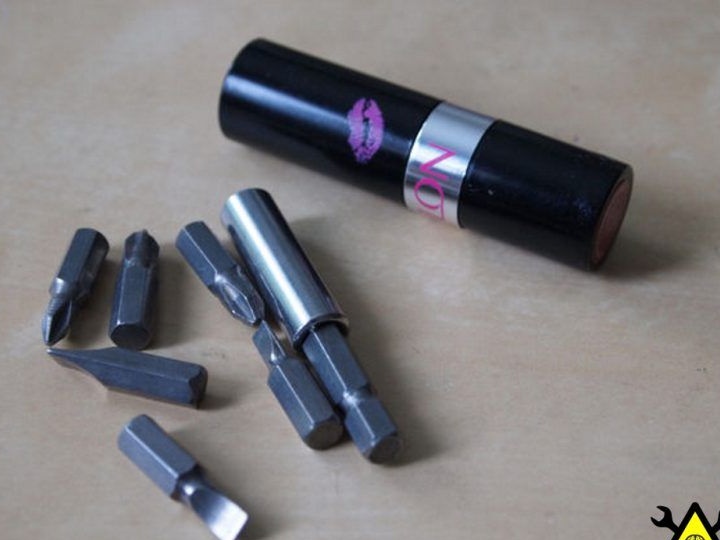
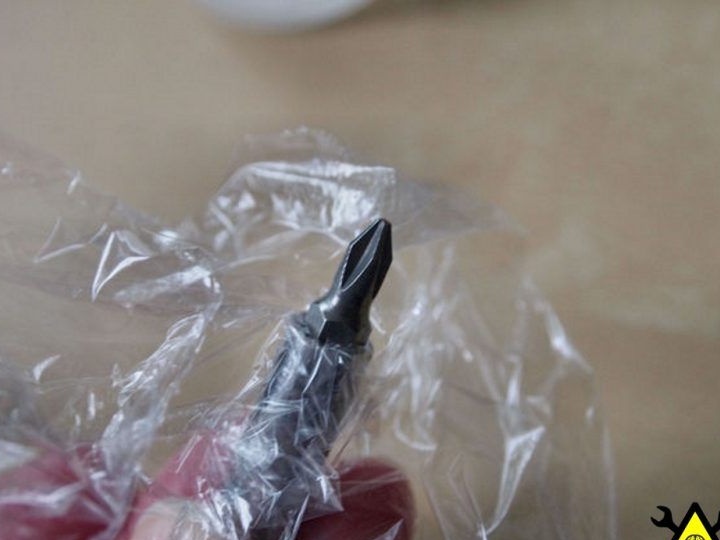
1. Screwdriver (set of bits)
2. Awl 26 mm (from a nail)
3. Magnifying glass (triple)
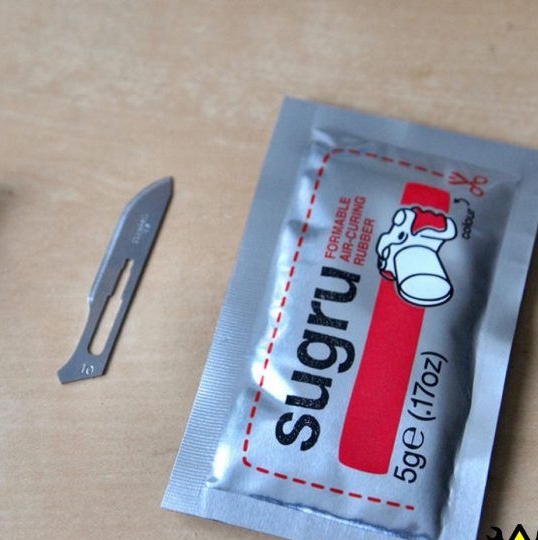
4. Knife (from a type-setting scalpel)
5. Ruler
6. Protractor
Materials and tools for homemade:
From materials:
- lipstick (suitable and used, as you only need a body);
- blades to type-setting scalpel;
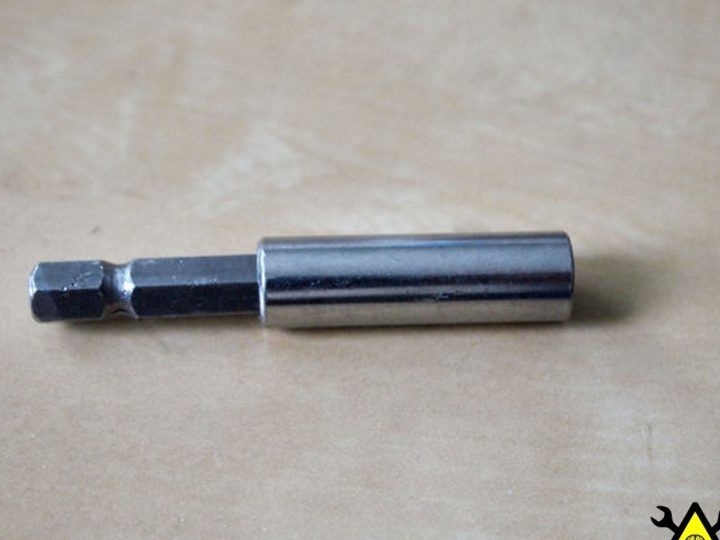
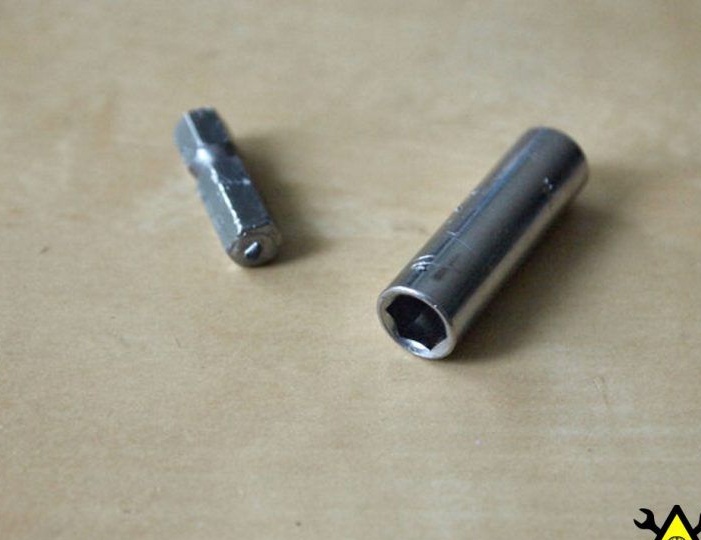
- bits with a magnetic adapter;
- thermoplastic or surrogate;
- plastic Fresnel lens;
- a nail;
- cling film.
From the tools:
- a hacksaw;
- ruler;
- protractor;
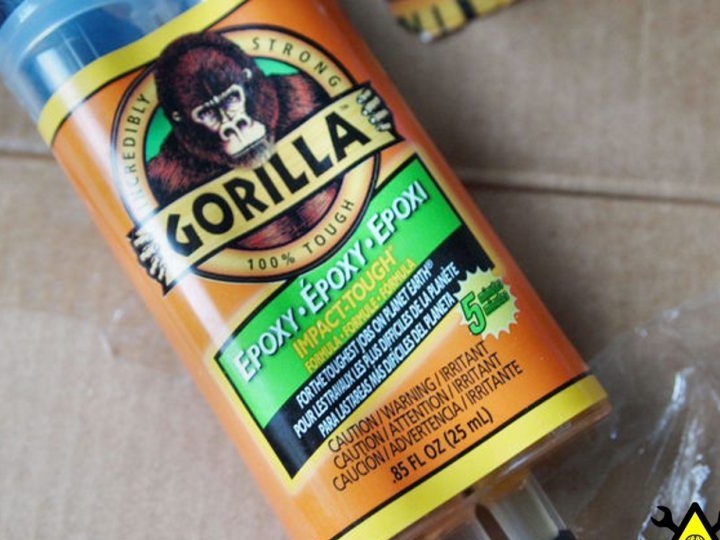
- hot glue;
- epokidka.
Homemade manufacturing process:
Step one. We prepare the case
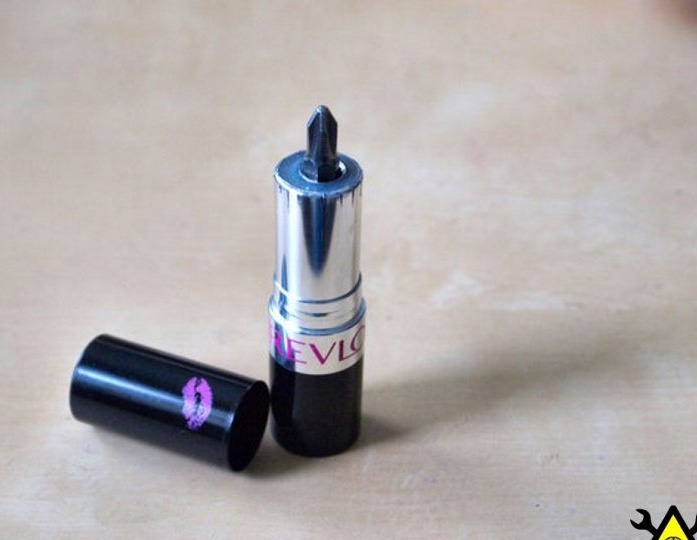
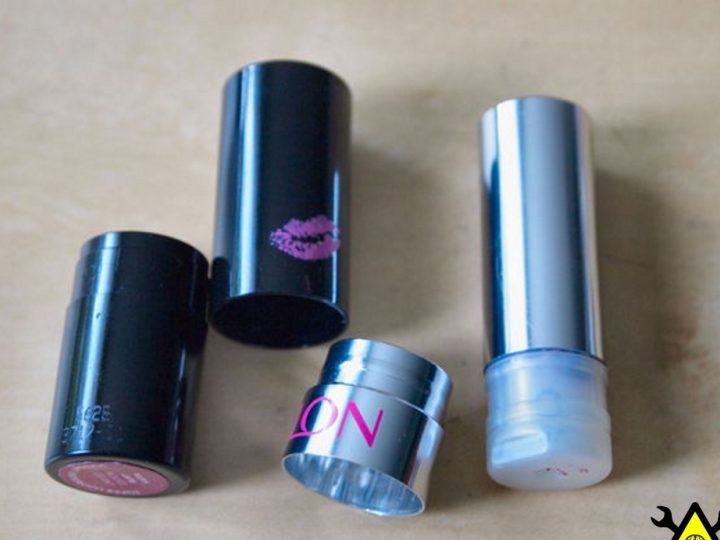
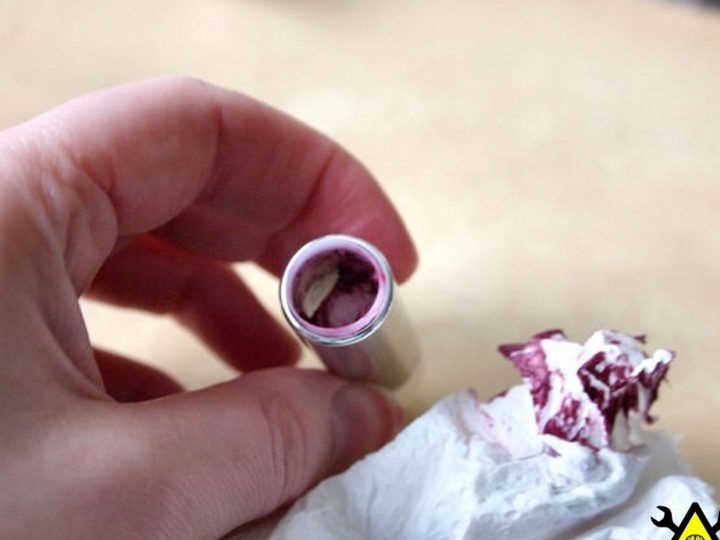
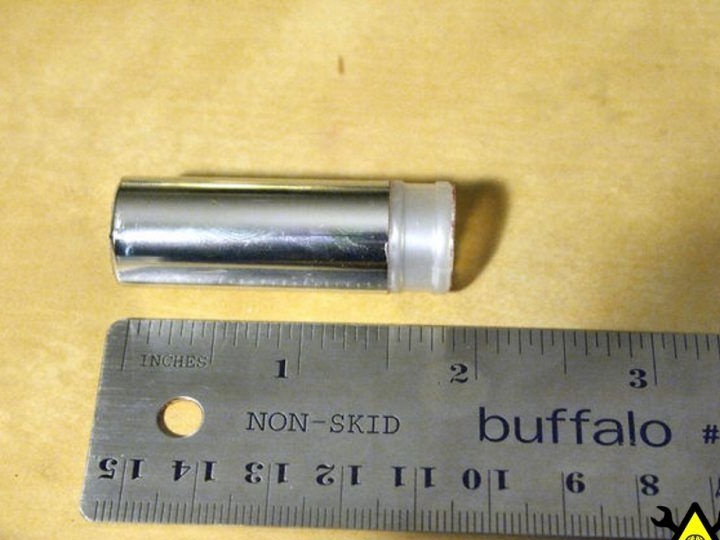
As a case for homemade lipstick acts. You can take the already used one, the main thing is that it has a well-preserved case, it does not have cracks and scuffs. The first step is to disassemble it and how to clean it. The design of the case and its sizes are diverse, so there is the opportunity to choose for your needs.
The bulk of lipsticks is disassembled according to one principle. It consists of the following steps:
1. First remove the top cover, and then the ring with the Revlon logo
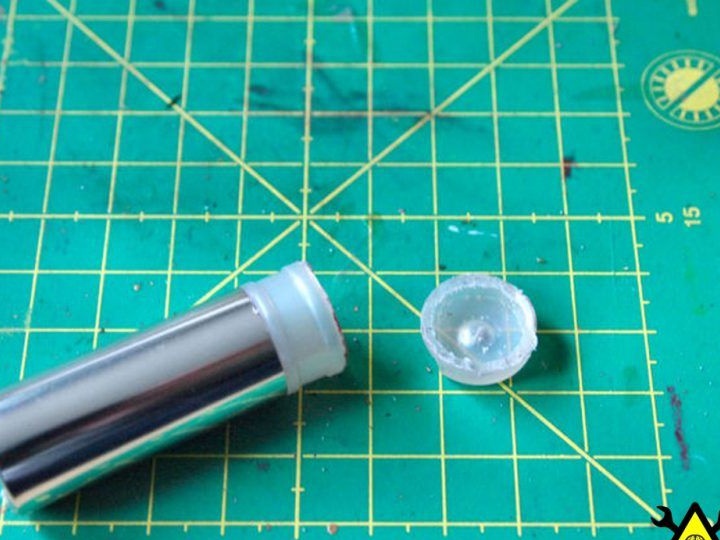
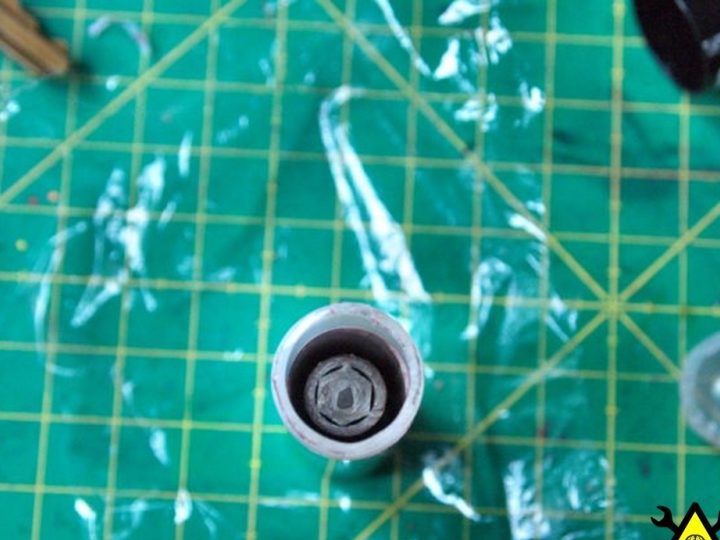
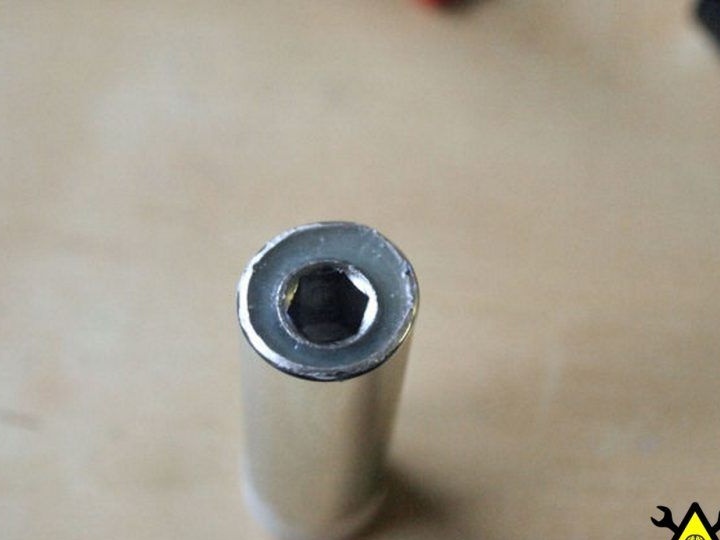
2. A silver tube is removed from the base
3.A small platform is placed in the tube, which moves up and down as the lipstick loosens. On this platform is the lipstick itself. This platform will need to be removed.
4. The lower part of the tube will need to be cut, as a result, the necessary tools will be stored in the formed gap
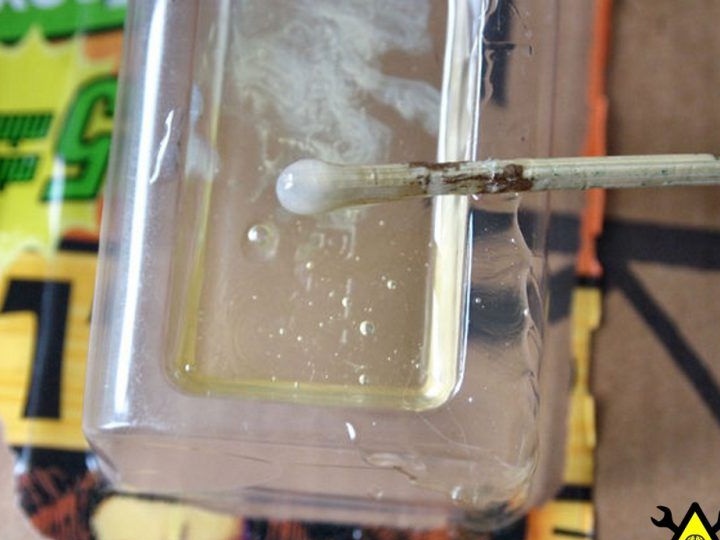
5. At the end, the inside should be wiped with alcohol or another solvent in order to remove the remaining lipstick.
Step Two Magnetic holder installation
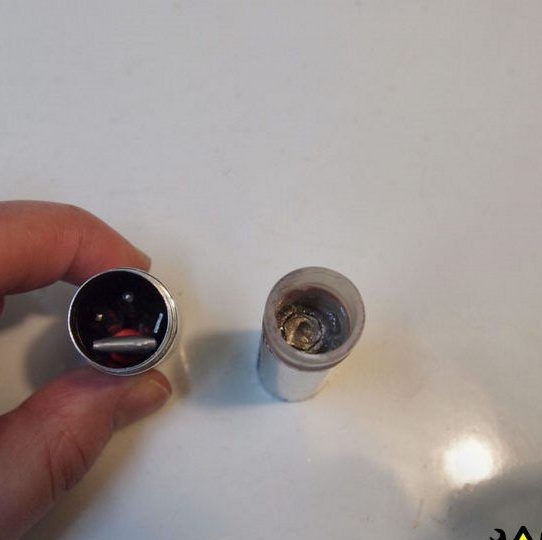
The author installs a magnetic holder in lipstick, but before that you need to saw off the tail. Next comes the epoxy to the rescue. On the table you need to lay a cling film so as not to smear it with glue, and install the lipstick case in an upright position. Next, a magnetic holder is inserted into it. It needs to be placed strictly in the center.
The free space is then filled with epoxy to the top. But here you need to be careful not to fill the hole into which the bits are inserted.
So that the holder sticks well and does not turn, it must be very carefully cleaned with sandpaper. And you can also carve a pair of slots on it using a grinder, then the connection will be very reliable.
It is important to take into account the fact that when hardened, the epoxy has the properties to expand. So, at the same time, you need to make sure that there is no excess and remove the residuals if necessary. The completion of this stage can be considered complete drying of the structure, which will take about a day.
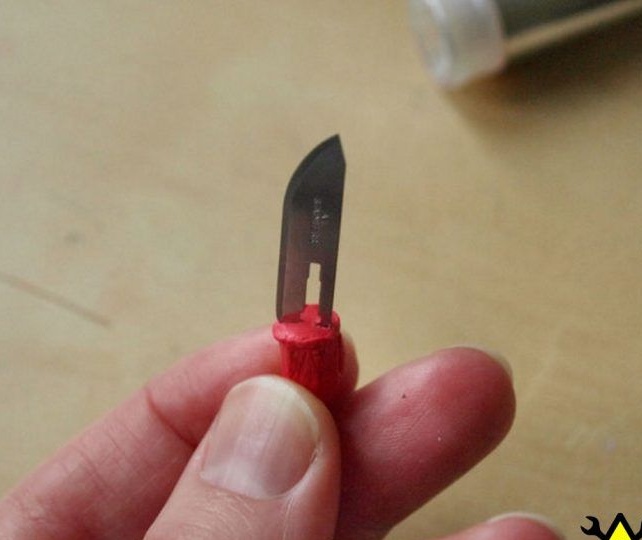
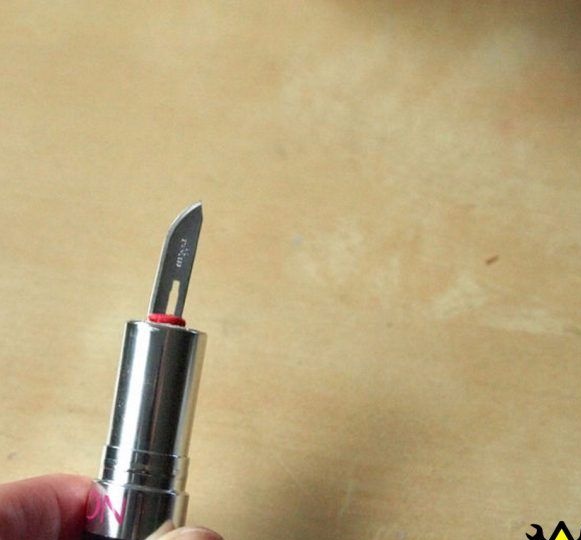
Step Three Knife making
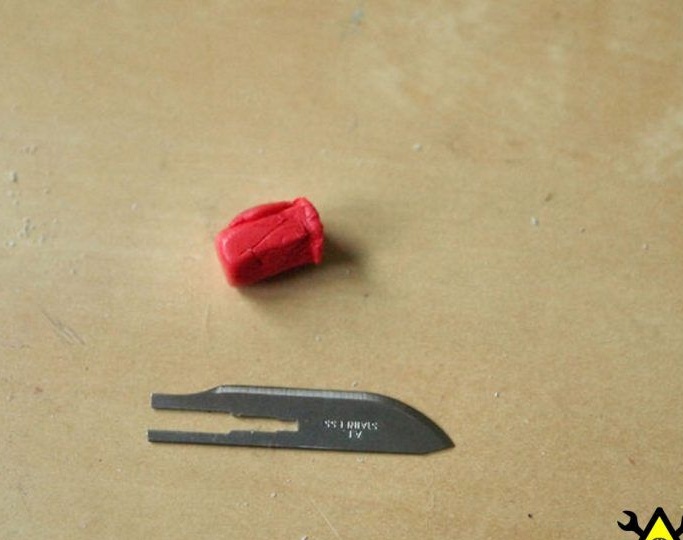
In this multitool, the author provided for the presence of a knife. For its manufacture, he decided to use a blade from a typesetting scalpel. You need to work with him very carefully, as he is very sharp.
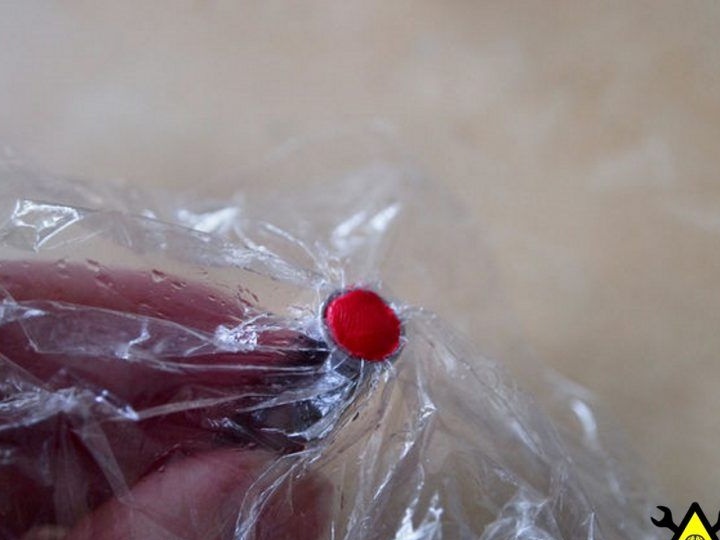
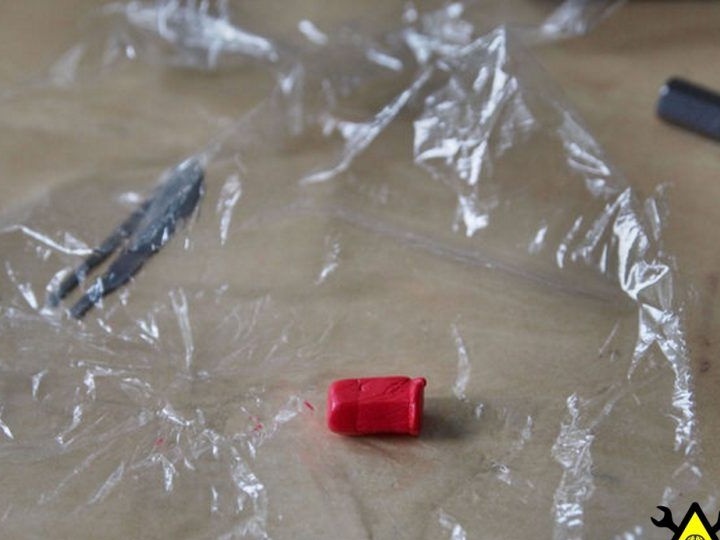
For the knife, you will also need to make a bat, then thermoplastic or surrogate comes to the rescue. First you need to push the film into the holder, here you can use the bat. This is done so that the thermoplastic does not adhere to the metal and can be easily removed. It is also highly advisable to moisten the film with water or grease with something.
After you push thermoplastics into the holder, it can be removed along with the film. Next, a blade is inserted into the workpiece, and for a more rigid fit, a ridge is made on one side. Well, then the whole thing goes back to the holder and the final molding takes place.
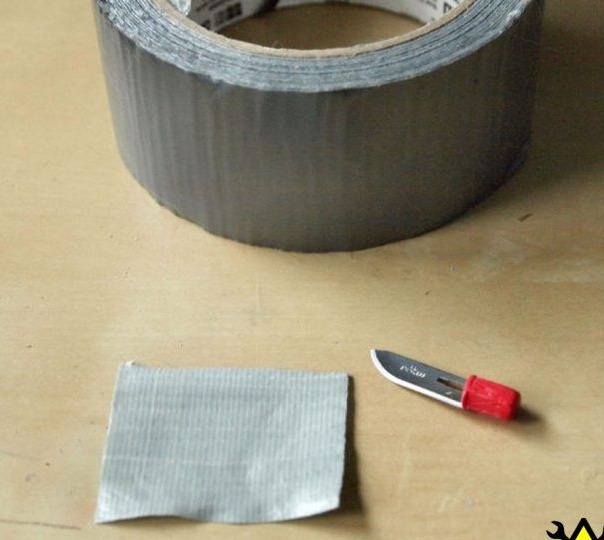
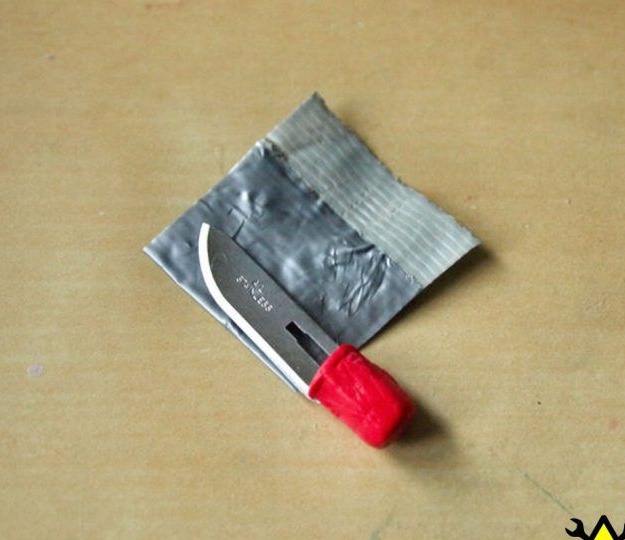
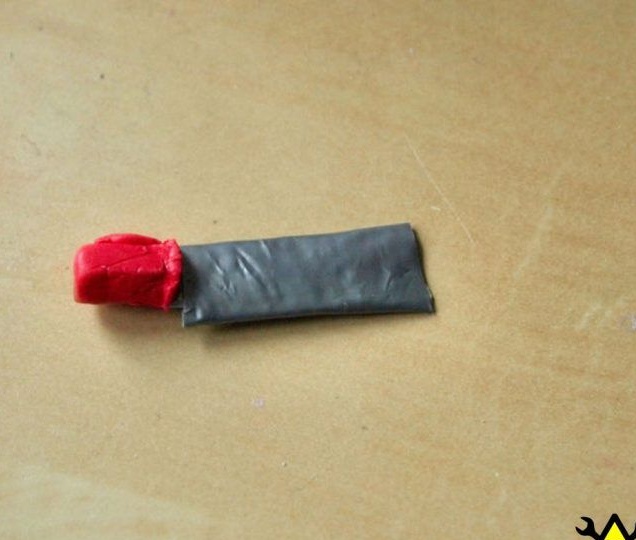
Step Four Make the scabbard
In order not to cut yourself with a very sharp blade, a knife will need to be sheathed. For its manufacture, the author needed a piece of scotch tape, which he folded several times. Sheath can also be made of paper by gluing it with the same adhesive tape or glue.
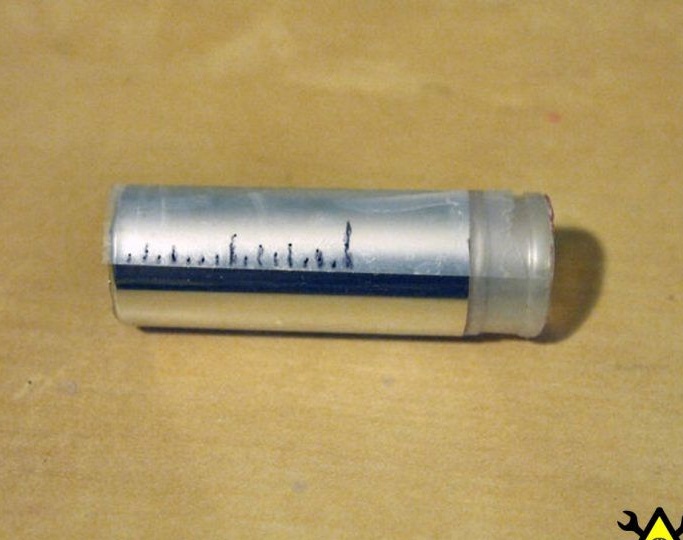
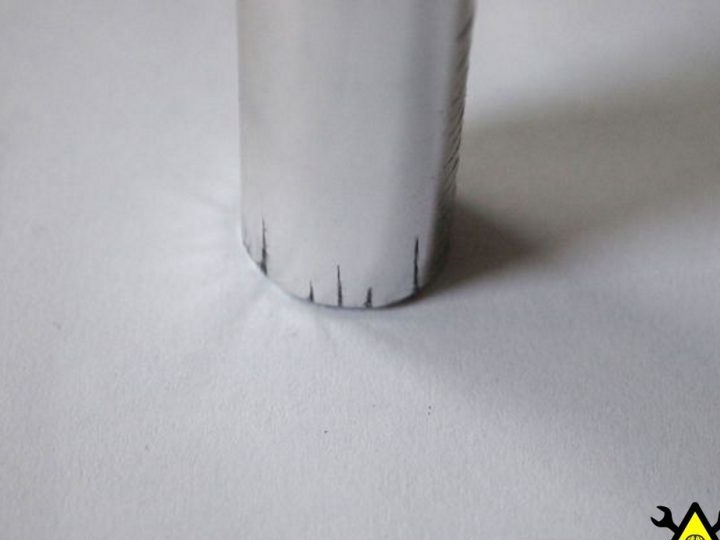
Step Five Lipstick ruler
The device is equipped with a ruler so that you can measure something if necessary. To do this, the author applies lipstick to the ruler and notches on it. To make the lines clearly visible, the author paints them with a black felt-tip pen.
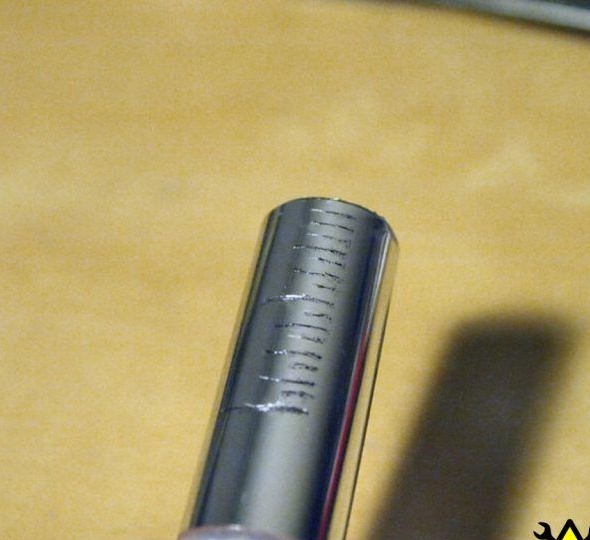
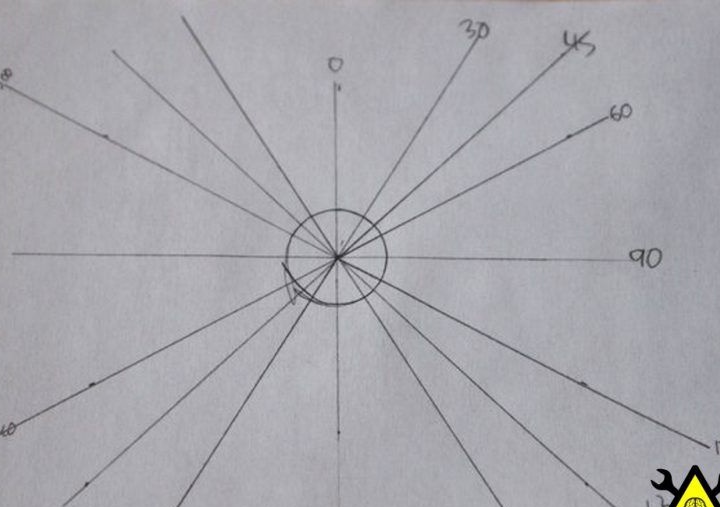
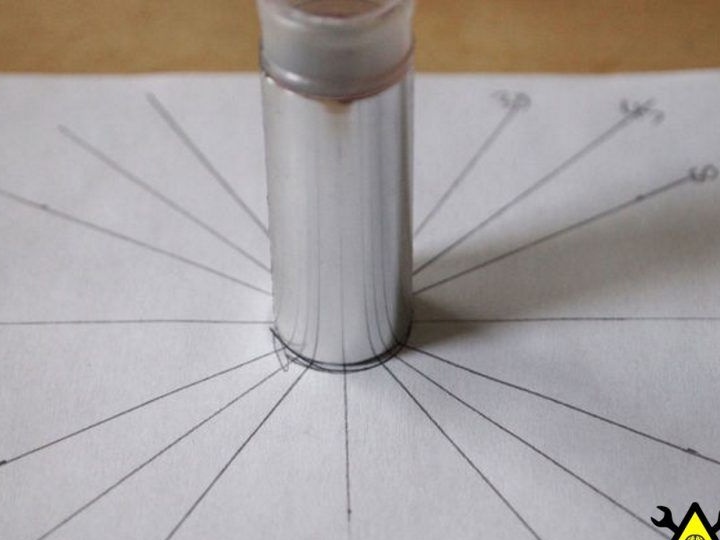
Step Six Equip the lipstick with a protractor
You will need a protractor if there is a need to measure the angle somewhere. For his arrangement, the author chose a silver tube. First of all, you need to apply the necessary angles on paper, and then attach the tube and put marks on it. Then these marks are painted over with a felt-tip pen, as in the first case. So that the marks are not erased, they can be varnished.
Seventh step. Magnifying Glass Installation
In some cases, you may need a magnifying glass. With it, you can not only consider something, but also easily light a fire with sunbeams. To mount the lens, the author chose the upper part of the lipstick, there was already a suitable window and he decided to use it.
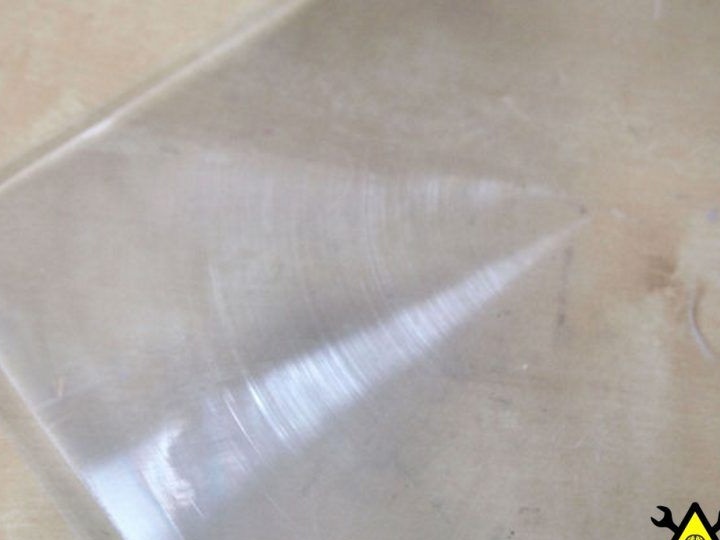
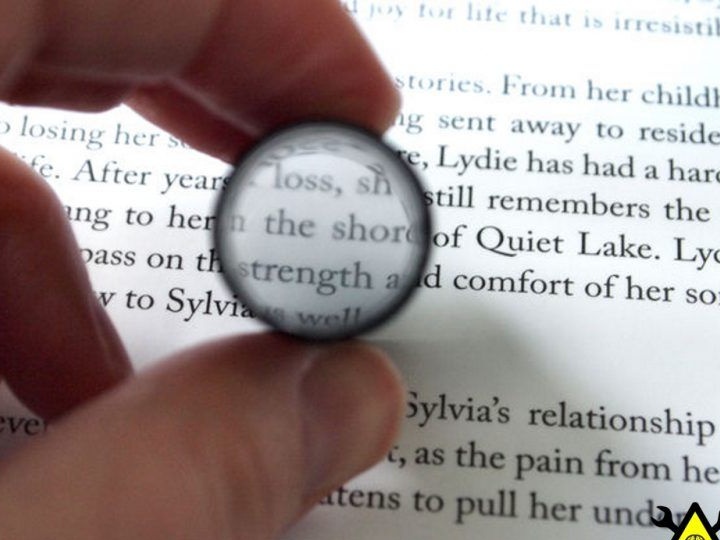
The selected plastic magnifier has a triple magnification. It needs to be cut out in shape and put in place, the author did not use glue for these purposes.
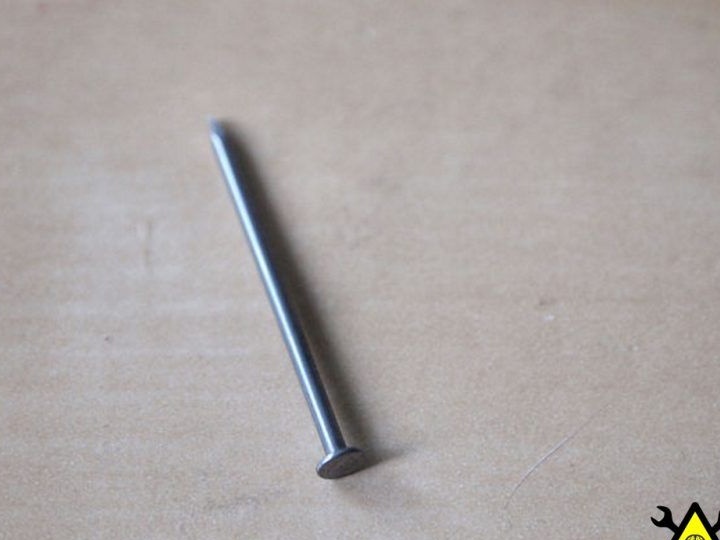
Step Eight. Making an awl
The final tool in homemade work will be awl. Its author makes a 26 mm long nail.Such an awl can easily pierce not only paper or leather, but even easily the automobile tire of a passenger car, motorcycle or bicycle (for particularly vengeful ladies
 ).
).

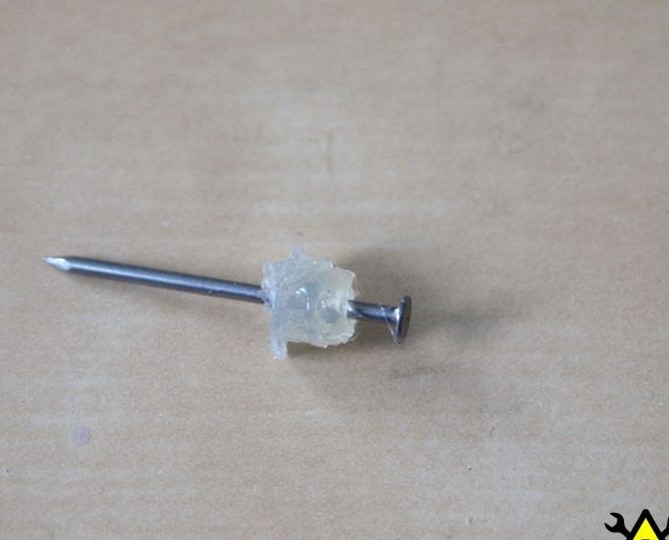
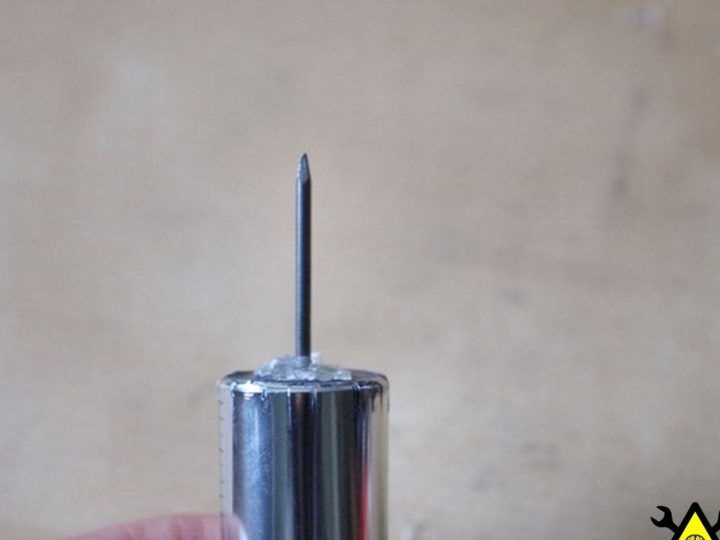
The awl will rest against the bit holder with a hat, and since there will be no need to perform rotational actions, the author decided to make slots from hot-melt adhesive. Everything is done in the same way, as in the case of a knife. First, a film is installed in the holder, then a nail is inserted and filled with hot glue. When the glue hardens, the awl can be removed.
That's all, the homemade product is completely ready, it is small, light and very functional, and most importantly - inconspicuous. With this device you feel much more confident.