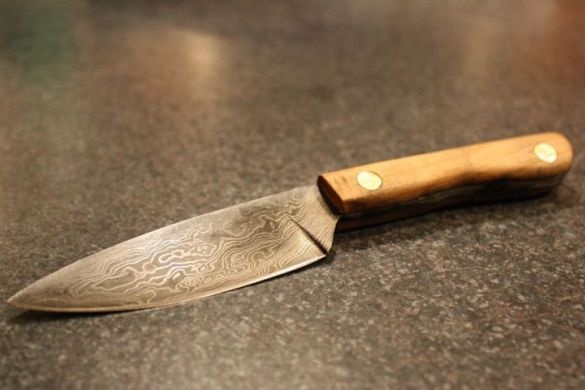
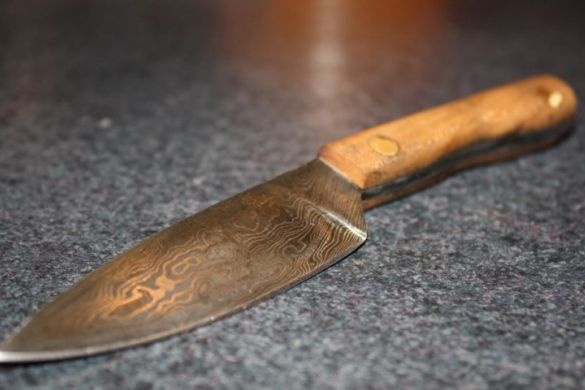
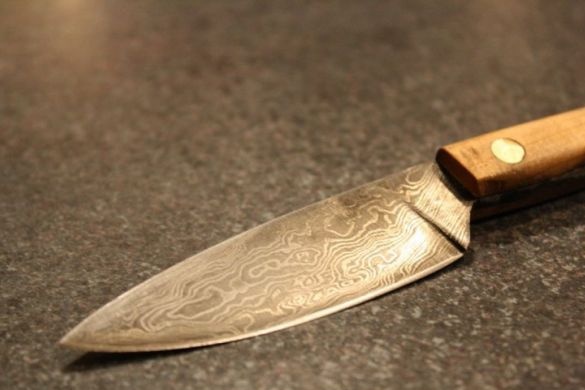
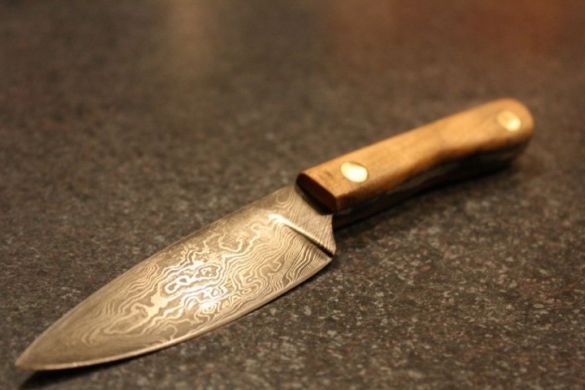
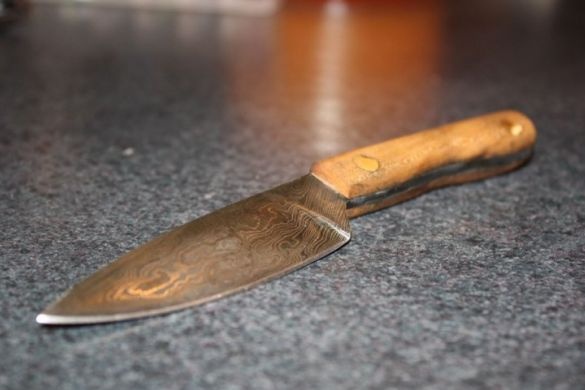
In today's article, we will consider the technology of making a good strong knife from Damascus steel. The knife is created in a traditional style, that is, by forging. Here you will need a hearth, anvil, hammer and a lot of patience.
A feature of Damascus steel is that in its manufacture various types of metal are mixed by forging. First, plates are prepared, then welded, heated, and then the workpiece is twisted to mix all types of metal.
Due to the fact that the knife can pose a threat to health, it should not be given into the hands of people with an unstable psyche.
Materials and tools for making a knife:
From materials:
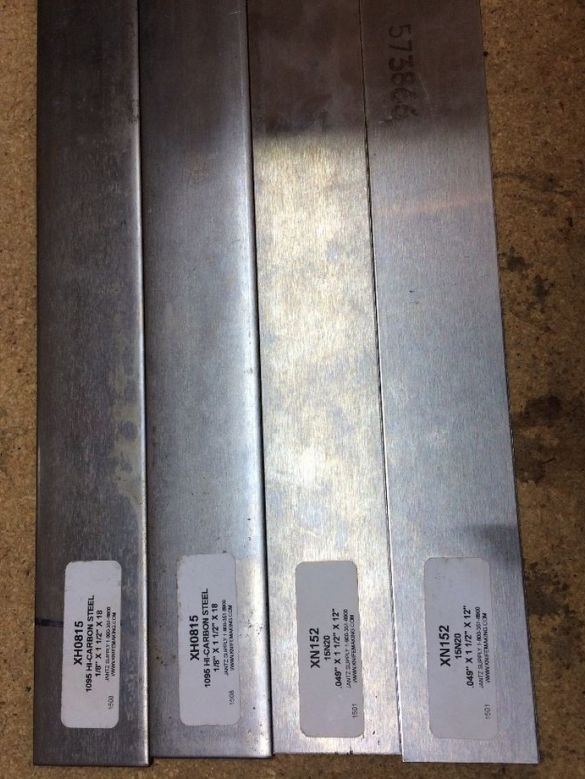
- steel plates of at least two grades (it is desirable to use steel with a high carbon content, then it can be hardened well. The author used two types of steel, these are 1095 and 15n20);
- flux (borax will be needed, it can be bought at a hardware store);
- a long rod (needed so that it is possible to weld a workpiece for heating in a furnace);
- any wood to choose from;
- epoxy glue (preferably that dries quickly);
- brass rivets;
- linseed oil or other impregnation for wood;
- vegetable oil for hardening steel;
- ferric chloride.
From the tools:
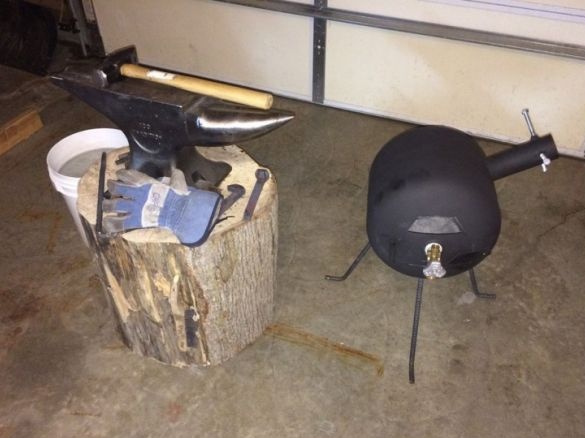
- an anvil (preferably a real large anvil. In an extreme case, a piece of rail, a sledgehammer and other that is);
- hammer (the author used with a transverse striker weighing 1.3 kg);
- welding (it is convenient for her to weld the plates with each other and fasten the fittings, but if not, you can use the wire);
- a forge for blacksmithing (it must have a fairly high temperature so that the sheets melt together);
- belt sander (you can use a file, but it will take a lot of strength and patience);
- oven (or other device for heating metal for the purpose of tempering);
- a drilling machine or drill;
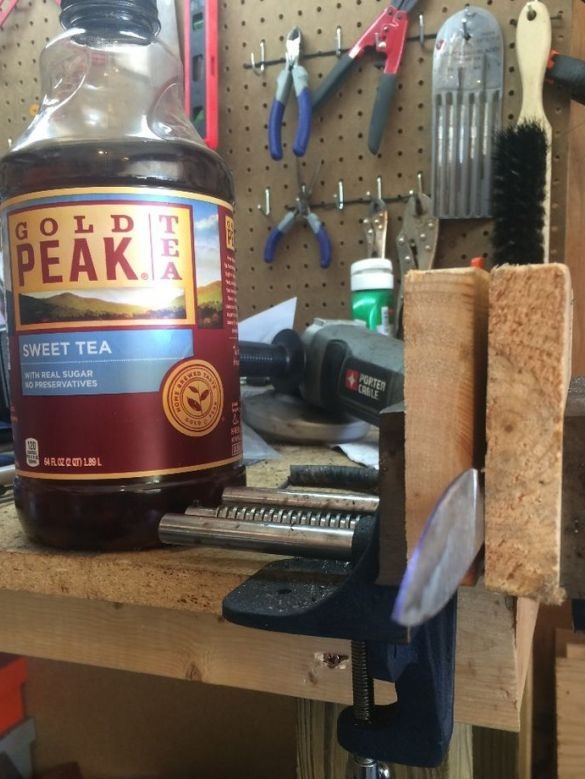
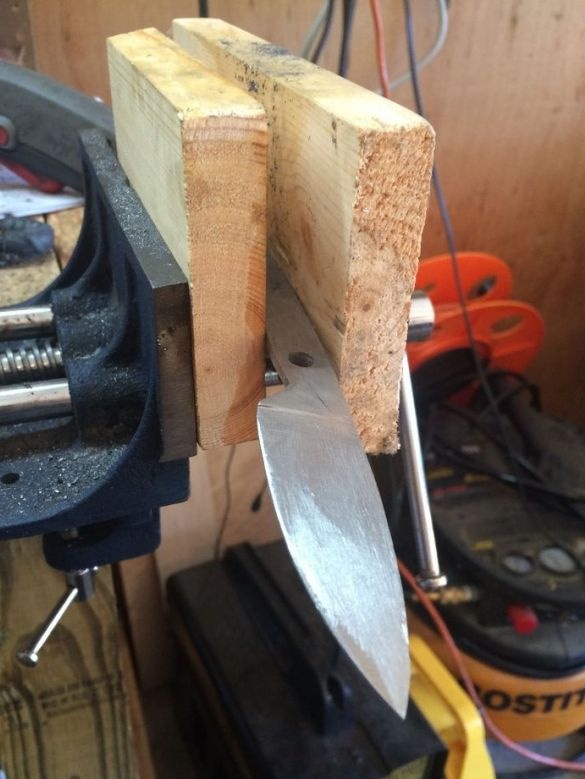
- Vise (very helpful in the process.
The process of making a knife:
Step one. Collecting blanks
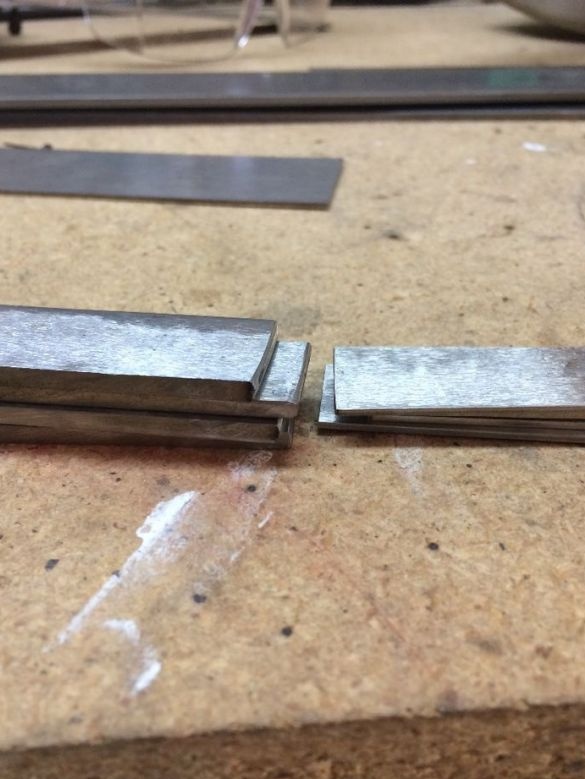
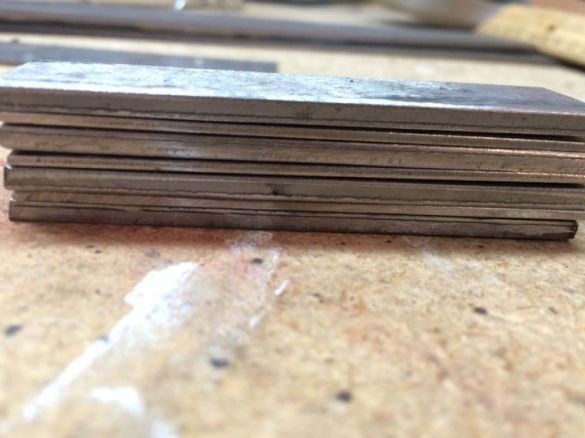
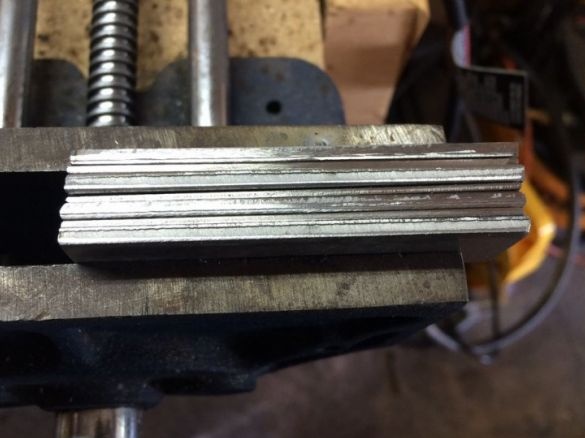
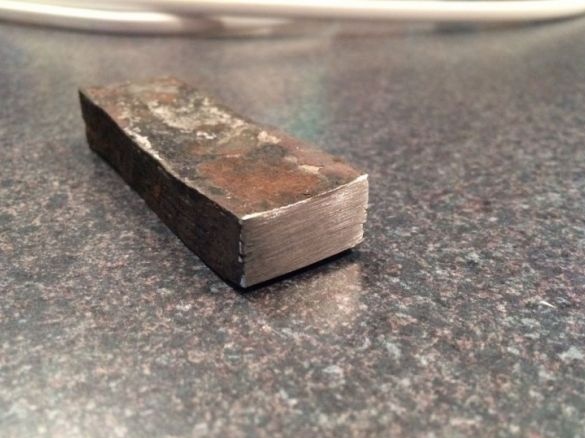
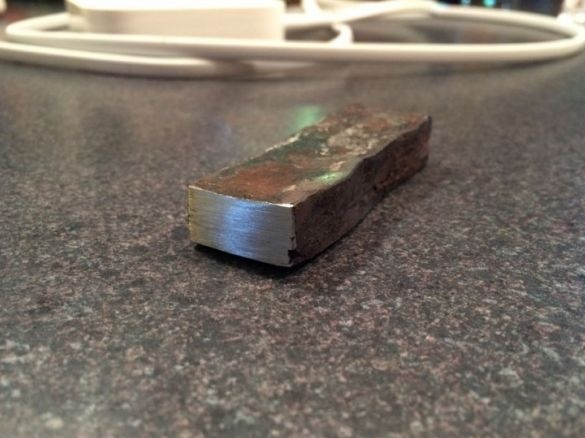
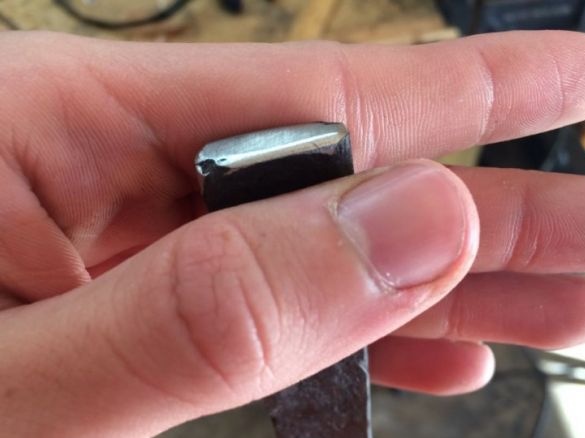
At this stage, the author prepares blanks. It is necessary to cut the plates to the desired length, for the author it is 7.6x1.2 cm. It is important to consider that the larger the workpiece, the more difficult it will be to forge a knife. Preliminary welding places must be carefully cleaned from rust and scale. The plates are stacked with alternating metals.
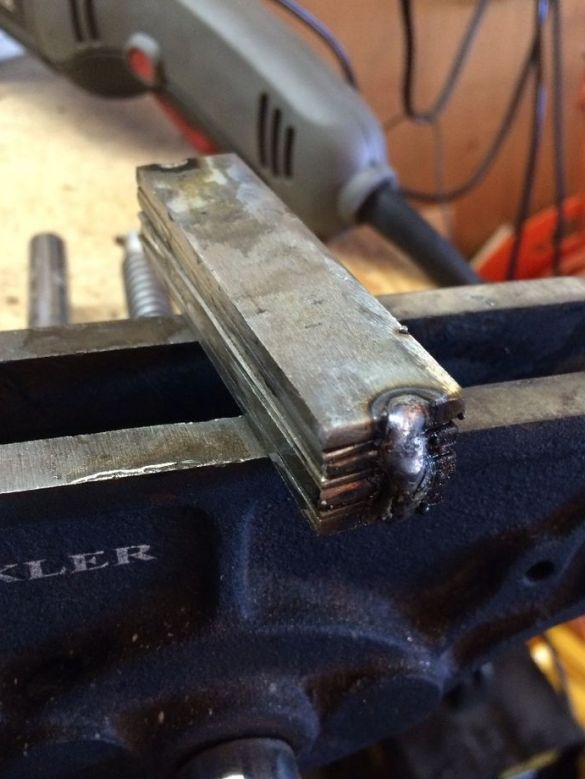
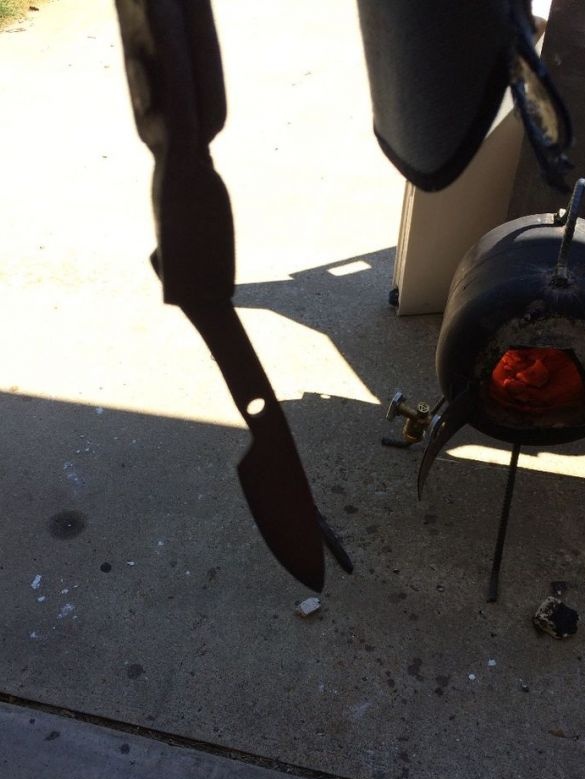
In conclusion, a piece of reinforcement must be welded to the workpiece so that it can be placed in the furnace. Of course, instead of welding the reinforcement, the workpiece can be pulled out using long-handled pliers.
Step Two We send the workpiece to the furnace
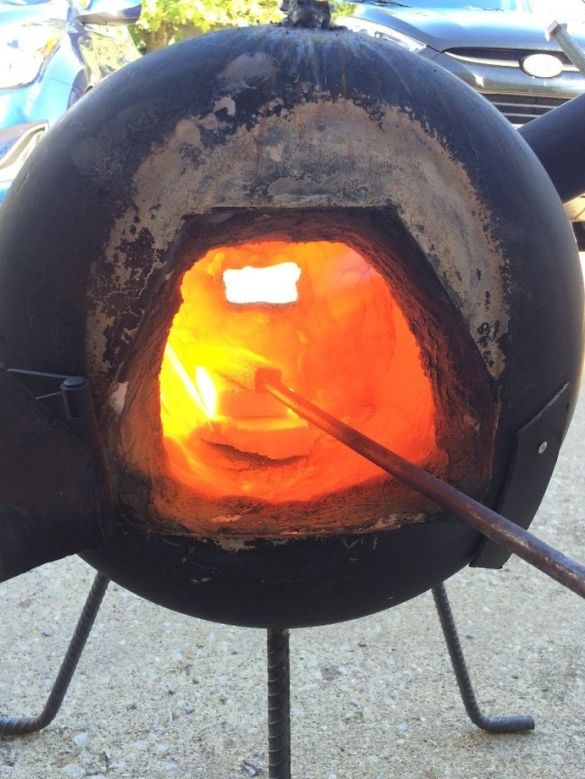
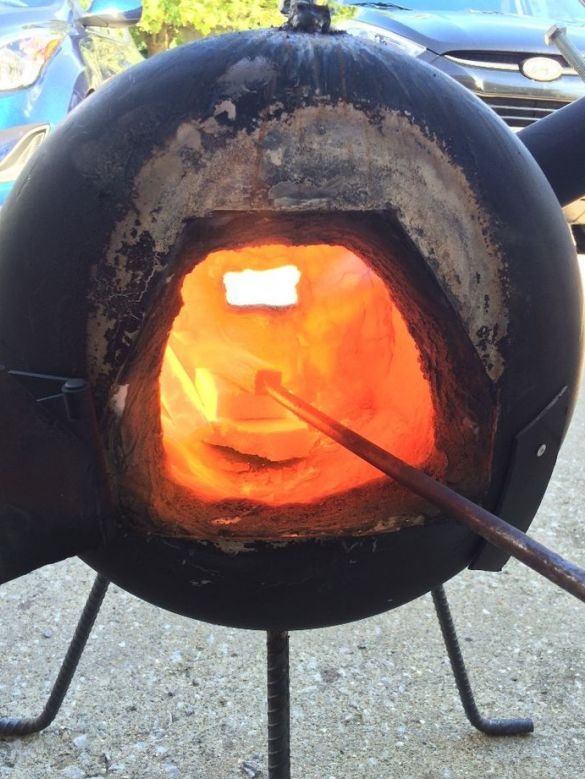
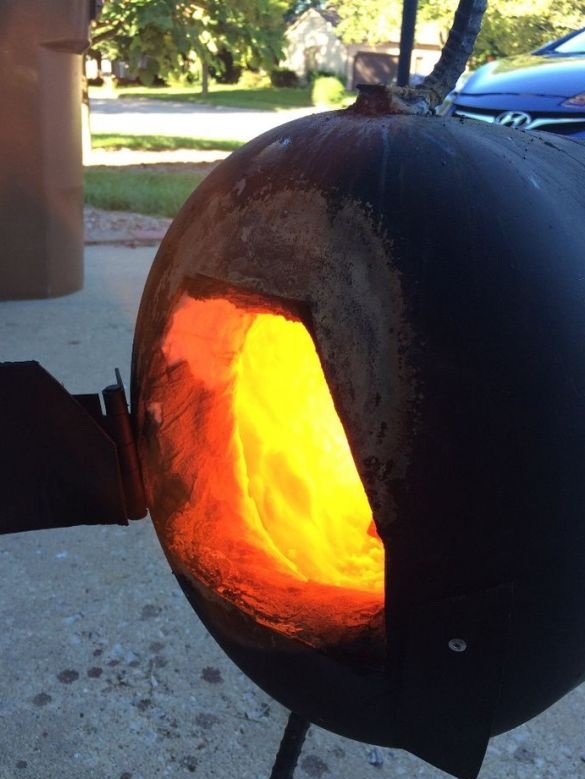
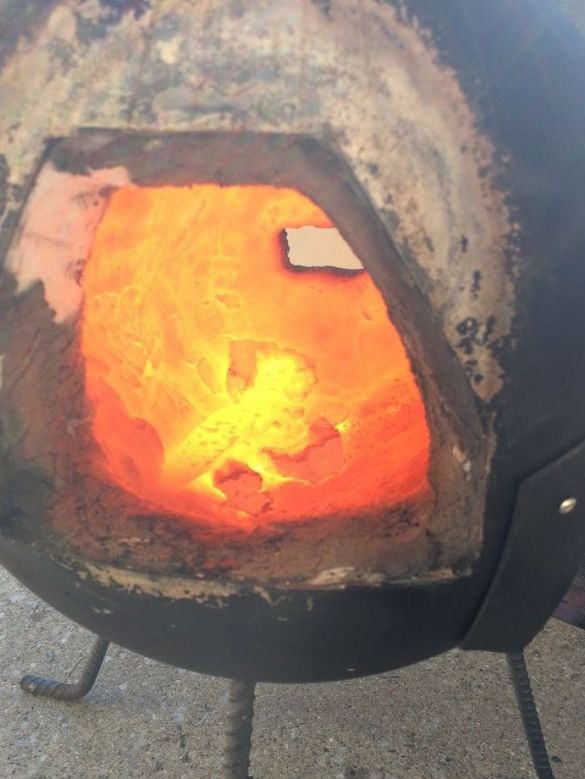
Now the workpiece is subjected to first heating and first forging. Horn author made homemade from a gas cylinder. Inside, it is finished with refractory cement and koolin wool. Since the hearth is small in size, it is easily heated to the desired temperatures.
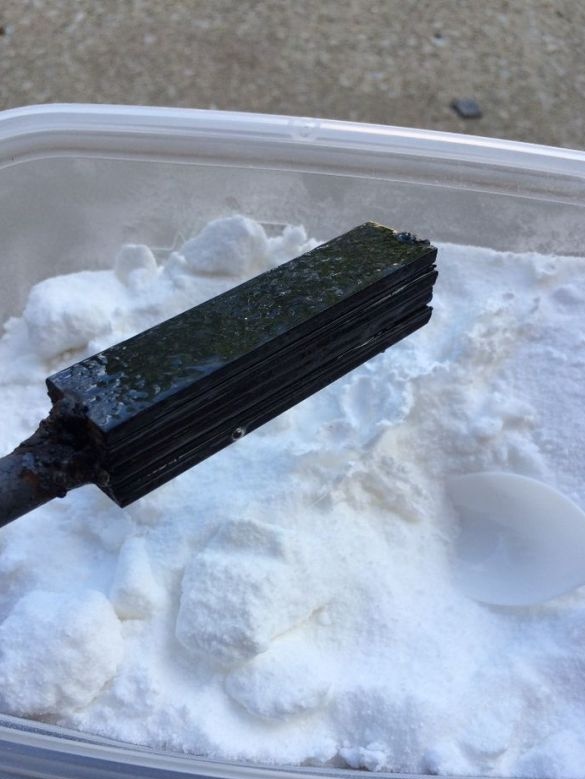
The metal must be heated to a cherry red color, after removing it, it is necessary to immediately sprinkle it with a brown to remove scale and prevent interaction with oxygen. Especially you need to try to fill the borax between the slots of the plates, so the metal mixes well and will be as homogeneous as possible. This procedure must be carried out several times, if necessary removing the scale.
Further, the workpiece warms up to the forging temperature, according to the author, this is in the region of 1260-1315 aboutC. The metal should turn bright yellow or orange. Before removing the workpiece, you need to make sure that there is already an anvil and a hammer at hand, since the metal cools down and you can not lose time.
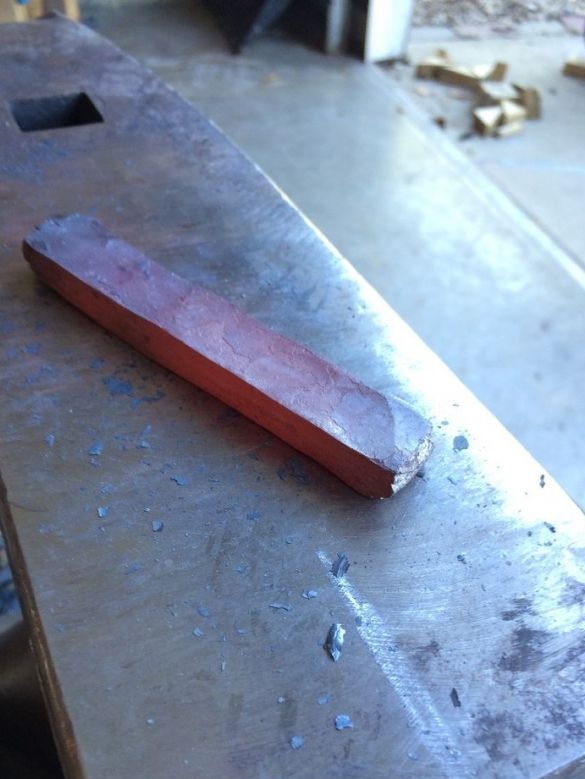
As a result, by forging the workpiece is stretched so that it can be bent.
Step Three Stirring steel
At this step, the workpiece heats up many times and lends itself to forging, the more times this is done, the better the metal mixes. First, the workpiece must be forged in such a way that it becomes twice as long as it was. Stretch the metal as evenly as possible. Then, in the middle, a notch is made with a chisel, and the workpiece is folded in half. After that, it is again heated and forged until the two plates become homogeneous. In total, the author folded the metal 4 times, eventually receiving 112 layers.
When binding several layers, it is important to always use a brown and clean off the scale.
The formula for calculating the layers is as follows: the initial amount * 2 in the degree of the number of bends, i.e. 7 * 2 ^ 4 = 112).
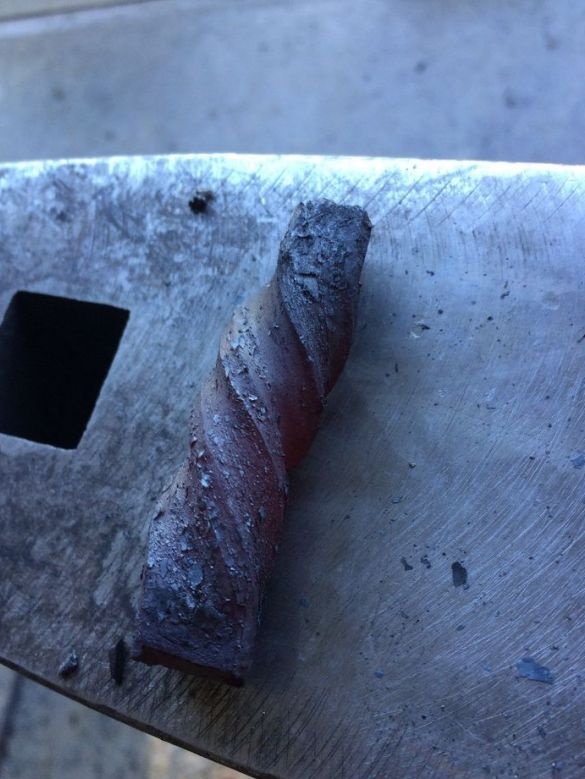
At the end, the workpiece warms up again to the forging temperature, is inserted by the edge into the groove of the anvil and twisted in the form of a spiral. Then this spiral must again be reformed into a rectangular shape. In conclusion, you can verify that the layers are homogeneous by stripping one or more edges of the workpiece.
Step Four Forging the main profile
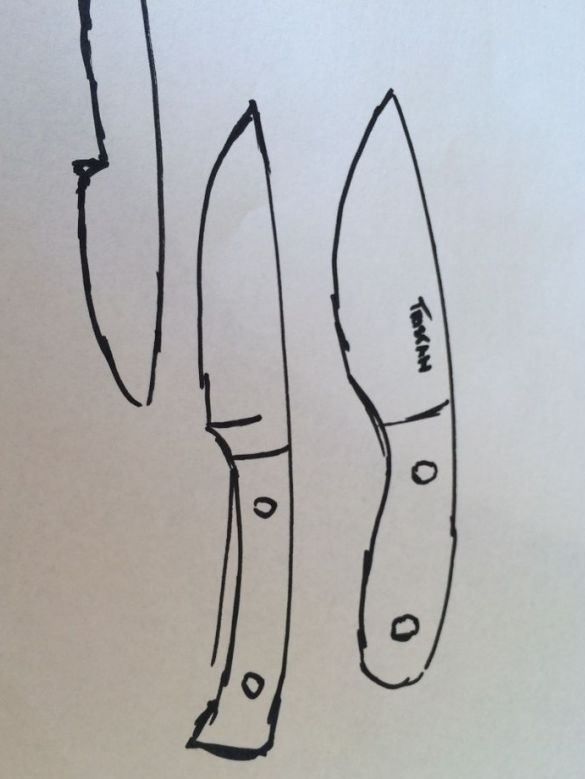
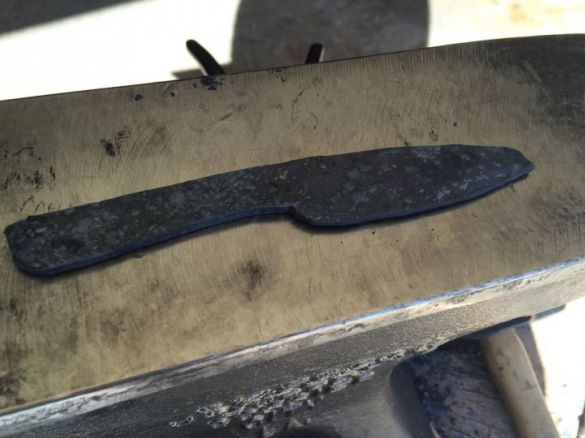
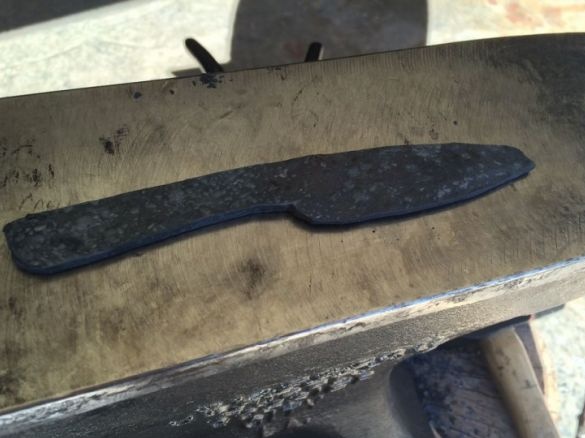
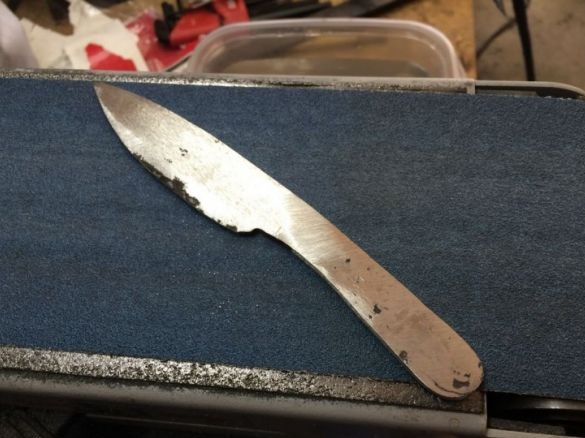
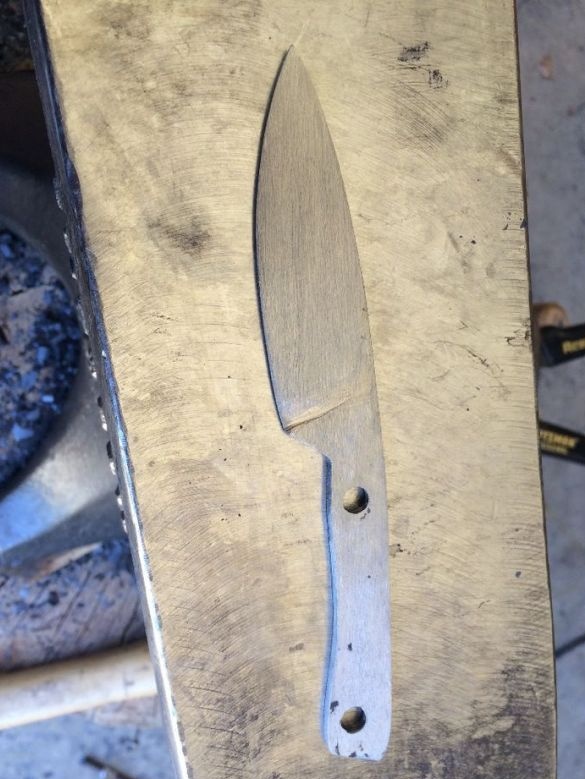
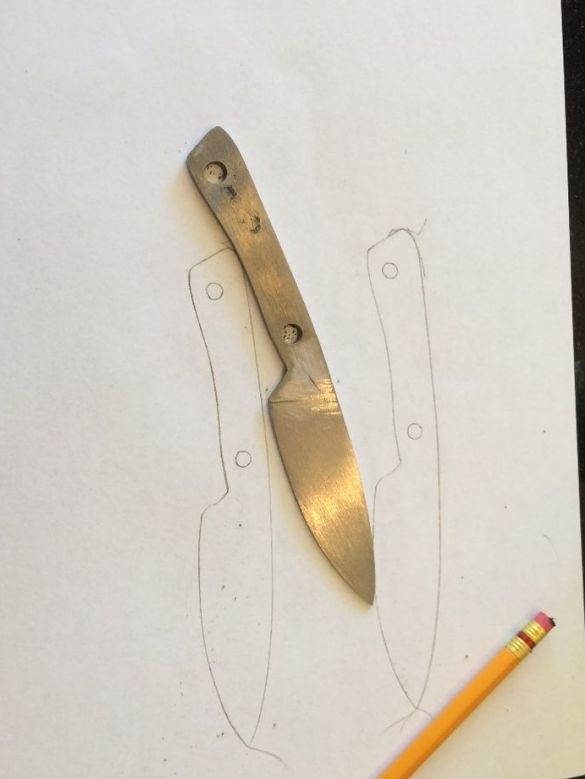
At this stage, the author forms the main knife profile by forging. At this stage, you can also set the bevels of the knife, so that later you have to work less on a grinder or file, which in the latter case is very sad.
Step Five Grind the profile
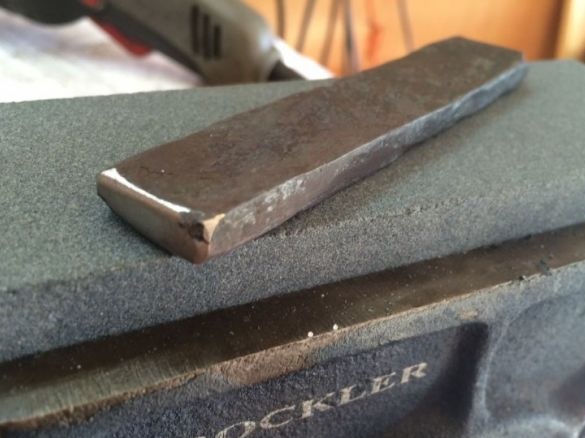
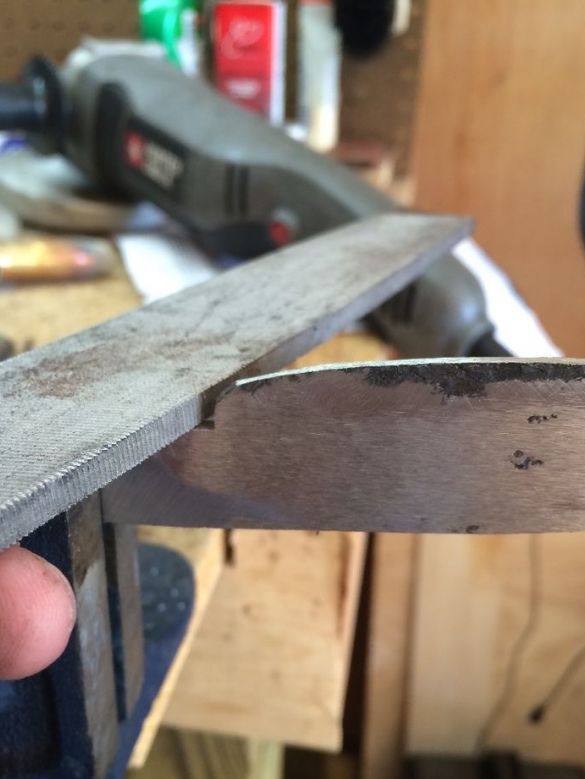
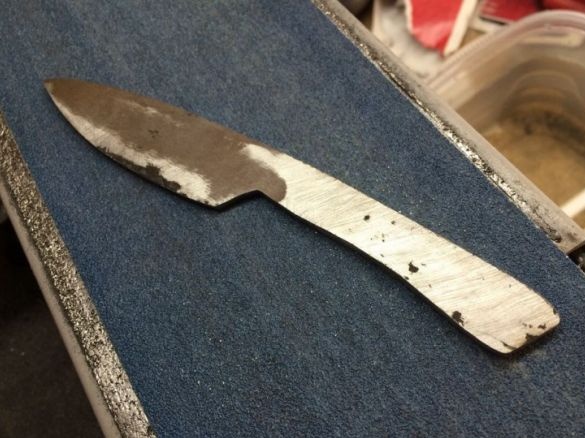
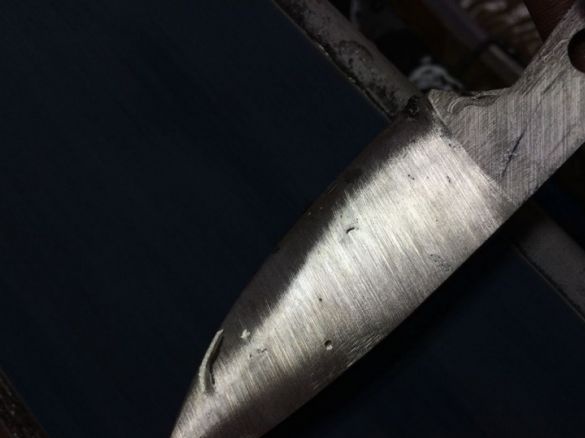
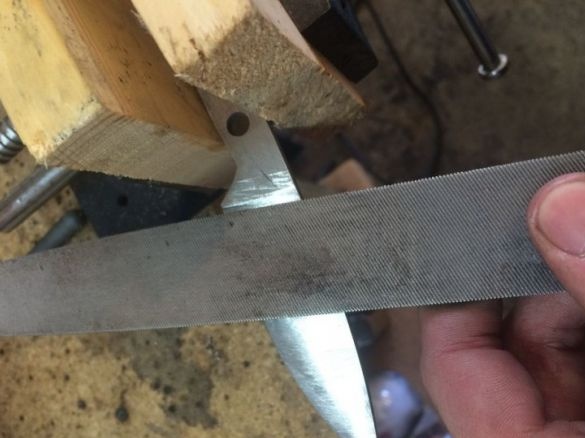
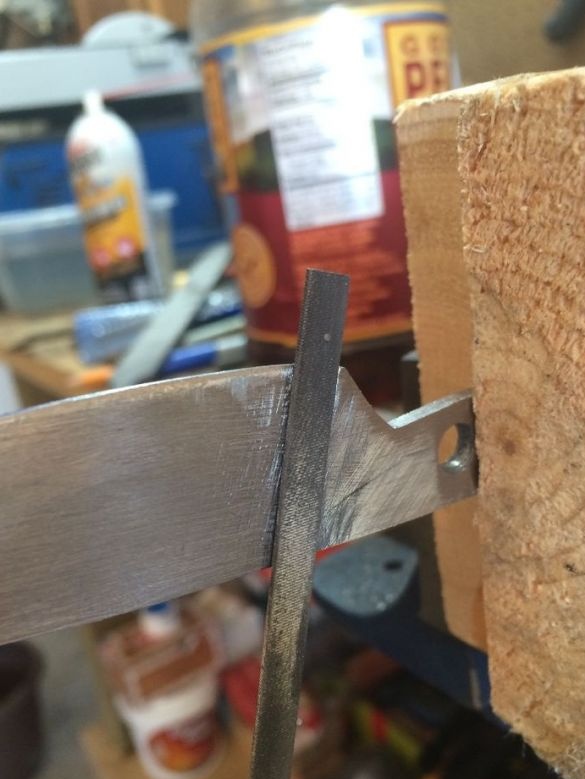
If you do not have a grinding machine, then you will need a lot of time and effort to complete this step. Here you will need a file and a grinder.
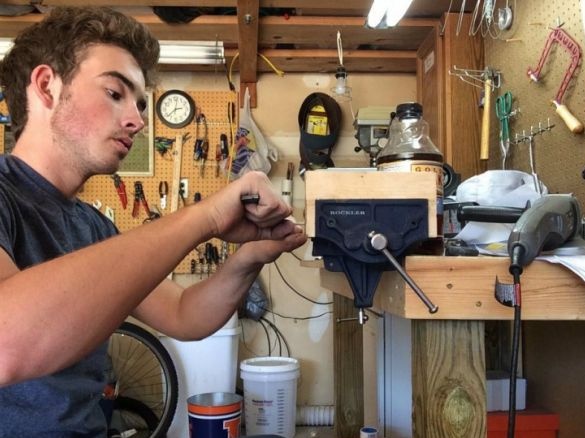
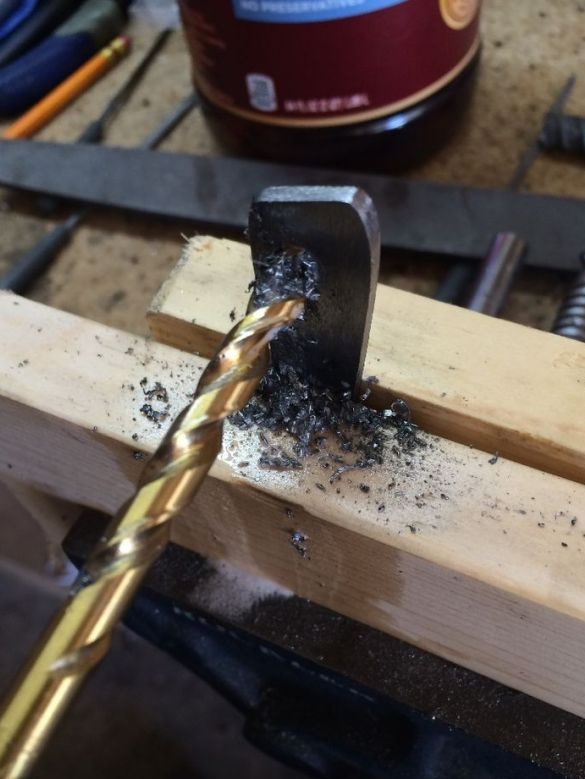
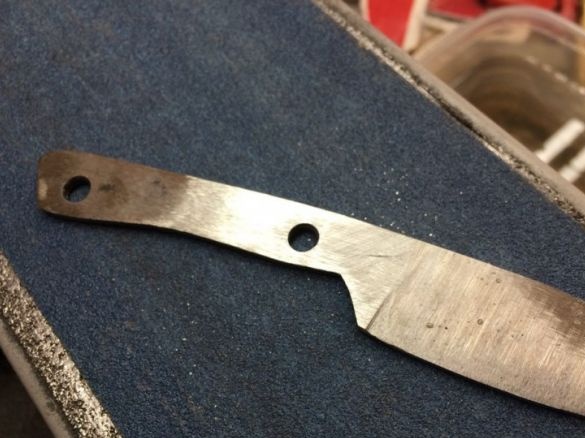
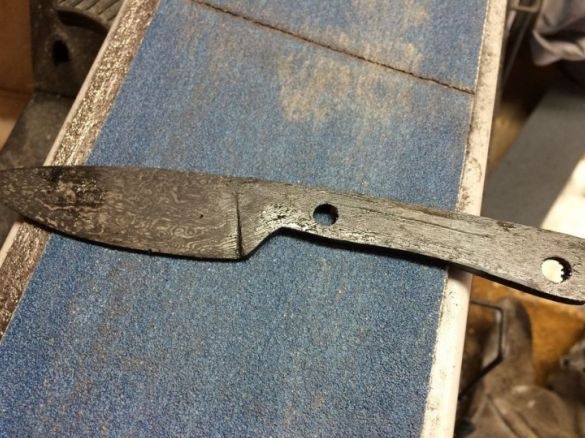
Towards the end of grinding, drill holes to secure the handle in the workpiece. Still here, some details will need to be finalized with a 400 grit file. You also need to sharpen the knife for the first time, but do not need to make it sharp, since it can skew during hardening.
Step Six Metal hardening
Hardening is a very crucial moment in the manufacture of a knife. The strength of the future blade depends on it, and if the technology is violated, the workpiece can be completely ruined at all. First of all, steel should be released as much as possible. This is done so that the metal does not lead during quenching and the blade does not warp. The metal is released by several heating to a temperature at which steel will no longer be attracted by a magnet. In total, such heatings should be from three to five. Steel should cool gradually in the open air.
After that, the steel can be hardened. It is heated once again to a critical temperature and then lowered into warm oil.High carbon steel does not need to be quenched in water, as it cools the metal too quickly and it breaks down.
After hardening, steel must be let go so that it is not brittle. To do this, the workpiece is placed in an oven with a temperature of 205 degrees and heated for an hour. Then she needs to be allowed to cool gradually.
Seventh step. Blade Etching
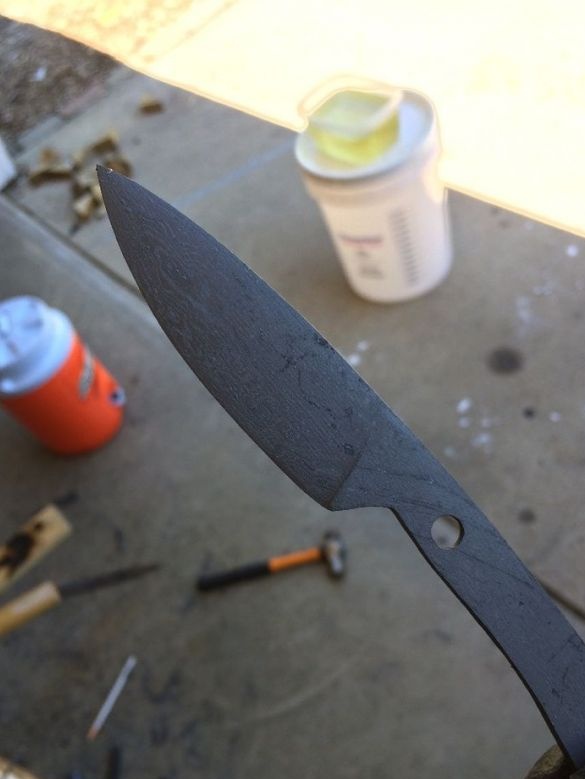
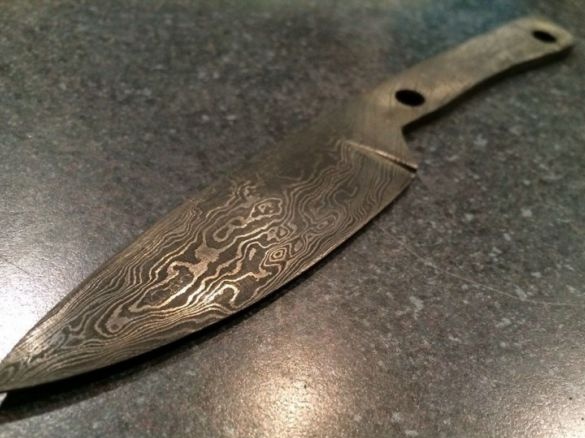
When etched, the blade receives a characteristic pattern. This whole thing happens chemically without the use of electricity. Ferric chloride should be prepared according to the instructions, the author has three parts of water and one part of ferric chloride. Aging lasts only 3-5 minutes.
Step Eight. We collect the handle and sharpen the knife
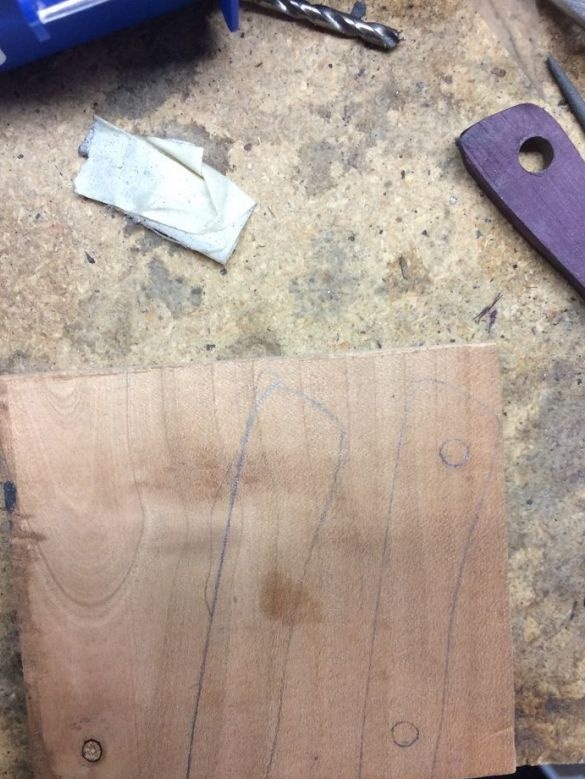
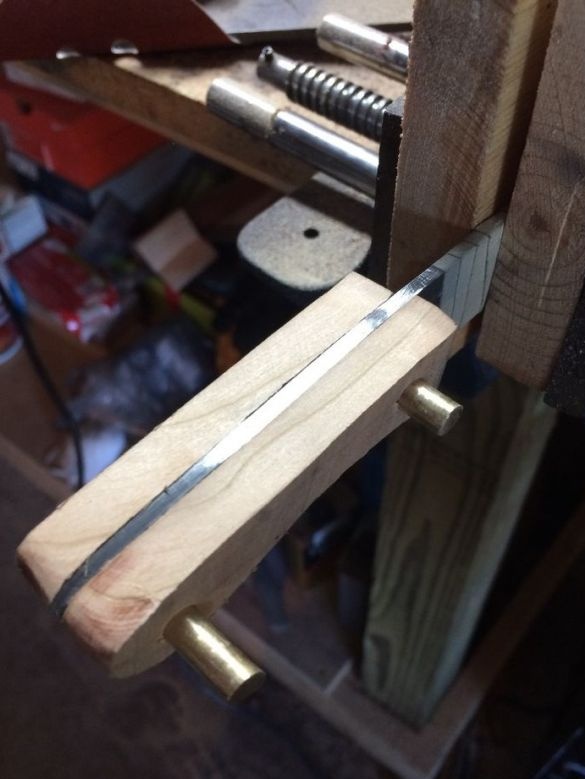
There are lots of techniques for making handles for knives. You can use various types of wood, animal horns, bones, plastic and other materials. The author decided to use cherries and brass rivets for these purposes, and everything is connected classically on epoxy glue. In conclusion, the pen is polished with 400 grain and then thoroughly soaked in linseed oil.
At the end, the knife needs only to be sharpened. The author uses an ordinary whetstone for such purposes. But to bring the blade to perfection, you can use water stone, gradually lowering the grain size.
The total length of the knife was about 15 cm.

