

This barn was built by a group of young people and the construction was quick and fun) The first thing was to choose a suitable place on the site, since the barn is an outbuilding, you don’t need to draw up a plan and register, but be sure to check the laws of your Country before starting construction ( so that there are no misunderstandings)
After that, the site should be cleared of growing shrubs, debris, stones and cobblestones (if any) are collected, marking is carried out using pegs and a rope (preferably white), the upper part of the soil (turf) is removed approximately on the bayonet of a shovel - this is necessary in order to get rid from the roots and all kinds of vegetation.
Geotextiles are placed in the resulting recess and filled up with sand or fine gravel from above.
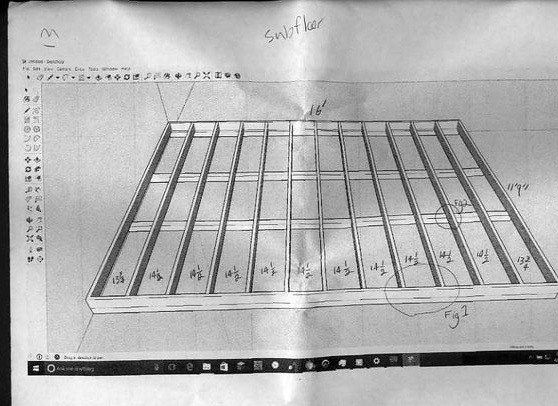
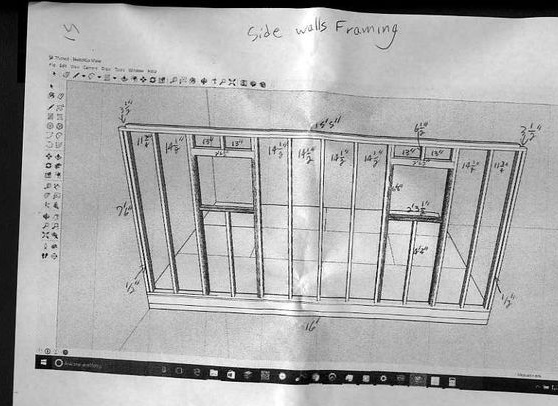
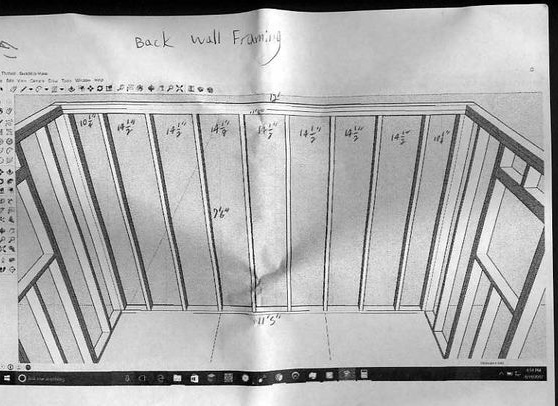
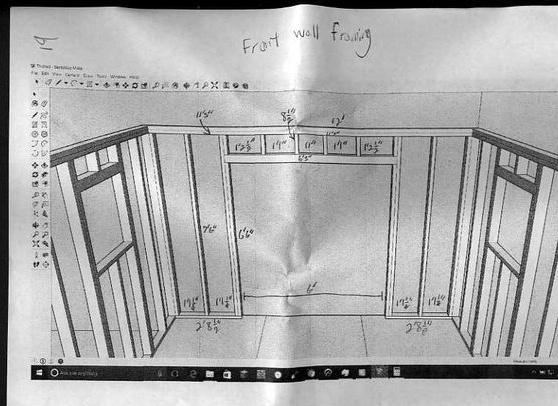
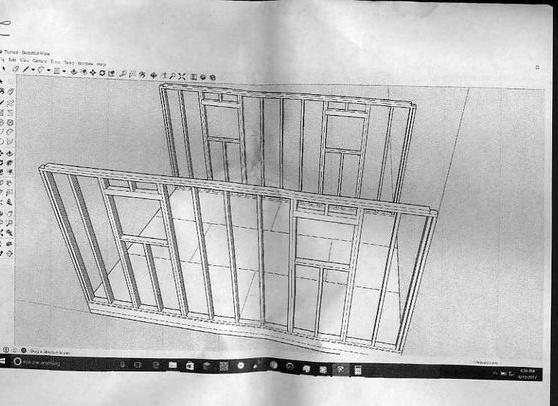
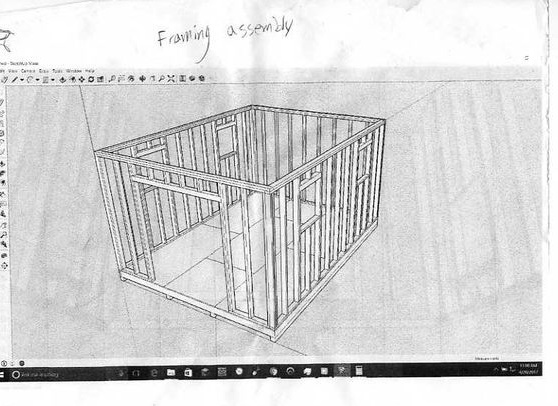
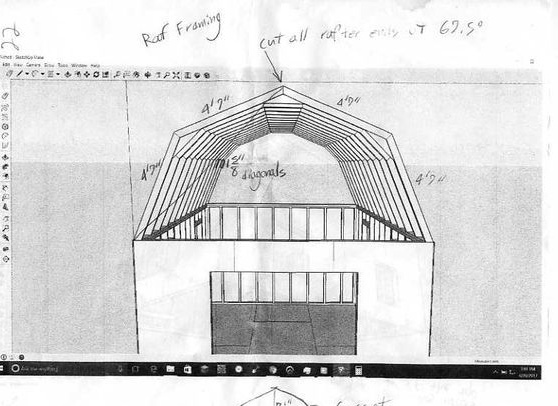
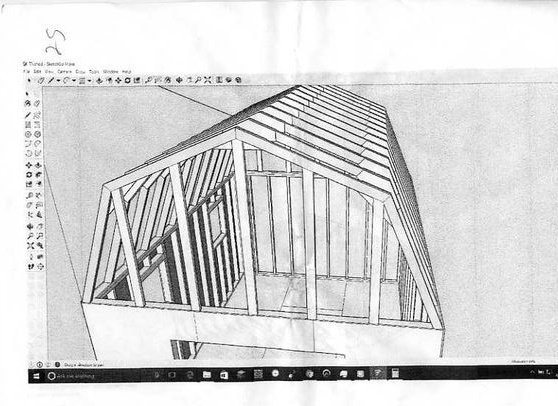
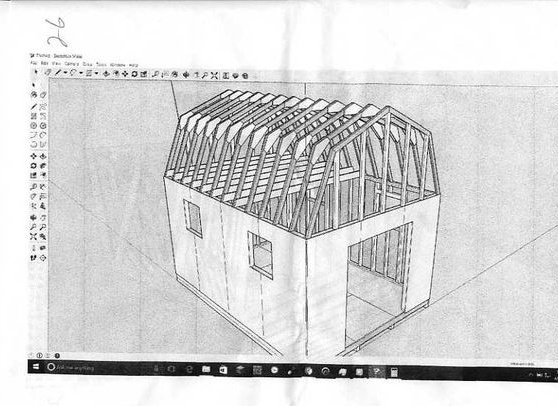
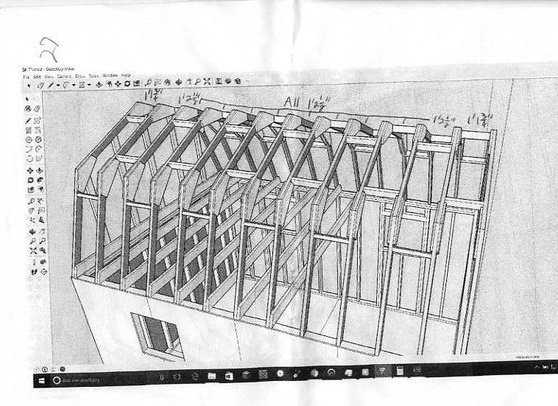
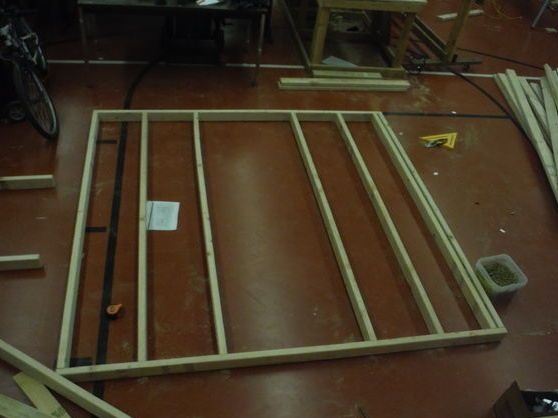
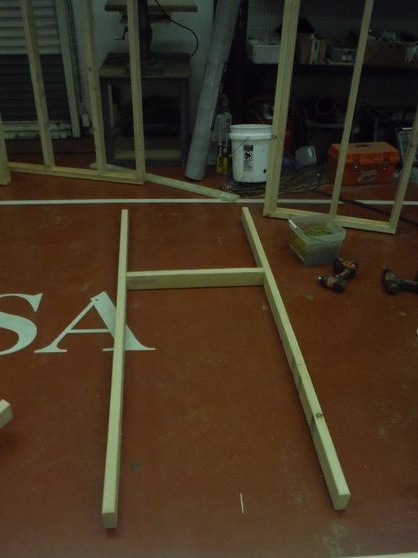
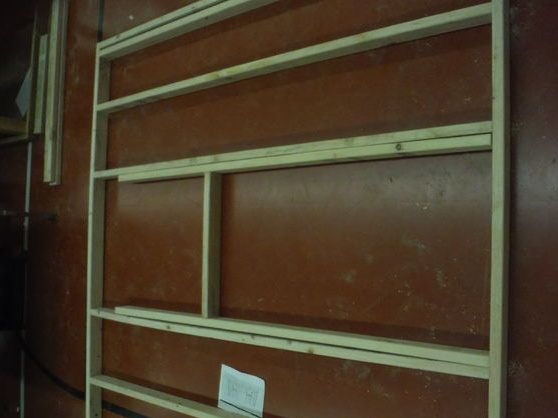
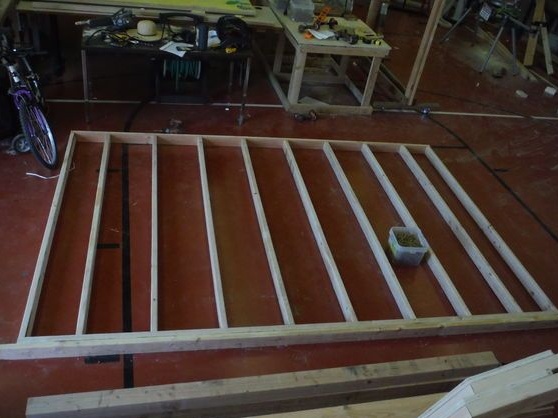
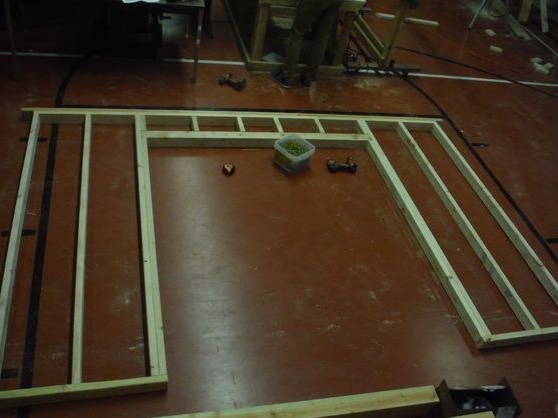
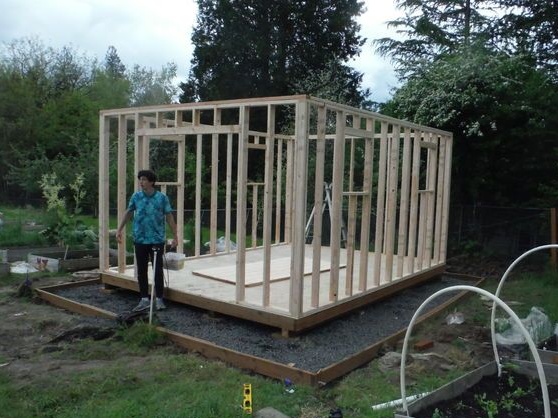
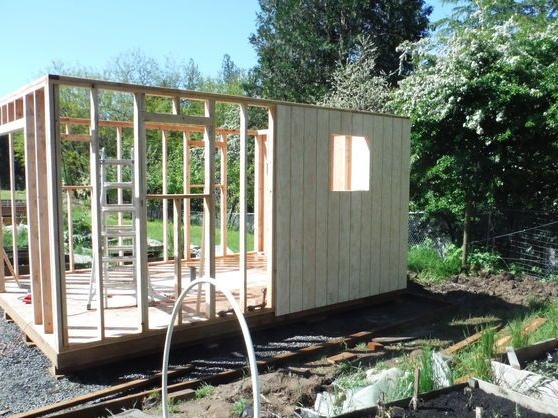
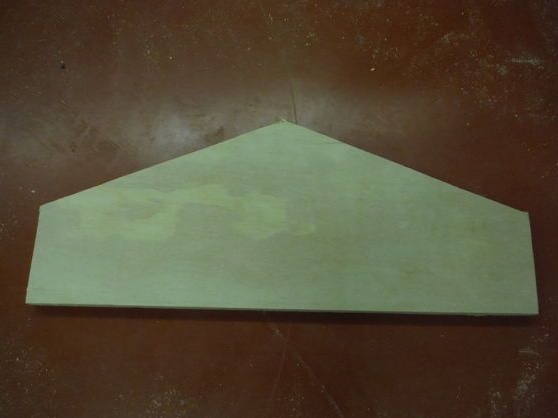
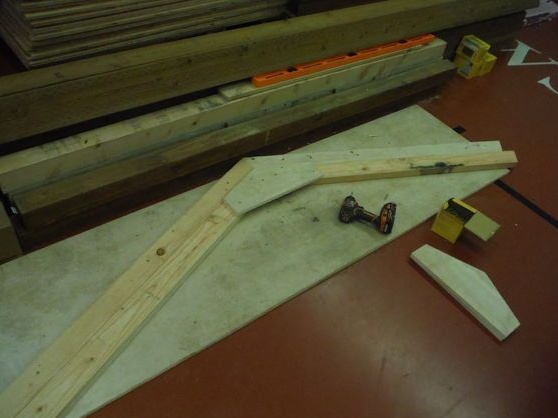
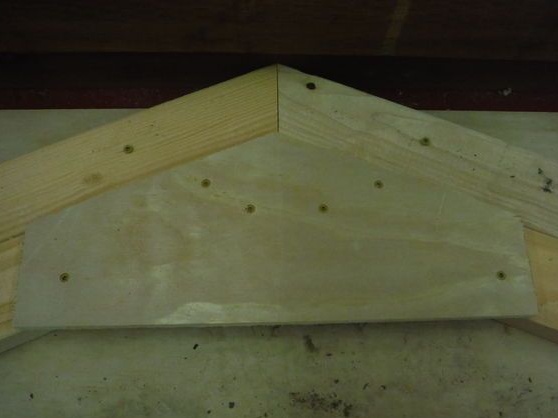
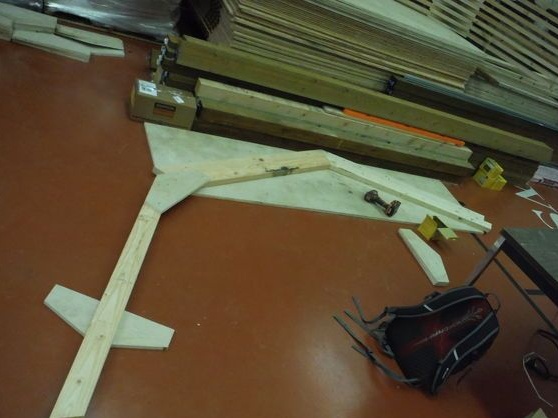
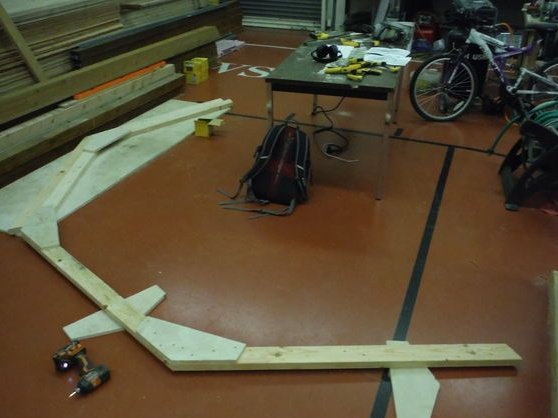
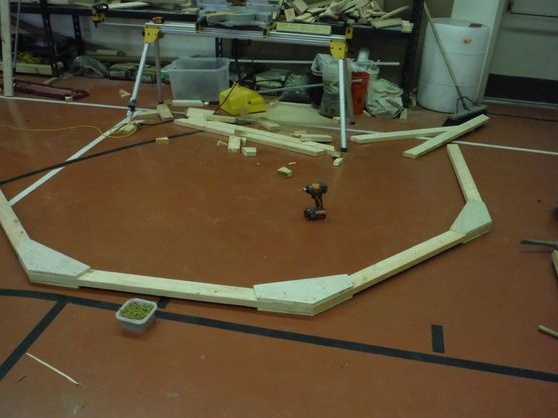
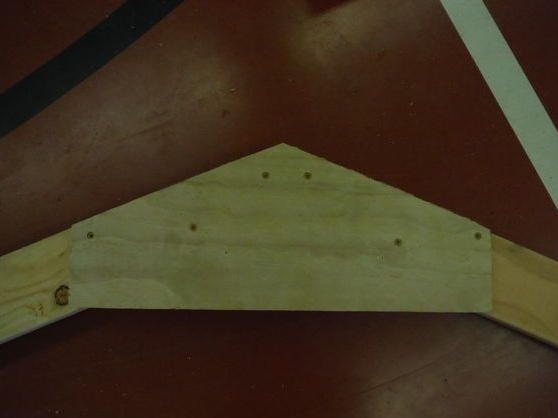
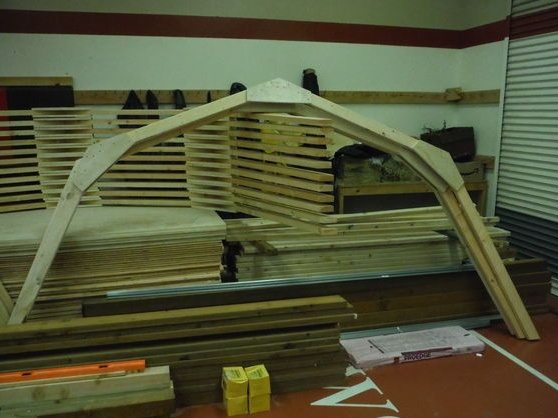
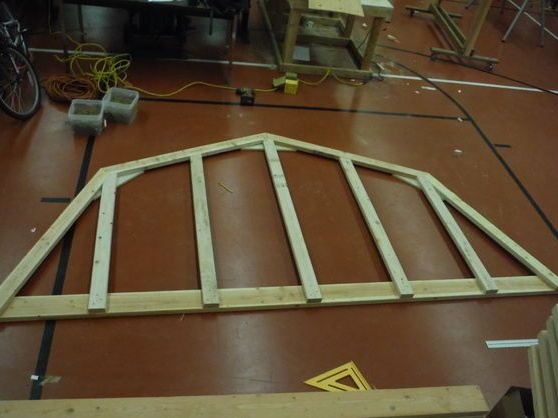
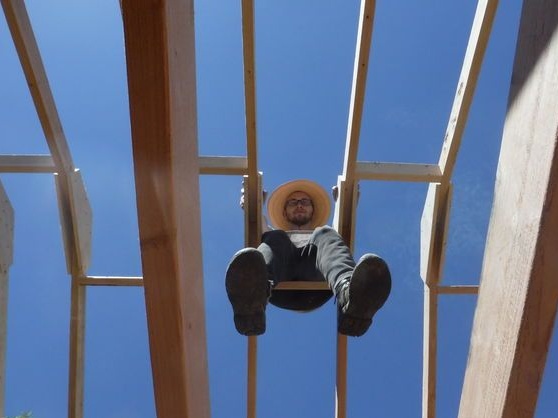
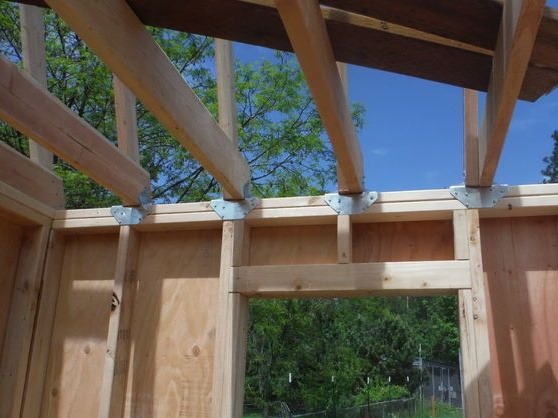
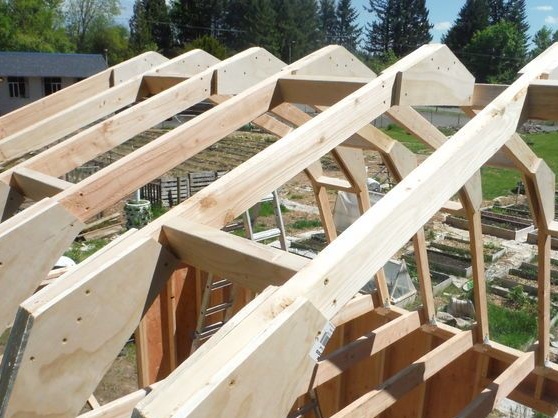
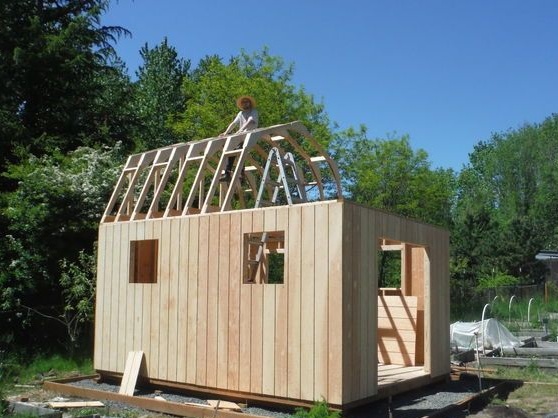
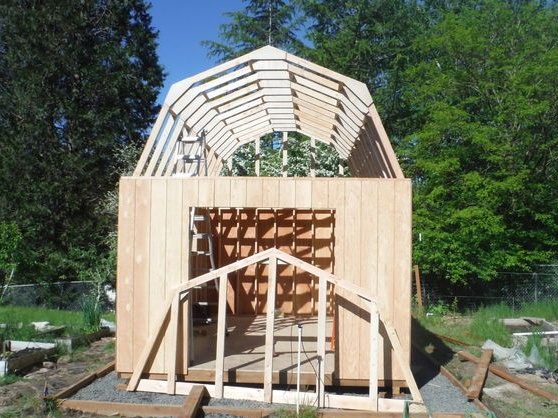
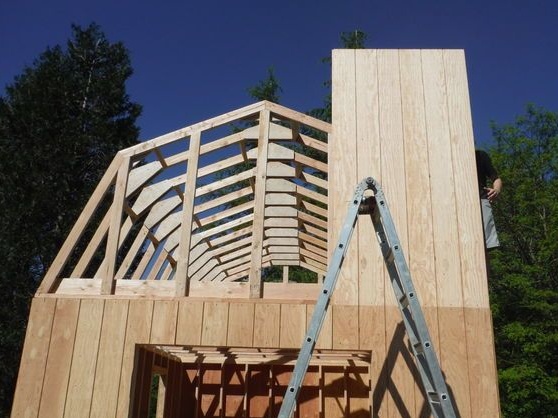
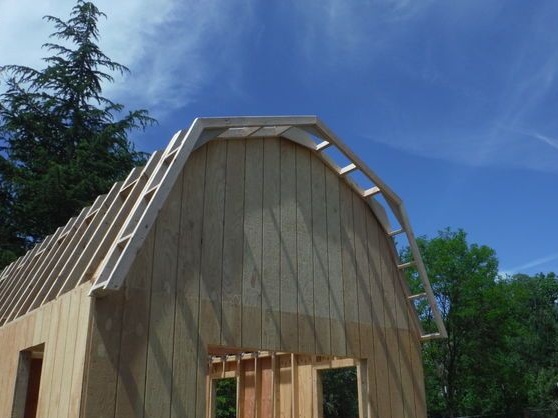
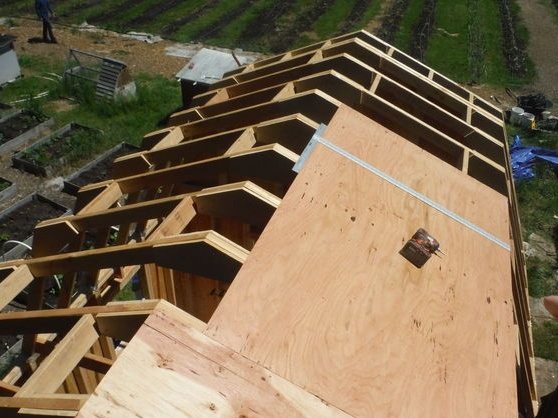
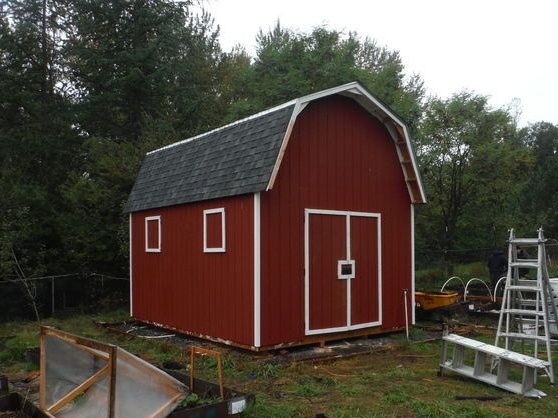
Further, a slide is made from a wooden beam on which a barn will be placed in the future. It is of course better to make a small foundation of the blocks located around the perimeter (on top covered with waterproofing material). The walls of the shed are assembled from the timber in advance, and already in place the frame is assembled in a single structure. The shape of the roof is attic, it is quite comfortable, because in the attic you get actually the second floor of the barn and you can additionally place a lot of useful things, items, etc.
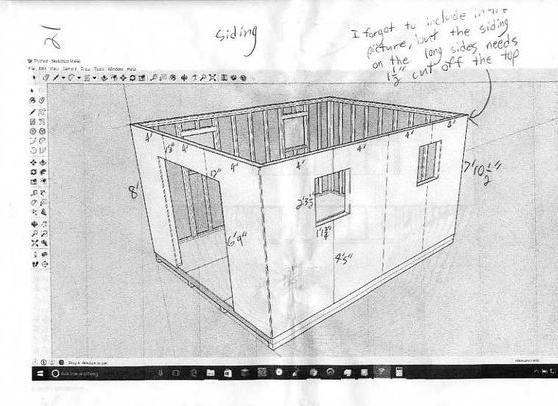
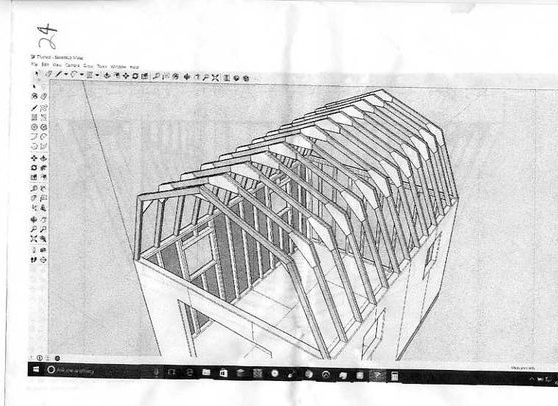
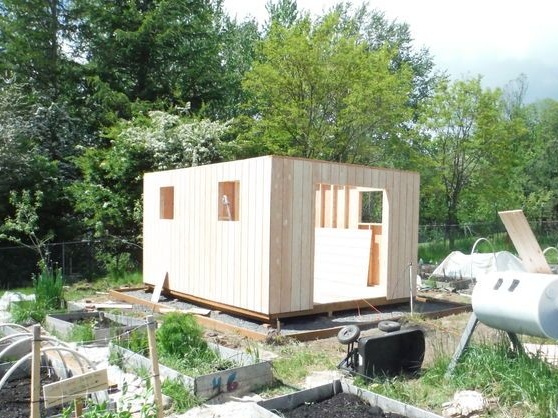
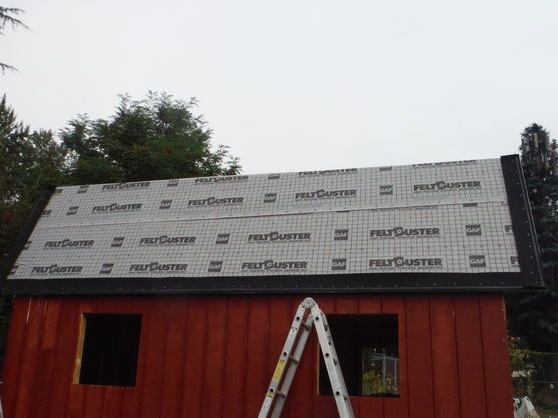
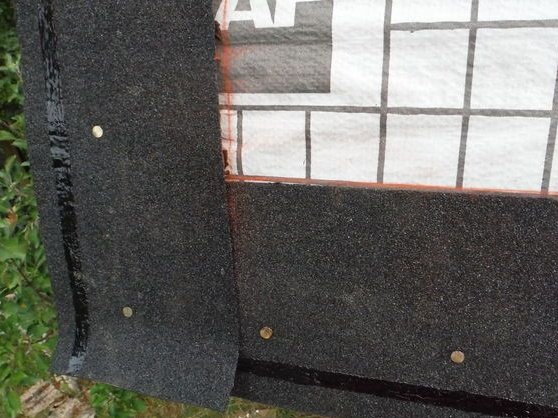
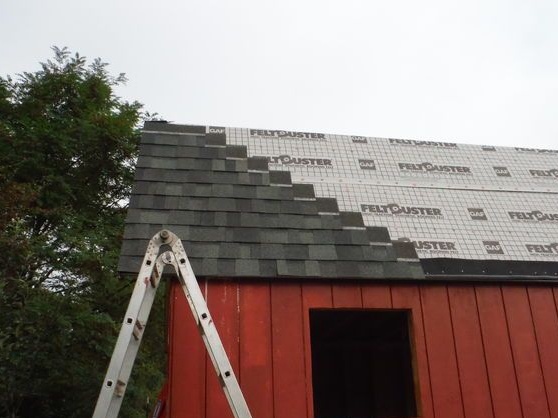
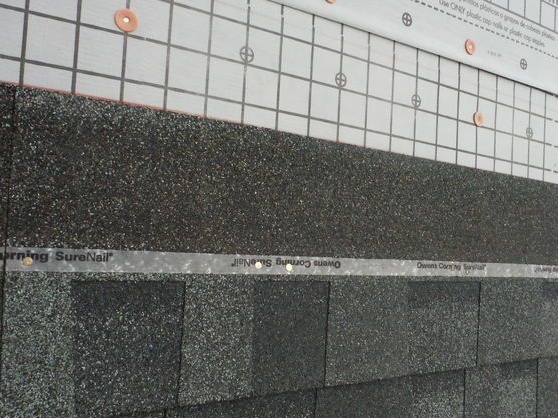
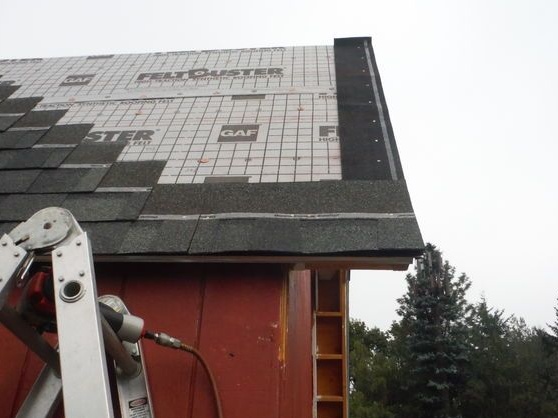
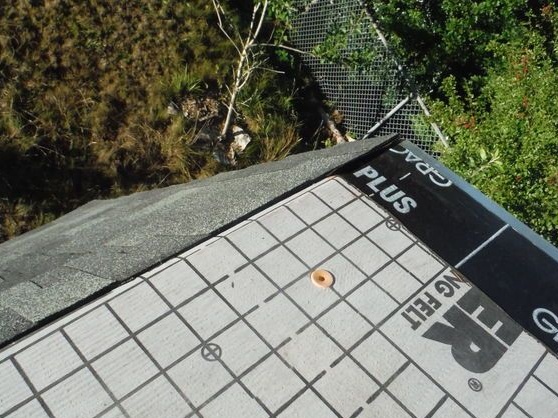
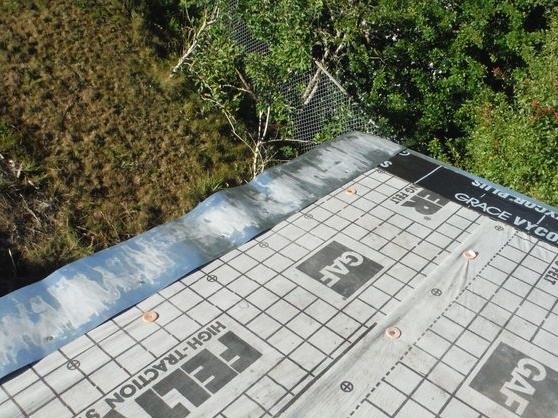
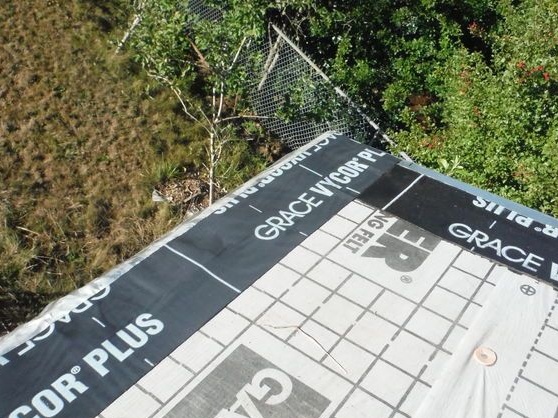
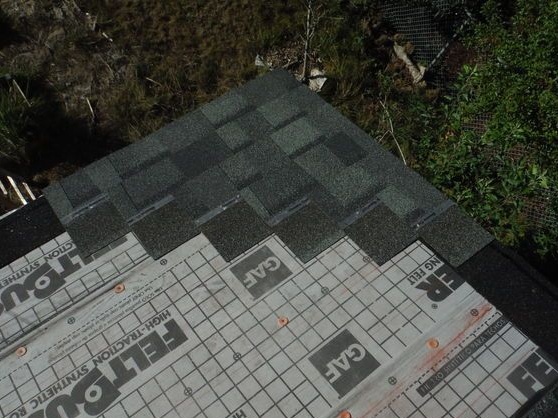
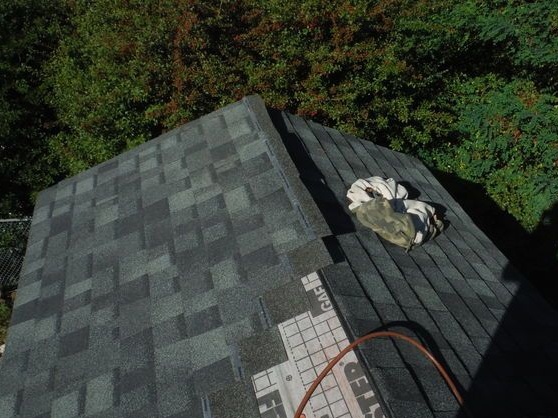
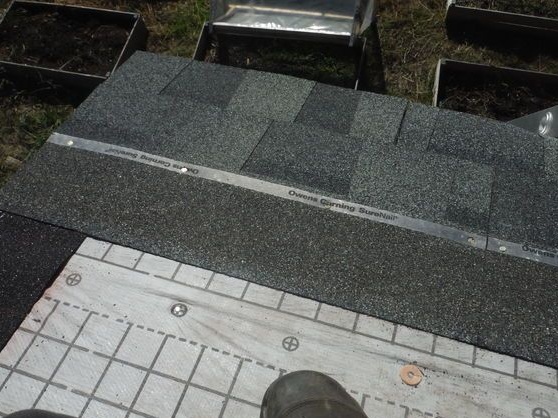
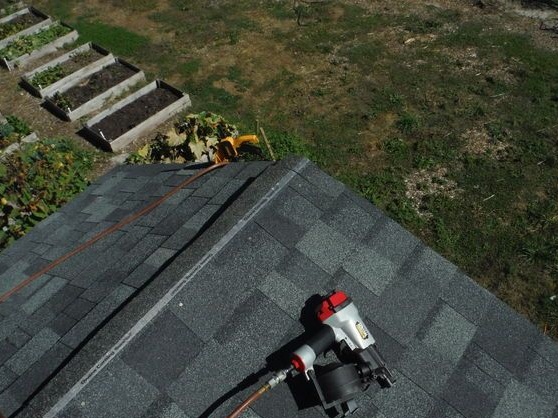
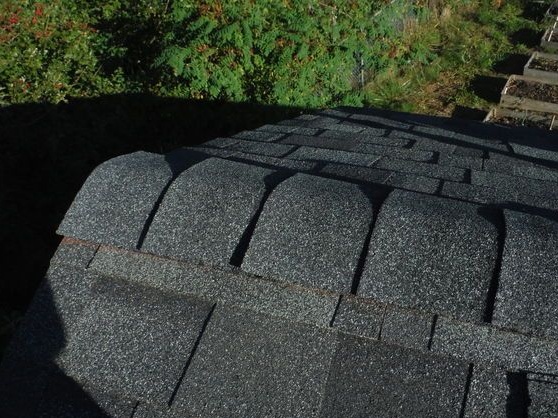
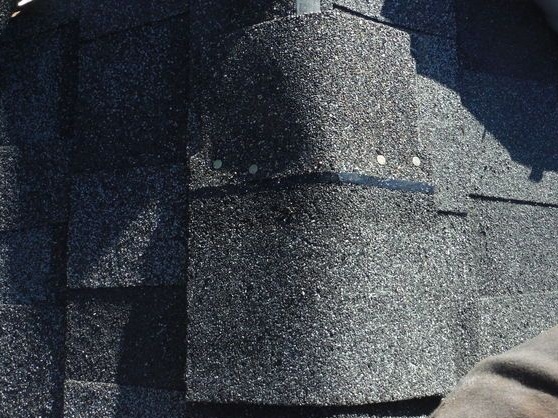
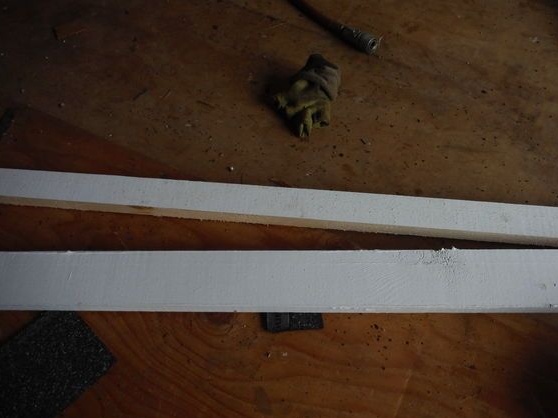
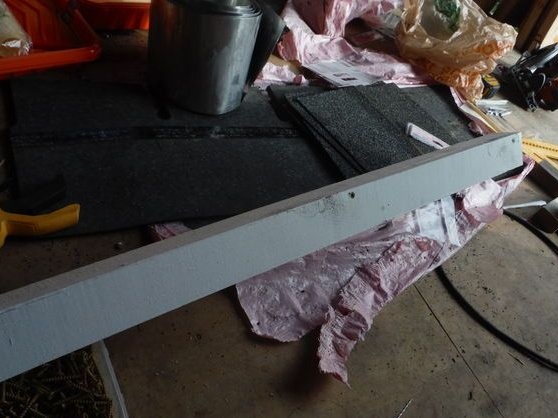
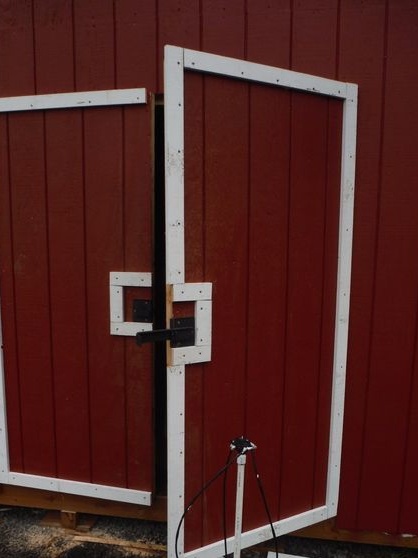
The walls are finished with a board of 20-25 mm with a groove so that the boards fit snugly against each other, then they are painted. The roof is covered with soft tiles, a light roof is well suited for frame buildings, because it has low pressure on the structure.
And so, let's look at what is specifically needed for the construction of this barn.
Materials
1. wooden beam
2. board 20-25 mm
3. geotextiles
4. fine gravel
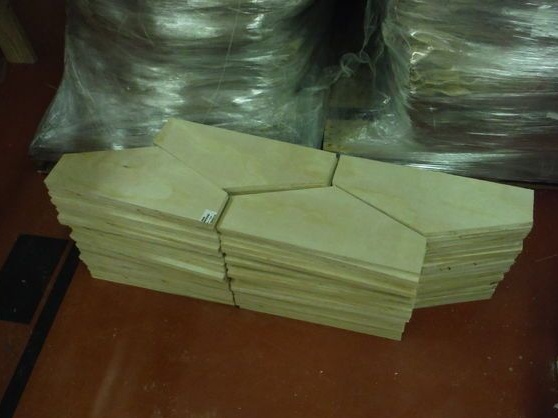
5. plywood
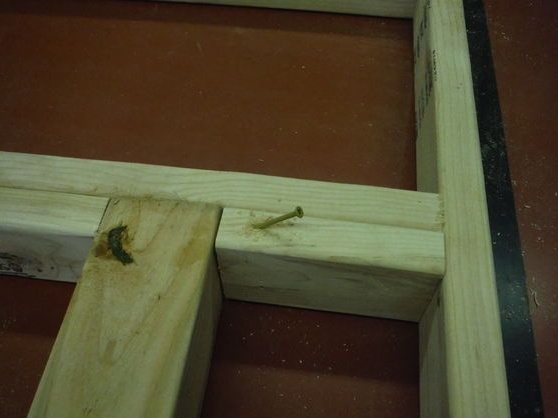
6. wood screws
7. nails
8. metal fasteners
9. soft tiles
10. waterproofing film
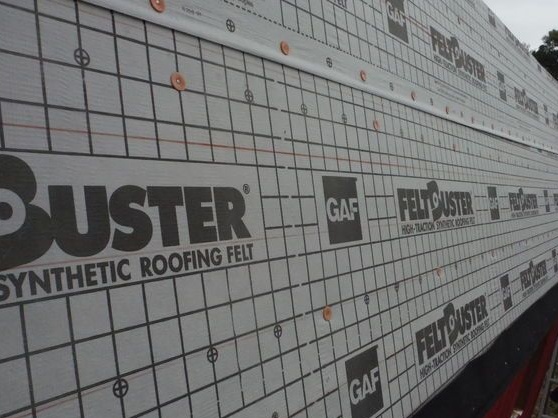
11. membrane
12. roofing material
thirteen.paint
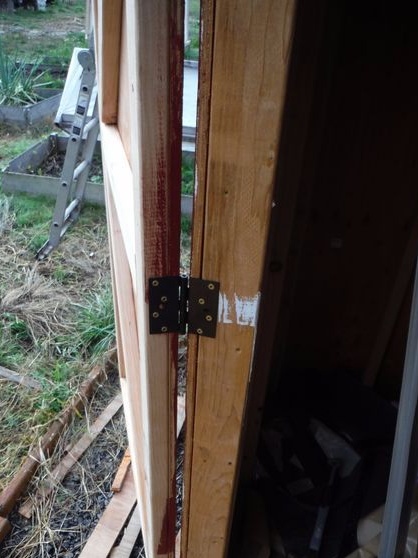
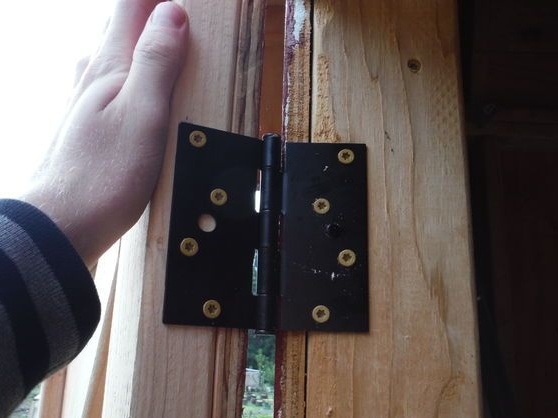
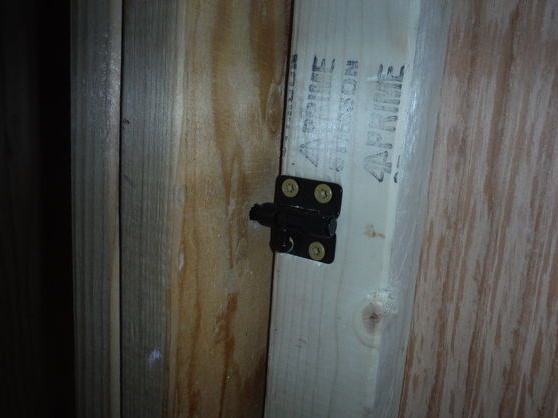
14. loops
15. bracket
Instruments
1. jigsaw
2. screwdriver
3. drill
4. hacksaw
5. hammer
6. roulette
7. shovel
8. garden car
9. corner
10. level
The step-by-step process of building a mansard roof shed do it yourself.
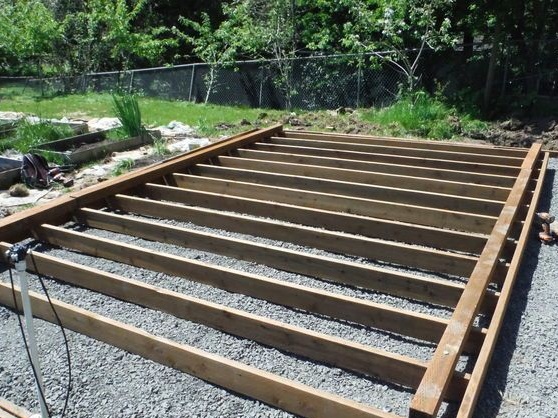
Before the start of construction, the author decided on the place for the construction of the barn, cleared the site, removed the topsoil, spread the geotextile and covered everything with gravel, this is necessary so that grass and weeds do not grow under the shed. There will be a gap between the bottom of the shed and the backfill, which will allow air to circulate freely, thereby the underground will always be dry.
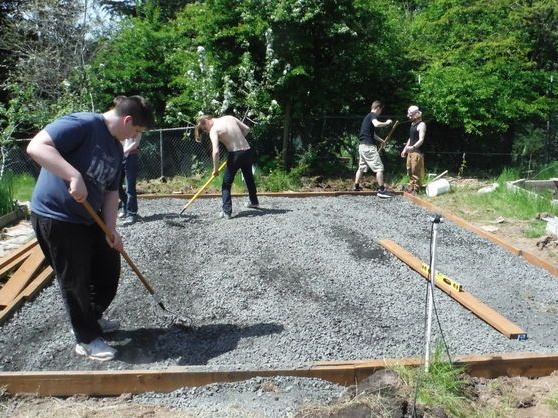
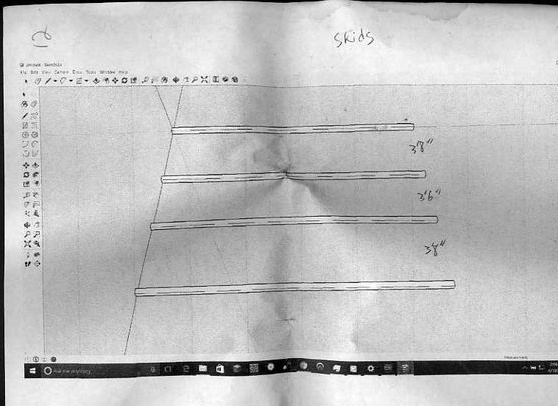

On a gravel backing, sleds made of a wooden bar impregnated with an antifungal composition are laid, it is also possible to cover with tar or waste oil, and it is better to put on the foundation in the form of blocks located around the perimeter.
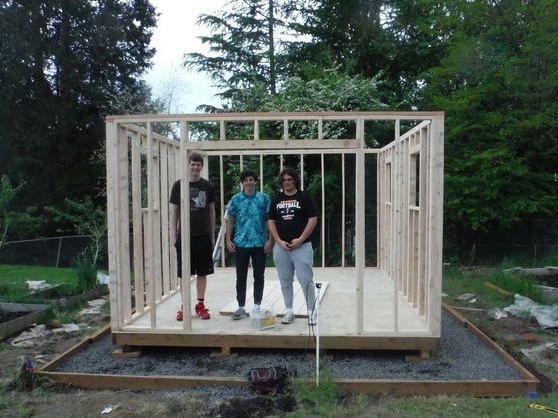


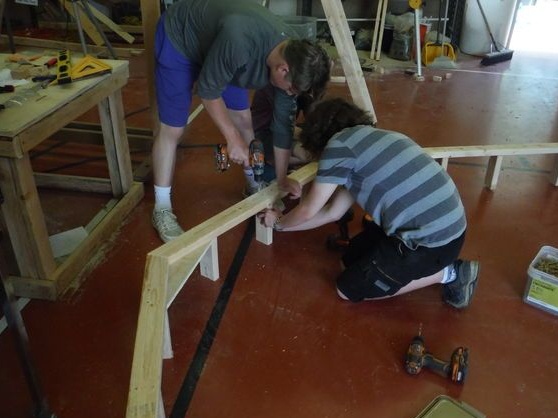
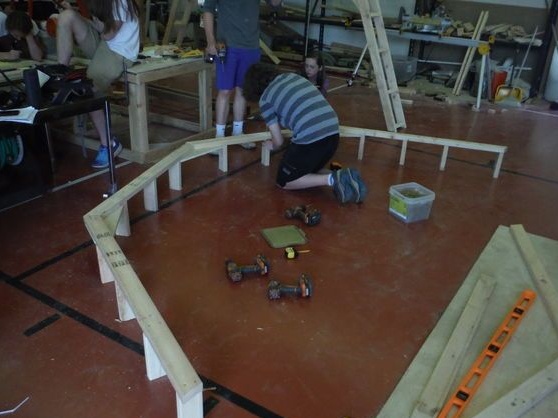

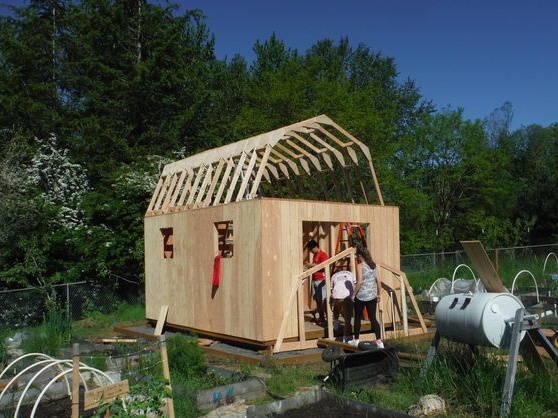
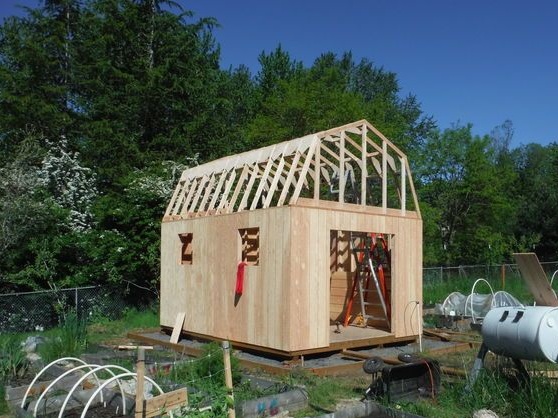


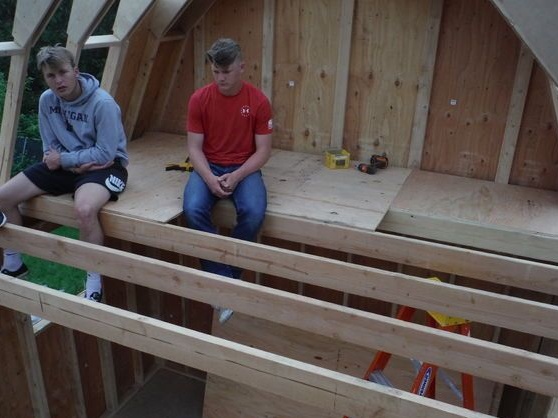


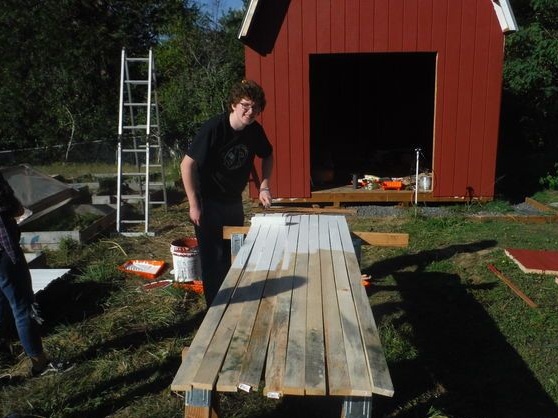


Such a shed can be quickly assembled with the help of friends and relatives, anyway you need third-party help.
Step-by-step instructions are provided for you, so go for it friends!
That's all, thank you all for your attention!
Come visit often and do not miss the latest in the world of homemade goods!