Although an apocalypse is not yet in sight, such a survivalist knife can come in handy in many places in everyday life. It is small and can be discreetly worn on the chest. And if there is a need, you can get it and defend it. Also, the knife has such a useful function as opening the bottles. For safety reasons, the sheath of their skin is made for the knife.
Materials and tools for making a knife:
- grinder;
- a piece of steel with a high carbon content;
- grinding machine (greatly simplifies the process);
- engraver;
- drill;
- sandpaper;
- a pair of files of different grain sizes;
- personal protective equipment (gloves, glasses, and so on);
- leather, glue, awl and sewing accessories to create a cover.
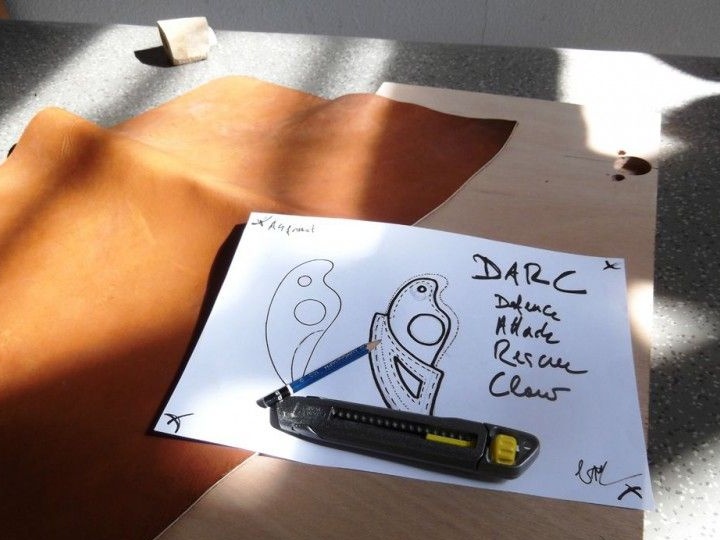
Well, you also need to find or come up with a template for making a knife and a cover for it.
The process of making a knife:
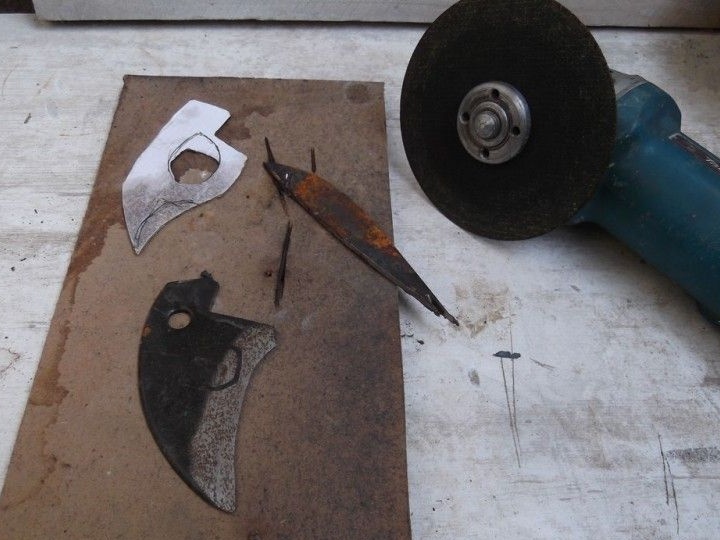
Step one. Transfer the template to the workpiece
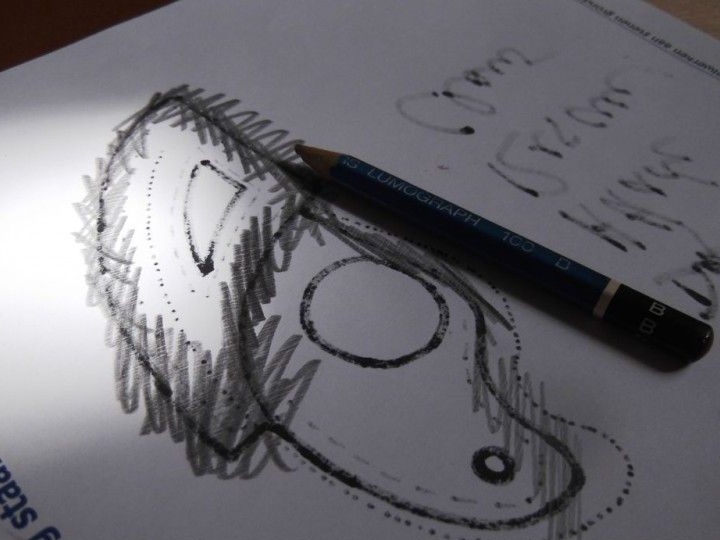
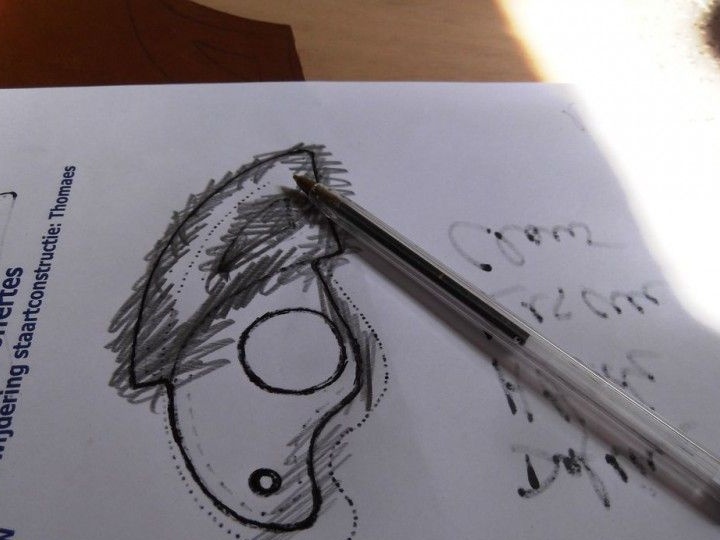
First of all, the author prints a template and transfers it to steel. The template can be found ready-made on the Internet or you can design a unique knife yourself. Since the survivalist's knife must be strong, it must be made of steel with a high carbon content, in which case it can be hardened if necessary.

As a material, the author decided to use a piece of machete. The template will need to be cut out of paper and then glued to the workpiece. You can also simply circle it with a felt-tip pen or a sharp object, but the first option is more convenient when working.
Step Two Rough cutting
At this stage, the author cuts out the main profile of the knife, here you can use the usual grinder. The most important thing is to adhere to all the necessary safety rules and work in defense. The author does not have a shield on the grinder, which contradicts these rules.
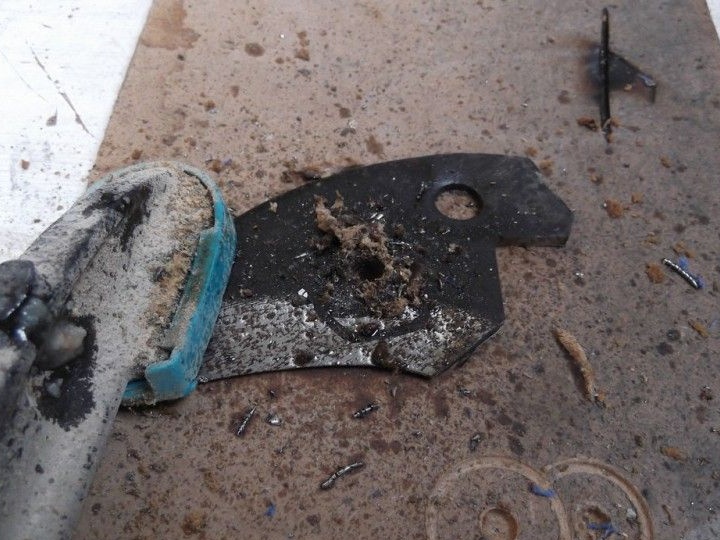
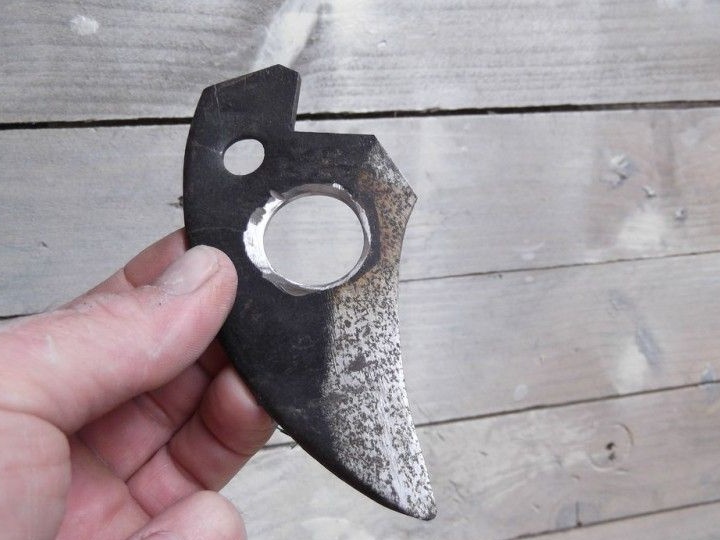
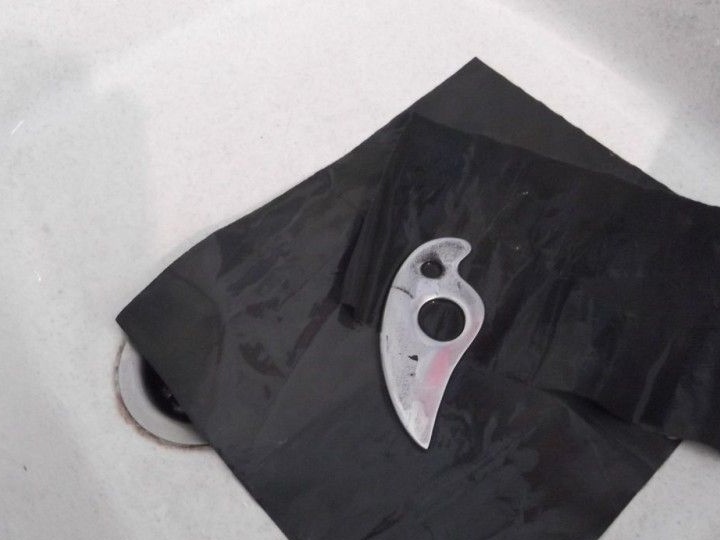
Step Three Drill the main hole
To drill carbon steel, the metal will need to be let go. To do this, it must be heated and then allowed to cool in air. The source article says that the author heats the blank with a grinder, which is not entirely clear.

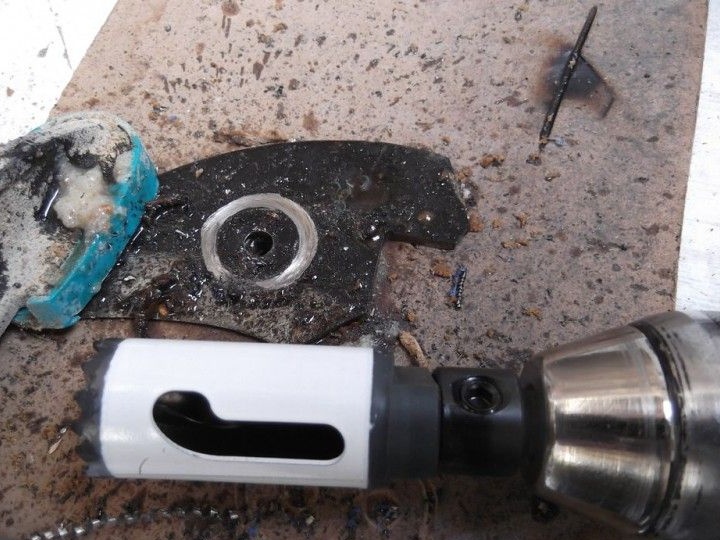

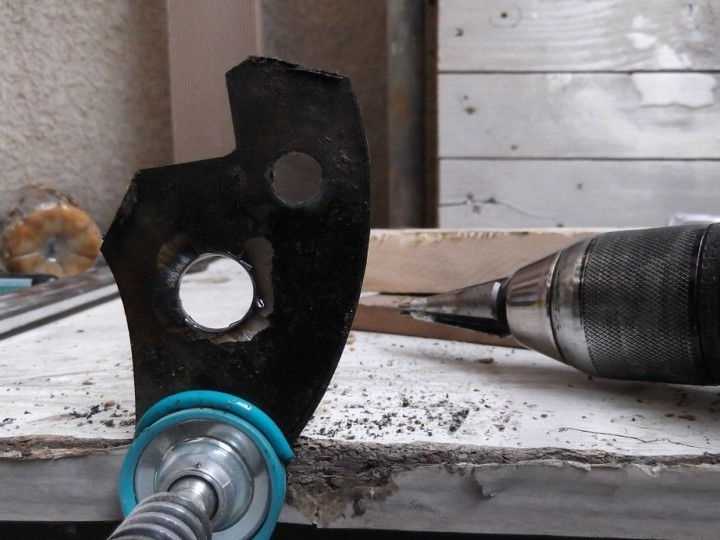
Next, a hole is drilled in the workpiece with a conventional small diameter drill, and then expanded with a conical cutter to the desired size. As a result, the hole is brought using an engraver. Work must be carried out from two sides. You also need to remember to make the second hole in the same way.
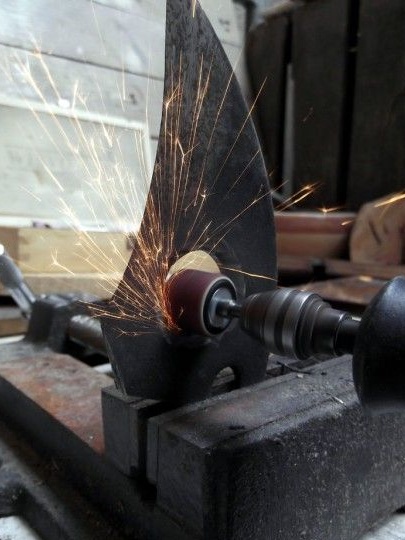
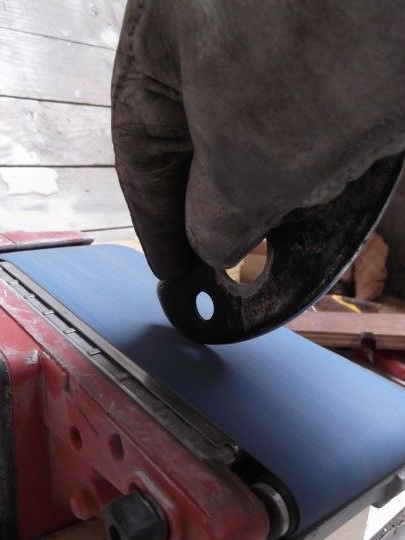
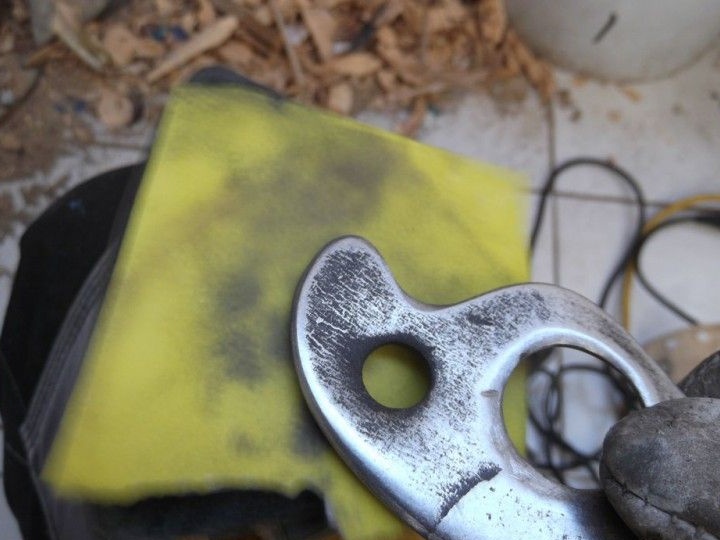
Step Four Knife grinding
And finally, the most popular and main stage in the creation of a knife begins - grinding. Such work is most conveniently carried out using a belt sander. Here you need to use sandpaper of different grain sizes, the author has 30 to 800 units. It is important not to overheat the steel during grinding, especially the blade.

Step Five Harden steel
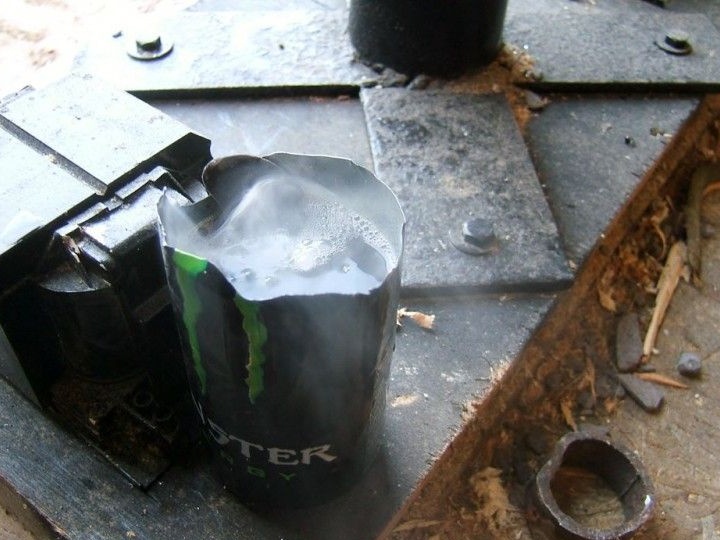
In the process, the blade could repeatedly heat up, this leads to the fact that the steel loses its strength. That the knife was really strong, it needs to be tempered. Different types of steel are tempered in different ways. The author decided to harden his steel using pure engine oil.
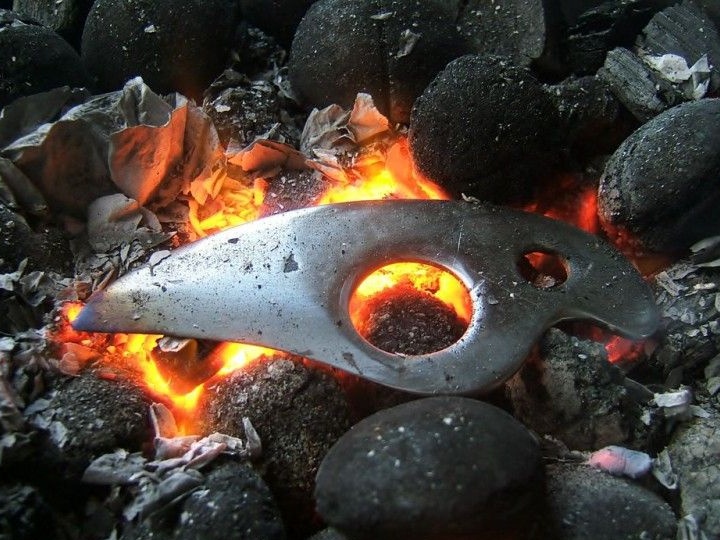
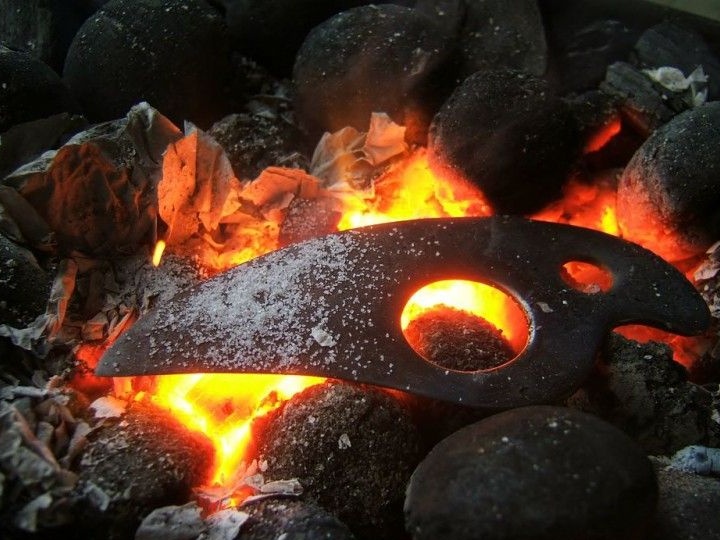
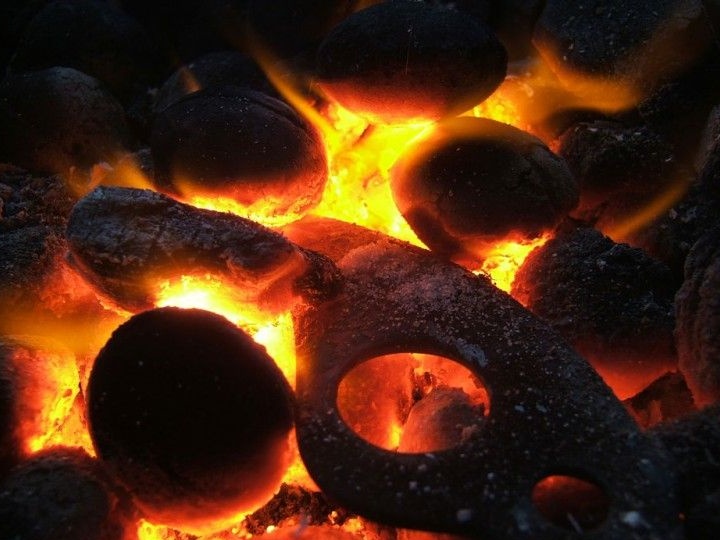
The workpiece must be warmed to red, this can be done even in coals. To achieve the desired temperature, the author sprinkles the blade with salt. Once it melts, the blade can be tempered.
After hardening, the metal will need to be released, as it will be too fragile. For this auto puts it in the oven with a temperature of 220oC and is there for half an hour.
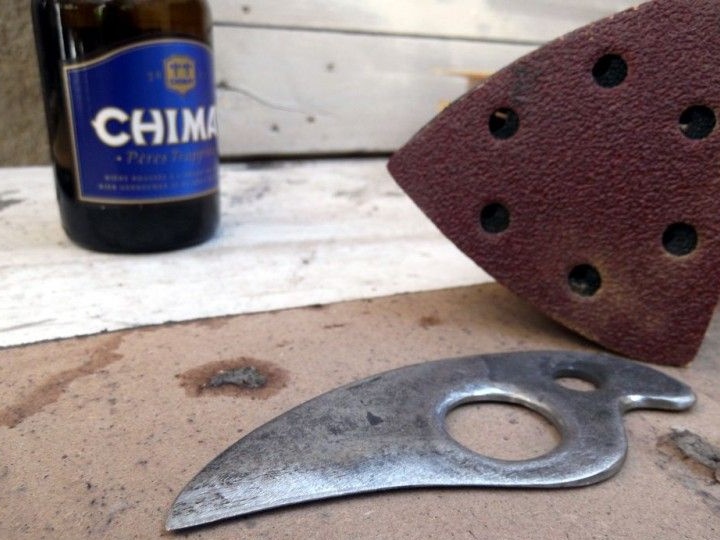
After the knife has cooled, it will still need to be sharpened well. If the blade does not need to be perfectly sharp, then you can sharpen the knife with sandpaper or a grindstone. To bring the blade to perfect sharpness, you can use a water stone. True, a very sharp knife, even in a case, is not very safe to wear on the chest.
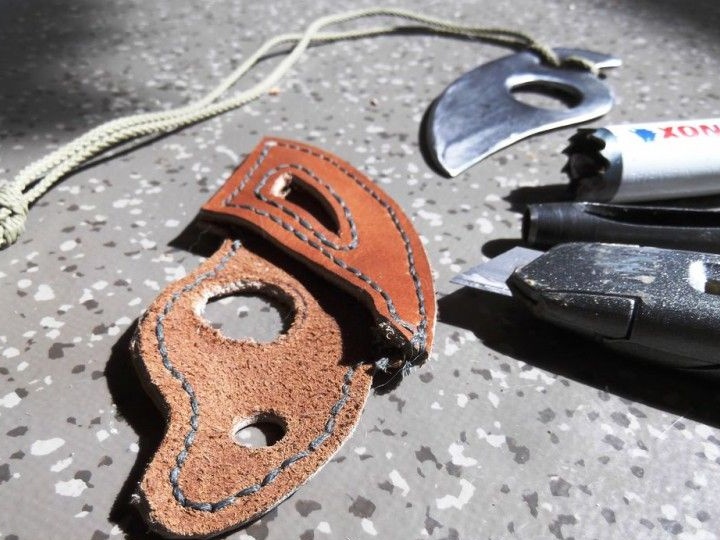
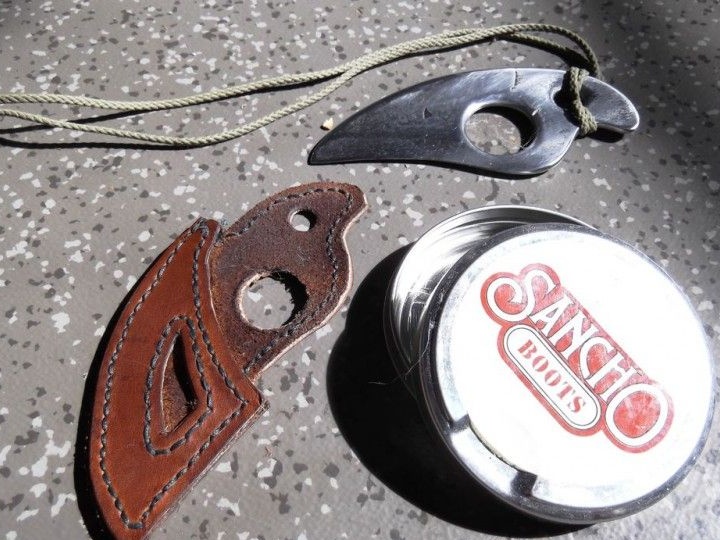
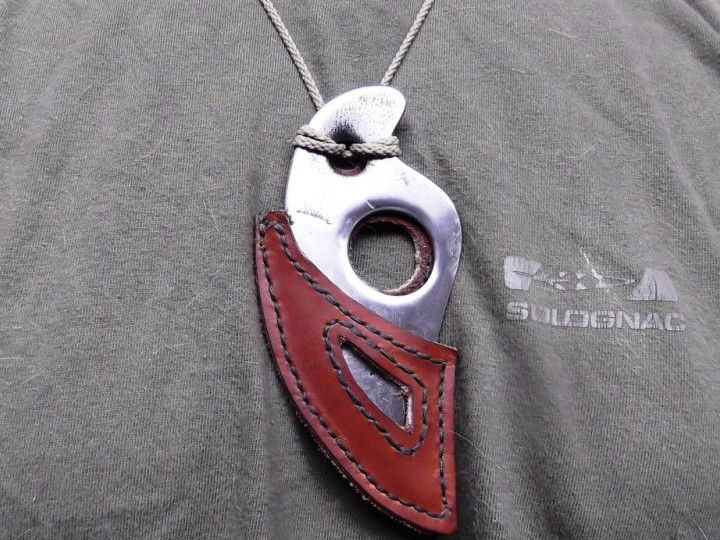
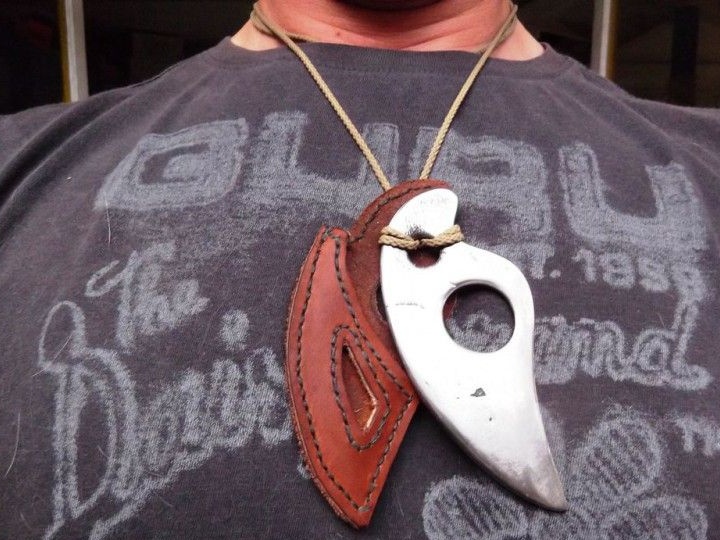
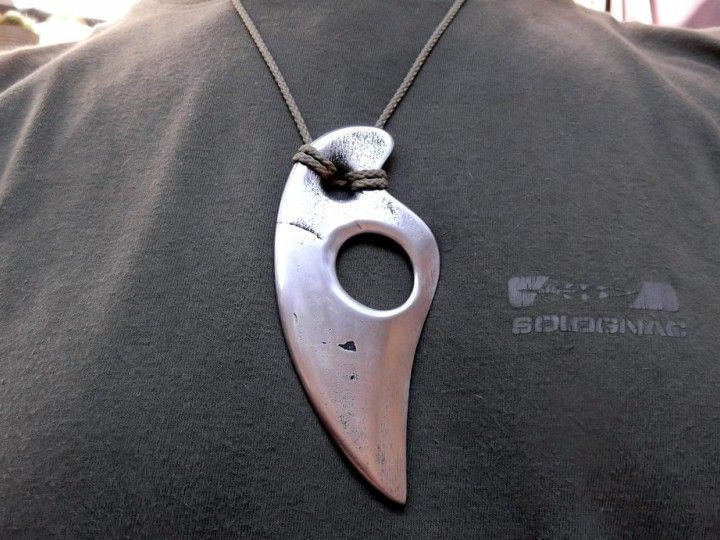
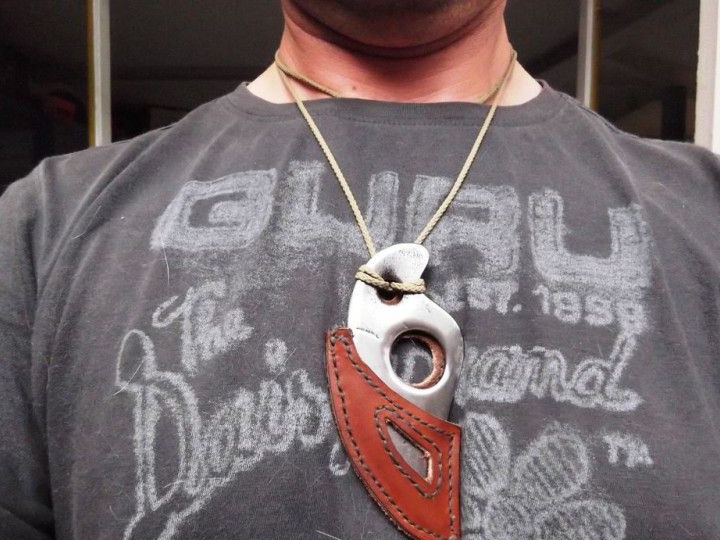
That's all, our survival knife is ready. It can be put into other things of the survivor or worn around the neck in the style of a spy.
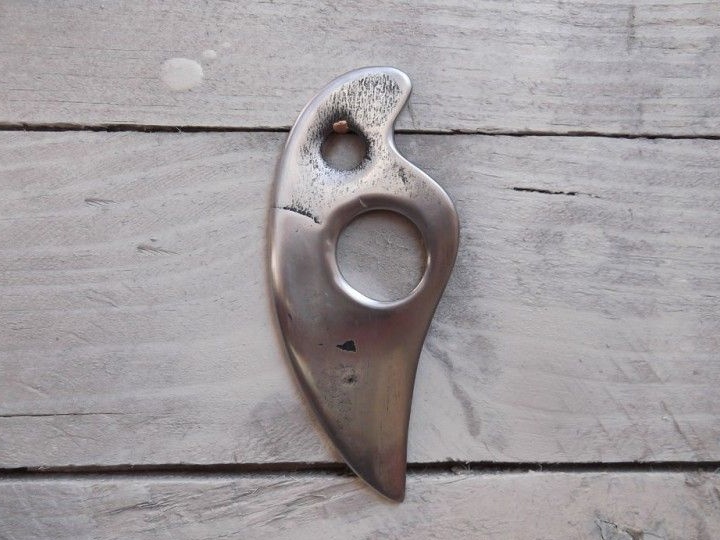
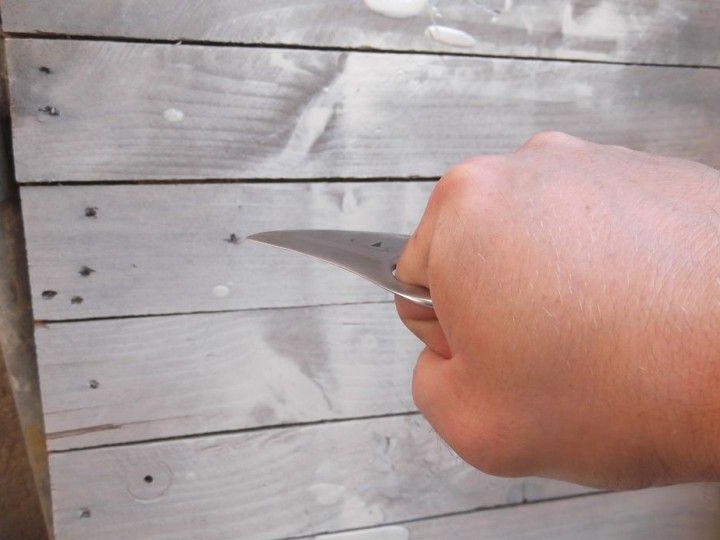
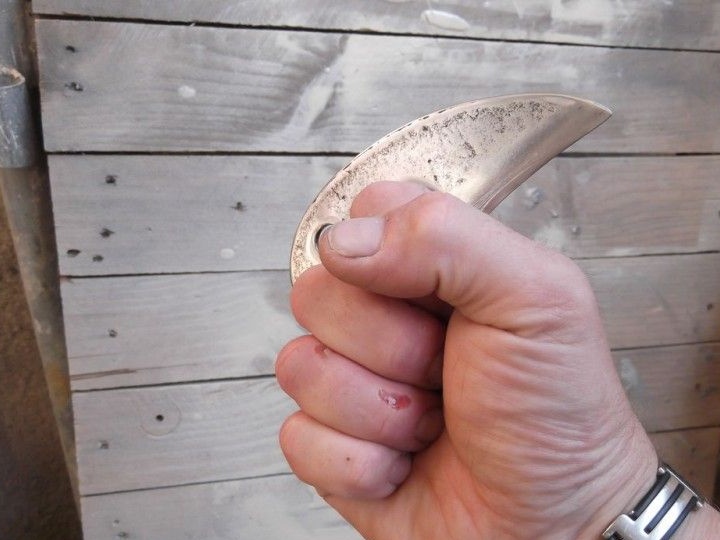
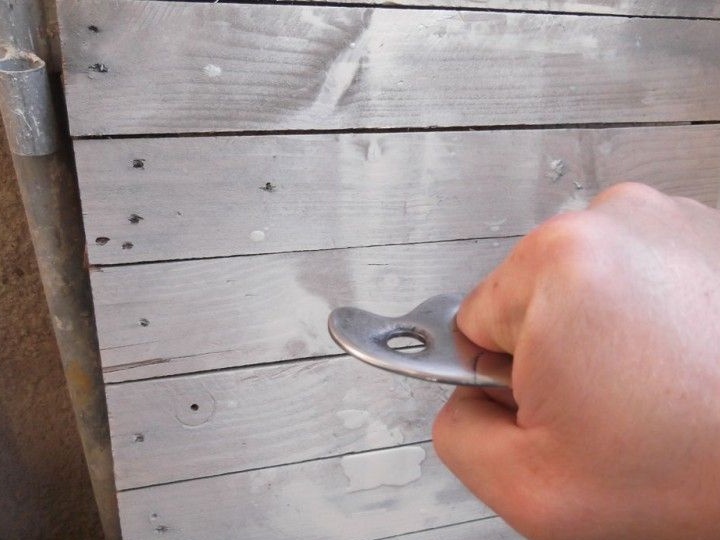
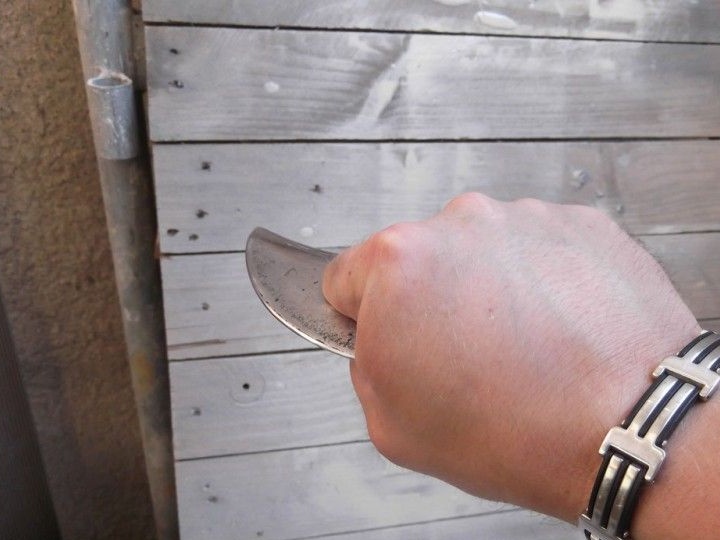
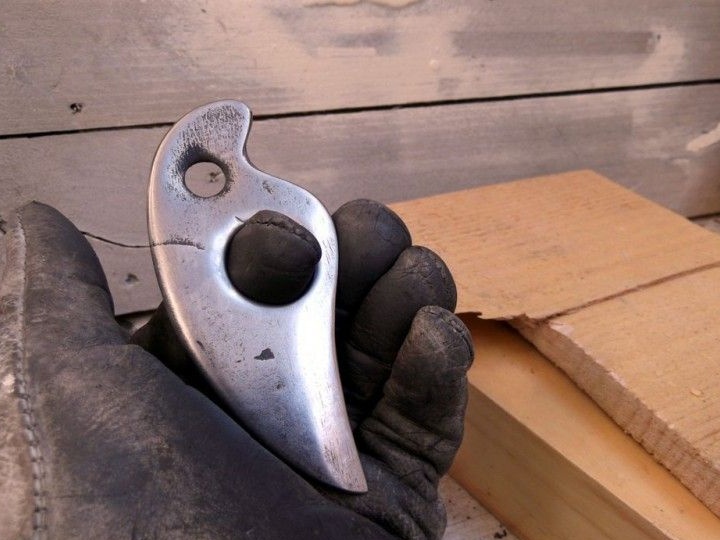
Thanks to the strategic large hole, the knife can be conveniently taken in the hand so that it does not fall out. As a result, you can be the enemy back or front if necessary. The knife is used as brass knuckles.
Step Six Knife case
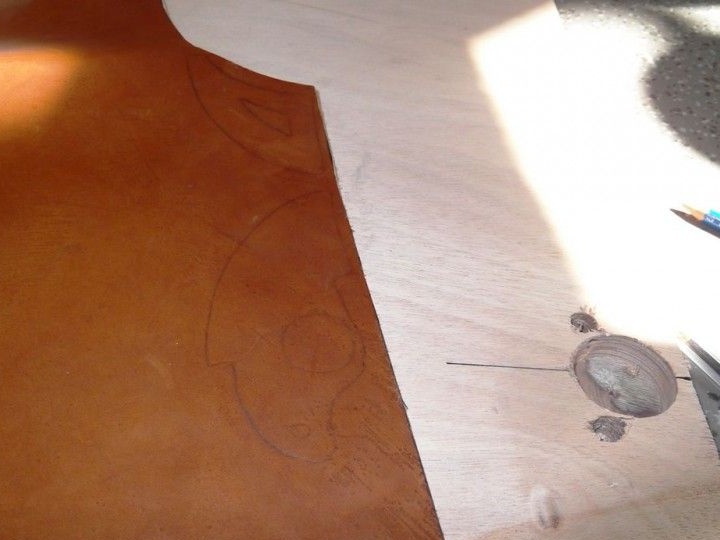
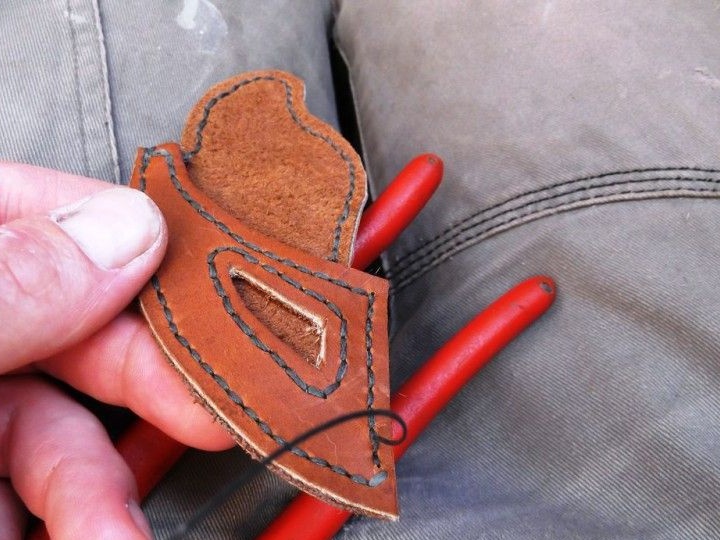
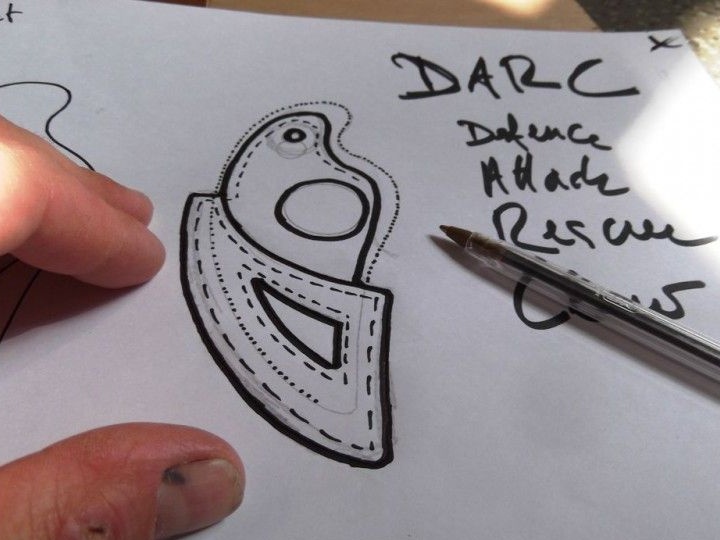
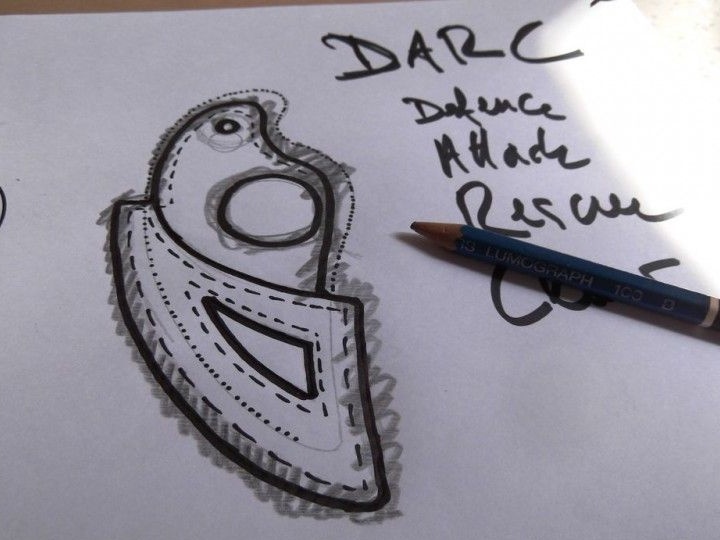
For security reasons, such a knife needs to be made a reliable cover. In addition, the cover will make it even more stylish. To make a cover you will need thick leather or other similar material.
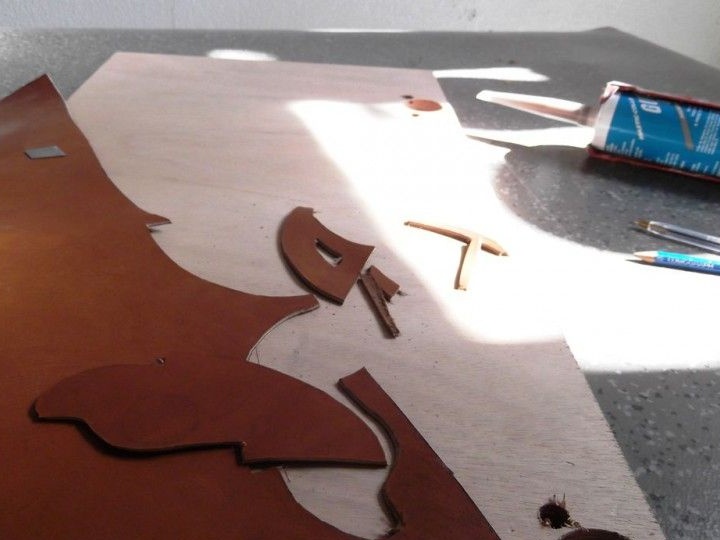
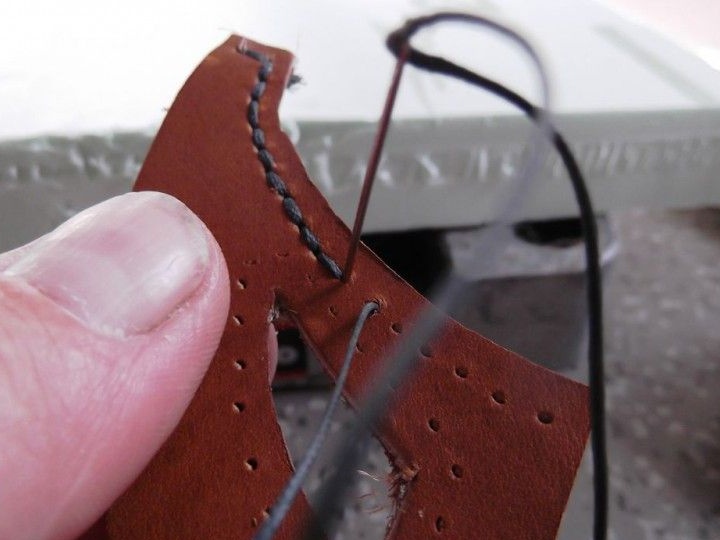
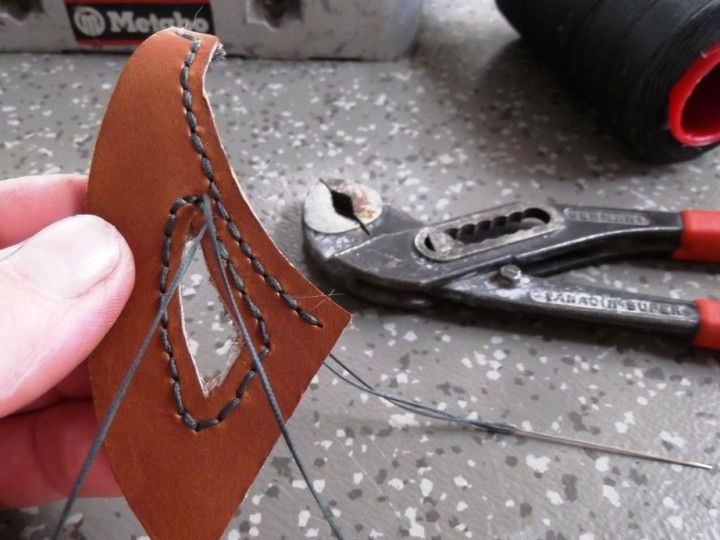
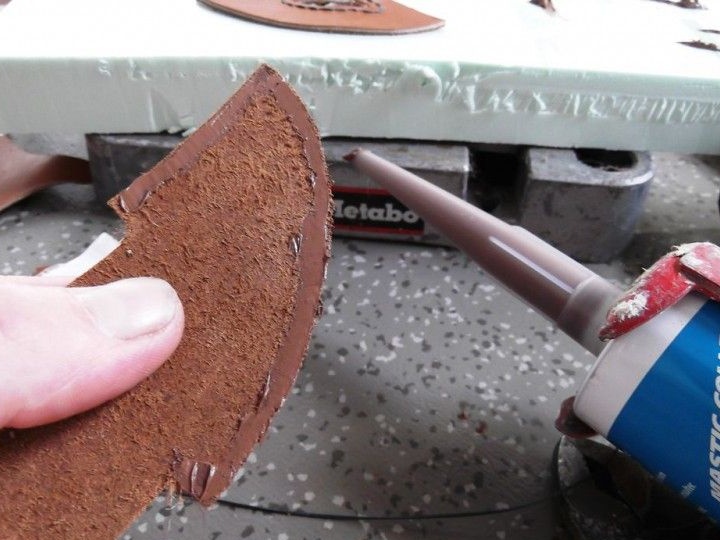
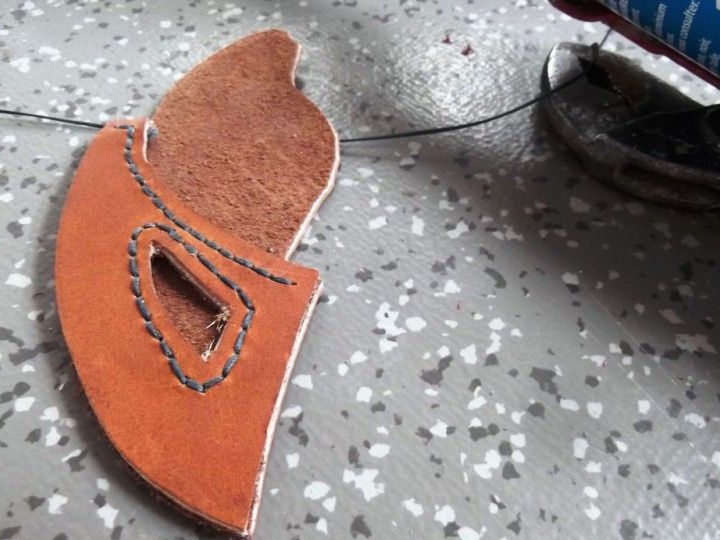
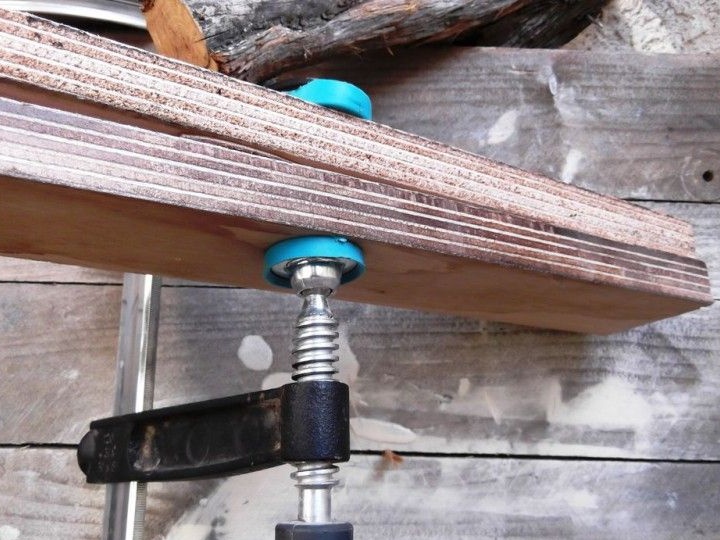
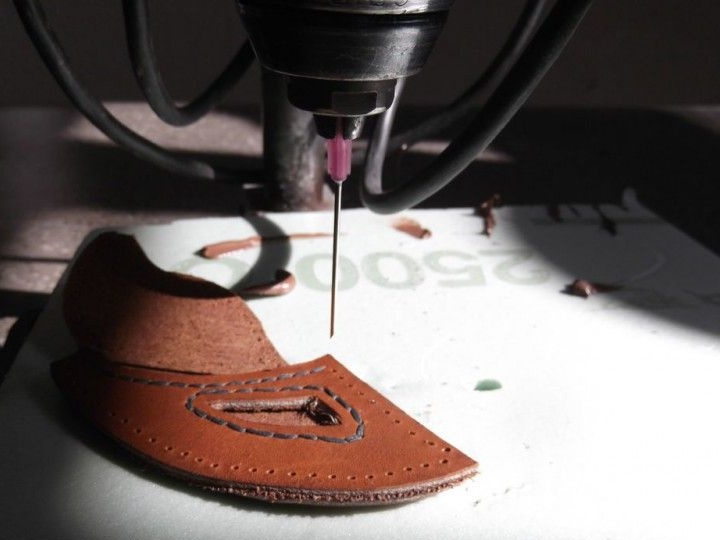
First you need to print the template and transfer it to the skin. Now two halves need to be cut. The final step will be the connection of the two halves, and how to do it, everyone decides for himself. You can use glue, this is a quick but less reliable way. And they can also be sewn, so the cover will be strong, and the appearance of the cover will make it much better. And in the ideal case, two methods are used at once. When bonding, two halves need to be carefully pressed to each other.
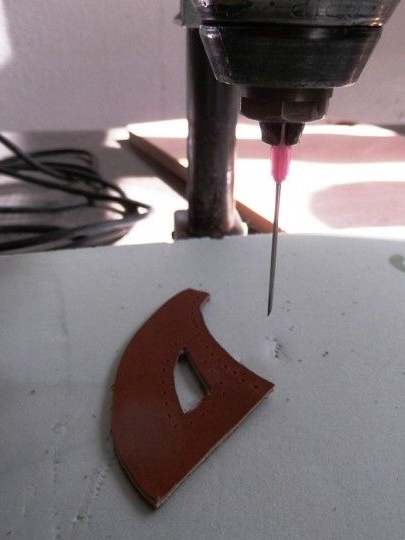
If you do not have such a thin drill to flash the skin, you can use a needle from a large syringe or dropper, as the author did. It is simply clamped into the chuck of a drill or drill press. However, drilling is not necessary, the holes are easily punctured by pressure on the needle, if the skin is of course soft.