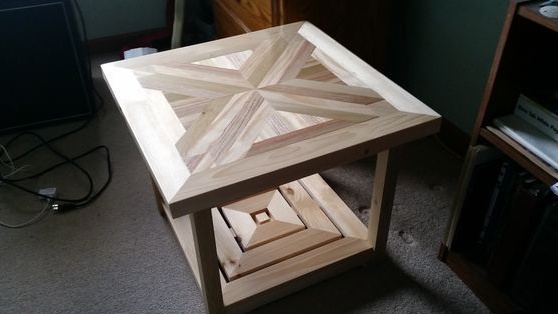
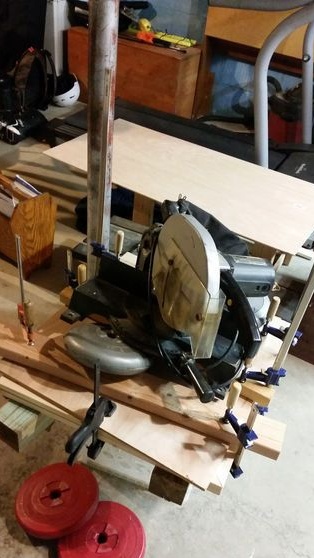
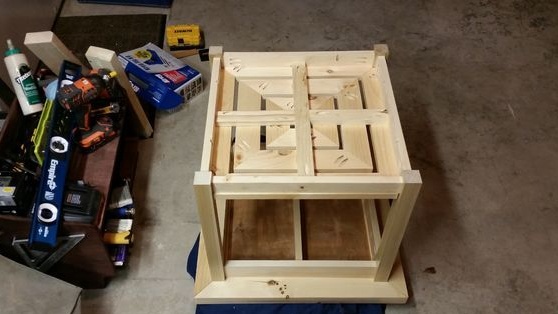
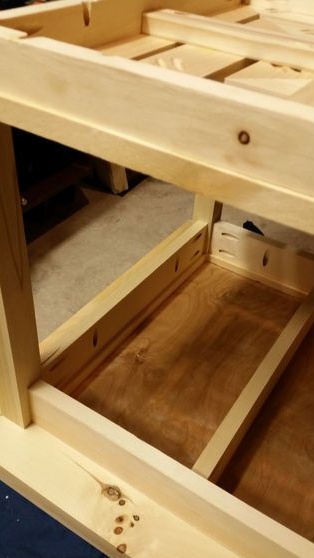
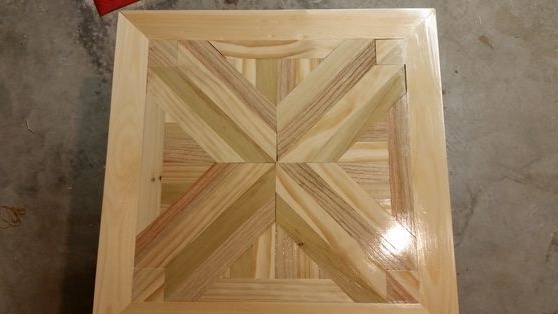
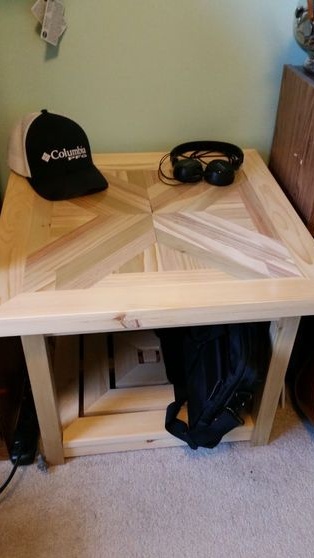
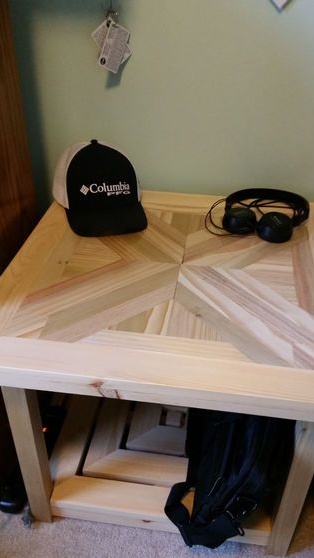
This table was made by the author from a regular board and timber, the countertop here is typesetting and a 2D drawing was previously made using a computer program. According to the drawing and dimensions, the workpieces were sawn and combined into a single whole, glued together with carpentry glue. After the countertop has been glued, it is pulled together with clamps and remains in this position for 24 hours until the glue is completely dry. After which the legs and the lower shelf were made, then everything was assembled into a single design
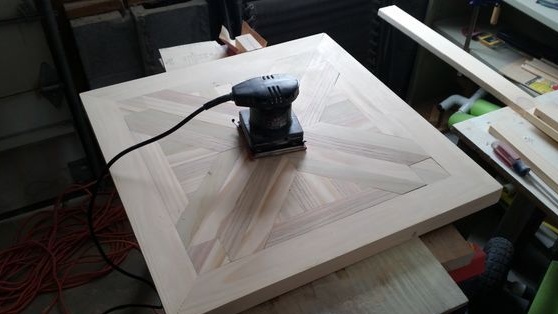
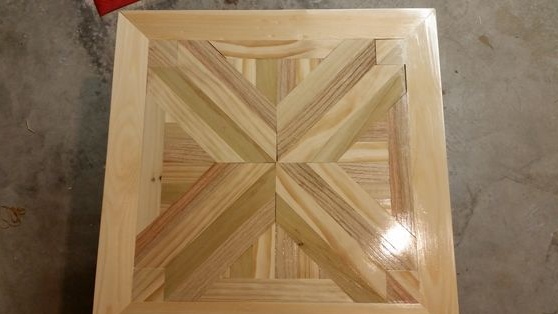
At the end of the main work, the product should be carefully sanded and varnished.
Of course, it’s better to use different types of wood in this case, with different textures and colors, then the external effect will be just awesome)) But the author was modest and assembled a table from one species.
And so, let's look at what exactly the master needed to assemble a wooden table and how did he do all this?
Materials
1. board 25-30 mm
2. wooden beam
3. wood screws
4. wood glue
5. varnish
Instruments
1. circular cutting saw
2. drill
3. corner
4. ruler
5. protractor
6. clamp
7. brush
8. pencil
Step-by-step process for assembling a wooden table with a stacked worktop do it yourself.
The first step was to draw up a 2D drawing using a computer program.
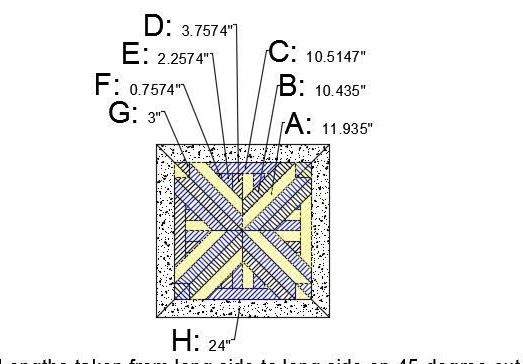
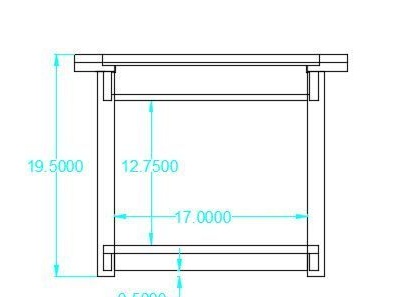
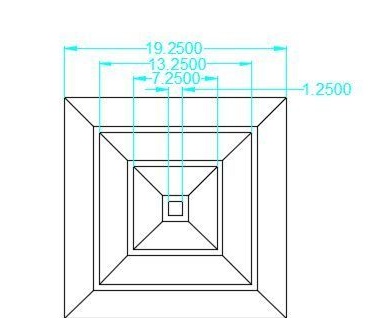
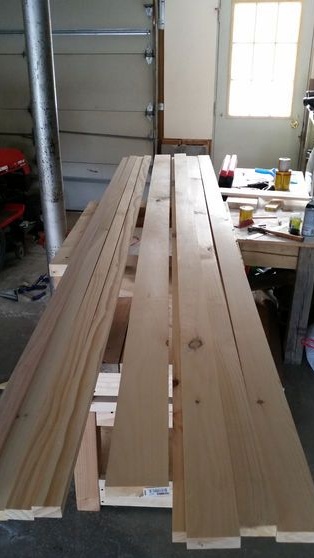
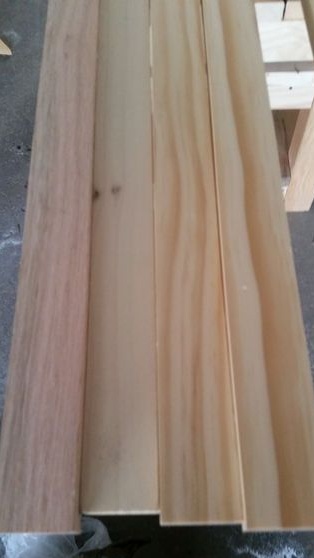
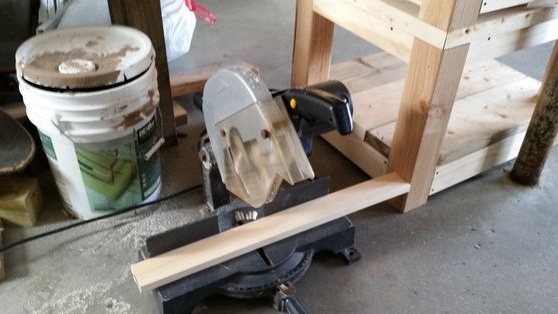
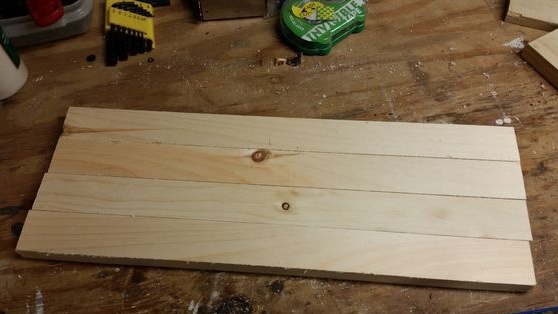
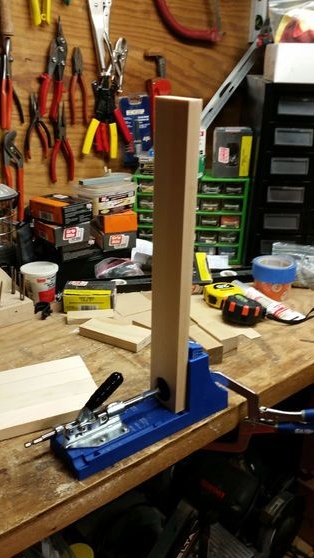
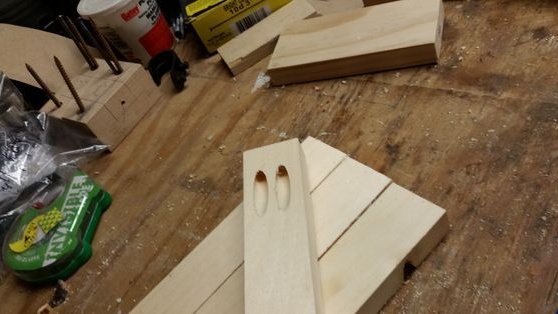
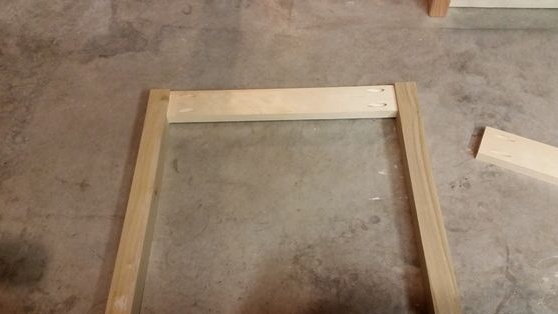
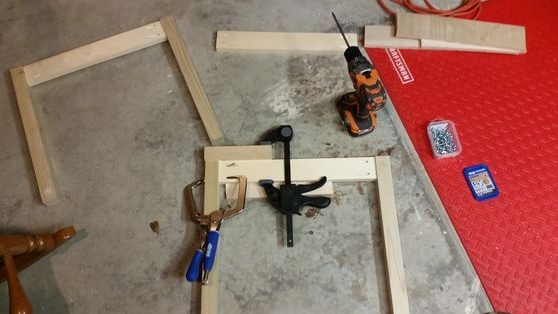
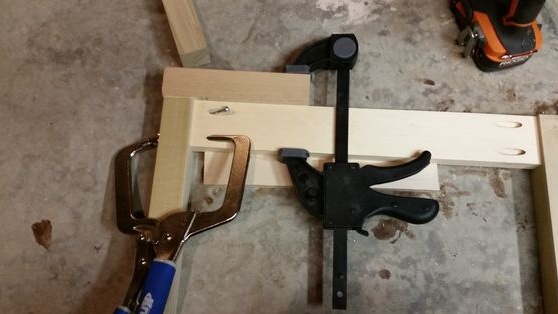
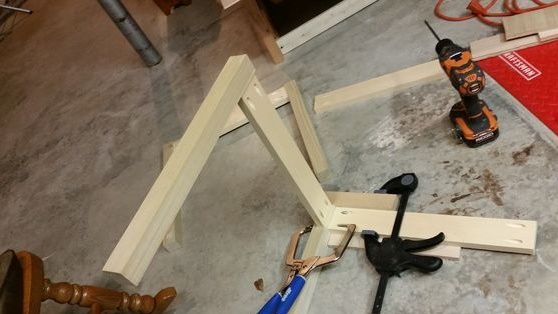
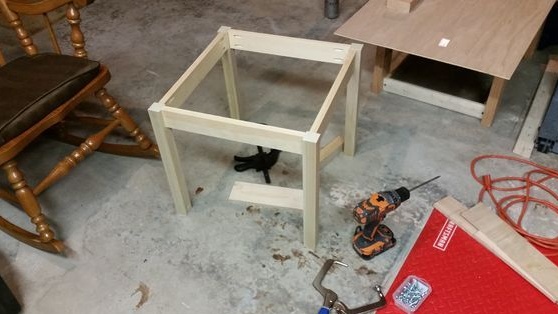
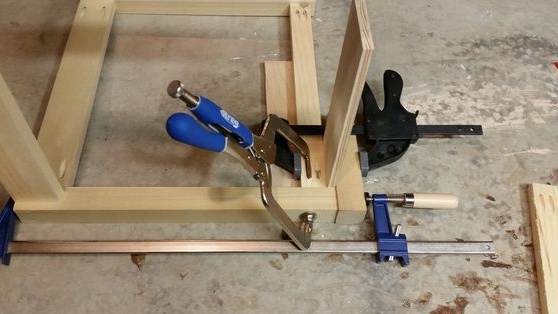
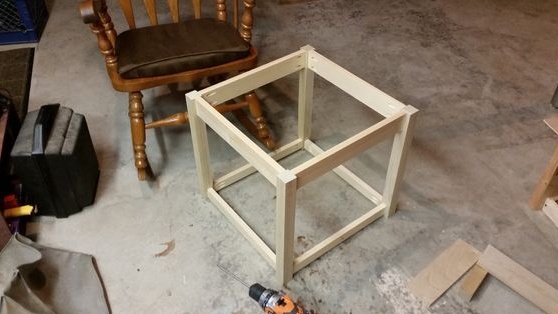
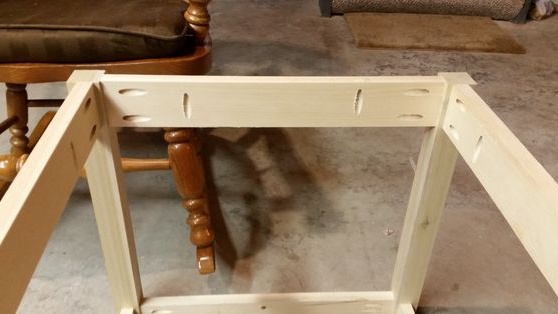
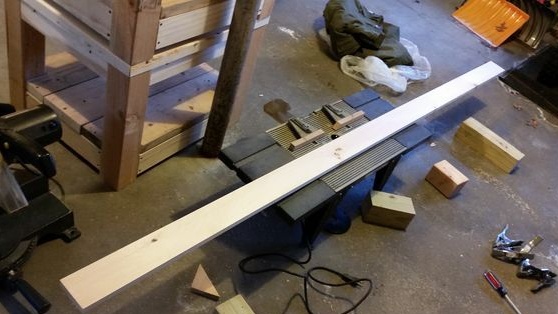
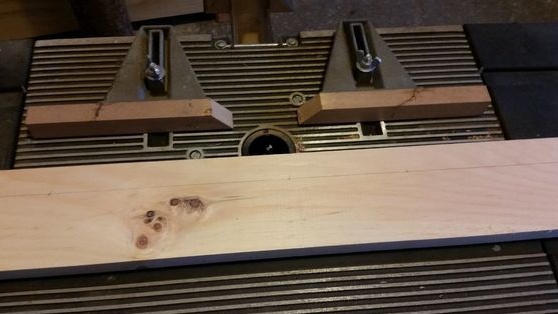
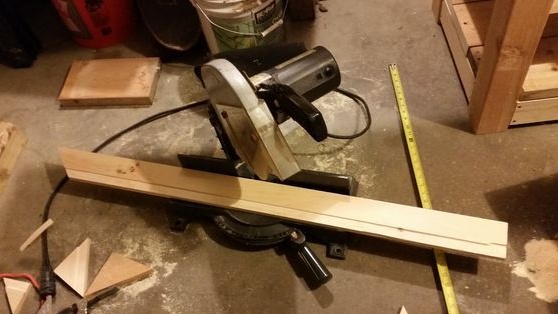
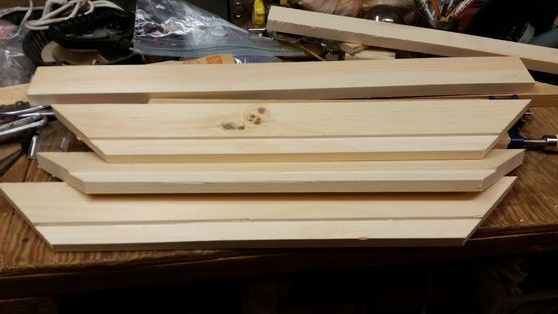
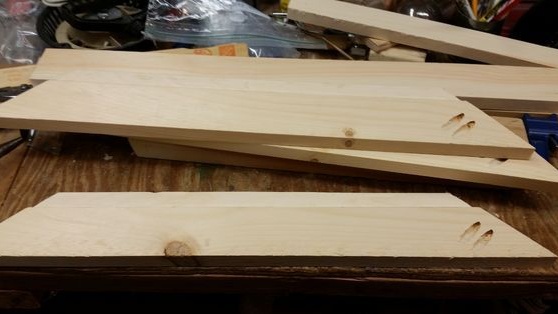
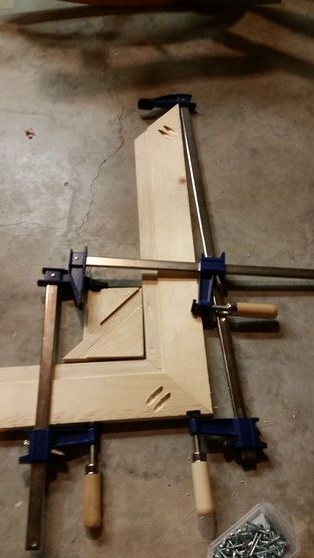
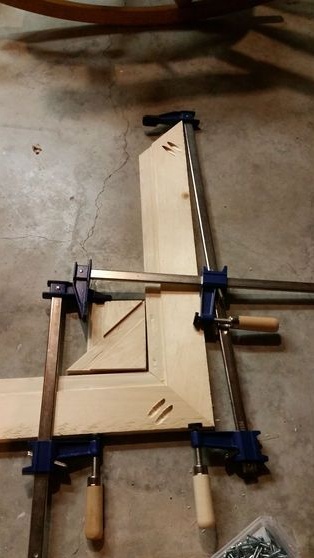
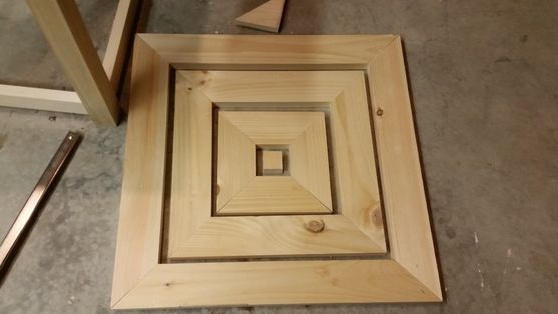
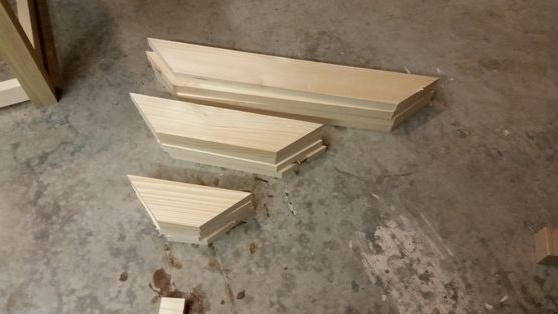
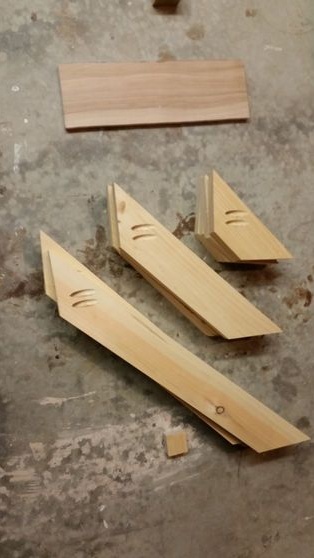
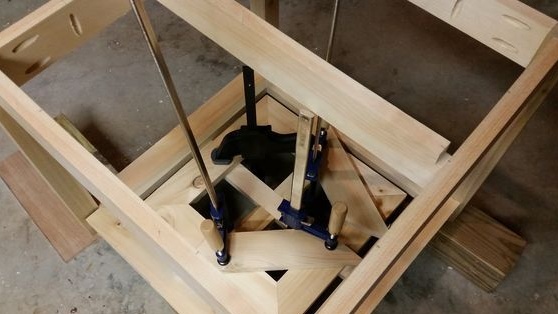
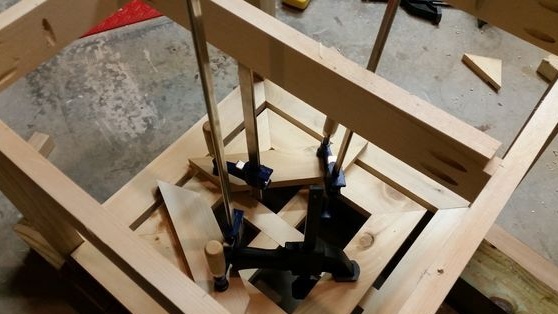
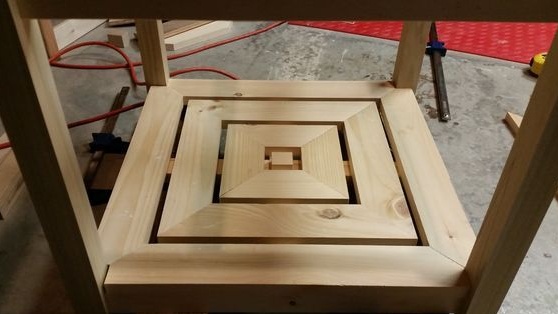
Then the worktop frame is assembled from the blanks and the surface itself is made up directly.
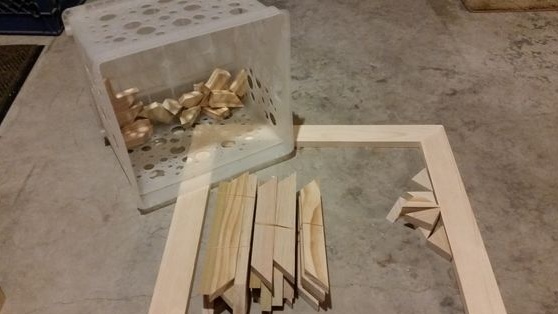
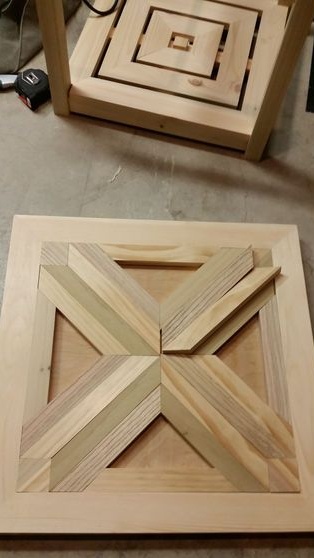
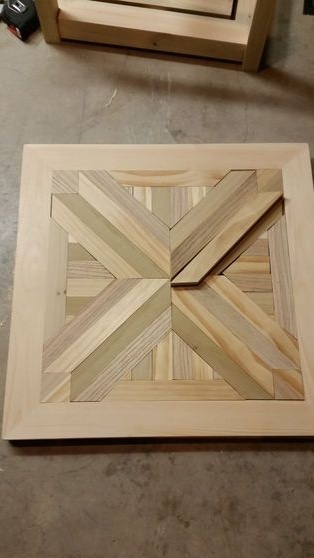
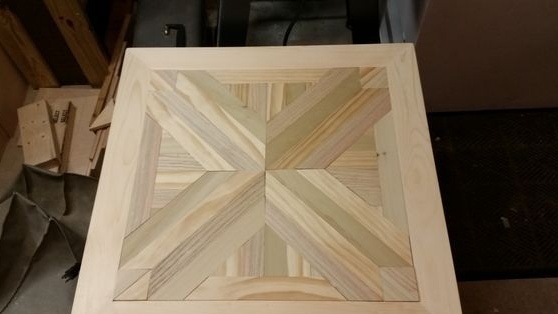
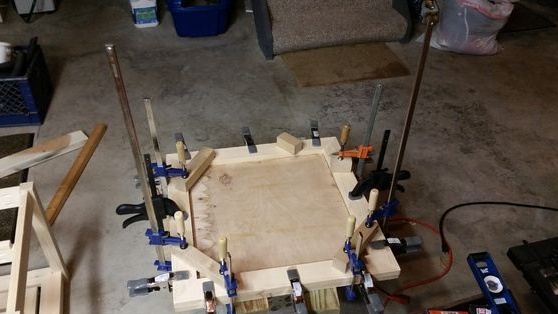
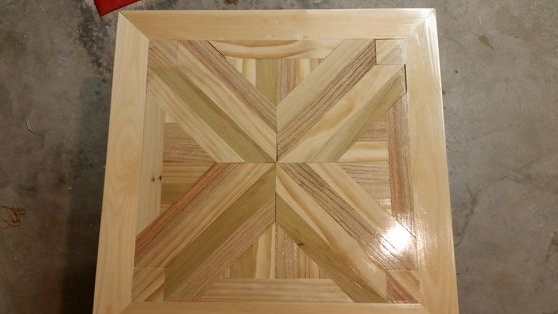
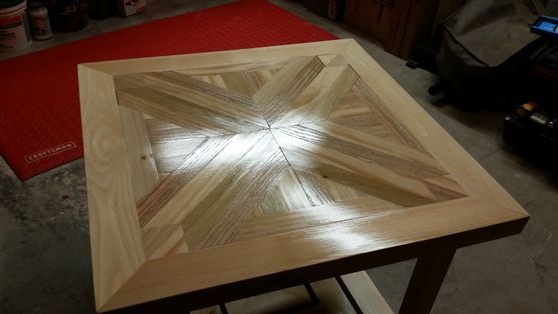
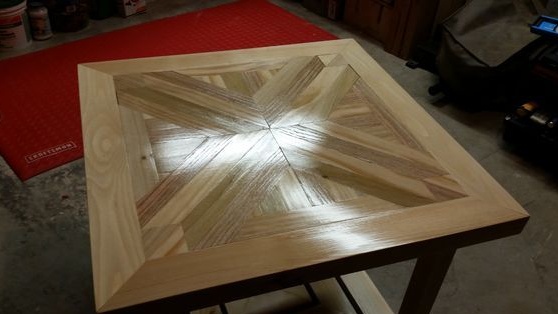
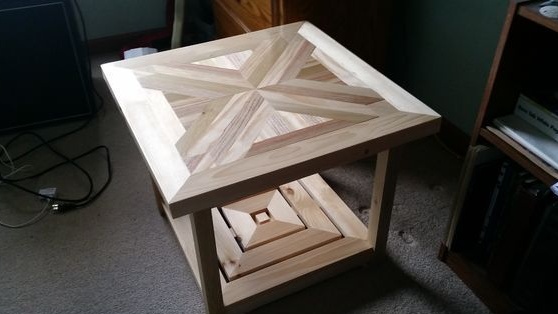
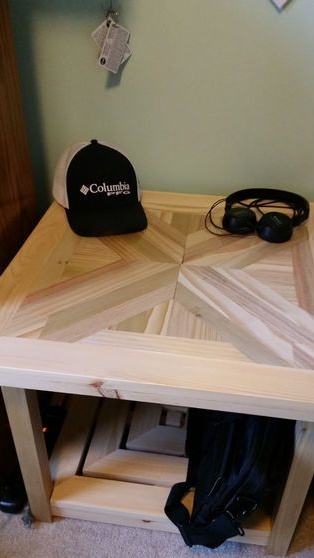
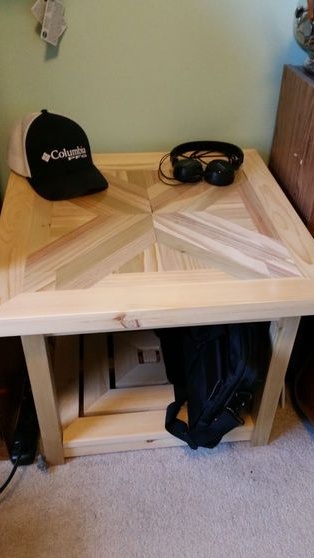
Step-by-step instructions are provided for you, so we take and do it. Go for it friends!
That's all, thank you all for your attention!
Come visit often and do not miss the latest in the world of homemade goods!
