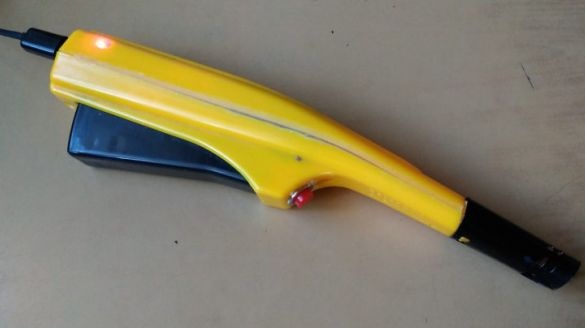
Often, many were faced with the choice of an electric lighter for gas. In most cases, their work is poor. Most often, the filling of such devices as a saving is made of little power, so that the resulting spark has a low temperature and it is difficult for it to set fire to gas. So this kind of arson turns into a permanent nerve damage when a lighter has to poke a burner for several minutes to ignite the gas.
In most cases, such lighters have a poor contact group, which is quickly contaminated, melted and device already completely stops working. Among other things, such lighters quickly drain the battery and they often have to be replaced, and a low battery again affects the intensity of sparking.
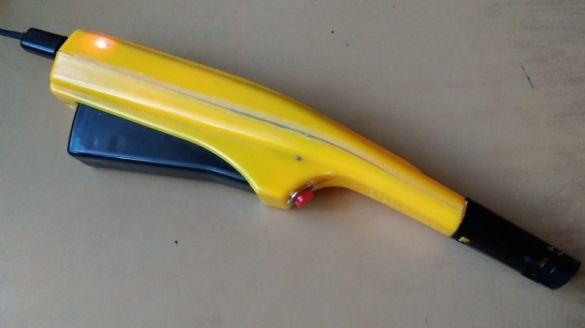
To solve this problem, one author decided to make a lighter for gas do it yourself. The goal was to assemble a really powerful device, the gas arson which would bring pleasure, rather than fluttering nerves. He chose the stun gun as the basis for the filling, which gives an excellent spark and ignites the gas instantly. He also equipped the lighter with a lithium battery, which allows it to be charged from the power source with which we charge the phones, of course we are talking about USB.
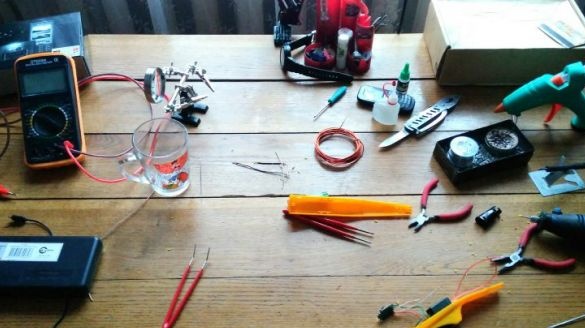
Materials and tools for homemade:
- spark generating module from a stun gun;
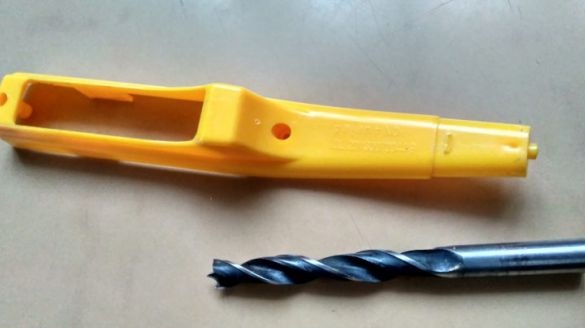
- An old lighter (a body will be needed from it);
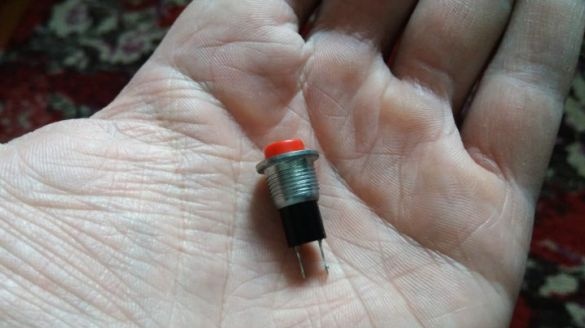
- button to turn on the device;
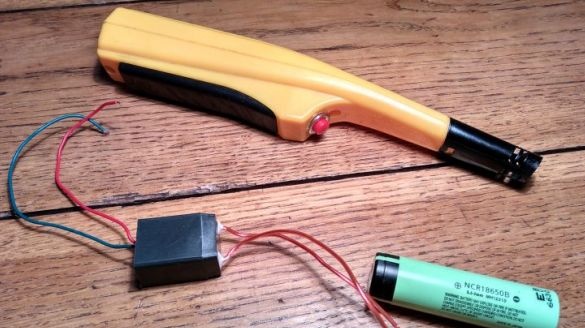
- lithium battery (barrel-shaped 18650);
- soldering iron with solder;
- drill with drills;
- wires;
- hot glue;
- battery charging controller;
- engraver;
- nippers, screwdrivers, pliers and other tools.
The process of manufacturing a plasma lighter:
Step one. Training
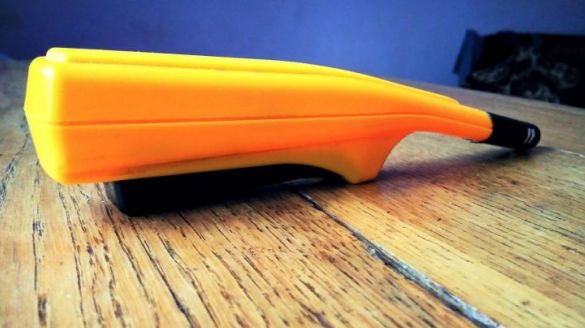
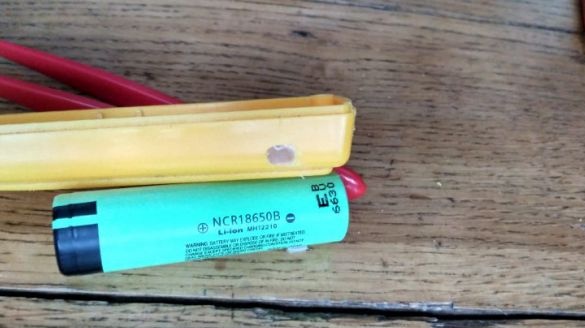
Initially, the author planned to assemble a homemade product in 20 minutes, but when he first saw the dimensions of the battery, there were some difficulties, and the whole structure had to be radically redone. In the case of the old charging, it was necessary to somehow put the charging module, the battery, as well as the spark-generating module from the stun gun.
Step Two Set the button
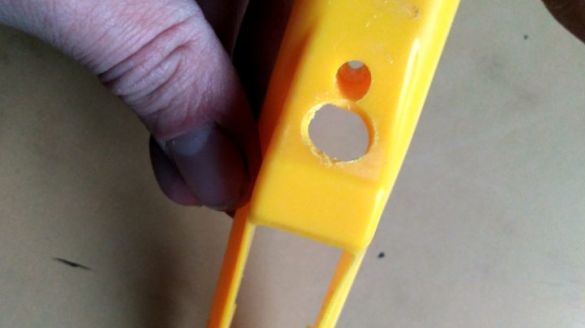
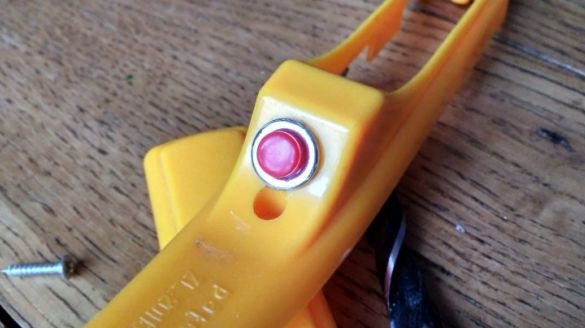
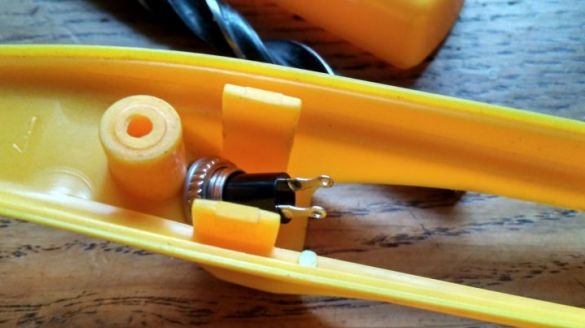
The author chose the button the one he had, how many amperes it is designed for, is unknown. To install it in a suitable place in the body, you will need to drill a hole with a drill. Well, then the button is attached with a nut, if there is one on it. In extreme cases, the button can be glued with hot glue.
Step Three Install Charging Module
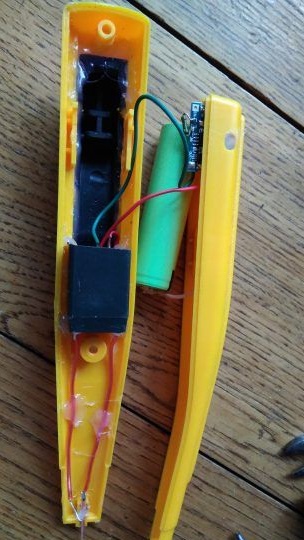
At the next stage, the author seals with the help of hot glue a large factory button, which previously put the device into operation. Having removed all unnecessary, the case turned out to be quite spacious.
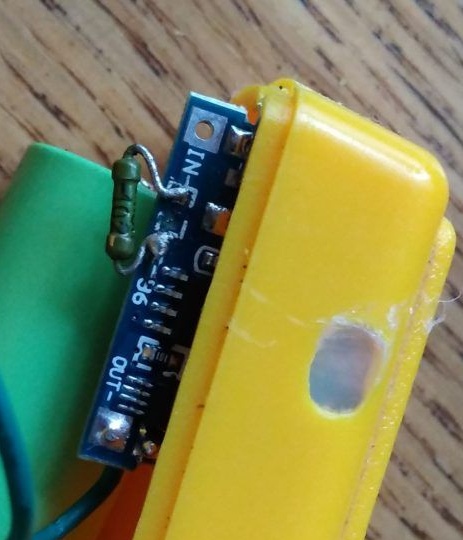
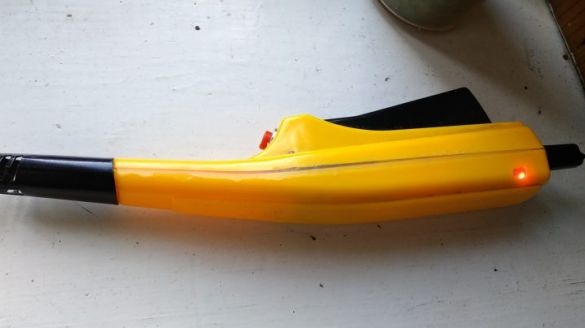
Now mono put the charging module. There is an indicator on the module that signals whether the battery is charging. It is desirable to make it noticeable. For these purposes, a hole is drilled in the housing opposite the indicator, and then it is filled with hot-melt adhesive.
The author took the charging card with protection, this is convenient because it is convenient to connect, not to mention such a useful function as protection.
In the circuit, a resistor with 1.2 kOhm was replaced with 3.6 kOhm, which was found in an old tape recorder or TV. As a result, the charging current was 350 mA, which is 1/10 of the battery capacity. According to the author, any battery should charge slowly and not heat up, so it will last much longer. If the charging current is made large, the battery will charge quickly, but will last a little.
Step Four Further assembly
To bring the lighter to the form in which it was created, the author needed such a useful device as an engraver. With it, you can easily drain all the extra compartments in the case. In extreme cases, you can use a conventional soldering iron.
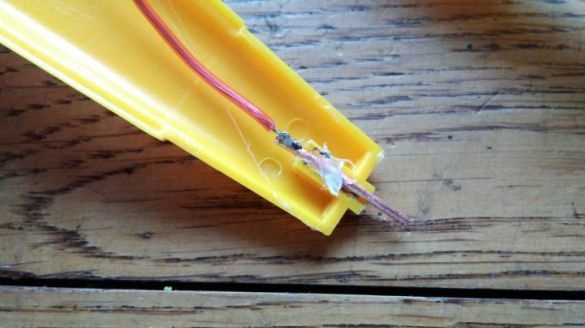
Already at this stage, the module from the stun gun was installed in the lighter, as well as the tip was modernized, which forms a spark. It was made of copper. The ends of the wire must be carefully cleaned and fixed with hot glue.
During further assembly, the author had a problem, the case did not want to completely shut down, the stun gun module interfered with him. As a result, the author found a way out, he used hot-melt glue, with his help the device was flooded along the contour.
The spark module here was used without a multiplier; due to this, it has smaller dimensions. Still such a module does not form such a cobbled spark that bursts so that all the dogs scatter around. When you turn on the spark is a little audible, and it glows pink. But here such power is more than enough.
Step Five Final stage
According to the author, the home-made turned out to be excellent. A lighter sets fire to gas from a half-kick, as motorcycle enthusiasts like to say. There is enough spark power even to set fire to paper.
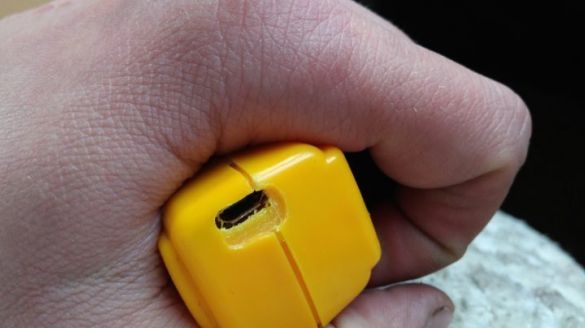
At the final stage, the author made a hole in the case for the charging cable. The output here uses micro USB, which allows you to charge the device from computers, PowerBank, chargers for mobile and any other power supplies that produce a voltage of 5V.
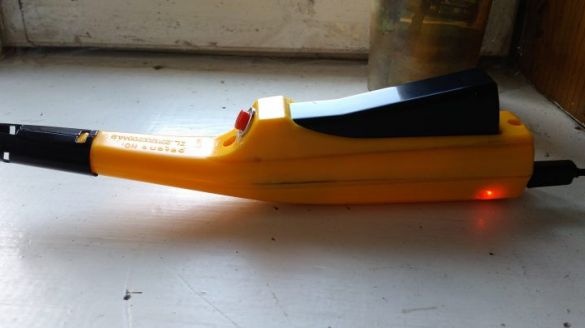
That's all, the homemade assembly is over. Now burning gas will bring you only pleasure.

