Work involves a lot of running and driving around the city and the constant circulation of keys in pockets and hands is very annoying. Also, sometimes you have to return for forgotten keys.
And I decided to repeat the Start / Stop button according to the schemes found on the Internet. But as always, something has not been said there, not thought out and the controller is too thrifty. I had to do it from scratch.
The controller chose the cheapest Attiny2313 - about $ 1.
1. After disarming the vehicle, power is supplied to the unit via a relay (). In the future, RFID identification will be supplemented.
2. Then, alternately, the RGB diode (button with a built-in diode) will light up in blue, red and green for 1 second for each color (it is possible to add a sound confirmation). The unit is ready to go.
3. A short press on the button will turn on (turn off) the ACC relay, the blue color of the diode will light up.
4. A long press on the button will turn on (turn off) the ACC relay and the ignition relay, the blue and red diode will light up (with RGB - violet-white color).
5. A long press on the button while holding the Brake pedal will turn on the ACC relay, the ignition relay and turn on the starter relay. After starting the engine, the controller monitors the oil pressure, as soon as the oil pressure appears - the starter relay is turned off,
car wound up, turn on the green color of the diode. Controlling oil pressure is not ideal, as in summer and winter it will respond differently, in the future we will monitor according to data from the tachometer. A repeated long press on the button while holding the Brake pedal will turn off all the relays - the car is off. You can put on an alarm.
6. If during the drive the car stalls or we force it, the controller will work out the lack of oil pressure and return to its original state (similar to turning off the button).
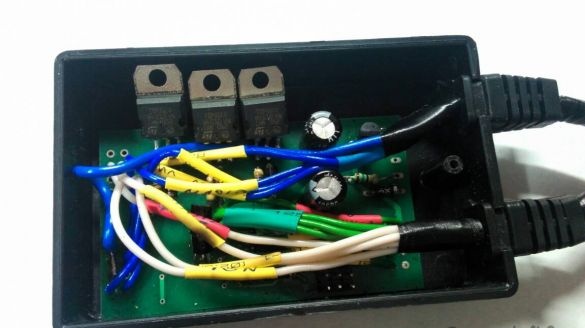
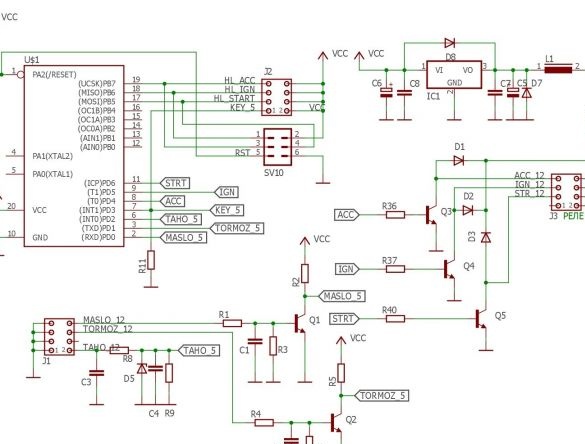
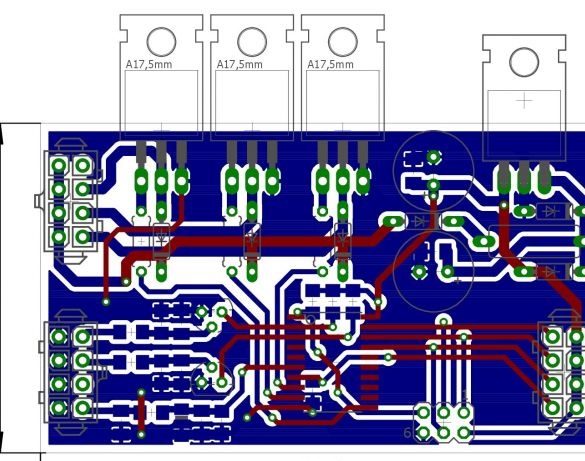
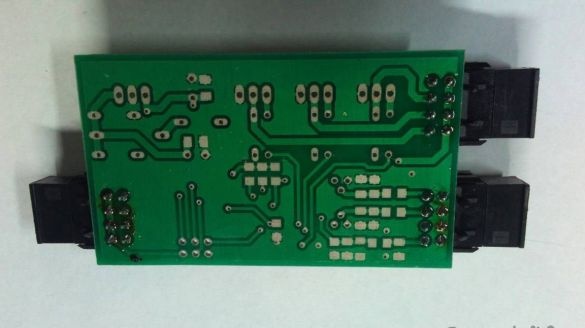
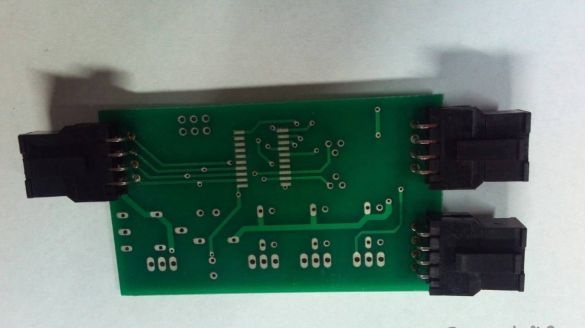
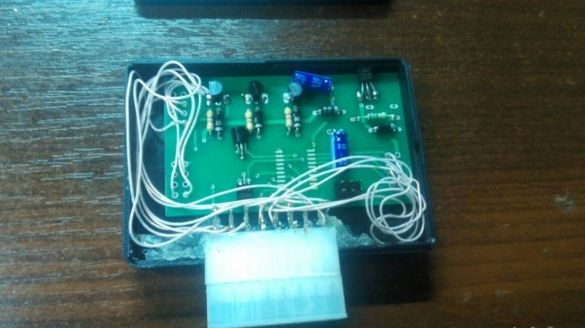
The circuit is assembled on the circuit, on which all parts are placed except for the button (with backlight) and relay.


