
Each summer resident He knows and understands perfectly well that his tool for cultivating a garden garden must always be kept in proper form and order, a lot depends on this too. The tool is scattered. then on the beds a mess is a regularity)
But when you accustom yourself to order, then everything will be fine in the garden.
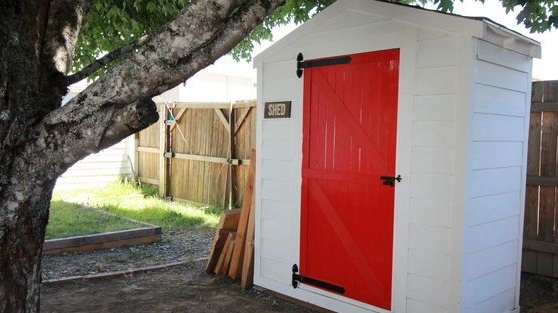
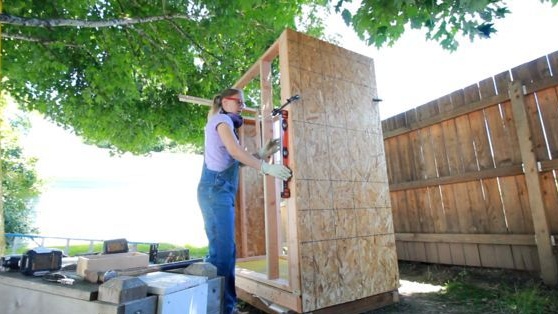
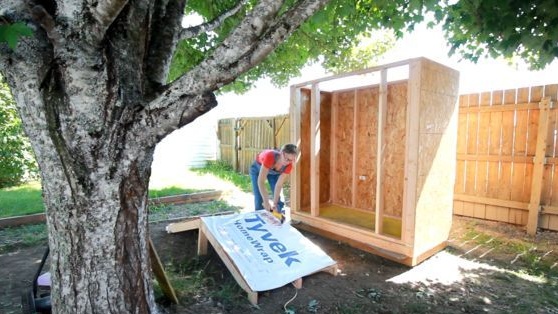
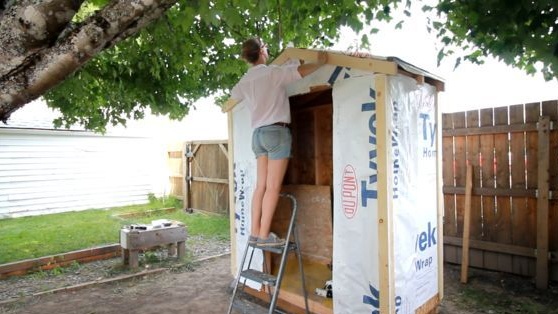
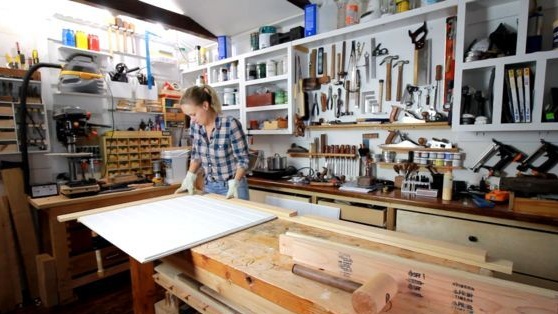
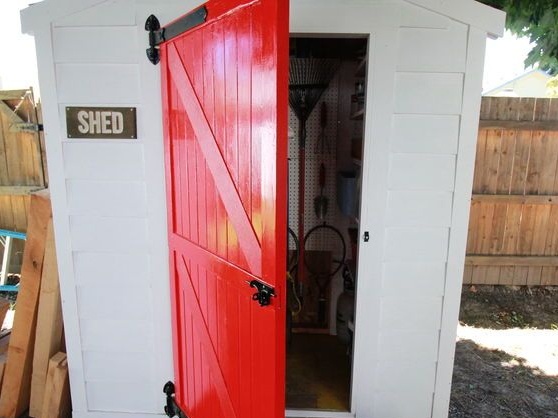
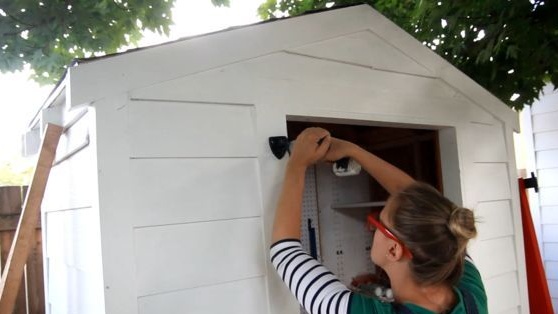
Ideally, a separate small shed should be built for a summer cottage tool, knocked together from planks and plywood. Inside, hangers, hooks and shelves should be placed in such a way that everything is compact and rational.
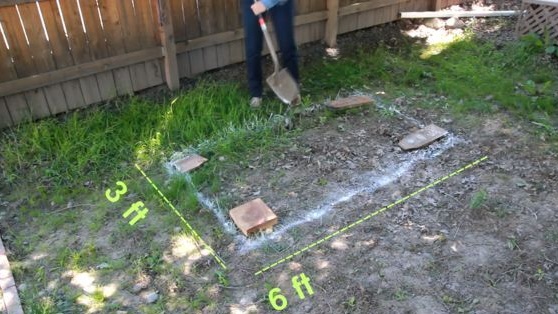
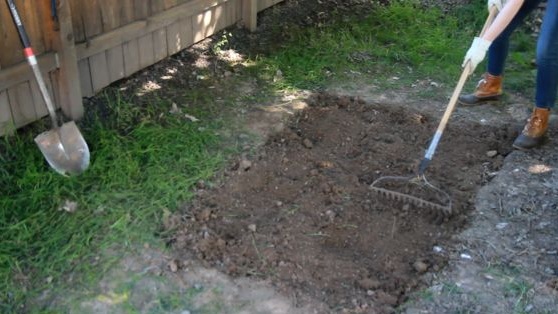
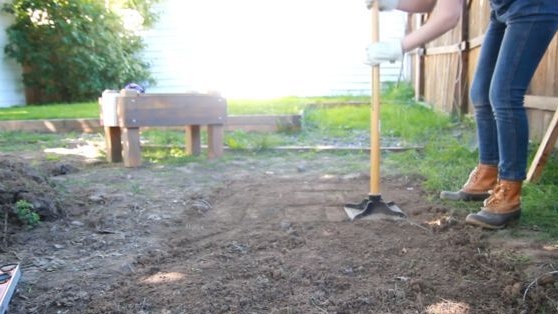
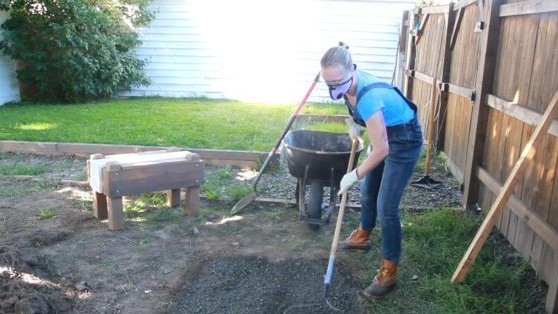
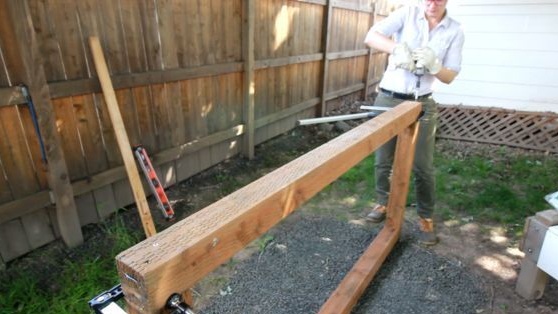
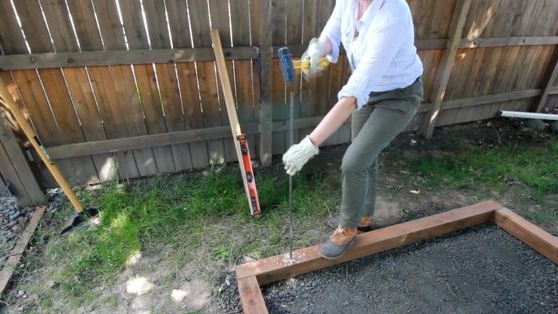
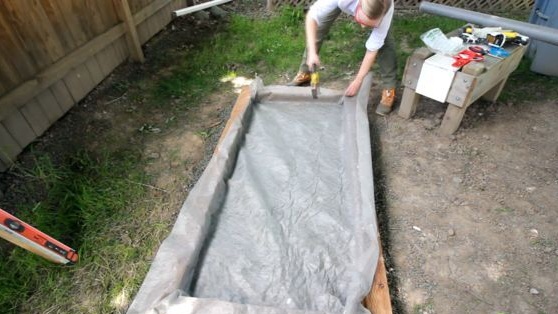
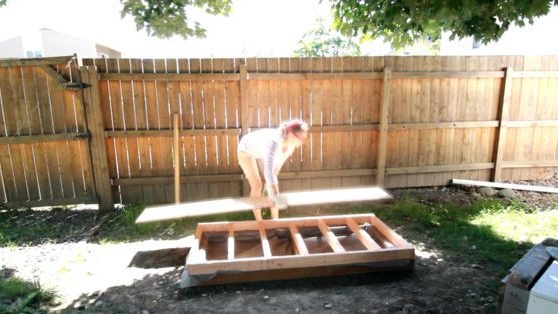
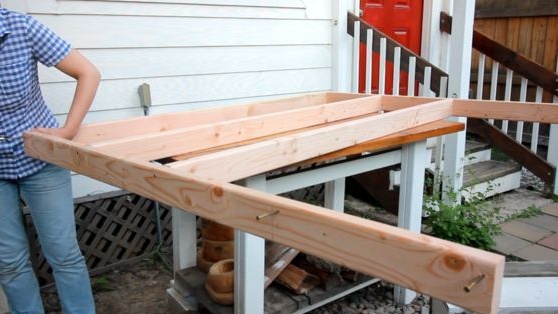
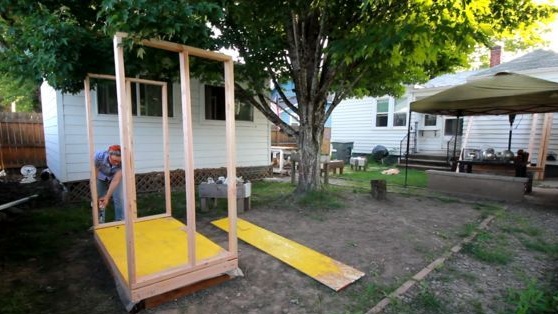
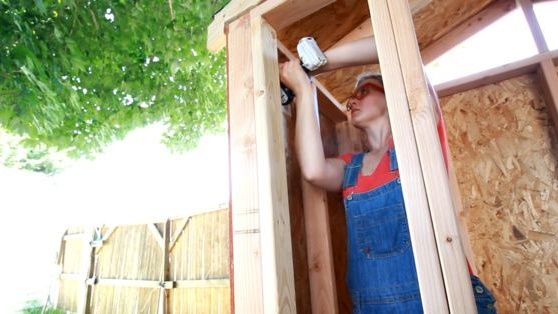
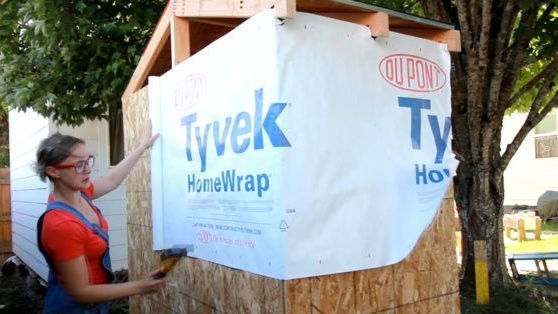
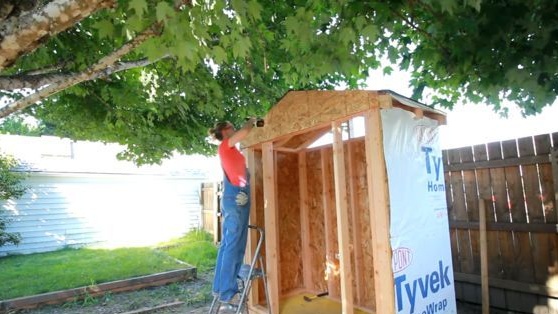
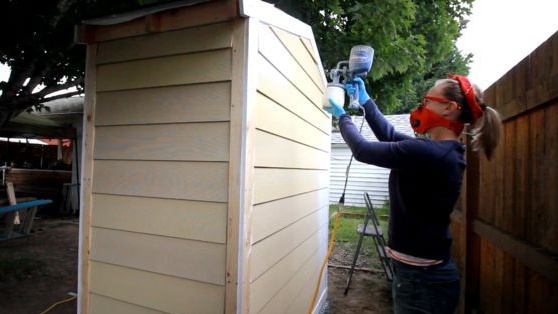
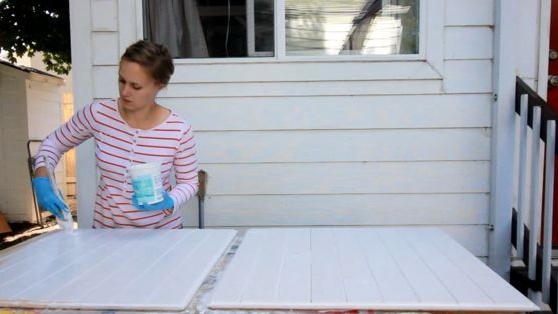
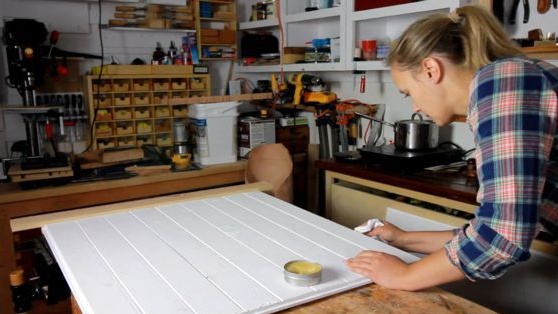
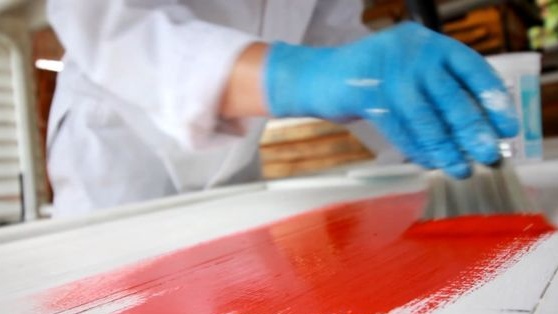
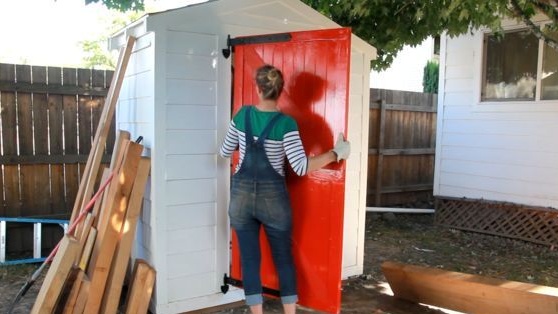
First of all, of course, you need to choose a suitable place on your site, clean it of debris, shrubs, stones and other things, if any. Next, mark the area of the plot allocated under constructioncan be sprayed with white paint or pegs with a white rope. The upper part of the soil is removed along with the turf on a bayonet of a shovel, the selected cavity in the ground is covered with geotextiles, and covered with fine gravel on top, this is necessary so that weeds do not grow under the shed. After that, the frame is assembled from timber and boards, the gable roof is covered with a soft roof. The surface is painted with white paint, it repels the sun's rays.
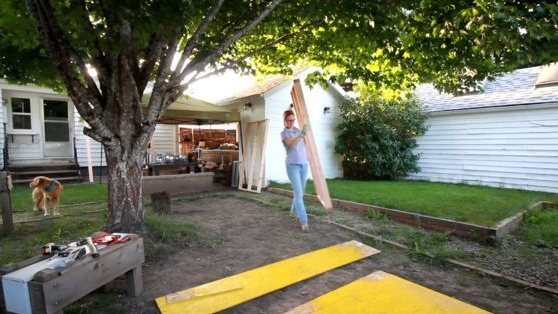
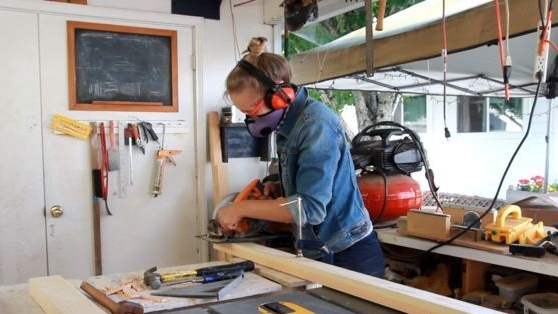
And so, let's look at how the author built his shed and what exactly did he need for this?
Materials
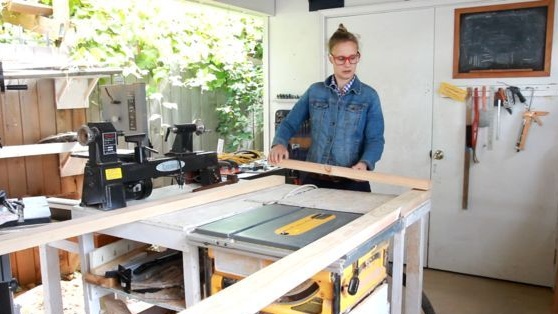
1. wooden beam
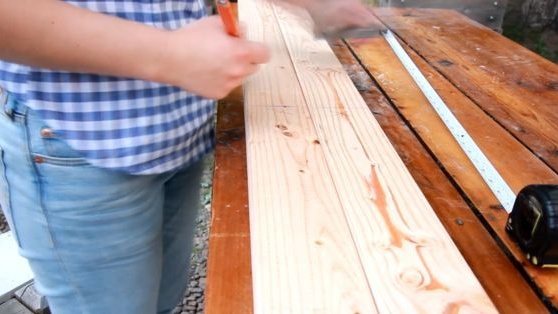
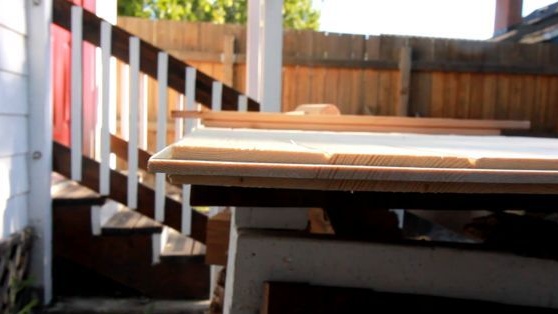
2. board 25-30 mm
3. geotextiles
4. fine gravel
5. soft tile
6. membrane
7. paint
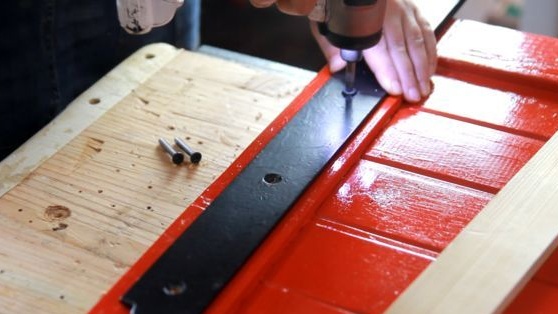
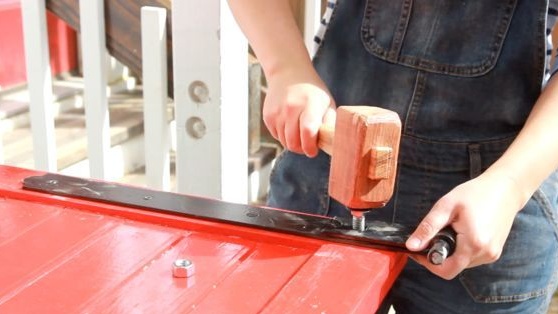
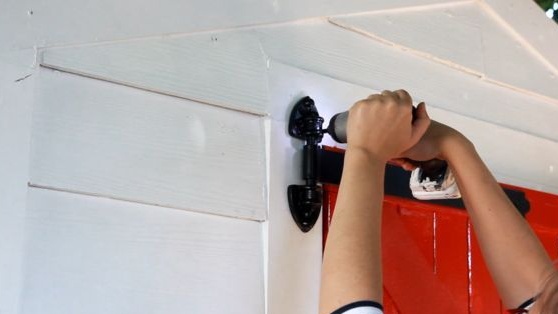
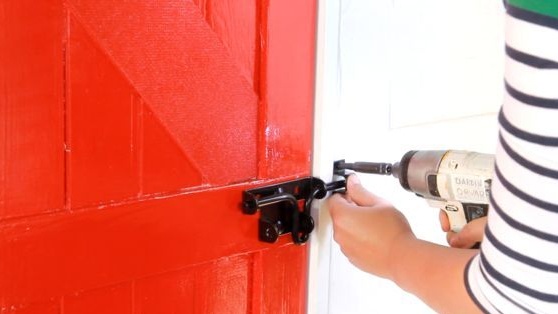
8. Barn Hinges
9. hooks
10. hangers
Instruments
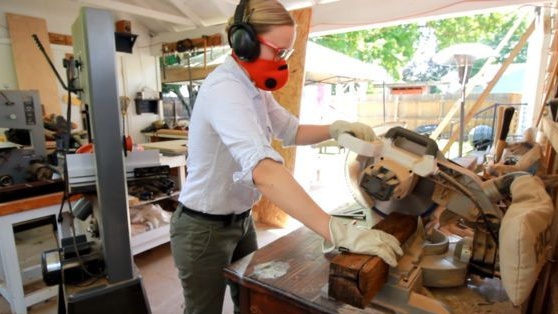
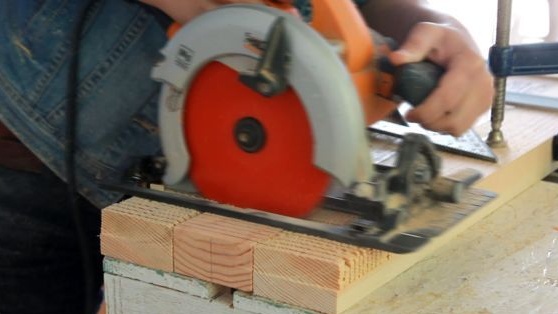
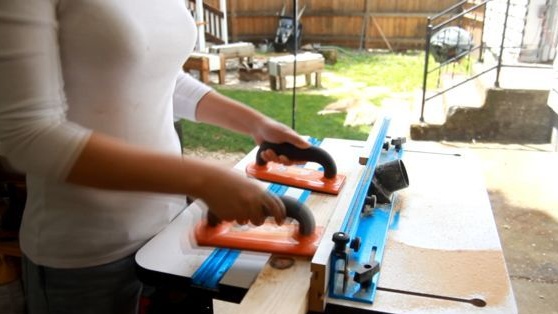
1. circular cutting saw
2. hacksaw
3. screwdriver
4. drill
5. roulette
6. hammer
7. Sledgehammer
8. corner
9. level
10. spade
11. rammer
12. brush
13. roller
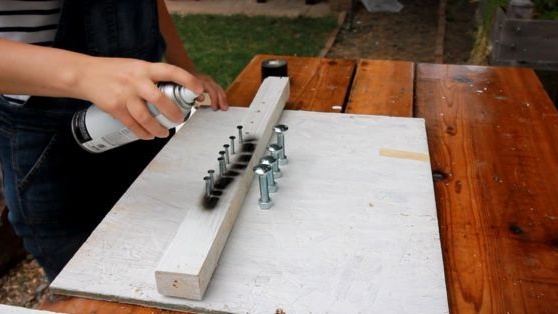
14. spray can with white paint
Step-by-step shed construction process do it yourself.
To begin with, you should decide on a place for construction, the shed should not interfere with the movement of the summer cottage and harmoniously fit into the design)
The barn is an outbuilding and is not subject to registration, so you can build peacefully)
The first step is to mark the area, remove the topsoil and lay the geotextile, and then fill it with fine gravel.
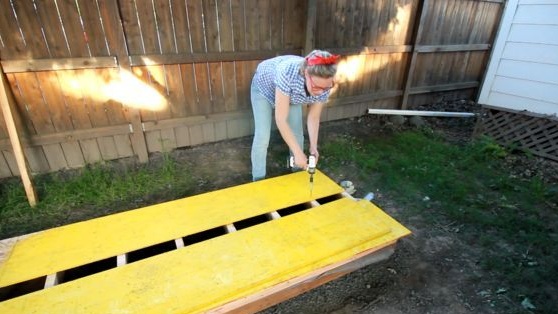
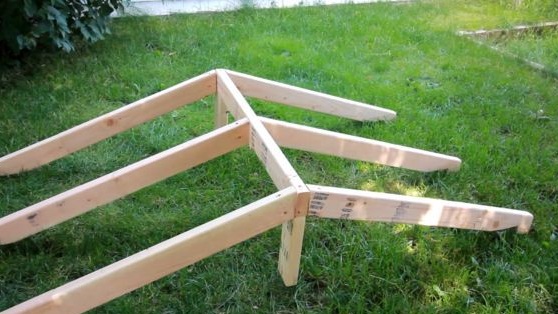
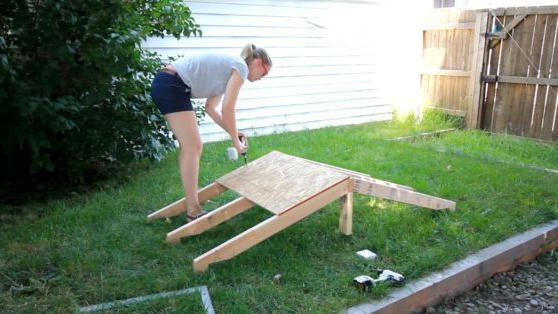
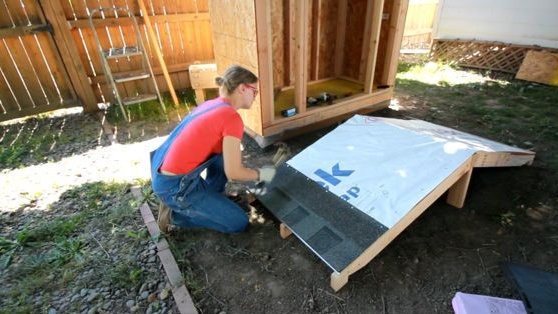
Further, the plywood roof is covered with soft tiles. Be careful! It is necessary to make a lap of at least 15-20 cm, which the author did not.

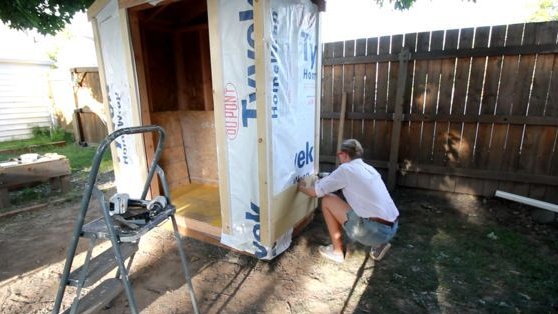
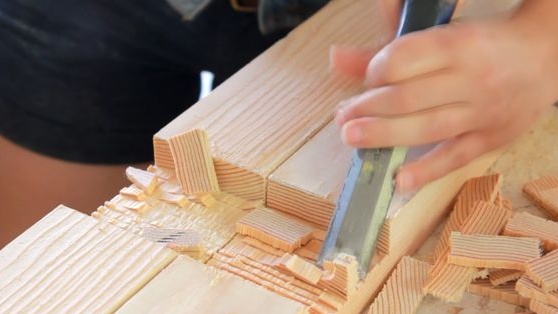
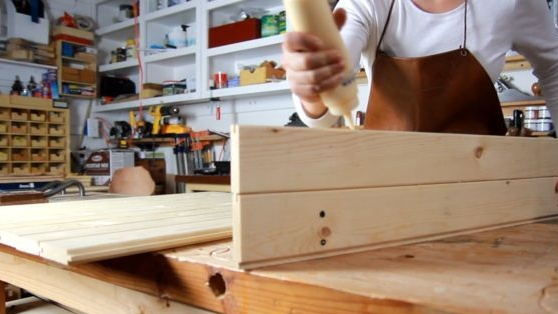
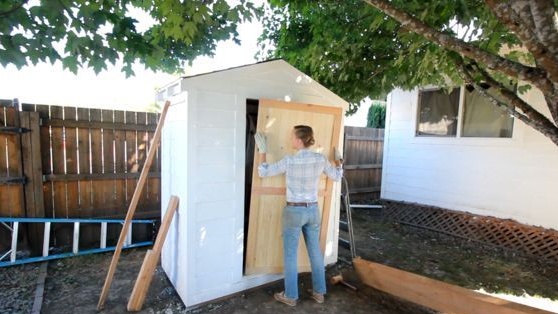
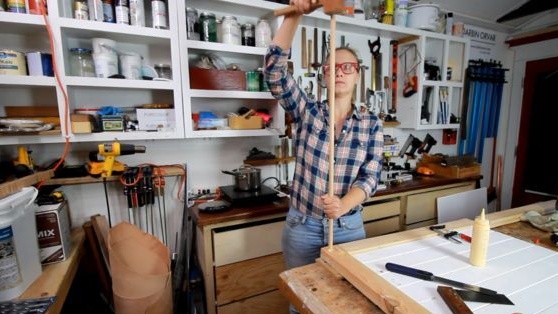
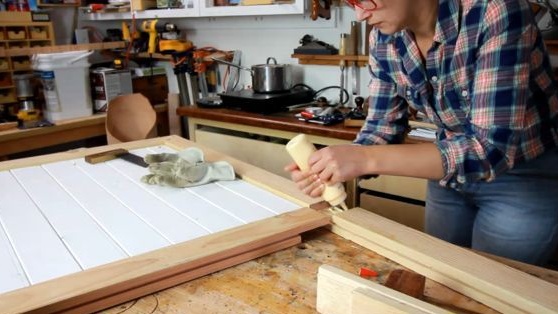
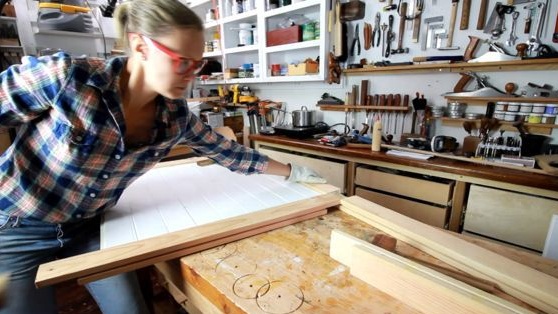
After which the author transgressed to make the door of the barn and hung barn hinges on it.
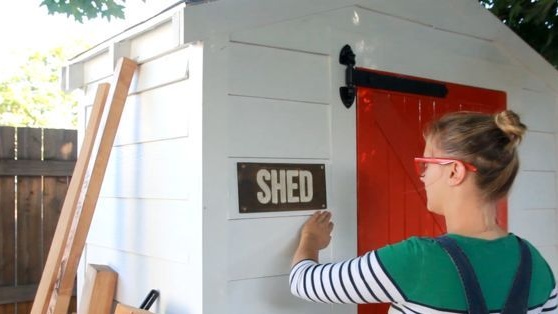
As you can see, if you want, you can build yourself on the site with your own hands and not hire builders or local craftsmen)
Step-by-step instructions are provided for you, so we take and do it. Go for it friends!
That's all, thank you all for your attention!
Come visit often and do not miss the latest in the world of homemade goods!