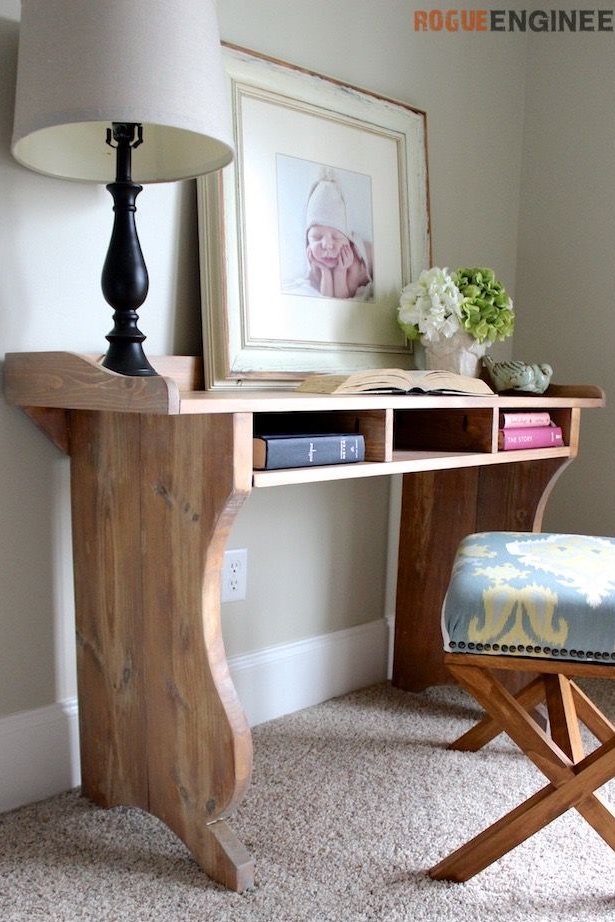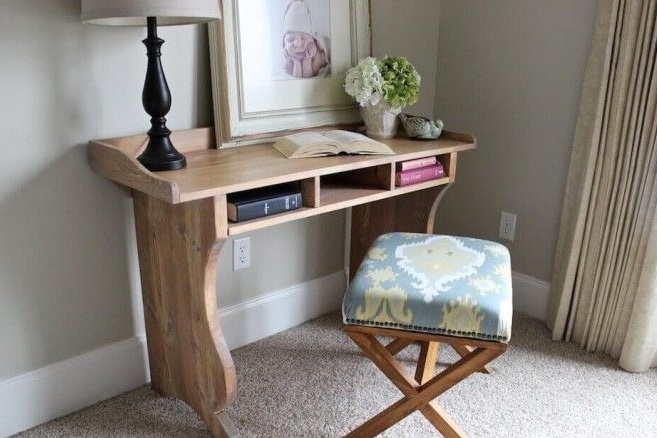
A work desk can tell a lot about its owner. Especially if he chose it himself. Simple designs with strict geometric shapes are perceived by many as boring and featureless furniture. Their aesthetic flair requires elegant forms and original figured details.
Such needs are quite capable of making up for natural wood furniture. And the table from this master class is the best confirmation of this. Despite the stylistic features of the design, it is very simple to manufacture. With the help of glue and jigsaw forms are created much more complicated than this.
The table is perfect as a workplace for a woman or a young girl. It can also be used as a school desk or, for example, a cosmetic table. As a material, you can use wood of any species that are traditionally used in the manufacture of furniture: oak, maple, pine, aspen and others, less common.
The processing of wood, which the author applied, ensures that this elegant table will serve its mistress for many, many years. It is simple and does not require any specific skills or experience from you.
In order to make such a desk with elegant legs, you will need:
Materials:
- boards with a thickness of at least 25 mm, and even better 30 mm;
- glue for working with wood materials;
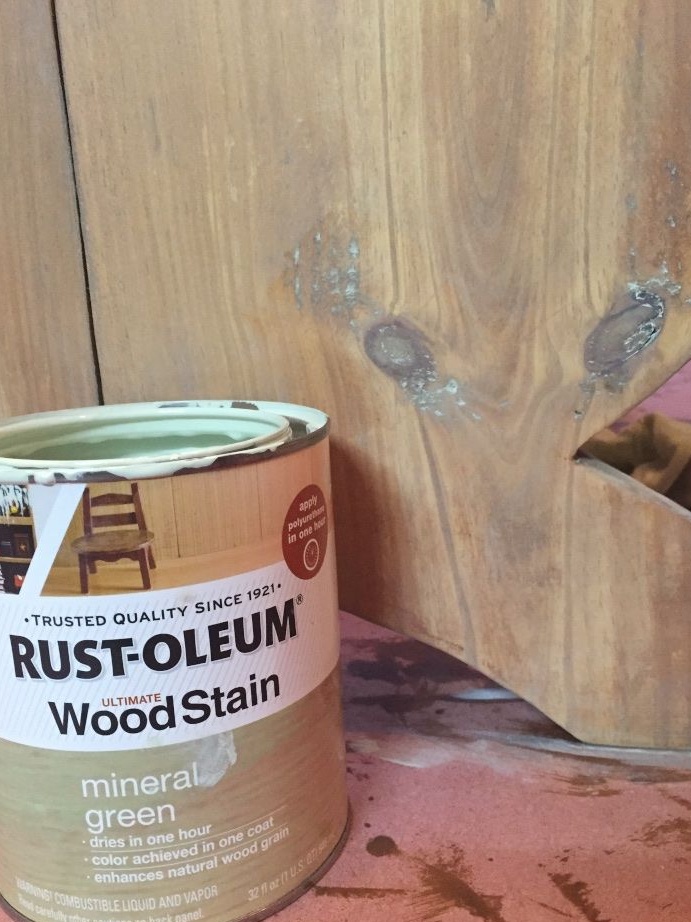
- decorative oil with a tinting effect;
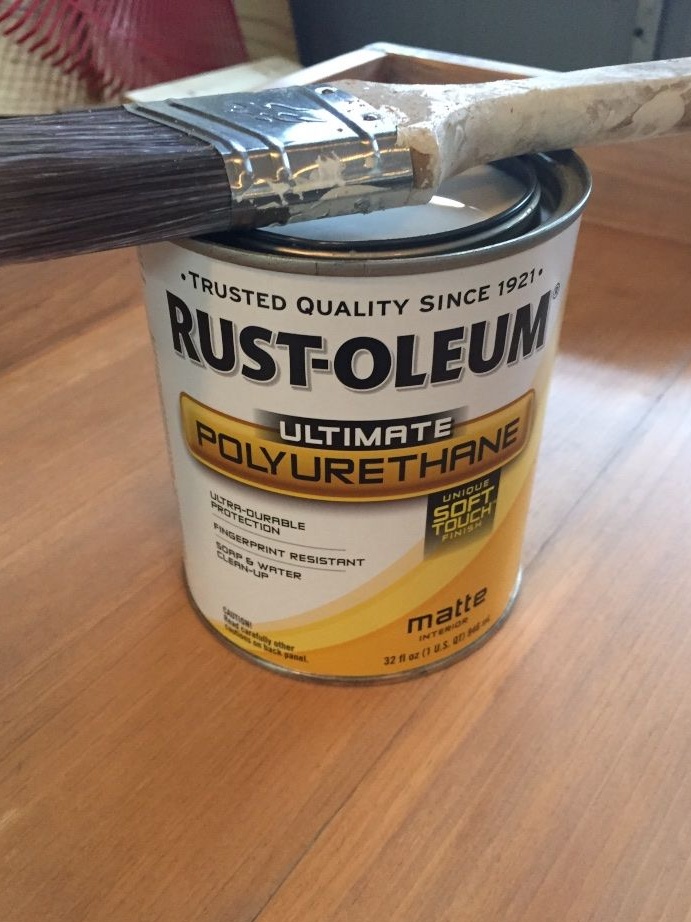
- polyurethane or any other resistant matte varnish, which is used for varnishing furniture;
- furniture screws.
Instruments:
- miter saw or circular;
- jigsaw for cutting curly parts;
- grinder;
- electric drill;
- screwdriver;
- a clip with a device for drilling pocket holes for screws;
- clamps for gluing panels;
- a small sewing pattern if necessary;
- cardboard or paper for the manufacture of patterns;
- scissors;
- building tape measure and square;
- ruler;
- a pencil;
- paint brushes;
- A soft, lint-free cloth for oil wood processing;
- fine sandpaper.

Step one: mark up the parts and make paper patterns
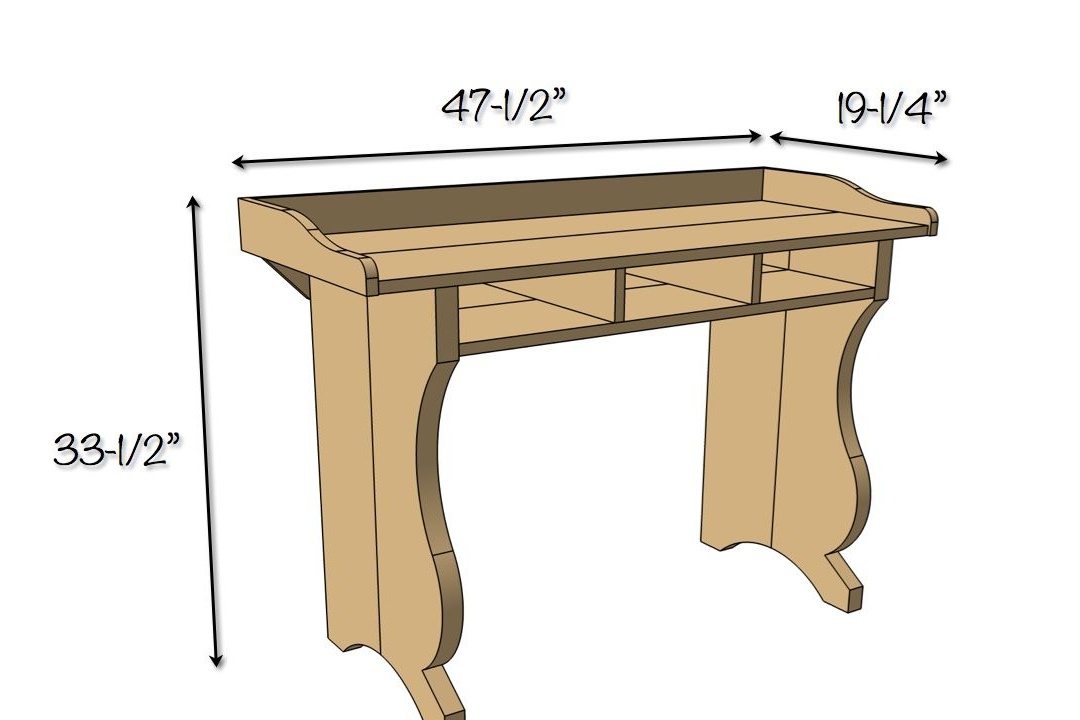
Converting the sizes indicated in inches to sizes in centimeters is in most cases an ungrateful task, because at the output you can get ridiculous numbers with lots of zeros. But let's still try to determine at least the general dimensions of this table.
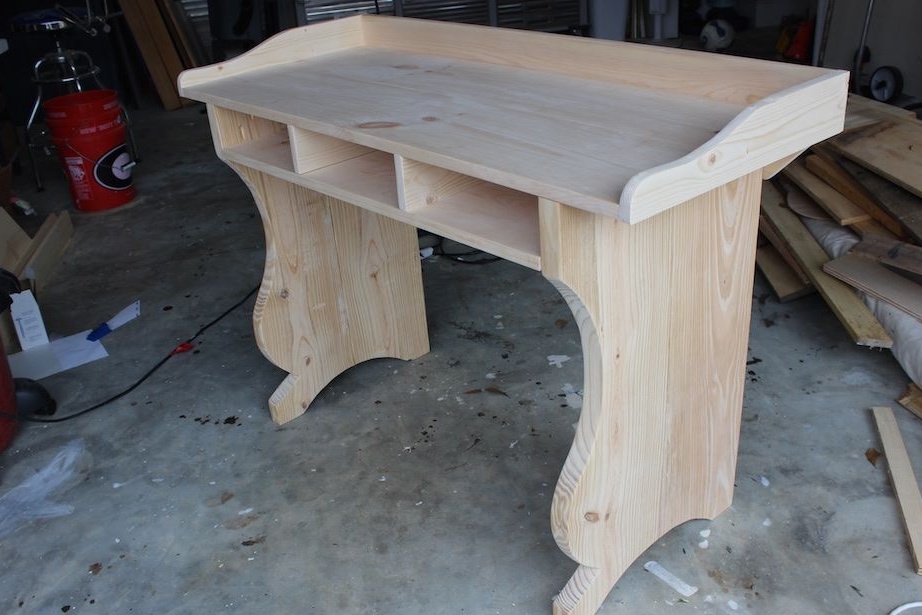
As conceived by the author, the length of his countertop is almost 1190 mm, while its width is equal to 480 mm. The height of the table is 840 mm. As you can see, the table is not too wide, so it is very compact. Estimate the size of the countertops and determine how they fit your tasks. If the table is small, increase its size.
A height of 840 mm is considered the boundary for a desk. If your height does not exceed 170 cm, consider reducing the height of the table to 750-800 mm.
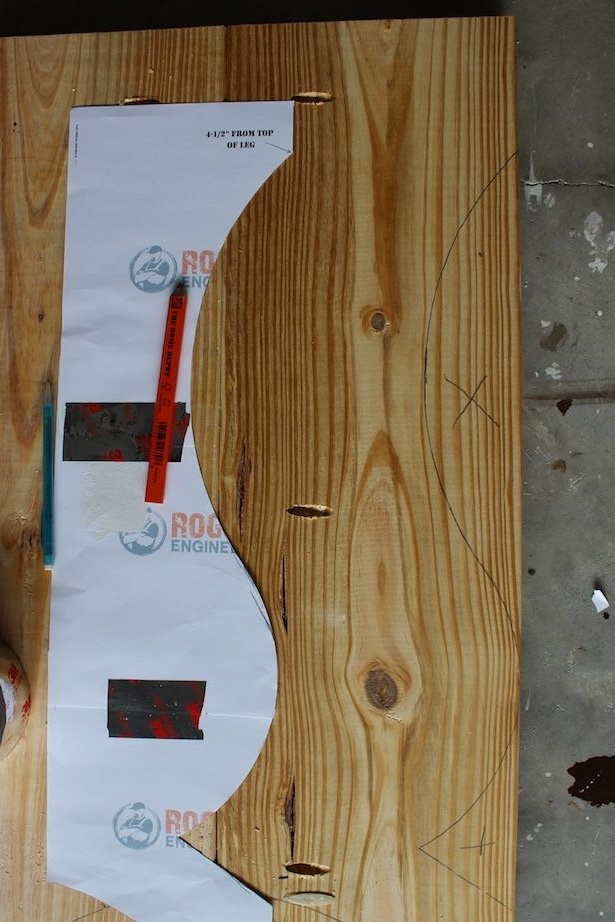
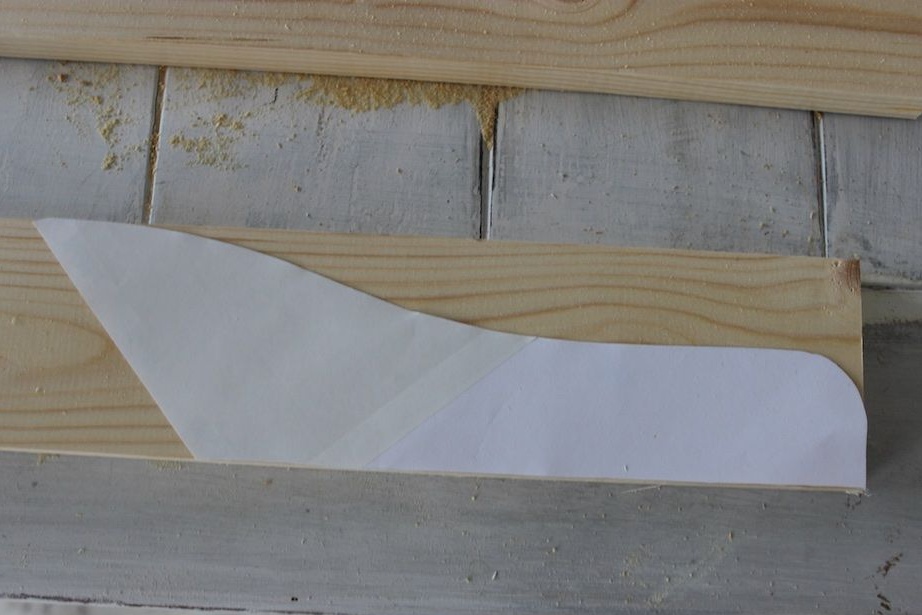
The author chose to make paper patterns of curly elements of the table. This takes some time, but greatly simplifies the task of marking and manufacturing parts. Use unnecessary wallpapers, old newspapers or wrapping cardboard for this.
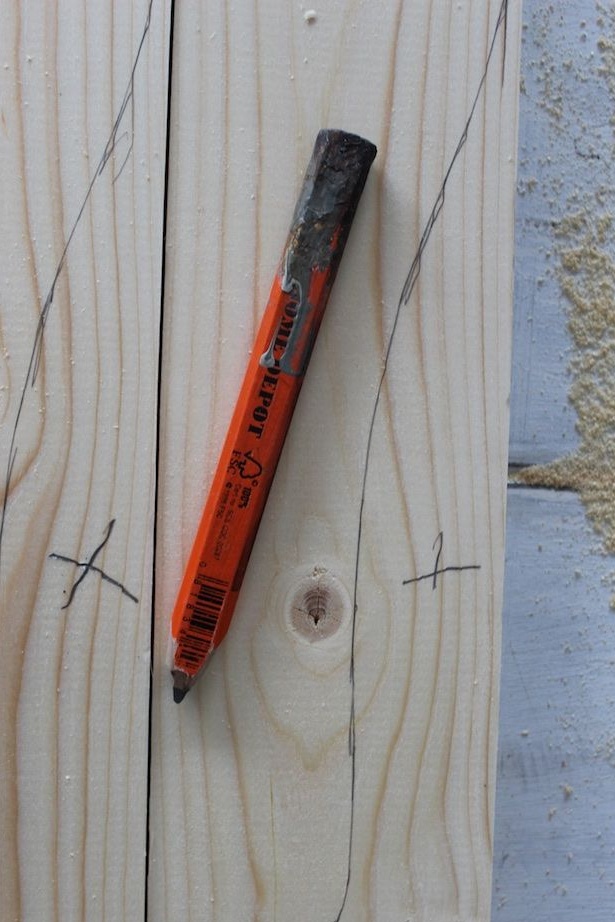
The author painted the details by hand in pencil. Do not use a marker, otherwise you will not be able to discreetly fix errors. If you are unable to draw beautiful smooth lines, you can use a small sewing pattern made of plastic. It is easy to purchase at any sewing store.
Cut out paper patterns and place them on pre-glued wood panels. Read how to make them in the next step. Circle the patterns and conduct all the accompanying marking of the parts.
Step Two: Making Desk Parts
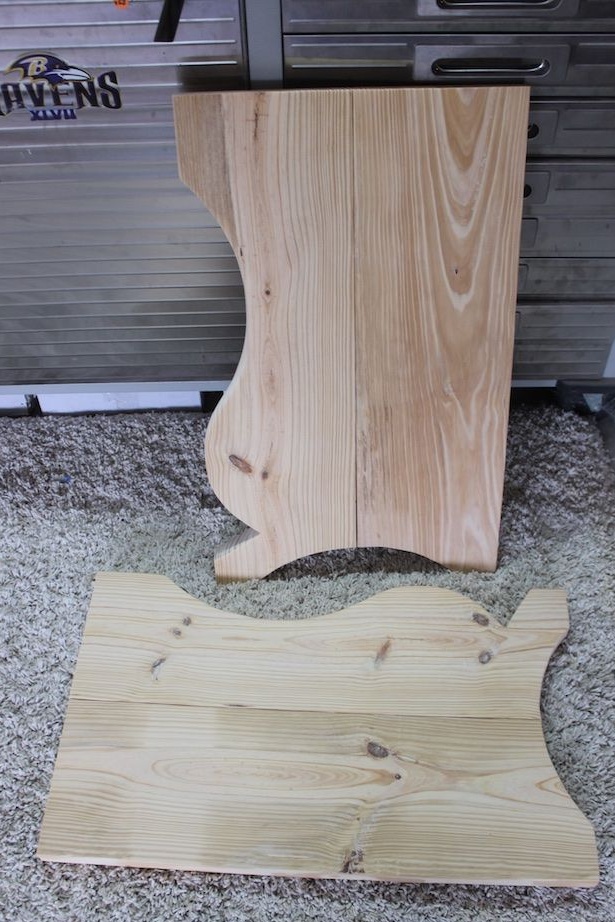
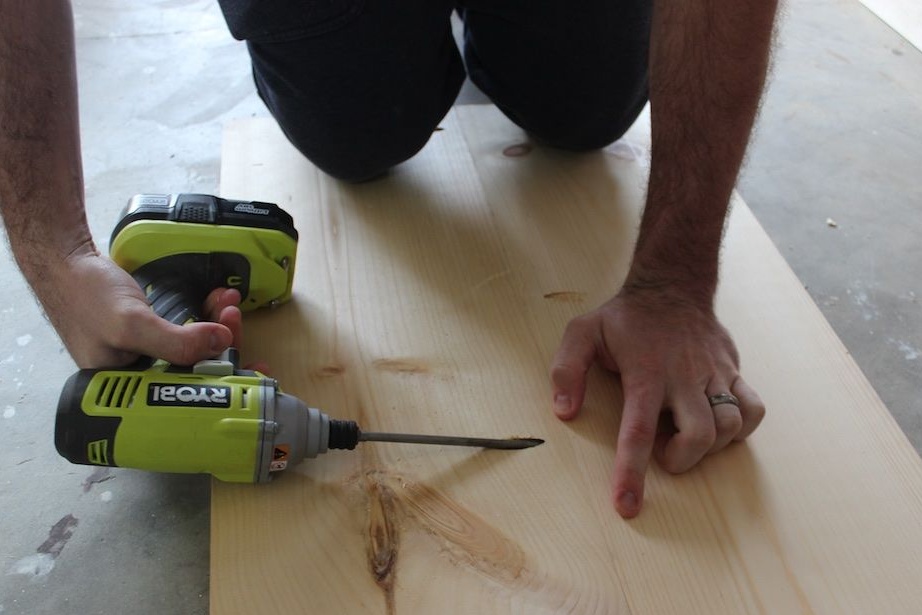
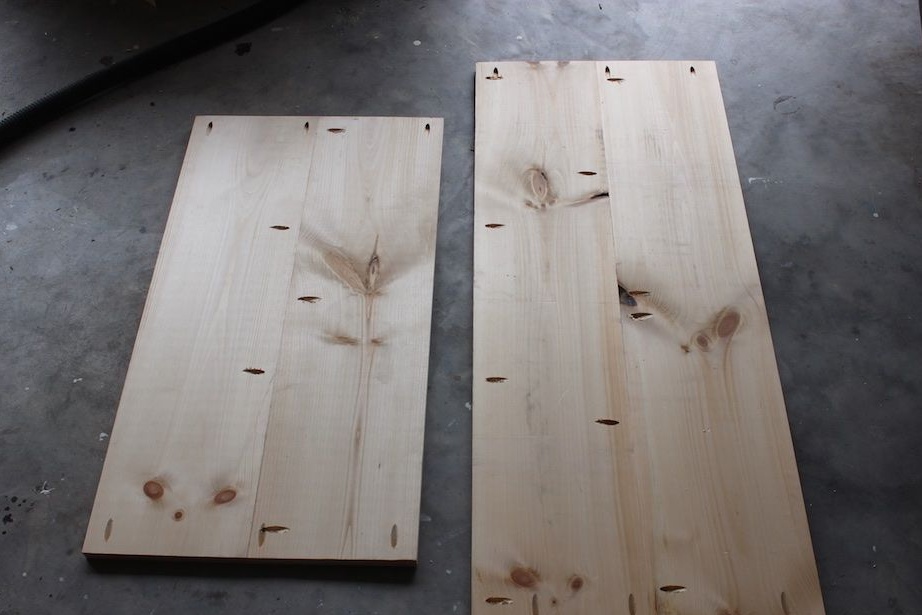
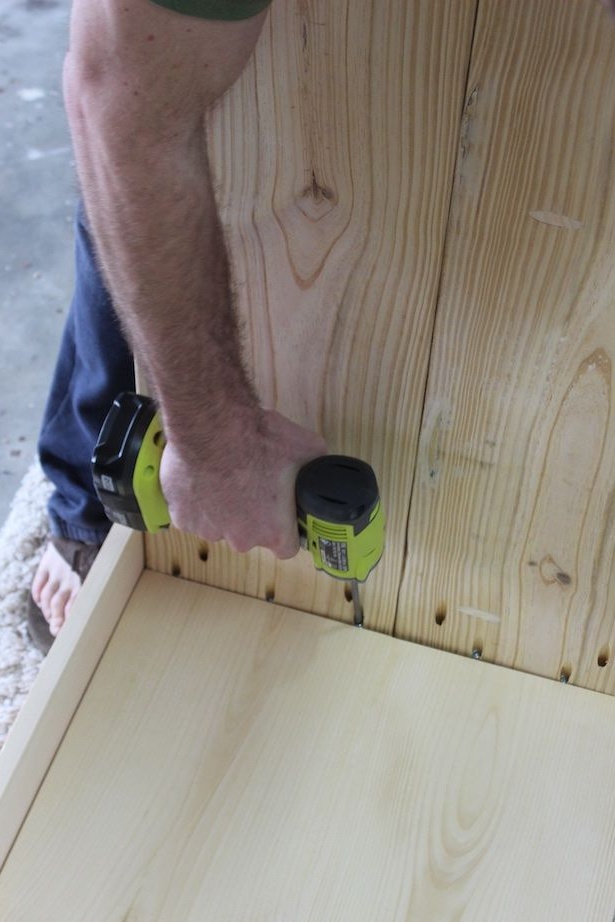
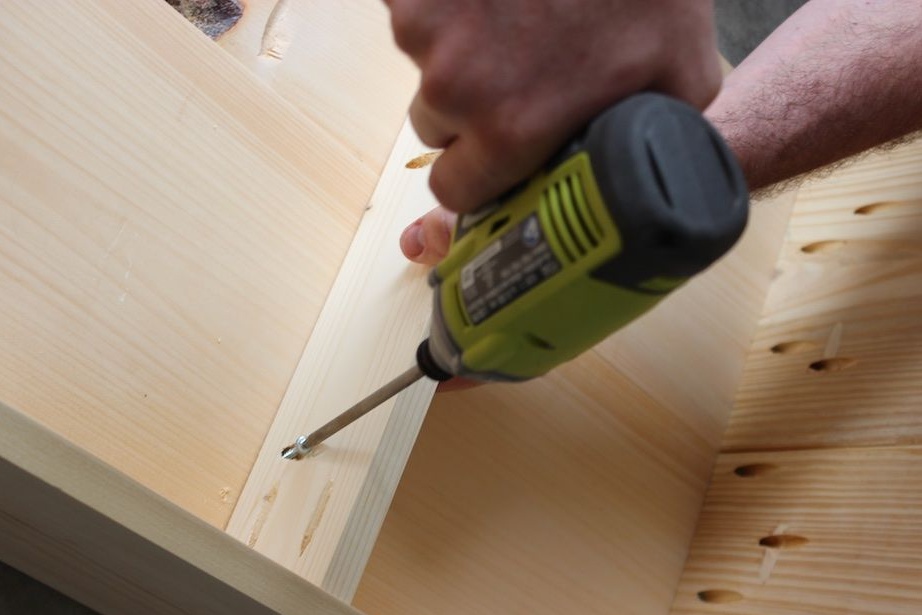
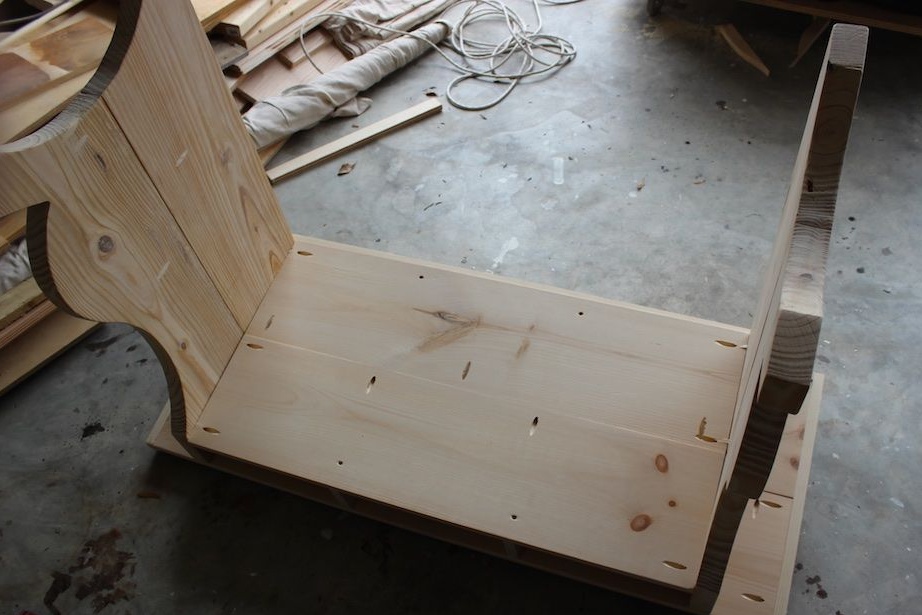
To make the figured panels of the legs, the author first made the wooden panels themselves. To do this, he connected two wide planed boards with glue and furniture screws. The author used pocket holes and flush-to-flush joints.
In order to make the workpiece neat and have a perfectly flat surface, apply a little glue to the edges of the parts and firmly press them together for several seconds. Place the workpiece in the clamps and remove excess glue. Later it will need to be sanded, since not all paint behaves well on the wood surface treated with glue. Screw the screws into the pre-drilled pocket holes.
Lay the workpiece on a flat, clean surface and place the load on top. Keep in mind that with any roughness of the glued faces, the workpiece may bend during the drying process, so the use of the load is necessary.
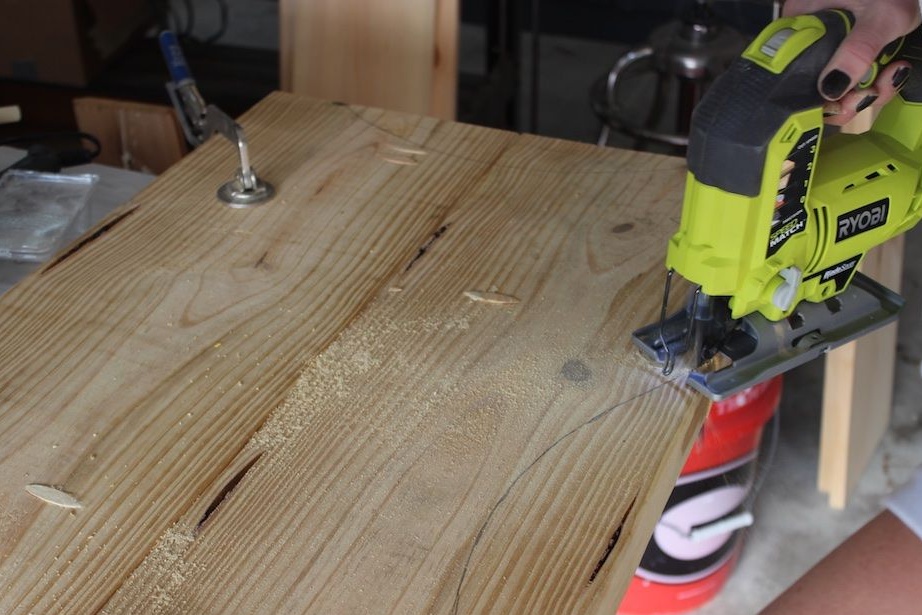
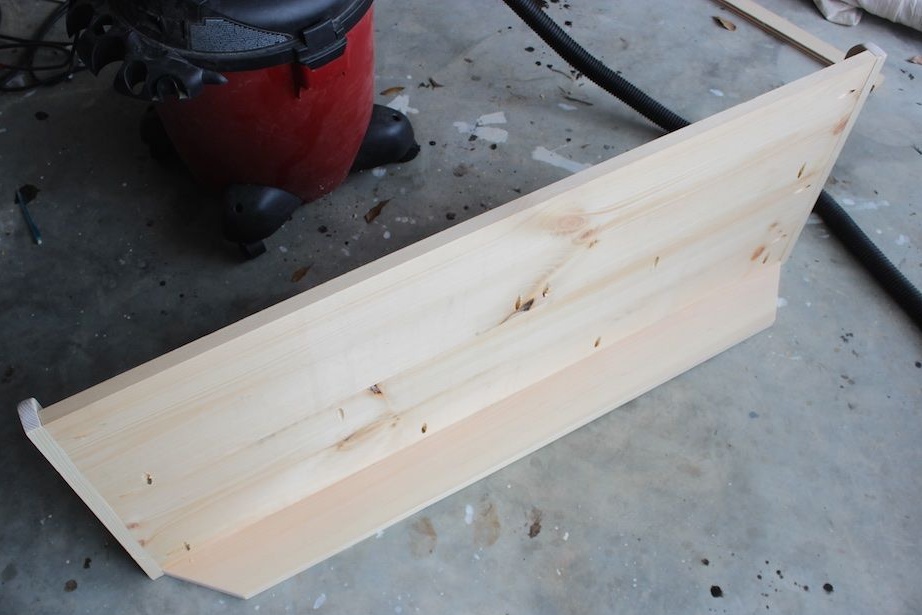
Saw the parts with a jigsaw and a miter saw. Instead of a miter saw, you can use a circular tool or any other familiar tool.
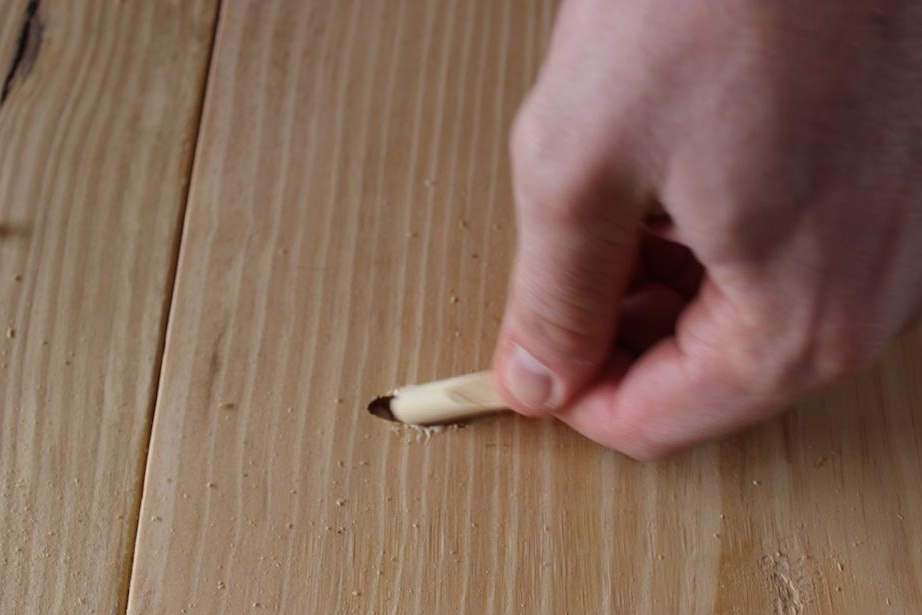
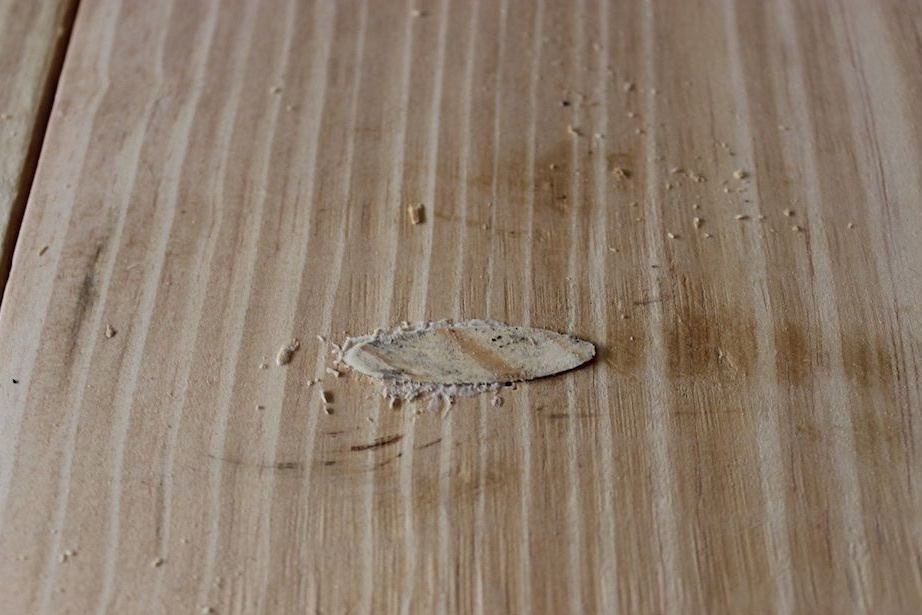
In order to hide pocket holes, you can use two common methods. The first is that a wooden plug is placed in the hole and fixed there with glue. The second way is much less labor intensive. You just fill the holes with putty on the wood, let it harden and polish it.
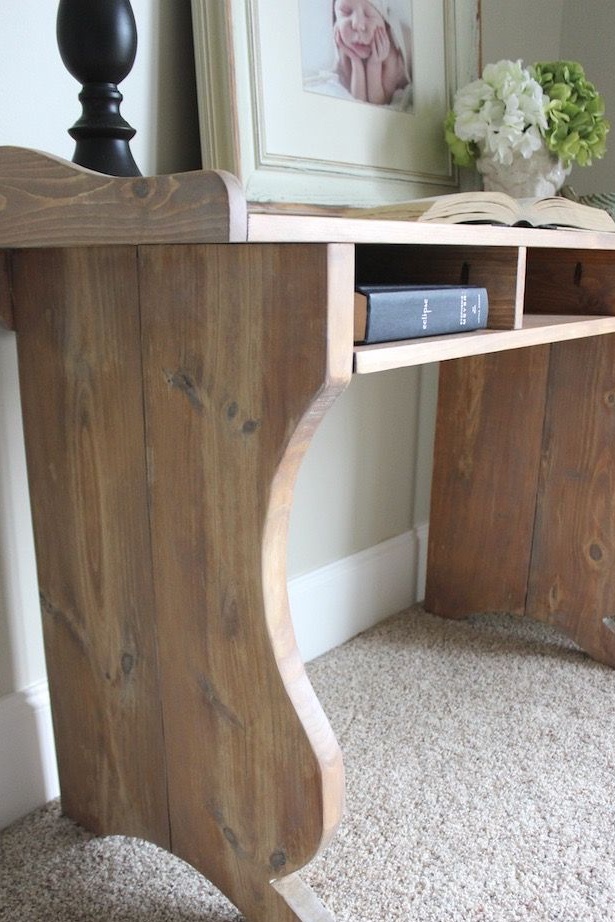
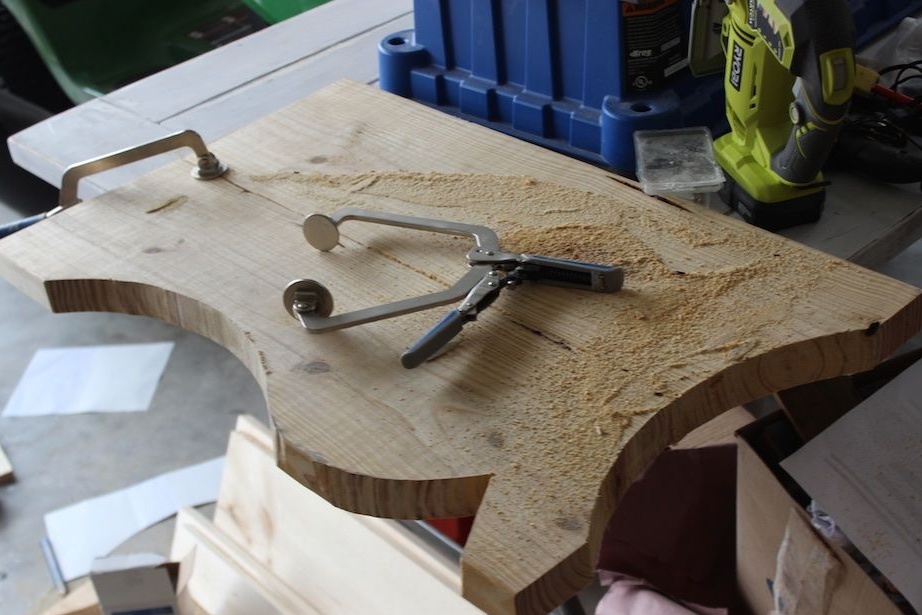
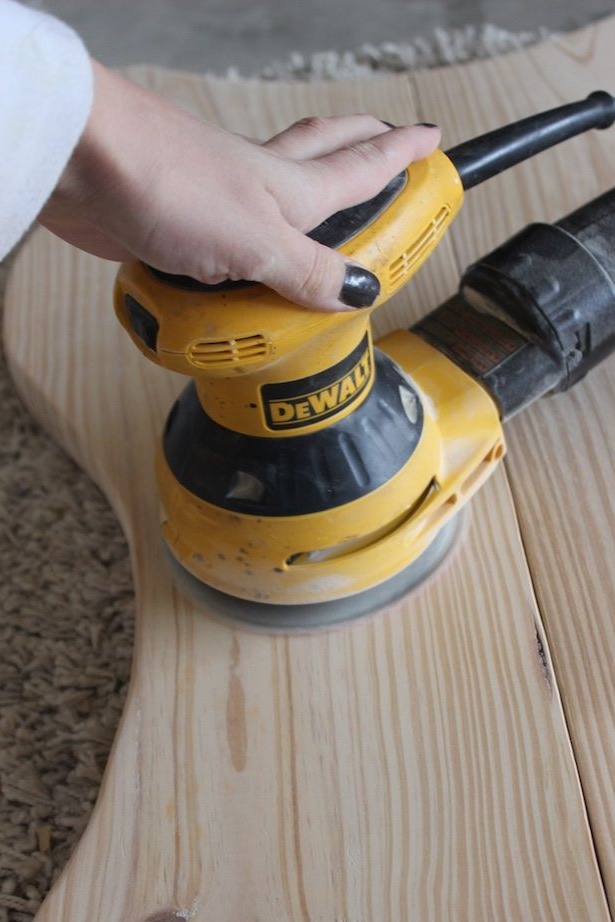
Grind all wooden workpieces carefully until their surface becomes perfectly smooth. The author rounded the edges of all the elements of the table for a more feminine image.
Thus, make two panels of legs, a countertop, its rear and side stops, a back part that covers the back of the shelves, partitions for the shelves and the base for them.
Step Three: Assembling the Table
If you prefer to paint finished and assembled products, it's time to start the final assembly. At this stage, the author also used secret pocket joints in combination with glue.
For strength, you can use all kinds of metal connectors: plates and angles. Try to quickly remove excess glue, so as not to grind it again before painting.
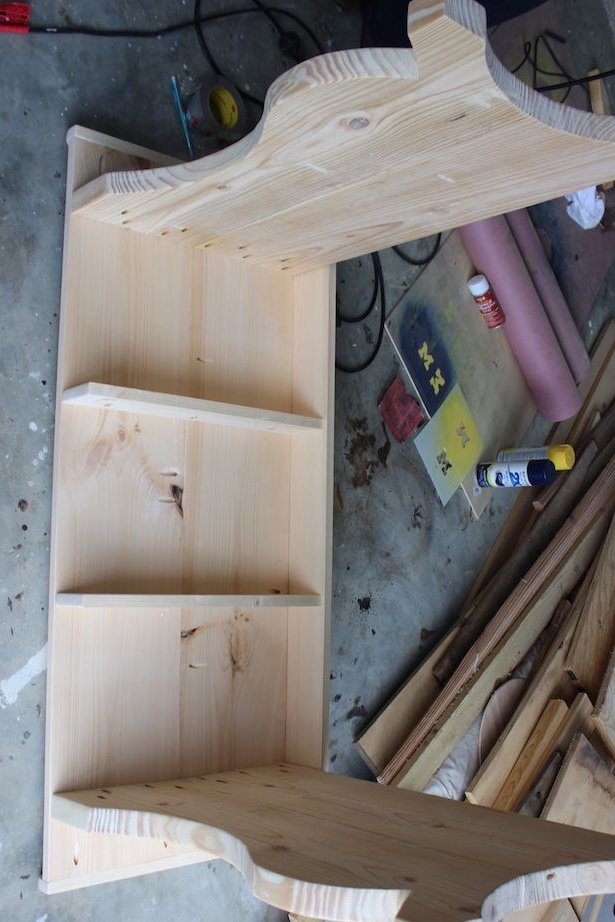
Start the assembly from the countertop. Fix curly decorative stops on the sides of the panel. Place a rear protruding part between them. Also fix the figured panel, which covers the shelves on the back of the table.
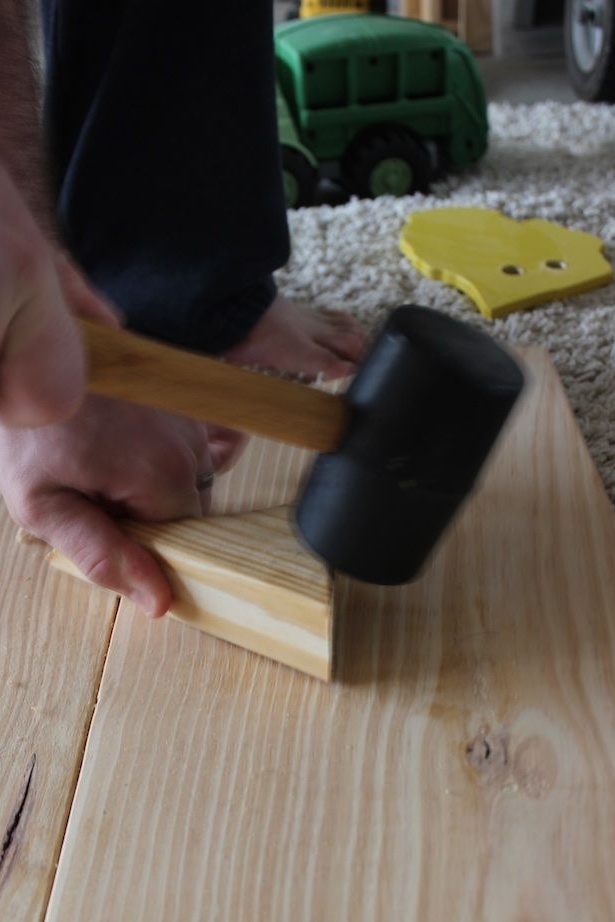
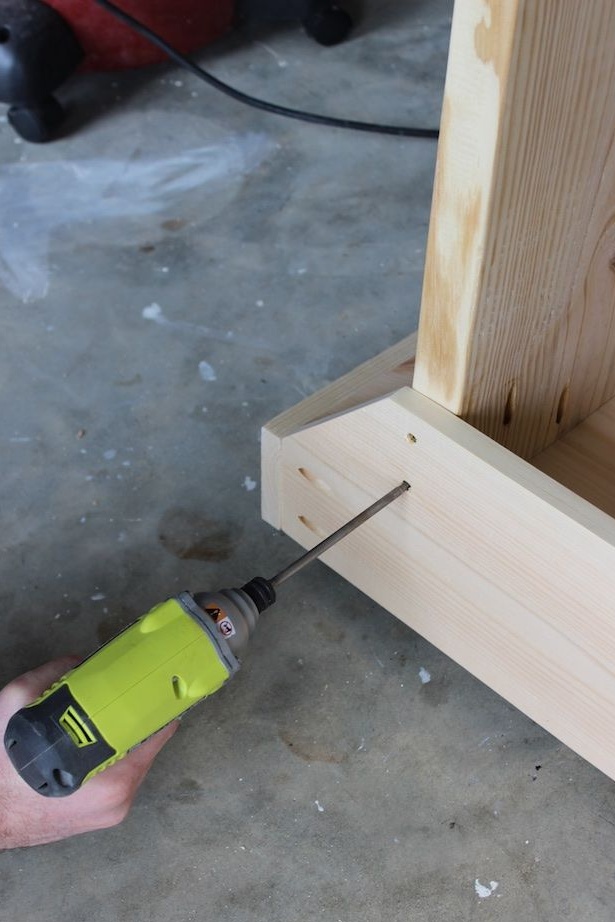
Go to the legs. Measure and mark the places of their fastening and fix using glue and screws. Place the table on the legs with the table top up and make sure that they are strictly parallel and at an angle of 90about. After that, tie them to the back panel for rigidity.
Using the same principle, install the shelf partitions, then secure the base. There is no need to glue the base parts together. Fix them one by one.
Step Four: Wood Processing
Protective and decorative processing of the table is conceived in two stages.
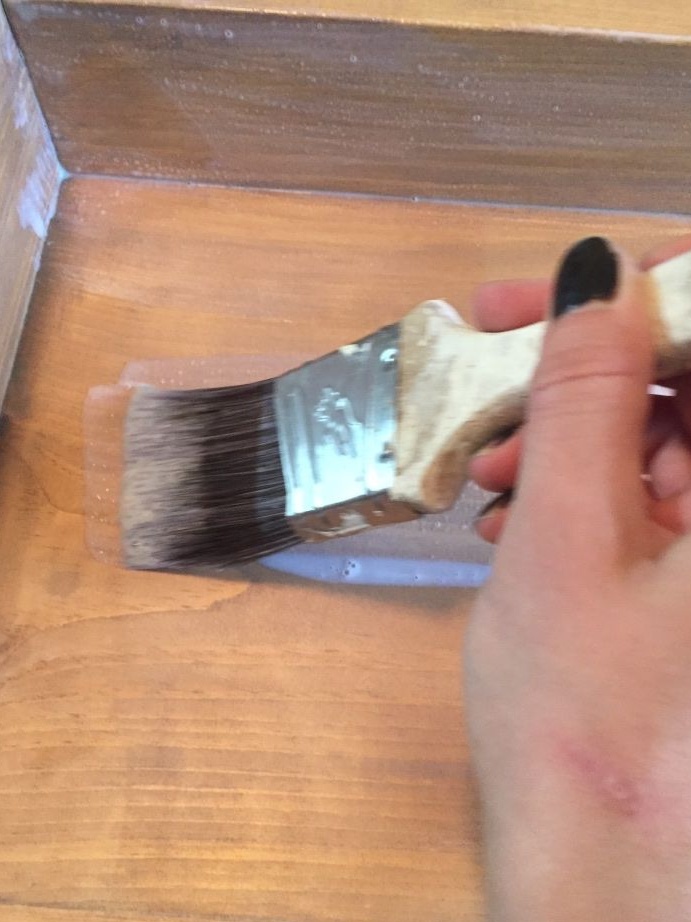
First, the author treated the surface of the tree with protective and decorative oil. To do this, he used a soft, lint-free cloth. When working with decorative oils, rub a small amount of oil evenly onto the surface of the wood. It penetrates the upper layers, seals the pores and thereby reliably protects the tree from moisture.
Decorative oils are usually produced in the form of toners, so they are universally used to simulate valuable wood species. However, oil alone is not enough. Furniture falls into the category of products that are operated in the most merciless manner. If you want to keep your table in its original impeccable form, use persistent quality varnishes.
The author took advantage of polyurethane varnish. It has a relatively high strength. When choosing a varnish, try to give preference only to those that, after drying, form a hard, non-scratch coating. Nitro-varnishes and specialized furniture varnishes are also included in this category.
As an economic option, the use of oil can be abandoned. Indeed, in the market of paints and varnishes, varnish-toners concurrently are widely represented. They perfectly tint wood, but also protect it from adverse effects.
Apply several layers of varnish with sanding. This technique is used by professional furniture makers in the manufacture and restoration of furniture. It allows you to get the most durable and wear-resistant coating in the process of varnishing.