Residents of the United States are delighted with of furnituremade in a romantic rustic style. Homemade master bloggers use the simplest lumber to carry out their projects, and all their processing comes down to grinding and, at best, planing boards on a thicknesser.
Judging by conscience, it was they who, using the Internet, taught the whole world to make furniture from practically nothing: from boards, bars and battens. And not rarely used. It turned out that this is not such a difficult task and any talented person even can cope with it.
Thanks to these public and free instructions for creating furniture at home, people without experience and the slightest skills learned how to combine the details of wooden furniture without troubles, how to properly prepare wood and how to process it with protective and decorative paints and varnishes.
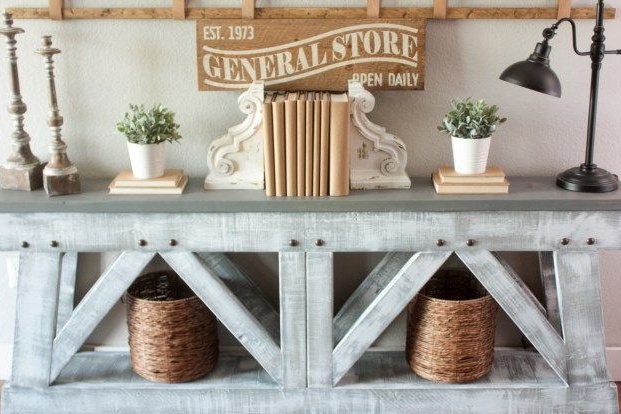
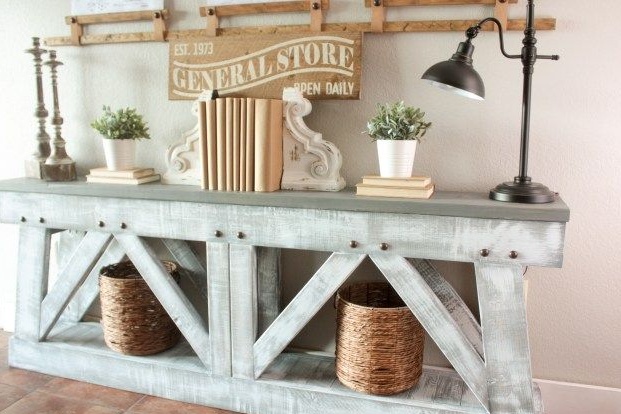
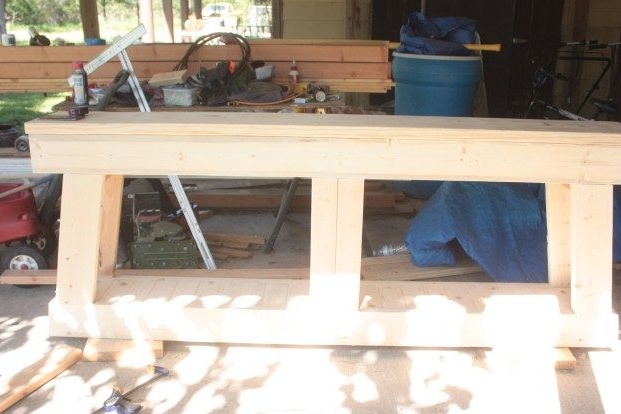
The table presented in this master class is stylized as an old village console. Its design is simple and unpretentious, but the appearance will easily pull in a few hundred US dollars, since furniture made in this style is now extremely popular.
In order to do it yourself You will need to make this console in its ancient image:
Materials:
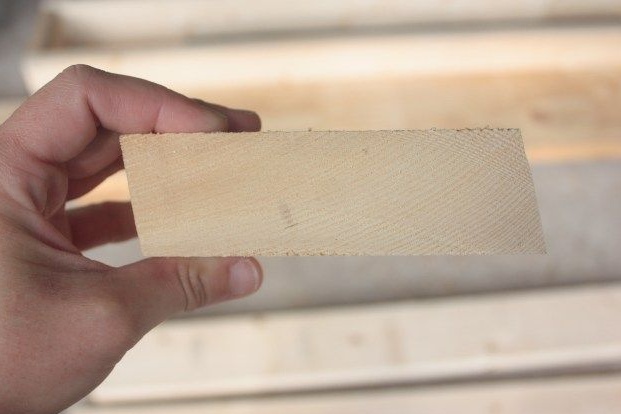
1. pine blocks and slats, as well as a board for countertops:
- a beam with a section of 50 x 70 mm or 40 x 60 mm for leg parts, as well as parts of the upper and lower trim;
- bars with a cross section of 30 x 50 mm or 40 x 50 mm for diagonal supports and the base of the lower shelf;
- a wide solid pine board for the manufacture of console countertops.
2. glue for woodwork;
3. paint with a loose matte coating of a gray-marsh hue;
4. resistant furniture varnish;
5. furniture screws or wood screws;
6. decorative nails for decorating countertops;
7. ordinary nails;
8. console decoration elements if necessary.
Instruments:
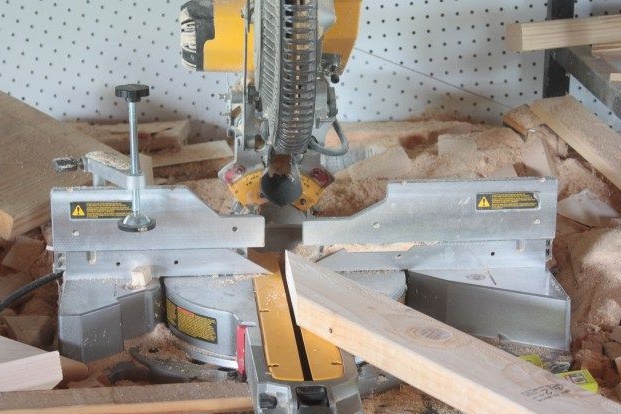
- miter saw or circular (you can use a hand saw in a tree);
- electric drill;
- a clamp with a special device for drilling diagonal pocket holes for screws;
- grinder;
- screwdriver;
- carpentry hammer or pneumatic nail gun;
- fine-grained sandpaper for aging paintwork;
- paint brushes;
- building tape measure and square;
- protractor if necessary;
- a pencil.
Step one: detailing and determining the main parameters
First, decide on the size of the console. Think in advance about where you want to install it. Do not forget that you will use rather massive details from a bar. Therefore, the console should not be too small, otherwise it will look inharmonious.
If the dimensions of the living area allow, then the basis can be taken as a length of 1500 mm with a width of 30 - 40 mm. Determine the height yourself. This console table is low and its height does not exceed 800 mm.
The author advises not to use too thin lumber, since the parts made from them will be inconvenient to connect with each other. It uses slanted pocket holes and glue for bonding. Too thin material will crack at the same time.
Draw a sketch of the table on paper so that all the details are in front of your eyes. Indicate their exact dimensions. However, in view of all inclined elements, you most likely will have to adjust some of them to size right in the process.
The binding of the lower base of the table is slightly expanded downward. Keep this in mind. In principle, you can do without extensions if you feel that calculating dimensions and marking is not easy for you.

Step two: marking parts and their manufacture
Mark all the parts before you begin to make them. Do not use a marker, otherwise any errors in the process will be difficult to correct.
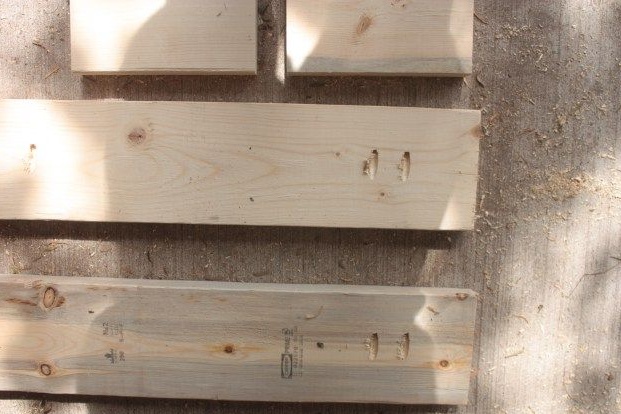
Elements of the lower harness are inclined and sawn off at an angle not of 90, but 100about. This applies to longitudinal parts. Short transverse elements are also sawn at an angle, but in addition they have inclined edges in order to stably rest on the base of the floor (see photo).
Mark the countertops. The author made it from a solid wide board of small thickness. If you can’t choose one, use two parts, no problem.
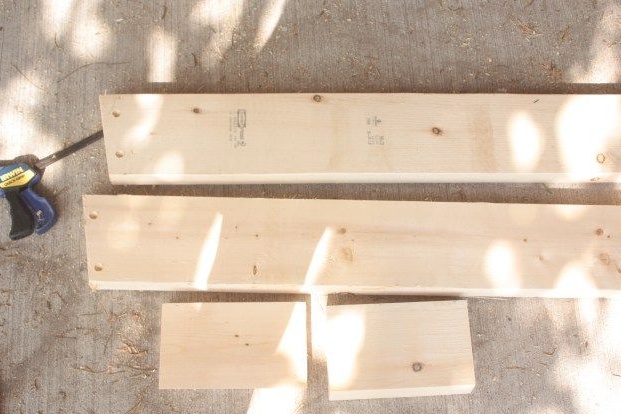
Mark the elements of the upper and lower trim, as well as the details of the inclined supports, lower shelf and legs of the console.
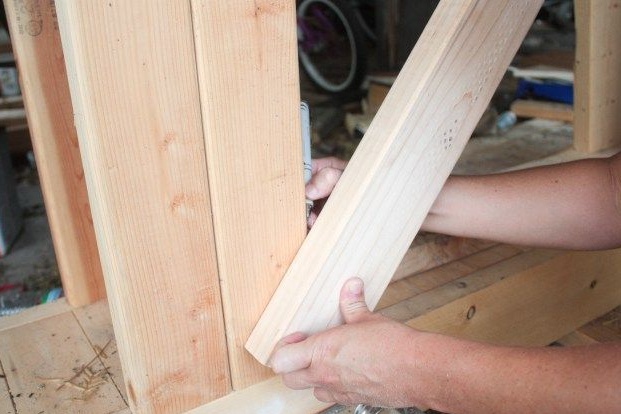
Saw the materials into pieces of the sizes you need and start grinding. You do not have to get rid of the natural structure of wood, but all gross irregularities, burrs, chips and other things should be eliminated. Pay special attention to those areas where the sawing of parts took place. In addition, the author slightly rounded the corners of the faces, making them smoother.
If you did not cut the parts using a miter saw, but in any other way, you may have to adjust the joints so that all the elements fit snugly together. This is best done by hand with sandpaper wrapped around a small bar.
Step Three: Console Table Assembly
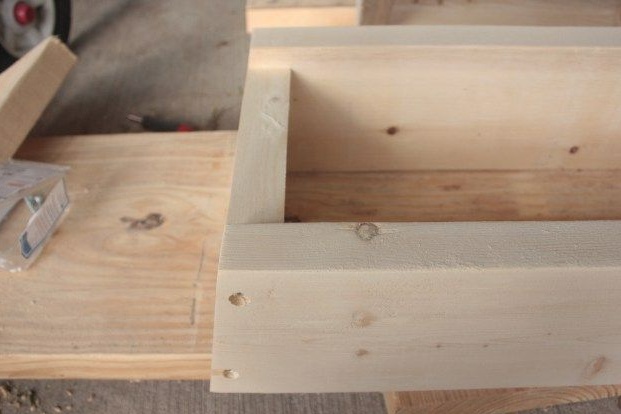
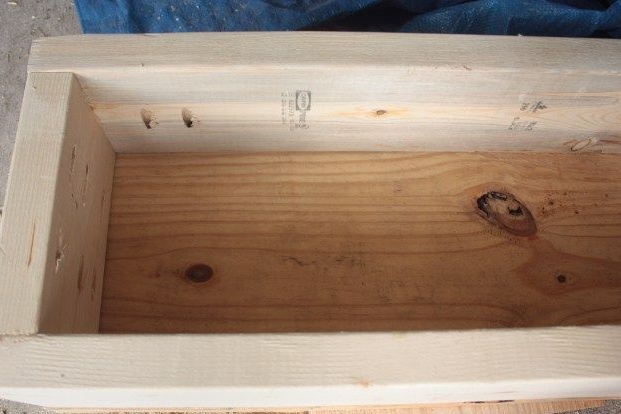
Assemble the lower trim parts using tilt pocket holes where possible to tighten furniture screws. Use glue for reliability - nevertheless, a natural wood product assembled from very massive elements will not be easy. In the process of rearrangement and transportation, the connections can become loose, or even become unusable.
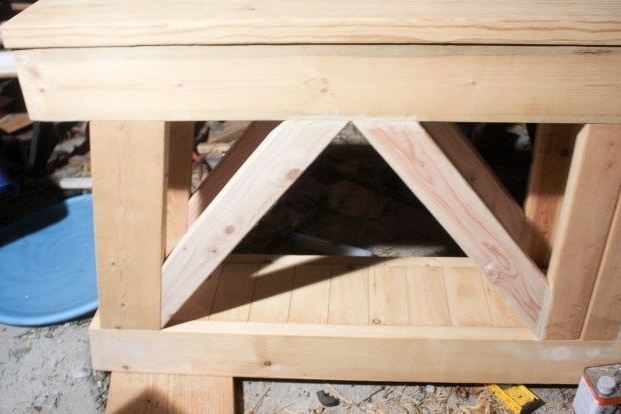
The bottom of the console does not have a flat base, but a convenient shelf is provided here. To flush the parts of the lower shelf, install the support rails inside the frame. Fasten the parts to the frame using small nails and a hammer. You can also stick them. The shelf does not bear any serious loads and one glue will be quite enough.
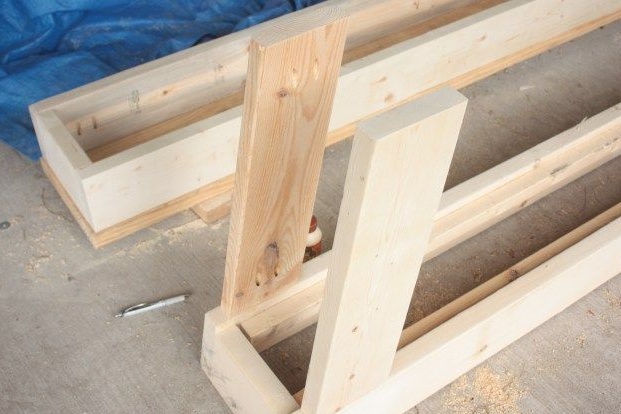
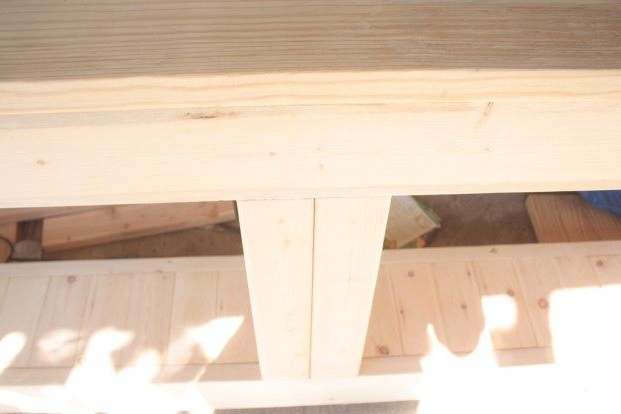
Fix the legs at some distance from the edge as shown in the photo. For greater durability, you can lengthen them slightly and lock them from the inside of the lower frame.
Assemble the frame for the countertop and fix the countertop itself onto it with glue. Place the frame in the clamps and pull the parts tightly together.Leave the structure in this condition until the glue hardens.
Put the countertop on the legs, screw them from the inside with screws. If the frame with the inclined supports is not recessed into the inside of the structure, fix the countertop flush with the lower and upper frames in the same way as the author did. However, at the same time, the console will be slightly inferior in strength. You can use metal corners to compensate for this.
Finish the assembly by screwing the center and inclined legs. Fill all pocket holes with sealant, wait until it hardens, and sand joints thoroughly.

Fourth step: painting and decorative aging of the paintwork
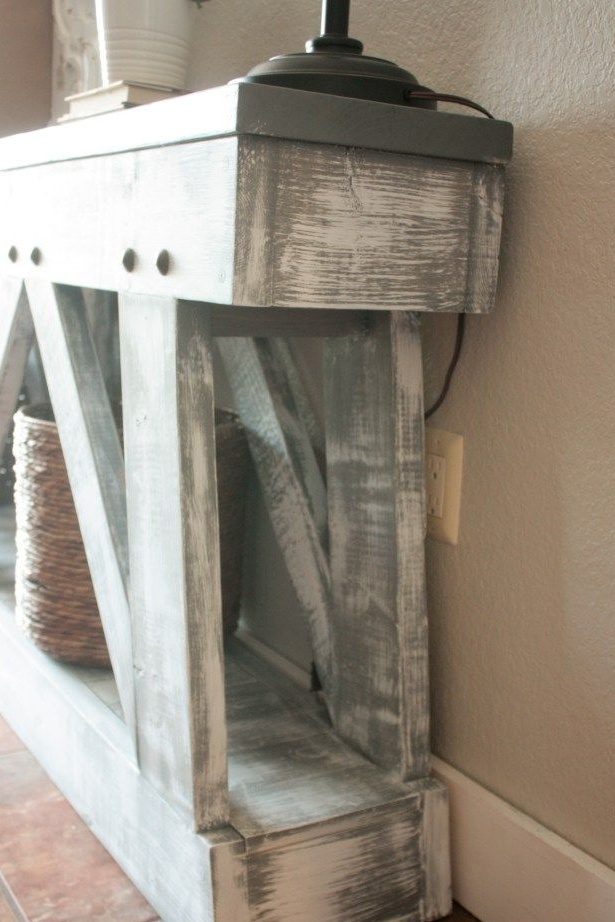
Use opaque matte paint. Apply it in one layer and after drying, sand the surface with fine-grained emery paper. To achieve the most natural look, grind more paint in those places that are usually subjected to friction. Work slowly and periodically evaluate the result by looking at the console from a distance.
Paint the countertop with two or three layers of paint of the same tone. Apply several coats of resistant furniture varnish to the frame and countertop. Please note that furniture varnish has a pronounced unpleasant odor and is very toxic. Work outdoors, use gloves and a respirator.
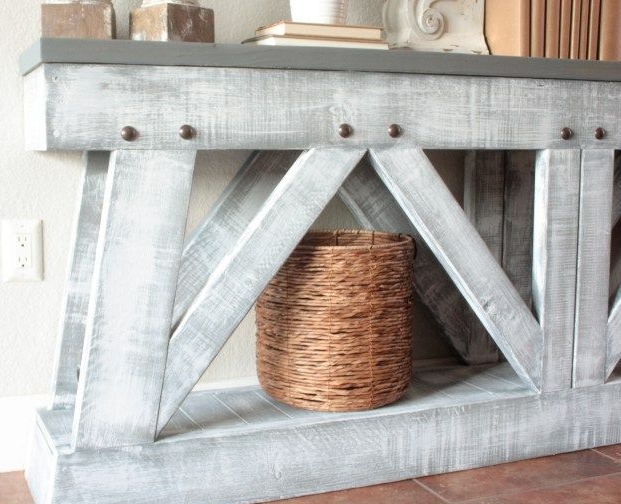
The work is over! Such tables and consoles usually perform a purely decorative role. They are placed in living rooms or hallways, family photos and souvenirs are kept here. However, if you wish, you can turn it into a very functional table: for example, store mobile gadgets and chargers or a holiday service here. All in your hands!