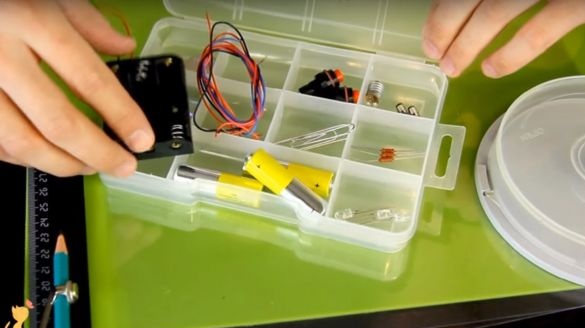
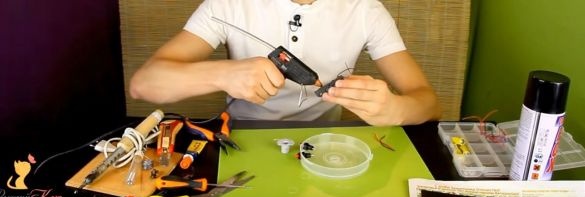
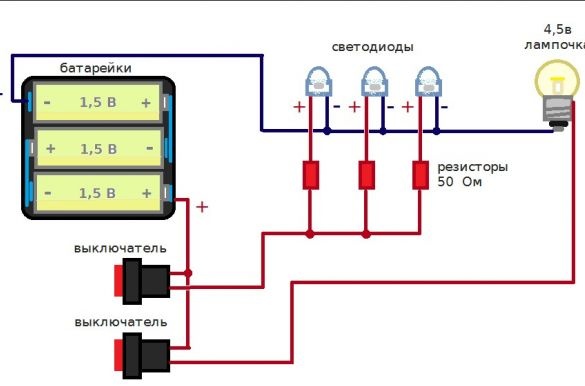
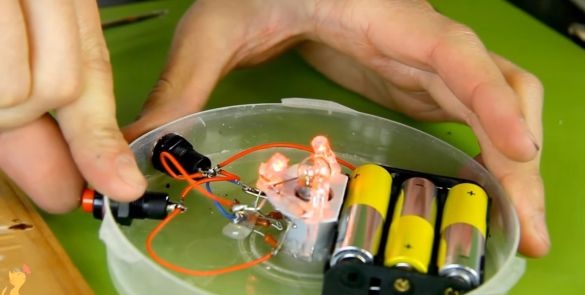
For the electrical part of this homemade the author took: a bulb of 4.5 volts 1 pc. color changing diodes 3 pcs. batteries 3 pcs. 1 x battery holder paper clips stationery a couple of pieces, switches 2 pcs. 3 resistors 50 ohms. And pieces of wire.
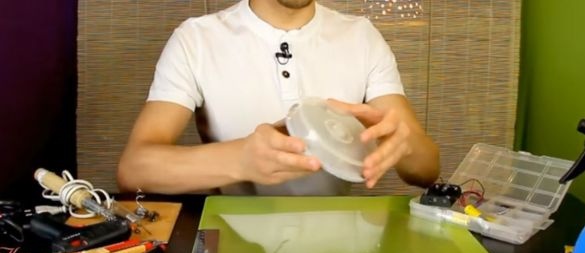
The author will make the case for a night lamp from a box for disks
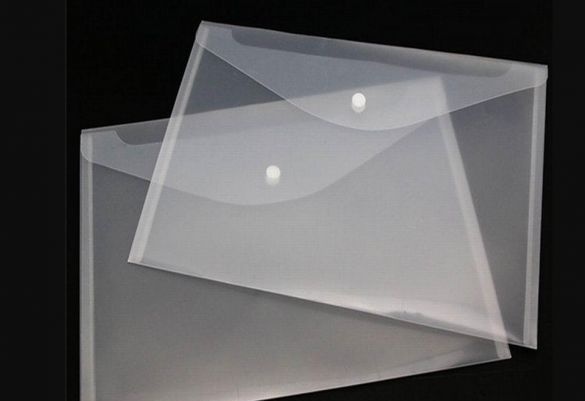
and thin transparent plastic
It can be taken from a transparent plastic folder for documents.
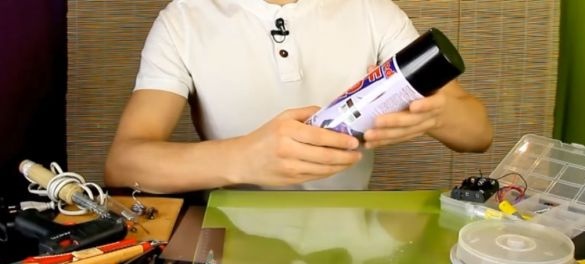
Also, the author will use black spray paint
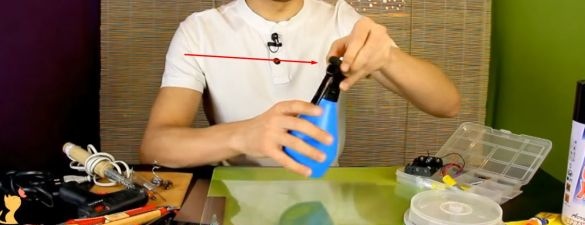
And a spray bottle with plain water.
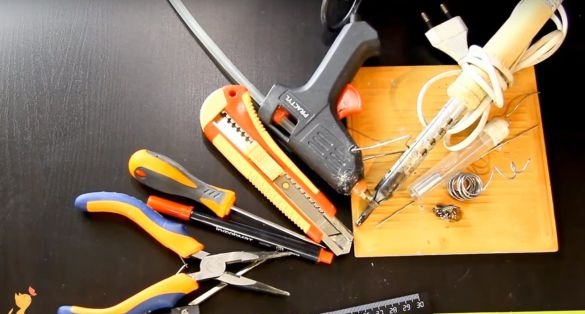
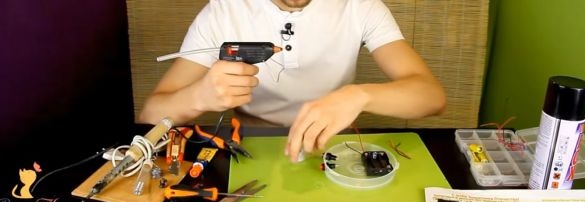
Of the tools he needs: a soldering iron with tin and rosin, a glue gun with a rod for him, a clerical knife, an awl, a pencil, a pair of compasses, a ruler, pliers, scissors and super glue.
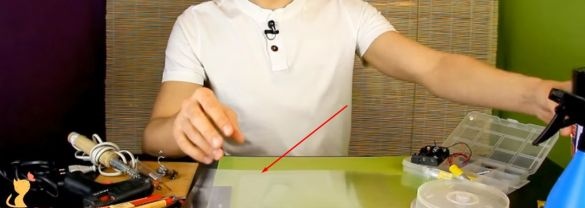
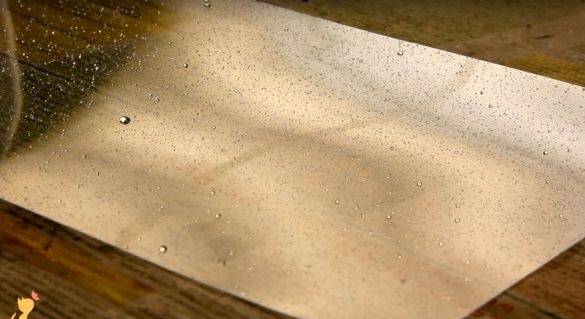
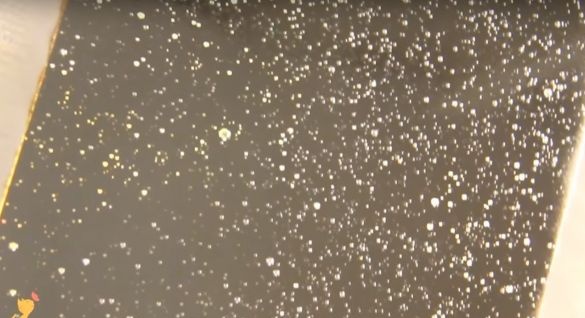
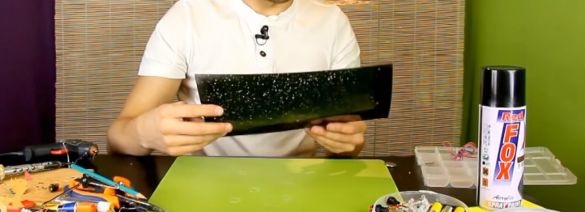
To begin with, the author will prepare transparent plastic, and he will do it this way: from a spray bottle he will spray water on a sheet of plastic,
Then apply the paint directly on top of the drops of water.
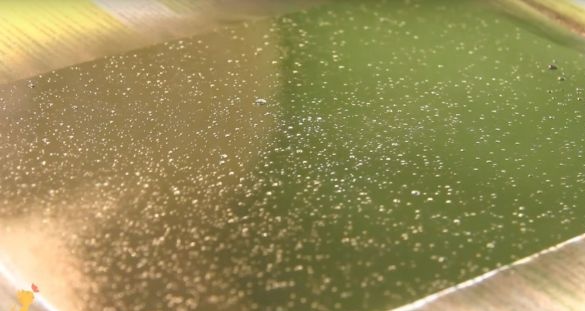
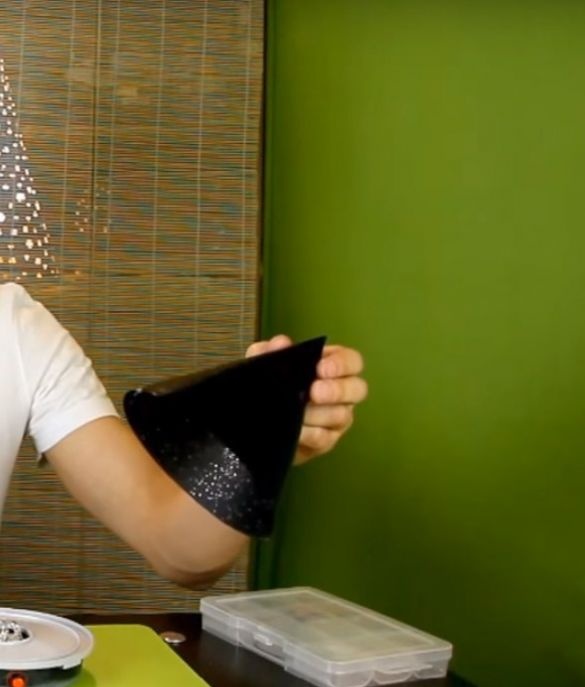
After drying the paint and evaporating drops of water, it will turn out like this.
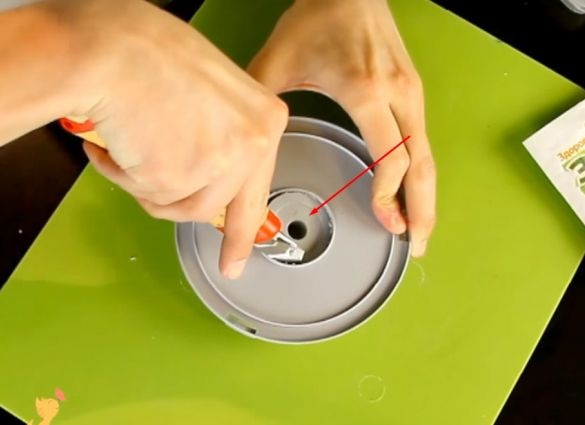
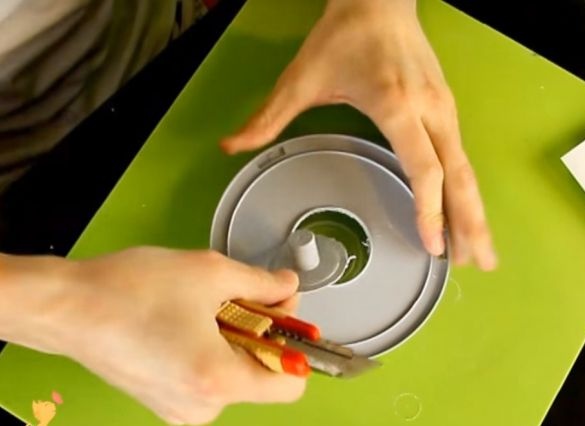
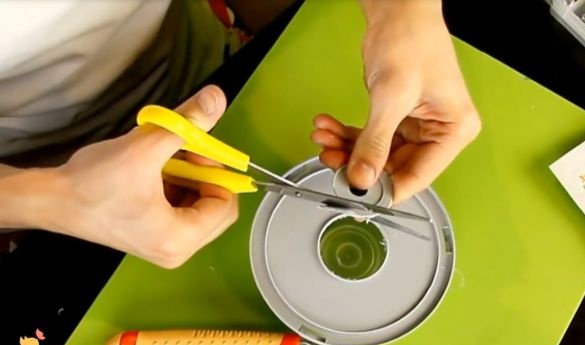
After the author began to make a case for a night lamp, he took a box from under the disks and cut out the middle from it with a knife.
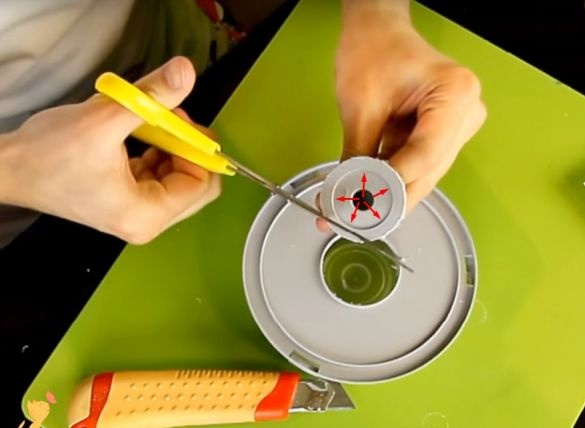
Then she cut off the excess with scissors
And from this central part, the author will later make a cartridge for the bulb.
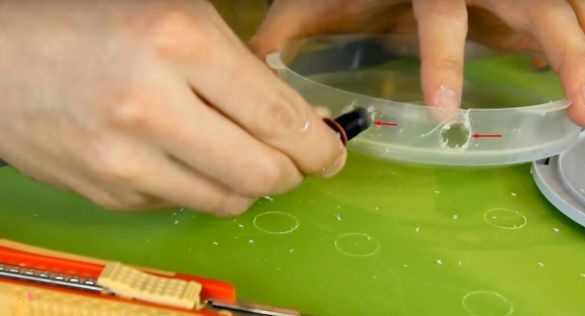
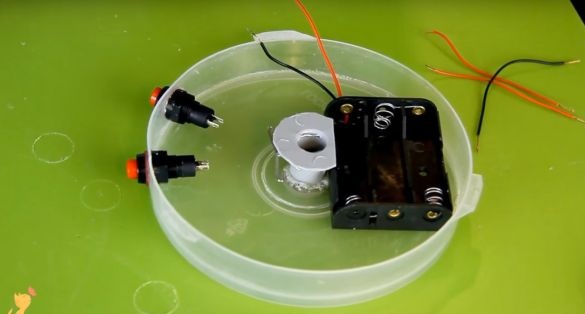
And now the author will make two holes in the cover from the case for the switches.
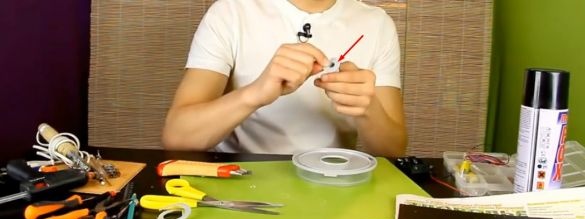
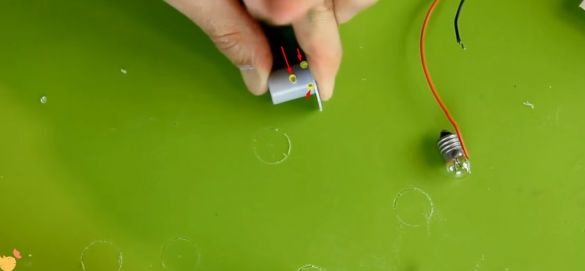
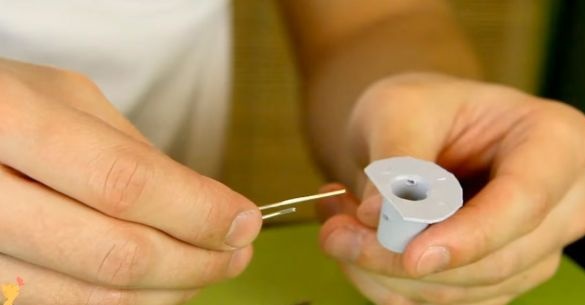
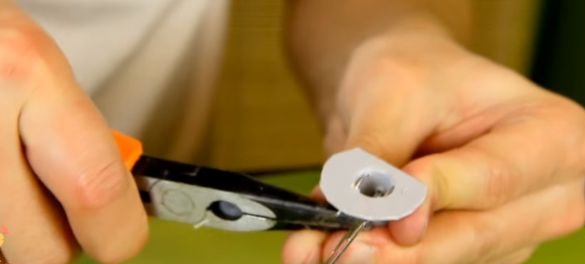
Then he will begin to manufacture the electrical part of the night light. And to begin with, he will make a cartridge for the bulb from the part that the author cut off earlier in it, with an awl he will make three holes for the contacts.
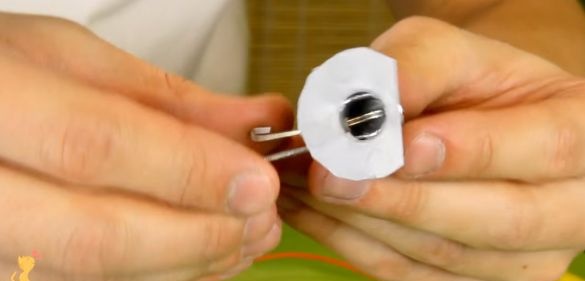
He made the contacts from paper clips and inserted them into the future cartridge into the holes made earlier.
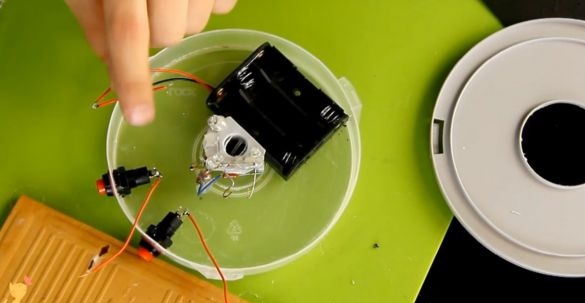
Then I glued the battery compartment and the finished cartridge to the body.
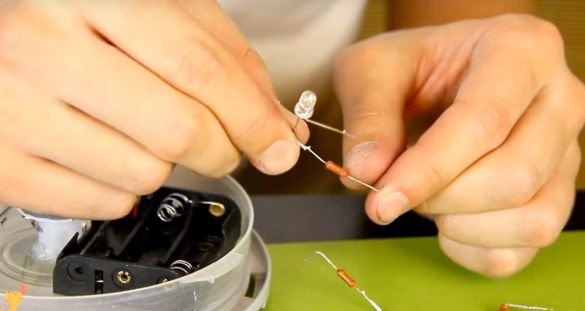
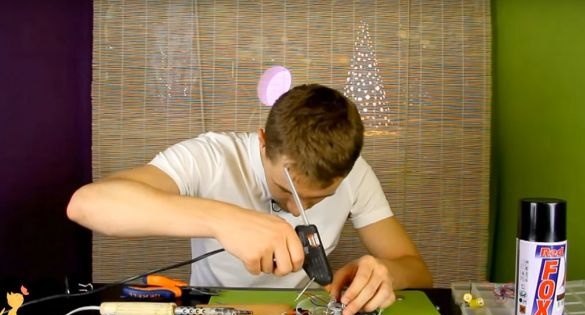
Then he soldered resistors to the short legs of the diodes.
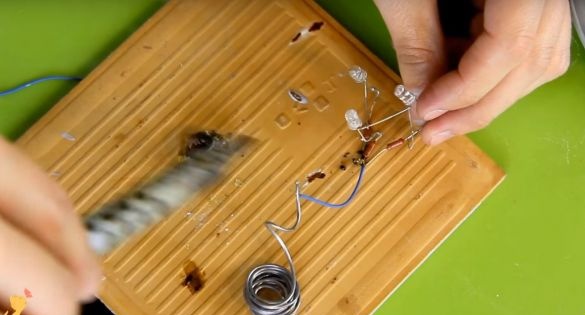
Then I soldered them together according to the scheme.
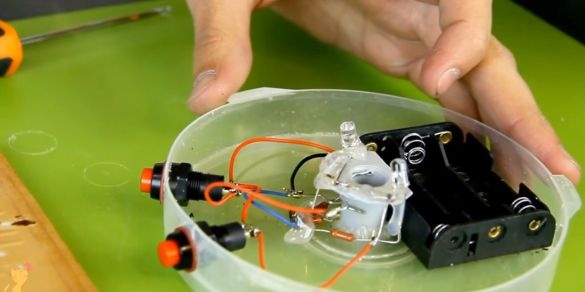
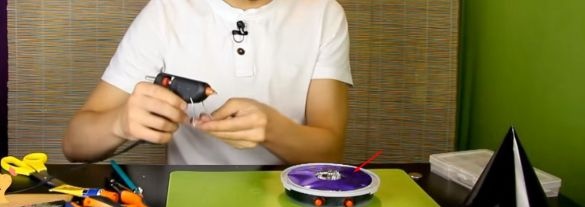
And I glued them to the cartridge on the case so that the legs of the diodes and resistors would not touch the contacts of the cartridge.
Then I soldered everything in the same way.
Checked everything works. The electric part of the author is ready.
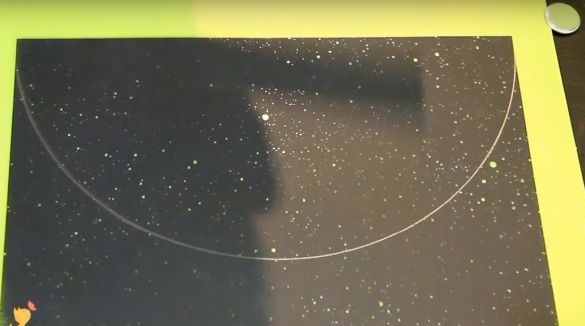
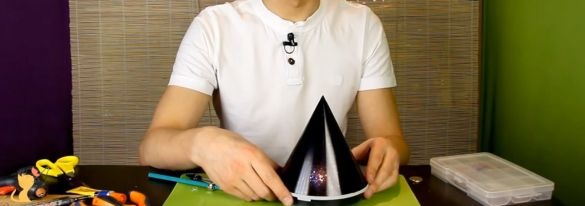
Now he began to manufacture a dome that will be in the shape of a cone and will project the starry sky. The author took an earlier prepared plastic sheet.
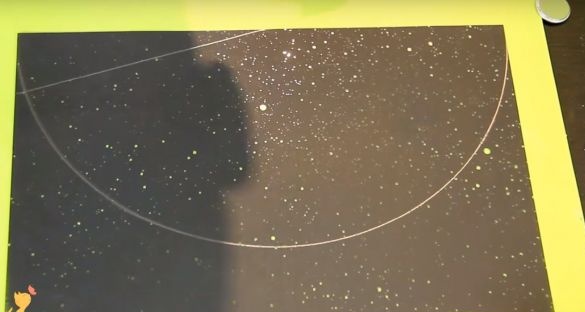
Using a compass, he drew a hemisphere.
Then he drew a sector of about 10-15 degrees and cut it out.
Then, in the overlap, I glued the cone with super glue.
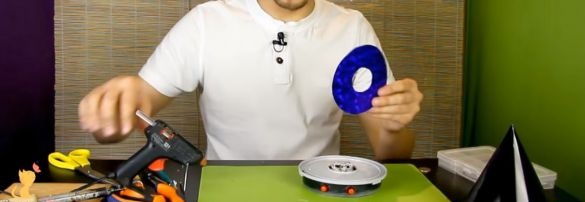
Before installing the cone on the case, the author glued onto the case a shiny blue paper in the shape of a circle with a hole, under the light bulb with diodes.
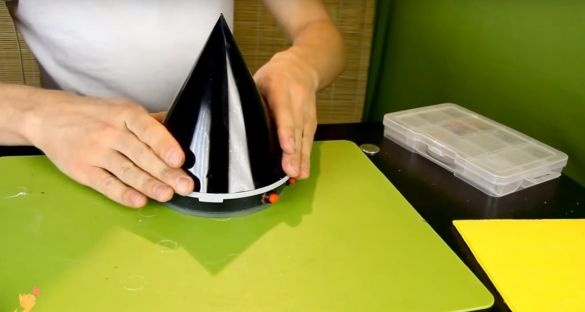
Then he applied hot glue around the perimeter of the body.
And set the finished dome cover.
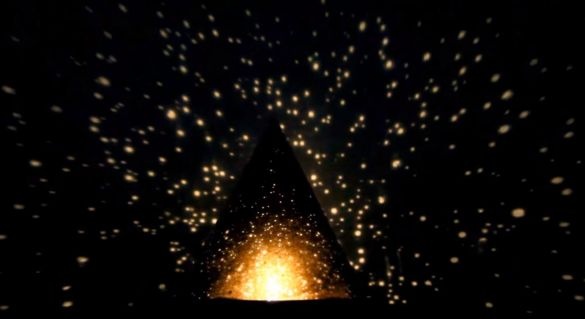
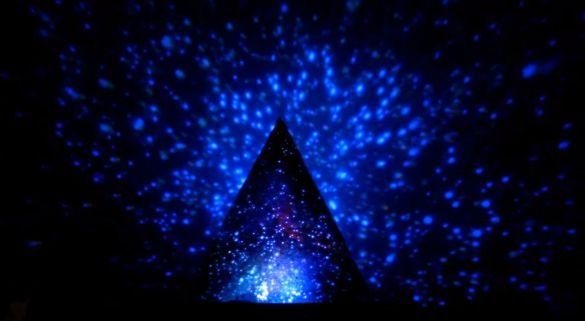
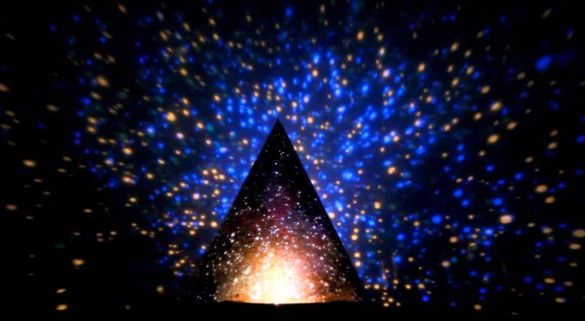
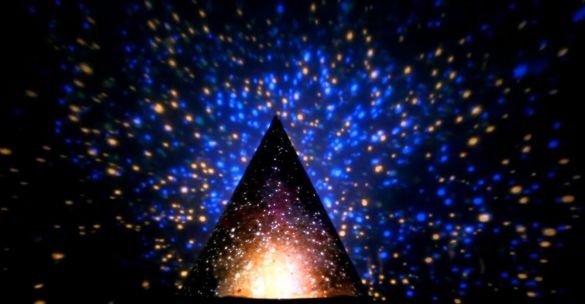
Here is such a nightlight the starry sky turned out by the author.
And so he looks in the dark.
Video:

