Hello everyone homemade!
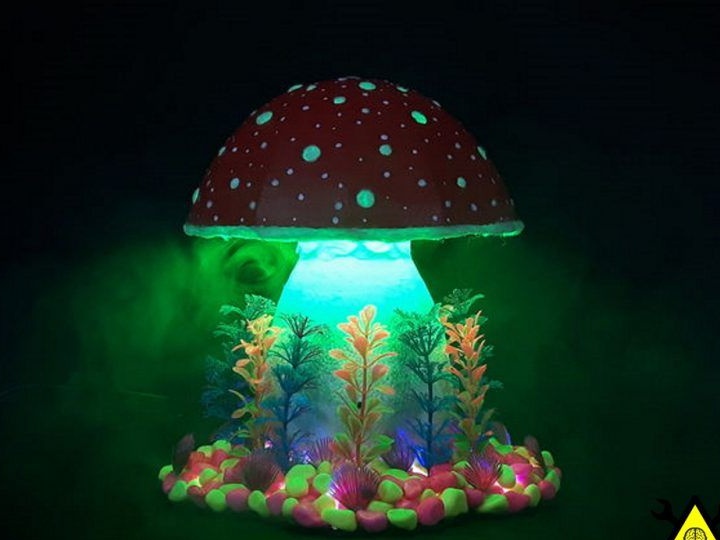
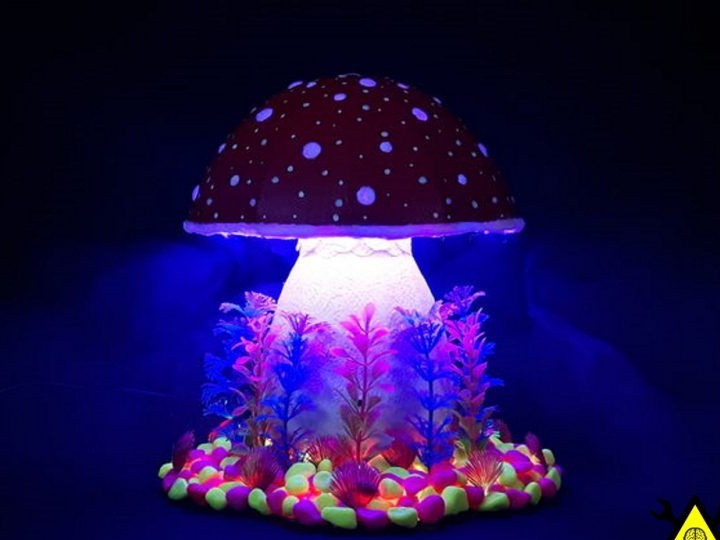
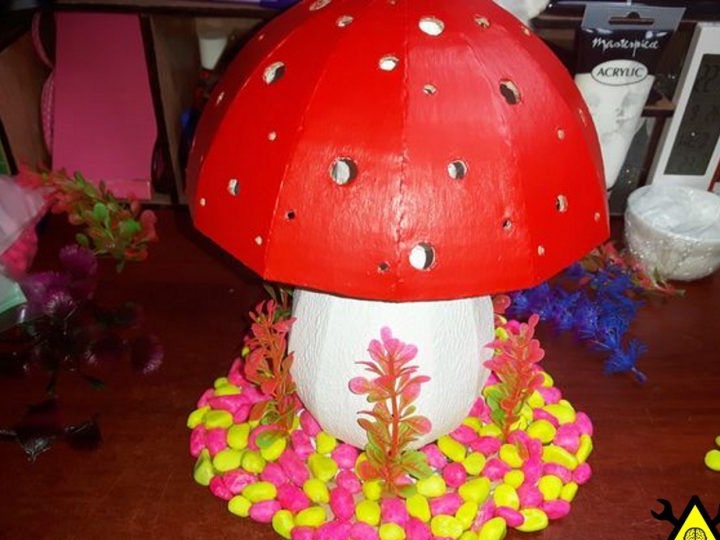
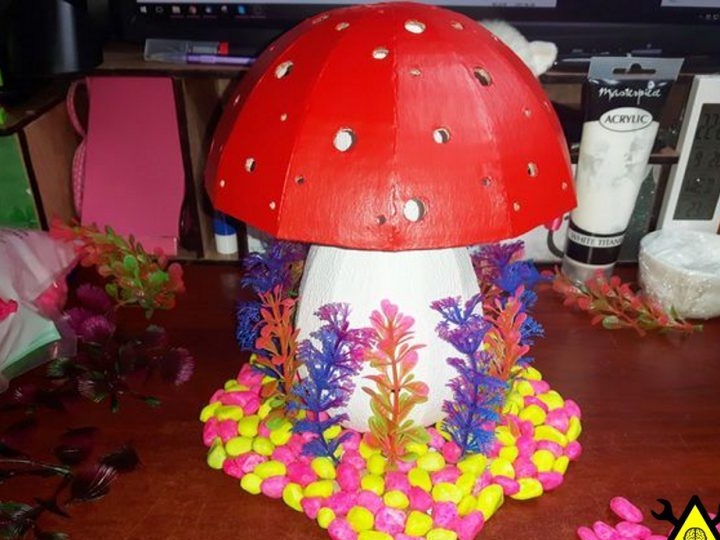
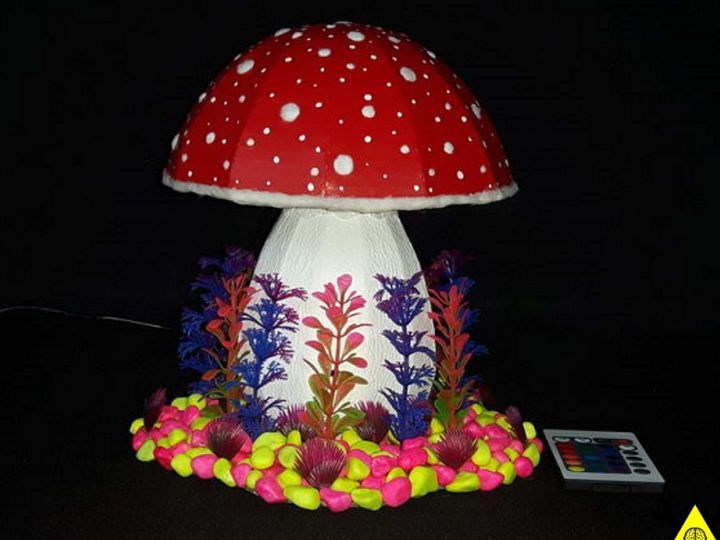
This article will discuss an interesting lamp that will delight a child with its design, namely: Magic Mushroom.
So, let's start with the author’s video:
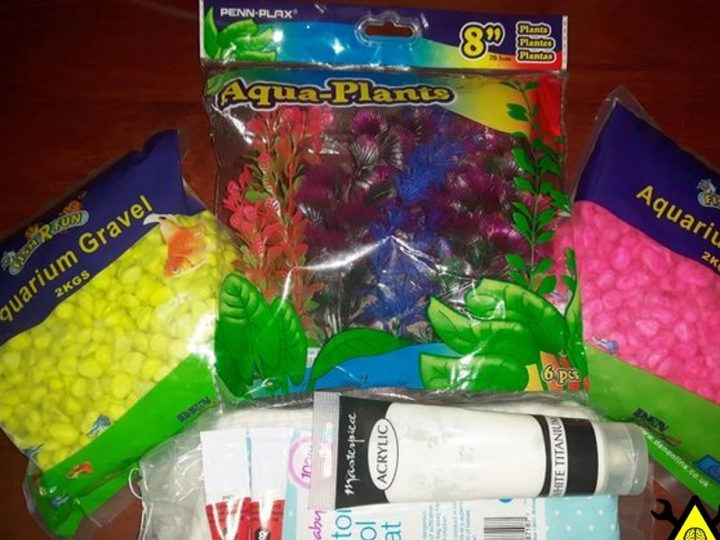
We will need:
- Cardboard;
- A set of LED strip;
- Joiner's glue / PVA;
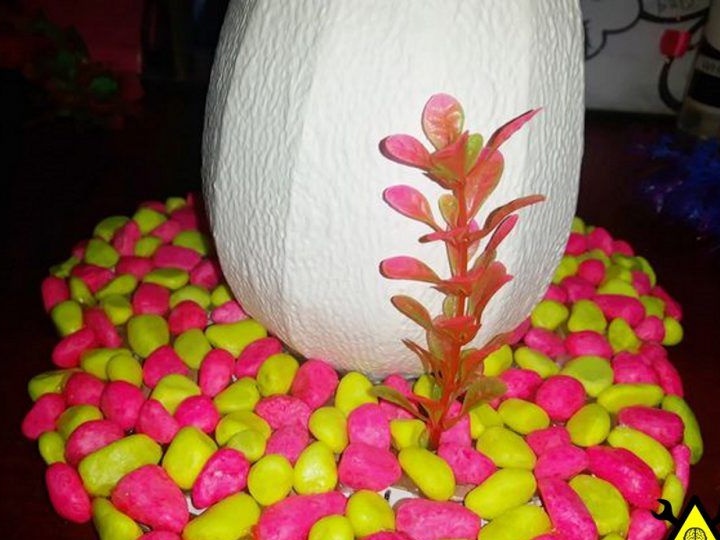
- Gravel for the aquarium (pink and yellow);
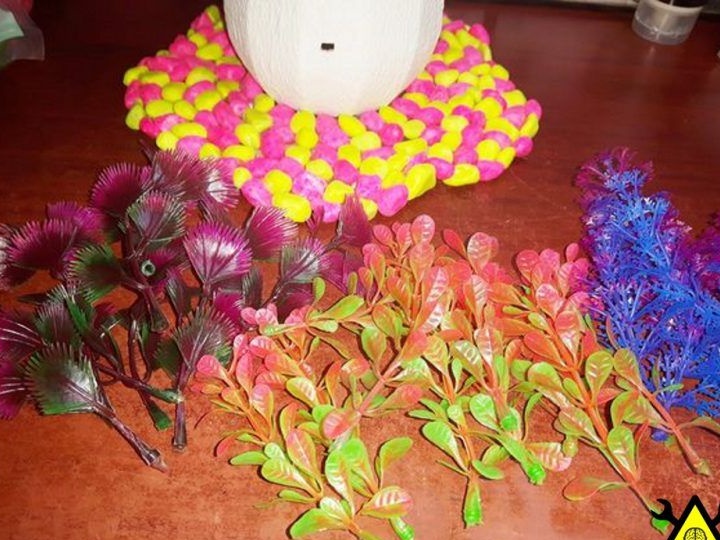
- Plants for the aquarium;
- Acrylic paint (white and red);
- Vata;
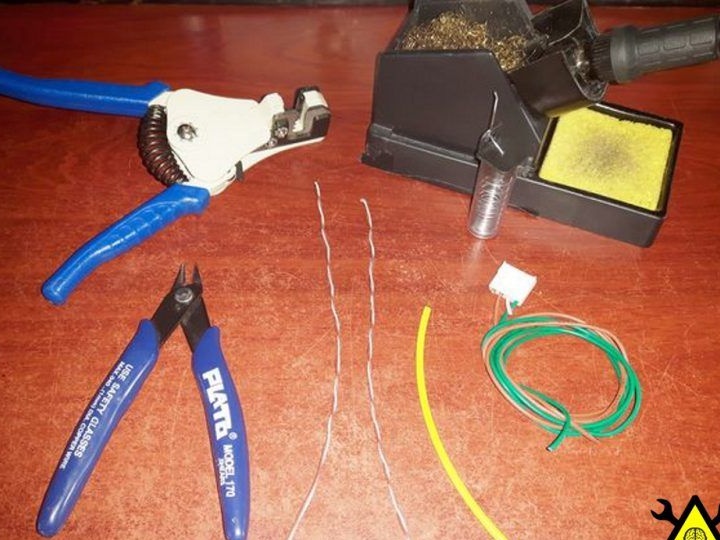
- 2.5 m stranded wire;
- 1 m solid wire;
- Shrink;
- 5 texture pieces of paper towel;
- Hot glue gun;
- scissors;
- Stacked scalpel;
- Ruler;
- Pencil;
- Art brush;
- Nippers;
- Soldering iron and solder.

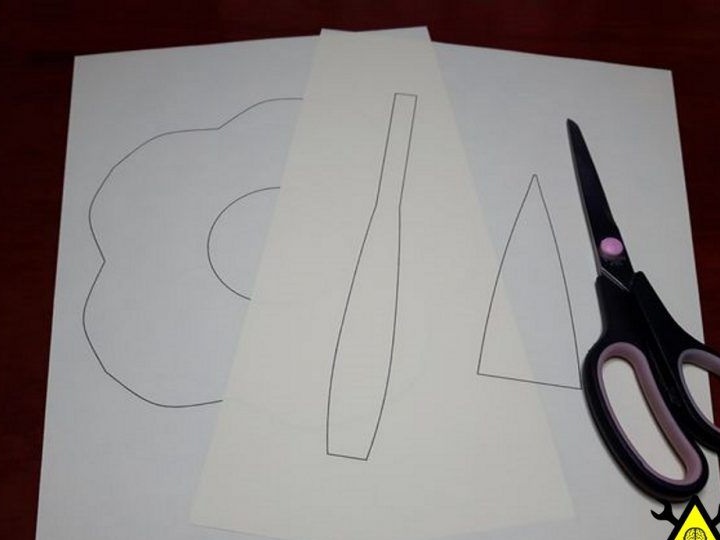
Stage 1.
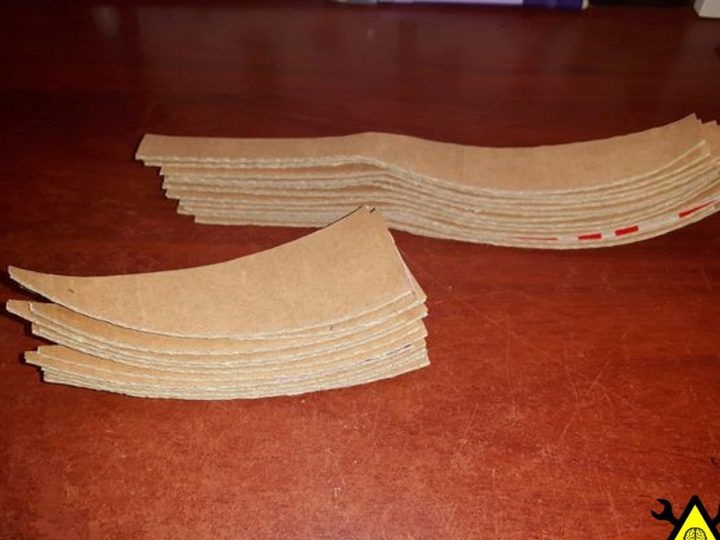
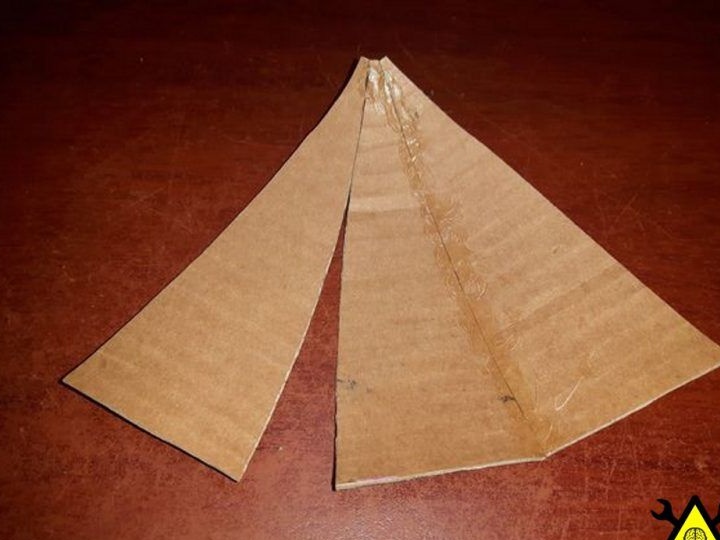
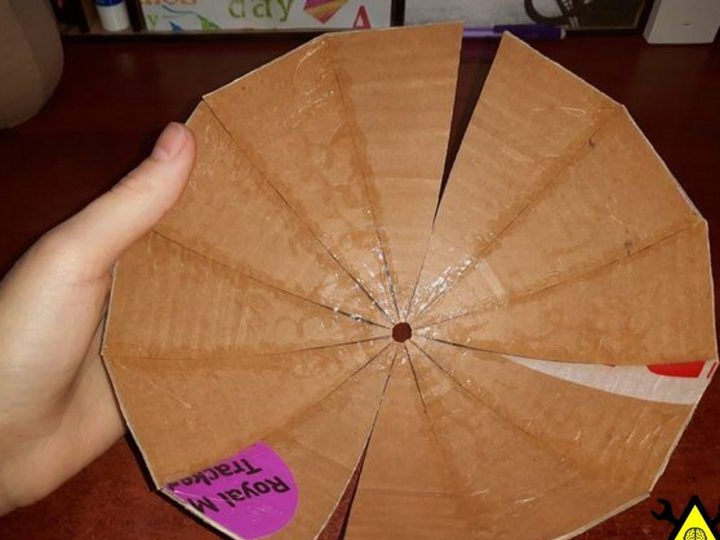
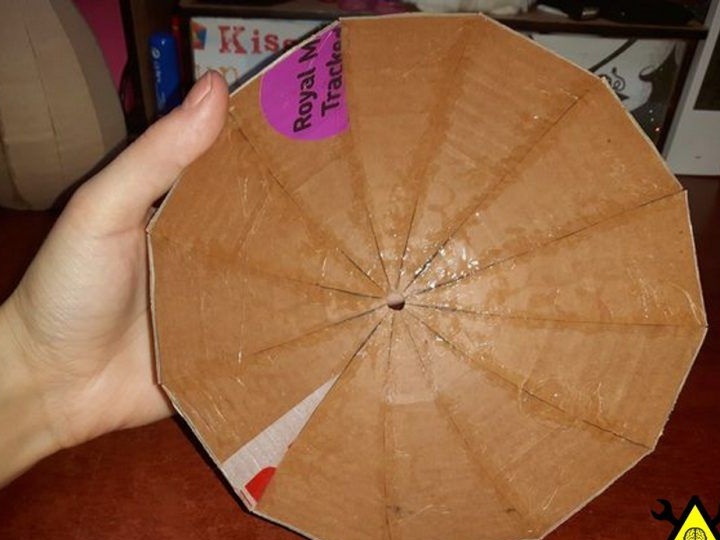
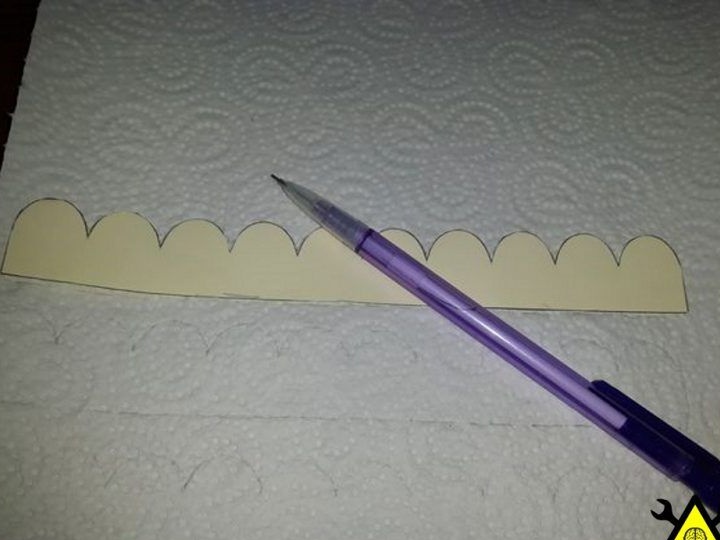
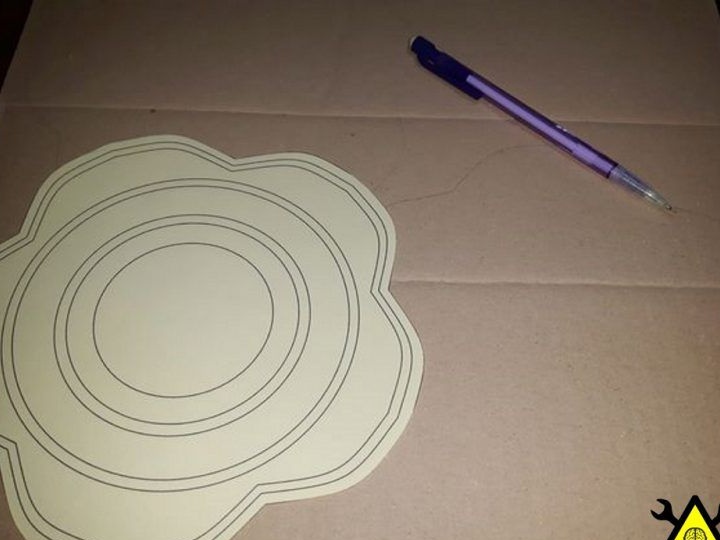
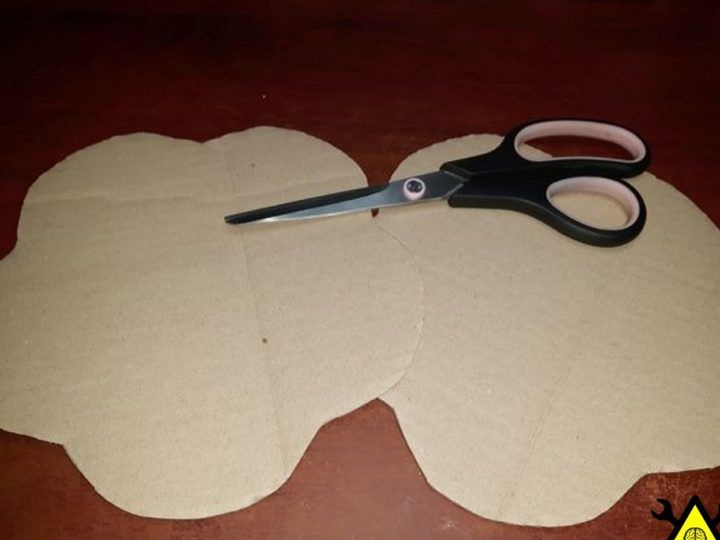
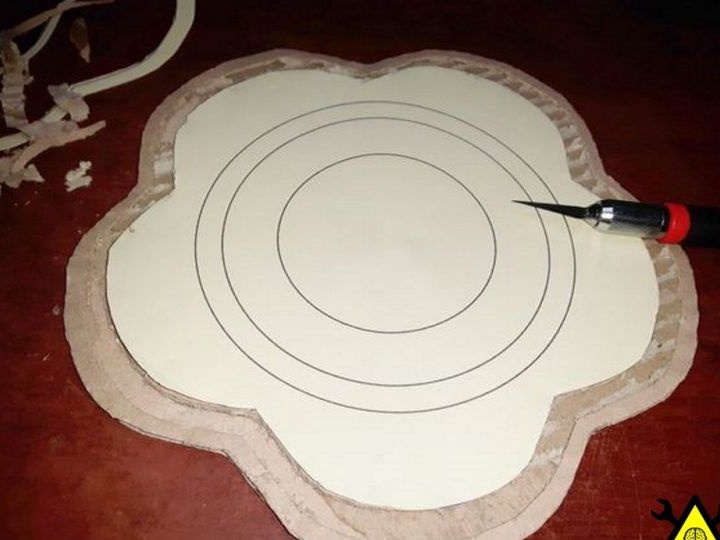
First, the author prints and cuts out the patterns, and then cut out on cardboard.
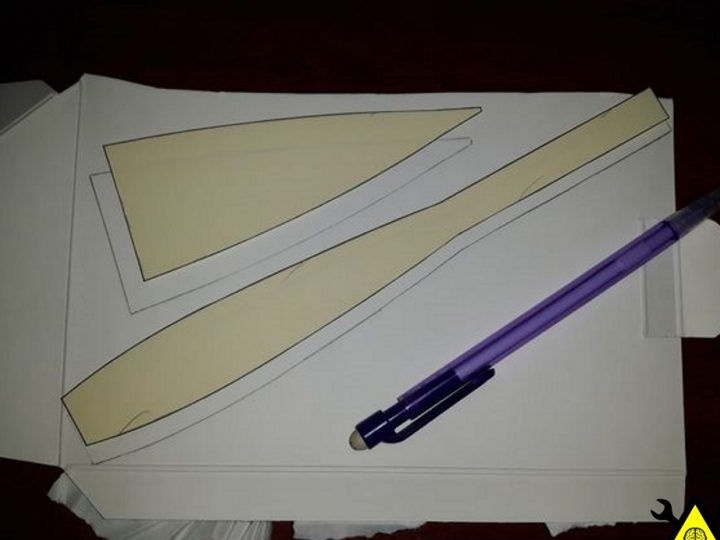
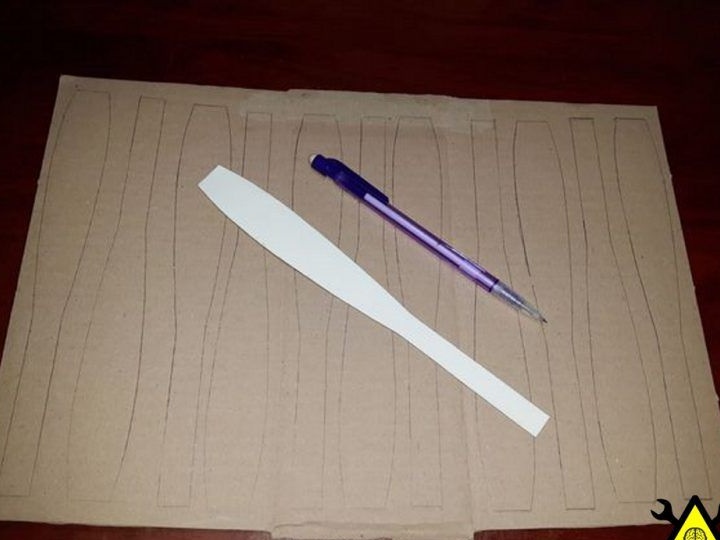
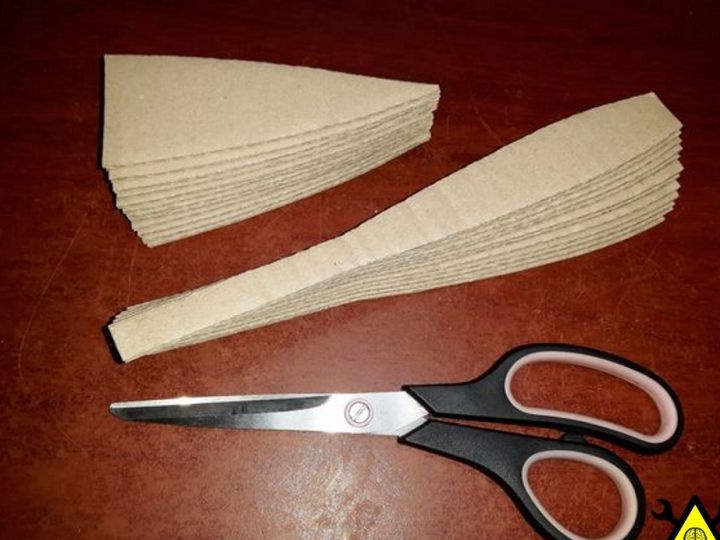
Then, using a ruler, I rounded the edges.
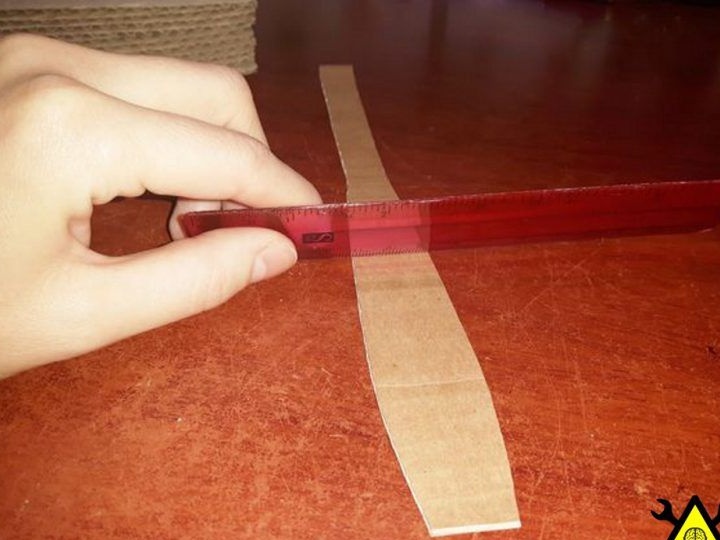
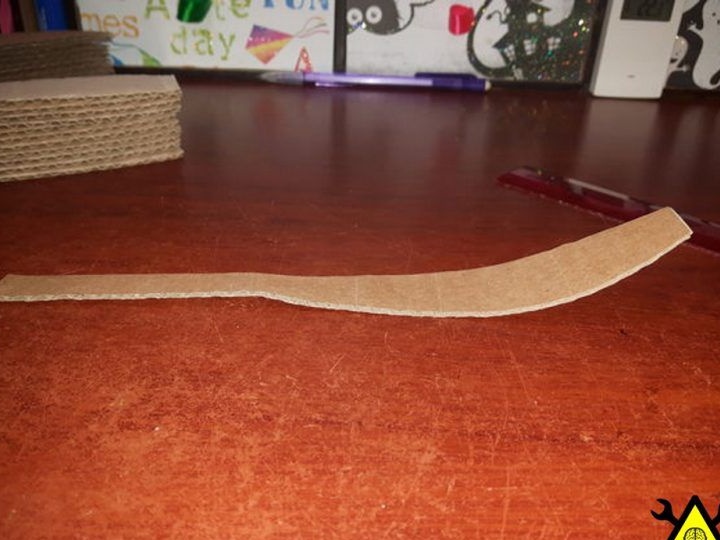
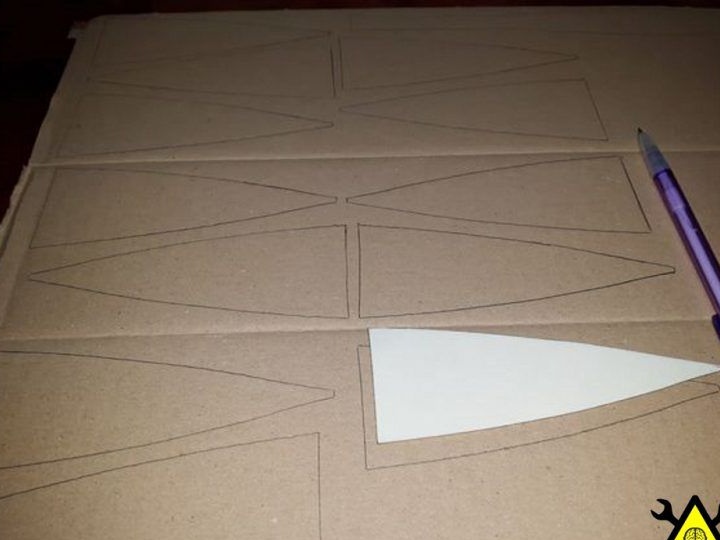
And he did the same with the other parts.
The template can be downloaded:
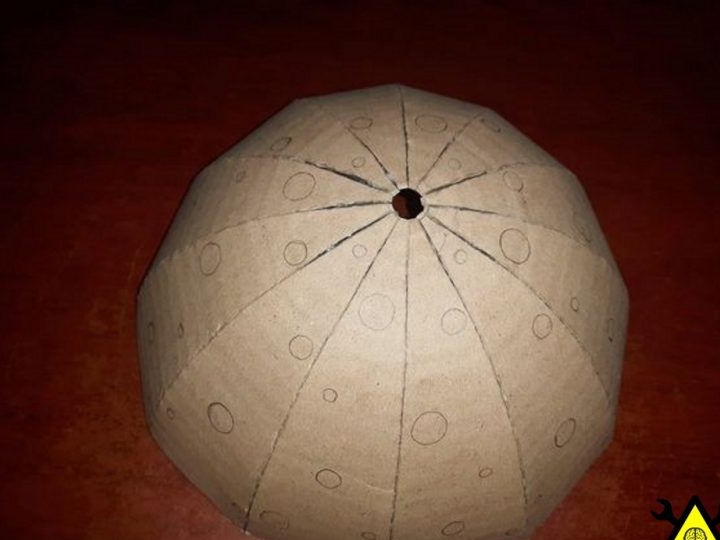
Stage 2.
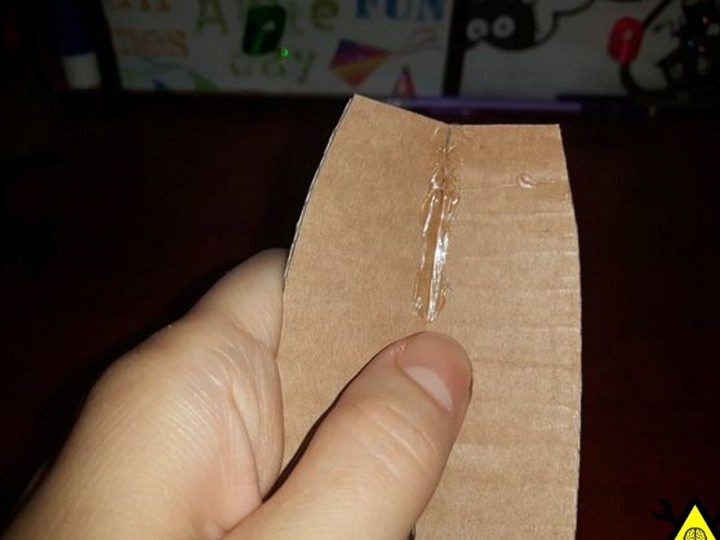
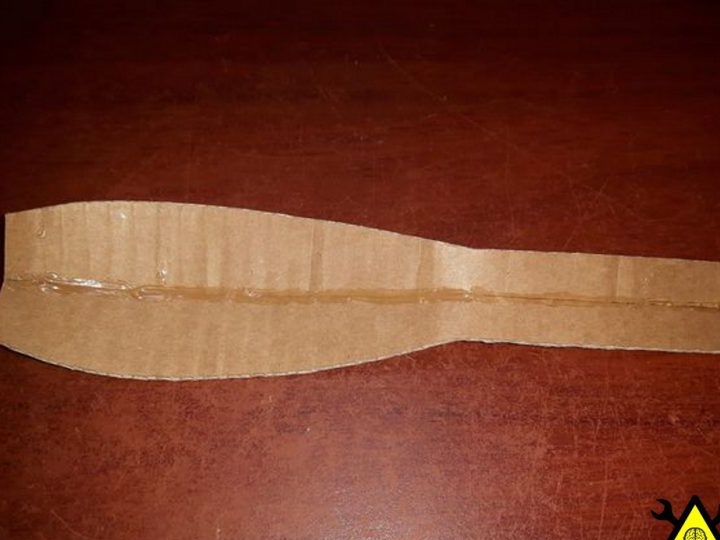
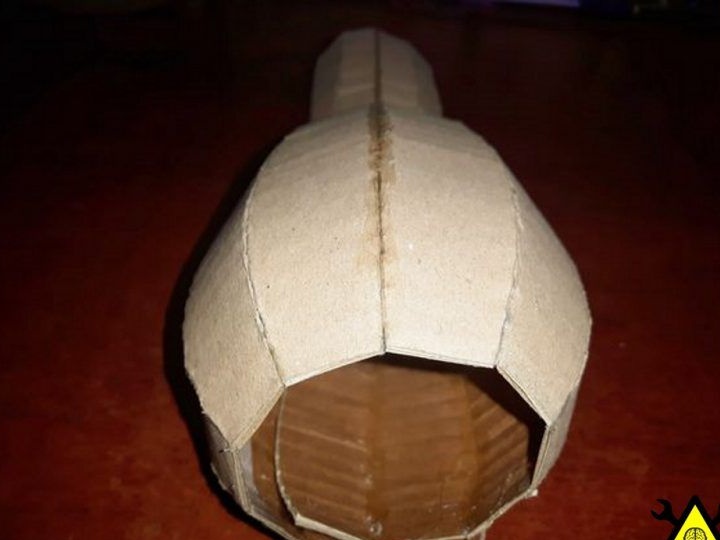
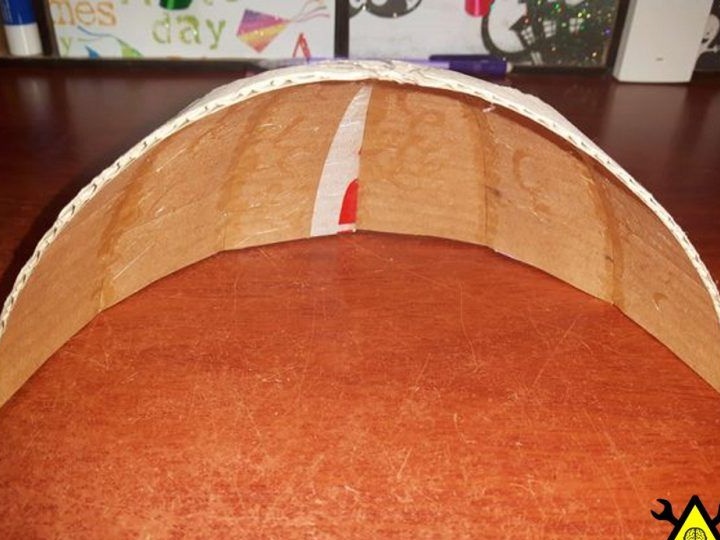
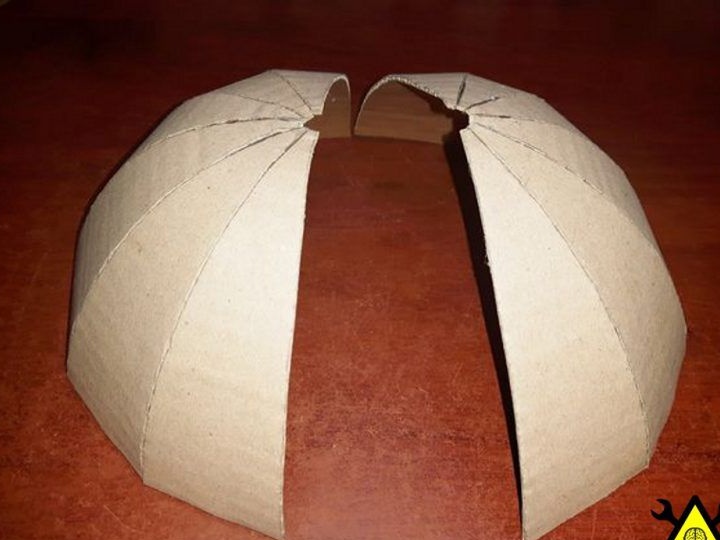
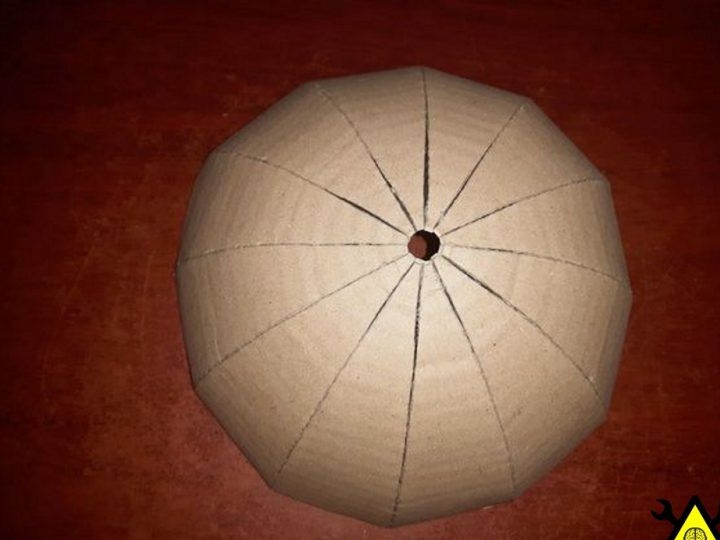
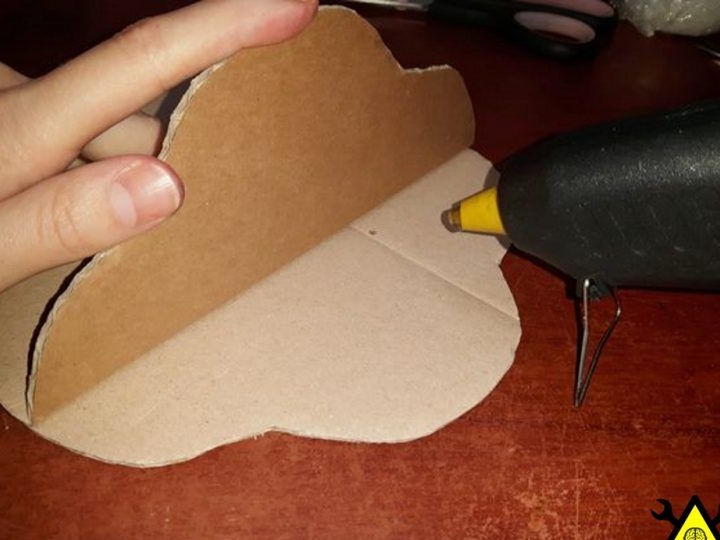
To begin with, the author took two pieces of the leg from the blanks and glued their lower parts from the inside. He waited until the glue dries, and then gradually continued to glue until he reached the sixth fragment (inclusive). Then he laid aside the first half and proceeded to gluing the second.
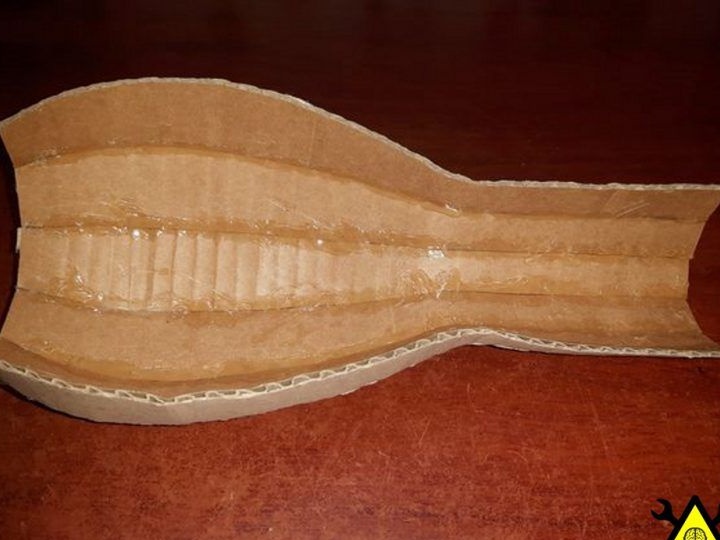
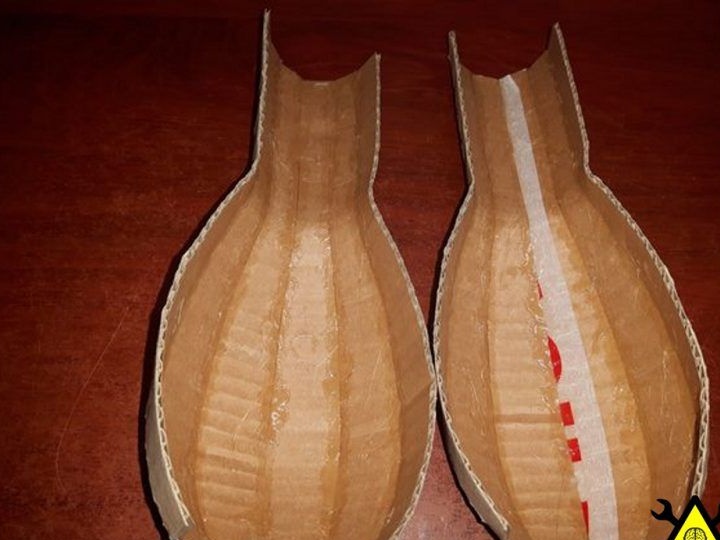
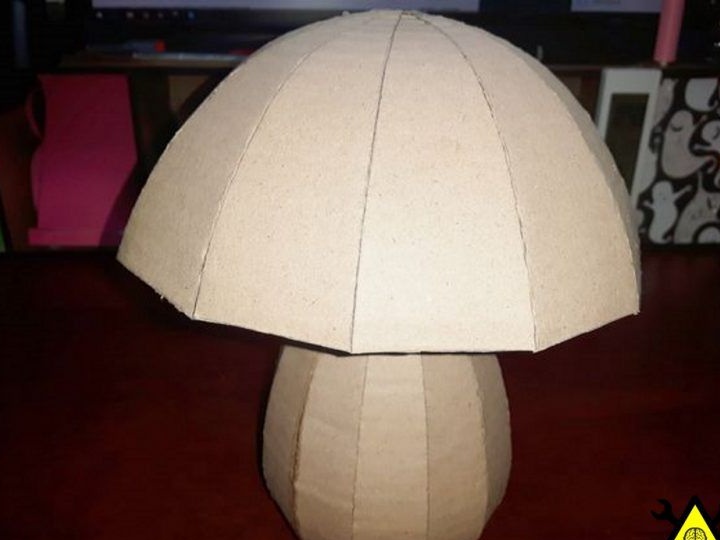
When both halves are ready, the author glued them together.

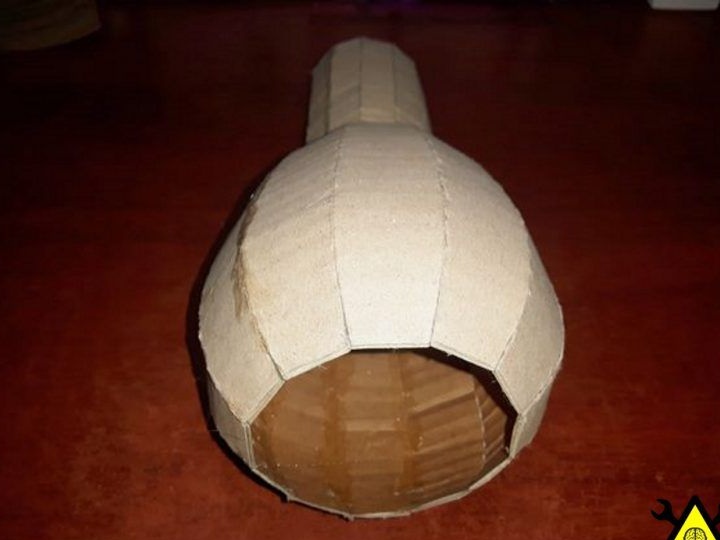
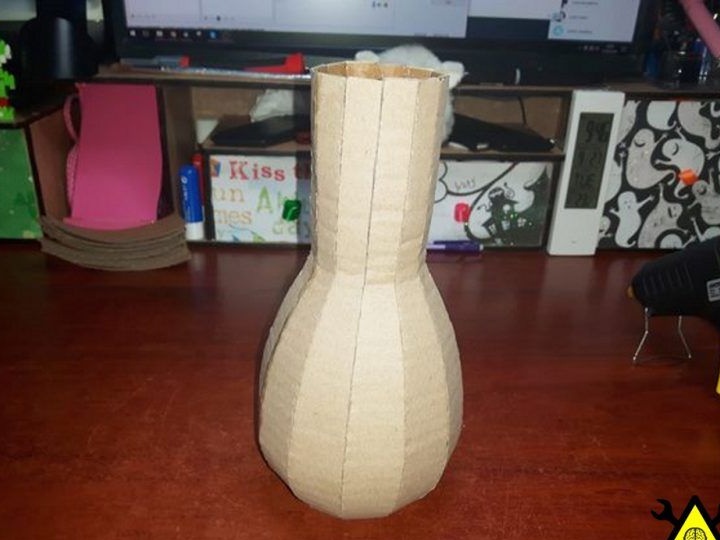
Later, the author repeated the same thing for the hat.
Stage 3.
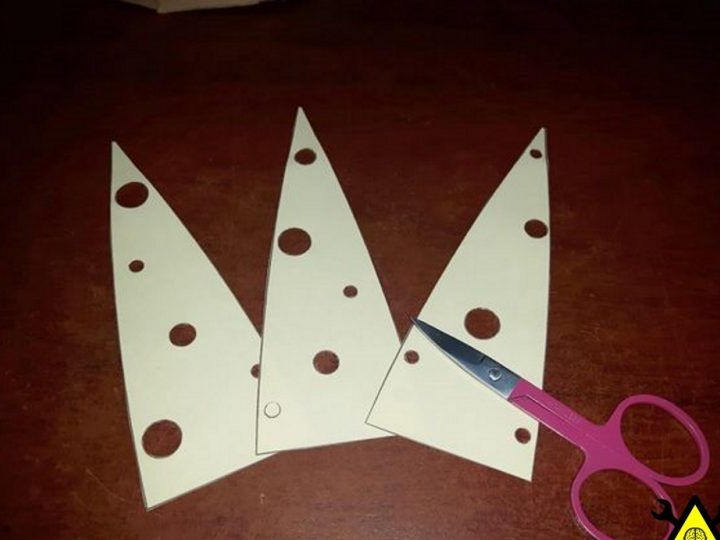
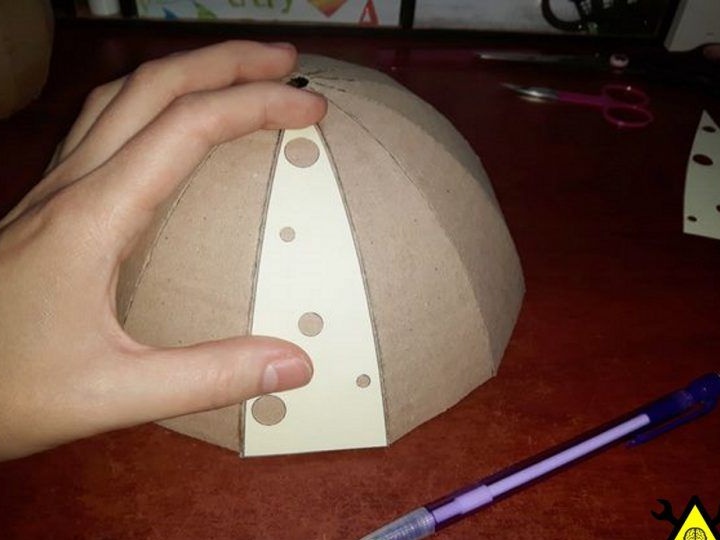
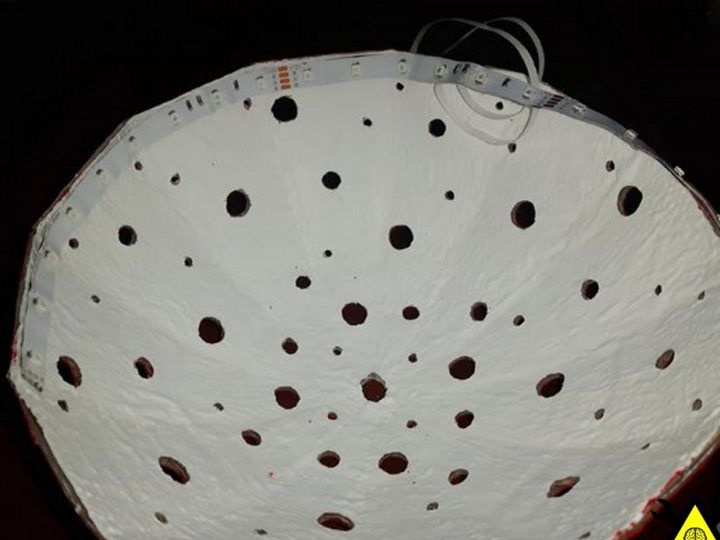
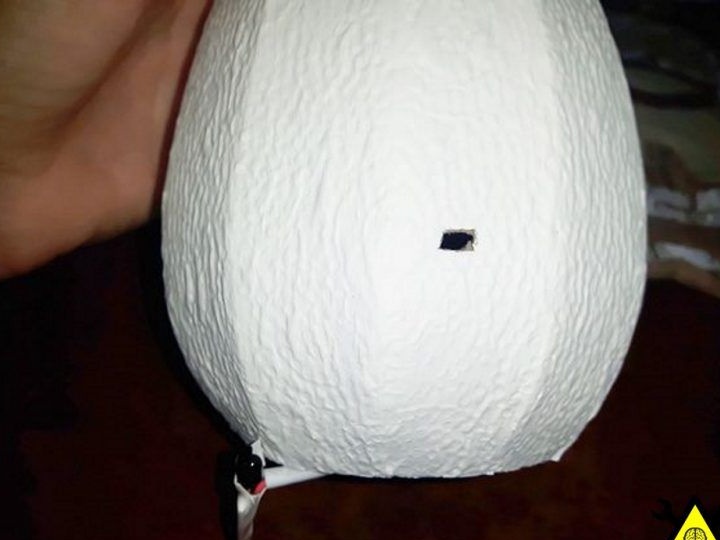
First, the author printed several patterns and circled their holes on the mushroom's head, and cut them with a scalpel.
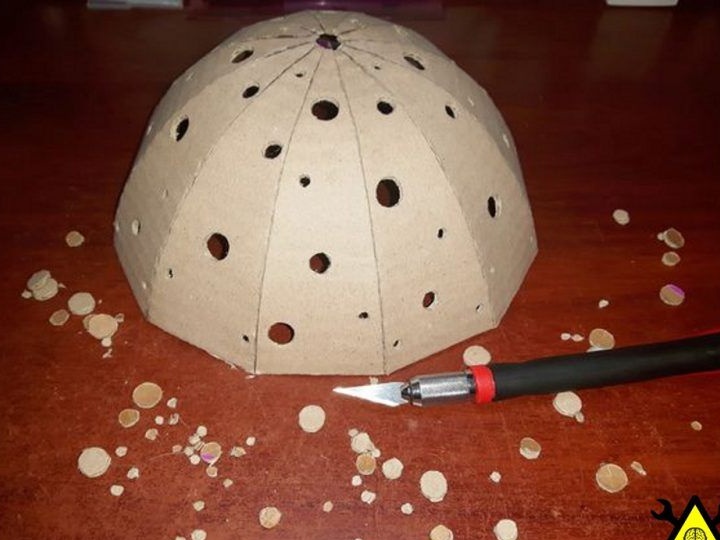
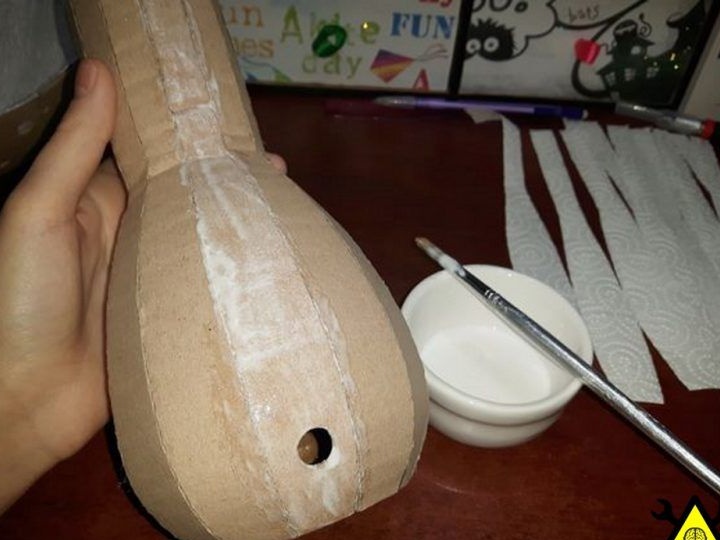
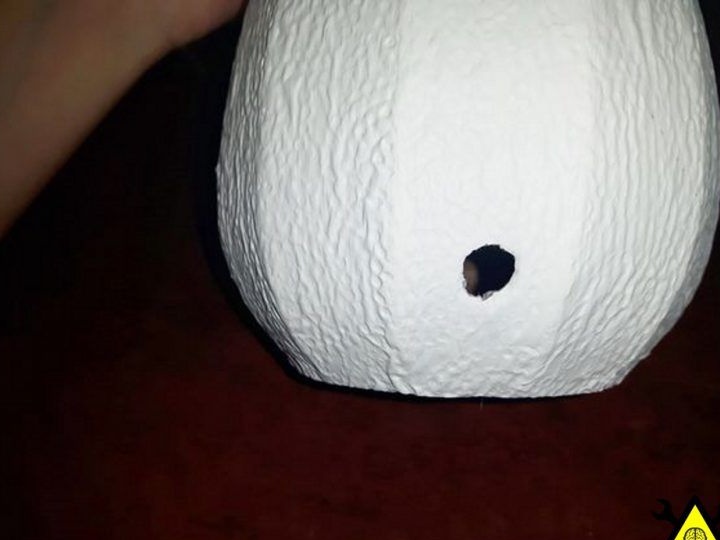
Then he chose a place for the power cord on the leg of the mushroom and cut a hole under it.

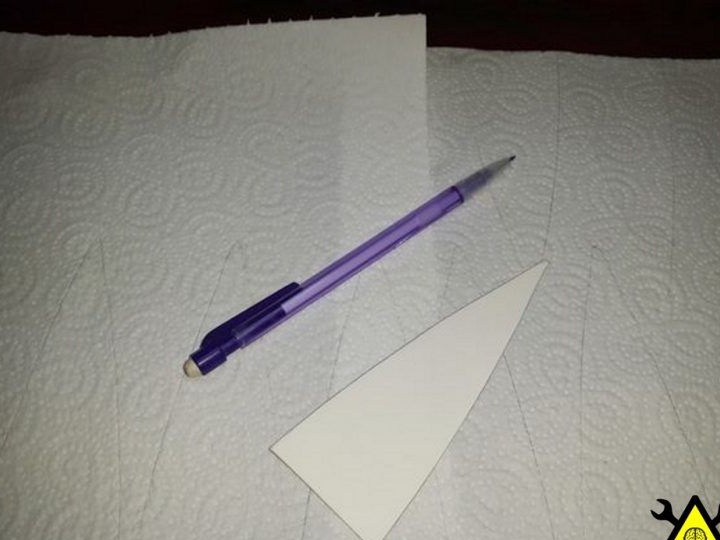
Stage 4.
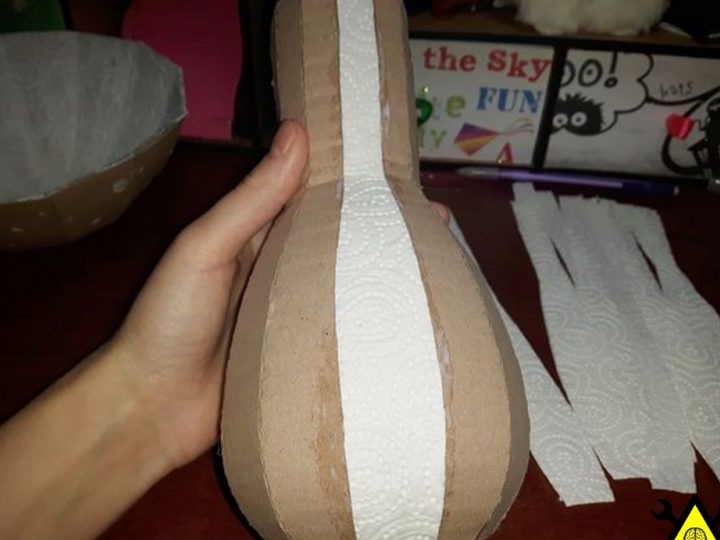
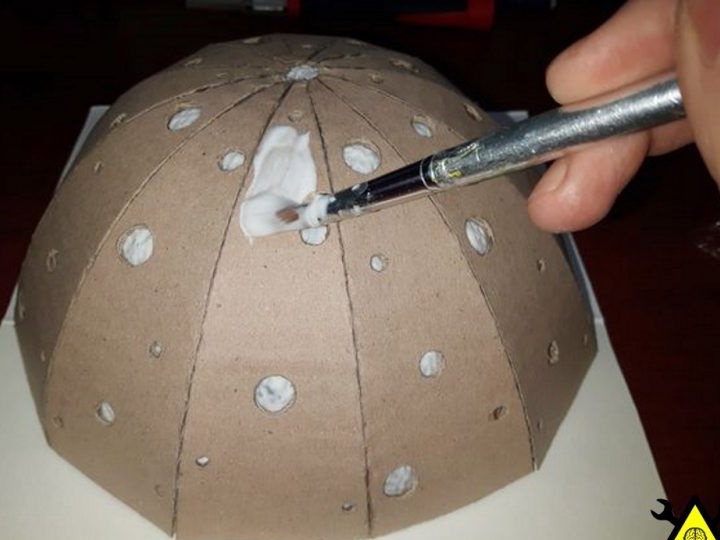
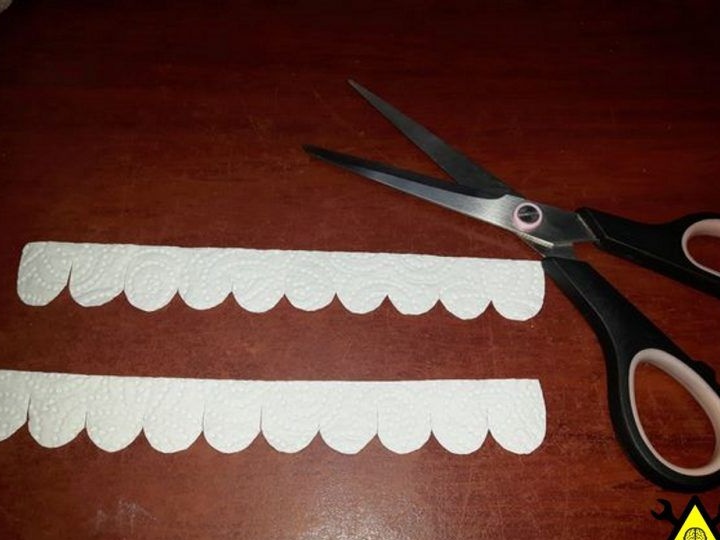
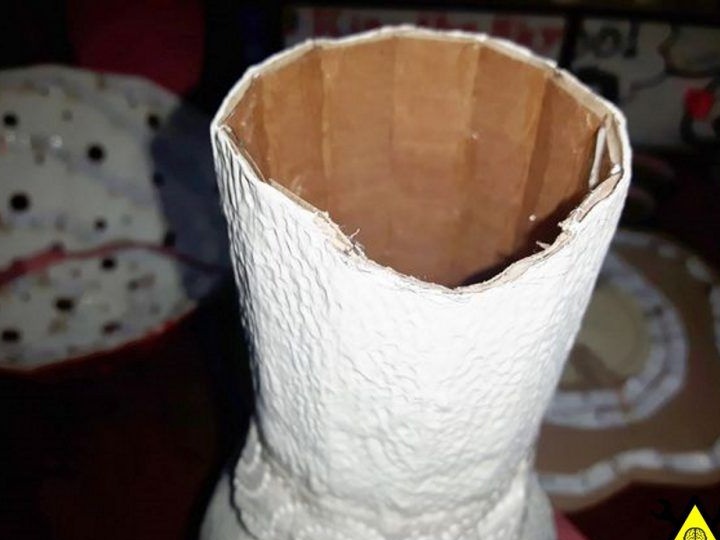
The author circled the hat template on a paper towel and cut it out 12 times. After he mixed wood glue with a small amount of water and applied a large amount of this “composition” to the hat, and then secured the cut out fragments of a paper towel.

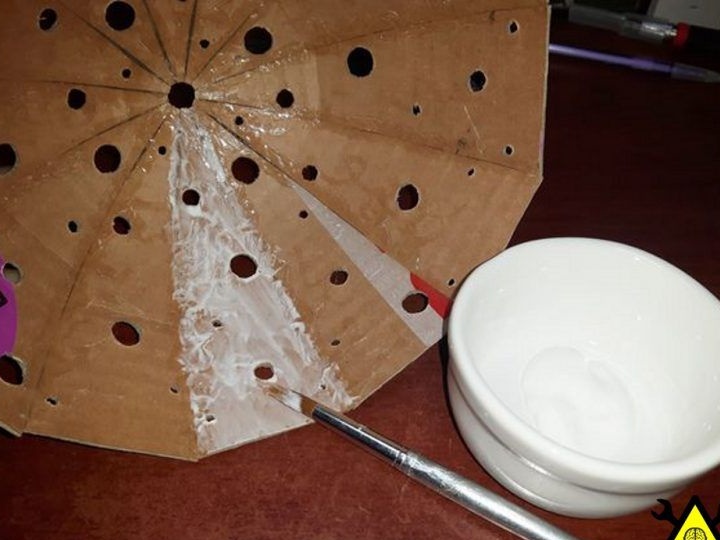

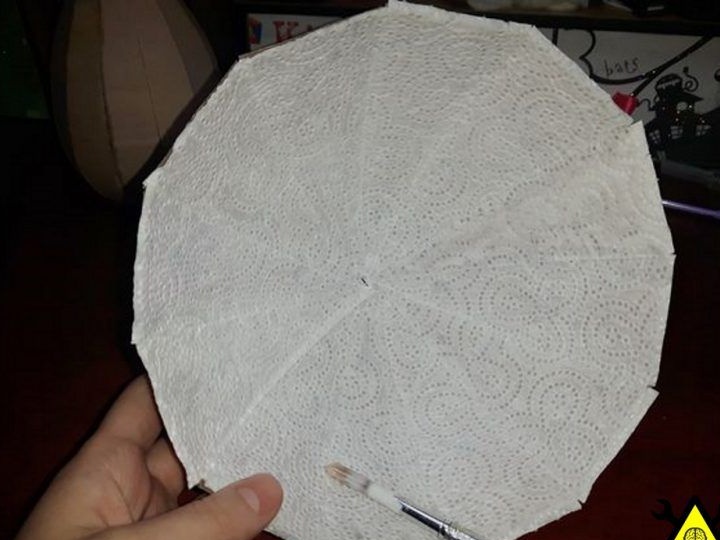
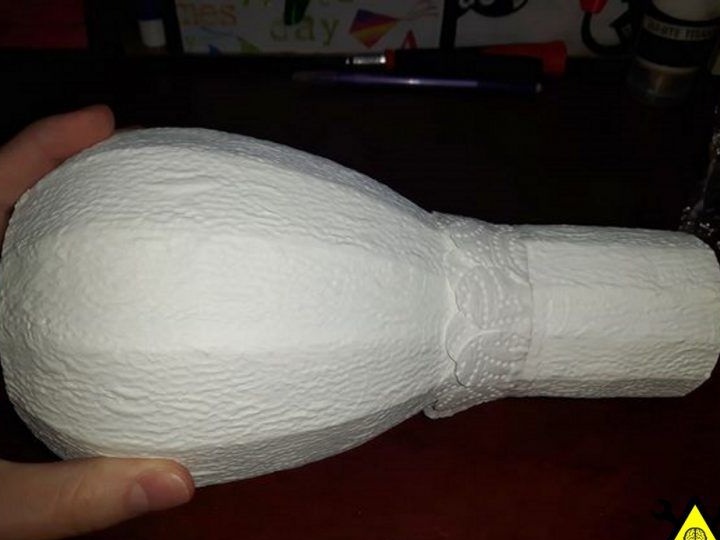
When all the parts were put in place, the author waited half an hour, and then generously applied glue over the towel.
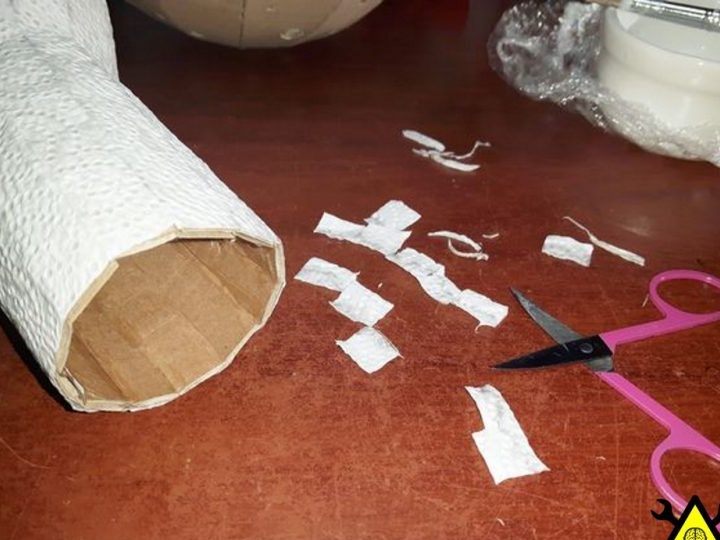
Then the author repeated the same steps for the leg.
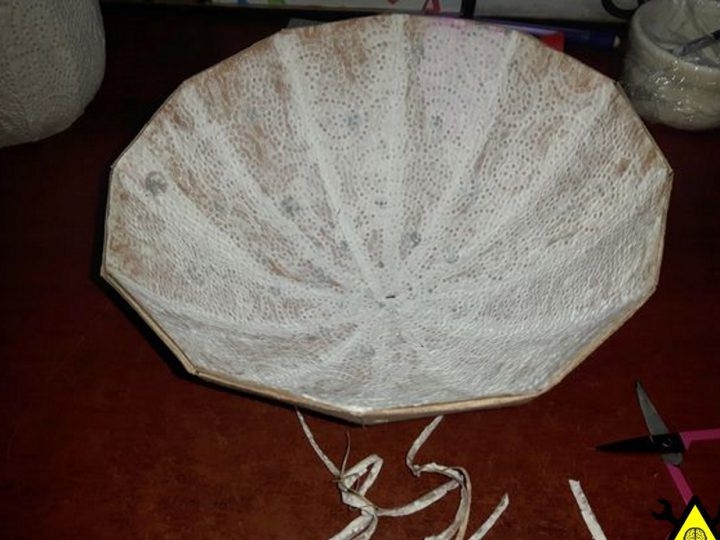
Later, the author applied glue to the inner surface of the legs and to the outer caps. I was convinced that glue saturated all folds.
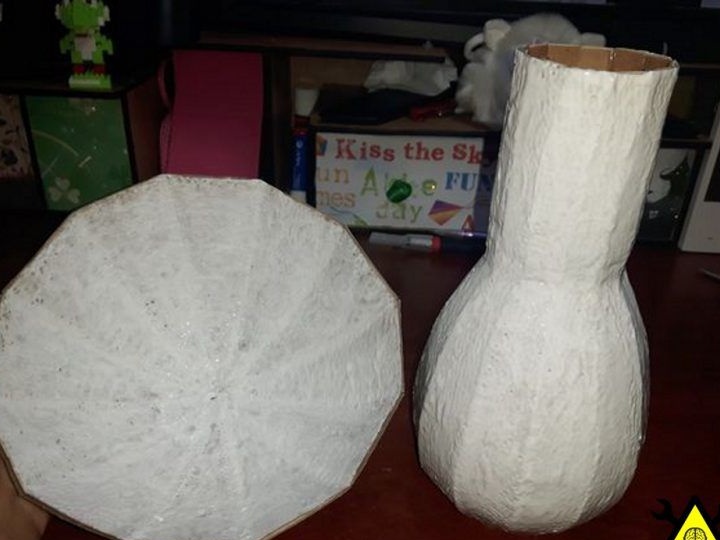
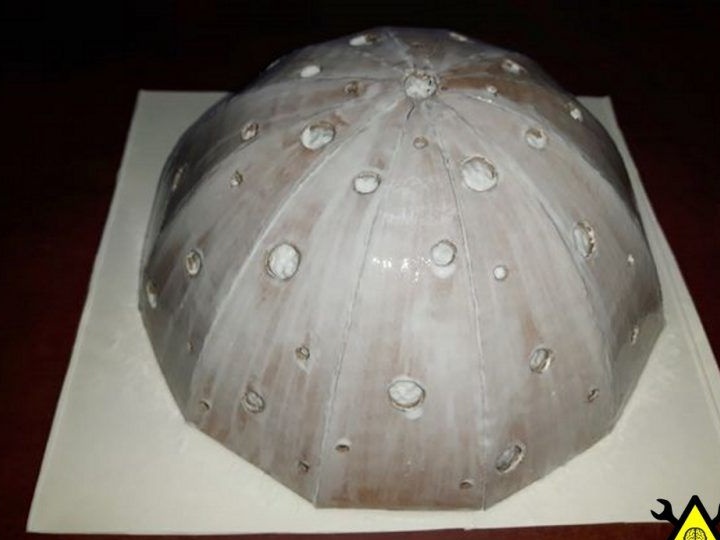
After, the author left the mushroom to dry overnight.
Stage 5.
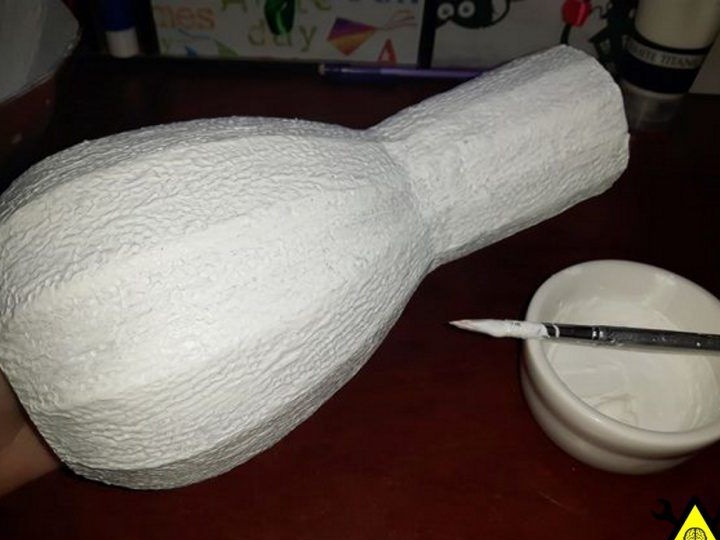
The author began by painting the inside of the hat, and then moved on to the leg. Each painting process needs to be repeated 2-3 times.


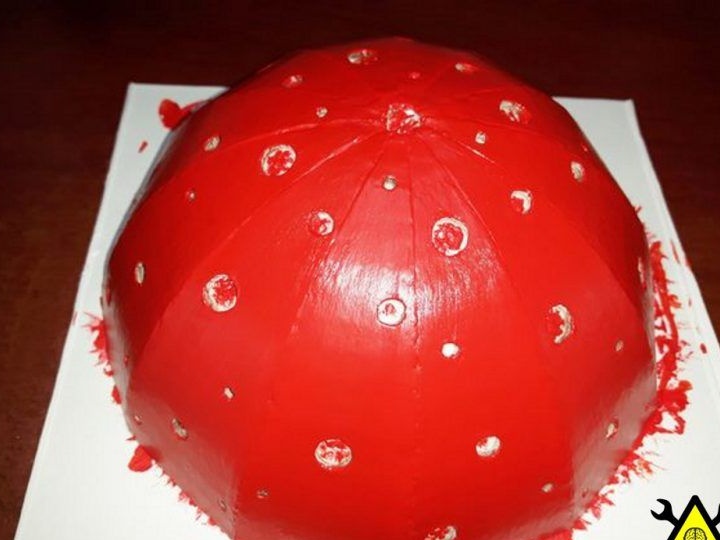
When the paint has dried, the author painted the outer surface of the hat in red (2-3 times).
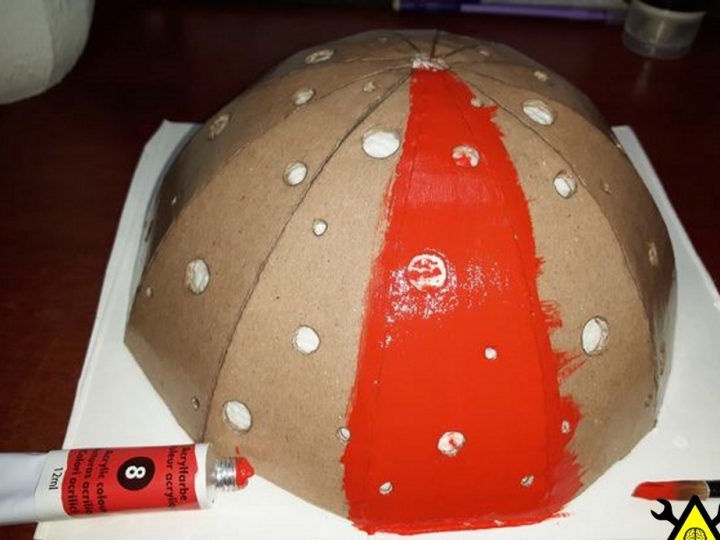
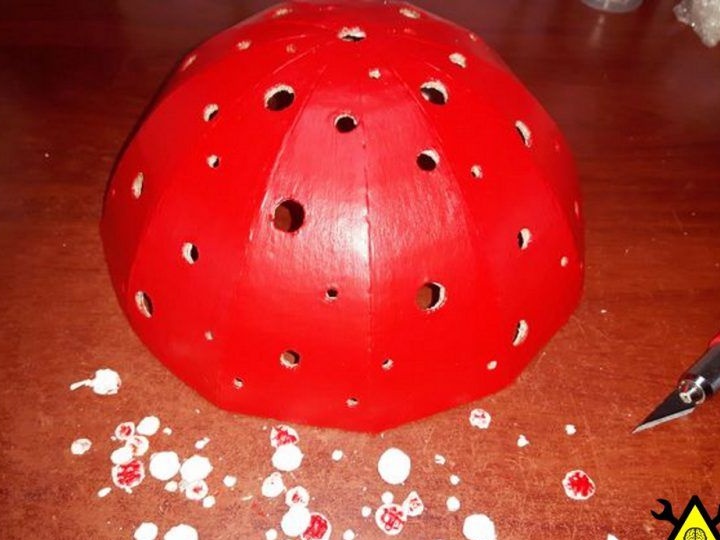
Then he cut out previously glued holes.
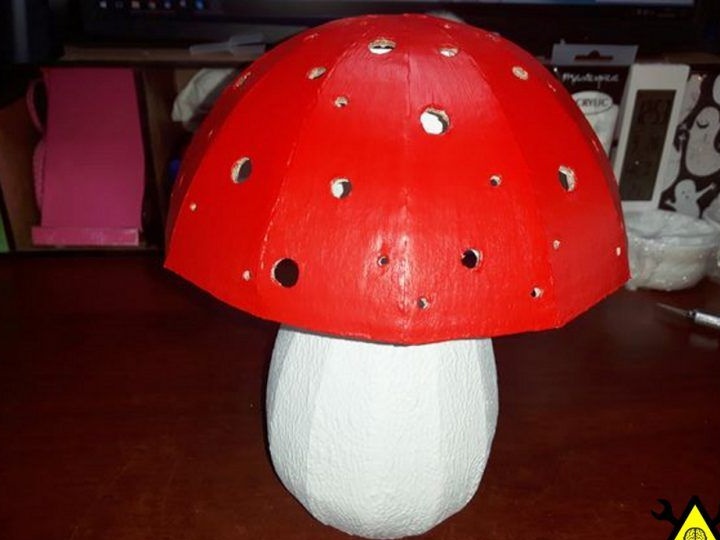
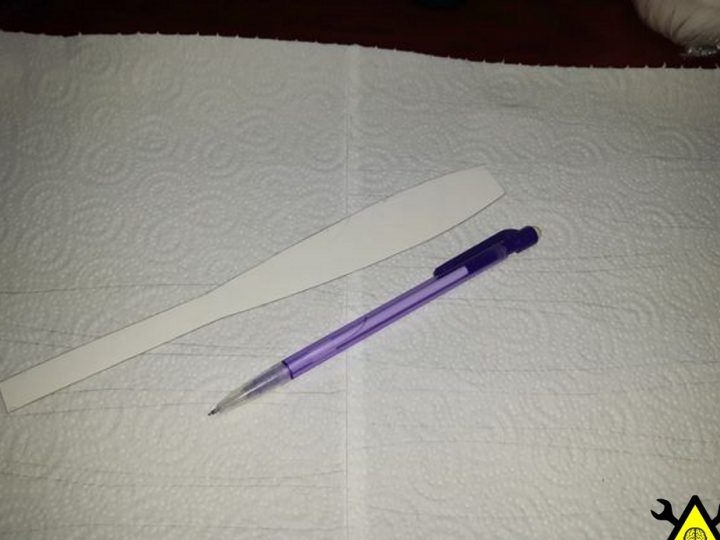
He circled a frill on a paper towel, cut it out and attached it to a leg.
Stage 6.
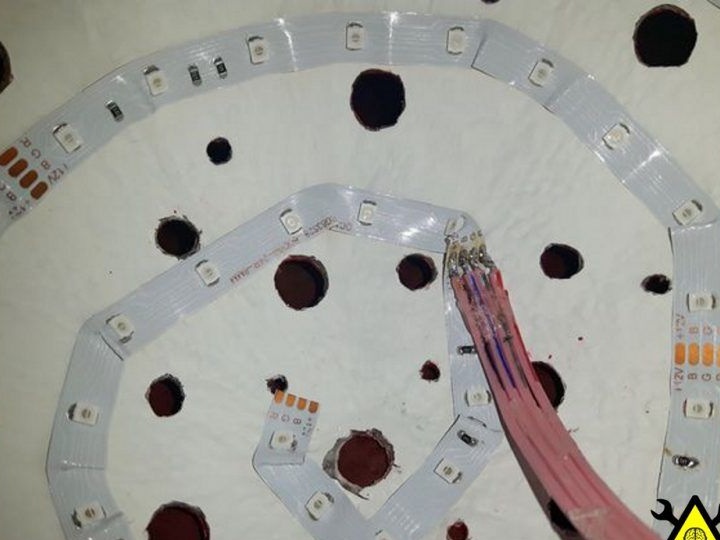
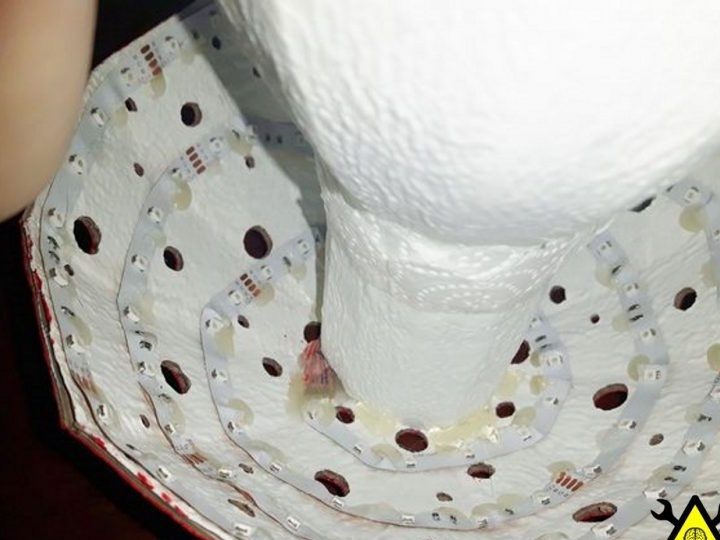
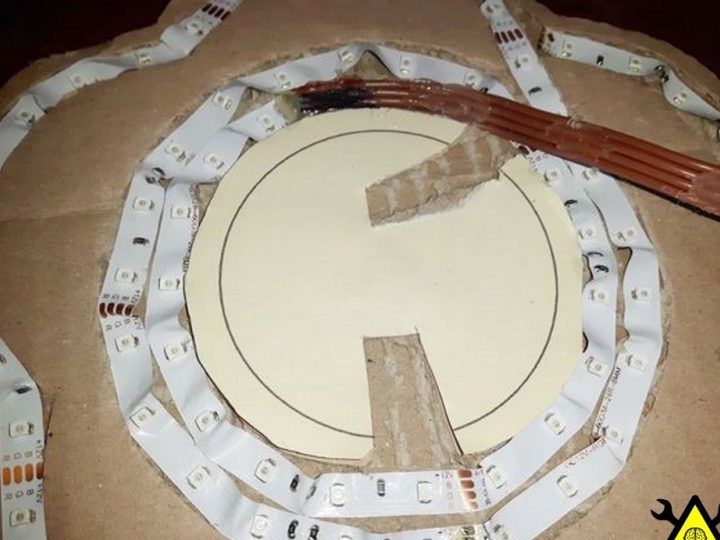
First, the author secured the LED strip in the form of a spiral.I cut the strip with scissors at the nearest “cut point”.
Attention:
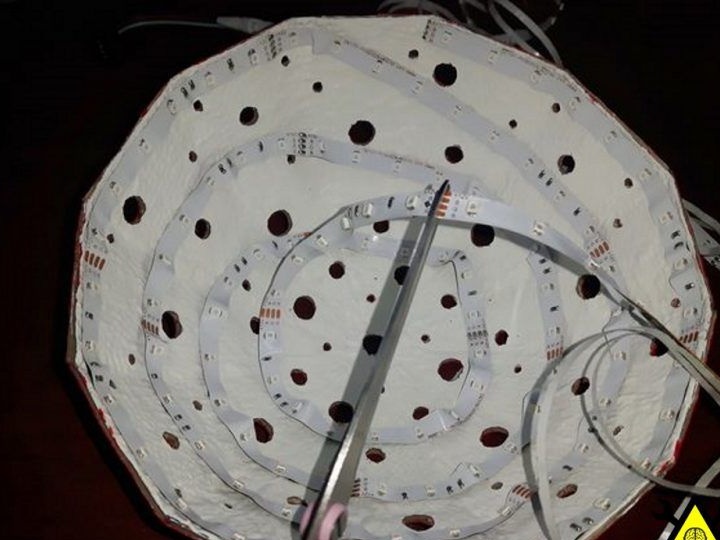
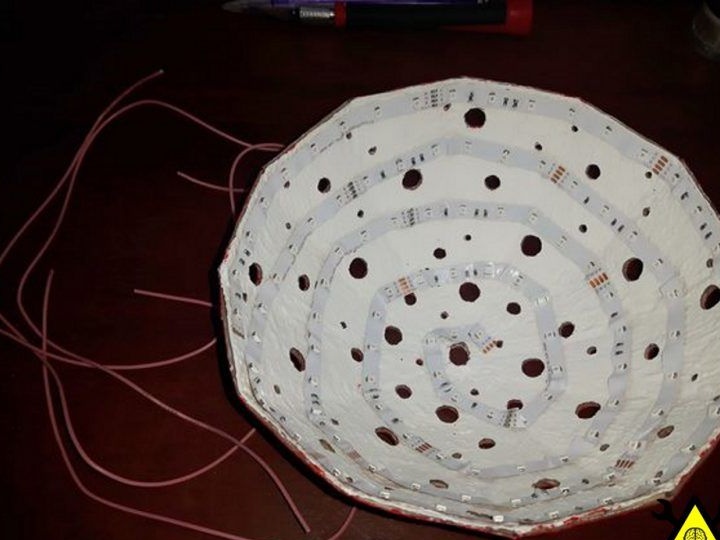
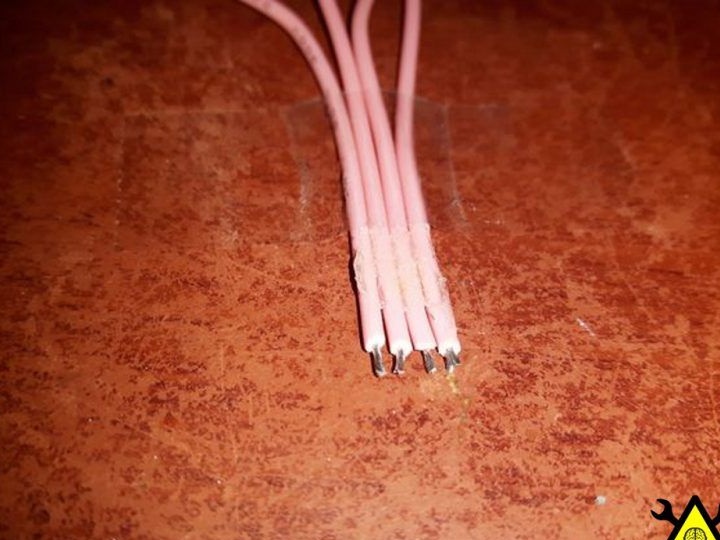
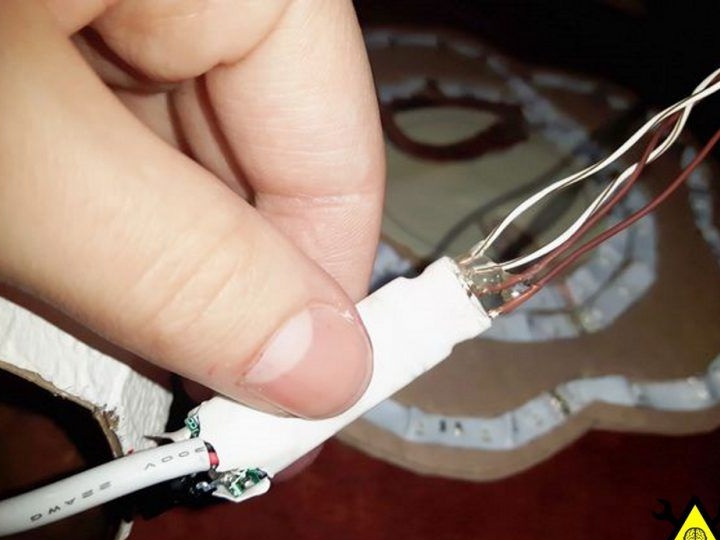
Then he cut a stranded wire into four pieces of 30-40 cm and glued them together. He cleaned and tinned the ends of the wires and soldered them to the LED strip. Then he applied hot melt adhesive to the compound. Marked with a marker negative and positive conclusions. After that, he applied hot glue to the LED strip for additional fixation on cardboard.
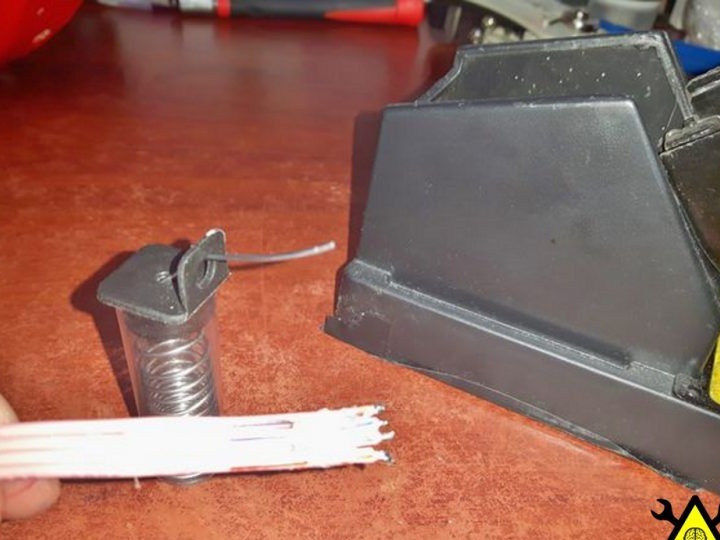
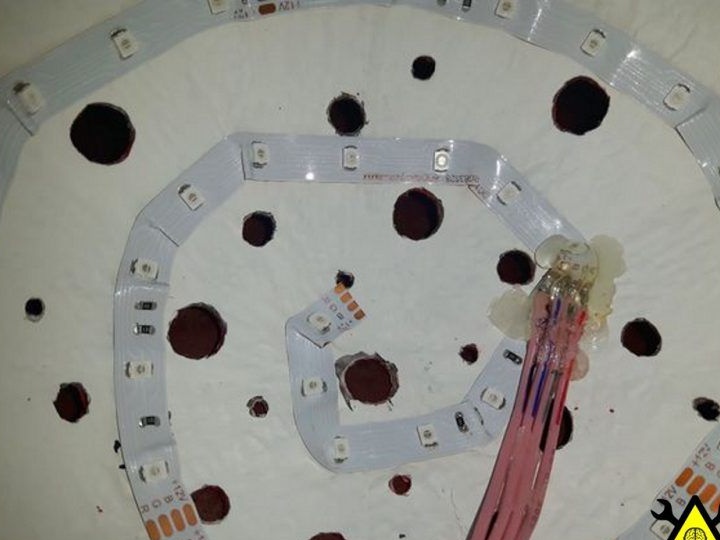
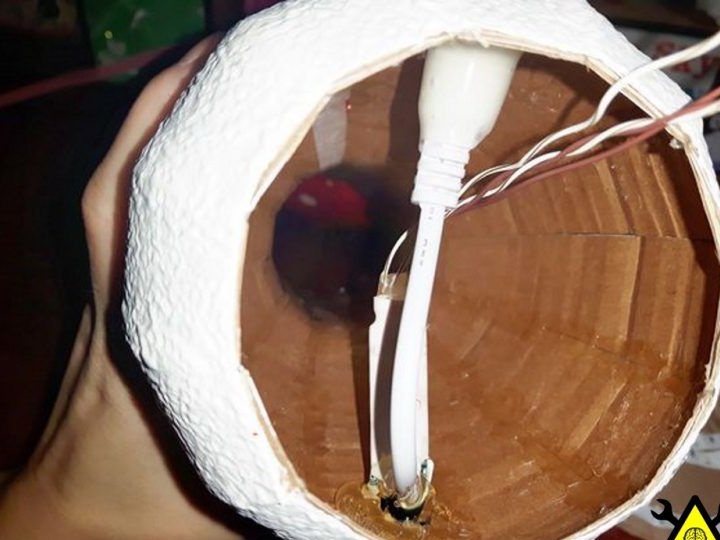
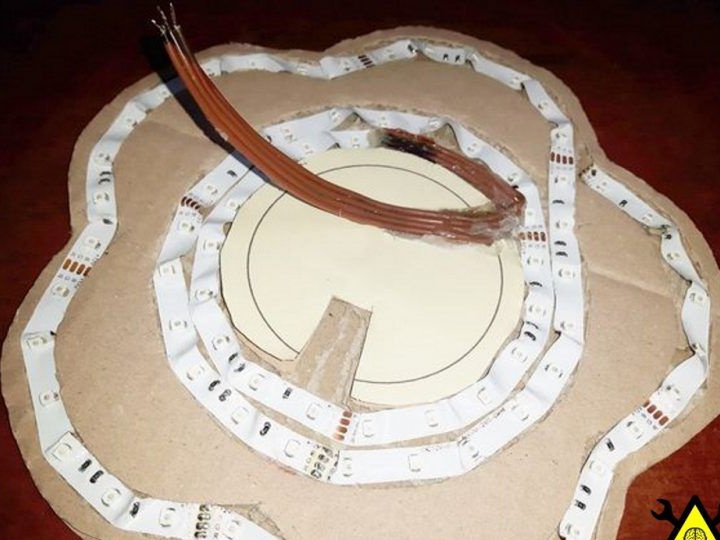
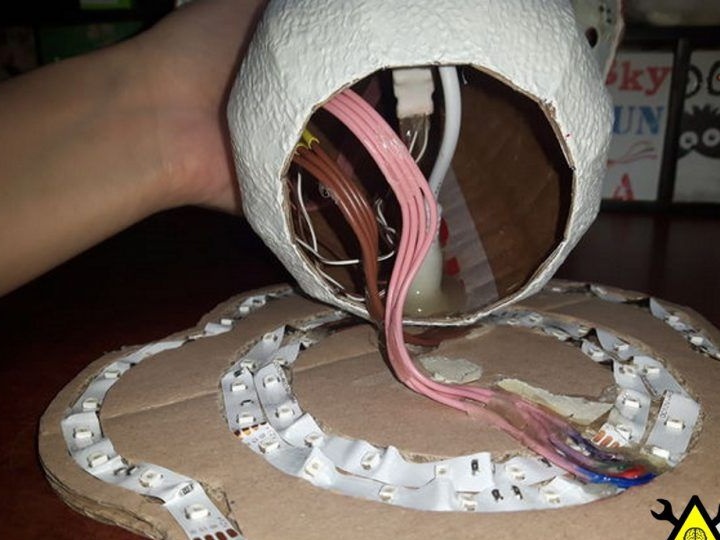
Then I glued the power socket of the LED strip controller to the leg from the inside. I cut off 4 pieces of a single-core wire, soldered them into the holes for the terminals of the controller and isolated the place of soldering. I cut a small rectangular window under the infrared receiver of the controller and attached it to the inside of the case.
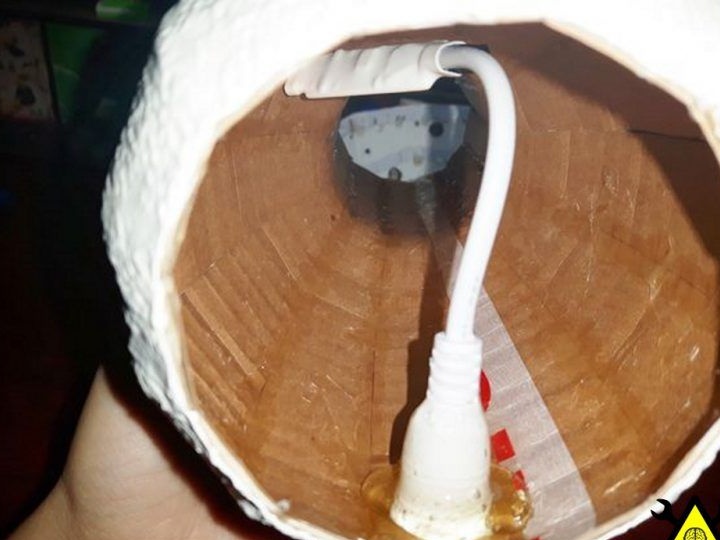
Pull the wires through the leg and glue it to the hat.

Stage 7.
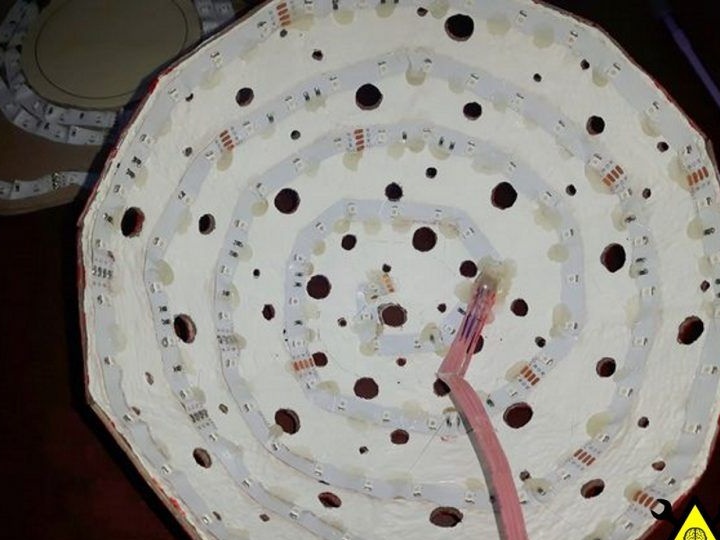
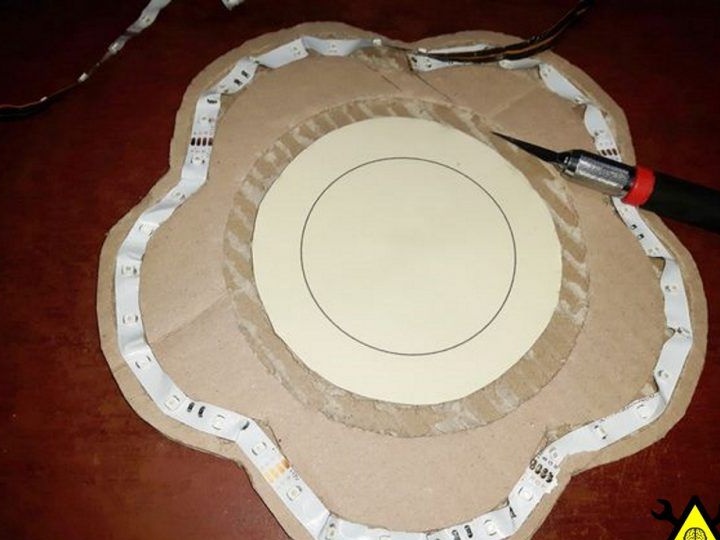
Then he circled the base on cardboard and cut it out. Glued both parts together and laid the template on top of the glued workpiece. Using a scalpel, I circled the lines on the template and cut out the grooves for the LED strip.

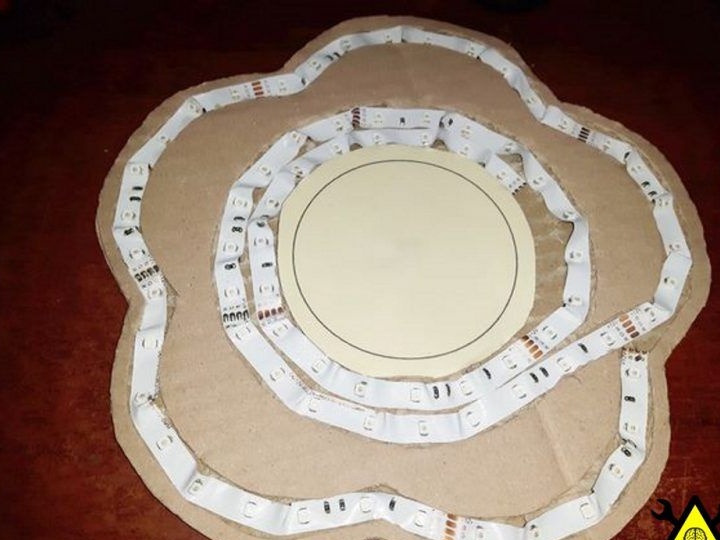
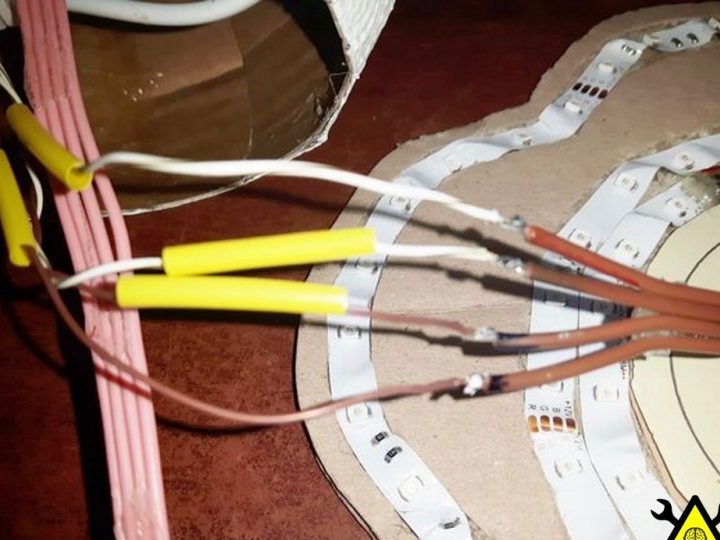
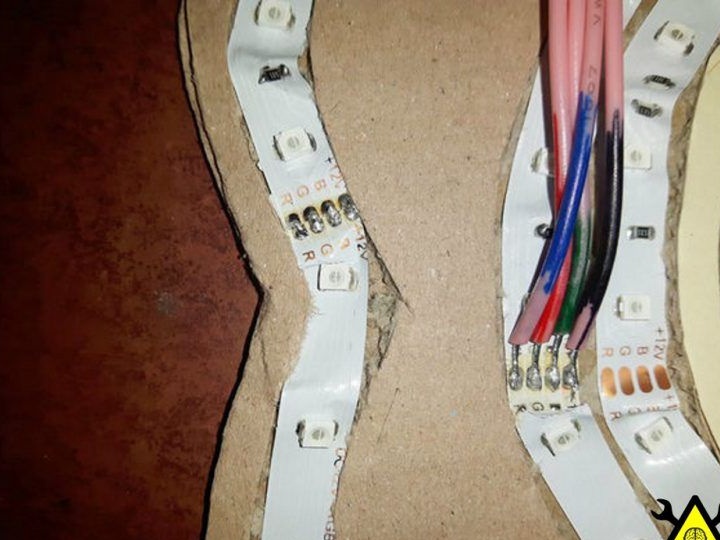
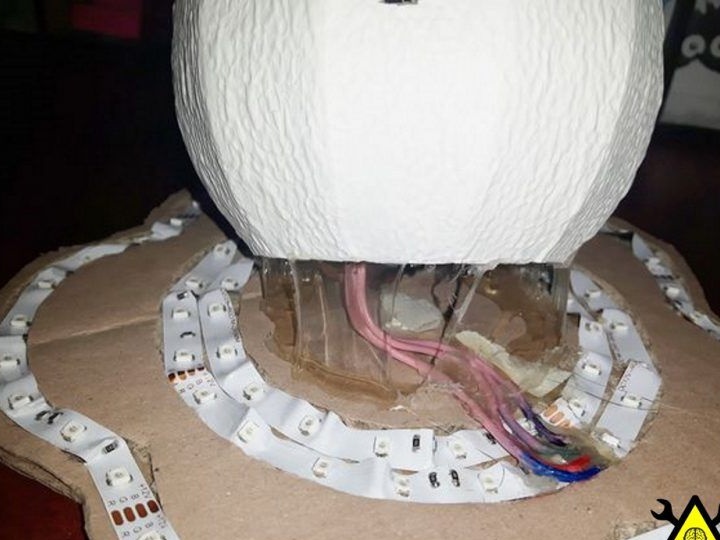
Attached LEDs around the base. Cut grooves wherever needed. I cut four more pieces of 10-15 cm from the remaining stranded wire, stripping / tinning, and soldered them to the end of the strip. Put glue on the place of soldering and attached the rest of the wire to the base. Noted pinout wires.
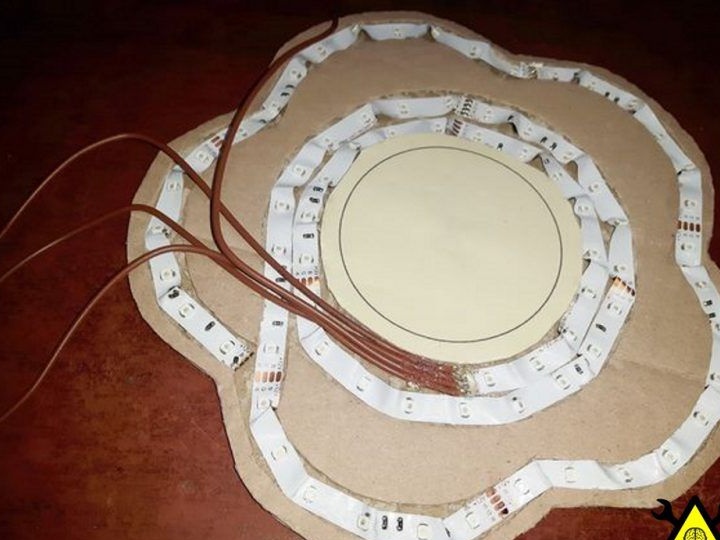
He put a heat shrink on the wires. I soldered the wires coming from the controller with the wires of the base tape. Connected arbitrarily, but the food goes to the power! The author wanted the hat backlight to be different from the base backlight. Moved the heat shrink over the joints and set it.
He turned on the nightlight and made sure that the base light was working. Soldered the wires coming from the LED strip in the hat to the LED strip base.
After everything worked as it should, the author glued a leg to the base.

Stage 8.
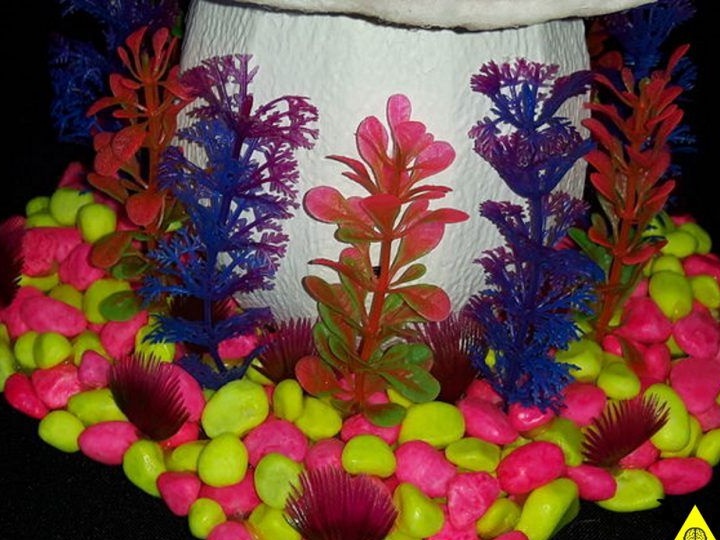
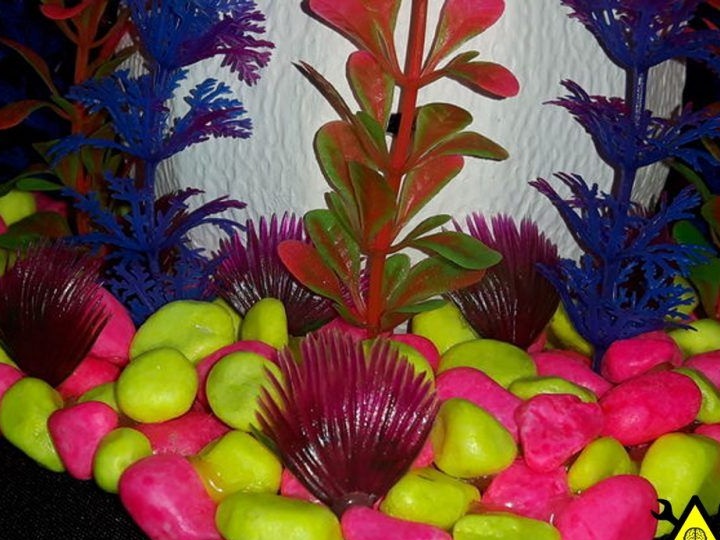
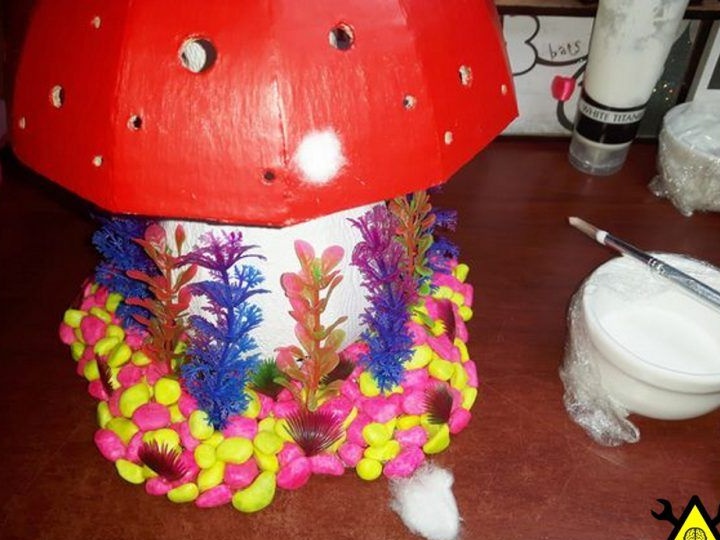
I glued the pebbles to the base one by one, as close to each other as possible. Completely sealed the surface and ends.

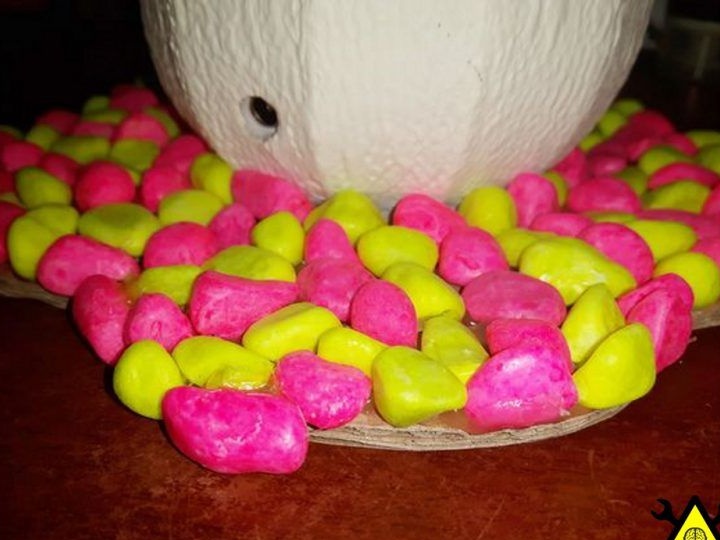
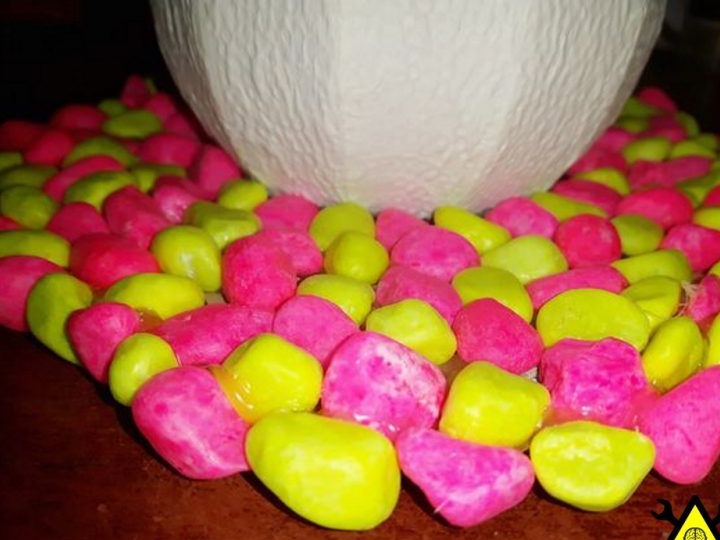
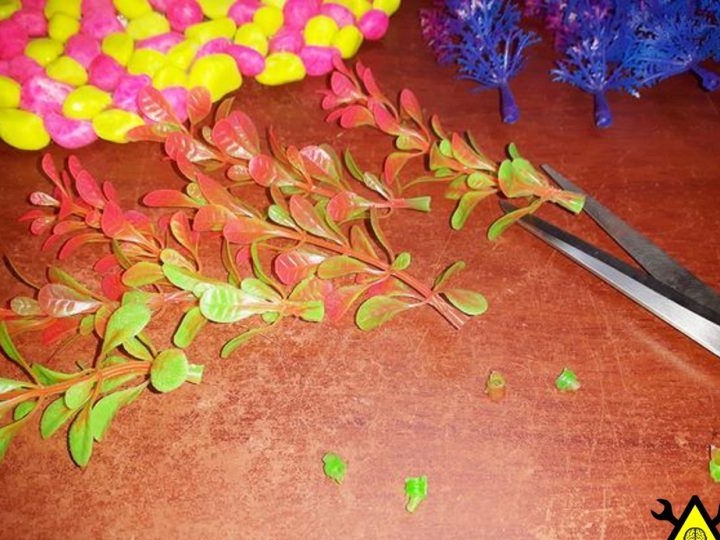
I cut the plants and pasted them with a mushroom. Glued more stones in places of their attachment to the base. I cut several plants into smaller pieces and also glued them.
Then he added some water to the glue and mixed well. Then I applied this “composition” to the holes in the hat and stuffed pieces of cotton wool into them. In smaller holes it is easier to shove cotton wool from the outside, and for large holes - to shove cotton wool from the inside.
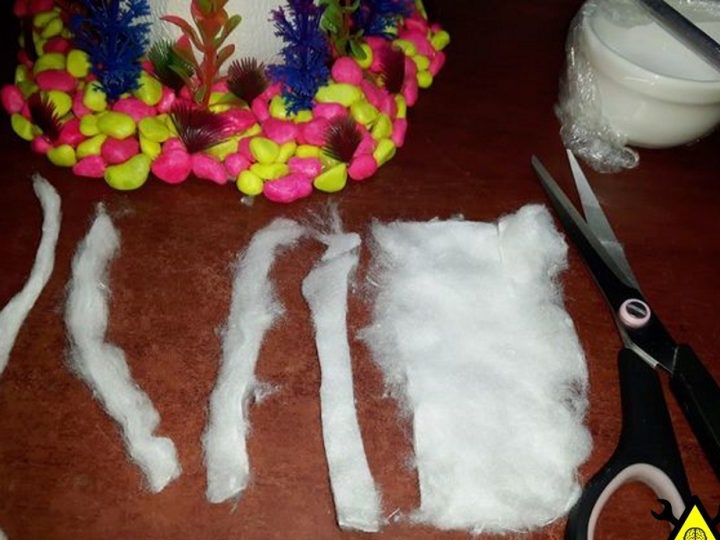
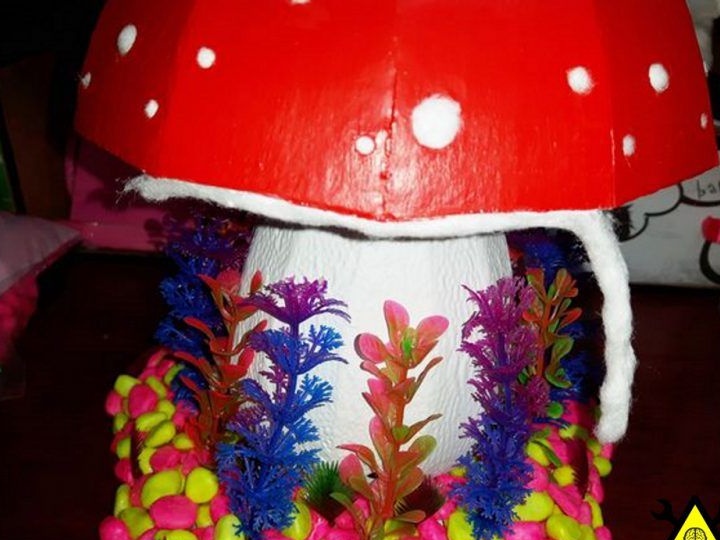

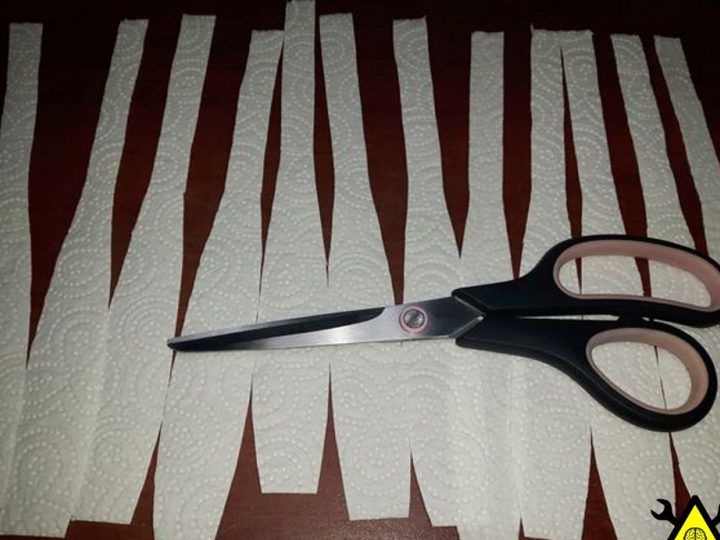
After he cut the cotton into strips, applied glue to the end of the hat all around and glued the cotton.
Stage 9.
As a highlight, the author used low-power LED strips. Strong heating in combination with cardboard and cotton wool will not bring to good.

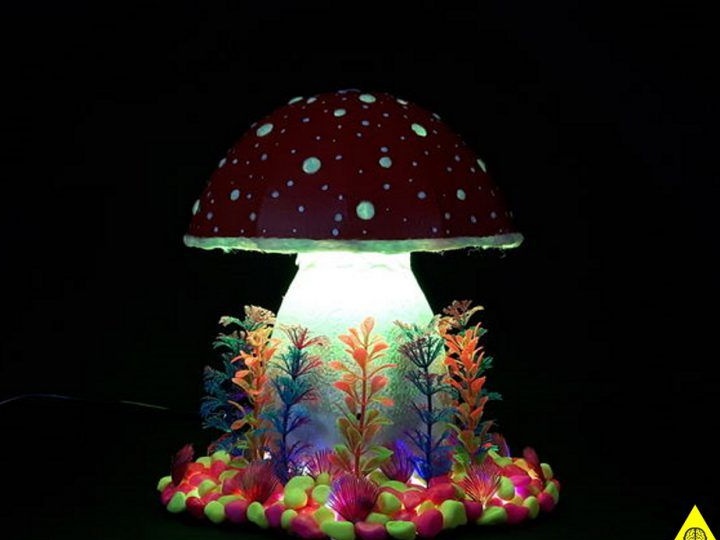
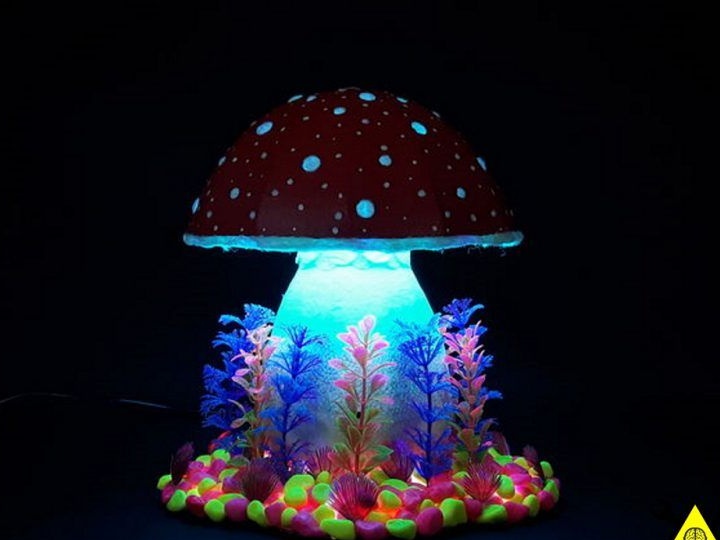
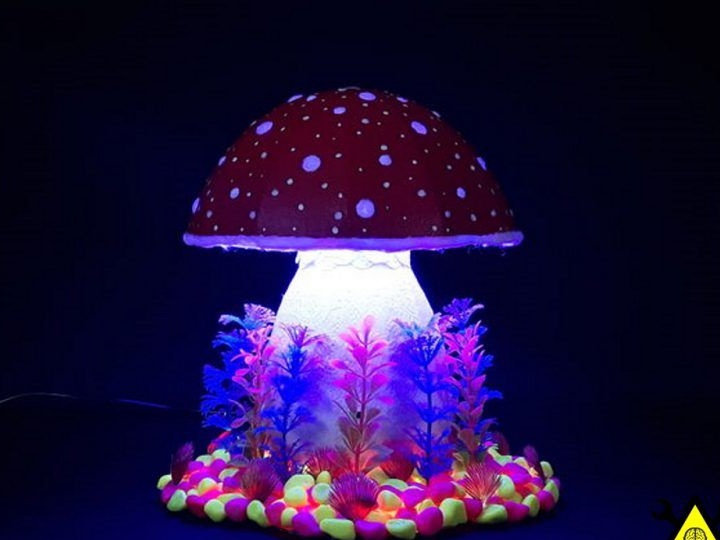
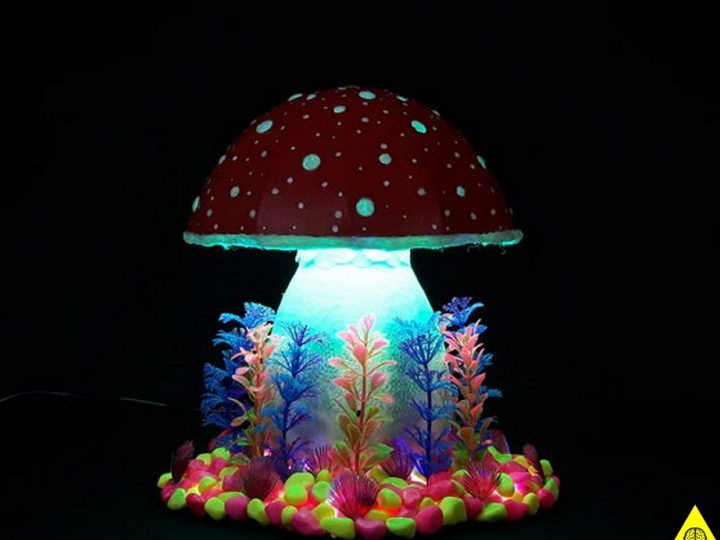
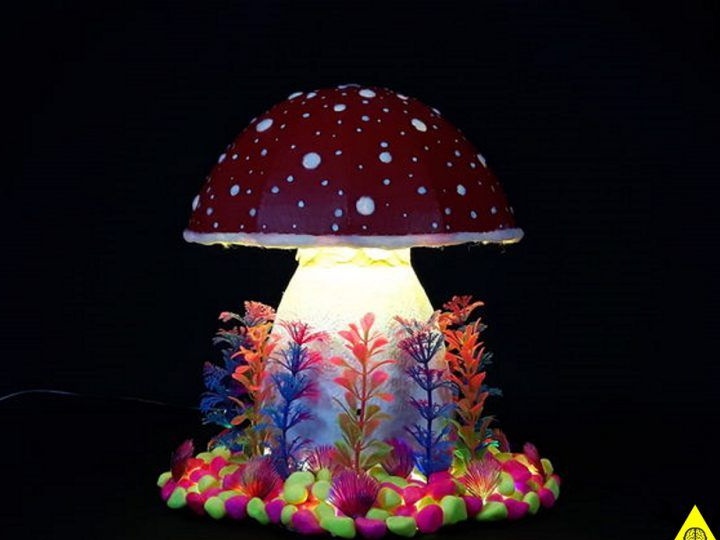
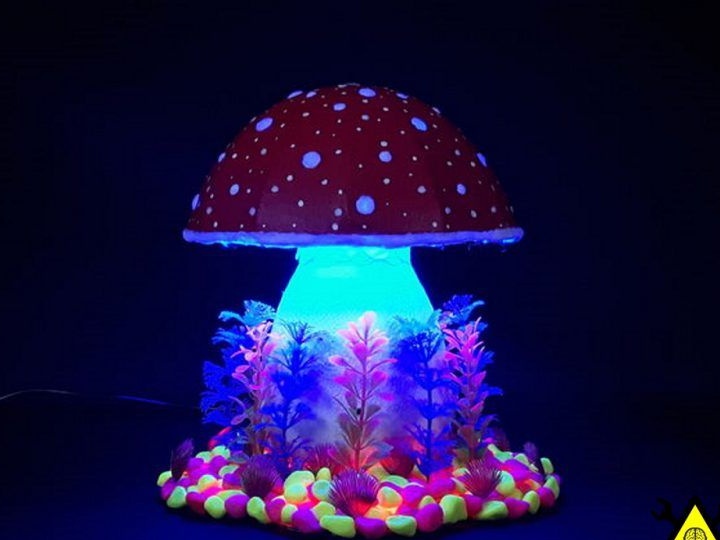
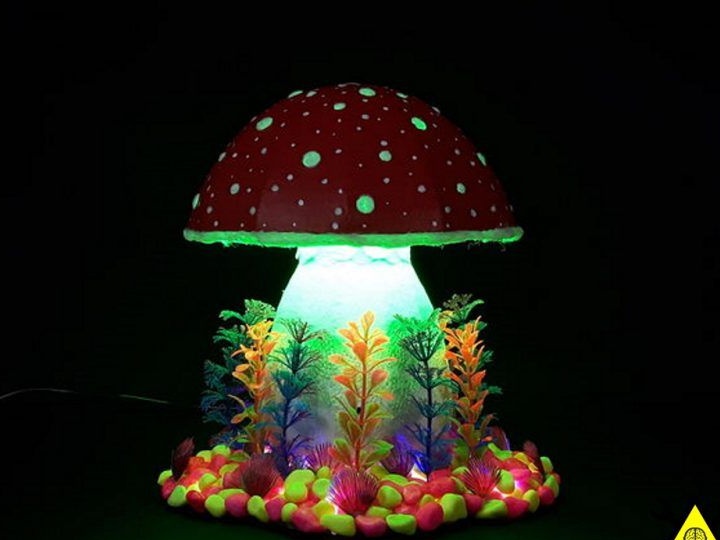
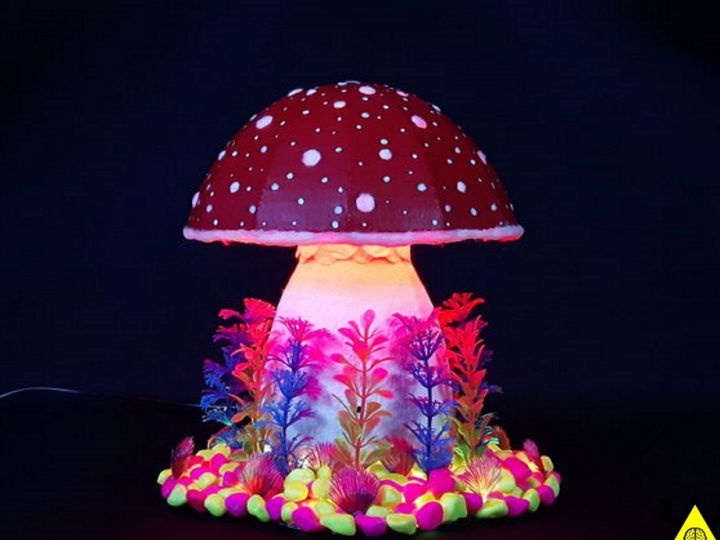
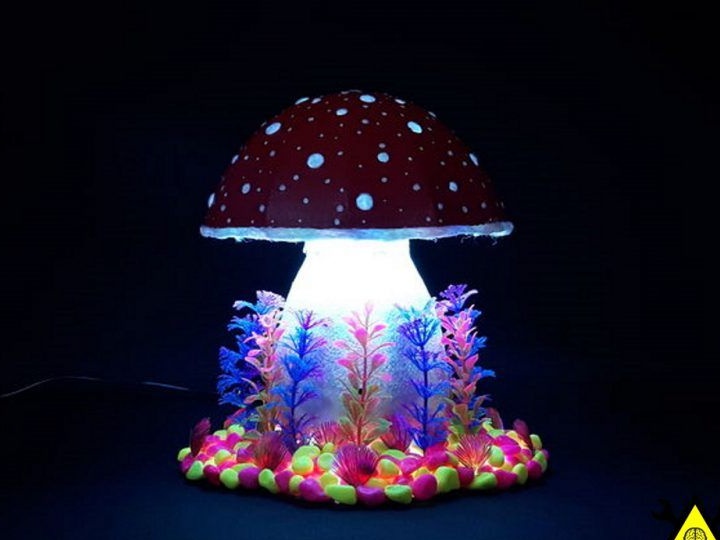
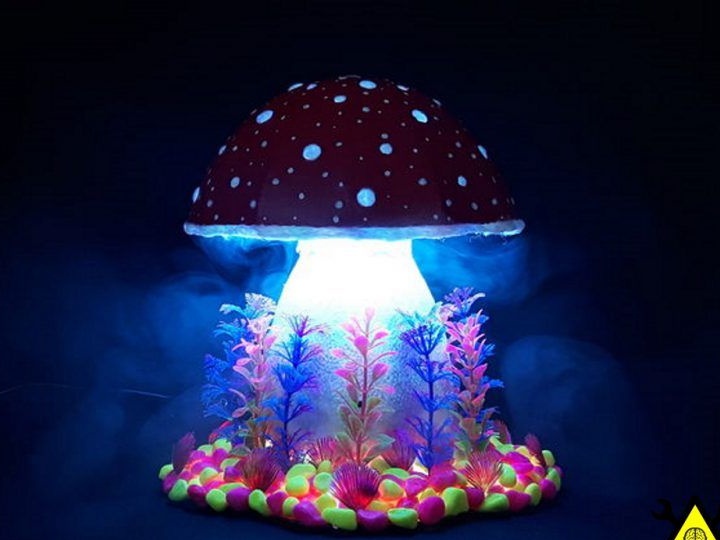
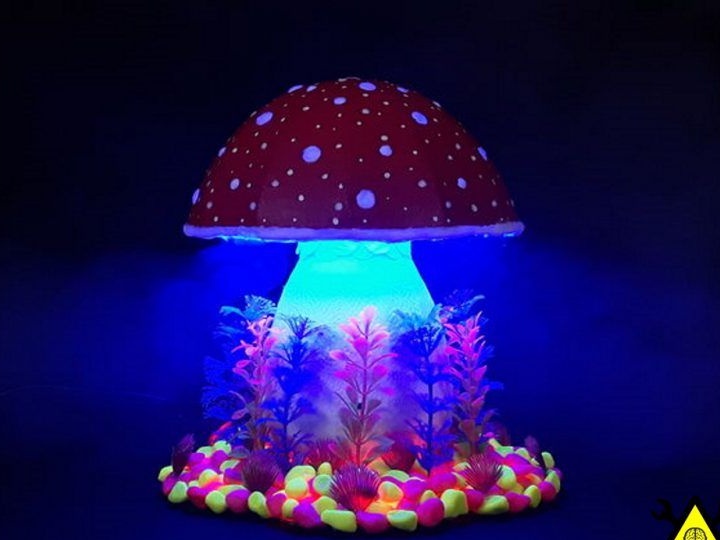
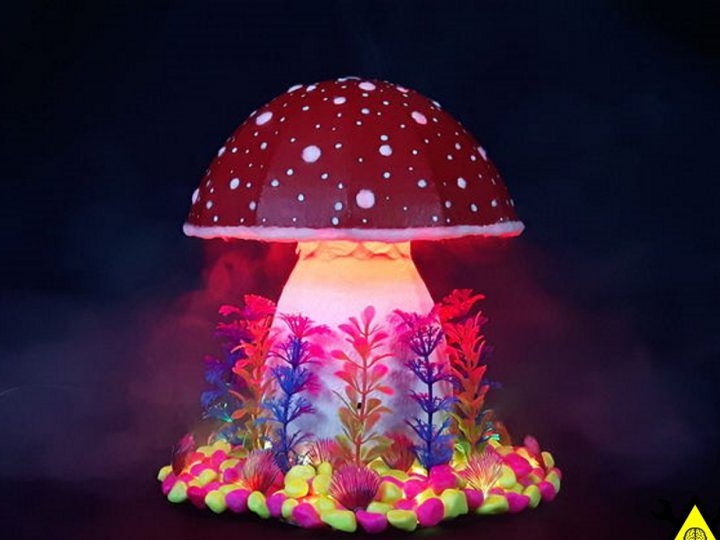
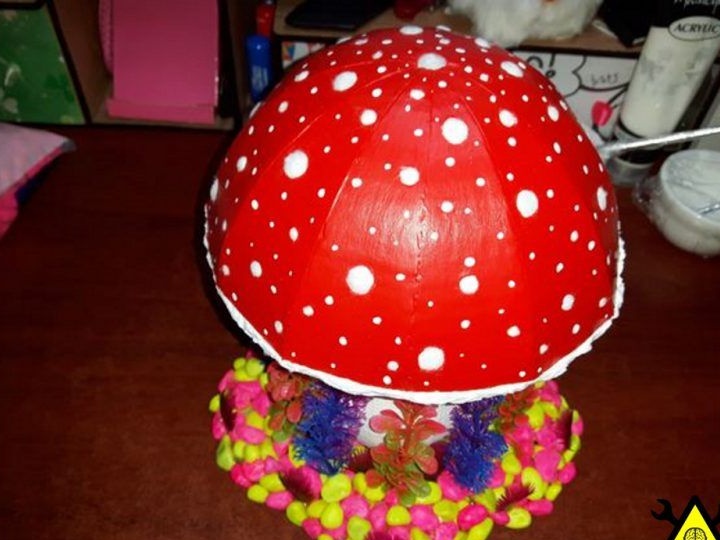
Stage 10.
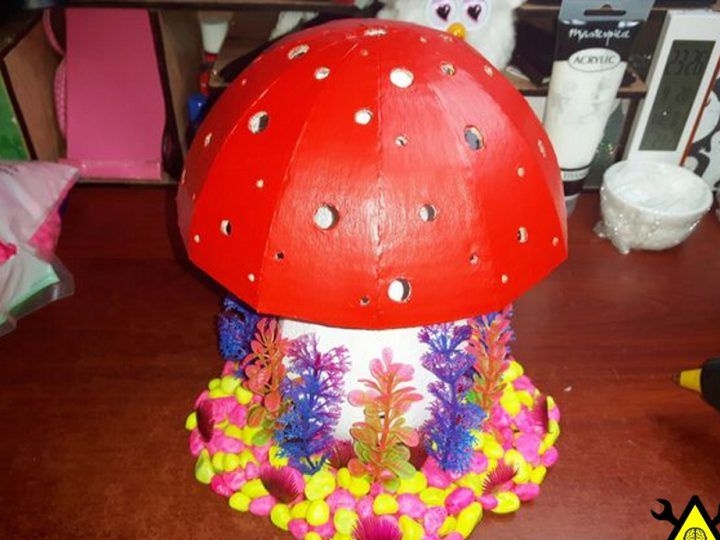
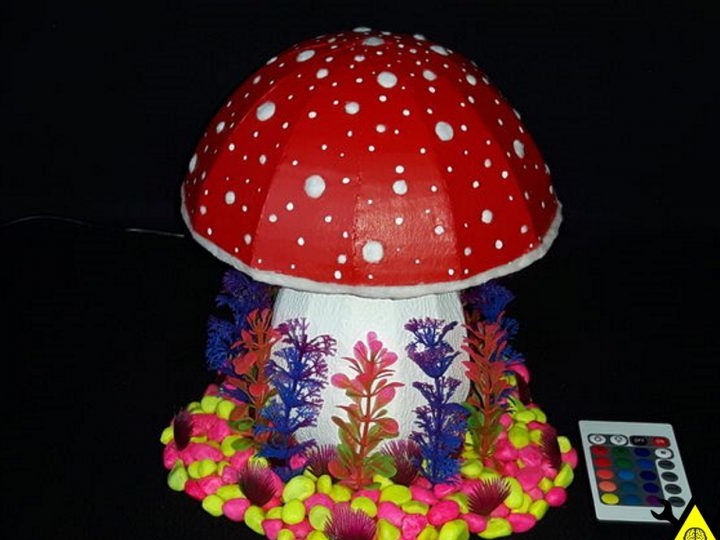
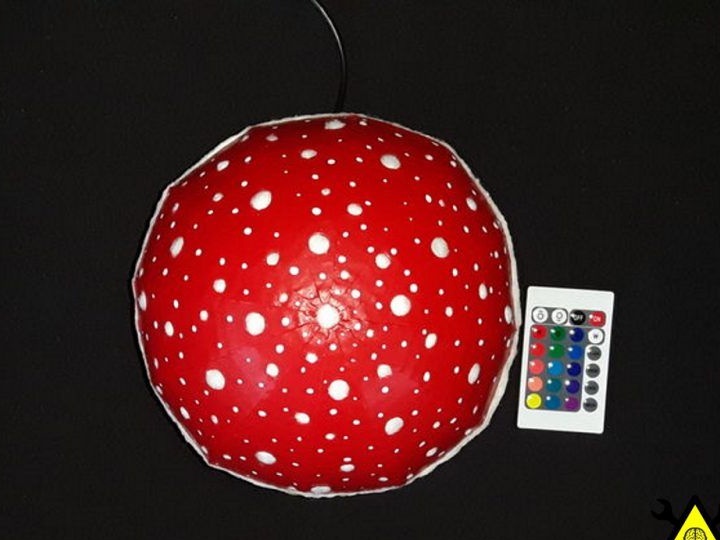
In the end, the author turned out such a wonderful lamp, and it’s a sin not to photograph it, in different colors.