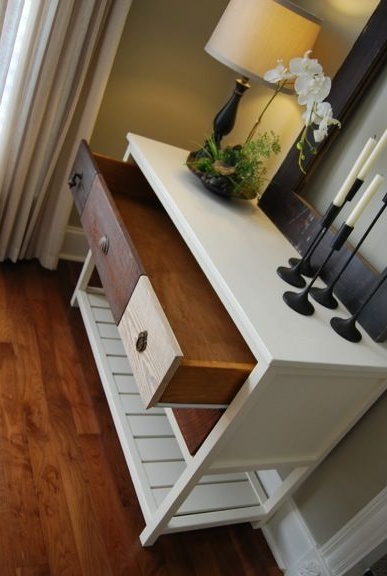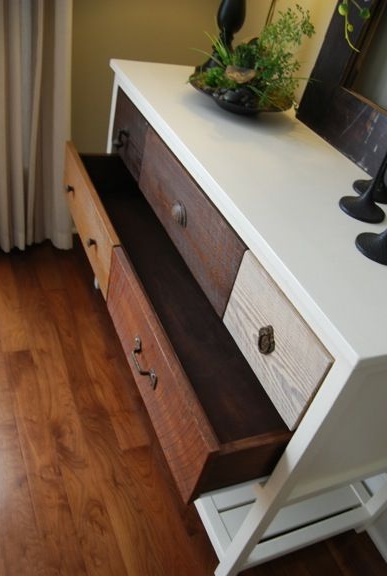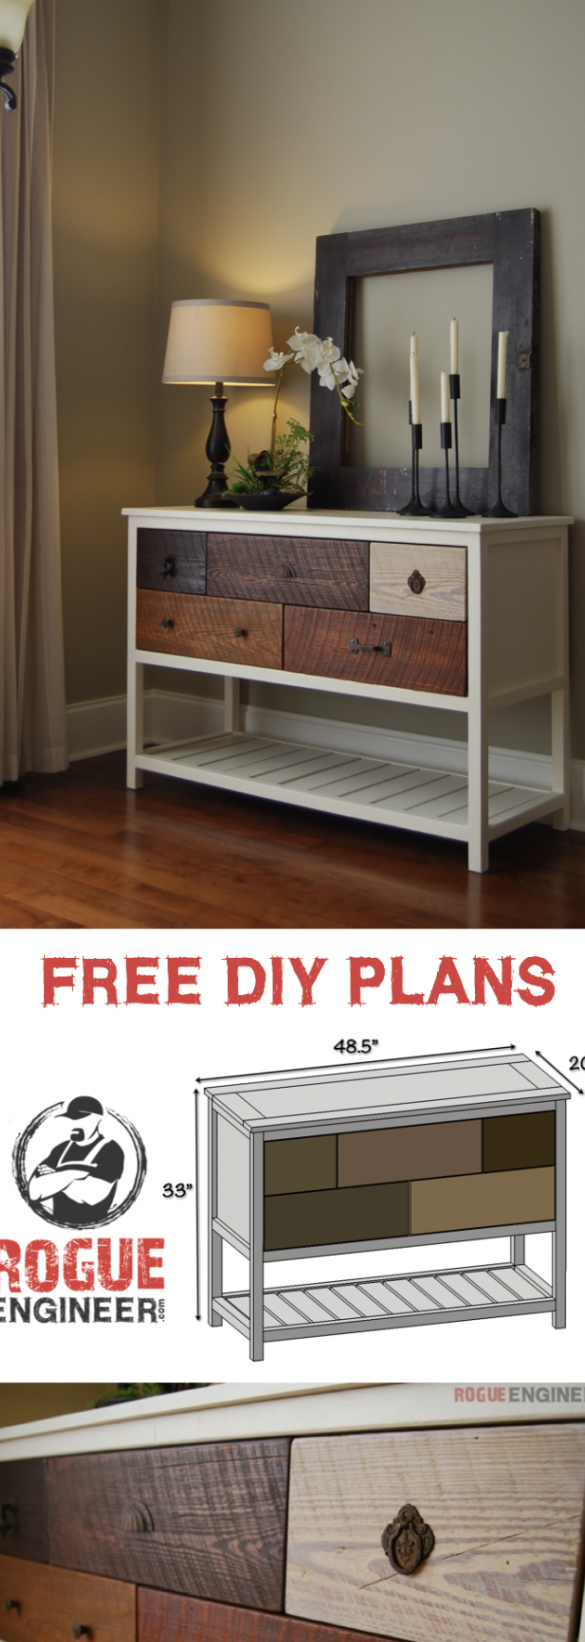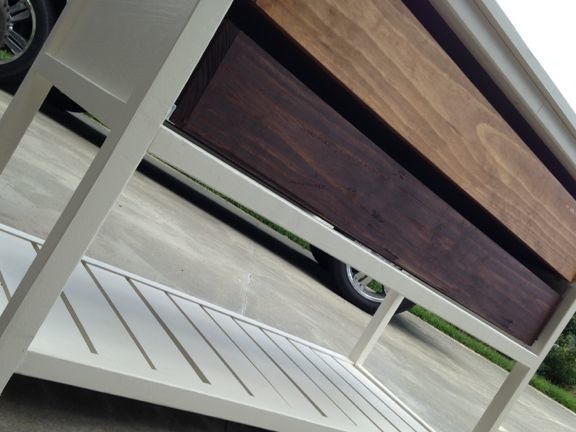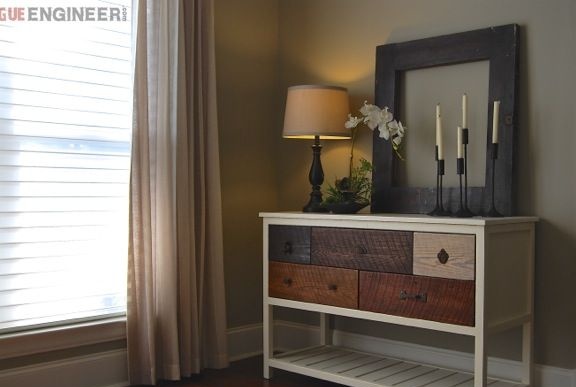
The chest of drawers is one of those items. of furniture, the manufacture of which opens up immense prospects for the master. Among other things, it is also very functional furniture. Dressers are widely used in the setting of bedrooms, living rooms, hallways and even baths and kitchens. So every self-respecting home master is simply obliged to have some kind of original chest of drawers in the house, and he will find application.
In this master class, the author used ready-made decorative panels of textured wood for decorating drawers. Frequent goods on the shelves of American building hypermarkets. In this master class, you will learn how you can prepare the tree for decorating furniture yourself, having at hand the most ordinary electric tool.
To make this original chest of drawers you will need:
Materials:
- boards with a thickness of 15 - 20 mm without knots for the manufacture of decorative panels of drawers;
- a wooden block with a cross section of 25 x 25 mm for the manufacture of frame parts;
- suitable second-hand boards or lumber of the second grade for the assembly of drawers;
- metal-plastic fittings for mounting drawers;
- antique decorative door handles;
- plywood for casing;
- furniture screws or wood screws, nails;
- non-thick boards for the manufacture of parts of the lower shelf;
- decorative toner oil or stain ("3 in 1" type products);
- resistant paint of a white or milky shade;
- resistant furniture varnish;
- wood putty or specialized furniture sealant.
Instruments:
- miter saw or circular saw (you can use a jigsaw);
- grinder;
- electric drill;
- screwdriver;
- carpentry hammer, if you use nails;
- paint brushes, roller with a plastic pallet;
- a small spatula for sealant;
- building tape measure and square;
- a pencil.
Step One: Prepare Lumber
When purchasing lumber in a construction supermarket or workshop, be sure to pay attention to the quality of planing. The plane should be flat, ideally not have roughnesses. This suggests that in their manufacture they used professional correctly configured equipment with sharp knives. Check also the thickness of the material. It will be better if all the boards are the same in thickness, so it is easier to work with them.
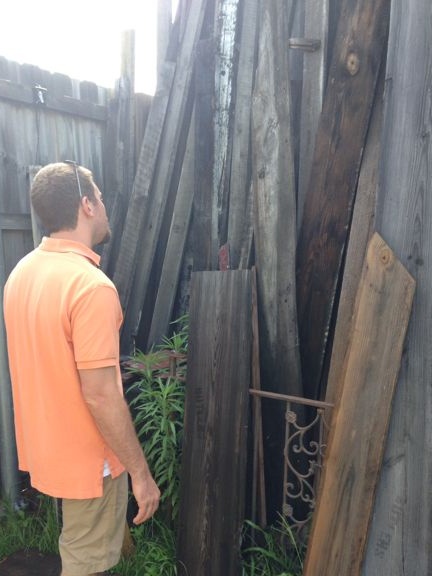
The author partially used second-hand boards, which were stored in his backyard. They must also be touched before use. If the material was not stored on the street for long, you can do just polishing the surface.
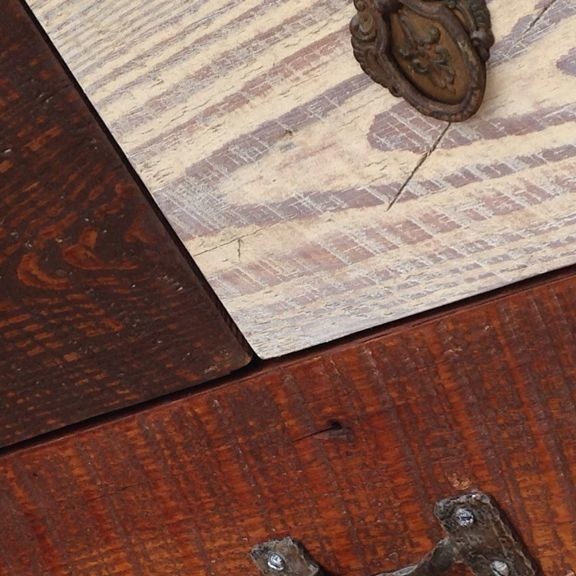
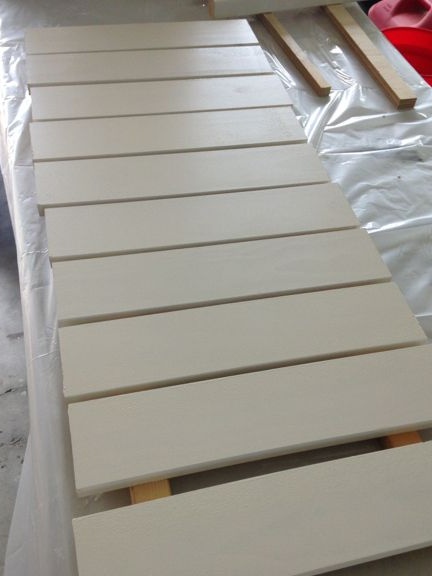
The author also purchased special textured boards made of natural wood. He uses them to make decorative drawer panels. In our supermarkets, such materials are difficult to find, it is easier to order in a carpentry workshop. However, they can be easily prepared in home conditions using ordinary boards. Be sure to choose sites without knots.
For texturing wood at home, use a grinder with a metal circle made of wire. Using various techniques and movements, you can give the surface of the tree a pronounced relief pattern. In order to achieve the expected result, you will have to experiment. But the masters claim that the time spent is worth it.
Treated wood in this way should be sanded. To do this, it is better to resort to manual grinding. Pick up sandpaper with a suitable grain and walk along the surface so that the relief acquires a characteristic smoothness.
Step two: selection of fittings and paints
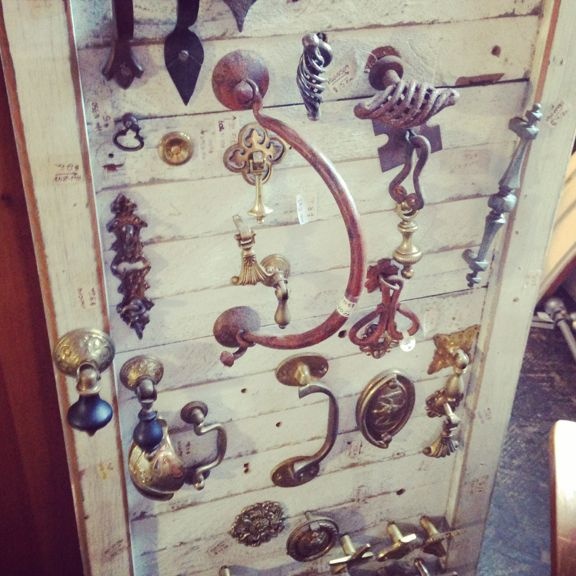
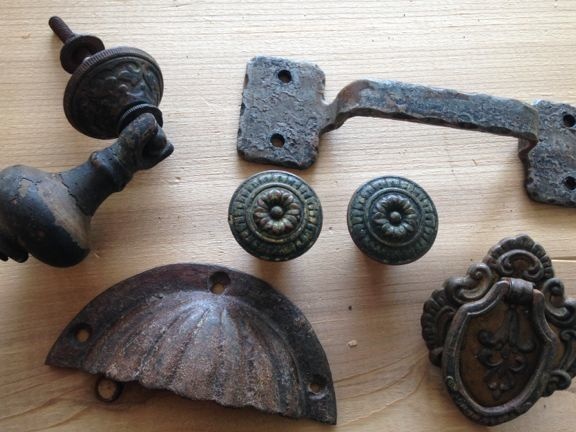
The author used antique metal pens, which he purchased at a sale. Used accessories should be cleaned and sanded. You can also use Goya paste to restore shine to the metal.
You will also need metal-plastic hardware for drawers. You can do without it, especially when you consider that the drawers in the dresser are actually not five, but only two. However, furniture with such convenient drawer guides is twice as pleasant to use. So the choice is yours.
You will also need some paints. First of all, white paint for the chest of drawers. The requirement for it is the only one - the paint must have remarkable durability. This parameter can be easily tested by making a test smear and waiting for the time until the coating is completely dry. If it is hard and does not scratch with a fingernail, the paint is perfect for painting furniture.
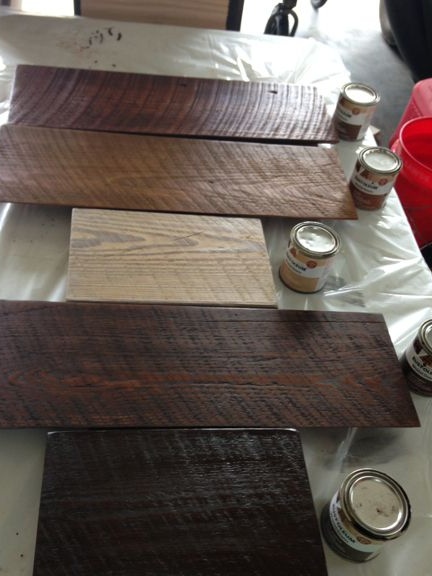
In addition, choose the right toner to decorate the decorative panels of the drawers. This can be an ordinary stain for alcohol or, for example, an oil primer-toner (decorative oil-toner). Pay attention also to means like "3 in 1". They are versatile, functional, and easy to use and update as needed.
Pick a few tones to color the panels. Each of them consists of two or three parts, so ideally you need five different shades. Although here you can save.
Finally, choose a lacquer suitable for varnishing furniture. The requirements for it are all the same as for the paint. You can use profile furniture varnish, however, its quality should be checked.
Step Three: manufacturing parts and assembling a chest of drawers
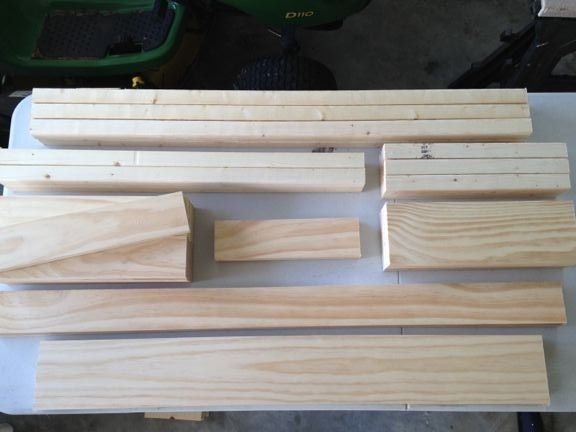
Start by preparing the parts. The size of the chest of drawers from this master class is not a sin to change at your discretion, especially since they are indicated in inches, and when converted to centimeters, an error often occurs. The height of the chest is almost 830 mm and the width is 500 mm. The length was 1210 mm.
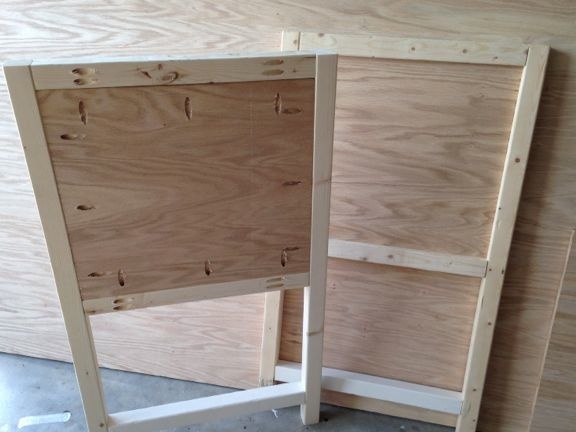
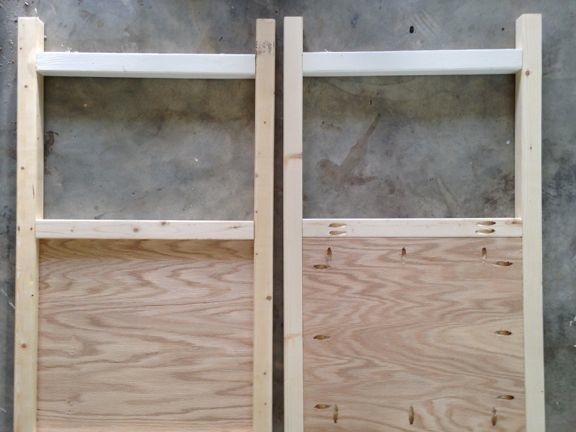
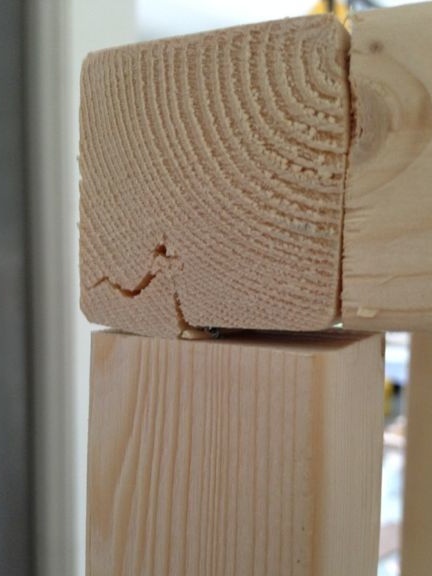
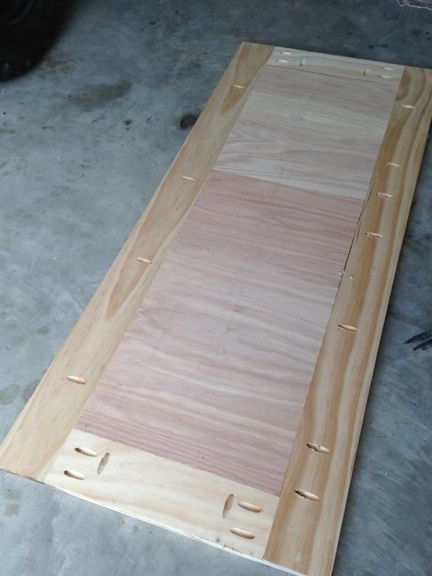
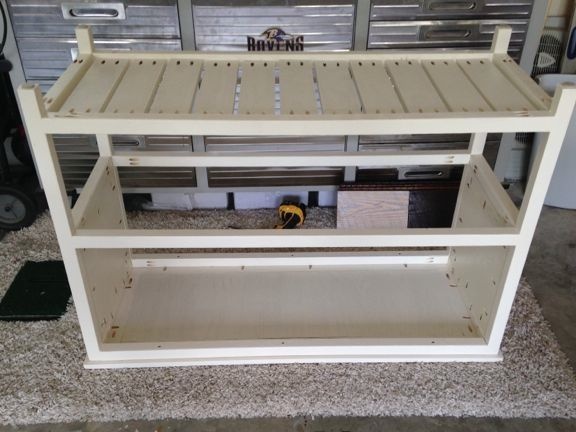
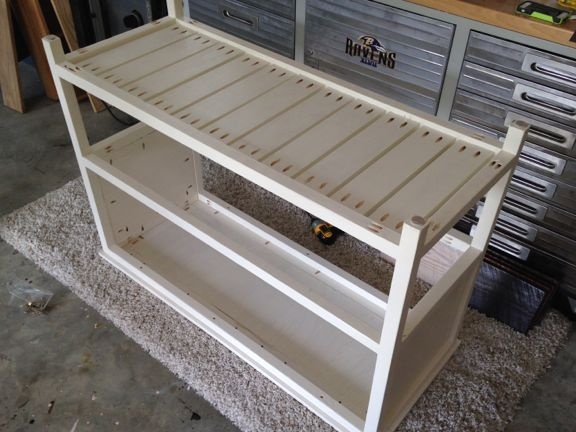
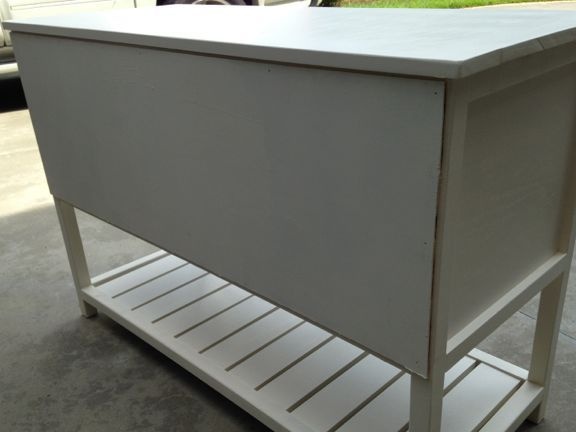
Start assembly from the side panels. Prepare plywood parts for them in size. Assemble the sidewall frame using pocket joints at an angle with screws and glue. Place the pieces of plywood in the resulting frame and fasten everything in the same way. The mounting locations of the parts are clearly visible in the photo below.
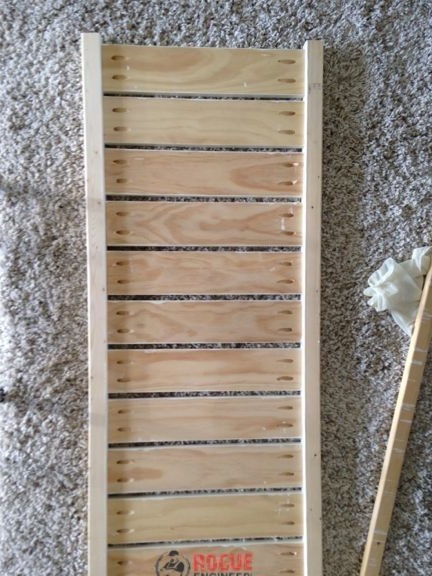
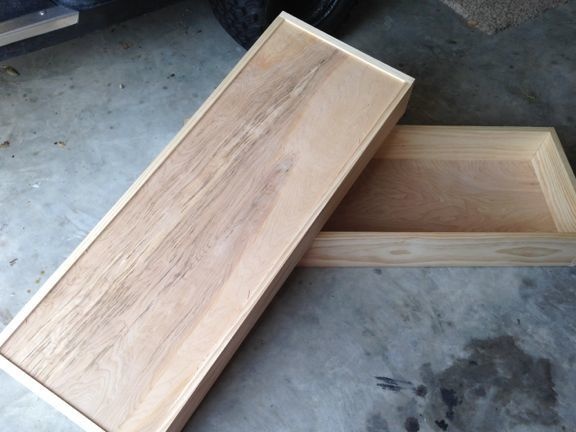
Make the bottom shelf with the crate from a natural board. If desired, it can be replaced with parts from plywood. Use screws or small studs to connect.
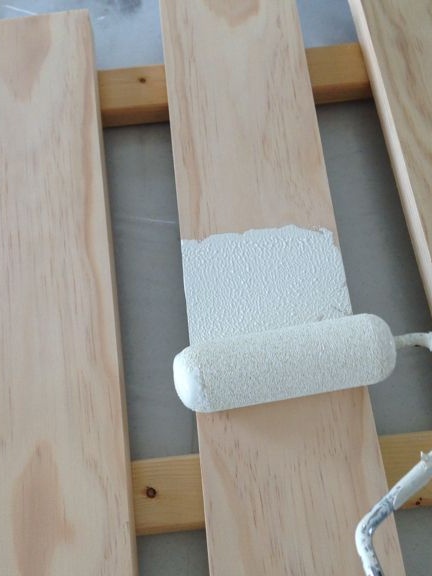
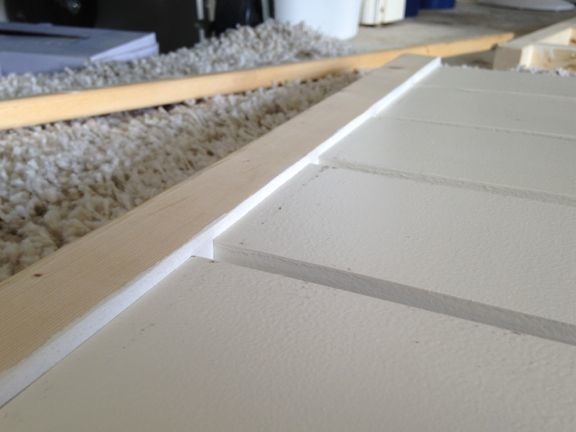
Draw a shelf on two slats and paint it with white paint using a roller or paint brush. The author sought to give the surface of the details of the chest of drawers as much relief as possible, so he used a roller for artistic painting. Assemble the chest of drawers using the detailed step-by-step photos from the master class and color it.
Be sure to drill holes for screws or screws. Even a nail can split your workpiece if it is driven in from the edge.To do this, you will need an electric drill and a small diameter drill for woodwork.
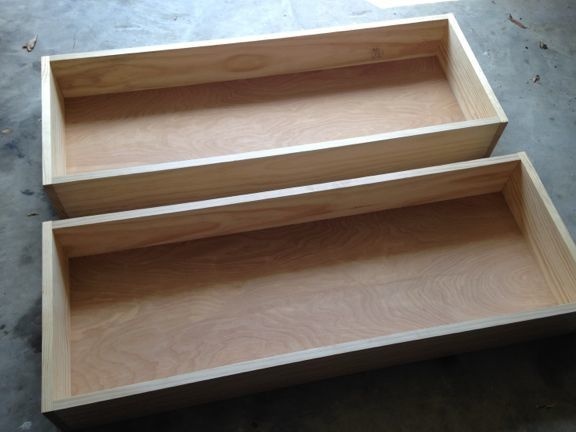
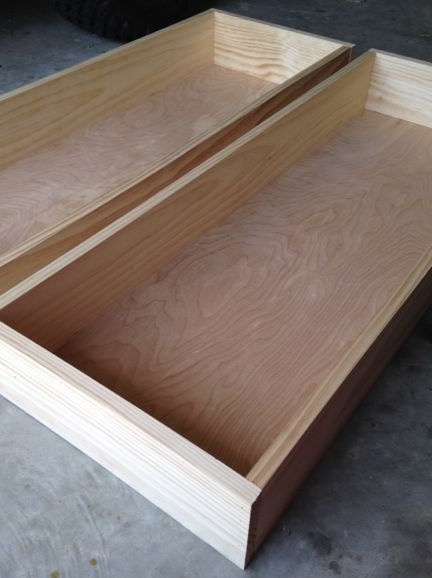
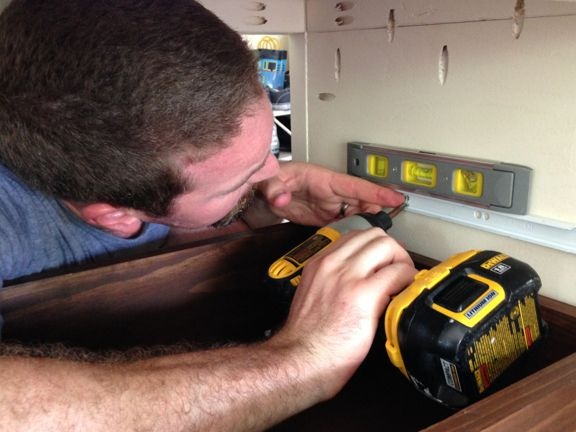
Make drawers. In size, they are slightly smaller than the cells, since a place is required for mounting retractable fittings and, in general, a margin for a smooth ride. Screw the metal-plastic guides on the walls of the cells and on the drawers themselves and place them in the chest of drawers. Check the move. If you mount accessories without a building level, it may be incorrect. So use it to avoid further alterations.
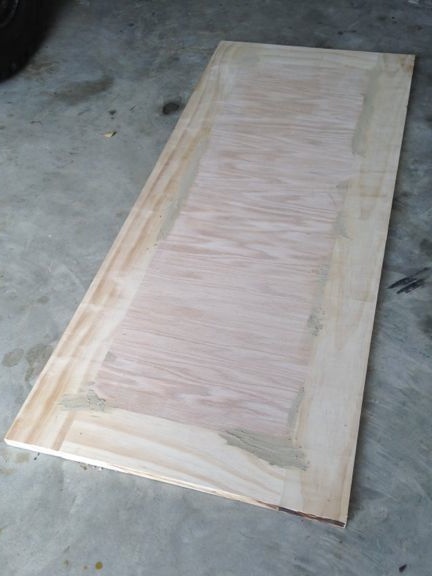
The author collected the countertop from natural boards. Parts are fastened with pocket joints using glue. Fill the cavities of the joints with special sealant or putty on wood to match the wood. Once it has completely hardened, grind the surface.
Step Four: Dresser Finishing
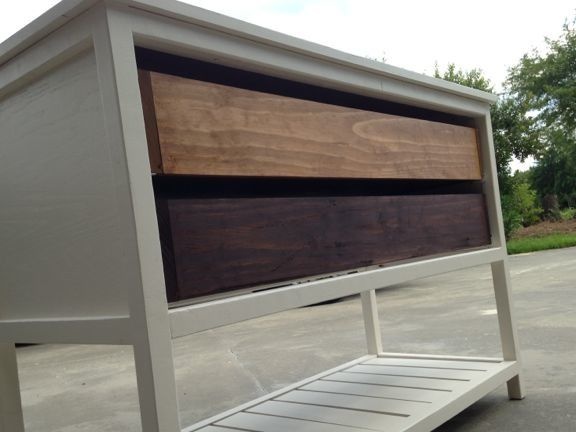
Tint decorative panels. Apply the optimum amount of toner with a soft, lint-free cloth and evenly distribute it over the surface of the workpieces. If the tone is not dark or deep enough, repeat the procedure. Usually two layers are enough with the head. And it is possible that one will be enough. It all depends on the particular manufacturer and the quality of its products.
Varnish a chest of drawers. Choose persistent varnishes. Apply the varnish in a few words to dried white paint and finished crates. Paint the inside of the chest of drawers to give the wood and plywood a moisture-repellent effect.
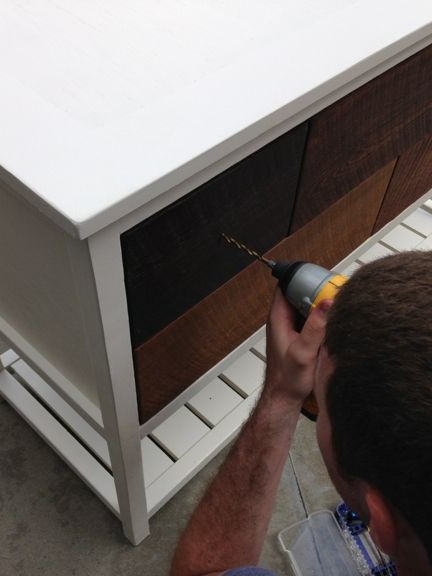
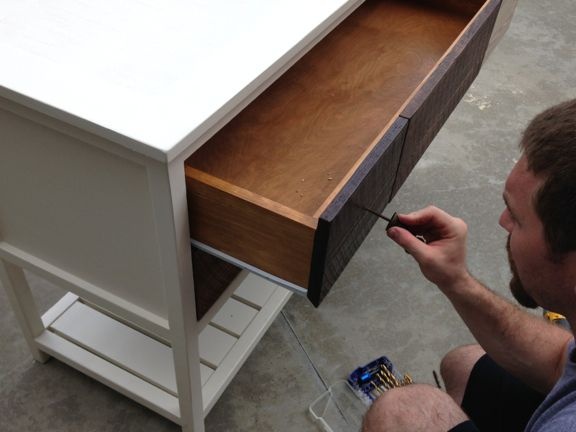
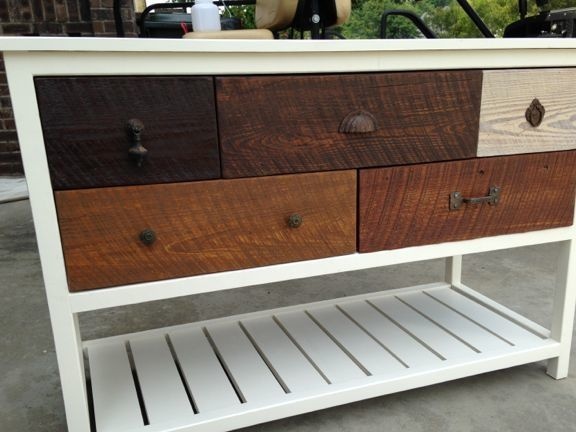
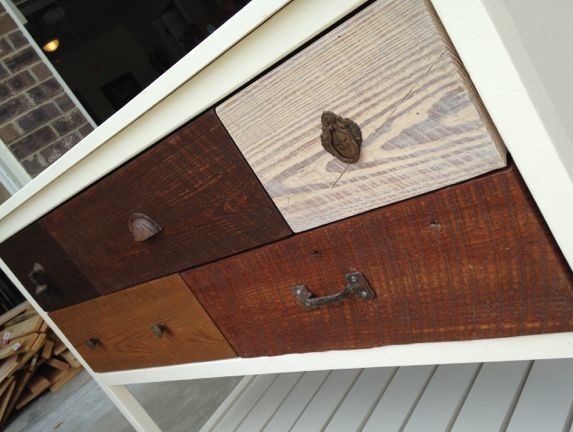
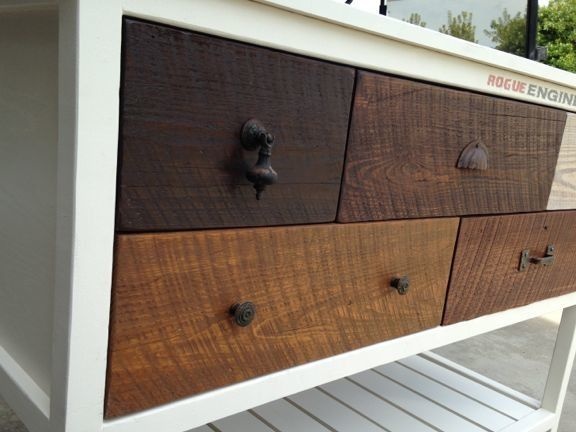
It remains to screw the decorative handles, and a chest of drawers made of wood is ready!
