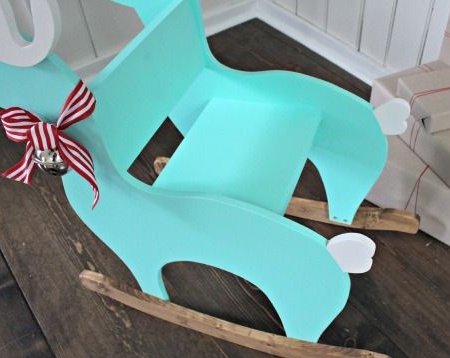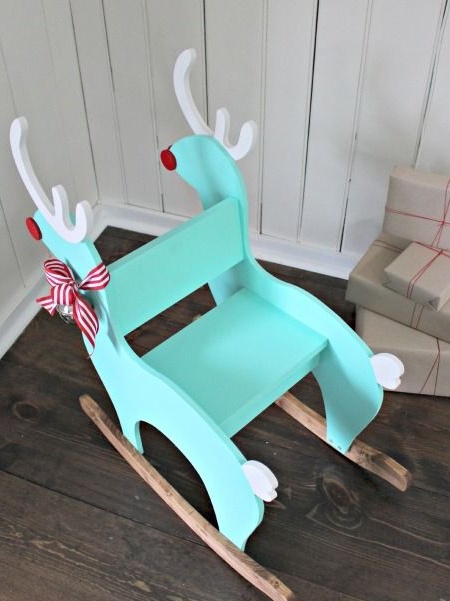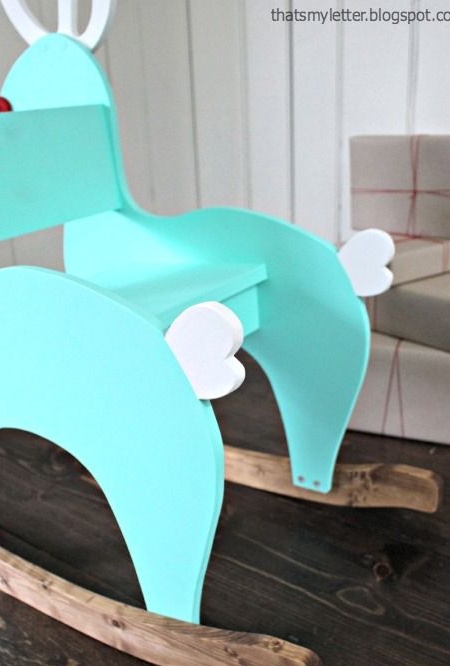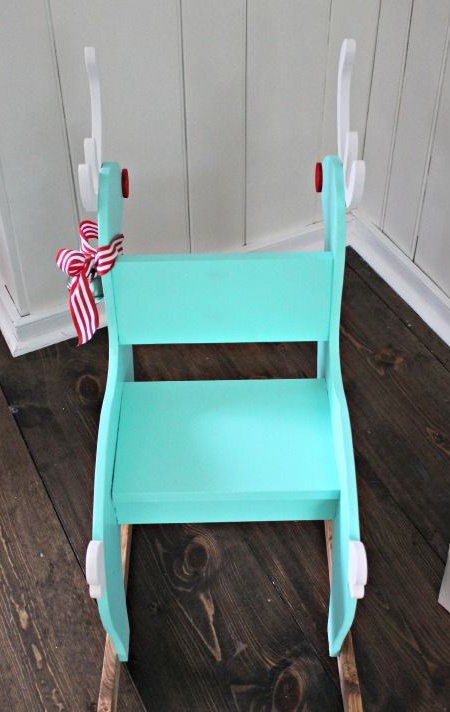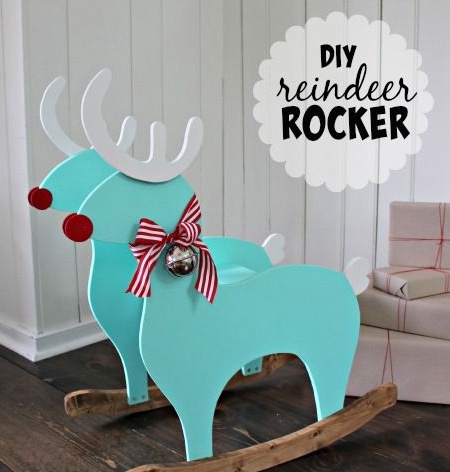
And although the New Year holidays are not soon, each thrifty parent is already considering what to give his baby for the New Year. It seems that choosing a gift for the smallest is as easy as shelling pears. However, if dad and mom do not have enough time, they go to the store and choose the first present that they think will be most suitable. It’s much better to do something original do it yourself, with love and care. The kid will appreciate your attention.
Rocking chairs, widely popular in the past, for children are returning to fashion, which were not only rare, but were considered almost a luxury. Trying to keep up to date, parents did not pay attention to the fact that it was almost impossible to get such a rocking chair. Dads made them with their own hands.
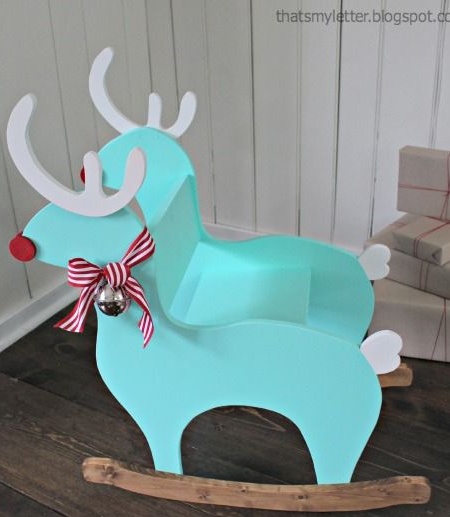
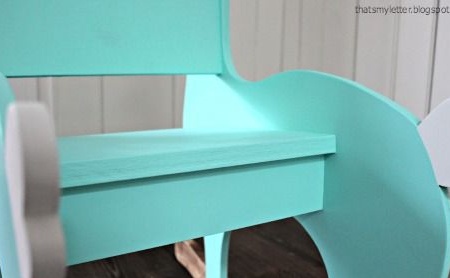
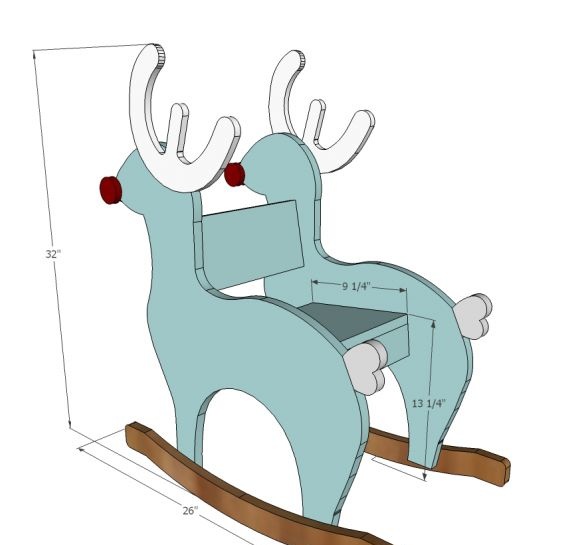
Nowadays, everything is much simpler. The Internet offers many ideas to choose from, thanks to which you can prepare a New Year's gift for your child yourself. This Christmas deer rocking chair looks great. You can adjust the design to the age and needs of your baby, paint the chair in any color and supplement it with the necessary elements. All in your hands.
In the meantime, let's figure out what you will need in order to make this children's wooden rocking chair with your own hands:
Materials:
- high-quality plywood for the manufacture of curly parts;
- a strong board (you can use oak or maple) for the manufacture of skids;
- wood screws;
- primer for wood materials;
- oil or alkyd paint;
- varnish at will;
- decor elements.
Instruments:
- jigsaw;
- hacksaw for wood;
- grinder;
- electric drill;
- a screwdriver or a Phillips screwdriver;
- paint brushes;
- paper for the manufacture of patterns;
- scissors;
- marker and simple pencil;
- a sewing pattern or objects of suitable shape and size for drawing smooth lines;
- building tape or ruler;
- square (preferably).
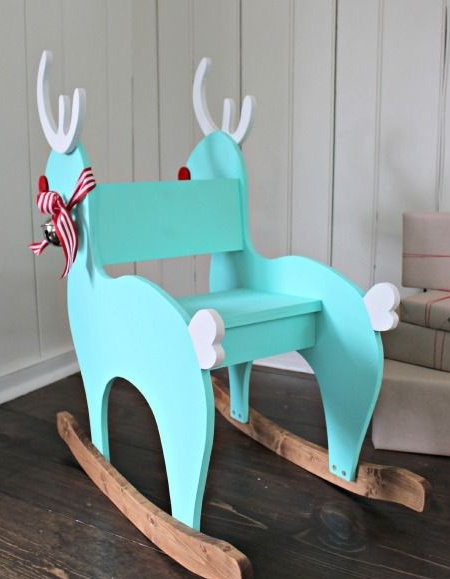
Step one: what to make a rocking chair from?
There are several features in this project, due to which it is convenient to use certain materials. Let's consider them in more detail.
Firstly, the rocking chair consists of several curly elements, in particular, considerable in area. This means that for the manufacture of parts it is best to use plywood.It allows you to make large parts whole, and this is very important if you do not want to lose a lot of time gluing individual fragments.
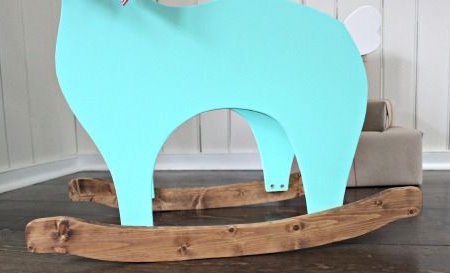
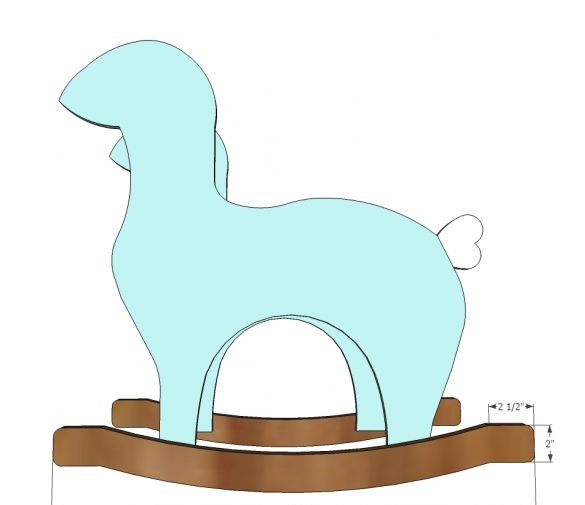
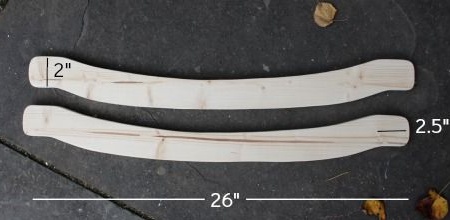
The exception is perhaps rounded runners. This element is the whole load in the process of using the chair. In addition, the runners constantly rub against the surface of the floor covering and therefore must be durable. To make them, use a pine tree. This is the most affordable material. You can also take oak or maple. However, processing them is a little more difficult, since they are dense and hard woods.
Secondly, the rocking chair is designed for the child. All modern parents are overly concerned about the safety of materials from which accessories for children are made. But not everyone here is so categorical. Remember that natural materials are not always as safe for young children as they advocate. At the same time, artificial materials are sometimes not at all harmful.
For example, plywood. This is a glued material and its quality, first of all, depends on the adhesives used by the manufacturer. Their harmfulness can be judged by certificates. However, there is a simpler test. Choose plywood by smell. It should not emit any pronounced unpleasant odor, except for a natural woody aroma - for example, coniferous.
Thirdly, the paint. It is not necessary to deprive your children of bright and colorful toys simply because someone is sure that all the colors are harmful. It is a myth. High-quality paint used to decorate products intended for children should:
- give a hard and resistant coating, do not wear off, do not crumble, do not exfoliate. This is almost the only guarantee that its fragments will not enter the child's body;
- should not emit any smell after complete drying. High-quality solvents erode quite quickly and no longer pose any danger.
That's all. Only two parameters. If your chosen paint answers them, be calm - it will not harm your child. But with water-based paints, be careful. Despite their alleged safety, they have mediocre durability. That is why they should not be used in the manufacture of products for children.
Step two: making patterns and parts from plywood
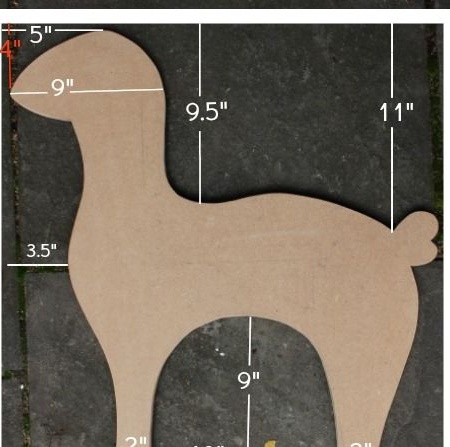
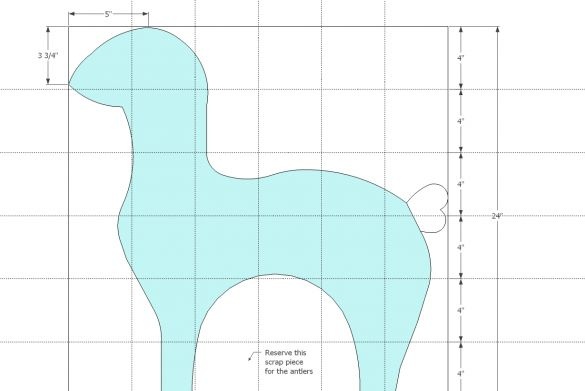
Drawing curly details is not an easy task. In order to simplify the process, make paper patterns for. You will need two patterns: the lateral part in the form of a deer body and horns. Use cardboard or old wallpaper for this. Office paper is also suitable. Glue the sheets together with scotch tape and start drawing.
To make the shape of the patterns as natural and neat as possible, use a small plastic sewing pattern or improvised items of suitable shapes and sizes: mugs, bowls, etc.
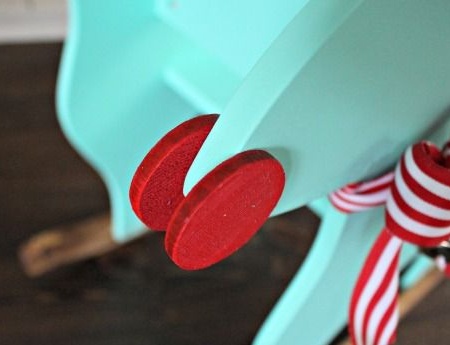
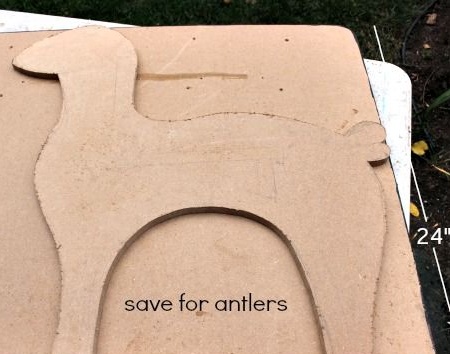
Cut the pattern along the contour. Put it on plywood, circle with a pencil and cut the blanks. From the remnants of plywood, make two small circles for a deer nose. Decide also on the size of the chair itself. According to the idea, it consists of a back, a seat and a supporting bar. Grind all the elements of the rocking chair with a grinder, carefully processing the edges.
Already at this stage they can be painted. This will greatly facilitate the manufacturing process. However, the author preferred to build first. Follow his example.
Step three: the main assembly of the child rocking chair
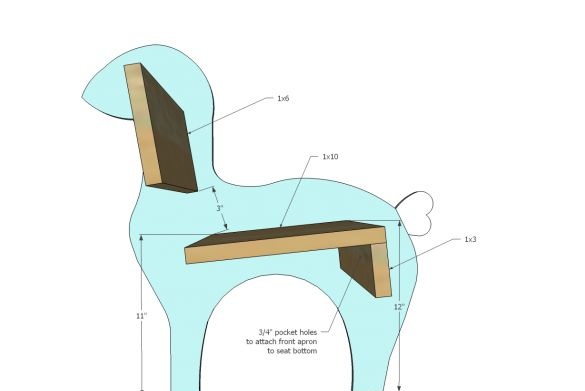
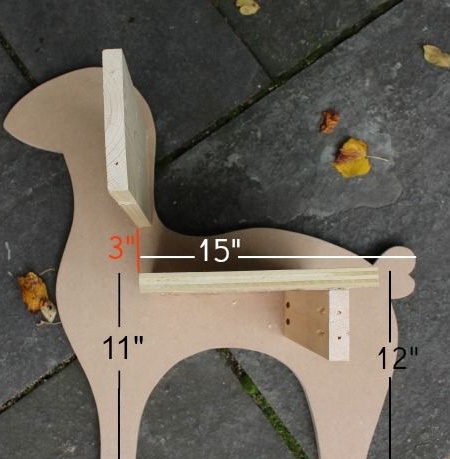
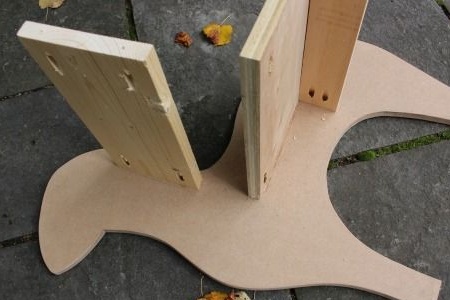
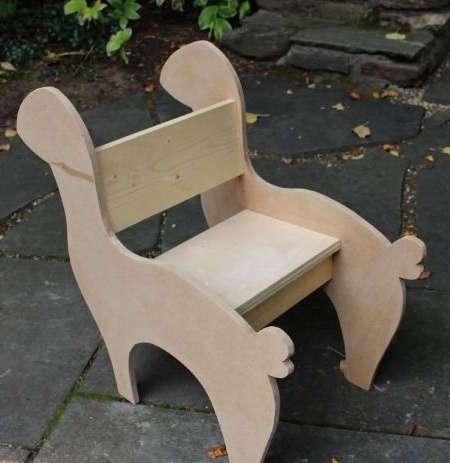
Lay the sidewall on a flat surface and proceed with assembling the seat. Lock the back of the chair. For the convenience of the child, you can arrange it at an angle. Sitting at the same time, and even swaying, will be much more convenient.
Fasten the seat as well. The author recommends also placing it at an angle. Back down. So, the child will not slide forward during the game.Install the support bar as shown in the photo.
Please note that the author placed all the details strictly at right angles. And all because, after the structure is fixed on the runners, the center of gravity will shift a little and the seat itself will assume an inclined position. You can go this way.
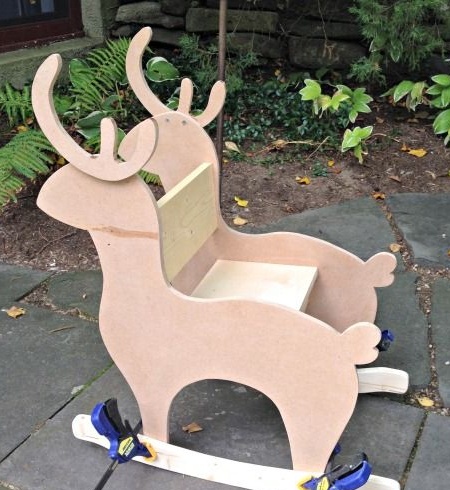
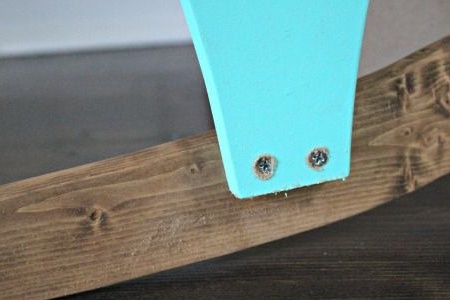
All parts are fastened together by pocket connections using self-tapping screws. To make everything look solid and fundamental, use wood glue on the joined edges. Fasten the structure to pre-prepared runners using self-tapping screws.
Fourth step: painting, finishing assembly and decoration of the rocking chair
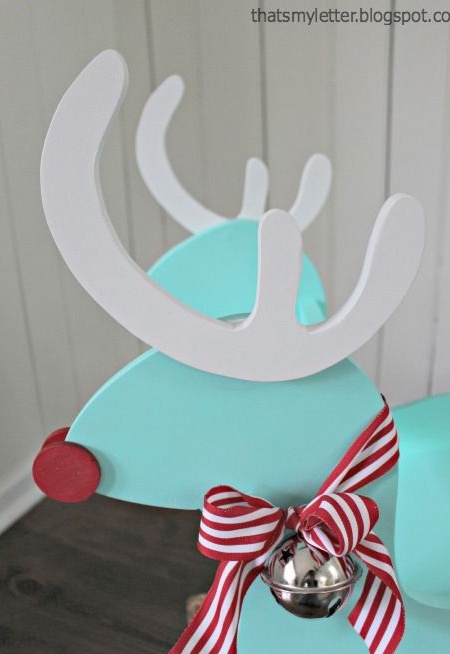
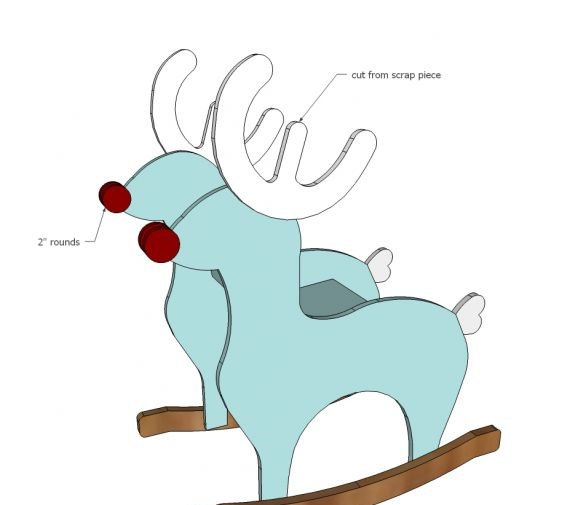
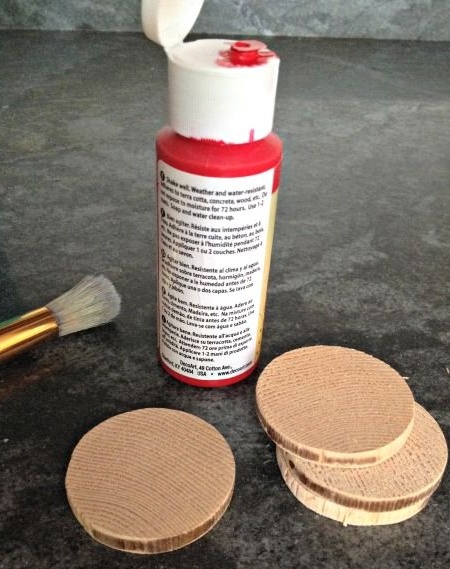
Do not leave coloring of all details of a chair for later. To paint all of them in the assembly is not only inconvenient, but also impossible. Therefore, color the parts separately. This is especially true for small elements like the nose and horns. For these purposes, it is convenient to use paints and varnishes in the form of an aerosol.
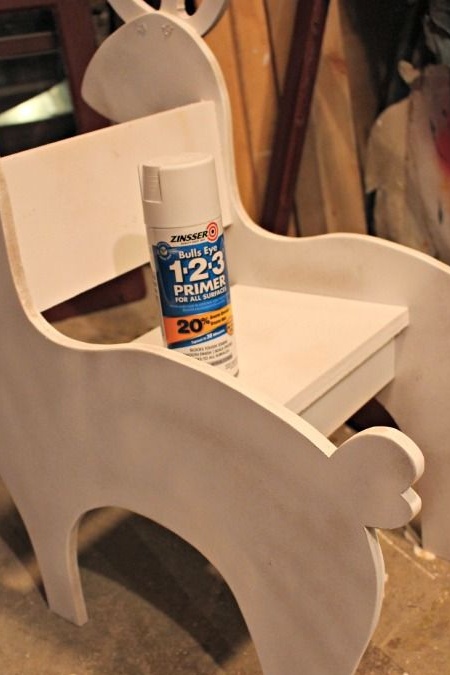
And now a little about the staining process itself. The author previously used the primer. This step is optional, but it enhances the adhesion of the paintwork to the surface of the product. This is not the only function of the primer, but in this case it is precisely this that is important to you. As usual, the primer is applied in one two layers and the surface is allowed to dry. Then we proceed to staining with the actual paint.
About the choice of paint much has been said above. The only thing to add is that the most suitable paint is oil or alkyd paint. They give a resistant coating that will last you a very long time. Of course, a lot depends on the reputation of the manufacturer and the quality of the particular composition.
Apply paint with a brush or with a spray can in three to four layers. Make sure that it is not too thick. This is especially true for oil paints. Wait until the last coat hardens well. You can stop here, since these paints themselves are considered independent and do not require varnishing. If you still adhere to the use of varnish, it's time to varnish the rocking chair.
But first, finish the assembly: fasten the deer nose and horns. And also runners, if left for later. Check the entire structure in the assembly for strength and ride.
Make sure that the paintwork is completely dry, hardened and weathered. As soon as the specific smell of paint disappears, the process is over, and a wonderful New Year's gift for your child is ready!
