

Hello to all lovers homemade. I think every home has a light source, whether it is a lamp, a chandelier or a backlight, which to one degree or another helps in everyday life, but such devices can boast of originality very rarely, since the manufacturer usually does not make a unique product, except for those what to order, but such a pleasure will cost a lot. That is why it was decided to make an original beech table lamp do it yourself, and to everyone who worked a little bit with a tree, assembling such a homemade product would not seem impossible. First you need to decide on the material and tools that are useful in the manufacture of this homemade product.
Before reading the article, I suggest watching a video about this homemade product.
To make a table lamp with your own hands you will need:
* Beech boards
* Wood glue
* Reysmus
* Manual milling cutter
* Grinding machine
* Sawing machine
* Clamps
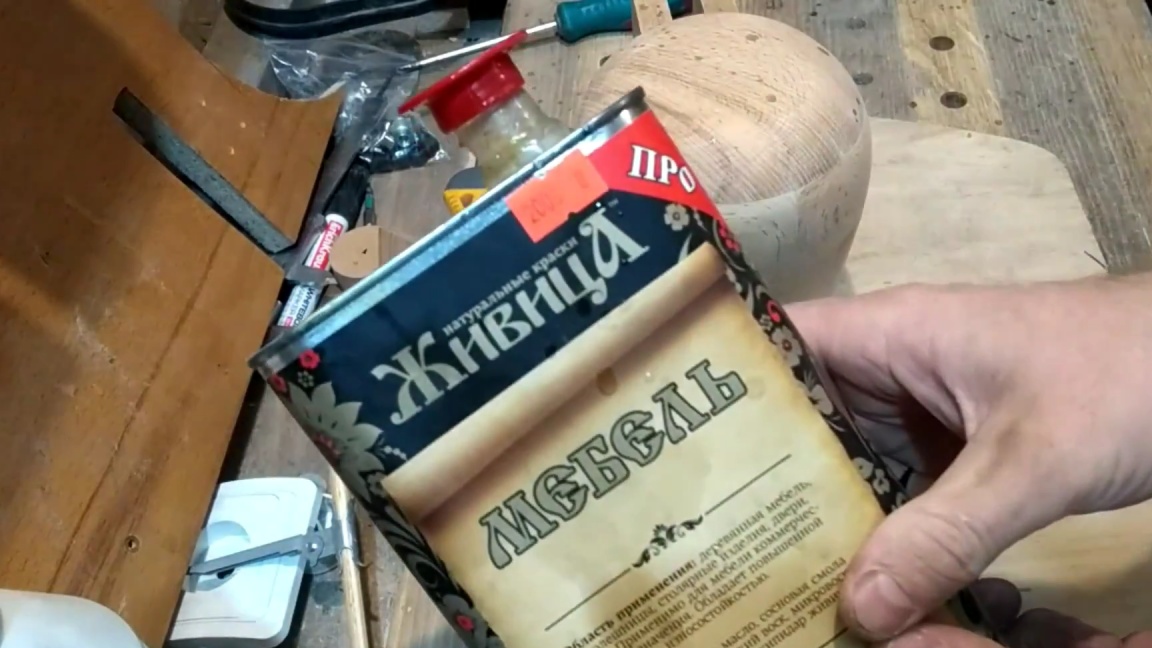
* Oil for of furniture
* Drilling machine
* Dimmer
* Wires with plug
* Electric drill
* Threaded bush for furniture with M12 thread in increments of 1.25
* Super glue
* Hairpin M12 pitch 1.25
* Rubber screed
* Sandpaper
That's all you need to build such a homemade table lamp.
And now for the fun part, the build process.
Step one.
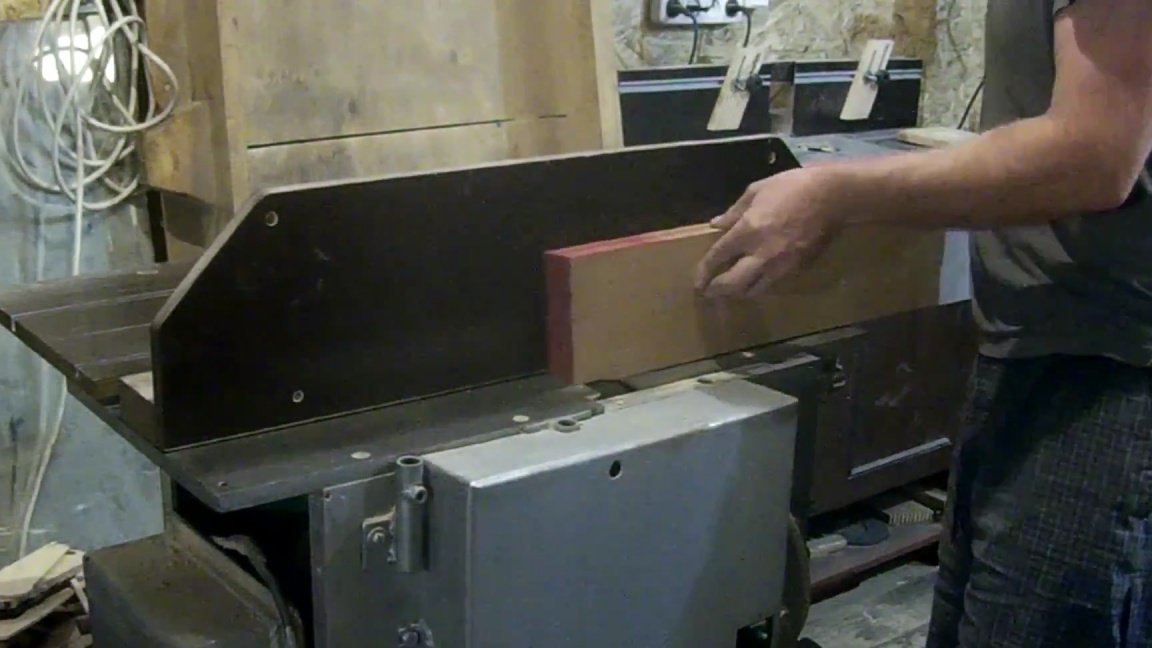
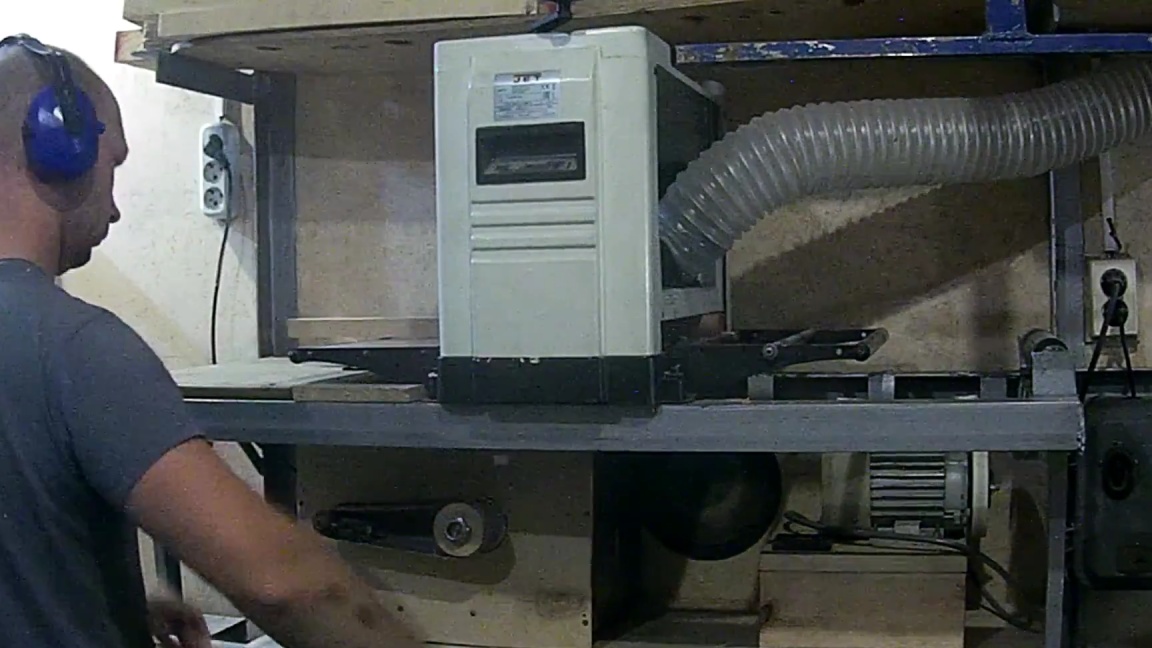
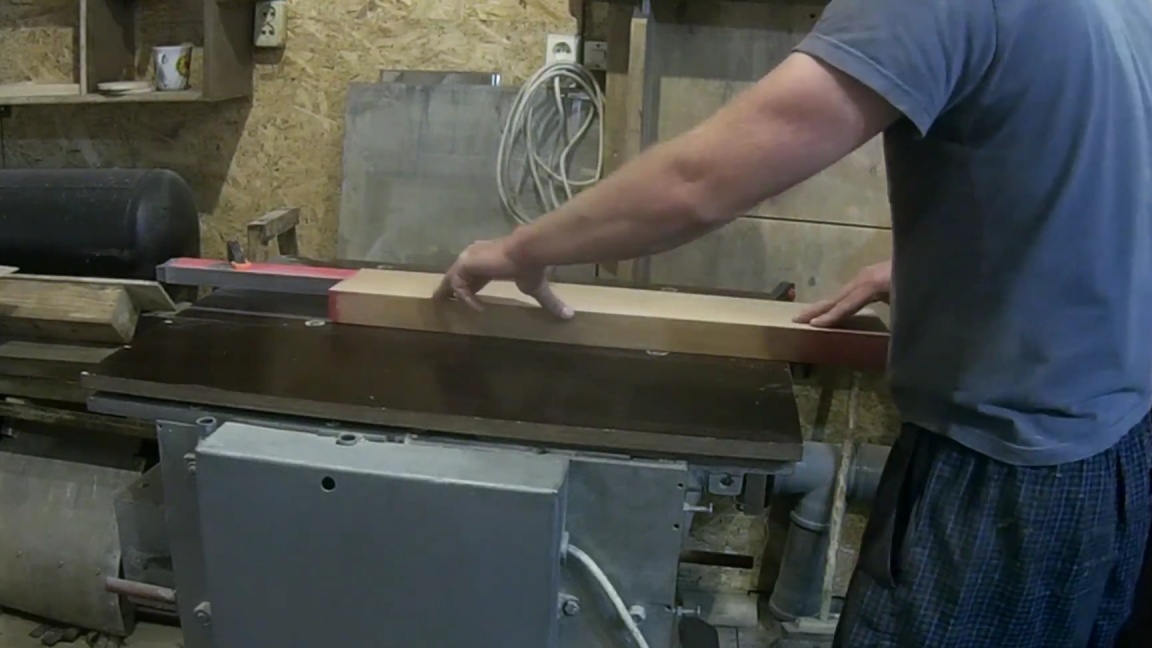
First you need to drive away all the boards from beech on the thicknesser, this is done so that their thickness is the same.
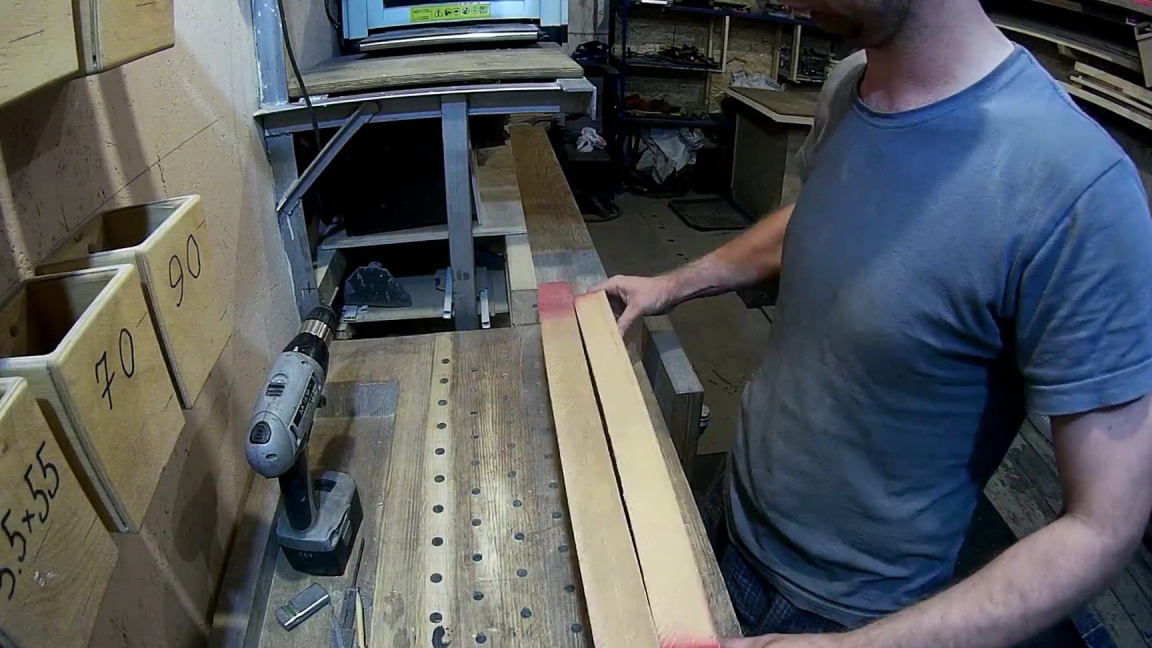
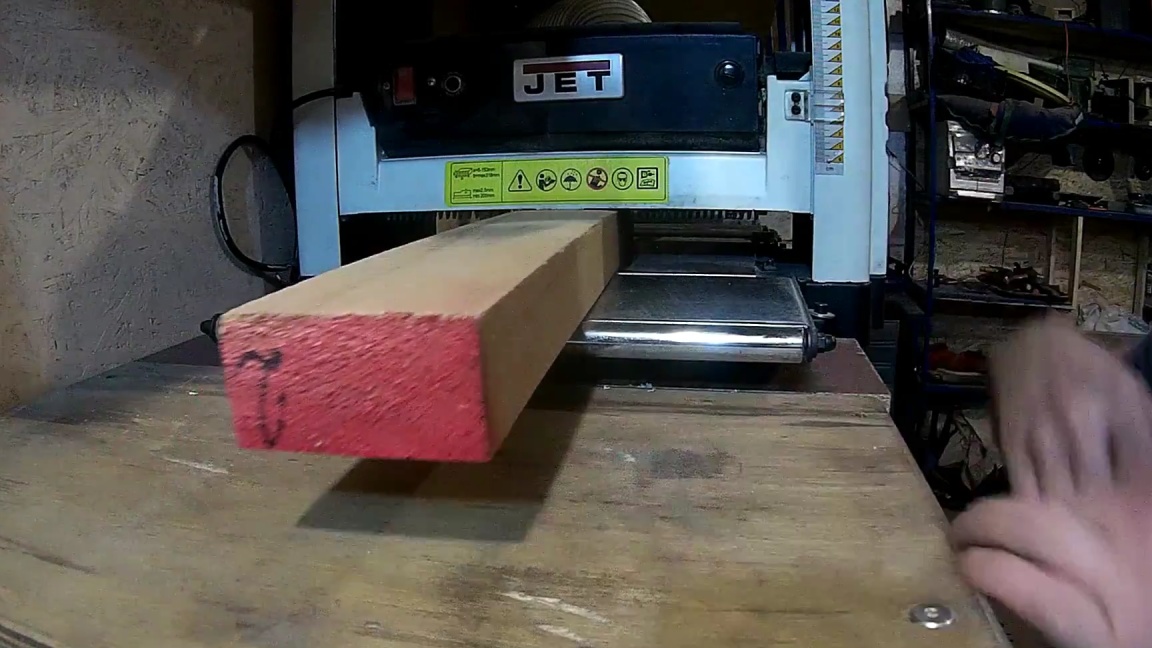
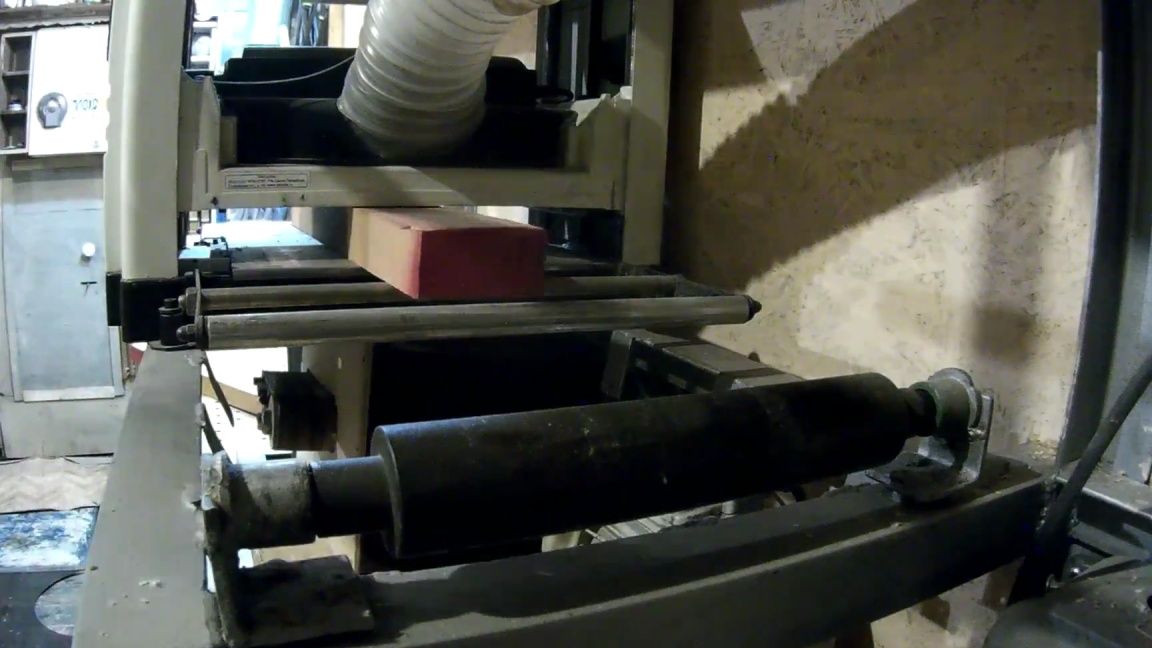
We do it from all four sides.
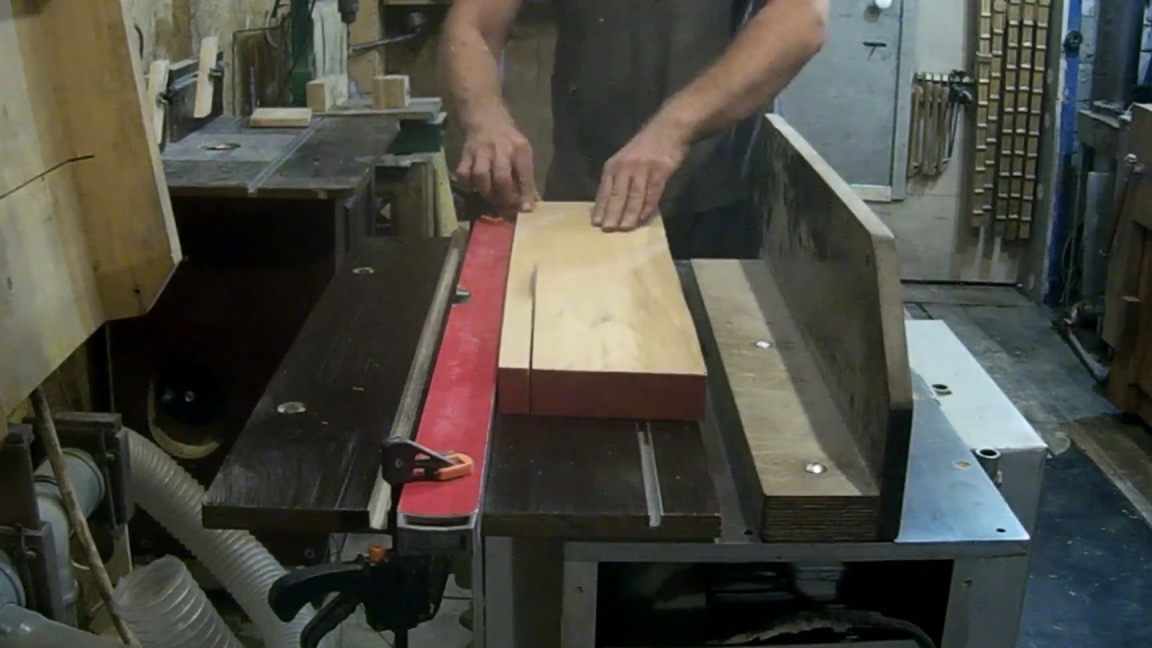
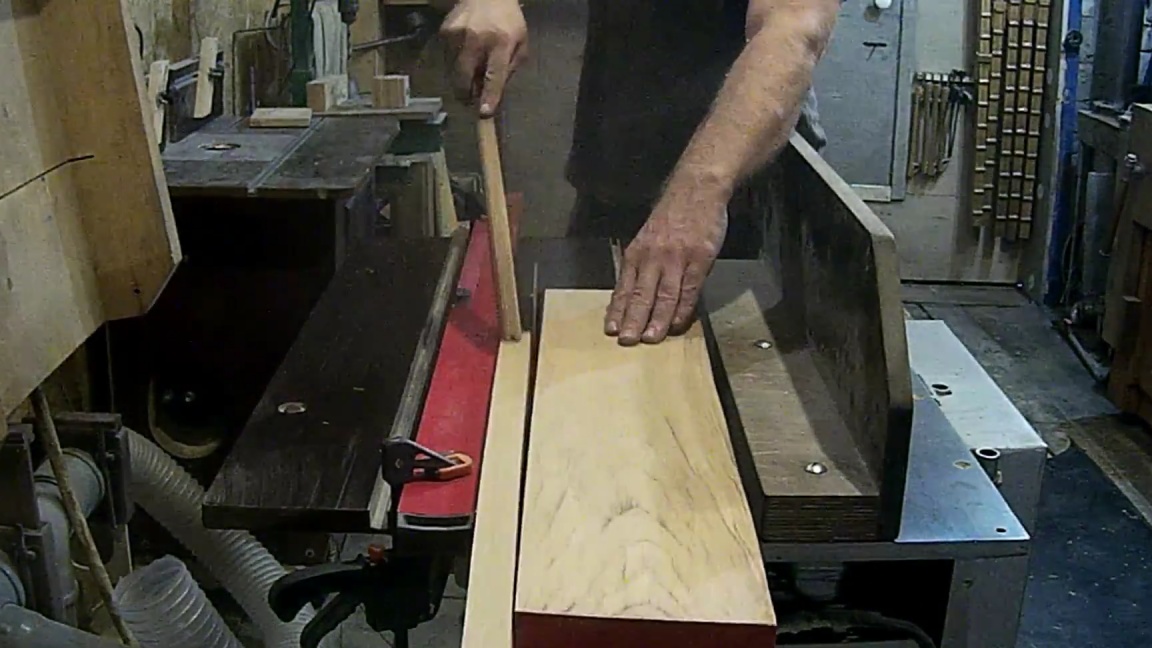
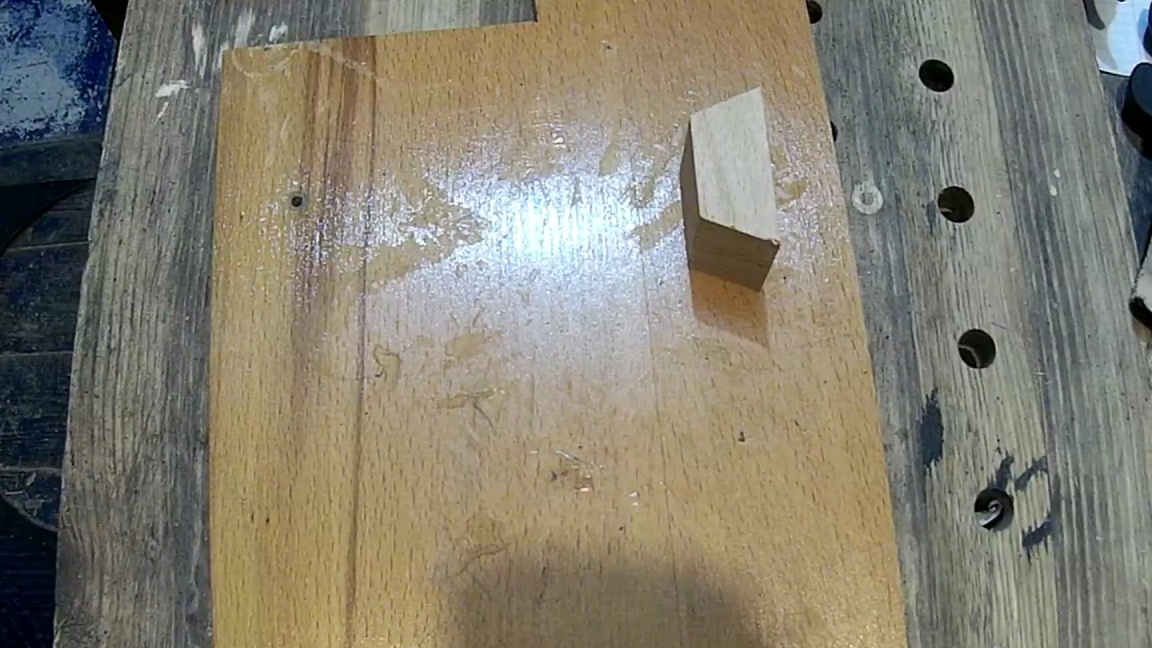
Then we cut a wide board into small boards, approximately 5 cm wide, of which the head of the lamp will consist.
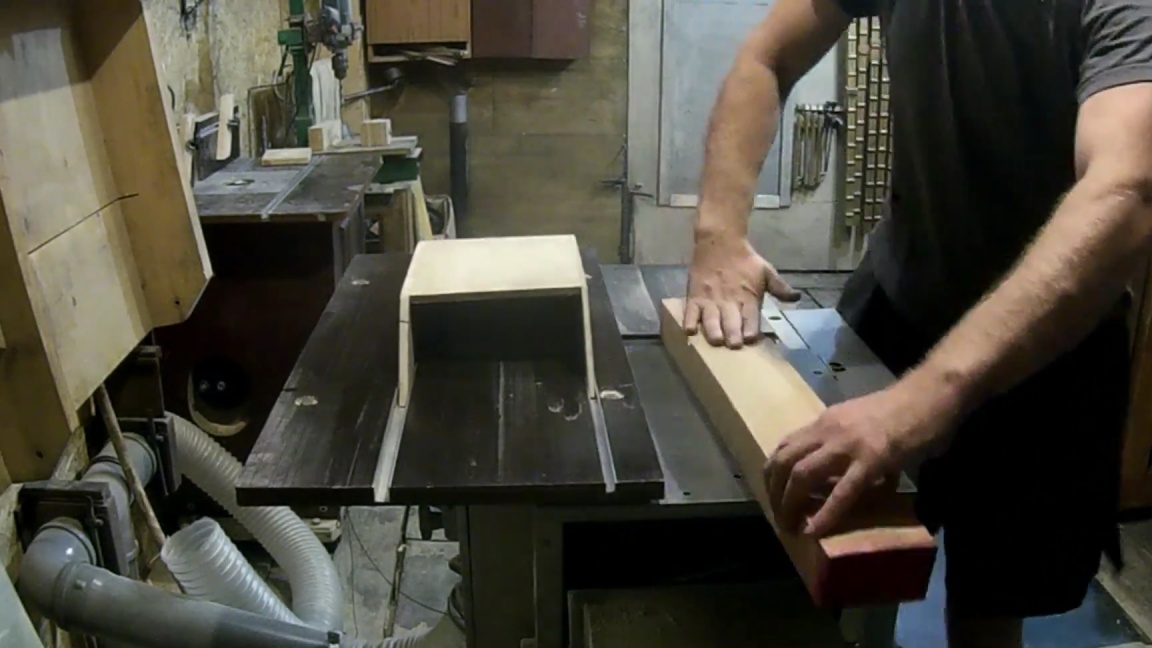
Step Two
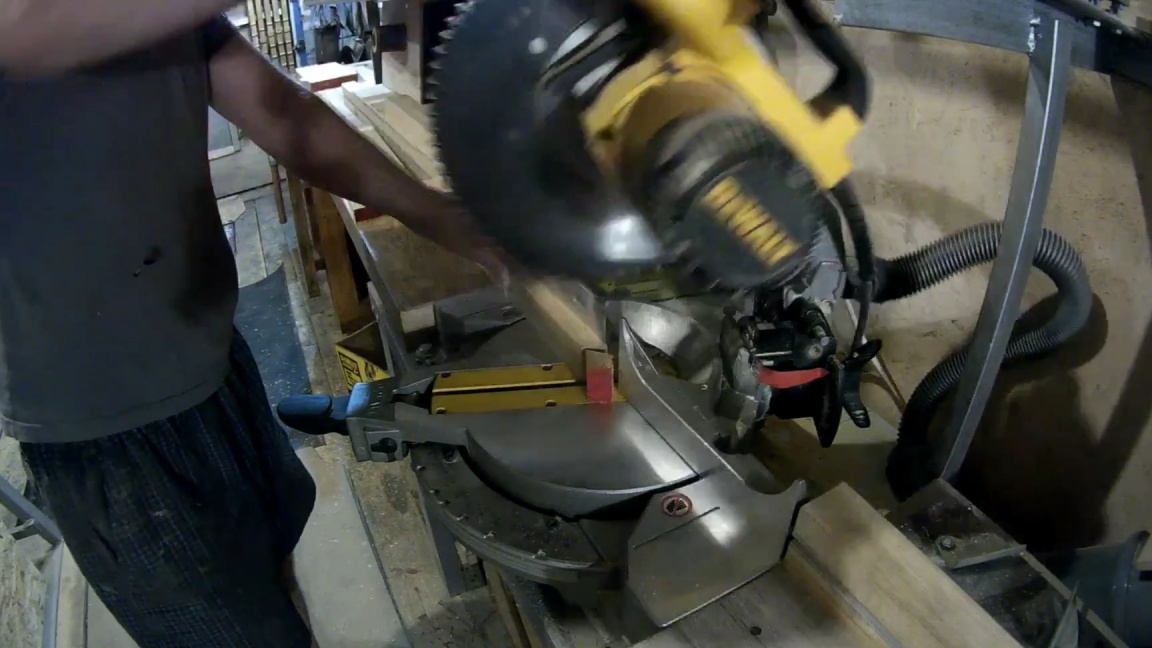
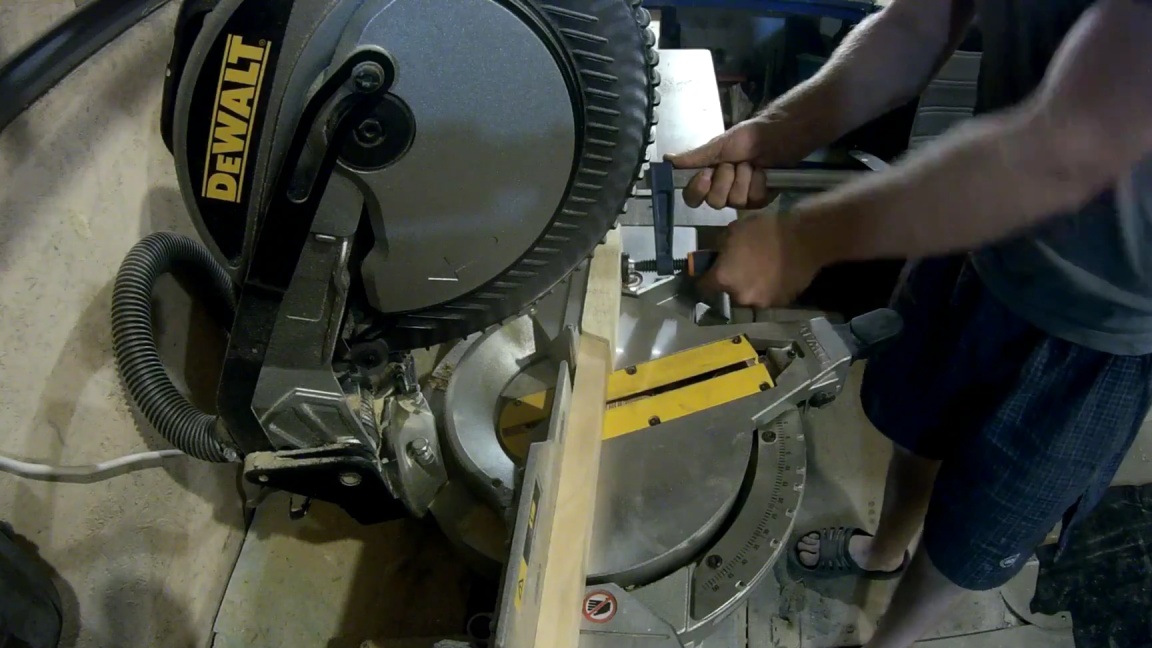
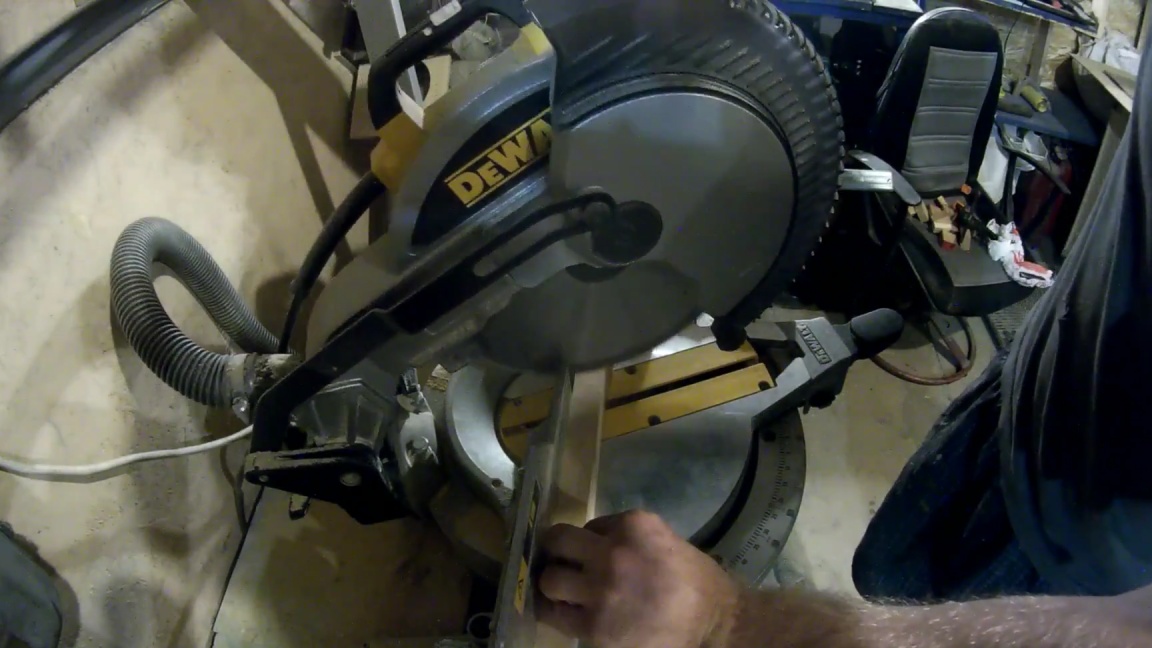
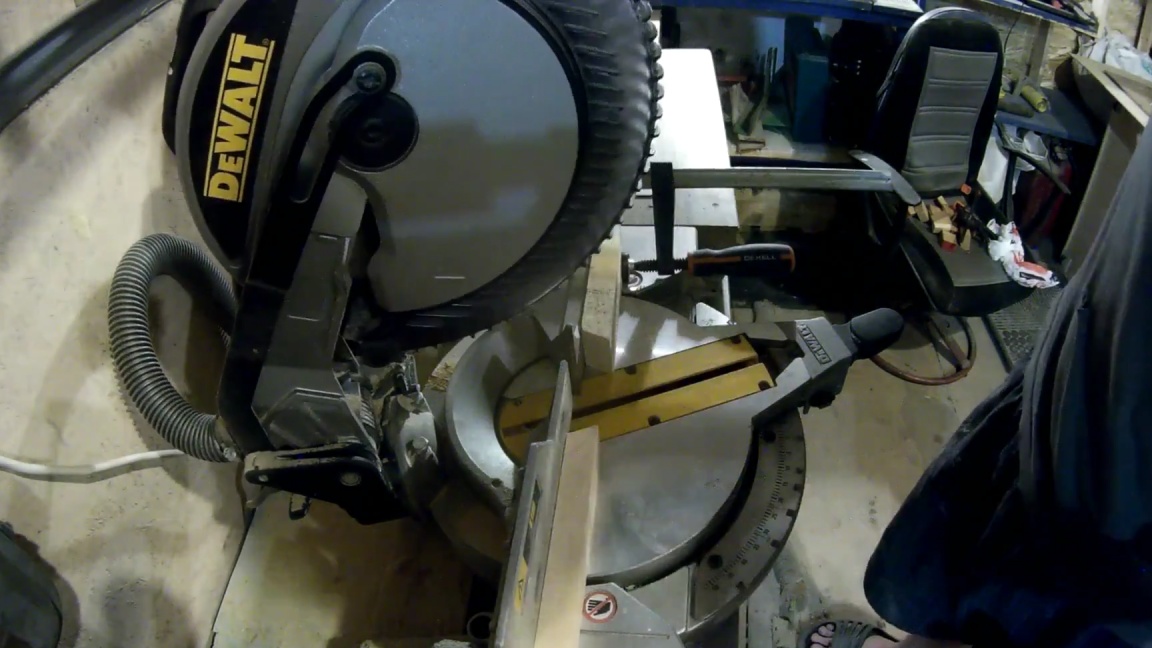
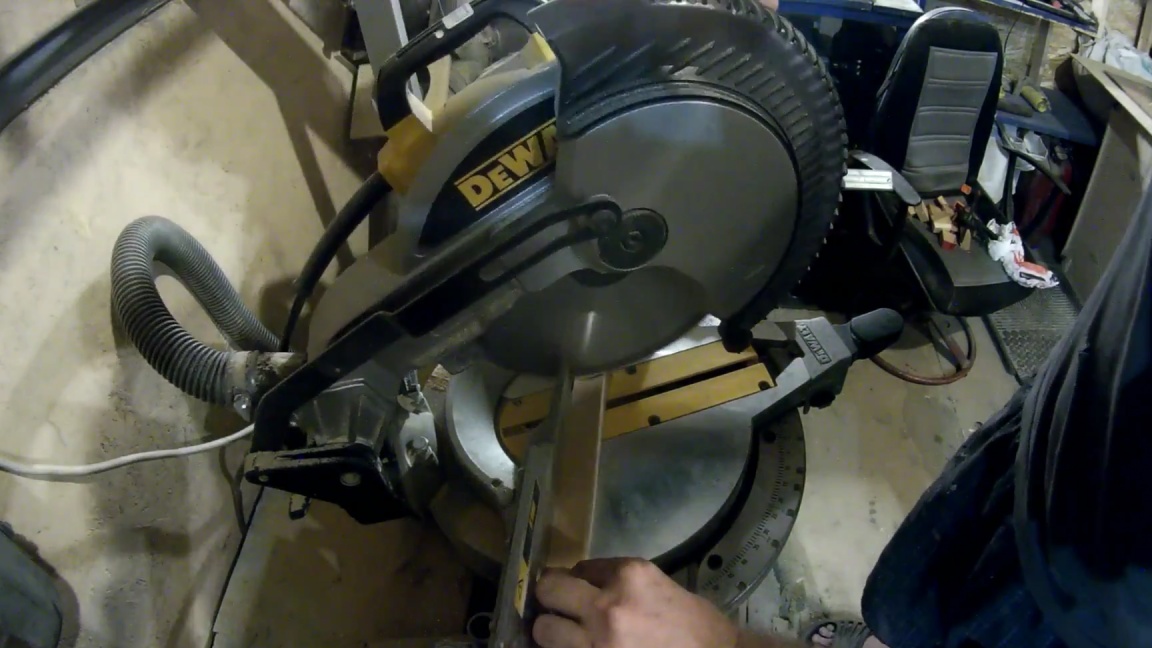
After the boards are ready, they must also be driven out on a thicknesser, and then sawed into small workpieces using a sawing machine.
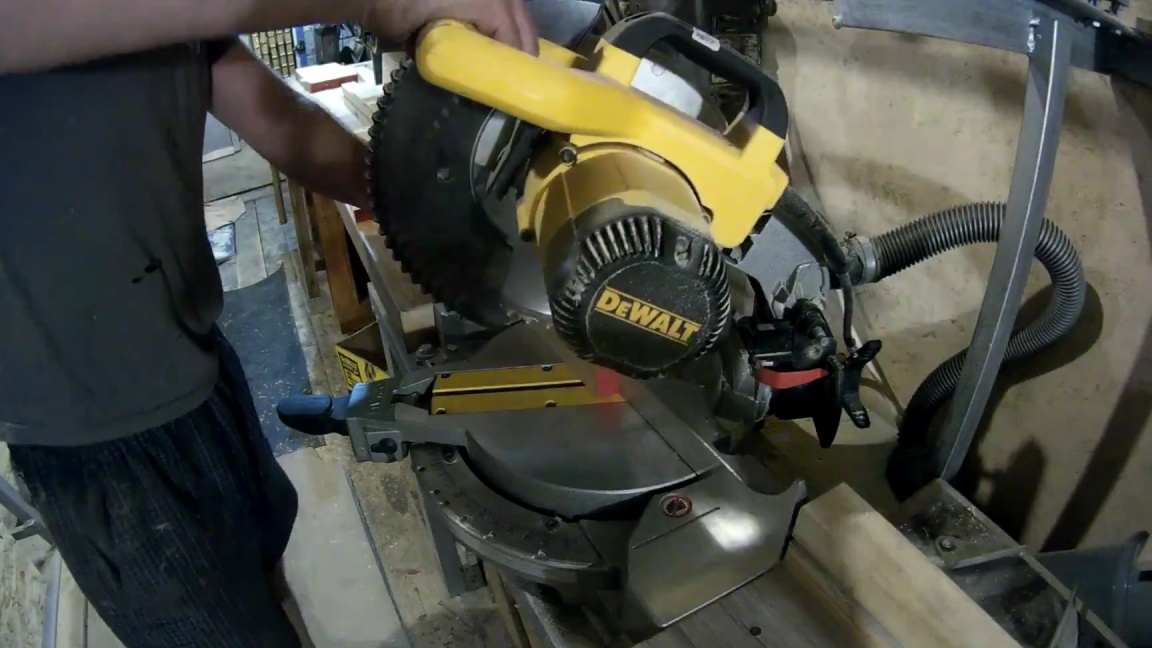
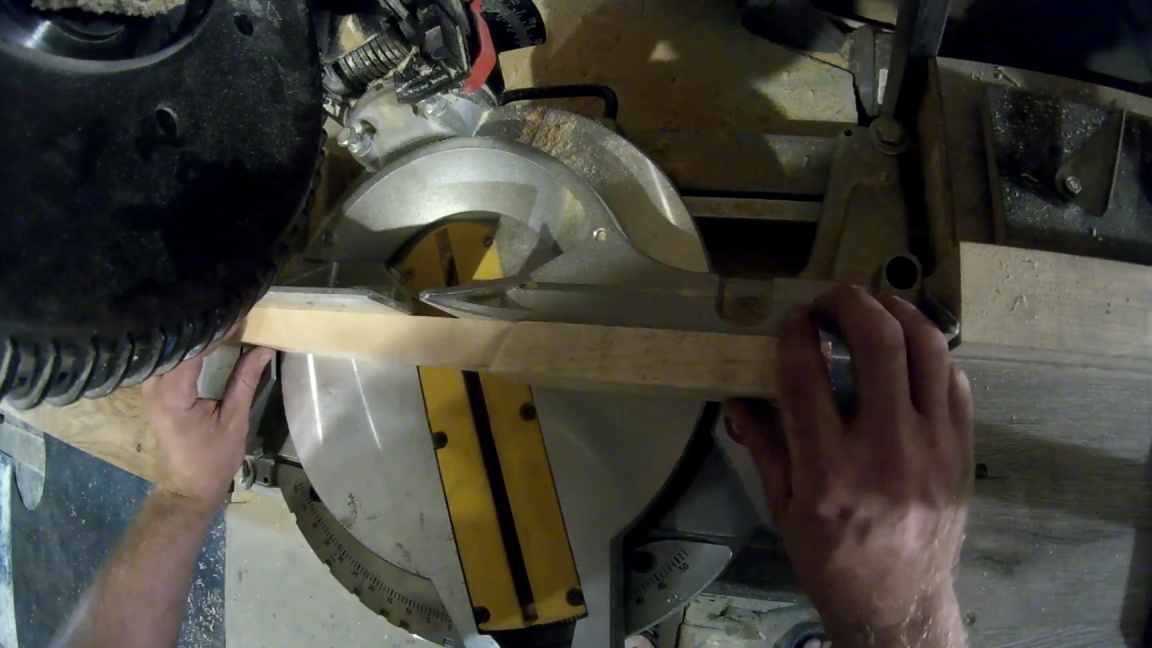
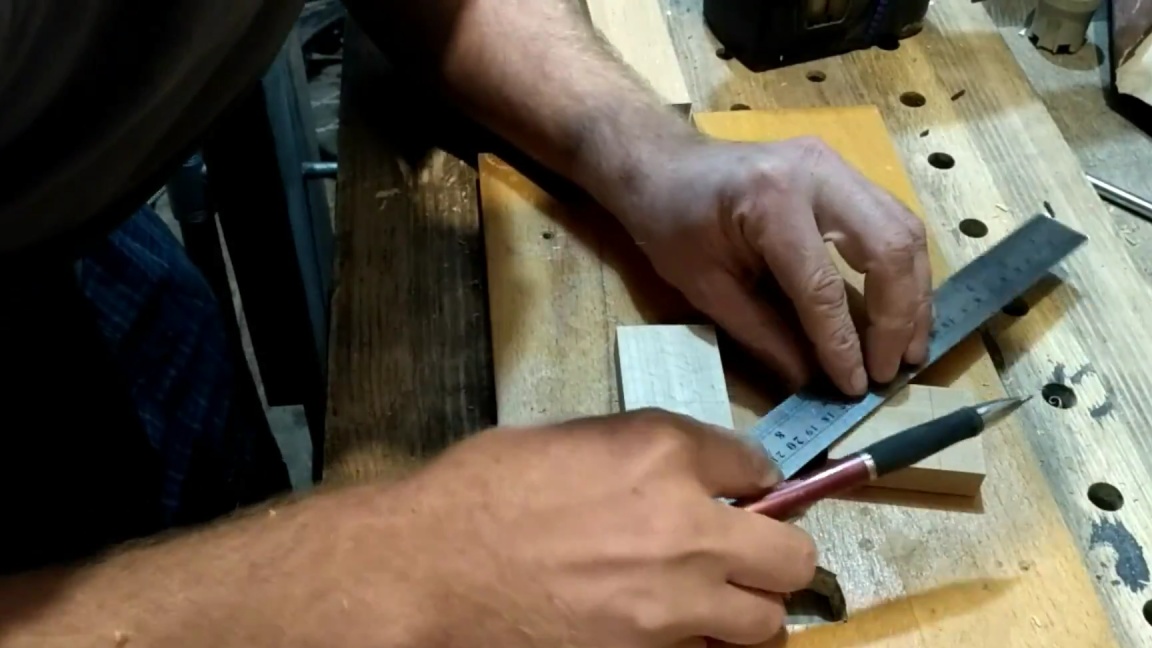
The components must be calculated in advance, the angle of the saw cut will depend on their quantity and the desired size of the lamp itself. For simplicity, we take 8 parts, on each of which it is necessary to make a saw cut under 45o on both sides, this is easiest done on a sawing machine.
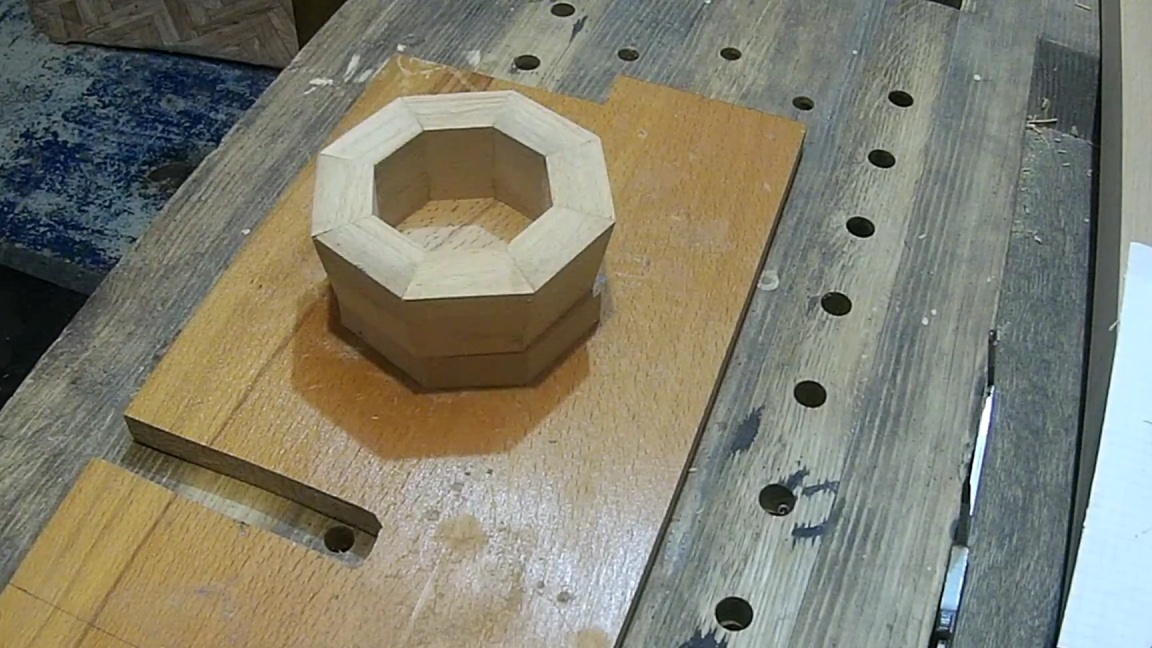
Step Three
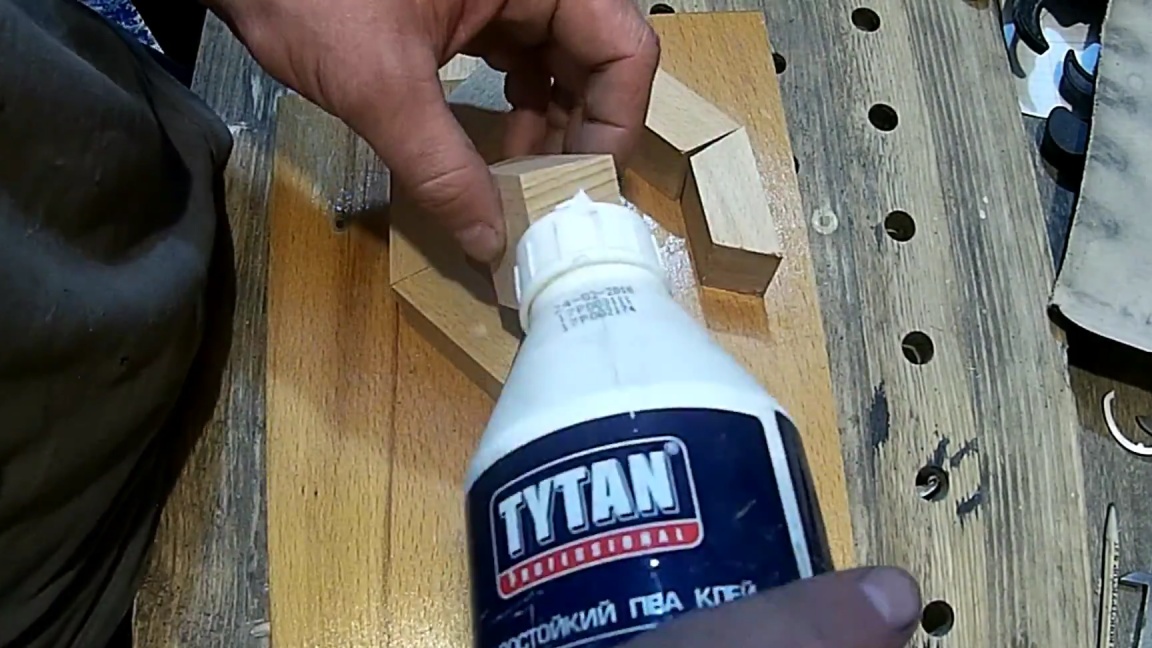
When all 8 blanks are sized to fit, they can be glued together, wood glue will help us with this. Before gluing, it is necessary to sand the bonded surfaces in order to improve the contact spot.

We spread glue over the entire area of the junction of each part and fasten it with a rubber screed, by the way, it can be easily made from a bicycle chamber.

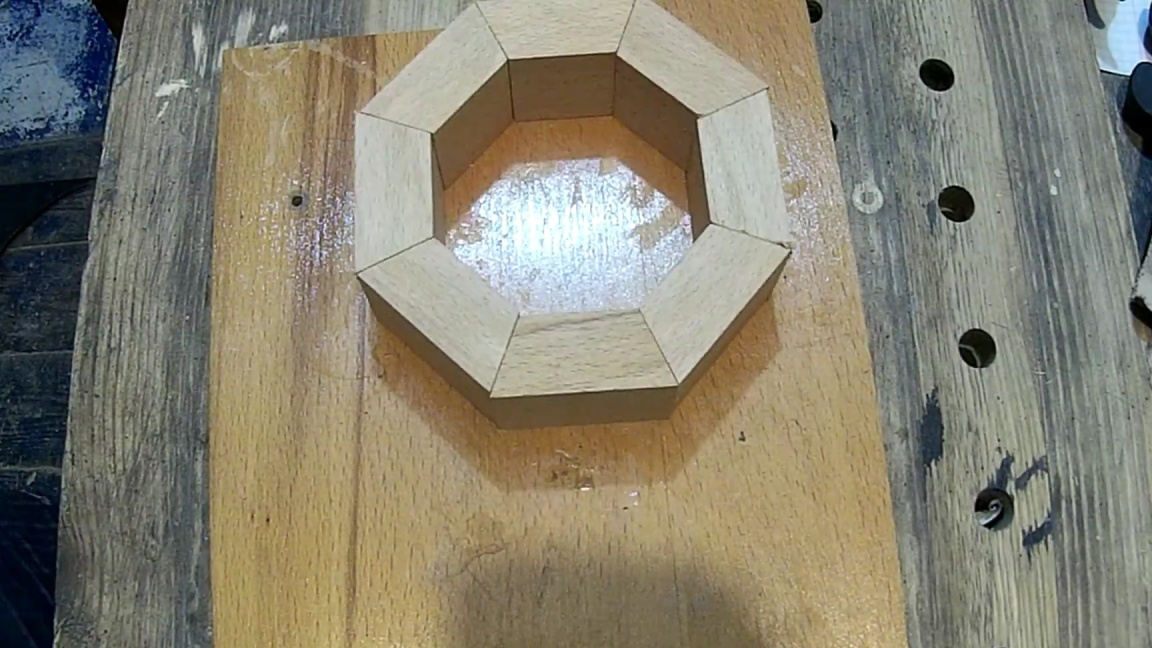

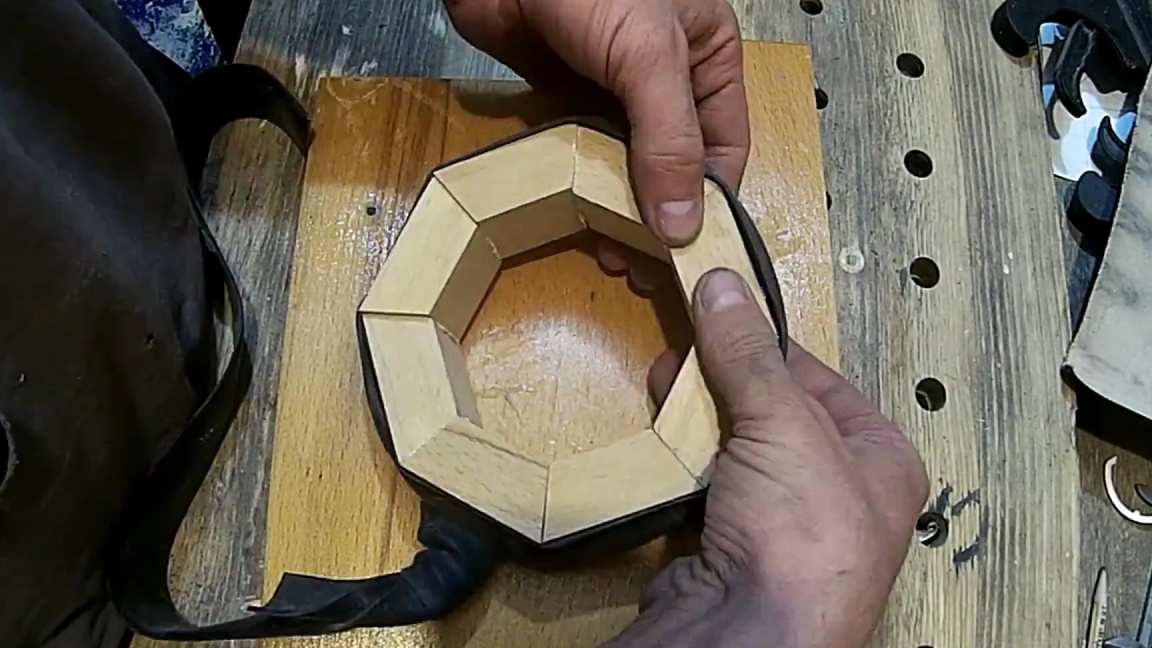
The excess glue is removed with a rag and left to dry for a couple of hours, and while the glue dries, we make three more such parts.
Step Four
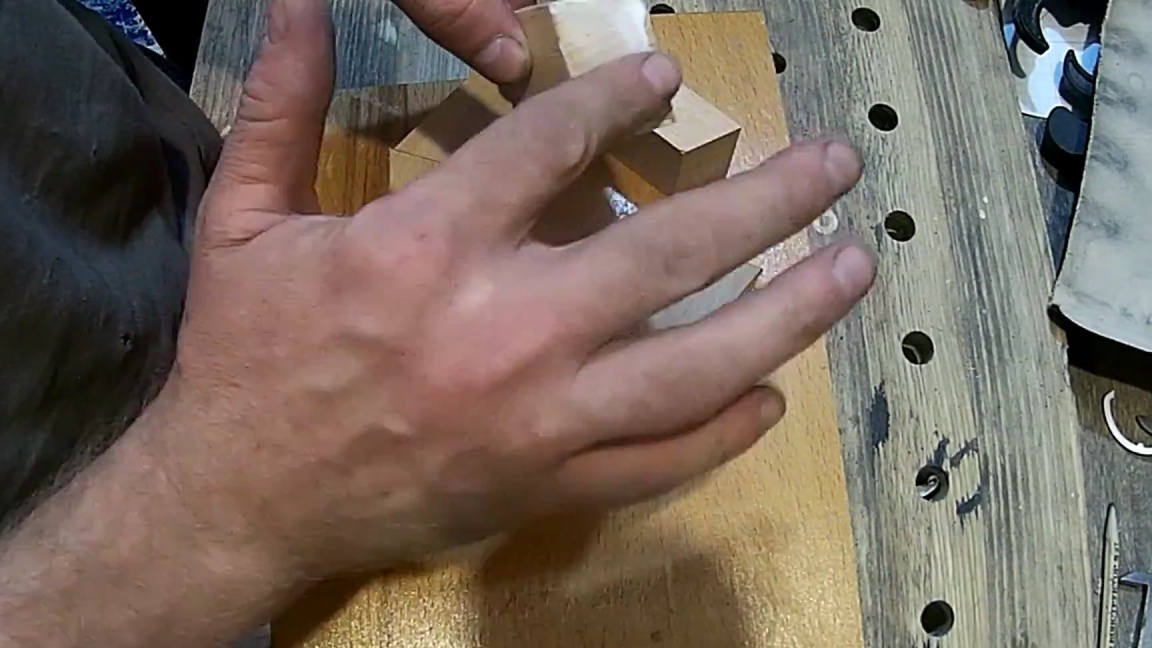
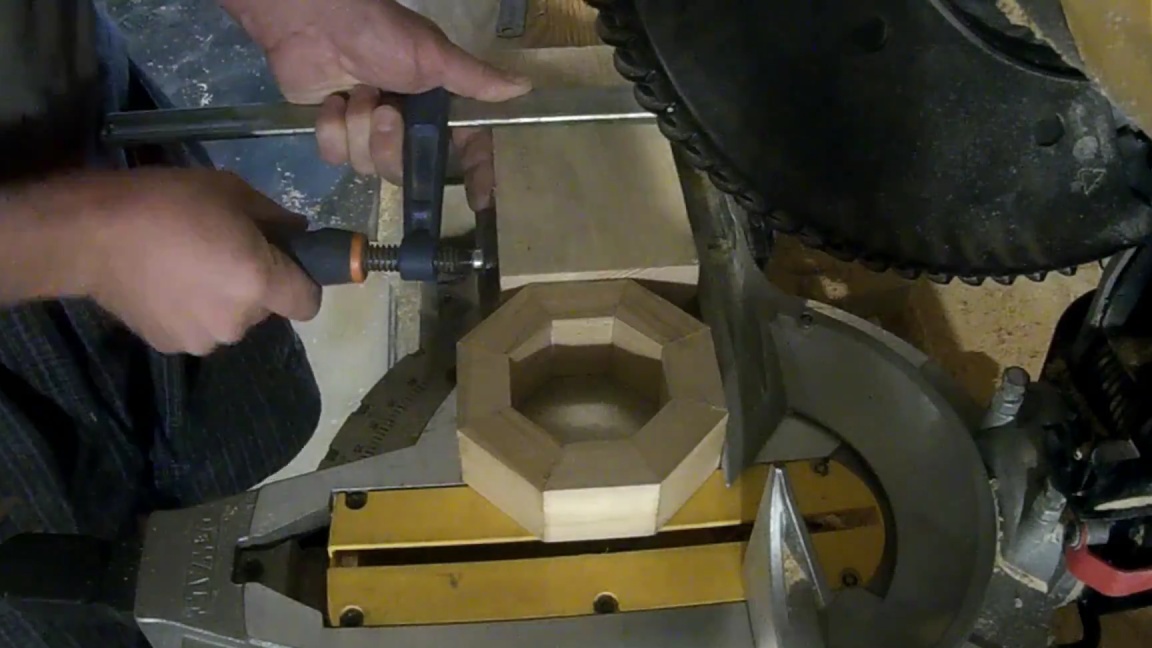
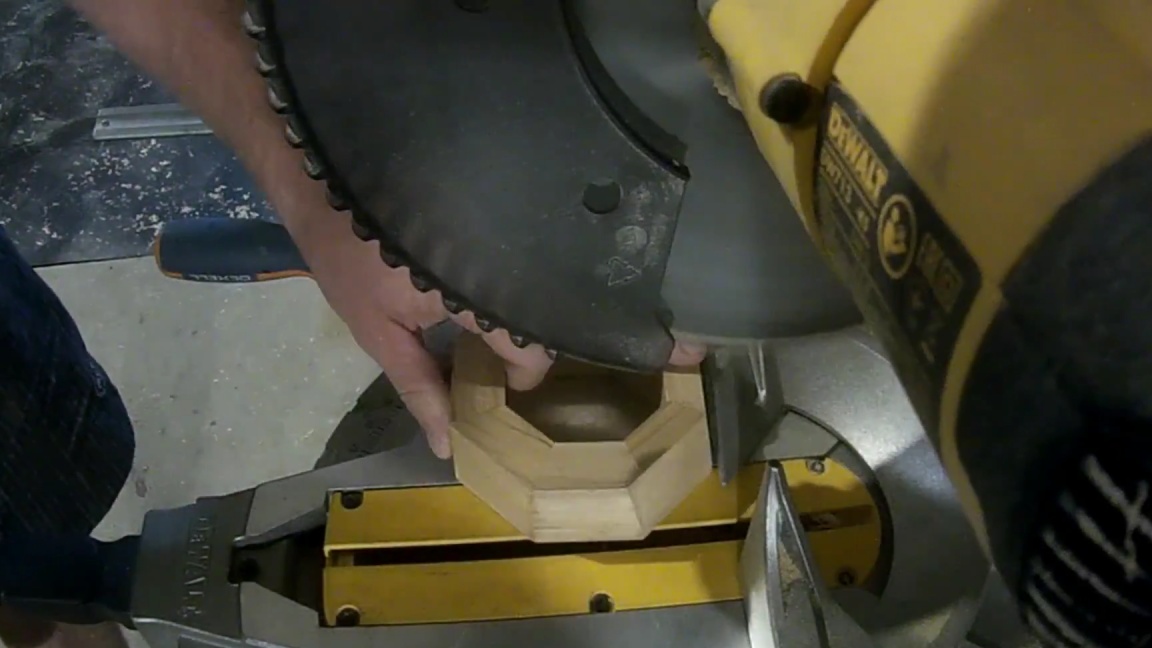
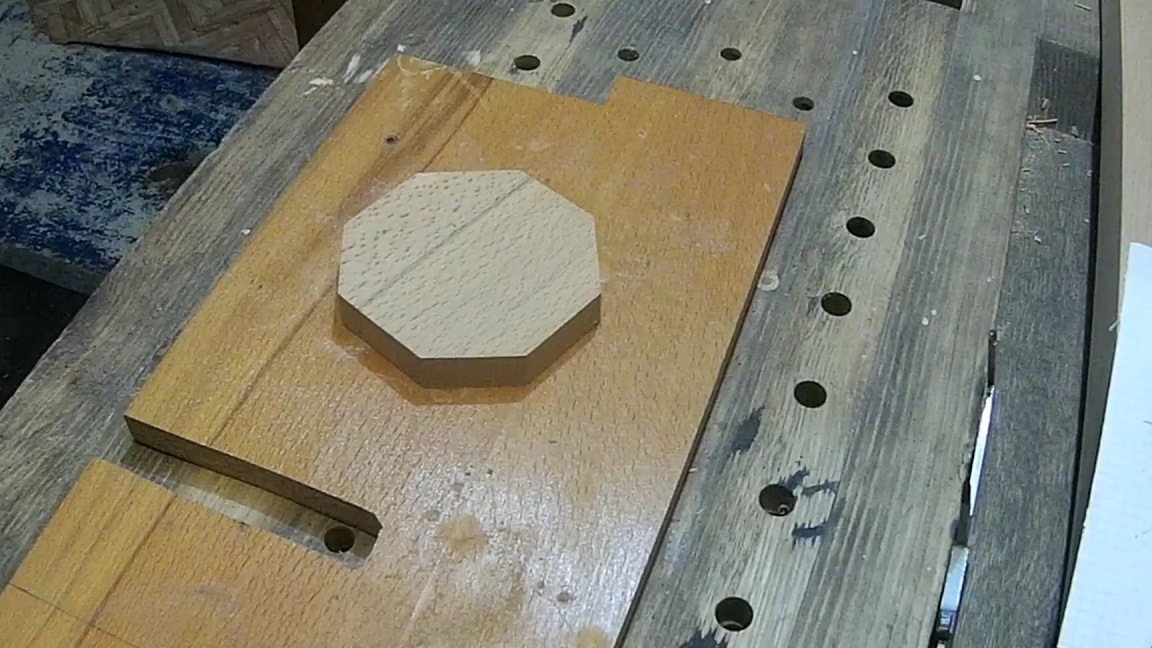
After all four octagonal blanks have dried, it is necessary to make a cut at an angle on three of them to create the shape of a lamp. How to do this is more clearly seen in the photo. You also need to make an octagonal bottom.
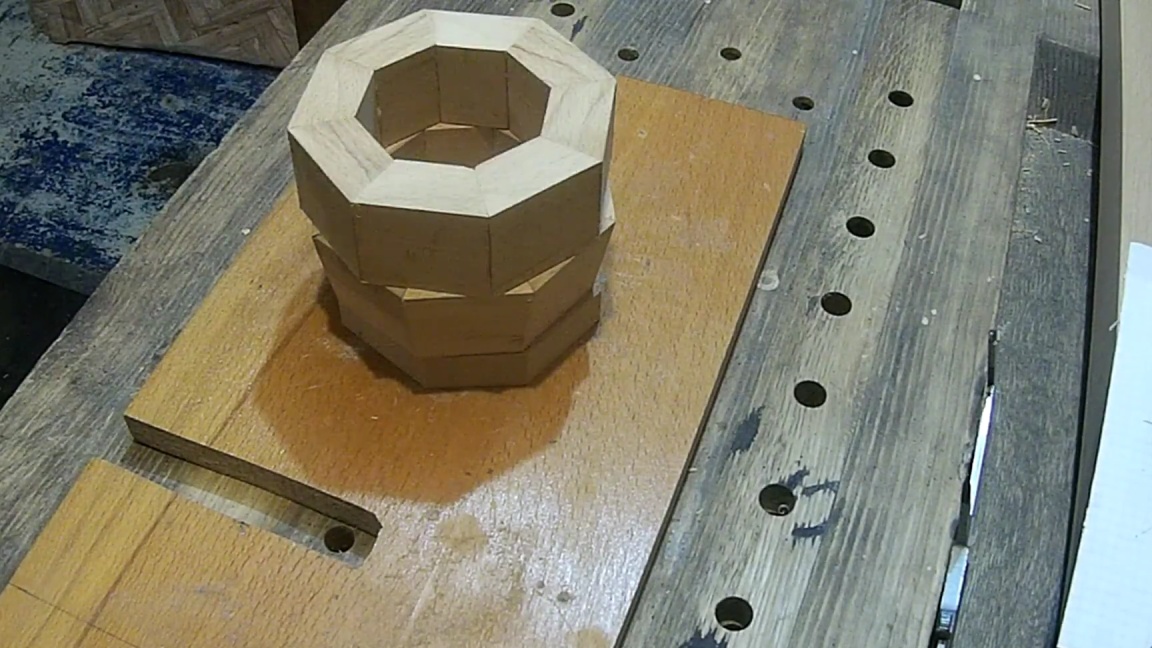
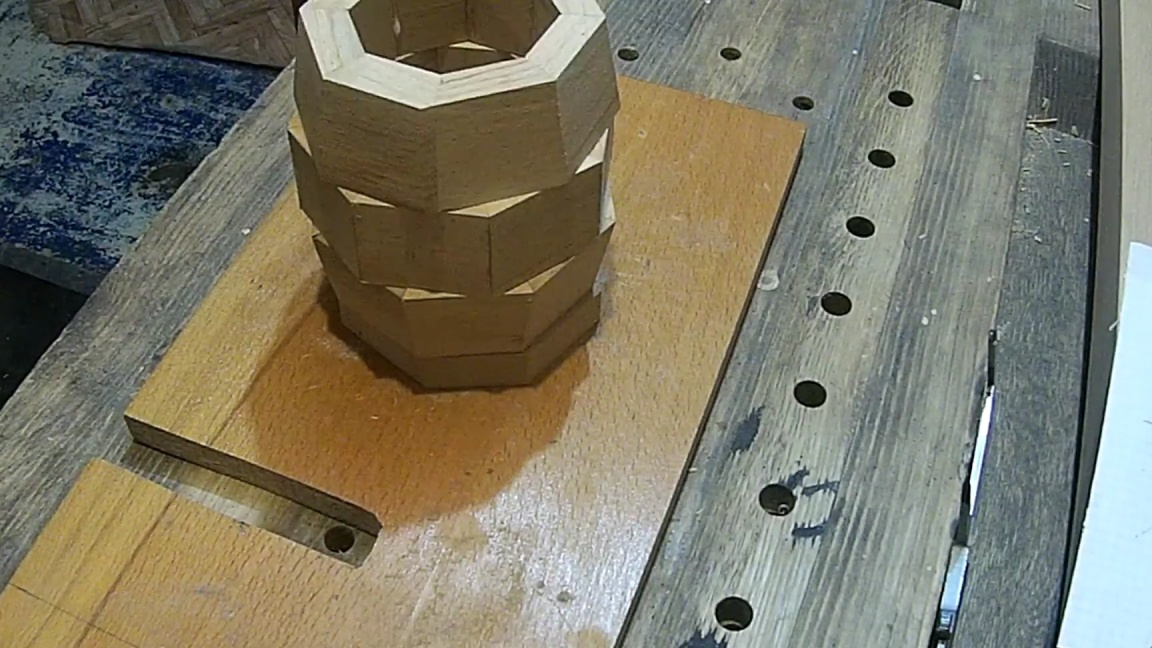
Step Five
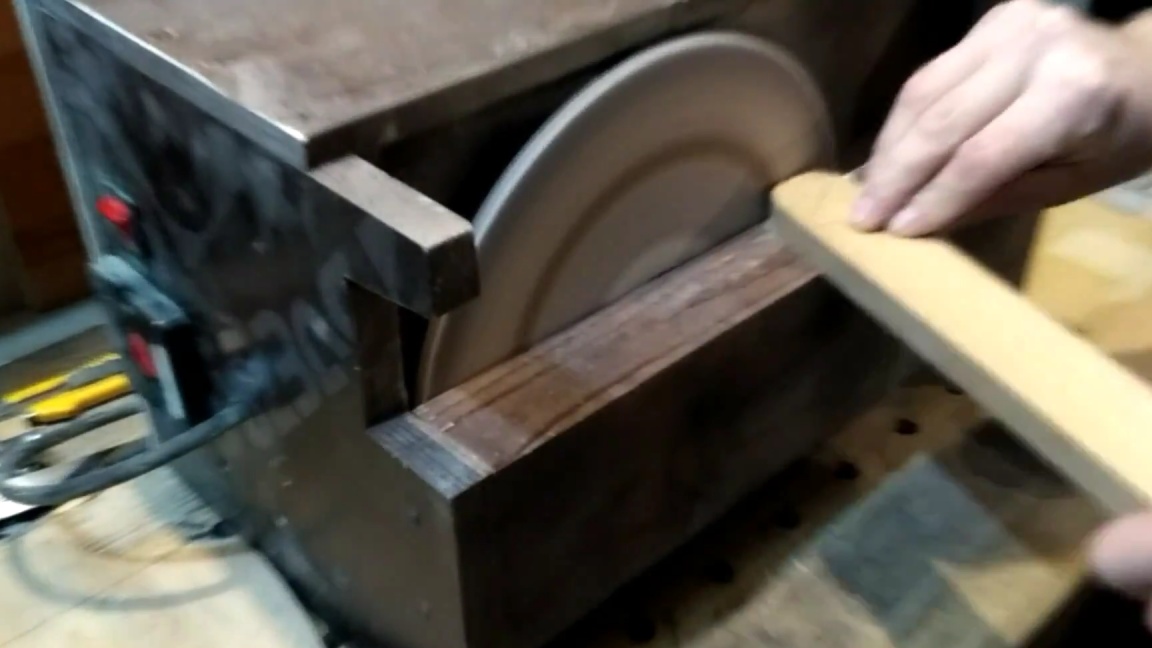
We glue four octagons into one, after drying we grind on a grinding machine to obtain a shape similar to a vase.
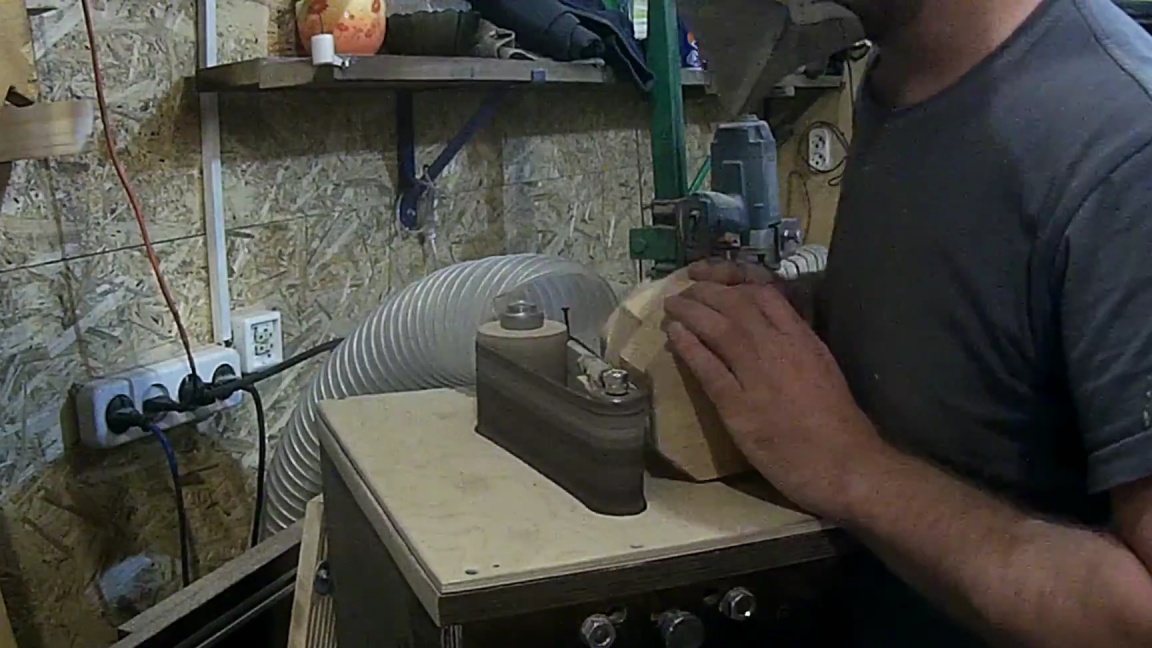
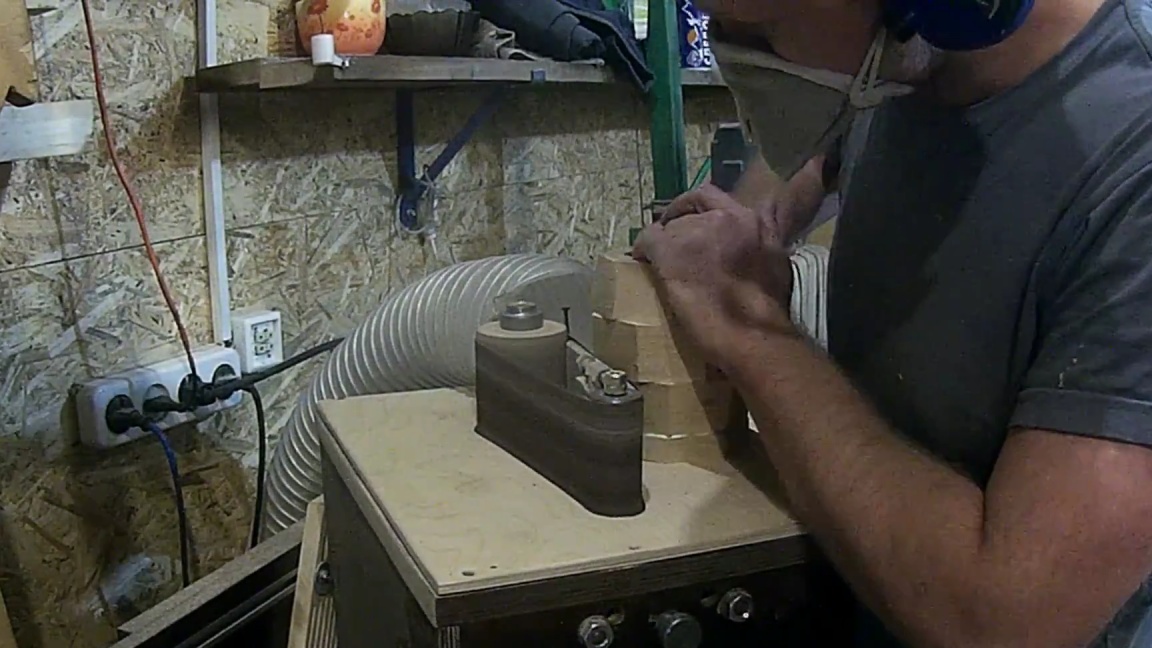
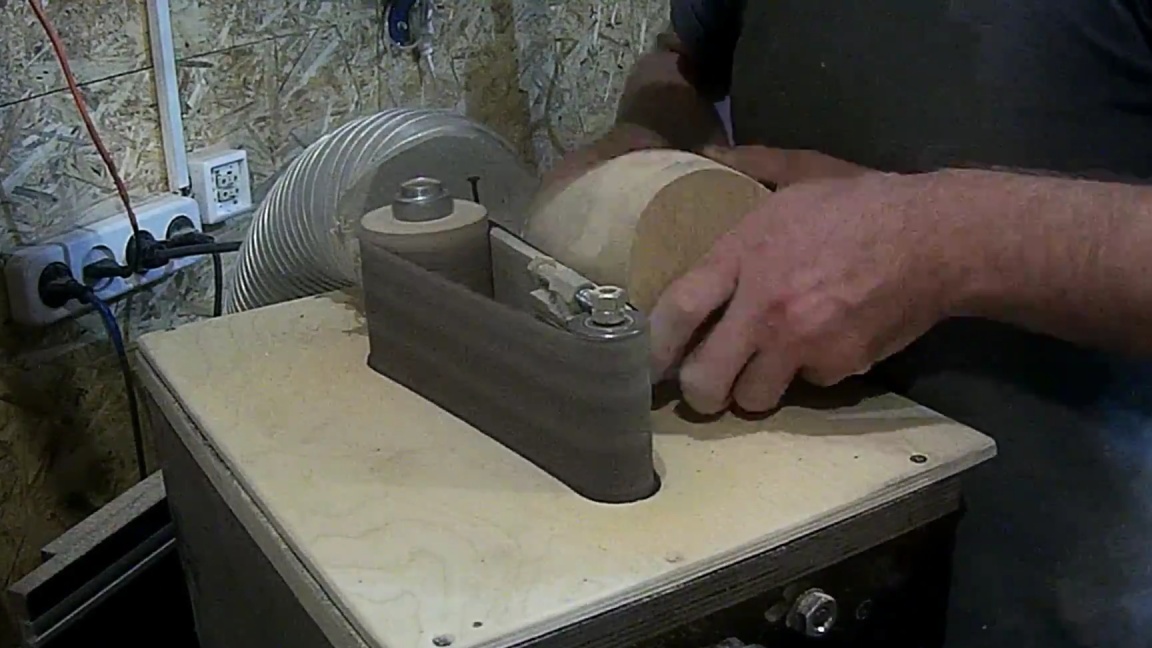
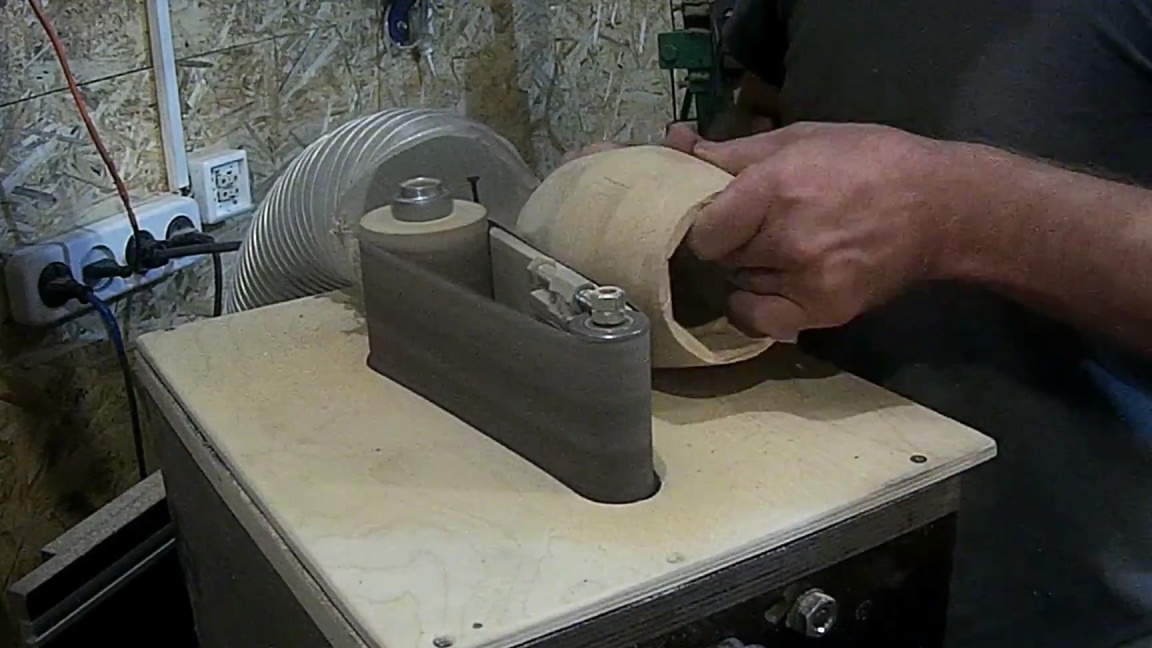
When grinding, rotate the workpiece as smoothly as possible, the correct form of the lamp will depend on this.
Step Six
It's time to make a leg for the lamp, with which you can adjust the direction of the light.
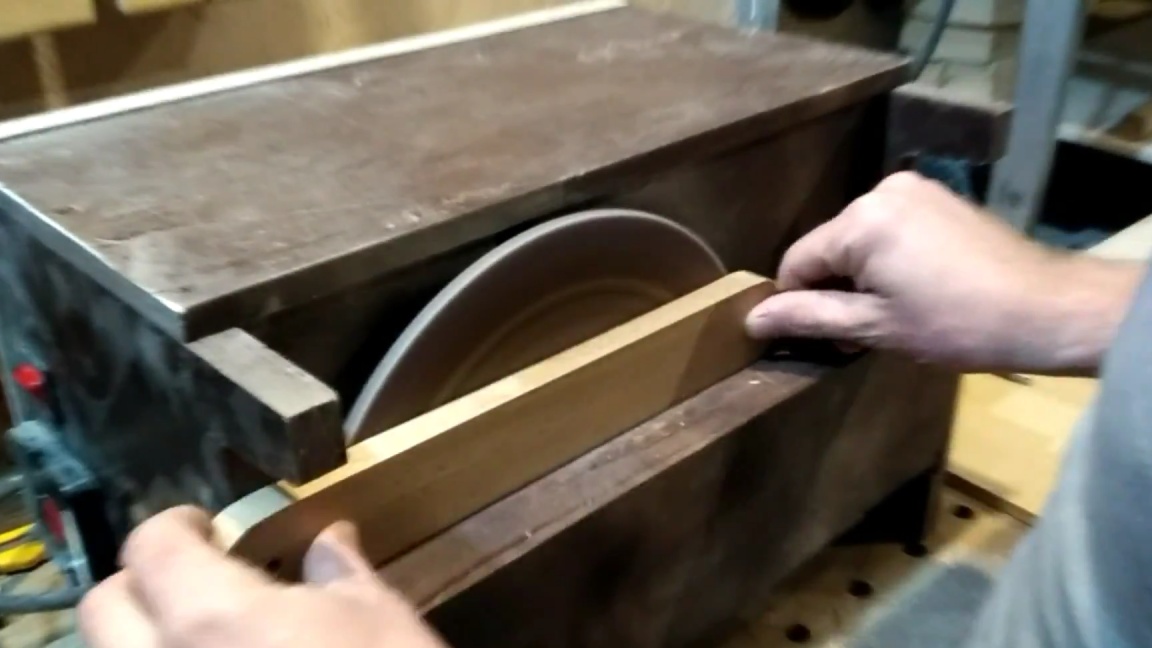
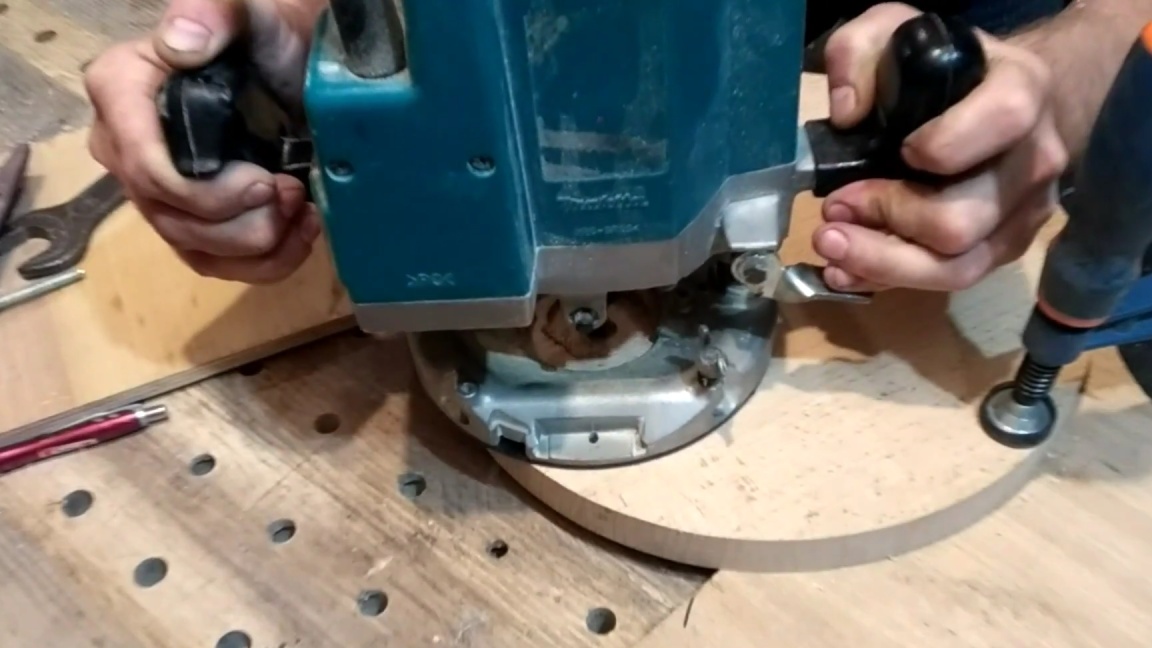
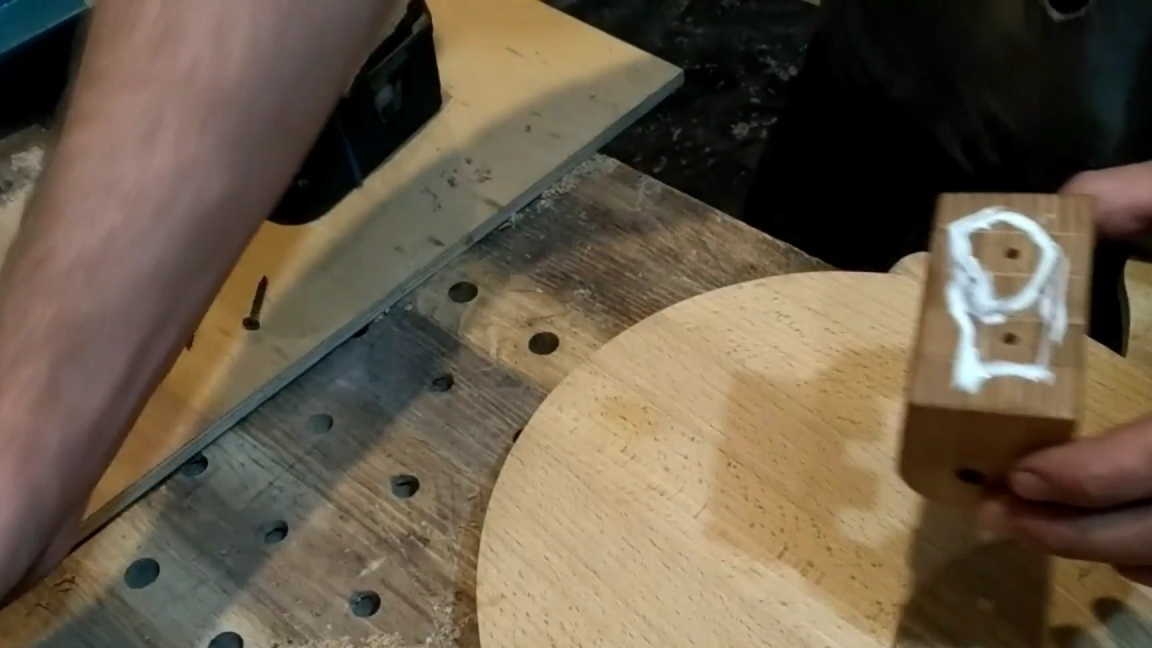
We saw off four small beech boards and round off the edges on a grinding machine, for this it is best to draw a circle in advance with a compass.
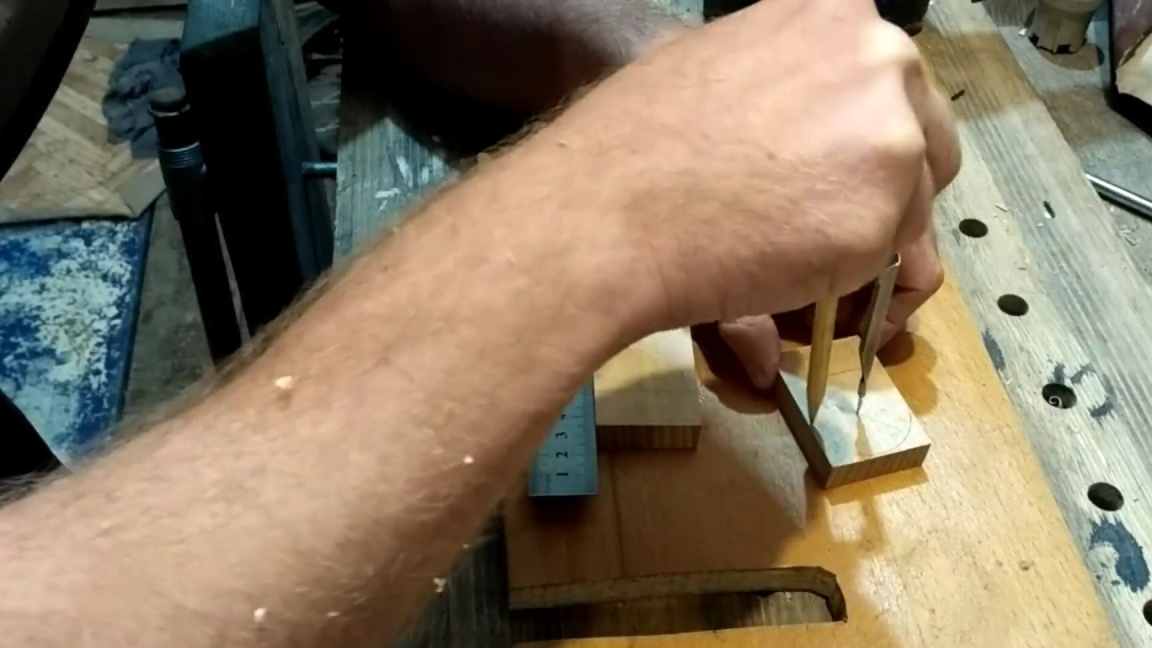
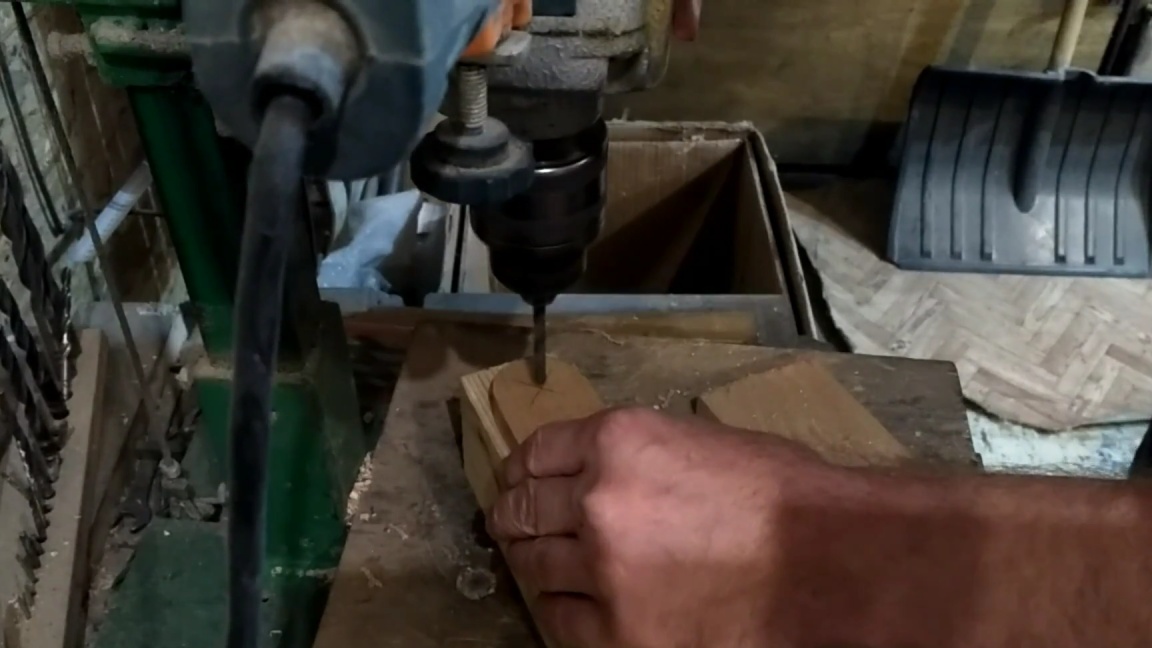
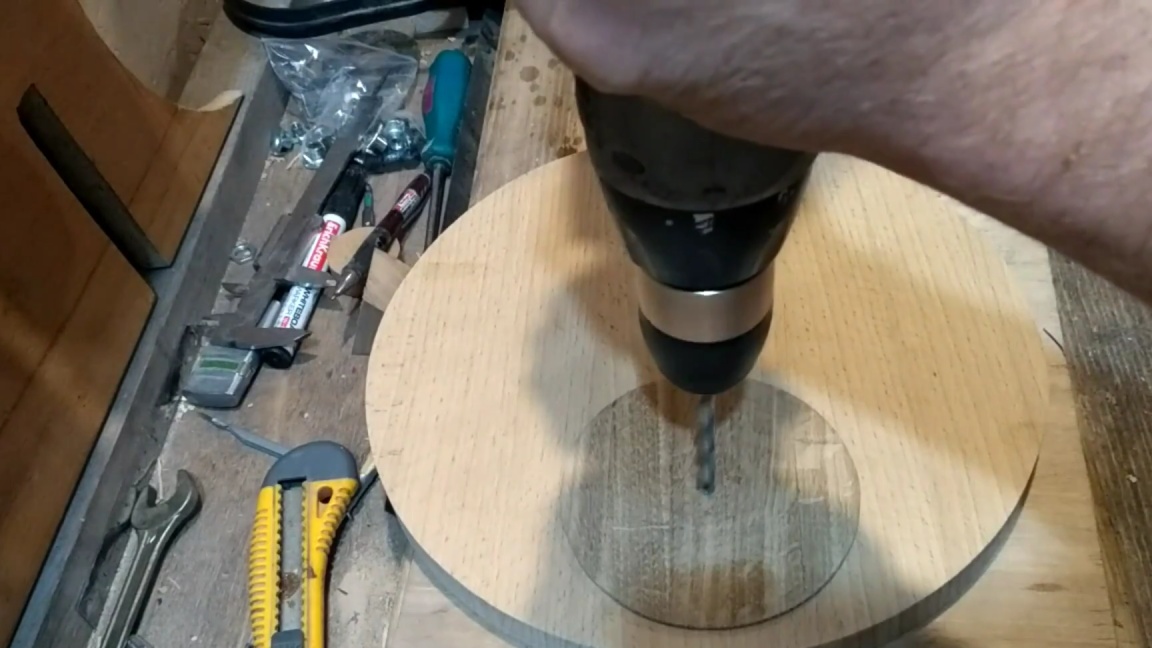
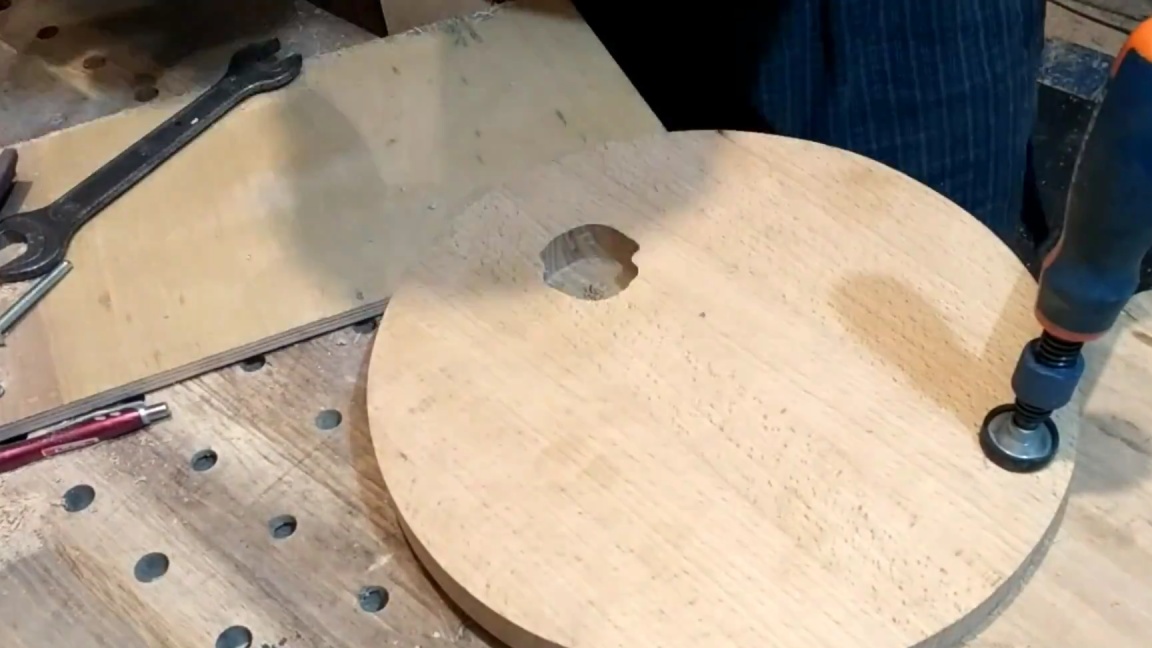
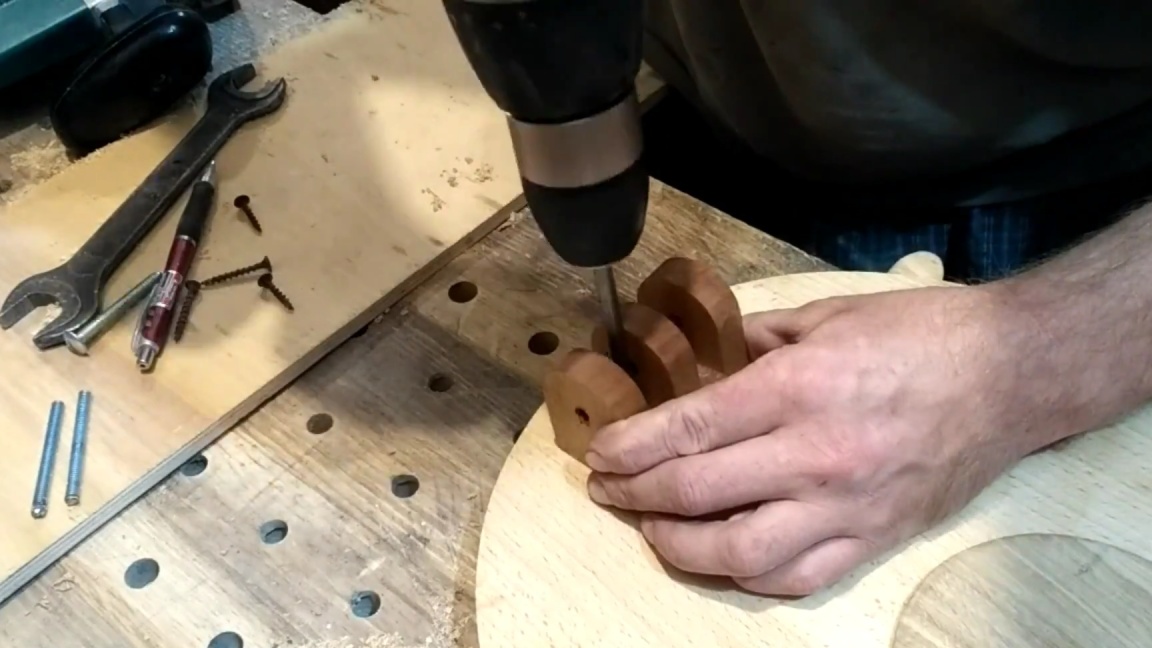
In the center of this circle we drill a hole, we do it on both sides and on each of the boards.
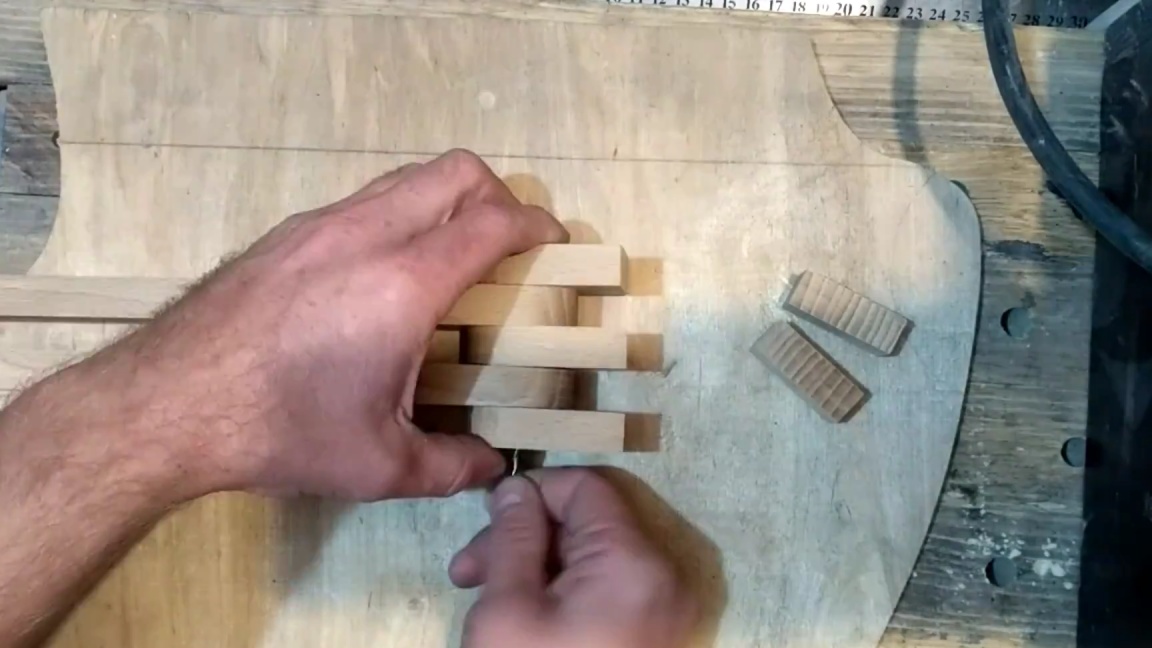
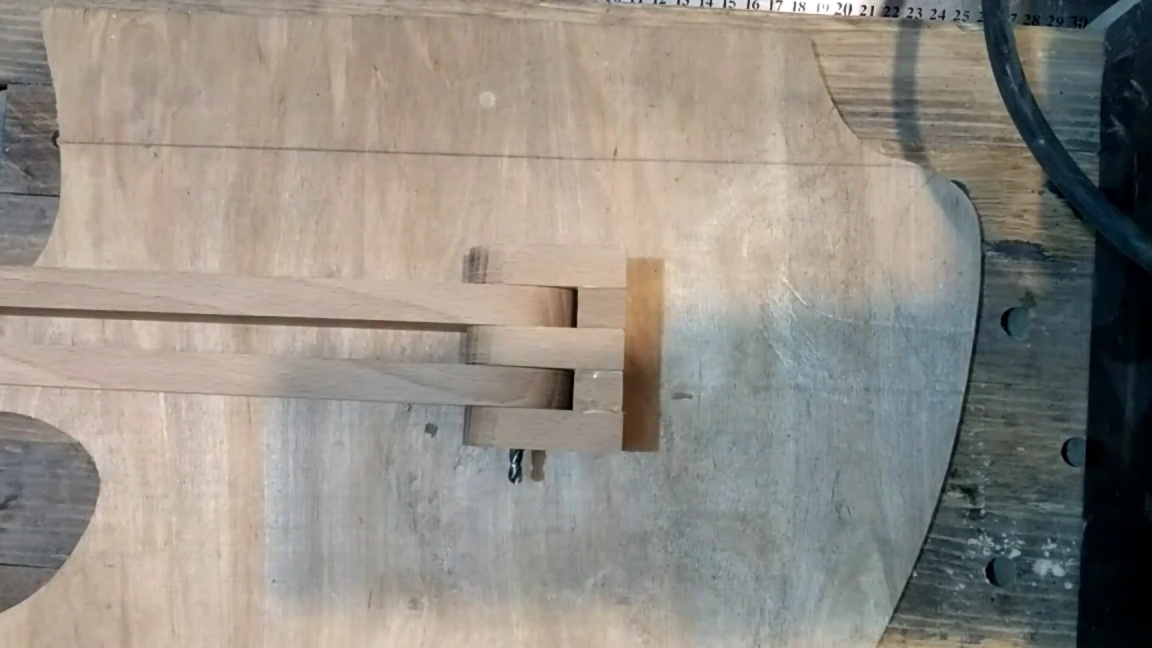
Then you need to make three small planks adjacent to both the lamp head and the base, which will also be rounded on one side, and for gluing them together you will need two small blanks, as in the photo.

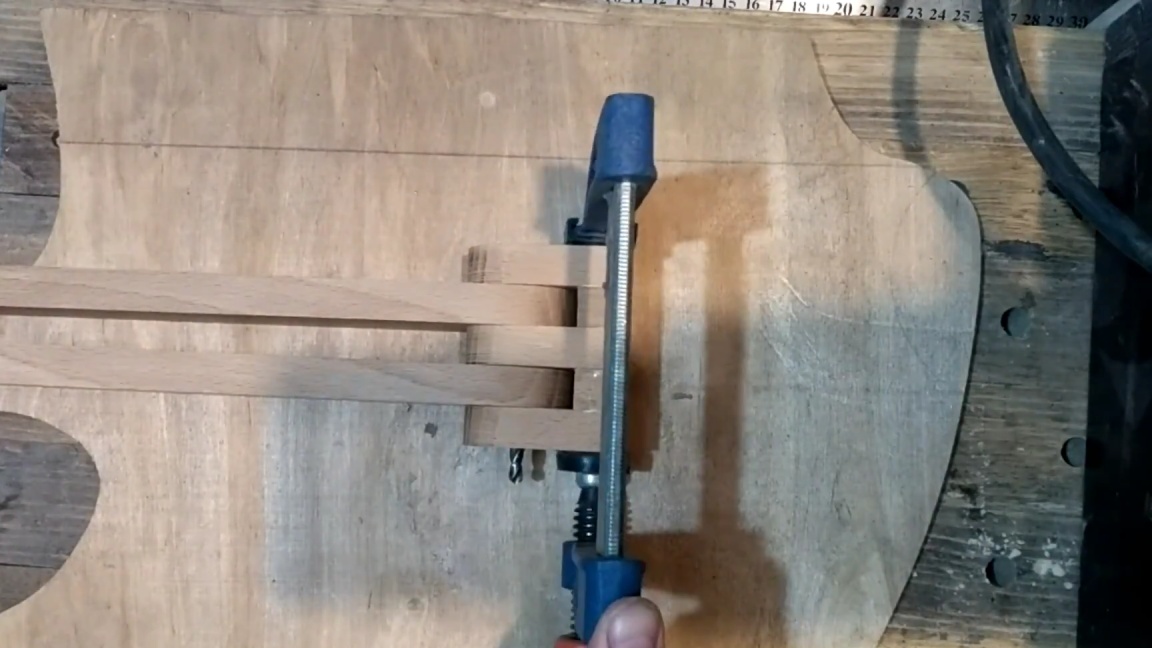
We grease the places of gluing with glue and press it with a clamp.

Seventh step.
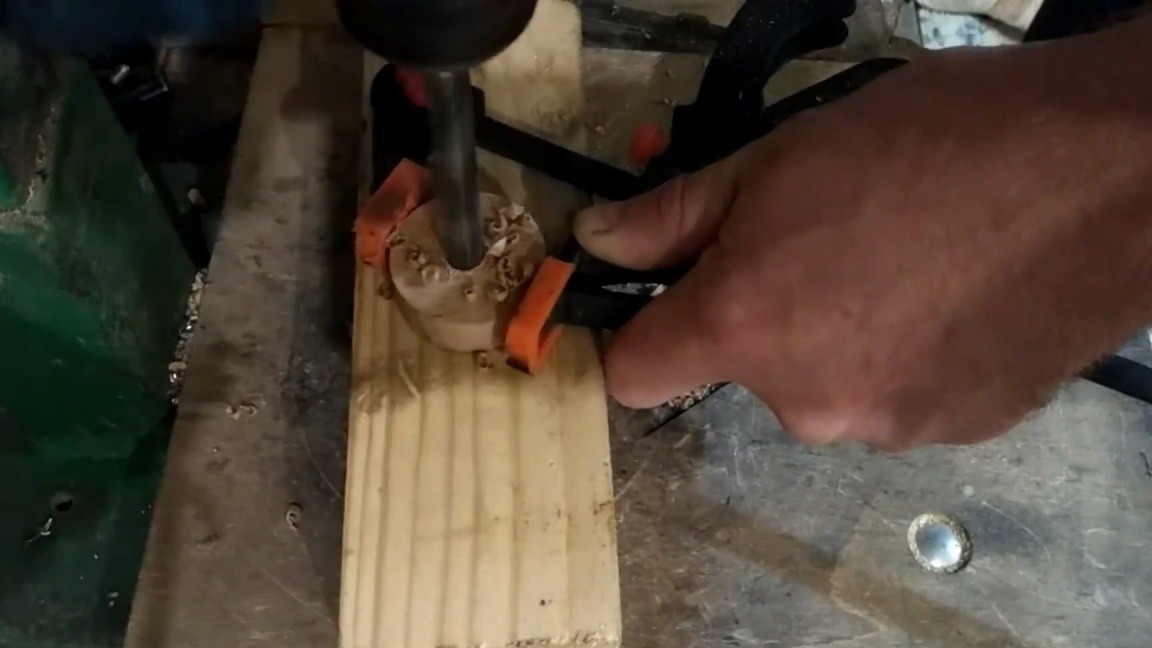
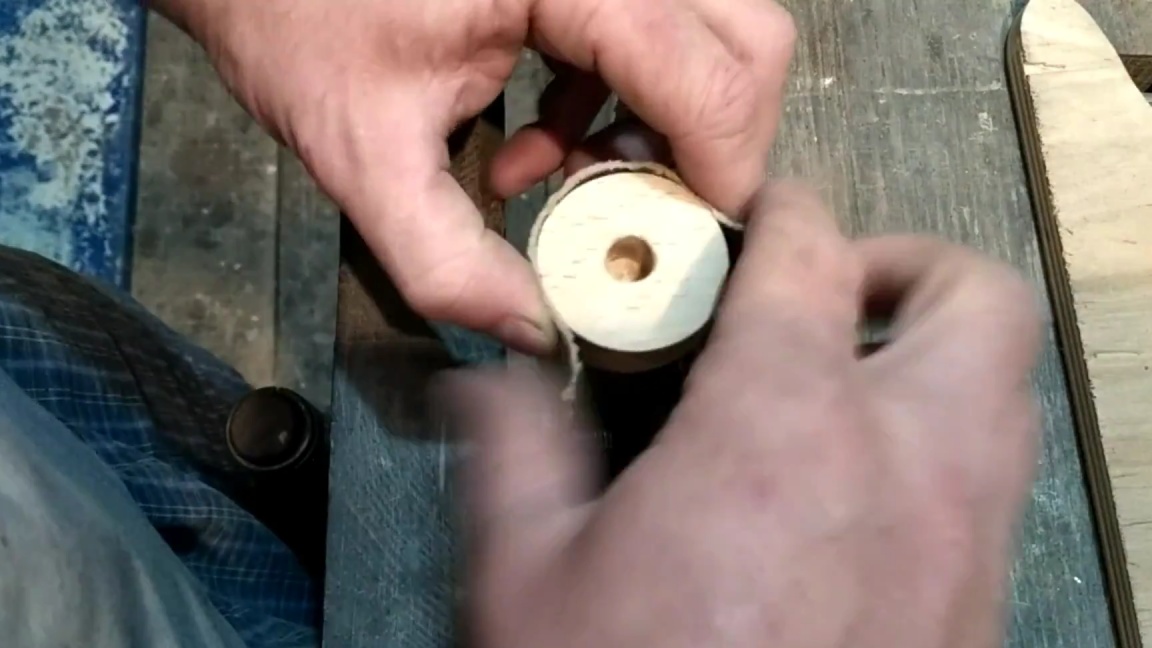
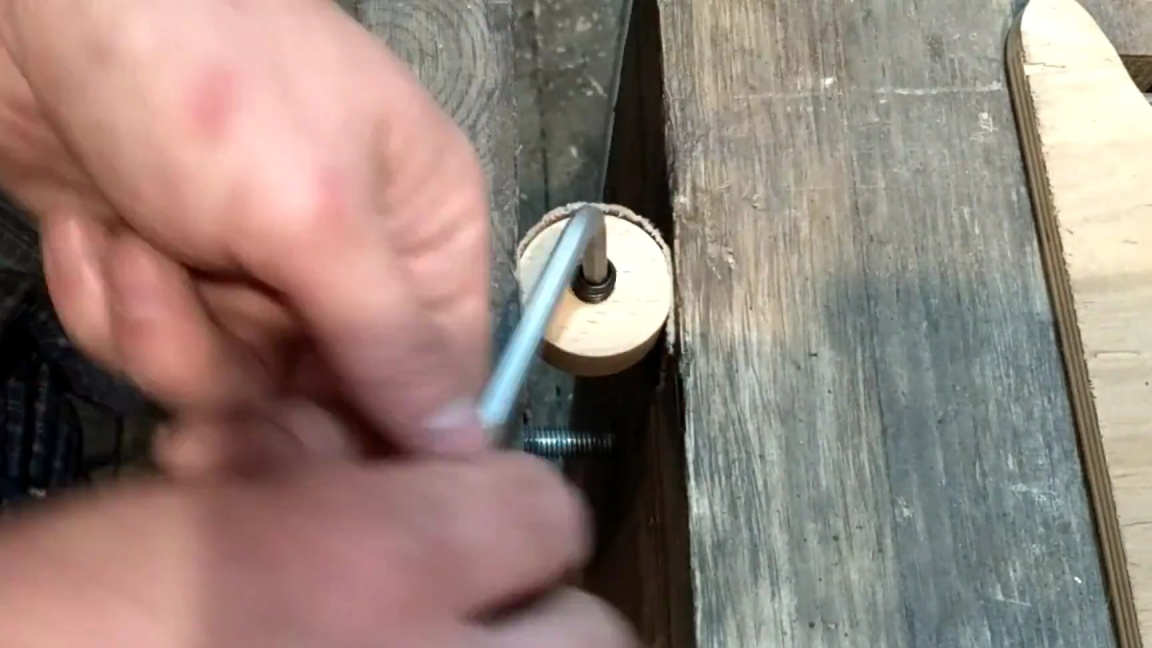
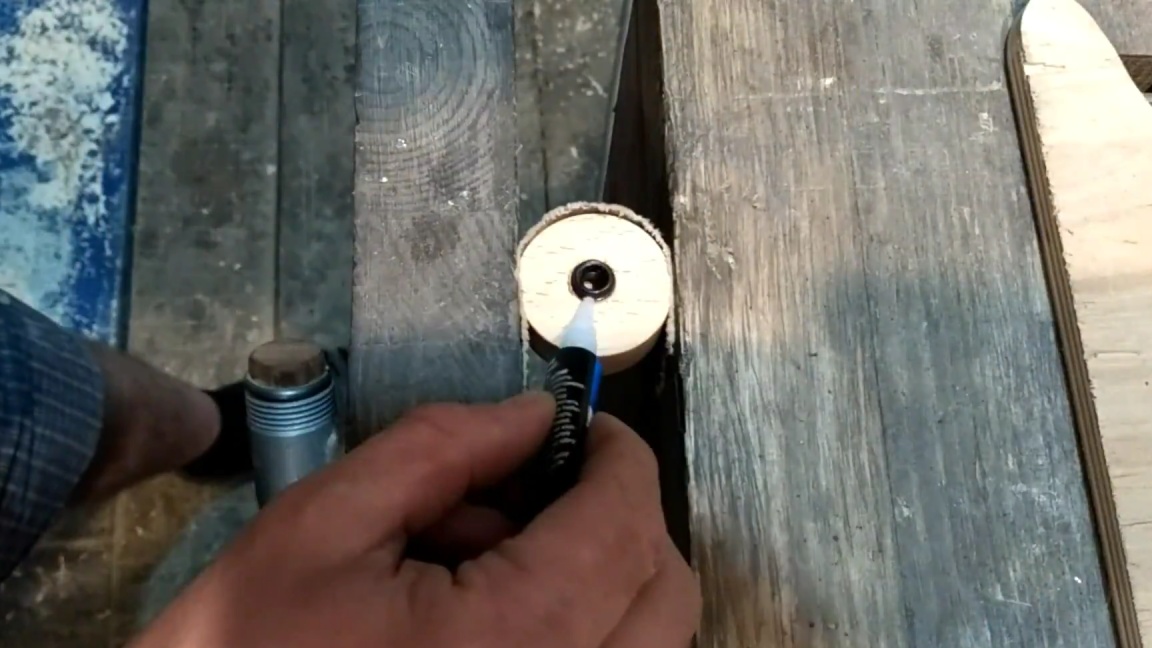
To control the brightness of the light, it is necessary to make a wheel, which will then be planted on a dimmer. Similarly to this wheel, we make six more of these, but to fix the position of the lamp.
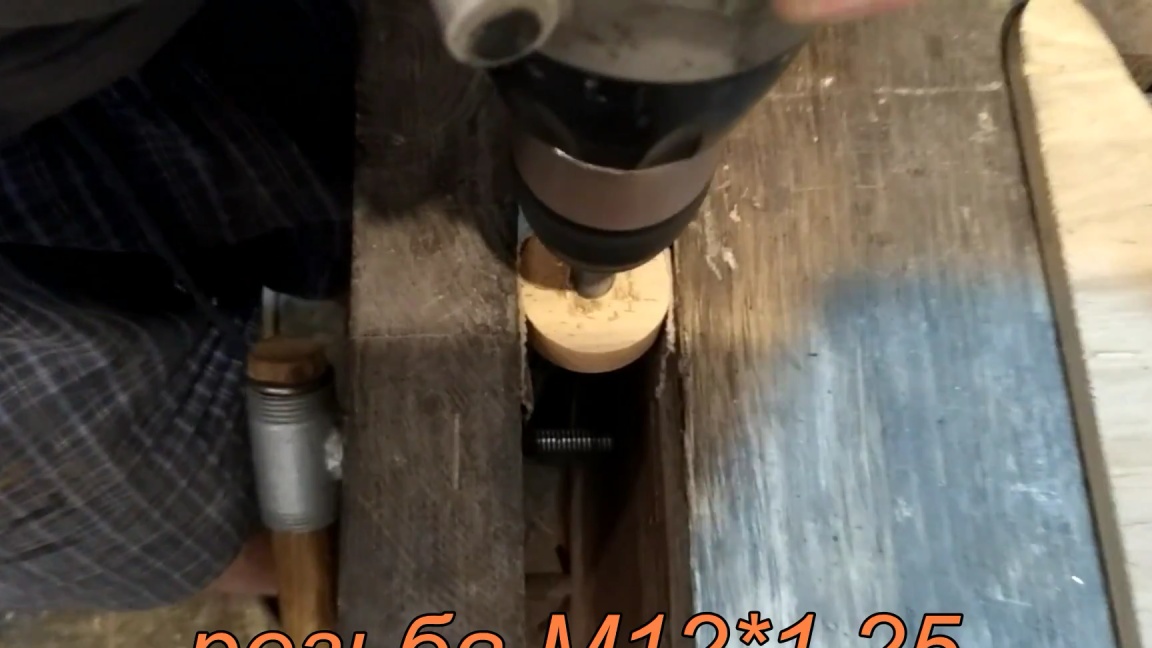
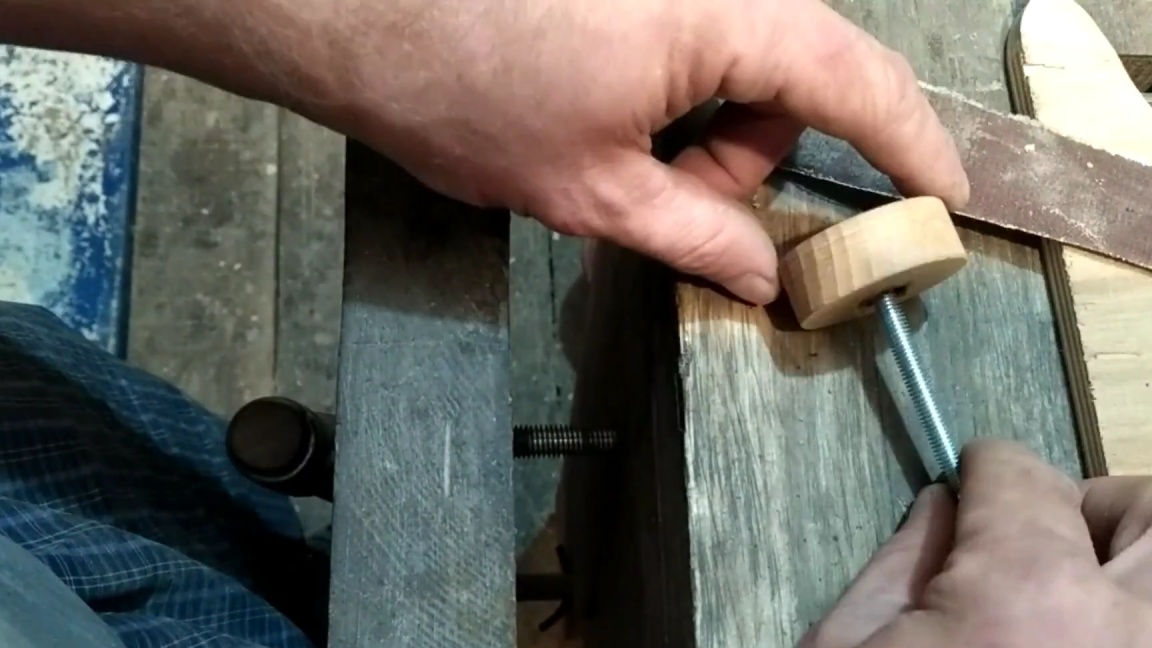
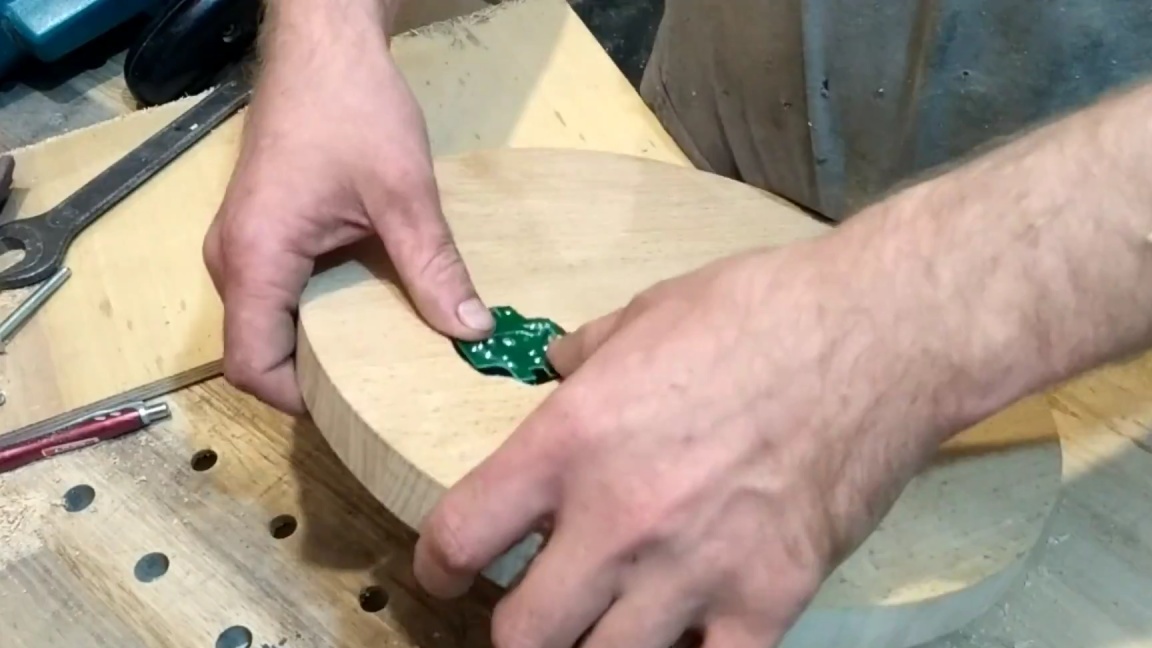
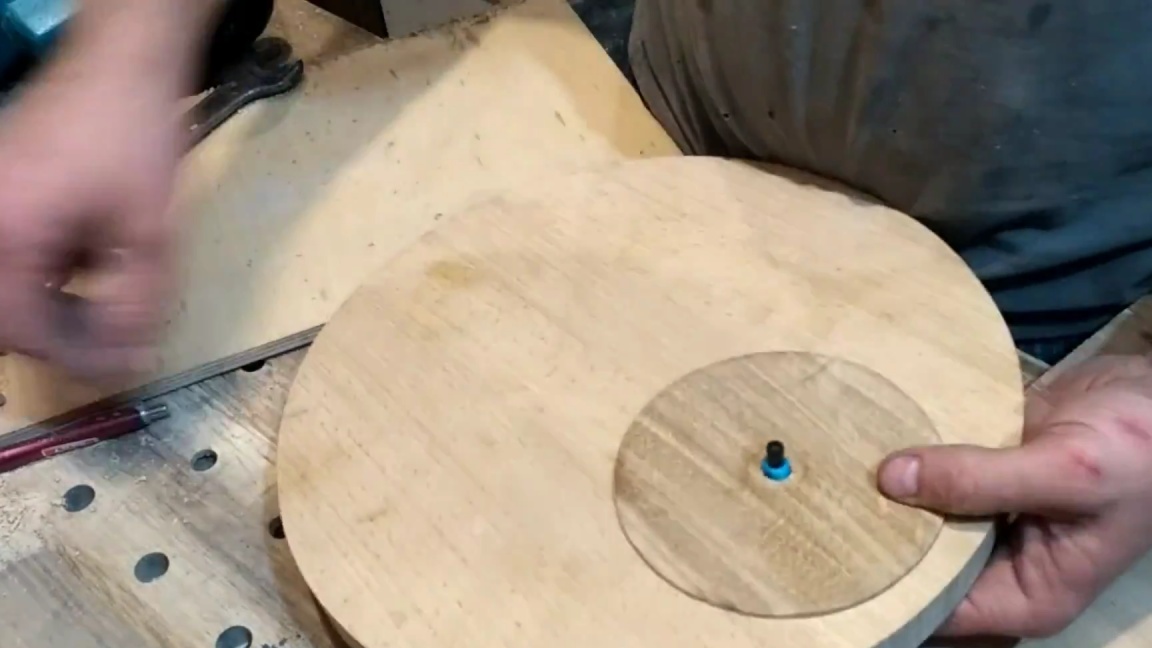
In the middle we drill a blind hole and glue the sleeve with M12 thread in increments of 1.25 onto the superglue and screw in until it stops.
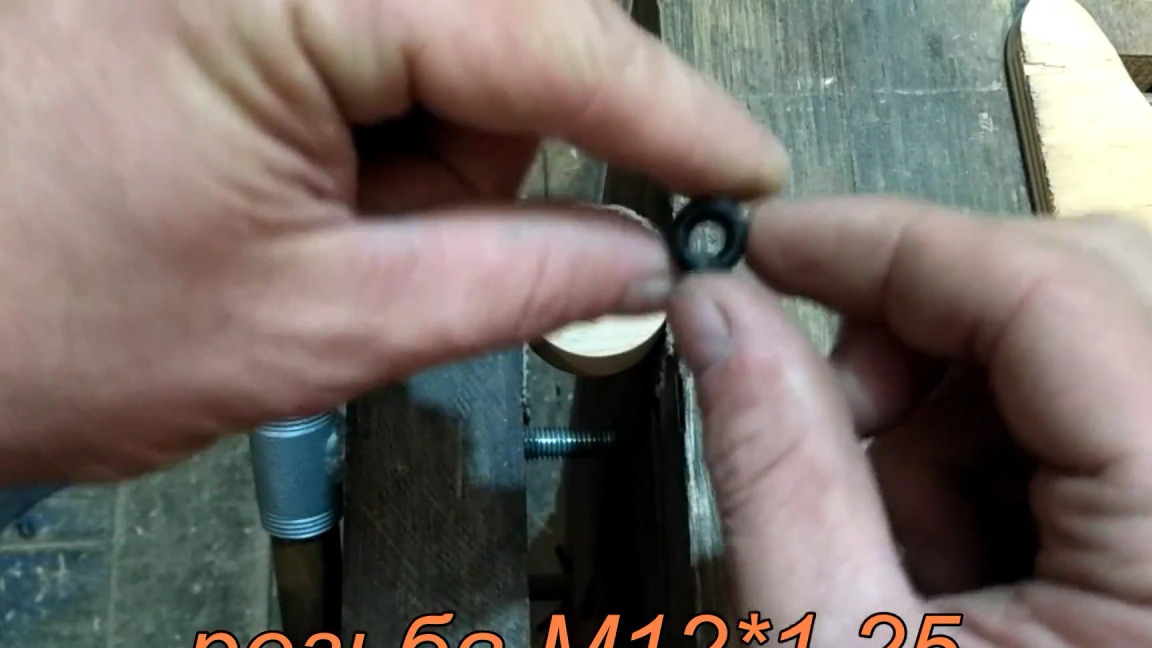
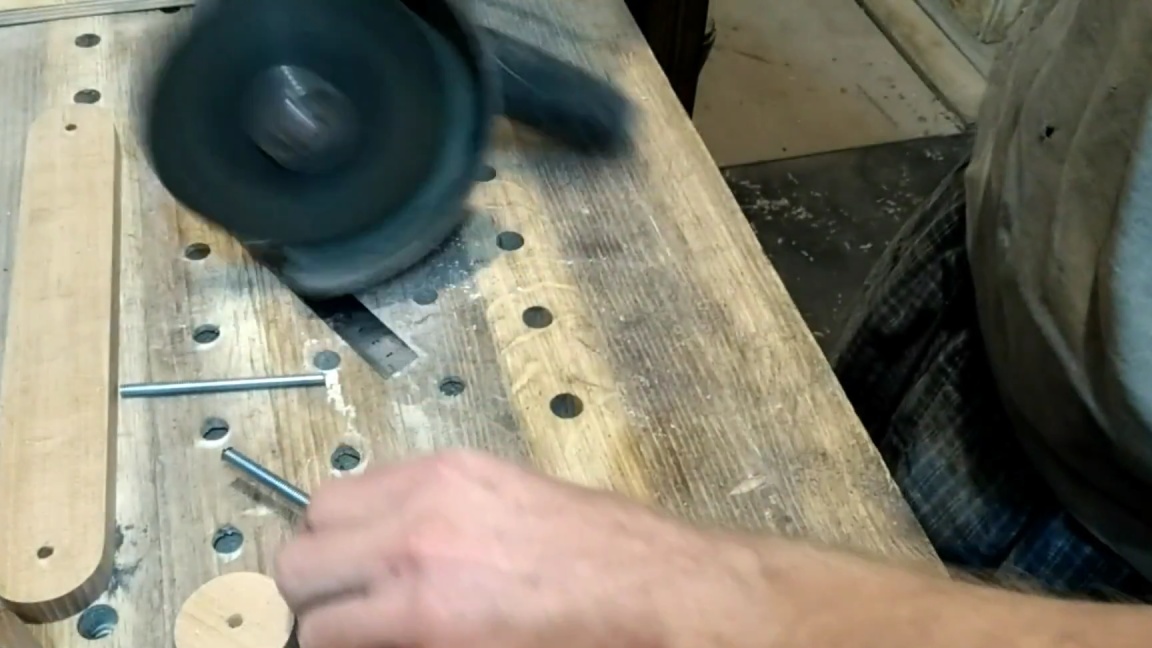
To fix the position, you will also need three M12 studs in increments of 1.25, which will pass through the entire fixture of the lamp.
Step Eight.
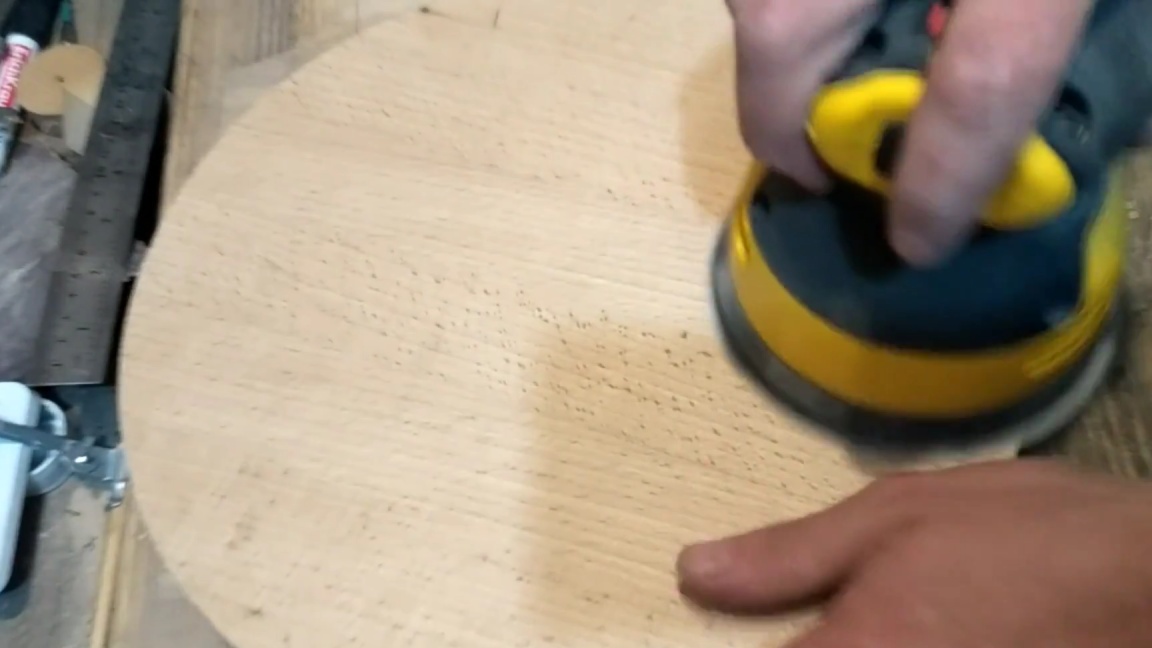
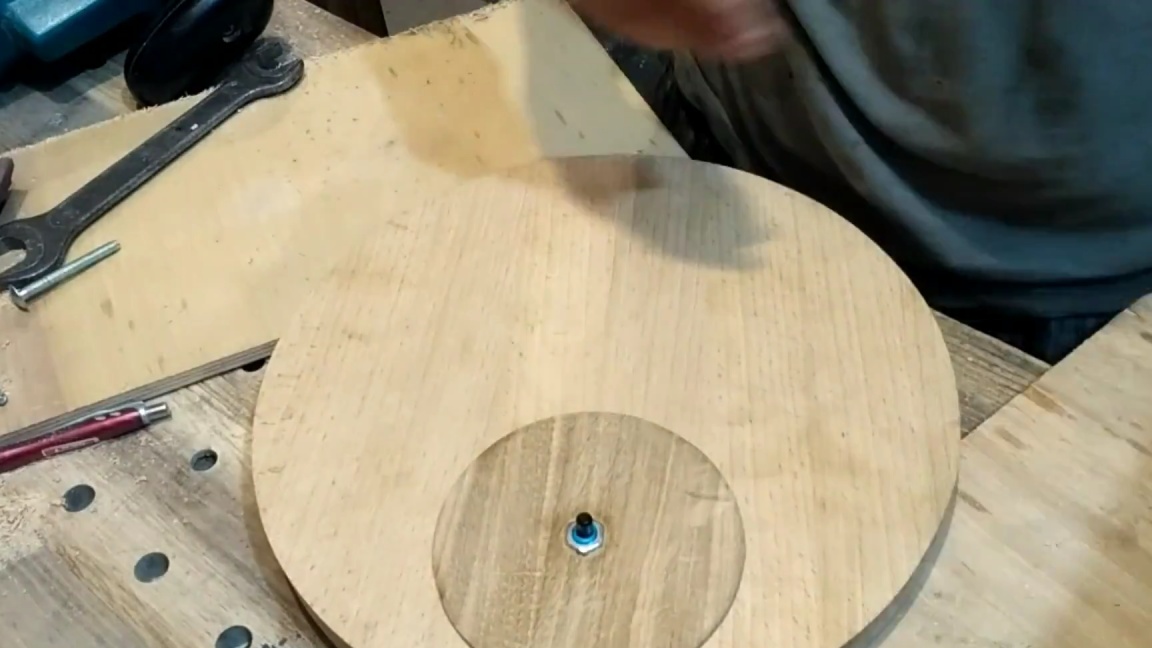
Now you need to make a shield or the so-called base on which the lamp leg itself will be fixed. Its shape is also round, made using a grinding machine.
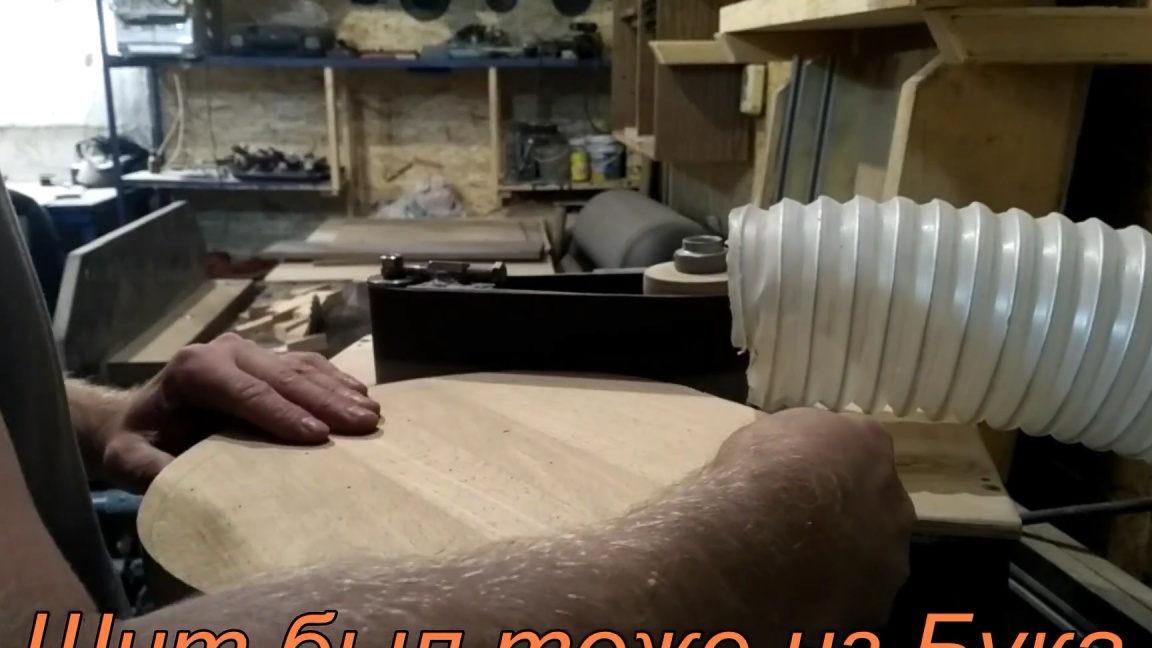
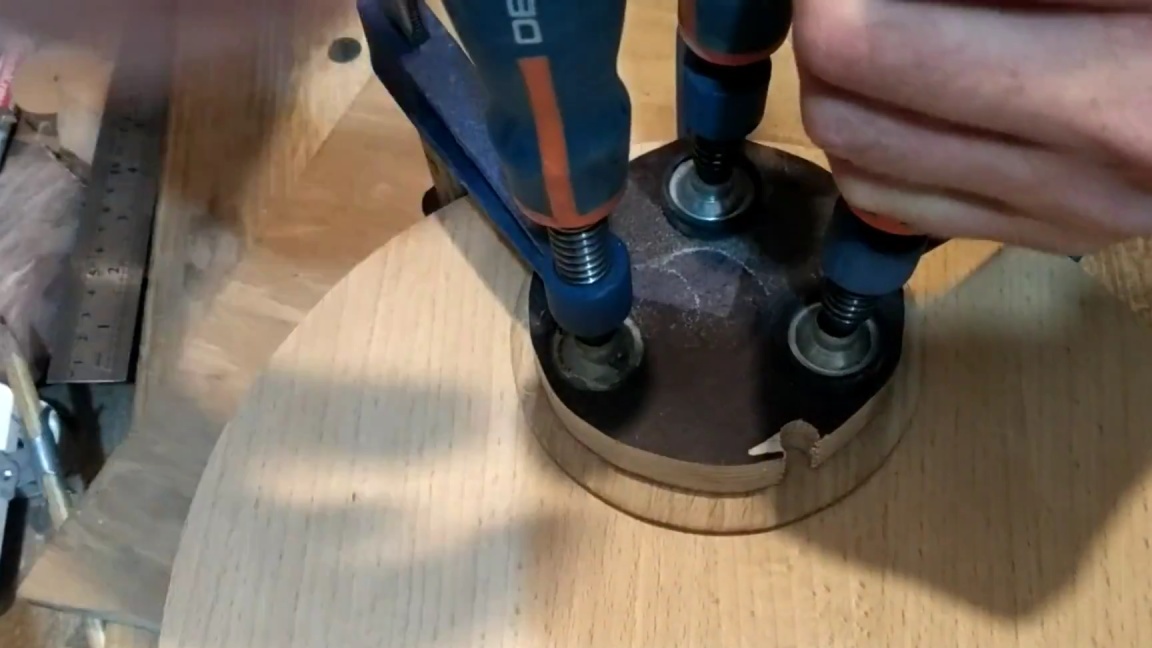
Grind the surface with a grinder and glue a circle with a smaller diameter on top of the thin oak plank.

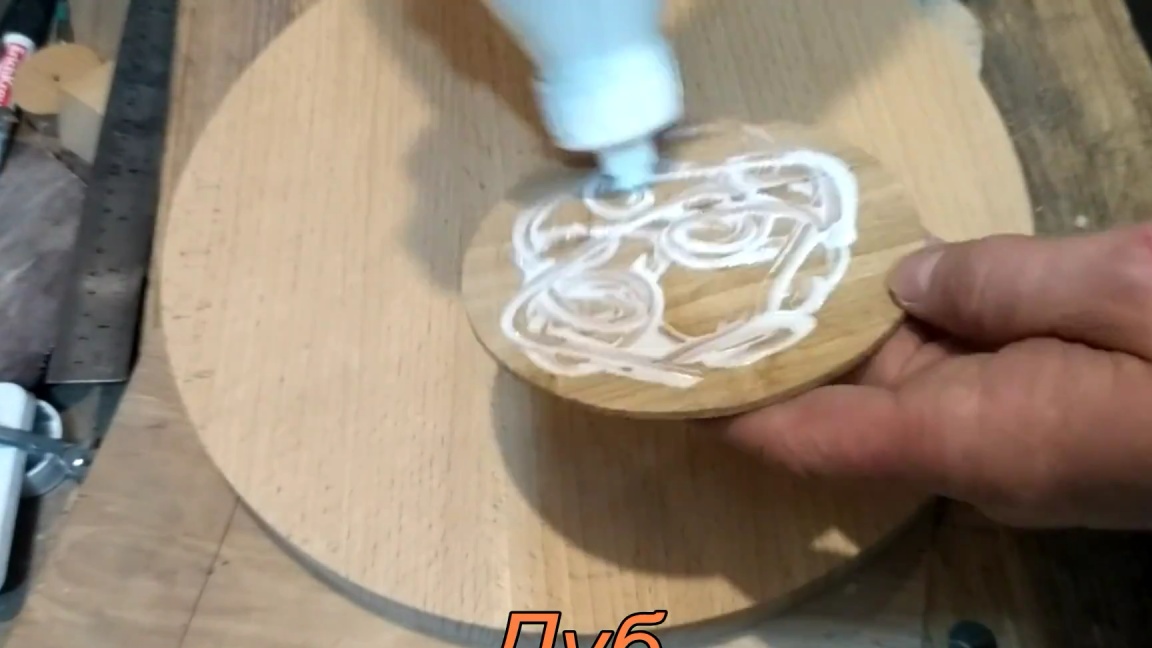
For strong bonding, we will use clamps, and preferably three at once.
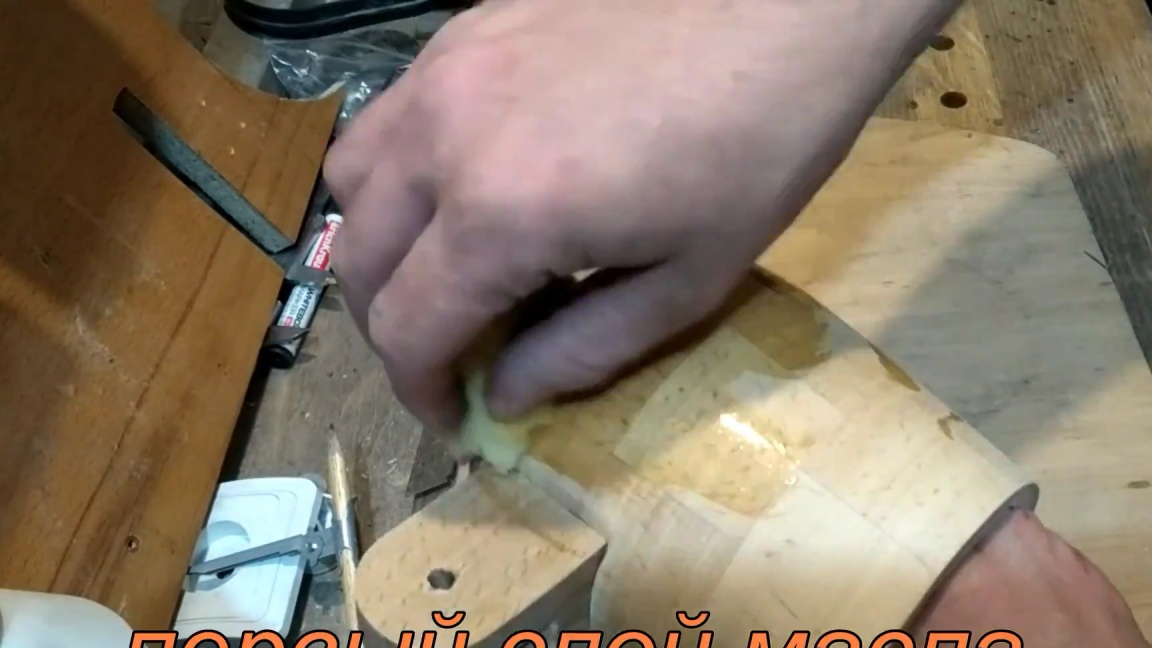
In the meantime, the glue dries, you can apply the first layer of oil on the head of the lamp.
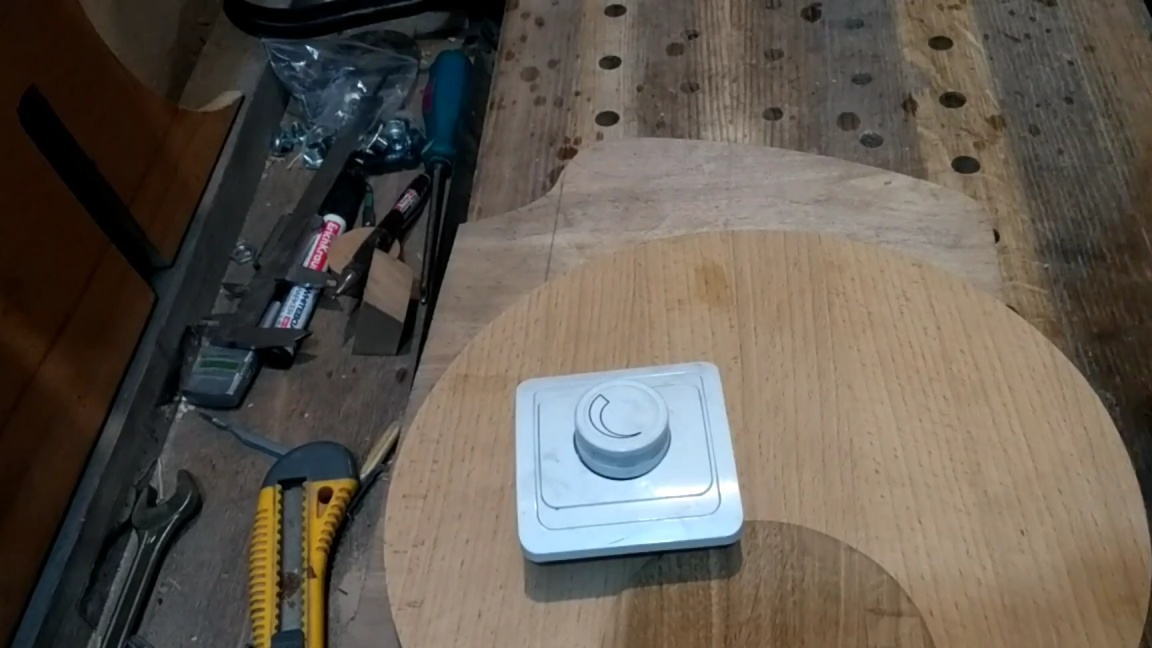
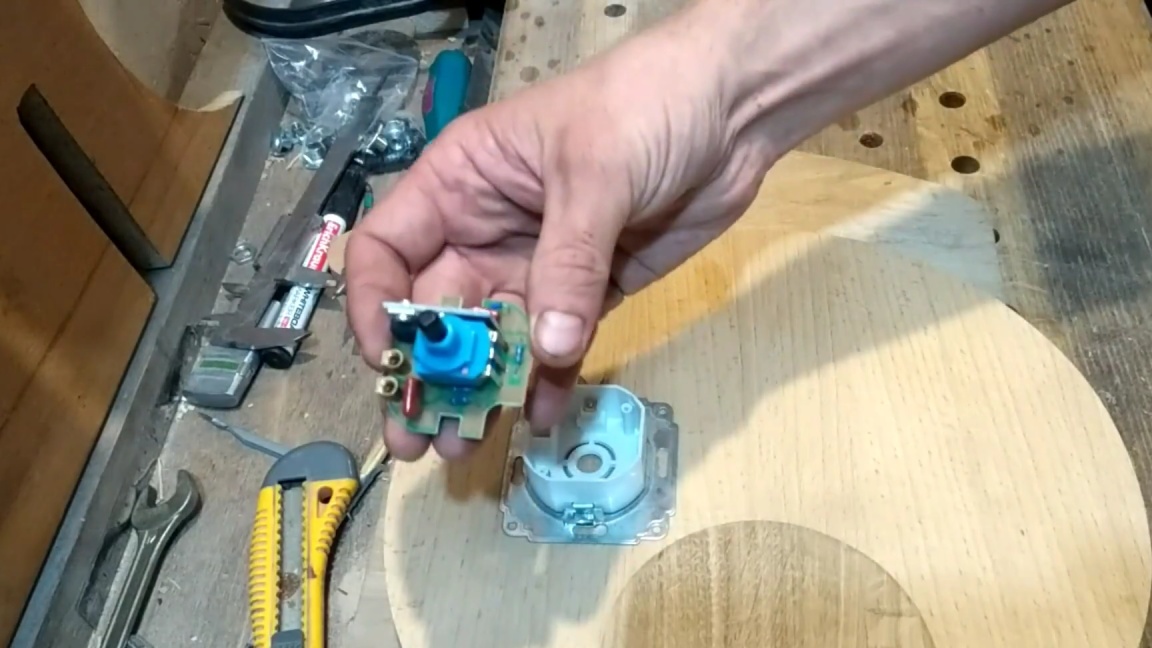
Step Nine.
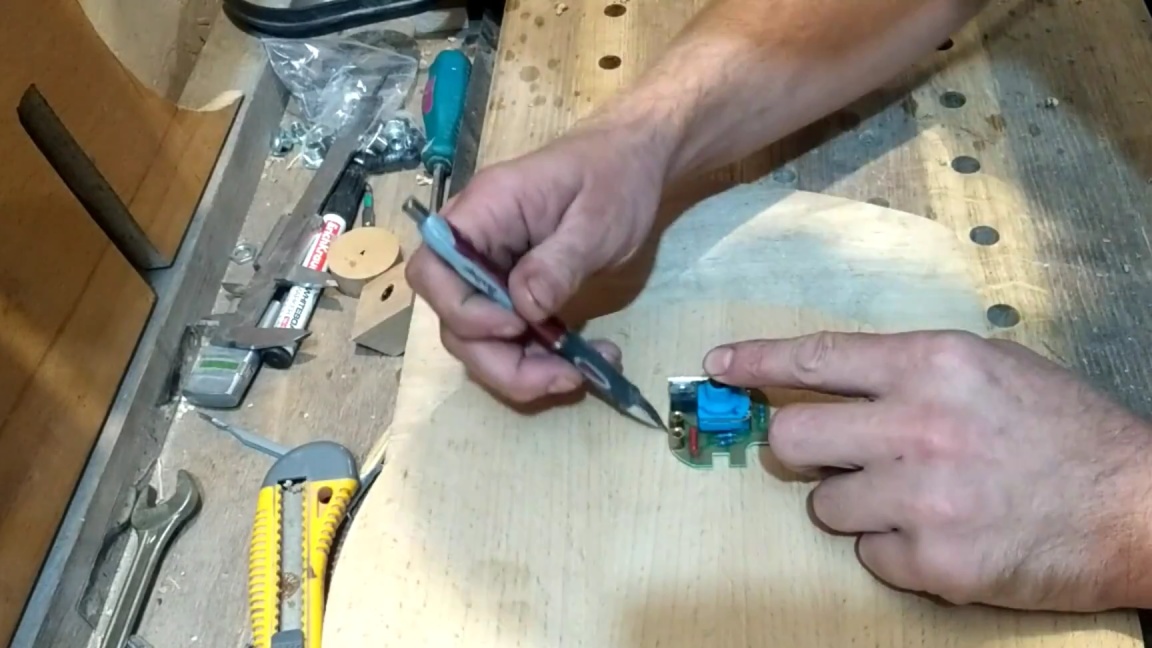
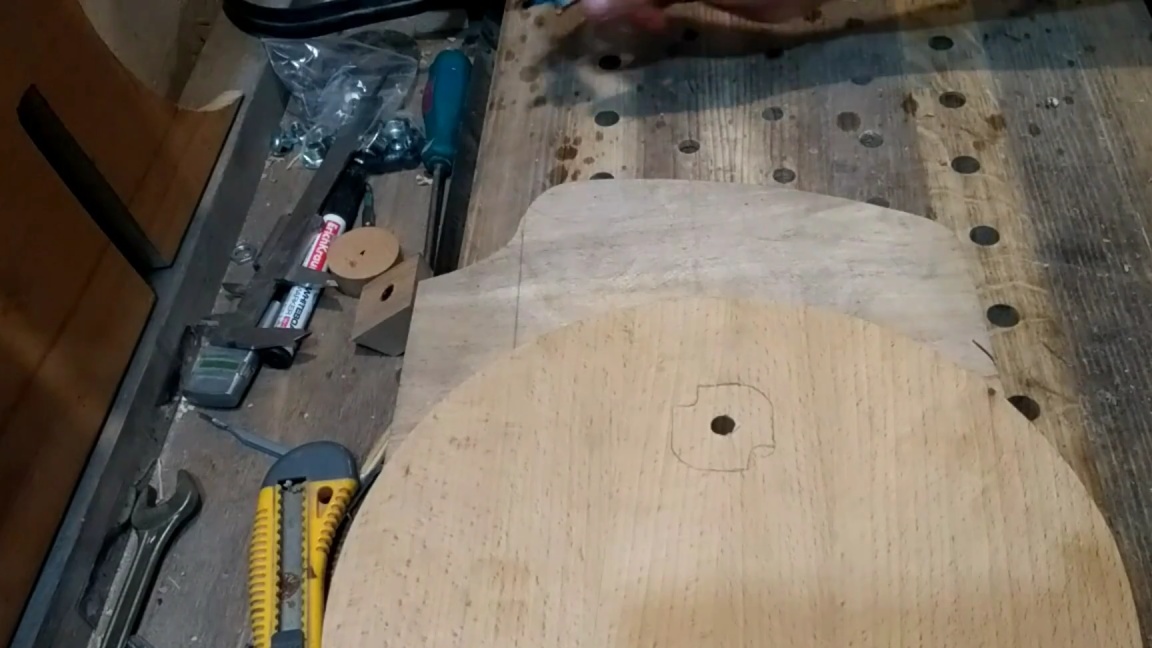
The glue has dried, the oak circle has stuck, which means we proceed to the installation of the dimmer. We disassemble its case, we will need the vodka itself, drill a hole in the oak mug and mark the dimensions of the board on the reverse side, after which we remove the excess material with the hand milling cutter to fit the dimmer inside.
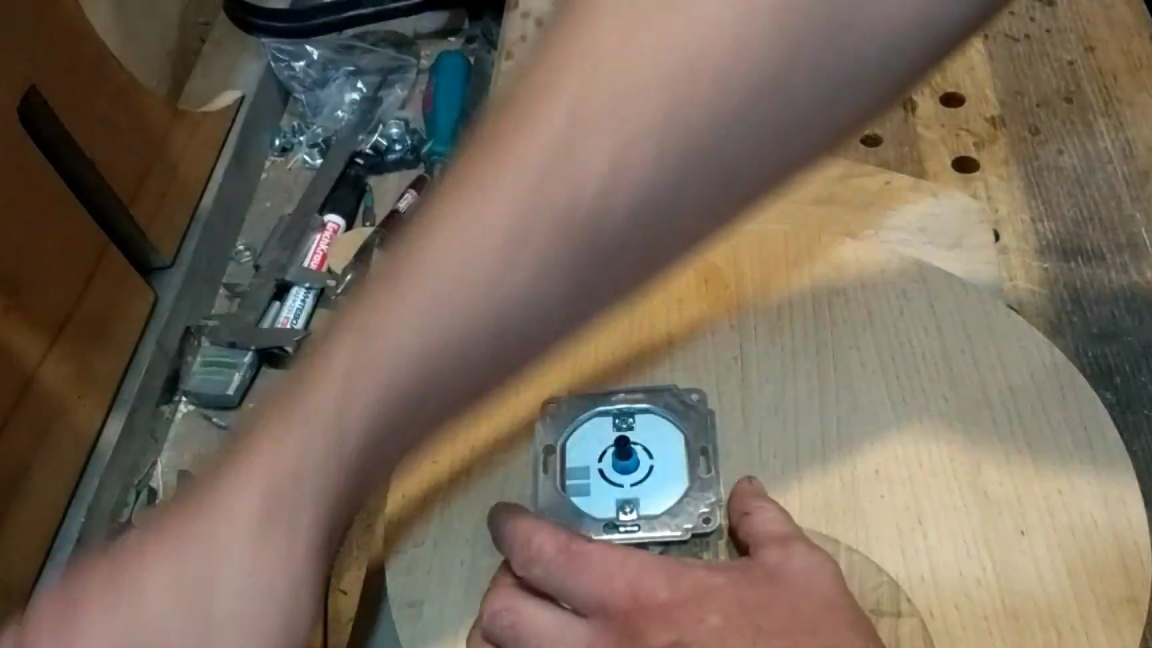

We fix with a nut on top, having previously placed a washer and do not forget to install our previously made adjustment wheel.
Next, we install with the help of self-tapping screws and glue the fastening of the lamp legs and assemble the structure with round clamps with glued thread.
Step Ten
We collect all the electrics, install the base in the head of the lamp and, at the end, apply the finish layer of oil for furniture on the finished product.

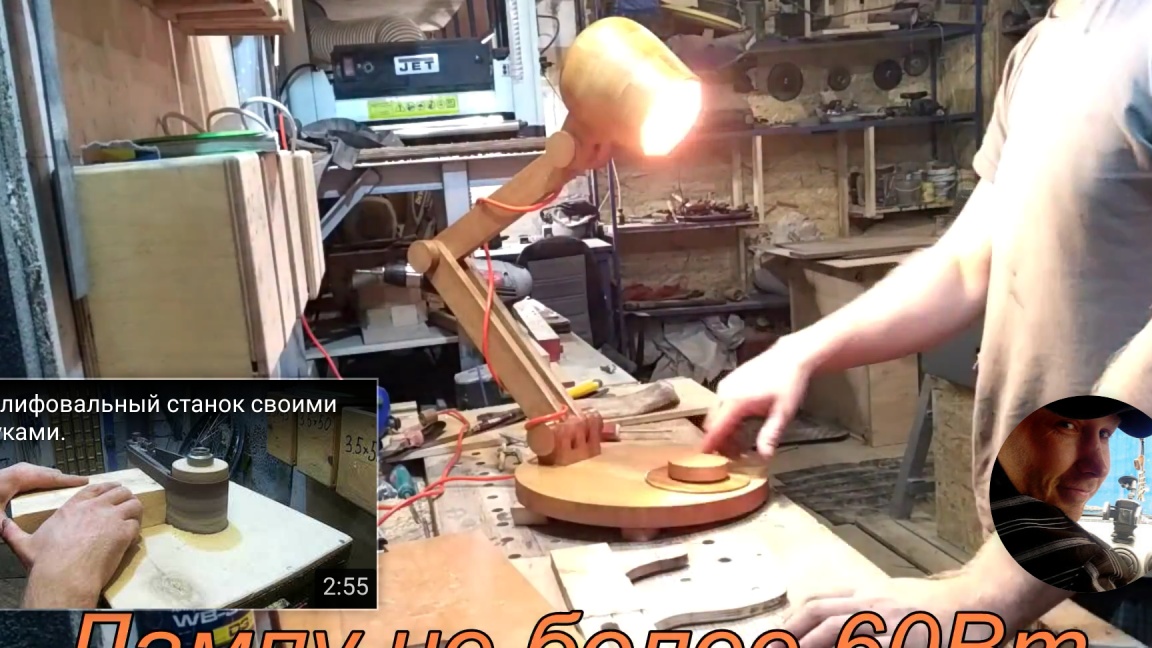
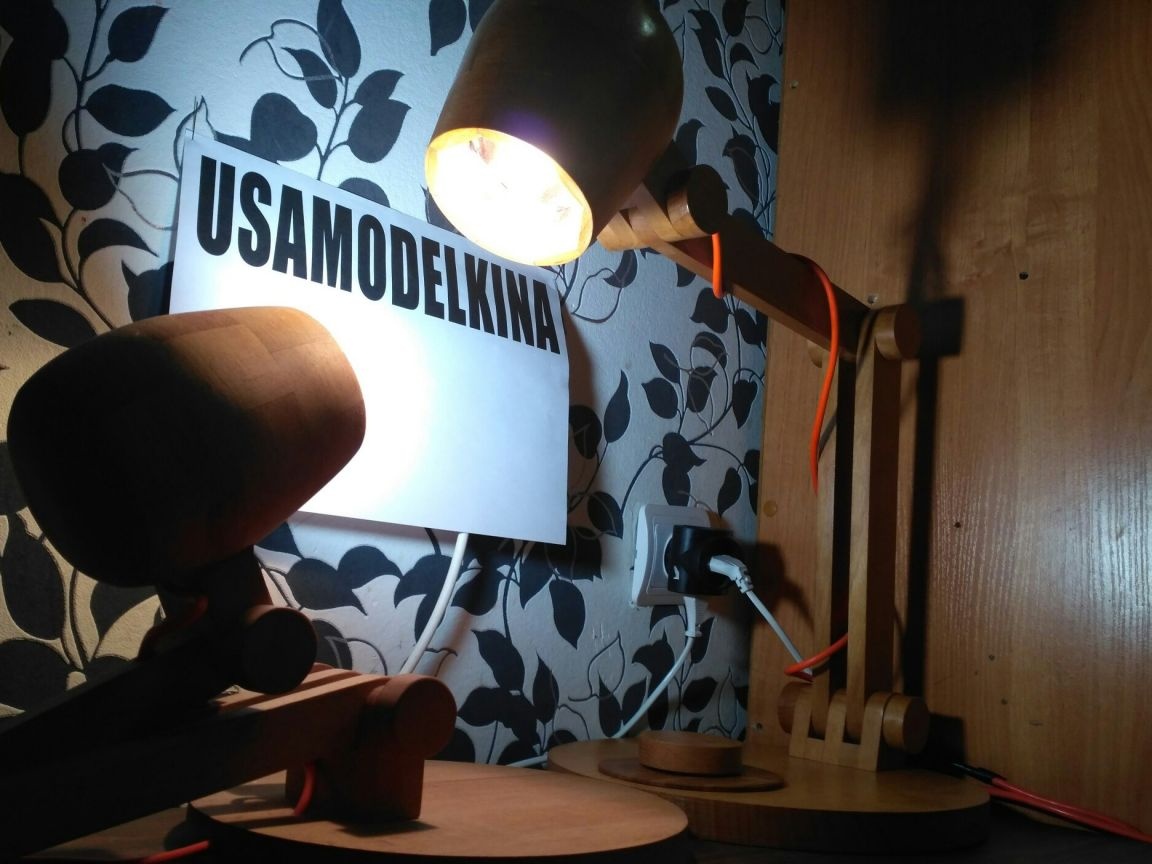
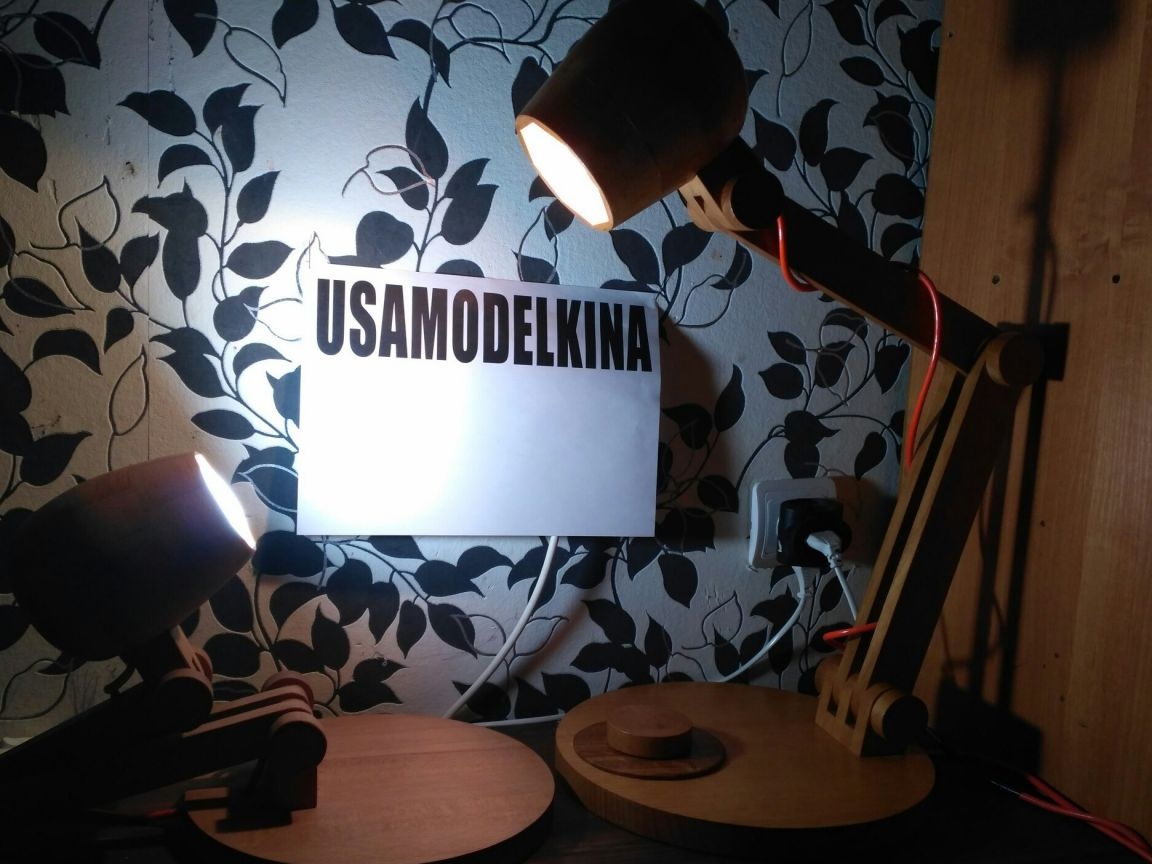
That's all for me, the lamp turned out to be quite original, its appearance will decorate your interior, and the guests will ask you: “where did you get such a lamp from?”, To which you will be proud to answer: “I made it myself.”
Thank you all for your attention and creative ideas.