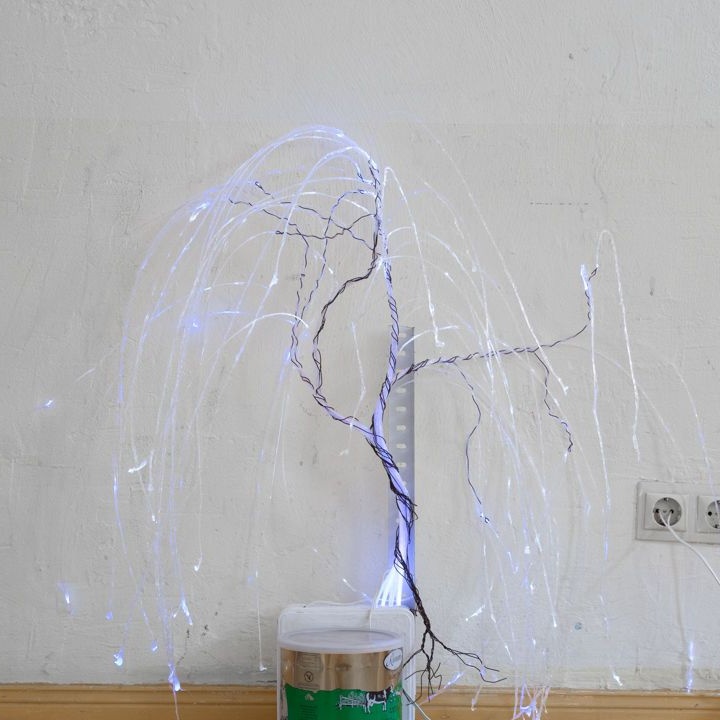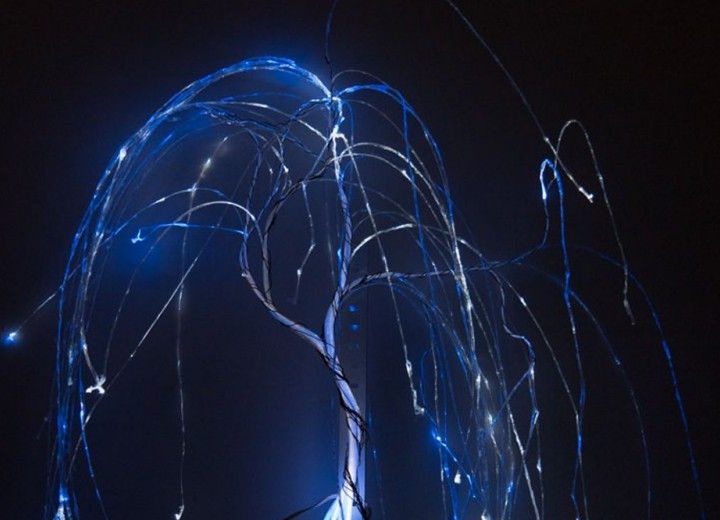
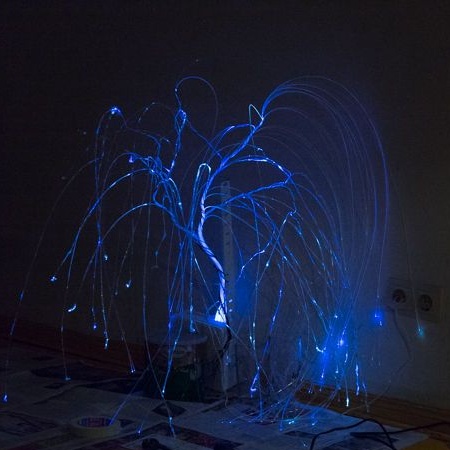
This time we will deal with such an interesting material as optical fiber. Thanks to him, it became possible to instantly transmit information over vast distances, because nothing can move faster than light. But besides this, this material is capable of transmitting a light source well, and it is this effect that we need to create homemade. And we will do an unusual lamp in the form of a weeping willow.
Since the author of this article first works with this material, he is the majority electronic I bought the parts already in the finished state. This includes fiber, the light source, which became the LEDs, as well as control components. In the future we will probably learn how to make a fiber optic chandelier from scratch.
The home-made is going, according to the author, one or two days, but this is taking into account the fact that all materials have already been found. And of course, the assembly time will greatly depend on the complexity of the entire structure. Special skills with tools are not required here. Design you can come up with your own, repeating everything exactly is not necessary.
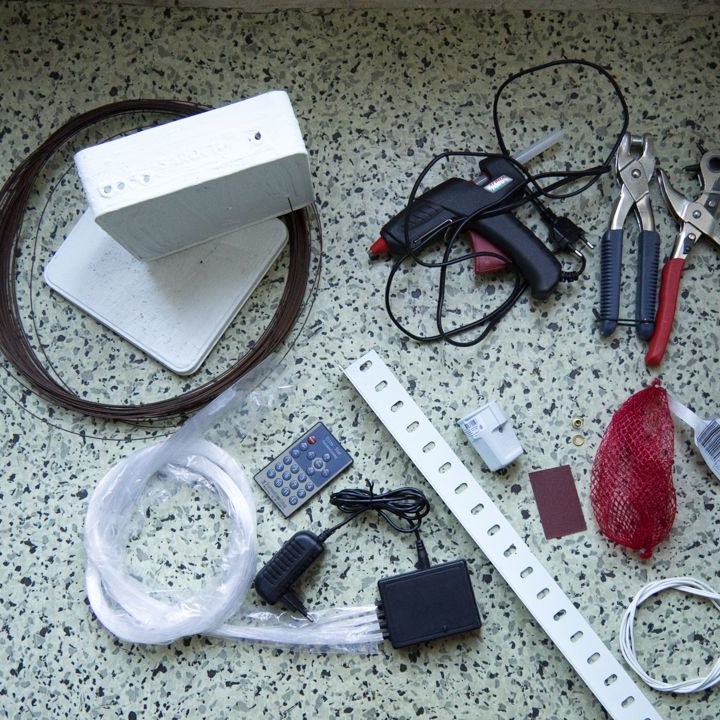
Materials and tools for the manufacture of the lamp:
- fiber optic blank “starry sky” (the author used a 1B LED, but it was too small to create a lamp, it works more like a backlight, so it’s better to choose which is more powerful);
- a box for the manufacture of the lamp housing (you can search from under the products. It is best that the housing is fireproof and it is convenient to work with it);
- glue gun (the author took 3 glue sticks);
- a rail for creating an axis (it will hold the barrel in a vertical position and with the help of it the lamp will be attached to the wall);
- steel wire to create the trunk (the author chose a steel rusty wire, its color without painting is very similar to the color of wood. The diameter of the wire is 1 mm, this is enough to hold the desired shape);
- electrical components (cable, plug and preferably a switch);
- a piece of sandpaper (with it you will need to strip the fiber in some places to get the effect of color dispersion);
- screwdrivers, clothespins, pliers, a knife, scissors and other tools that everyone will find without problems at home;
- drill, screws, dowels and other tools for mounting the lamp on the wall;
- if you want to make a place for storing the remote control, as the author did, then you need a food net, a piece of rope 20 cm long, a riveter, a hole punch, and also a grommet.
The manufacturing process of the lamp:
Step one. We prepare the housing for the lamp
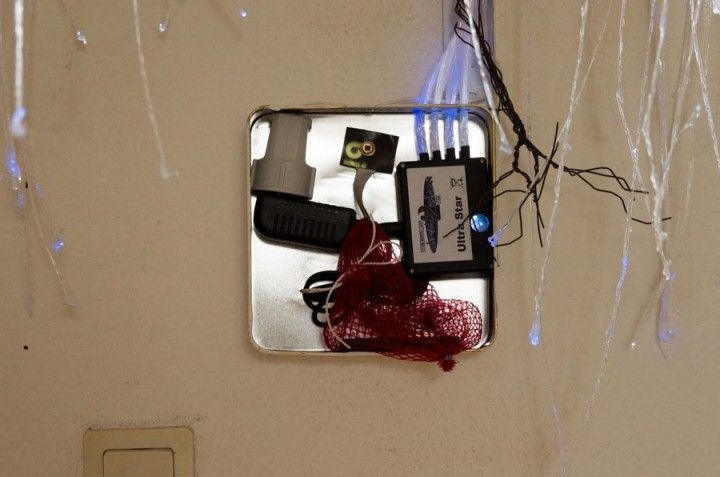
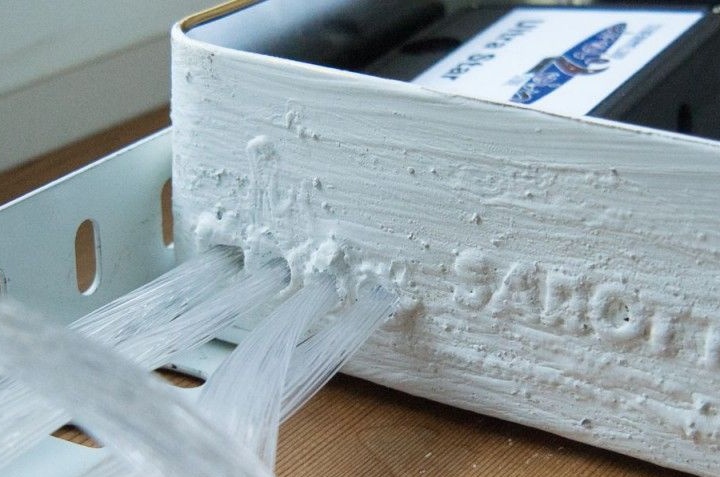
The entire filling is installed in the lamp housing. It will need to drill three types of holes. One hole is needed to connect the power cable. Other holes or a hole is needed to output the optical fiber. It is important that the holes do not scratch the fiber, since in this place it will begin to scatter light, and the lamp will not work as it should. To hide the sharp edges, the author processed them with hot glue. The fiber we have comes in four beams, so there should be four holes.
Well, also in the case you will need to make a hole for attaching the lamp to the wall.

If necessary, the body can be painted. The author paints it in the same color as his wall in order to mask the body.
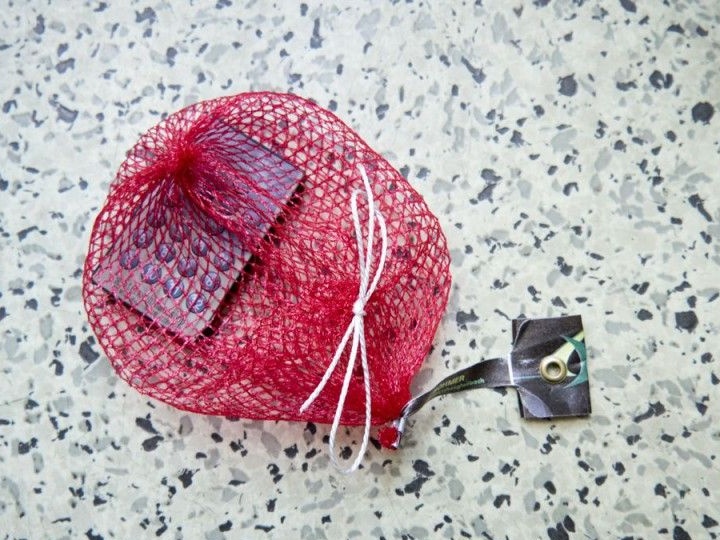
Step Two Making a remote control bag (optional)
If you do not want to constantly look for a remote control from a lamp about a house, you can make such a thing for it. From a food net you need to make a bag and put the remote there. To fix this thing, the author needed a bow label, he folded it in half and made a hole with a hole punch. Further, a grommet was installed there with the help of a riveter.
Step Three We connect electronic components
If necessary, a switch can be installed on the lamp housing, and more simply, this can be done on the supply wire. The author did not need to do this, since his switch is located on the wall. The author had a wire from the lamp without a plug, so he had to install it. Never plug wires directly into a wall outlet without a plug; this is dangerous for you and those around you.
It is very important to take care of safety if the case is made of metal. Everything should be well insulated here to avoid short circuiting or breaking current to the case.
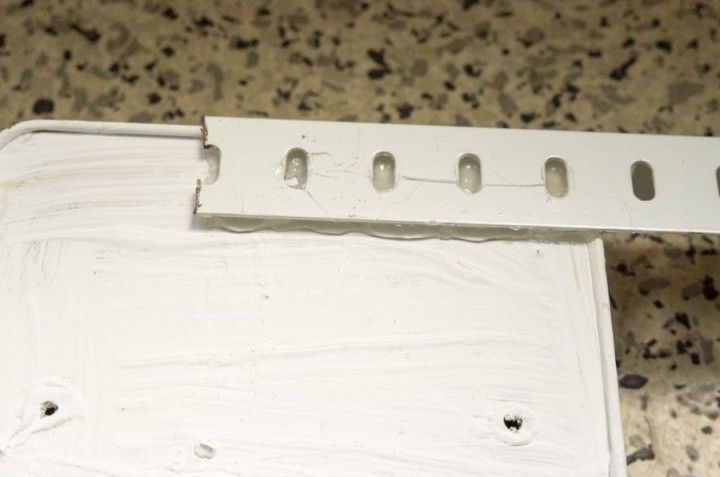
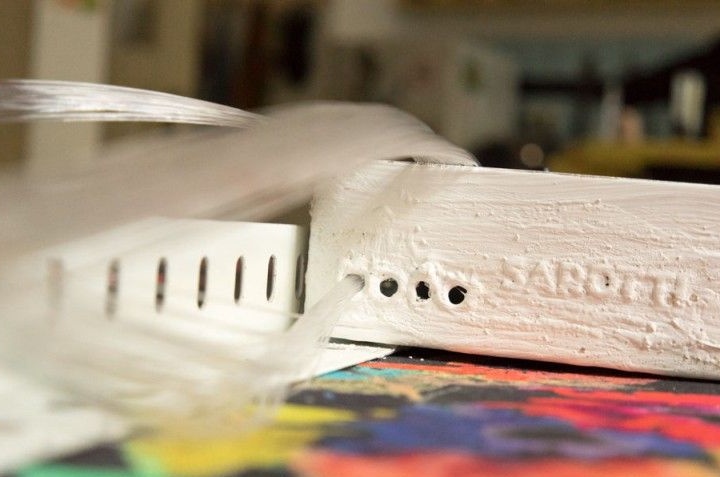
Step Four We fasten the rail to the body
To prevent the lamp from breaking when moving, the author secured a rail to his body with hot glue.
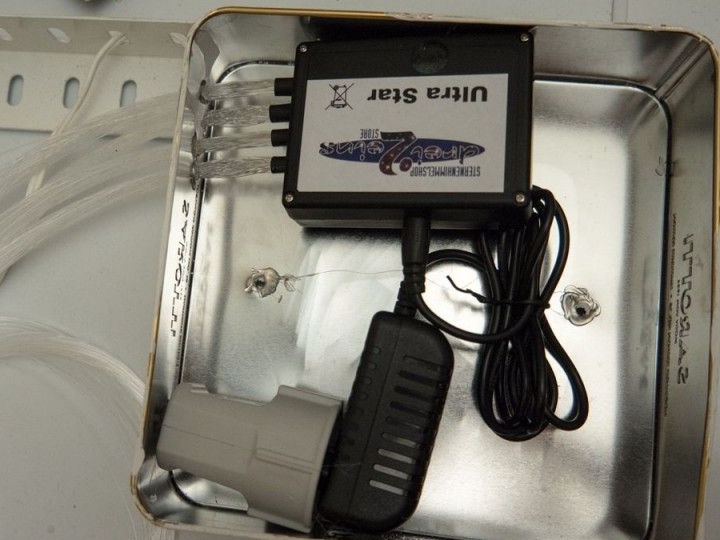
Step Five Install the filling and remove the fiber from the housing
First of all, you need to decide how to place all the necessary electronics in the case. After that, through the drilled holes, it will be possible to output bundles of optical fiber. They will subsequently need to be fixed with hot glue. So that launches can be conveniently passed through small holes, you can make small funnels from paper, as the author did.
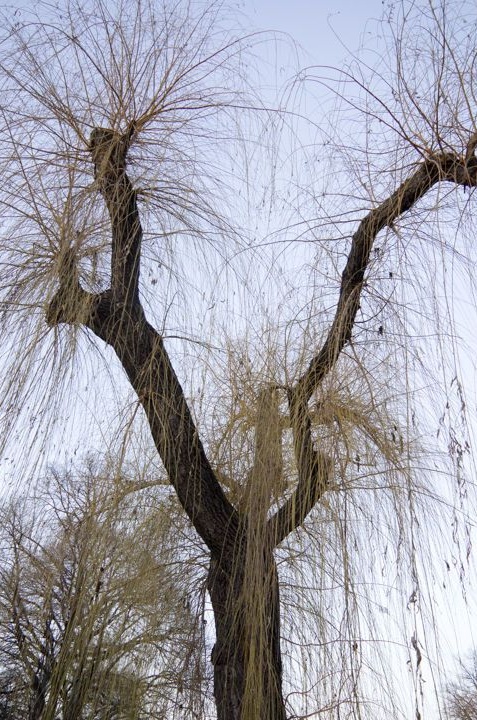
Step Six We willow in detail
To understand exactly what willows should have, it is highly recommended that you study a couple of real trees.


Seventh step. Prepare the wire
You will need wire for the manufacture of the trunk, as well as the branches of the tree. The author basically chose a rusty wire to imitate the color of wood. First you need to determine the height of the tree and the size of the branches, well, then cut the desired number of pieces, it all depends on the diameter of the wire. The author went to the trunk 10 pieces of 1 meter. If you need other sizes, just cut the wire, adding another 20% to the length.

It is important to understand that the branches weigh quite a lot to bend the wire. So if you decide to make not a willow, but another tree, then you will need to make the branches stronger.
A bundle of wire will need to be twisted below to form a root. Another piece needs to be let through or around the rail to secure the barrel.
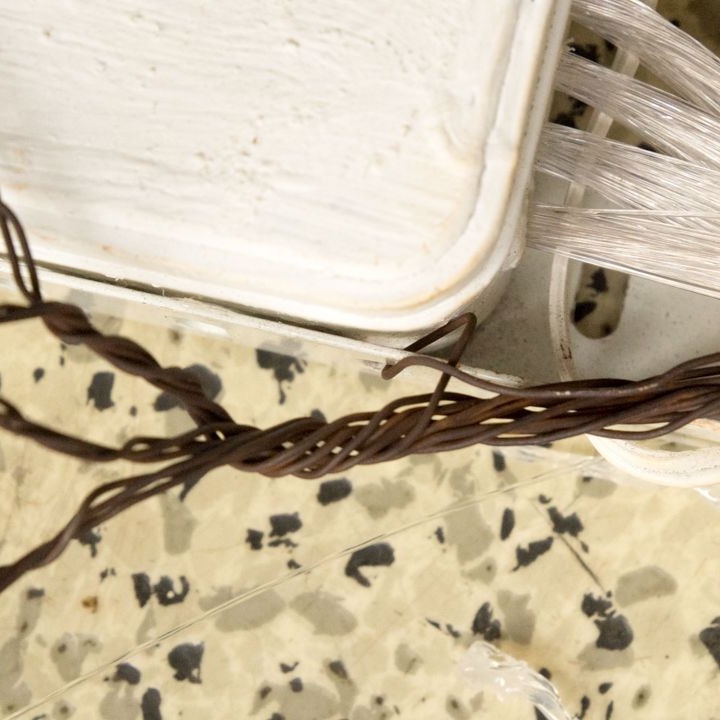
Step Eight. Weave trunk and trees
To form the trunk, you need to twist the optical fiber and wire. First, the optical fiber is twisted, and then it is wrapped with wire on top.In some places, the wire will also need to be wrapped around the rail to fix the trunk. To give the trunk a natural shape, it needs to give a bend, like a real tree.
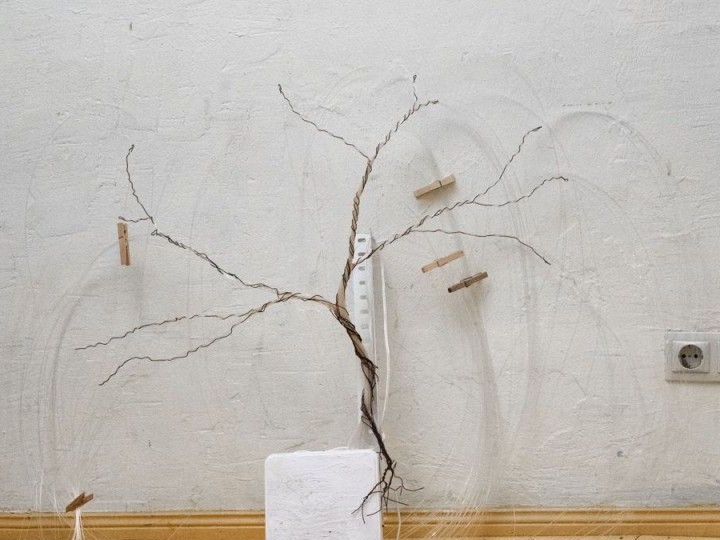
In places where the optical fiber is attached to something, care must be taken that the material is not too tightly clamped, since in this case the optical fiber begins to emit light, a similar case is damage to the material. If you want to make sure that you are doing everything correctly, you can turn on the lamp and make further assembly. It is necessary to ensure that the trunk does not glow.
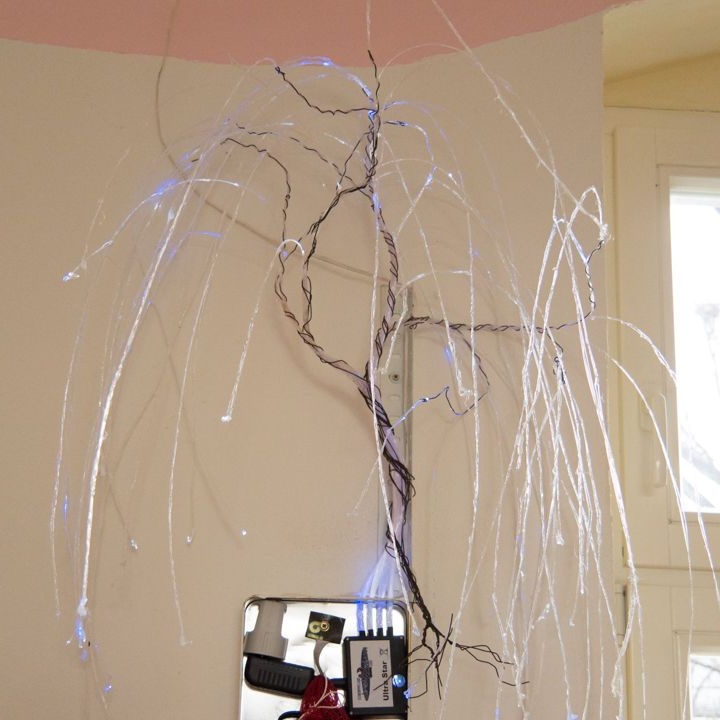
As for the appearance, it is here that everyone decides for himself. The author hung 3-4 fibers from each branch. On the metal edges of the branches, you need to form rings, so as not to damage the homemade product, if someone hooks on it.
Step Nine. Final completion of the tree
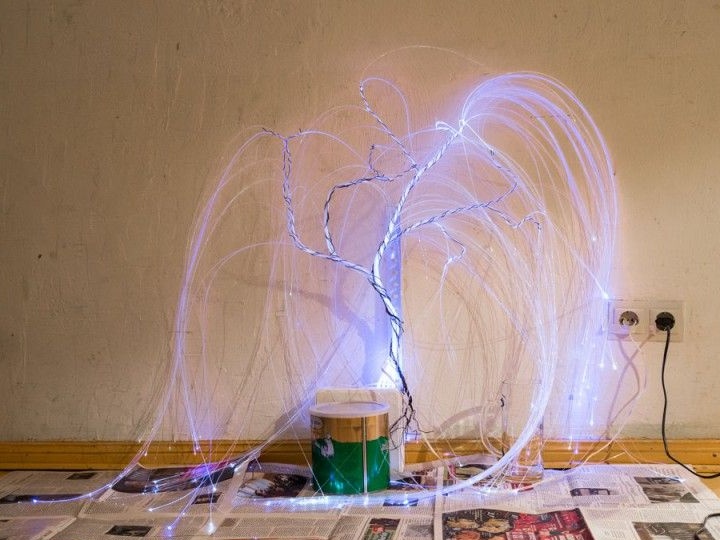
In principle, if you already arrange a tree after switching on, it can already be mounted on the wall. But to give a more organic appearance, it can be modified. Here you will need hot glue and sandpaper. If you want the fiber to emit light in some places, clean it mono with sandpaper. So you can select the branches, simulate the bark on the trunk and so on.
If you want to form luminous drops on the branches, that is, willow tears, hot glue will come to your aid. Drops will need to be applied to the ends of the branches. Besides the fact that the glue scatters the light, it also works as a weight, which pulls the branch down, like a real willow.
If some parts of the branches are too long, they can be cut off beforehand.
To fix the homemade product on the wall, you need to outline the places for the holes and then drill. Well, then the lamp is attached with dowels and screws. At the end, the branches can be bent so that they do not interfere and imitate a real tree.
If desired, the bag with the remote control can be hung on the same screw that secures the lamp to the wall.