

Preparatory stage
The whole process was not filmed and it took more than one month. To make warm water floors did not work faster due to the presence of the main work. Well, there were other moments that dragged on time, they will be discussed later.
The first thing that was done was tearing down old wooden floors and partial removal of soil, which filled the space under the floor (this was done in order to increase the height of the ceilings).
Due to the fact that there was no vibratory rammer, soil compaction was carried out by ordinary soil washing with water. This process took more than one day, since the pressure jet is not strong, but it was necessary to process 60 m2.
After compaction, the floor was covered with sand, and then spilled again with water. Sand was made and equalization of the horizontal surface of the floor.
At this, the main preparatory phase was completed.
Procurement of materials
A special pipe made of cross-linked polyethylene for hot water supply was purchased for laying water floor heating. It was ordered via the Internet by the bay (as it turned out to be half cheaper).
• resistance to high temperatures (to 120aboutFROM);
• crack resistance;
• extraordinary shape stability (without applying a load, the material does not deform up to 200aboutFROM);
• impact resistance;
• high resistance to chemical reagents;
• potential pipe life of more than 50 years at a constant temperature of 70aboutFROM;
• corrosion resistance and more.
For pipe fasteners, there are special fasteners - anchors. Some manufacturers, when buying a large batch (bay), enclose them as a gift. But I’m so unlucky.Therefore, an ordinary wire was used for fastening, which was cut into pieces.
In addition to pipes and fasteners, you will need:
1. The usual cheap oilcloth. You can buy a hydrobarrier, but it is more expensive.
2. Foam sheets (1mX1m). Their number will depend on the area of the house. A foam thickness of 2 cm will be enough.
3. Cement, sand, beacons, a concrete mixer, a trough for concrete mix and a pair of buckets.
Additionally, you can put a reflector, but in my case, it was decided to do without it.
Installation process
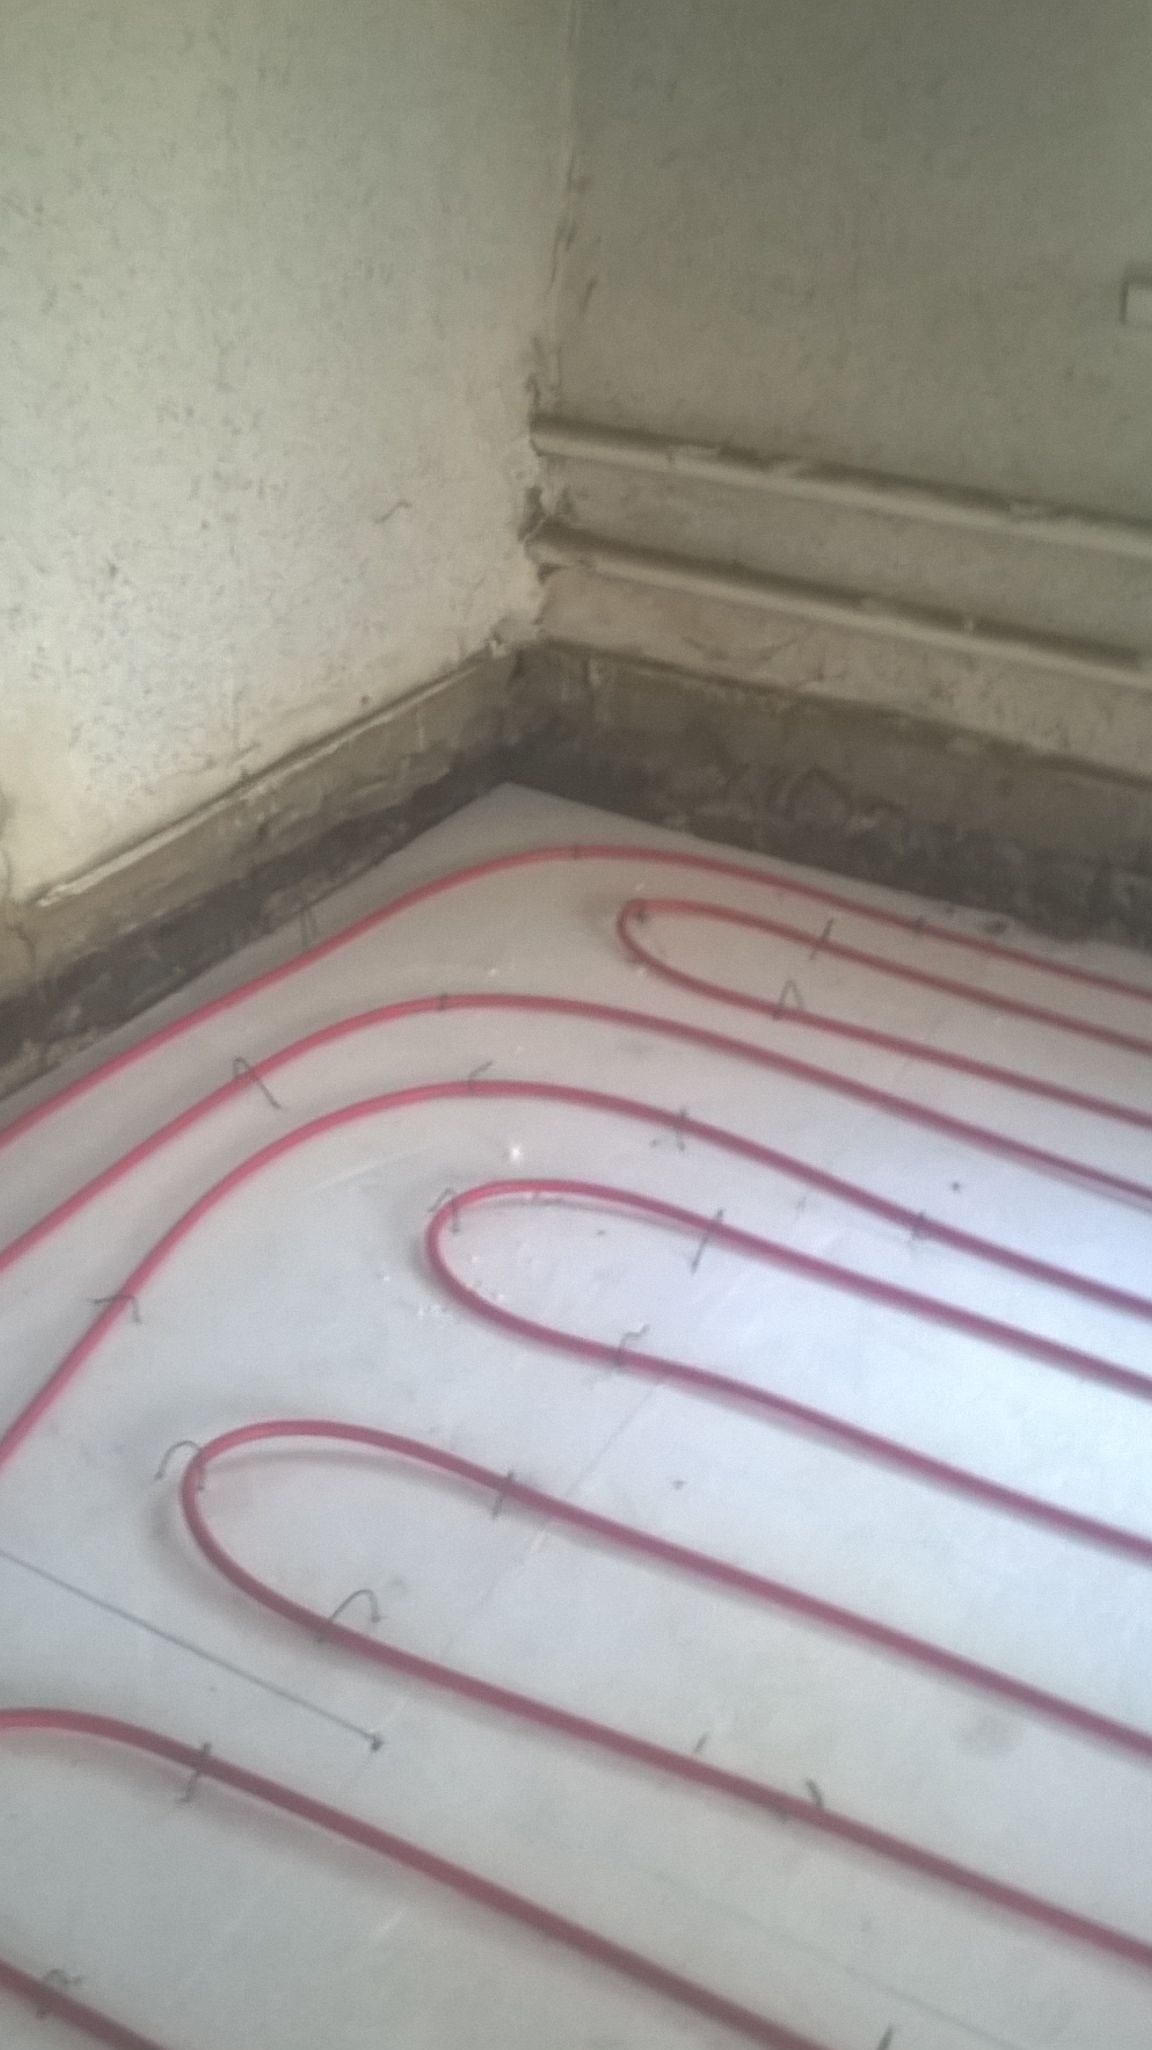
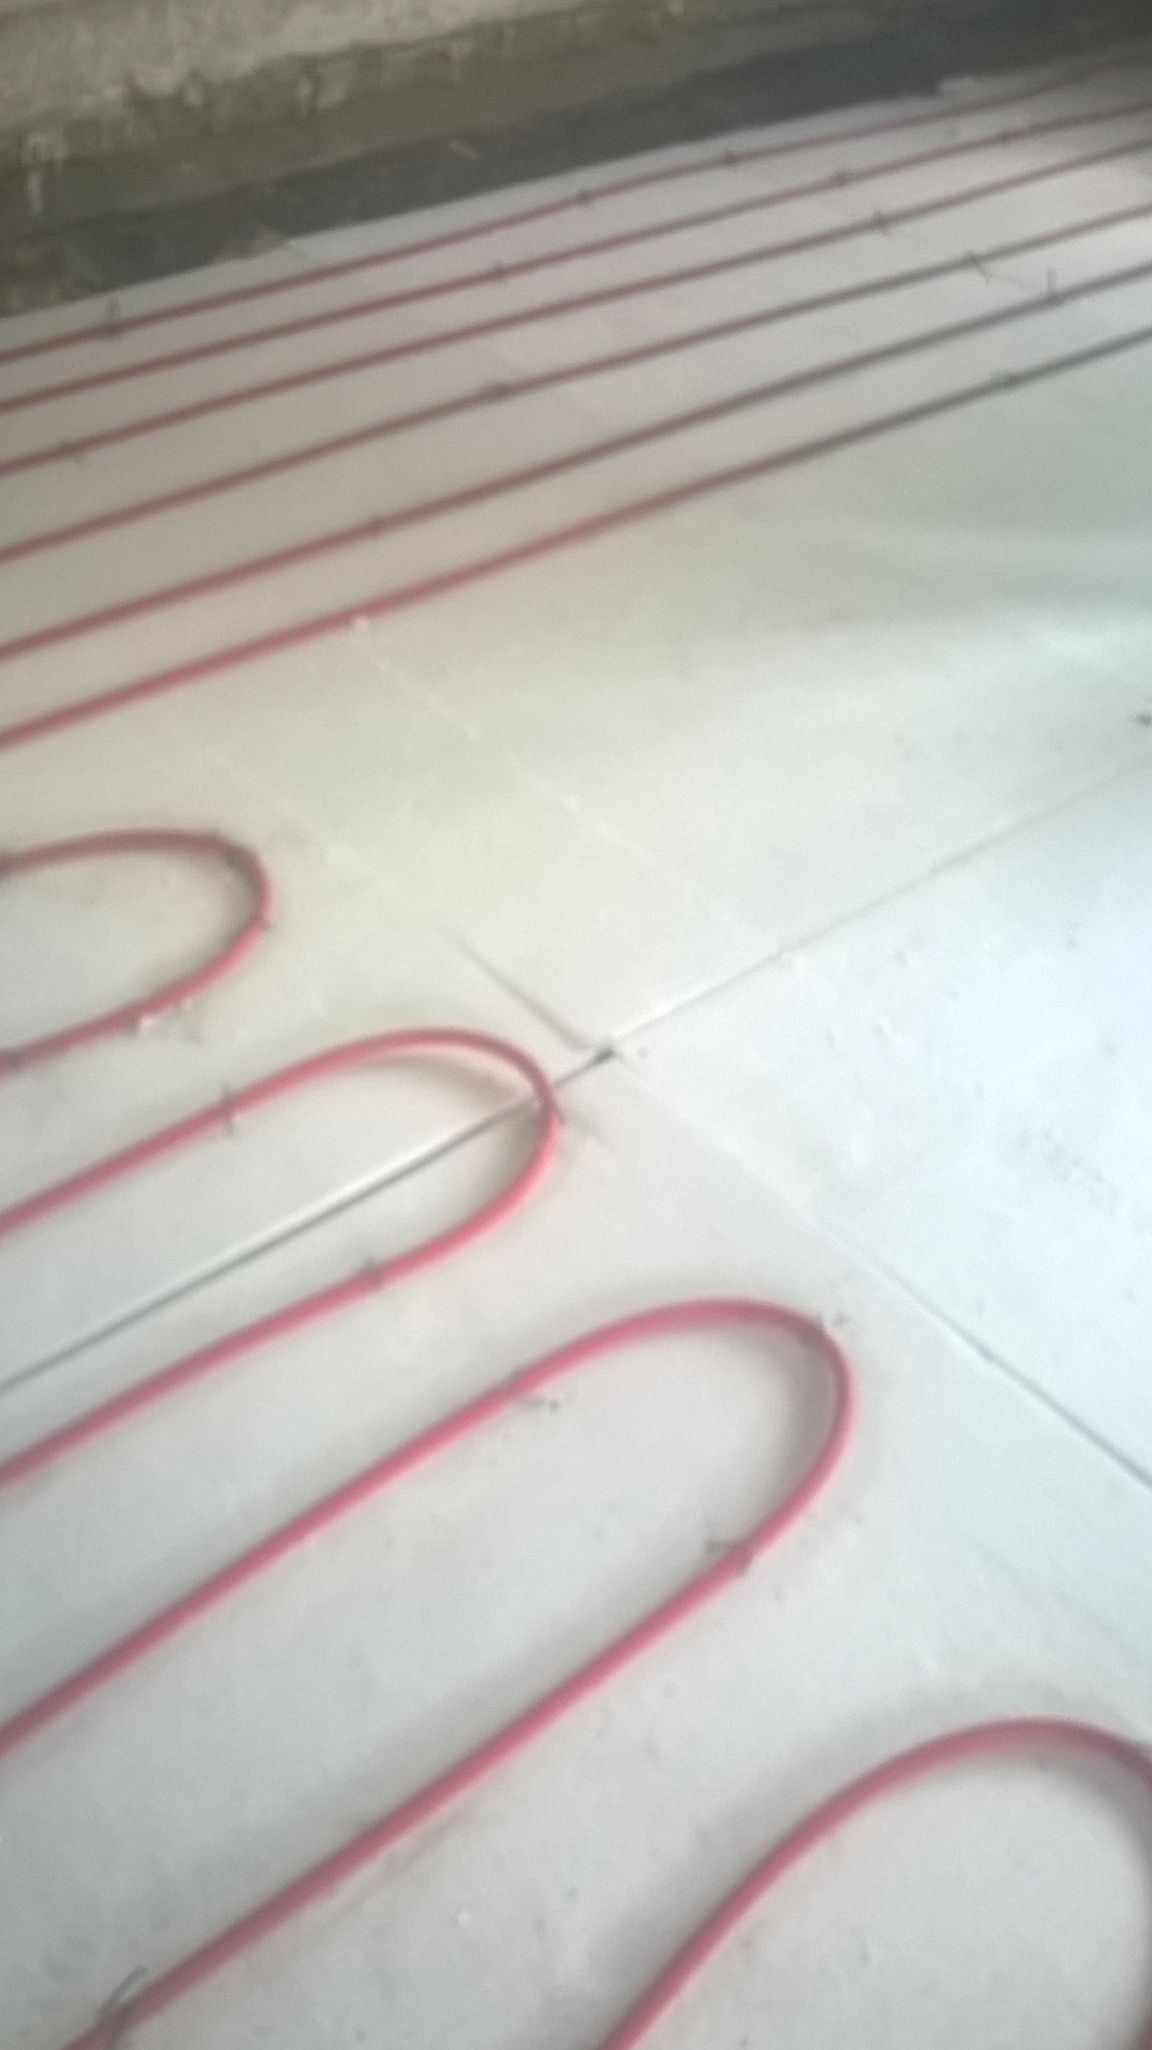
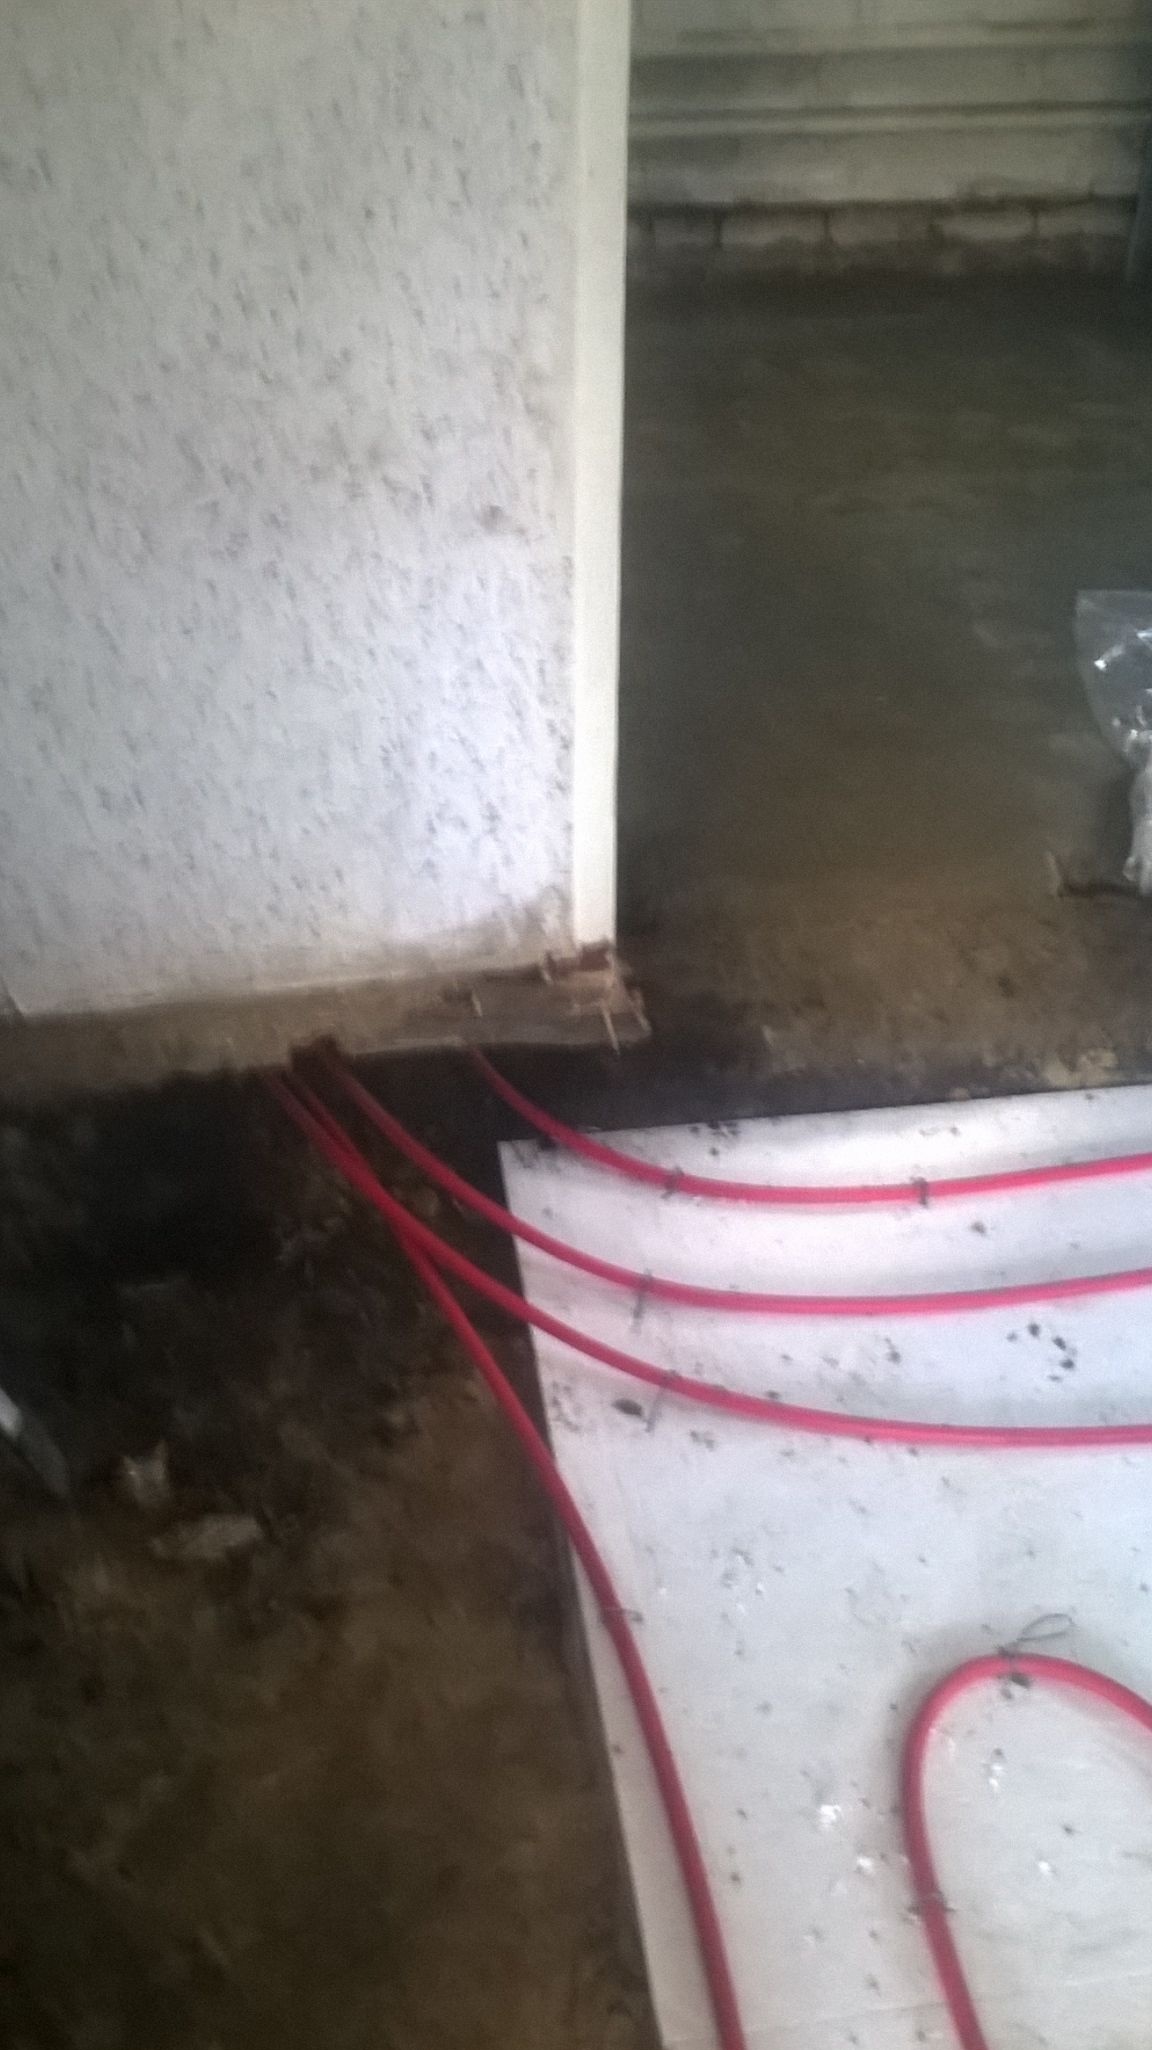
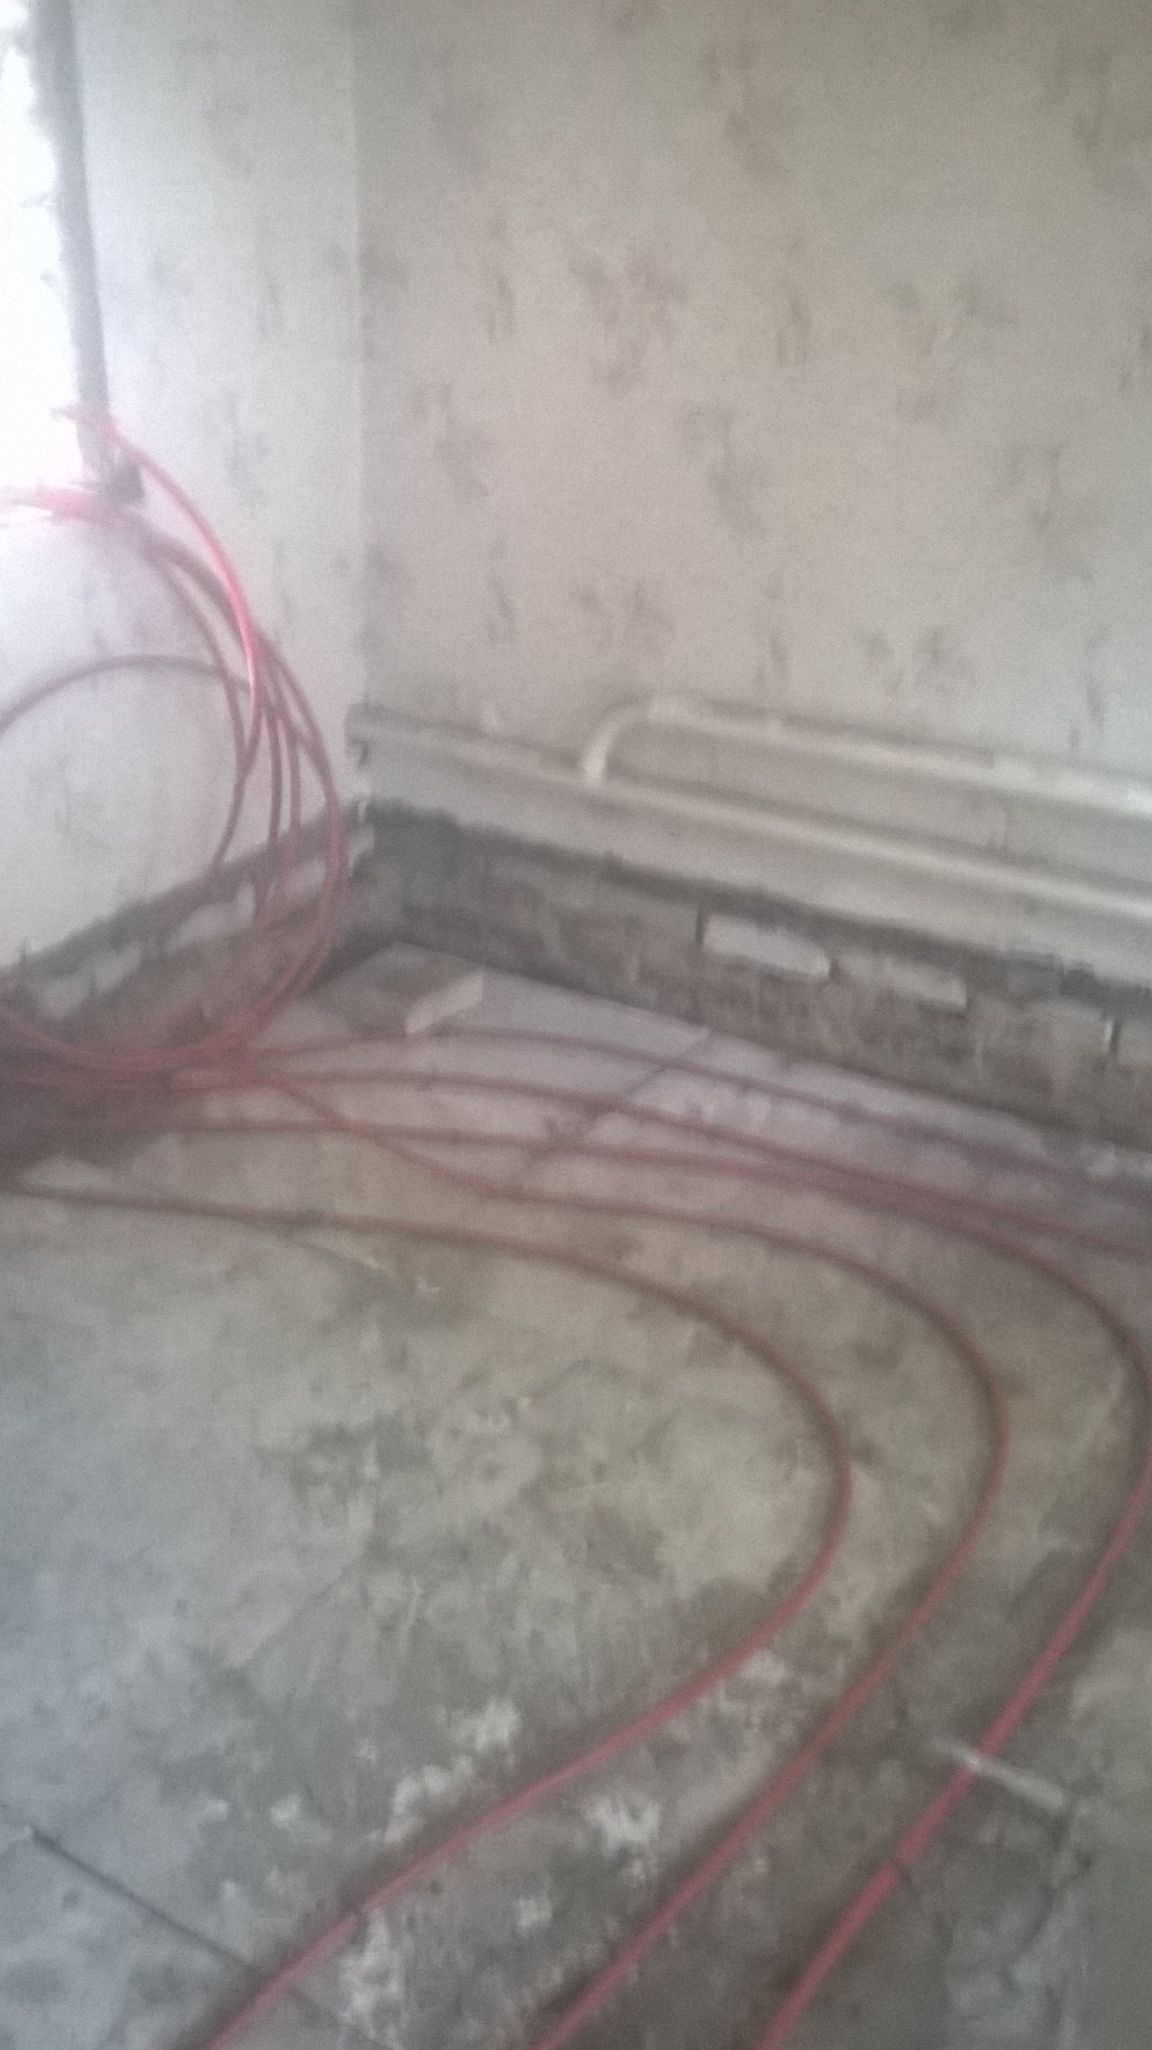
A hydrobarrier is placed on the prepared flat surface. Its edges should be wrapped on the wall a few centimeters. On top of the oilcloth we lay out the foam sheets. Next, we move on to the process of installing the pipe.
Initially, you should determine where the comb will be located (the place where the pipes connect to the common system). From this we will proceed. We leave the tail of the pipe with a margin and begin to lay the pipe. We begin to lay from the wall. Having learned from their mistakes (since at the previous place of residence there were first attempts to make a warm floor), it is recommended to make all branches of the warm floor pipe of the same length. This will allow in the future to evenly heat each room. The size of the room does not matter. If one room is large and the other is small, then 2 branches will need to be launched into the large one. If the second branch is large, then do not shorten, but continue to send in the next room.
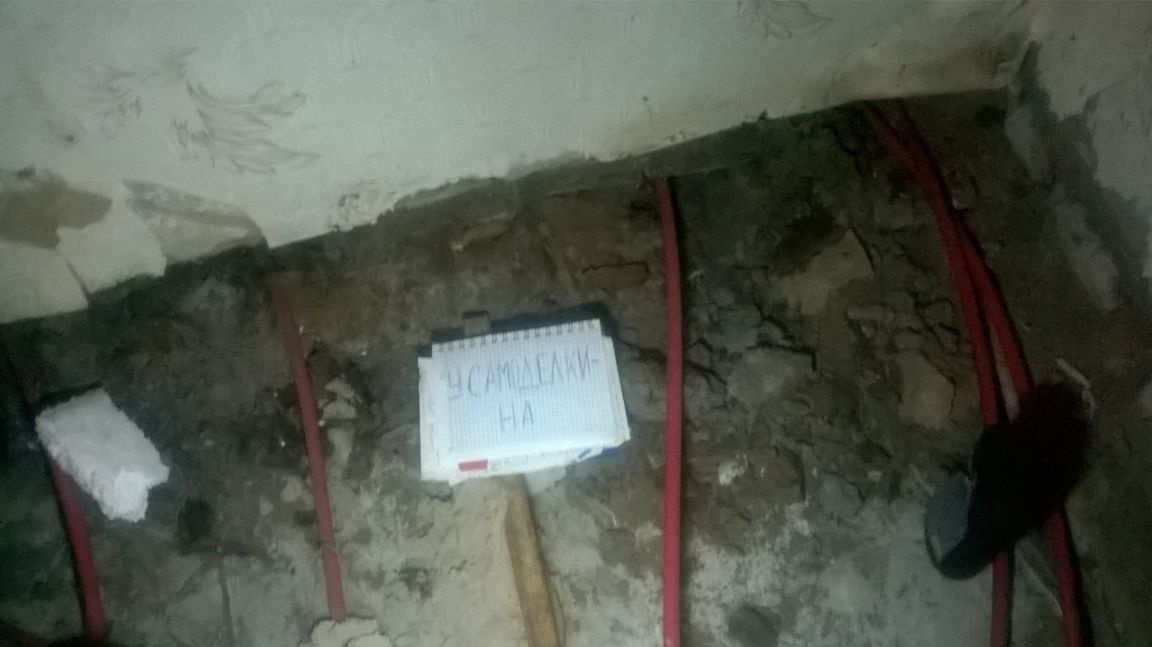
Despite the large number of examples on the Internet that describe how to lay pipes of a warm floor with a spiral, I did not. I lay the pipe with a snake. The distance between them made a little less than the foot (41 foot size). After several turns, we return the tail (return) to the place where in the future the comb is mounted. Another recommendation - after laying one branch, its edges (feed and return), wrap with duct tape and sign which room. The length of each branch of a warm pipe is 40-42 meters.
After installation, I proceed to pour the screed. Initially, I put out lighthouses so that the floor in the house was even. The solution was prepared as follows:
For 1 bucket of cement brand 400, 4 buckets of sand and water. The amount of water will depend on weather conditions and the storage location of the sand. If the sand is wet, then, accordingly, less water is needed. The consistency of the concrete mixture should be medium.
The thickness of the screed was 8 cm. For those who say a lot, I do not agree, also on the basis of previous experience. Yes, this thickness will warm up much longer than if you make a screed, for example, 2 cm. But after the whole system warms up, it will cool down much longer. Accordingly, the gas boiler will turn on less frequently. If the floors are completely heated, and then the heating is turned off, 8 cm of screed will cool for about a day. In severe frost, of course, everything will happen faster. With a concrete thickness of 2 cm, the floors cool down for a couple of hours.
After the screed was finished and dried, porcelain tiles were laid on the floor. This added a few more centimeters to the thickness of the floor.


And this is how the floor with tiles looks:

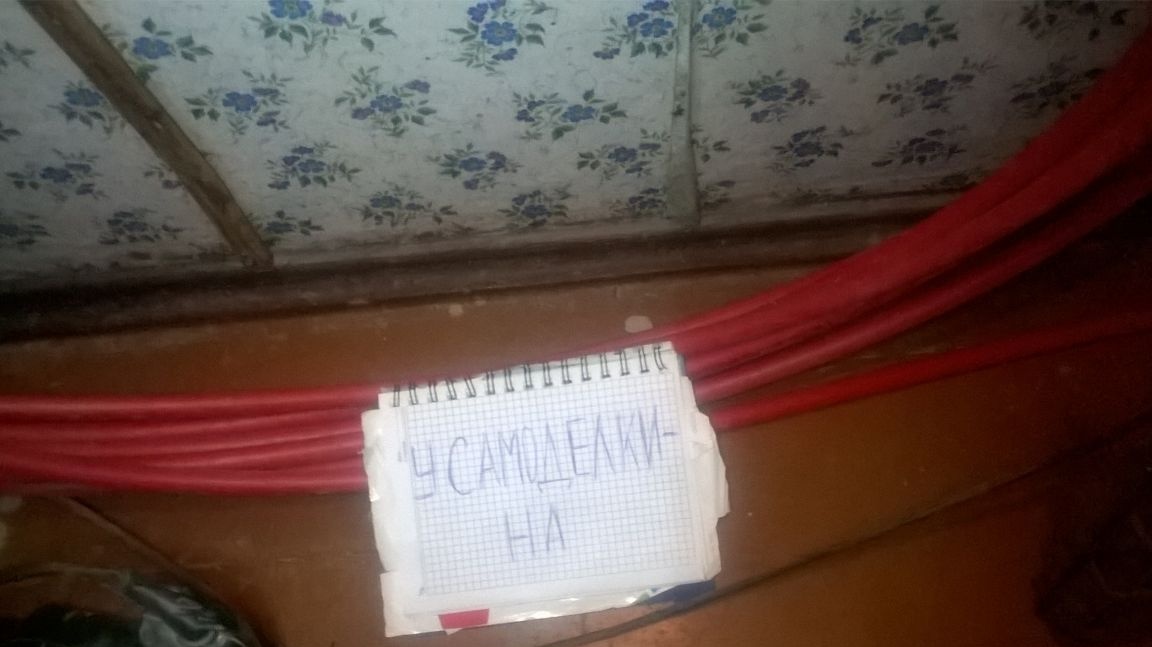
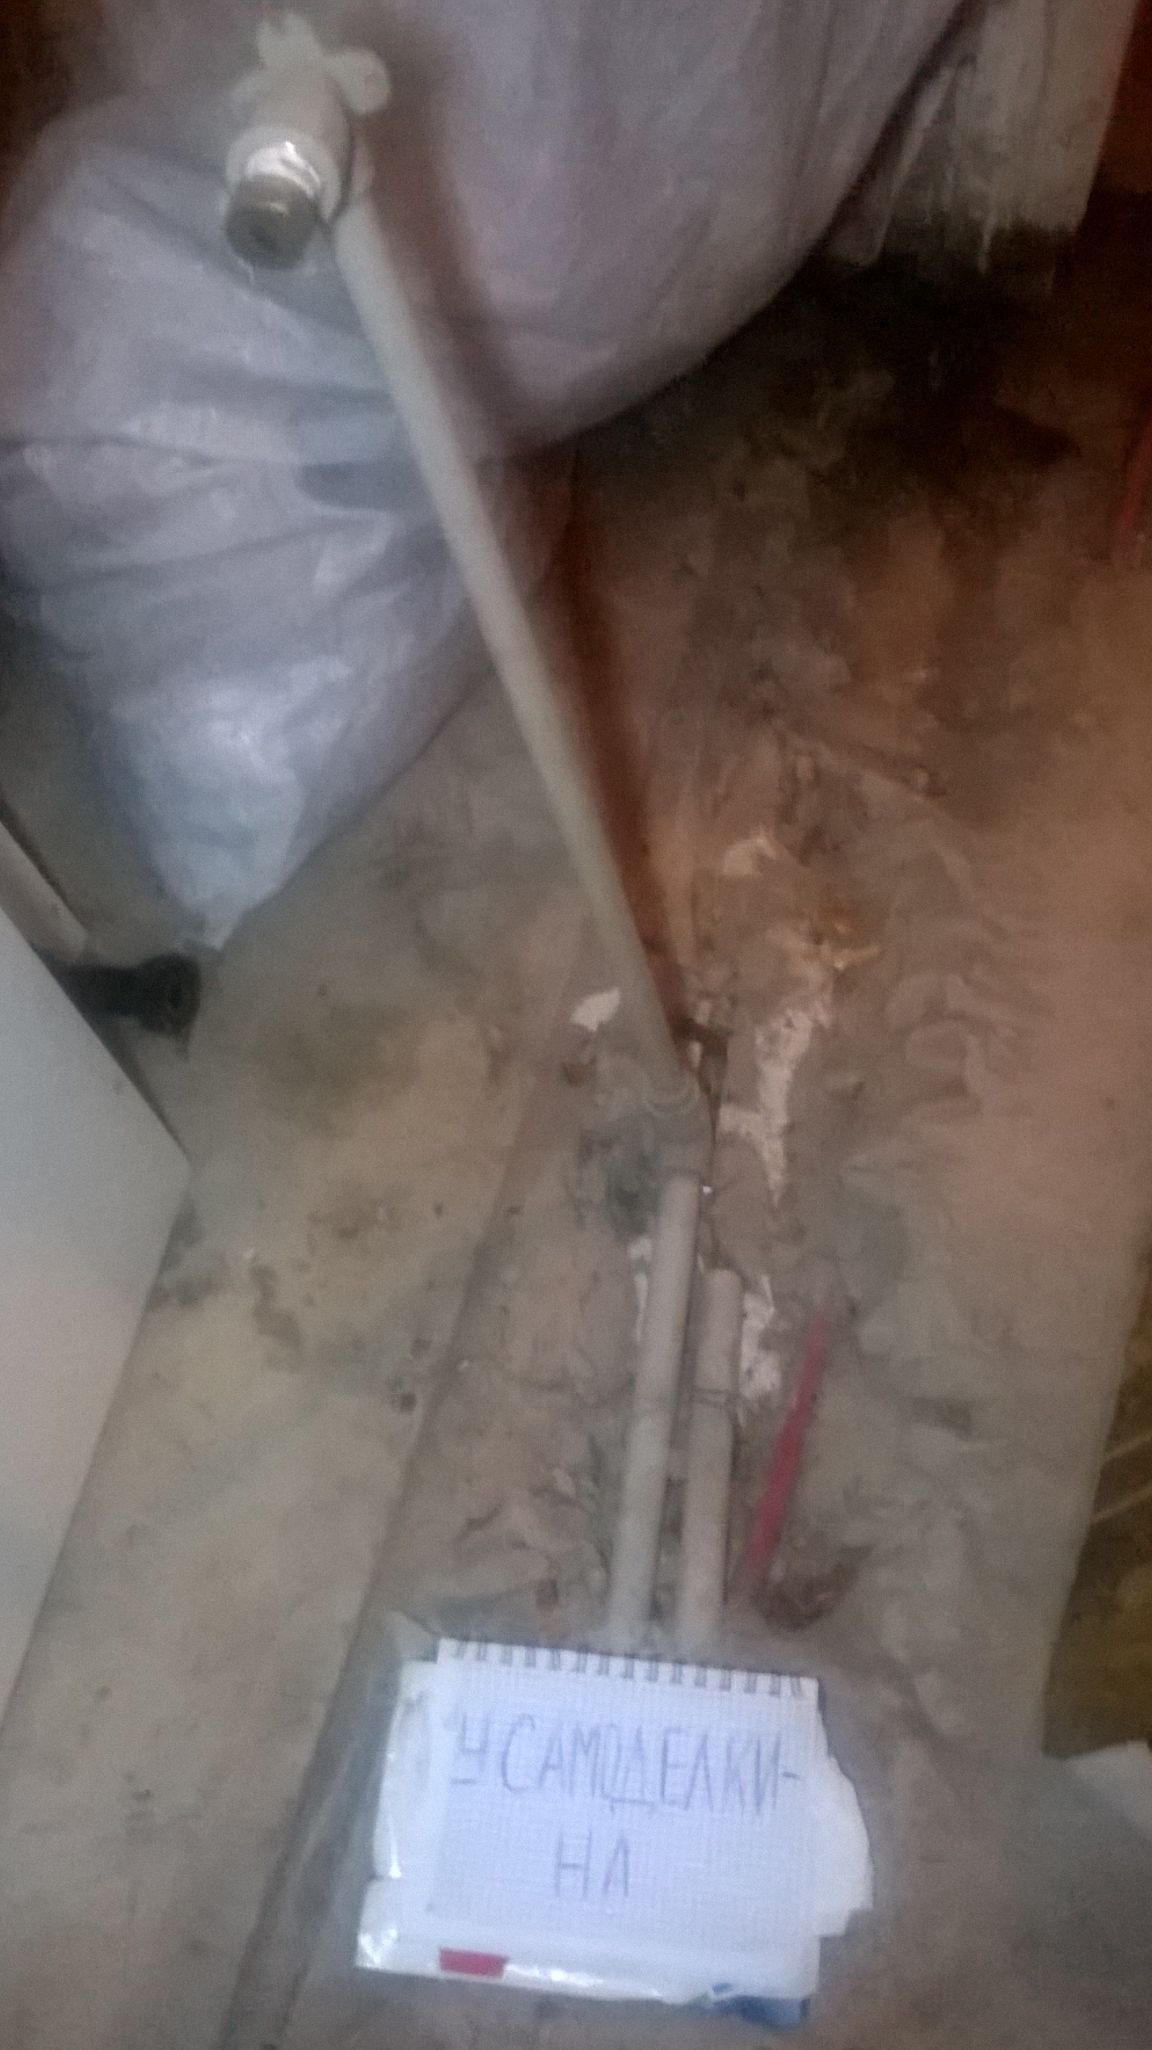
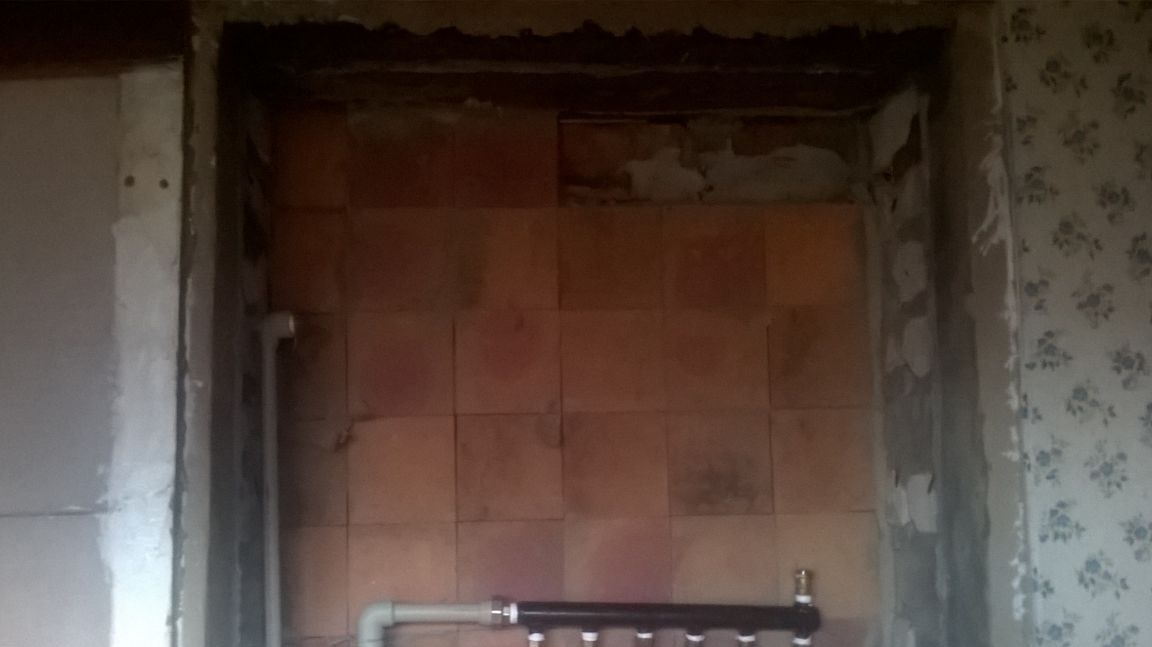
Another point, plumbing pipes for hot and cold water, I also decided to hide in the screed:
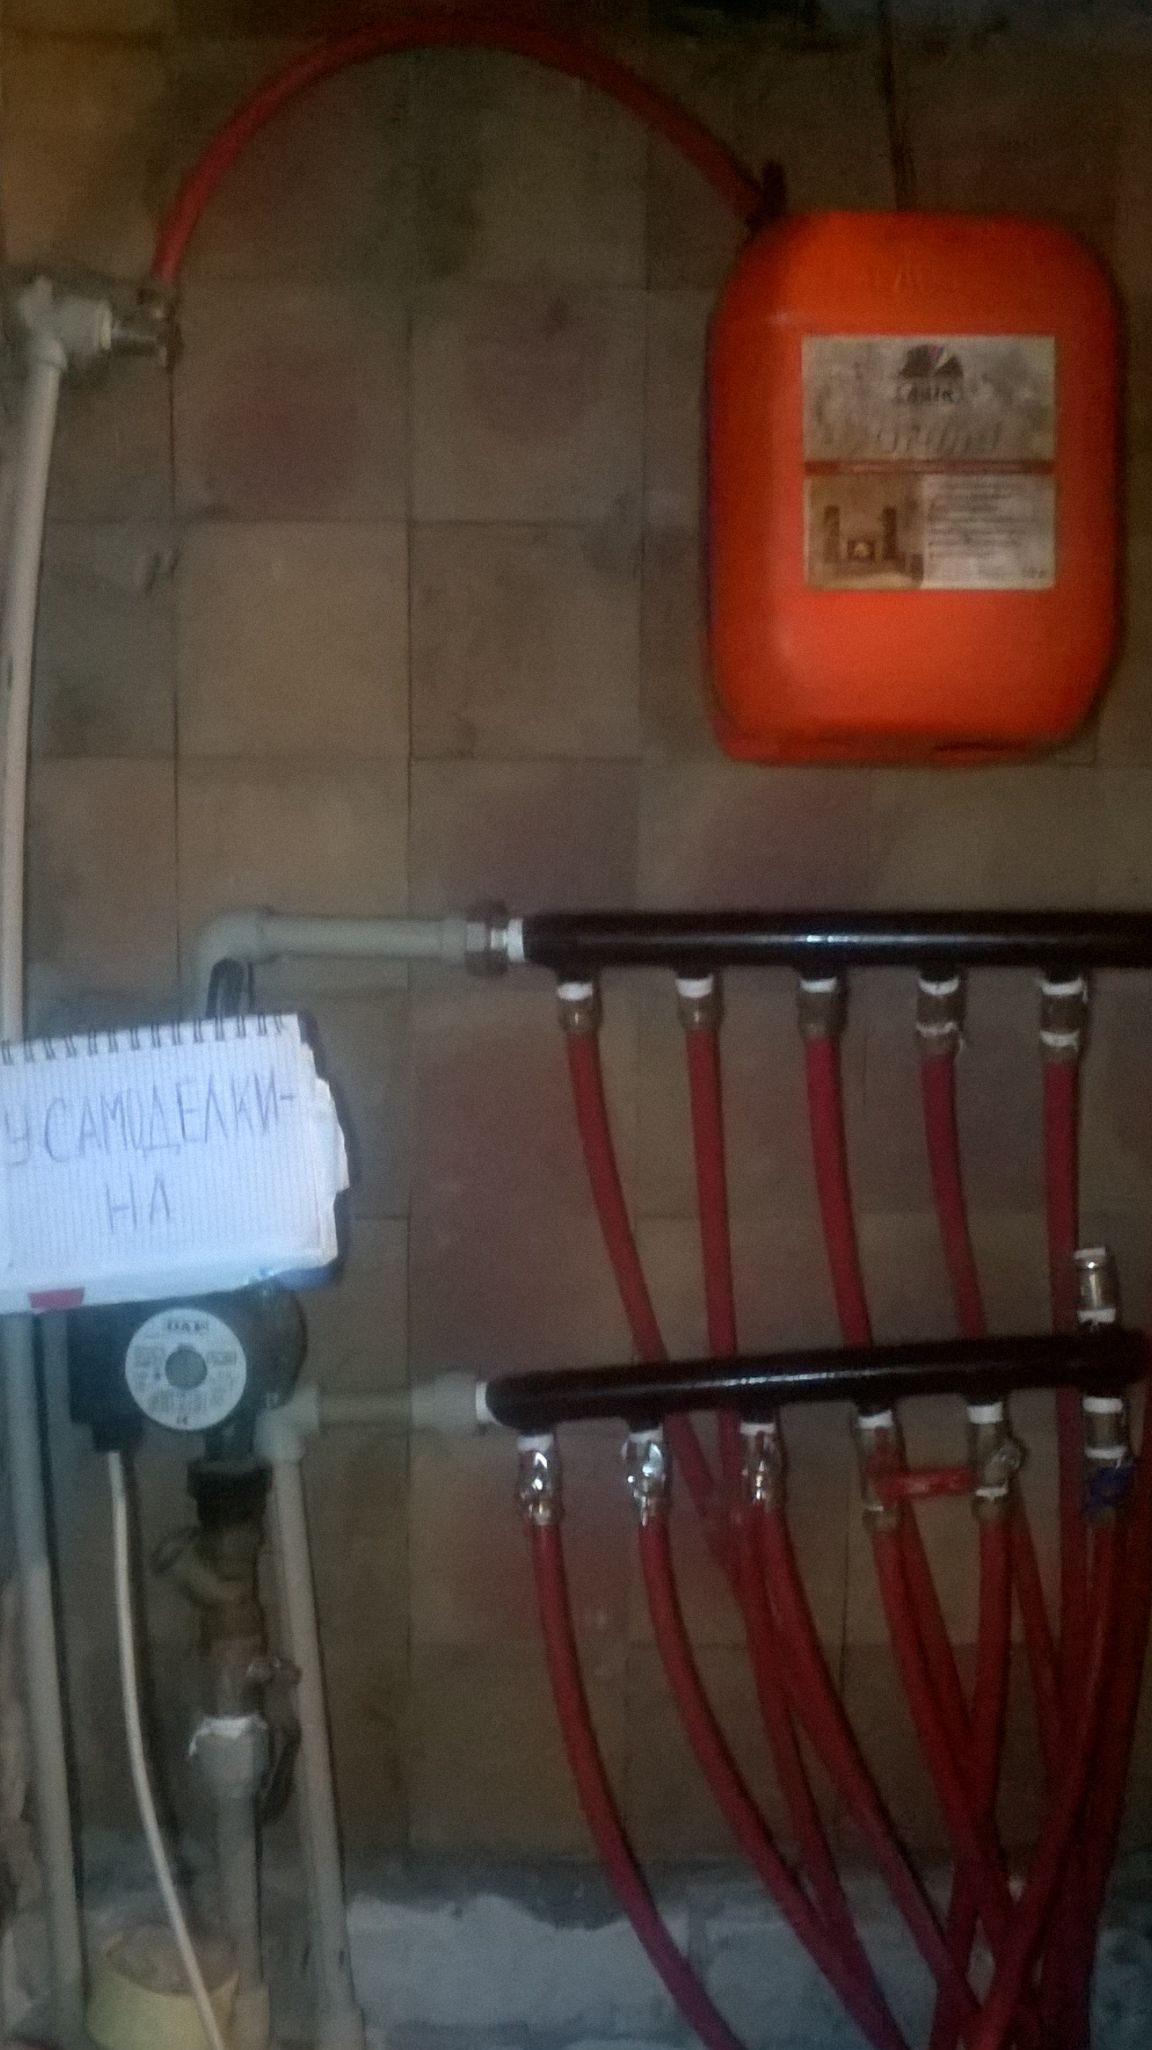
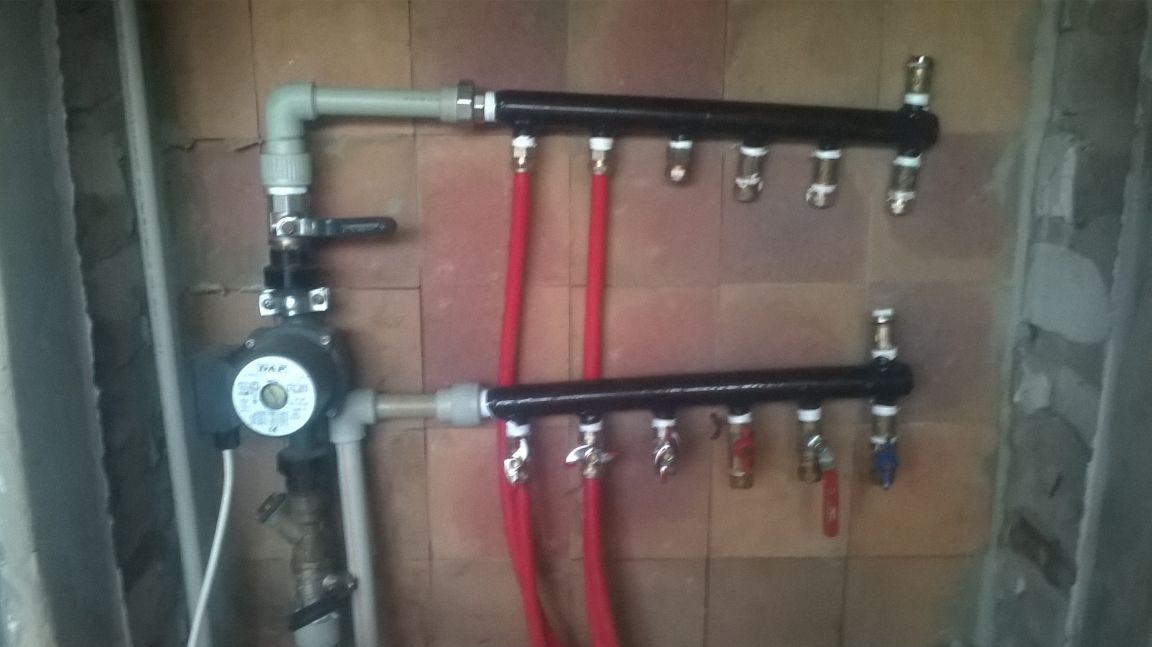
Comb installation
You can go the easy way and buy a ready-made system, but its cost is rather big. I had the opportunity to do it almost for free. Here was a delay. I had to wait until all the necessary details were machined and welded to the tube.
Next we need:
• fum tape;
• cranes;
• pump;
• Mayevsky crane (preferably automatic).
First we do the wiring of the plastic pipes from the boiler to the comb. Next, connect each branch of the warm floor. To do this, take one pair of tape wound with tape, attach one end to the hot water supply, and the other end to the return valve comb valve.Faucets installed only on the reverse supply of cooled water to the boiler, as they are enough to adjust.
The expansion tank will also be next to the entire system. He took it from under a previously used primer. Fill the water and turn on the heating system. It remains only to wait for the release of all air bubbles. That is why I recommend the Mayevsky automatic crane, and not like mine.
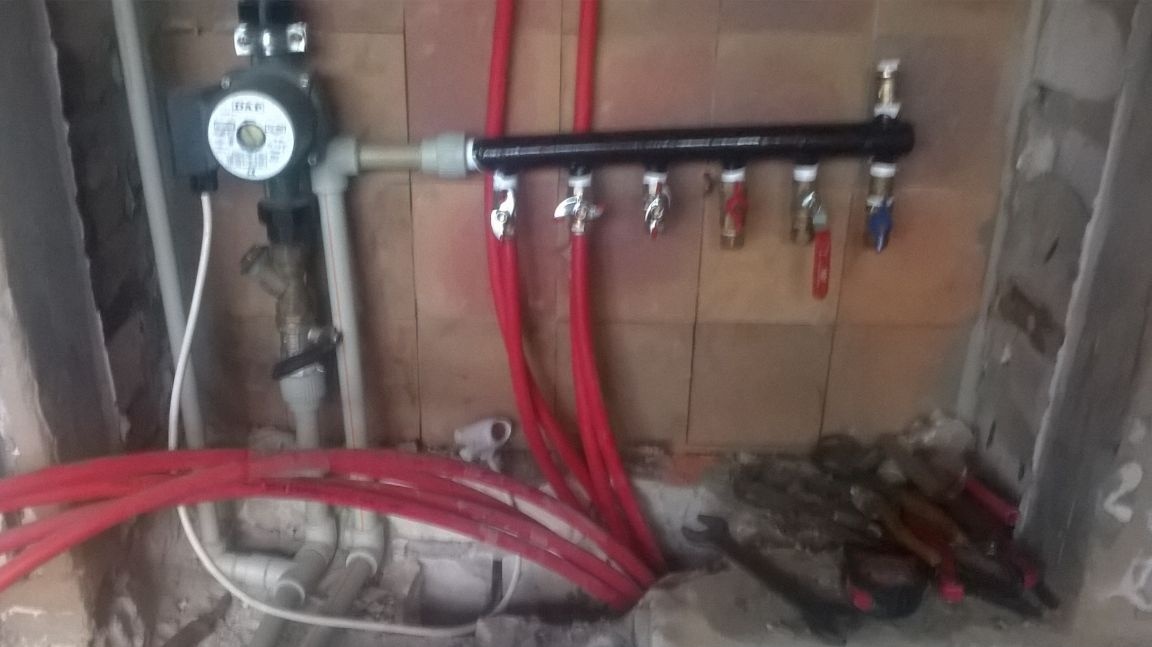

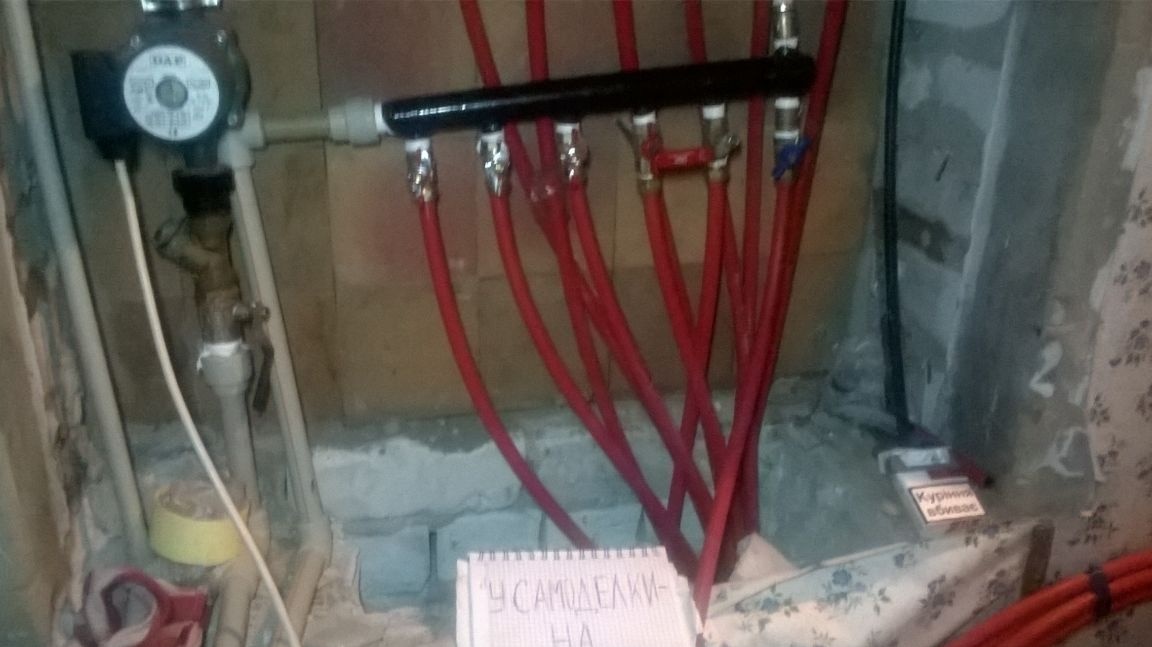
For several days now the system has been working, but there is one air bubble that wanders around the system and I can’t catch it in any way. It is for this reason that in future plans I am going to reconnect the expansion tank. I want to make a tap from the hydraulic pump filter, that is, the waters here:
