

Surely many have heard of cars running on water. Of course, water itself does not burn, but if it is split into components, that is, hydrogen and oxygen, then the formed detonating gas burns very well. In addition, this fuel burns with a high temperature, which makes it possible to use it in a burner and other devices.
Assembly homemade
Explosive gas experiments
Unfortunately, cars such fuels are still under development, since mankind has not figured out where to store hydrogen or how to efficiently turn water into fuel at minimal cost. In addition, hydrogen destroys the engine.
This guide will show you how to do it yourself You can make a generator that turns ordinary water into fuel. True, it is energetically not effective at all, since in the end it is necessary to spend more electricity on the splitting of water than gas is generated.
The principle of operation is based on electrolysis, which we find in lead-acid batteries and other devices. Some craftsmen put such fixtures they assure their cars that the generator can significantly save fuel, but from a scientific point of view, all this looks extremely doubtful.
Materials and tools for assembling the generator (converter):
- stainless steel plates;
- pipe fittings made of plastic;
- hydraulic hammer drill;
- belt sander;
- sandpaper;
- plastic washers;
- stainless nuts;
- stainless steel screws;
- plastic adapters;
- pipe made of acrylic or plastic to create a body;
- glue for plastic;
- one-way check valve;
- distilled water and potassium hydroxide for the manufacture of electrolyte;
- power supply 12 (or 24 V);
- tubes, crocodiles for connection, wires and other trifles.
Generator manufacturing process:
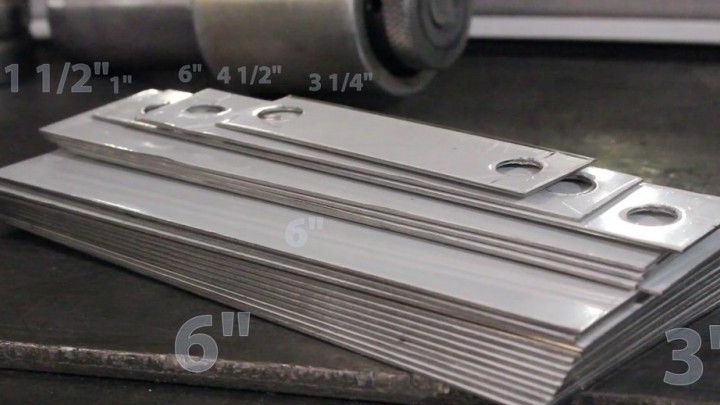
Step one. We prepare plates
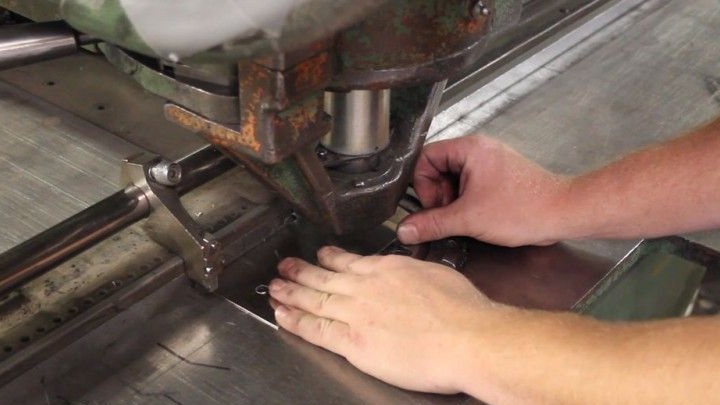
For his design, the author used stainless steel in caliber 20 (0.8 mm). It will not work to drill such a piece of iron with a conventional drill and a drill, here you may need a drill for concrete with a winning tip. The author, for example, punched holes with a hydraulic punch.As a result, you should have 12 plates measuring 7.6 x 15, 2 cm, four plates 3.8 x 15.2 cm in size, as well as three connecting strips 2.54 cm, four strips of 1.27 cm and three strips of 0.62 cm.
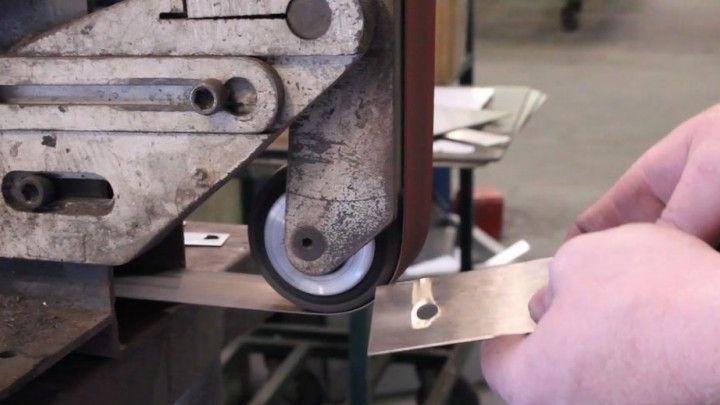
It is convenient to use a belt sander to smooth the notches around the holes.
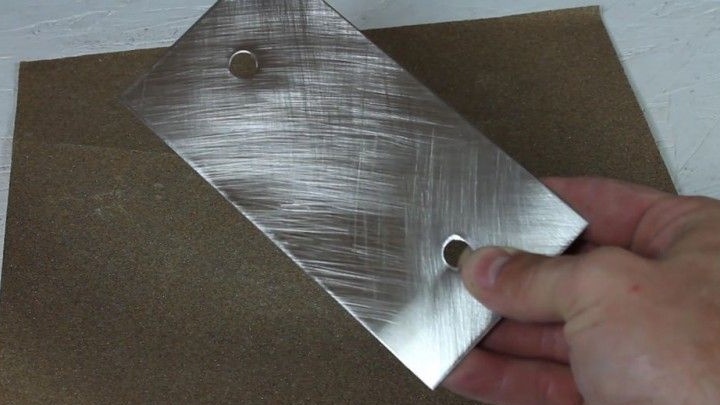
Step Two We increase the contact area of the plates
In order to produce as much gas as possible, you need to make the contact area of the plates with water as large as possible. For these purposes, the author takes an emery cloth with a grain size of 100 and thoroughly sanders the plates on both sides in the form of the letter X.
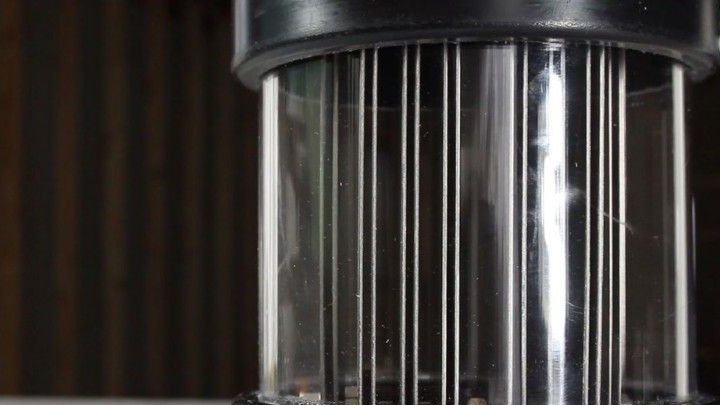
Step Three Assembling the block of plates
Now the author forms a block from the plates. Here you will need plastic washers, as well as stainless steel screws and nuts. It is important to remember that metal is in an aggressive environment, so ordinary steel will become unusable very quickly.
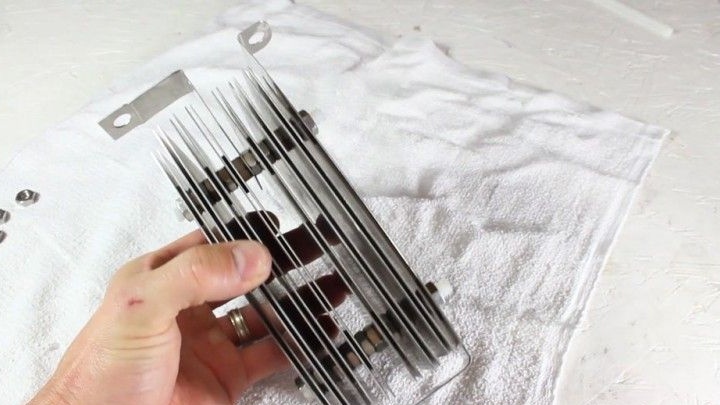
The block of plates is assembled in such a way that two internal plates are connected to one contact, and two external to another. First, a plate is placed during assembly, then a plastic washer, then a lock nut, and then until victory, until all 8 plates are connected.
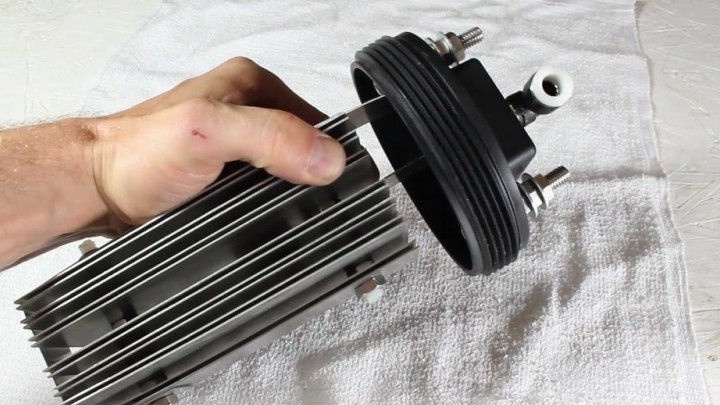
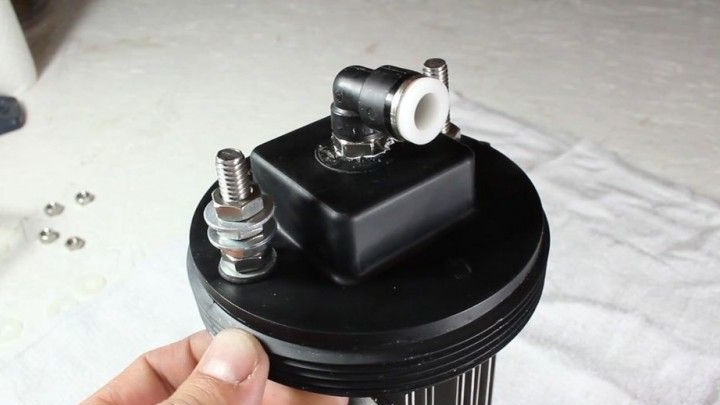
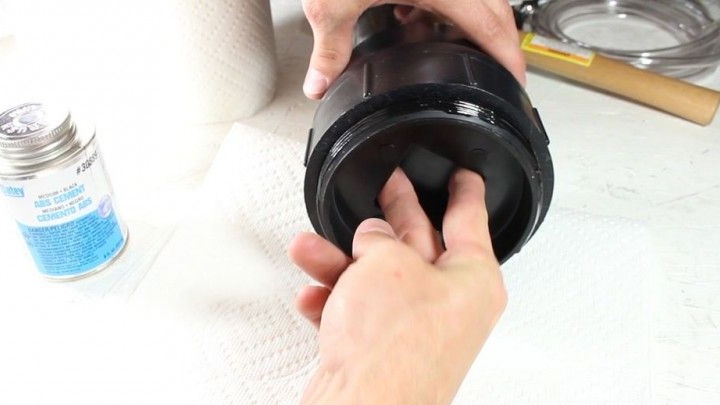
After the unit is assembled, a plastic plug with a size of 10.1 cm is installed on top. It is fastened with several screws made of stainless steel.
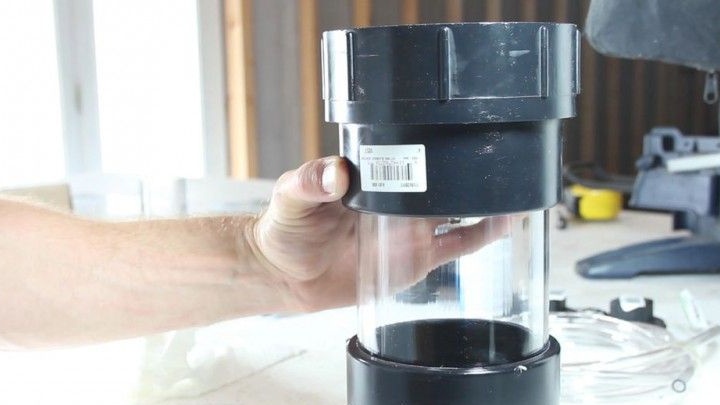
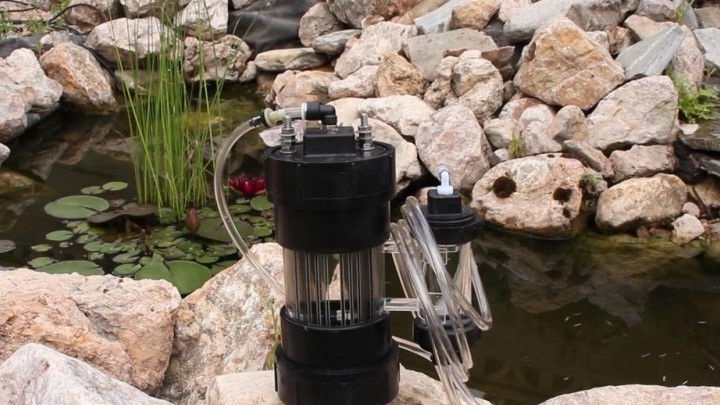
Step Four Assembling the housing for the generator
An acrylic or plastic pipe with a diameter of 10.1 cm can be used as the basis for the housing. Two plastic adapters of 10.1 cm with a cap turned upside down will also be needed. The generator plates and cover are attached to the top.
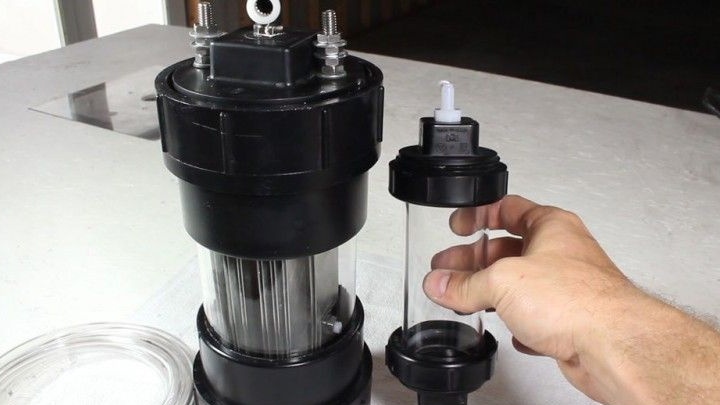
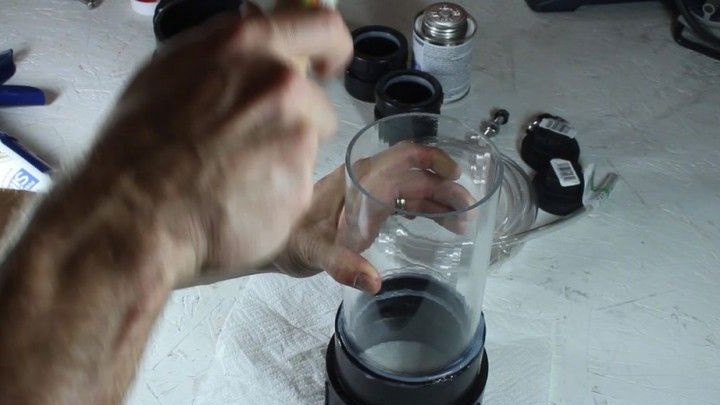
The assembly of the device will still need to be fixed with a water mixer, it is made from a piece of acrylic tube with a diameter of 5 cm.
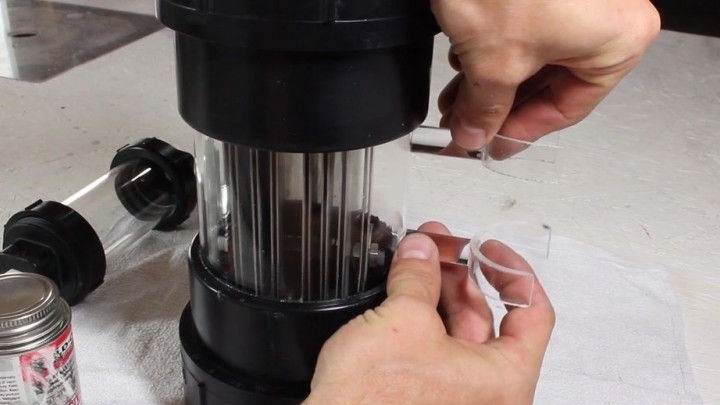
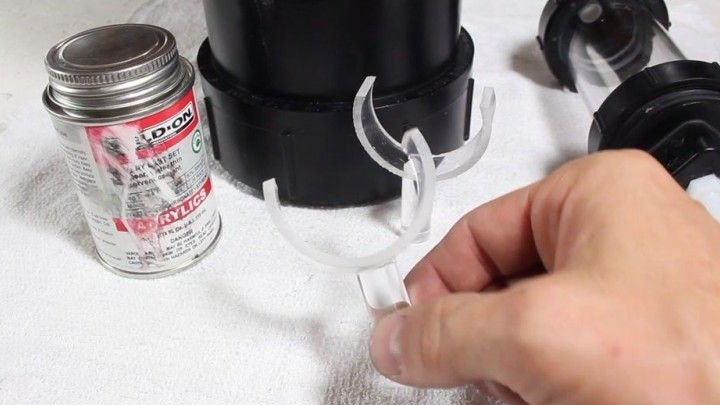
Step Five Making clamps for the mixer
To make clamps, you will need pieces of acrylic or plastic pipe. They can be fixed with glue. The author made the clamps out of a pipe with a diameter of 5 cm, it was necessary to cut pieces of 1.9 cm each. To form a grip, then the upper part of 0.8 cm is cut off. Well, then an acrylic rod is glued here and the whole thing is connected to the side of the generator.
Step Six Make a check valve
The author installs the valve in the upper knee, here you will need a piece of a transparent tube and a one-way check valve. It is important to check that the valve can bleed gas and it does not flow back into the generator.

Seventh step. We prepare the electrolyte
To make a high-quality electrolyte, the author purchased distilled water, as well as potassium hydroxide, which will need 2-4 tablespoons. You can use salt or baking soda, but in this case, the device will quickly become dirty, and will serve less due to corrosion.
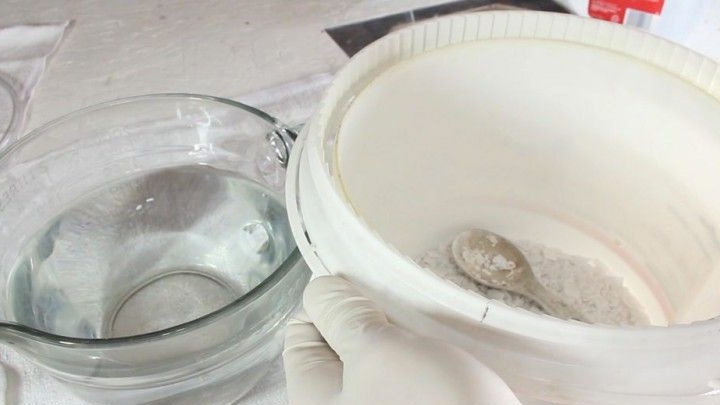
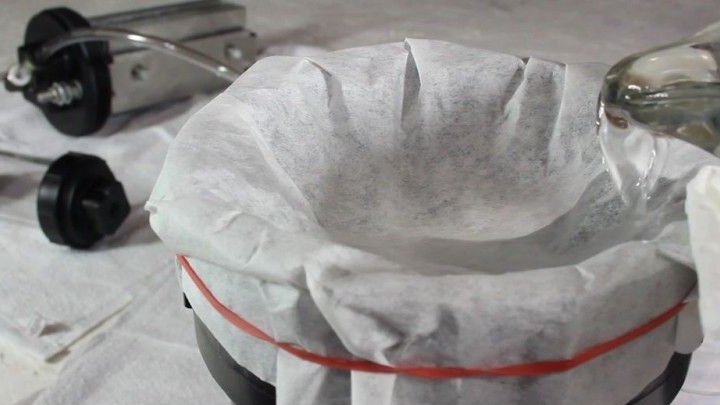
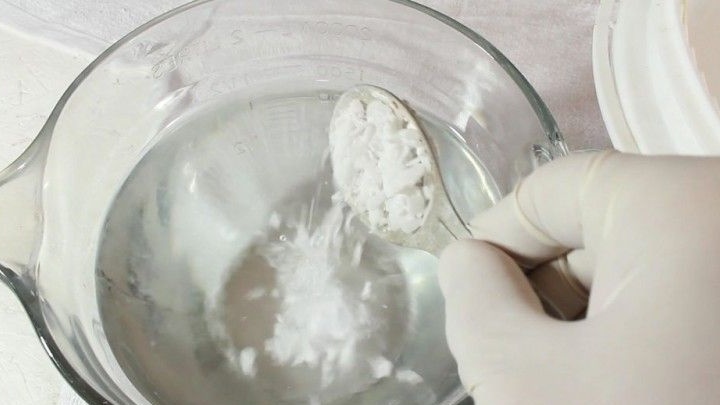
The author stirred the hydroxide flakes in water, and the loan pumped the solution into the system through the filter. It is important to know that potassium hydroxide has a caustic property, so it can cause burns if it gets on your skin.
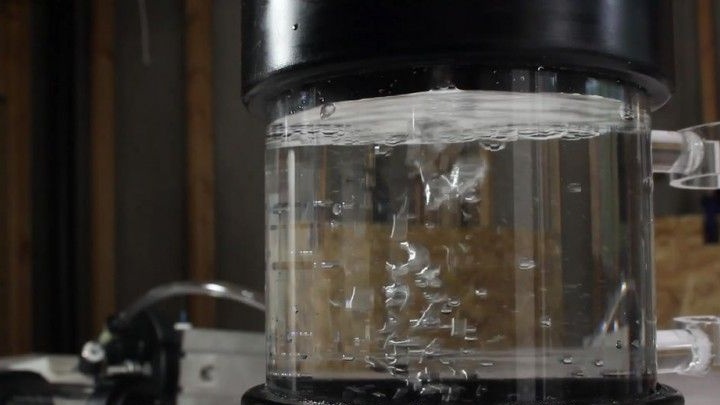
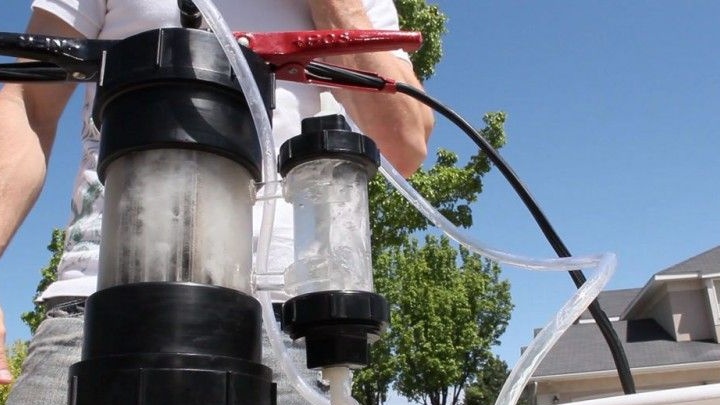
Step Eight. The final stage of assembly and testing of the generator
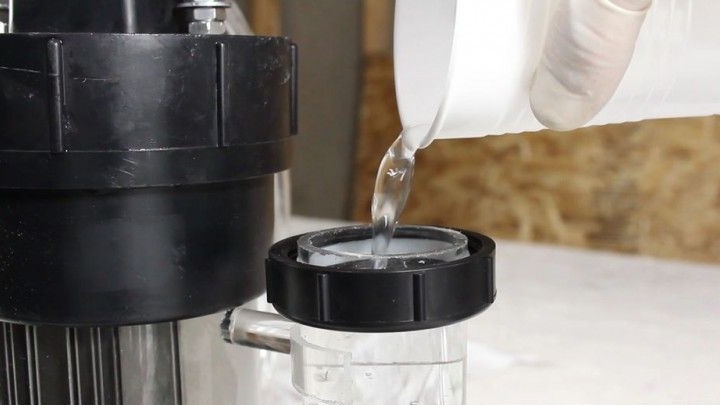
First of all, you will need to fill in the water, for this the cover is removed. Next, the lid is put back, and with it transparent tubes are installed in their places. The author used a regular car battery with a voltage of 12 volts with jumpers from the cable as a power source. As a result, the author collects all the produced gas into a small bottle and sets it on fire for clarity. Here you need to be very careful, as very hot flames will burst from the bottle.
As for the performance of the homemade product, according to the author, it gives out 1.5 liters of gas per minute at a voltage of 12V. If you take and connect two batteries in series, the voltage will be already 24V, while the gas output will be as much as 5 liters per minute. With this capacity, you can fill a 15-liter tank in 38 seconds, but never squeeze this gas, as it detonates easily, causing an explosion.
If you make the voltage even greater, the plates and water begin to heat up very much. This is dangerous because the plastic pipe from which the body is made can be deformed.
Step Nine. Conclusion
That's all, our generator is ready for testing.Homemade is not intended to supply gas to the car engine, it is only a demonstration of the operation of such devices. Various experiments can be carried out with gas. For example, you can pick up a glass of water and stir it with a detergent. Further, when you lower the tube with the released gas into the cup, you will get foam. This foam will be combustible; set it on fire at a safe distance from you, as the explosion will tear a plastic glass into pieces without problems.
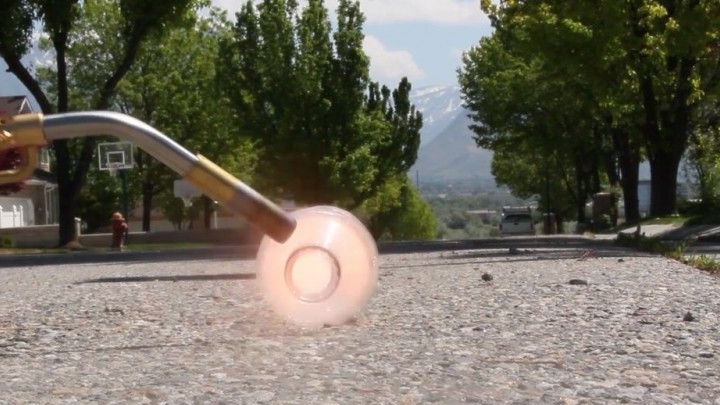
You can also get gas into a plastic bottle and set it on fire, as a result, you get a rocket. It is better to launch it with a home-made installation, which is done quickly and easily, although the author launches such missiles directly from the hand.
If you want to do something “more powerful”, you can pick up gas in a large plastic bottle, screw on the lid and then set fire to a distance, in the end you get a pretty powerful explosion.