Surely you are a happy owner of a spacious house and you can afford a large dining table, which the whole family gathers in the evening. However, when it comes to choosing the table itself, making it is really difficult, because for some the dining room is almost the key place in the house.
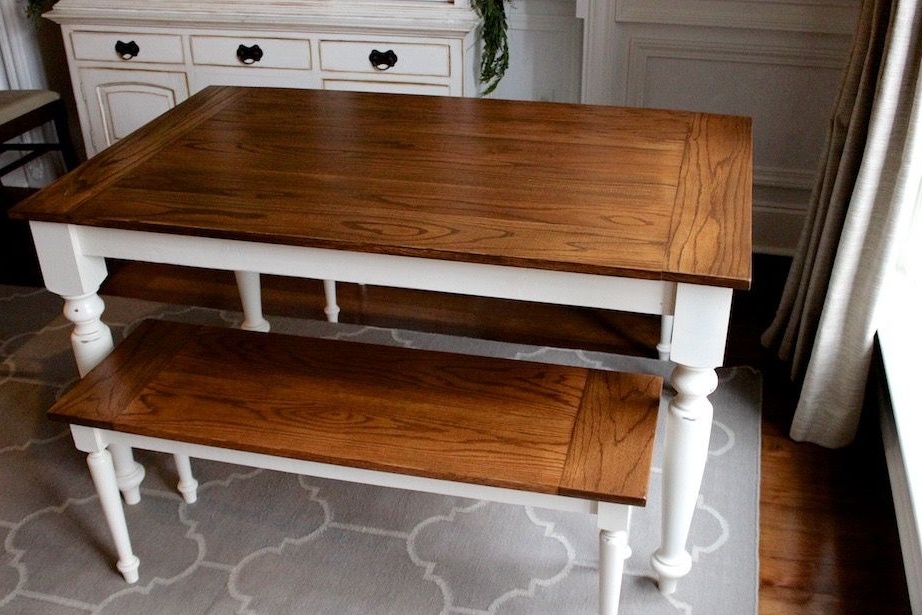
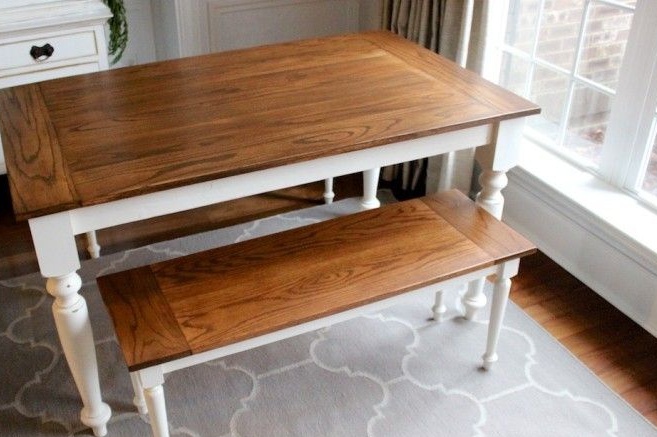
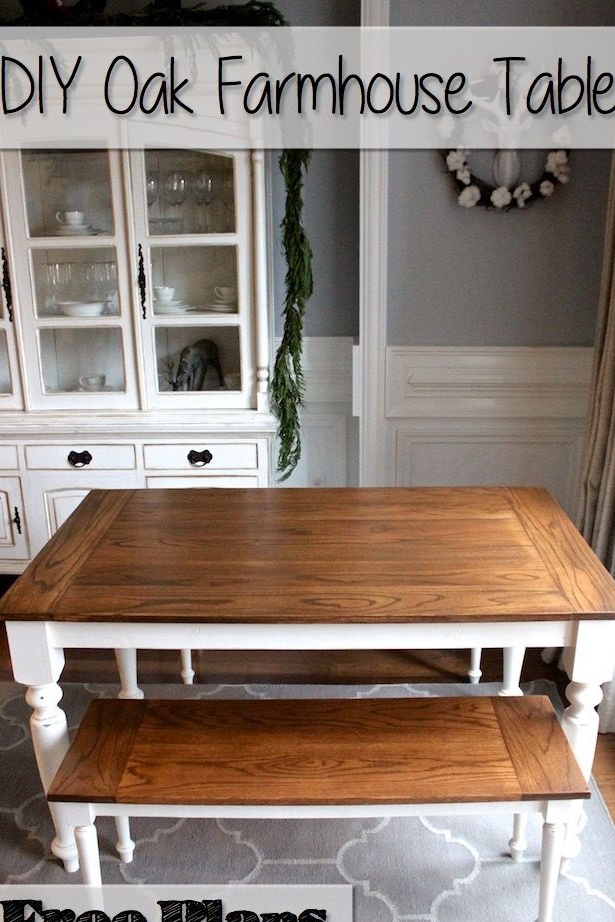
Modern dining tables and sets are presented mainly in the style of minimalism and techno. They are considered the most universal and fit well into almost any interior. But what if the soul requires elegance, sophistication, and the mind aspires to a holiday? And in this regard, there are several options. For example, this magnificent rectangular table made of wood that you can make do it yourself.
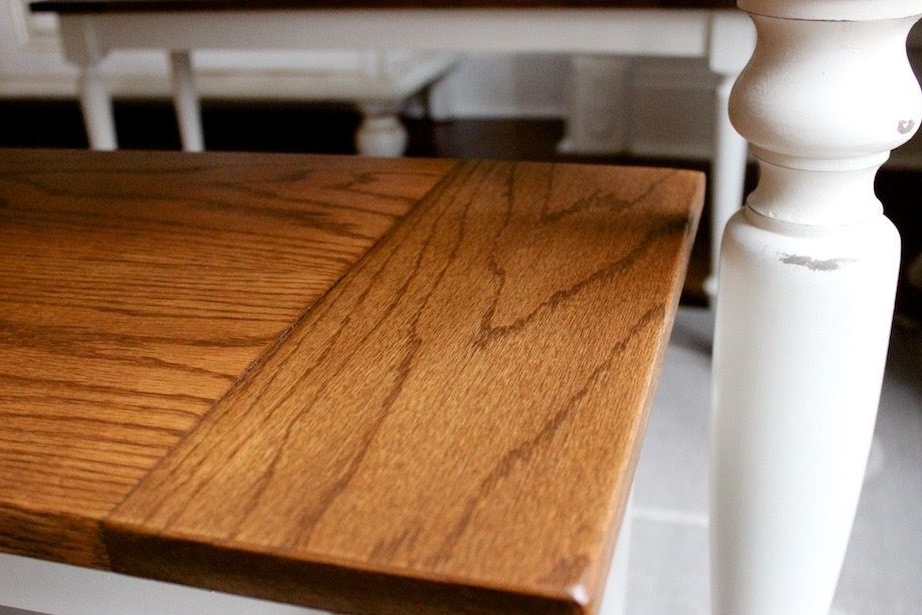
The table is made of red oak and complemented by classic chiseled legs in the style of old England. Despite the choice of material, it came out unusually bright and colorful, so it is likely to easily find its admirers. In order to make this oak table yourself, you will need:
Materials:
- boards made of natural oak with a thickness of at least 25 mm;
- finished curved chiseled legs of oak or any other wood species - for example, pine;
- bars for the manufacture of a frame with a section of 30 x 50 or 35 x 60 mm;
- furniture screws or wood screws;
- metal corners to strengthen the structure as desired;
- glue for woodwork;
- primer antiseptic;
- paint of a snow-white or milk shade;
- resistant varnish on wood.
Instruments:
- miter saw or circular;
- a grinder, preferably of a tape type or a grinding machine;
- electric drill;
- screwdriver;
- sandpaper with fine grain;
- clamps;
- paint brushes;
- construction tape measure;
- square;
- a pencil.
Step One: Calculate Table Size
The author kindly shared the size of his desk. However, the possibilities for each of us are different, so when coordinating the dimensions of the finished product, start from your own needs. First, decide how many people will regularly dine at the table? How often do you invite guests and in what quantity? What are the sizes of your dining area? Answers to these and other questions will allow you to make a table that fits perfectly into your home.
If you still decide to use the exact dimensions from this master class, keep in mind that they are all indicated in inches and when trying to convert to centimeters you can get values that are not quite convenient for work. Therefore, it is better to immediately focus on the fact that all sizes must be calculated at your own discretion.
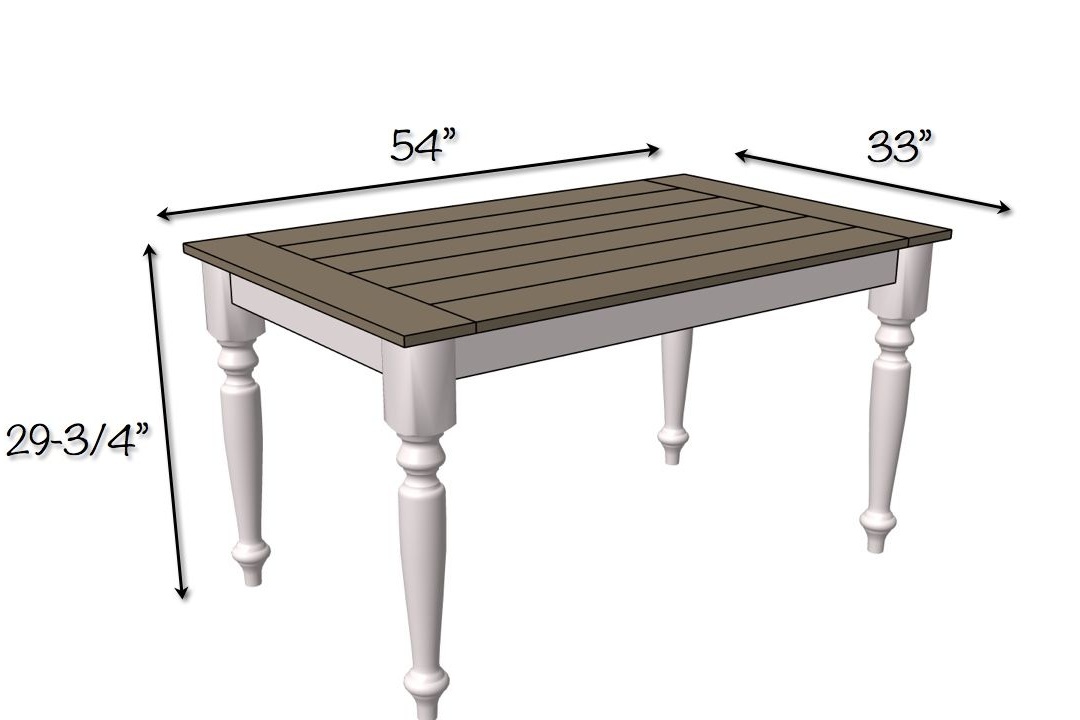
The overall overall dimensions of this table can be taken as a basis. Its length is 1350 mm, its width is almost 830 mm, and its height is 750 mm. Ideally, the table is designed for four people. If your family is larger or you often have a gala dinner, it is worth considering to increase the length to at least the norm for six. The height of the table made by the author is optimal, as for a dining table.
Step two: manufacturing and processing of the details of the dining table
Mark out the details of the table with a tape measure, a square and a simple pencil. Consider the thickness of the material you use, because the cross section of the legs, that the cross section of the details of the countertop or frame is different. If you calculate the dimensions of parts in advance, it is not an hour to make a mistake.
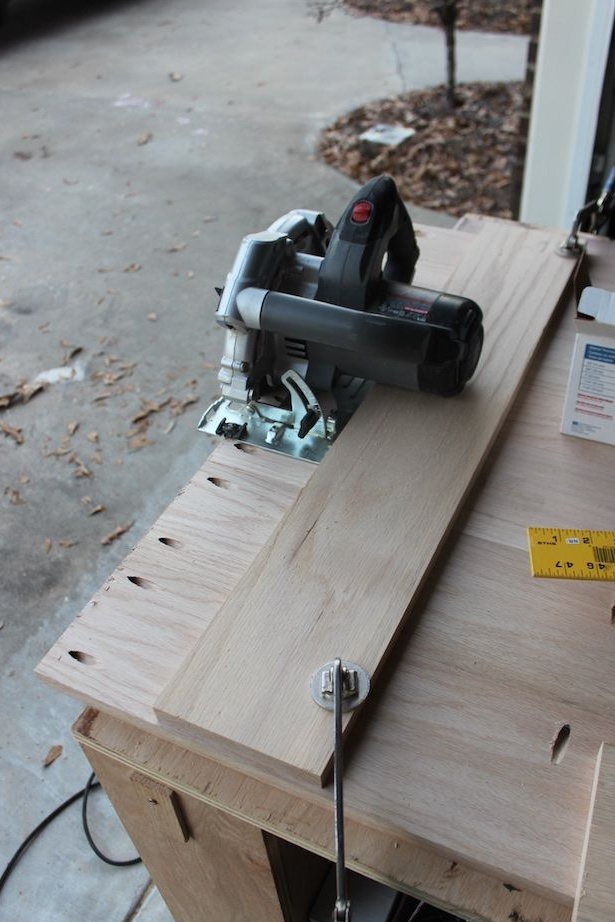
Saw the bars into blanks for making the frame. The author used Red Oak, however, it can be replaced without any problems with a pine in order to save money, because the whole framework is planned to be painted white and the quality of the wood, however, like its species, will not be visible.
Grind all parts carefully with a grinder. It is better to use a belt sander, since it can easily grind surfaces with a large area. In preparing the details of the countertop, this will be most welcome. However, the orbital sander is also suitable for the tasks. Just working with it should be more careful, because in the absence of experience it will be more difficult to conduct uniform grinding.
Since you use pre-made turned legs that are industrial-made on a lathe, they must be sanded. But often, such parts go on sale unprocessed. In this case, you will need sandpaper, work gloves and a little patience. Carefully walk the paper over the reliefs of the legs, smoothing the surface until it acquires the smoothness necessary for further processing.
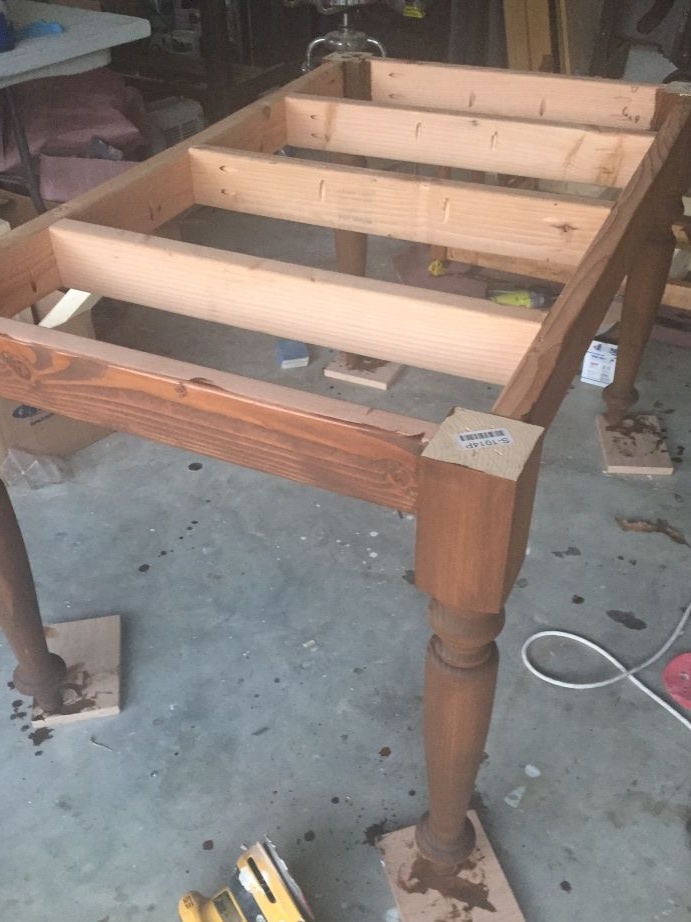
Step three: assemble the dining table frame
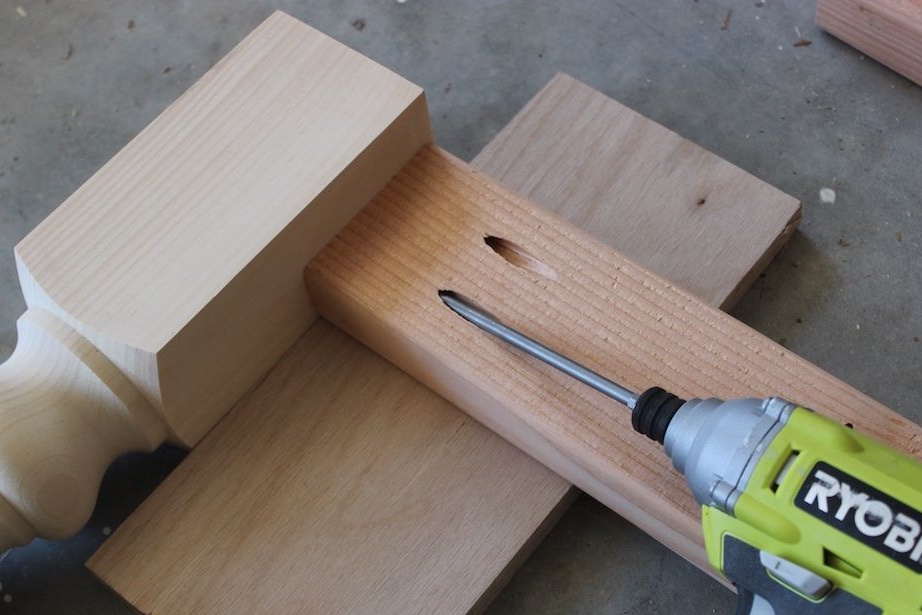
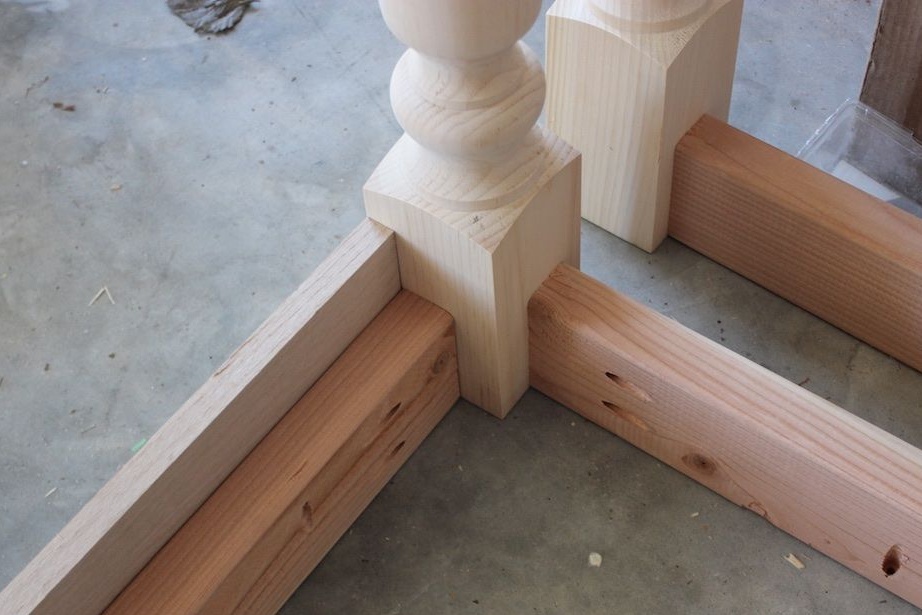
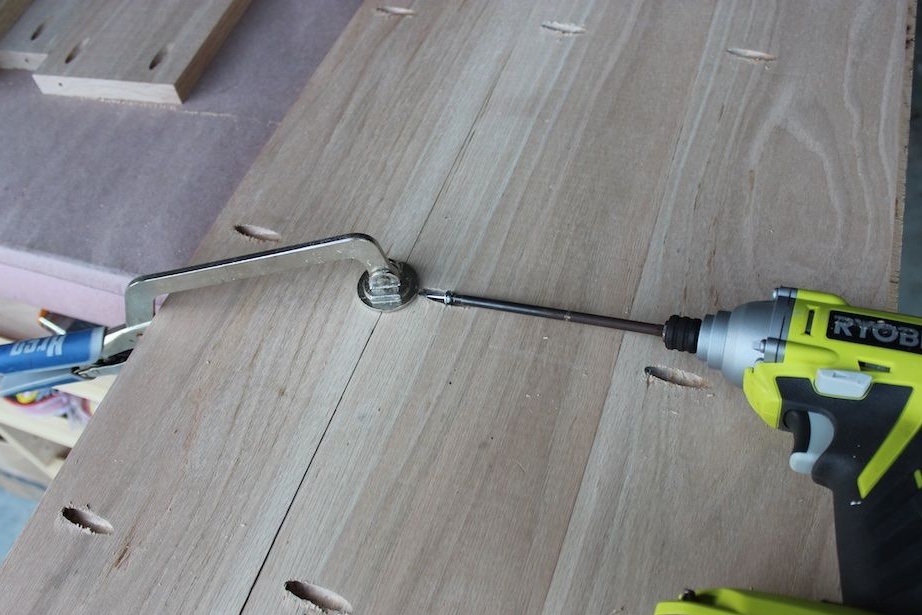
For assembly, the author used a pocket connection on glue and screws. Run it in home The conditions are quite simple, because for this you do not need to cut out the grooves on the milling machine. Glue makes such joints very strong. As a result, you get a strong, simple and neat connection, which, if desired, can be hidden under a layer of sealant or putty.
Therefore, mark the places where the parts connect to each other and drill holes at an angle as shown in the photo below. Apply a little glue at the junction of the parts, press them against each other and screw in the screws. The use of self-tapping screws or screws will allow you to continue working immediately, without interruption in the hardening of the glue.
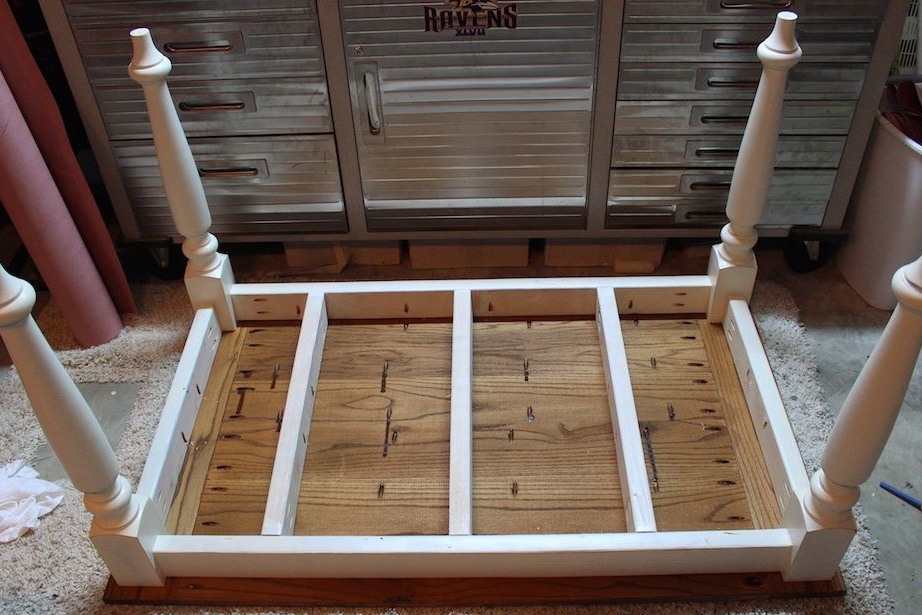
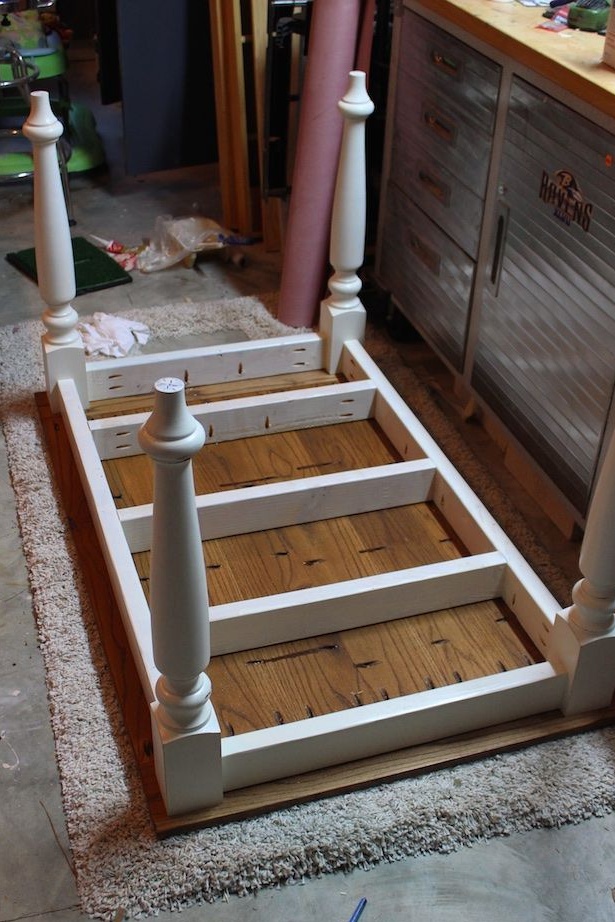
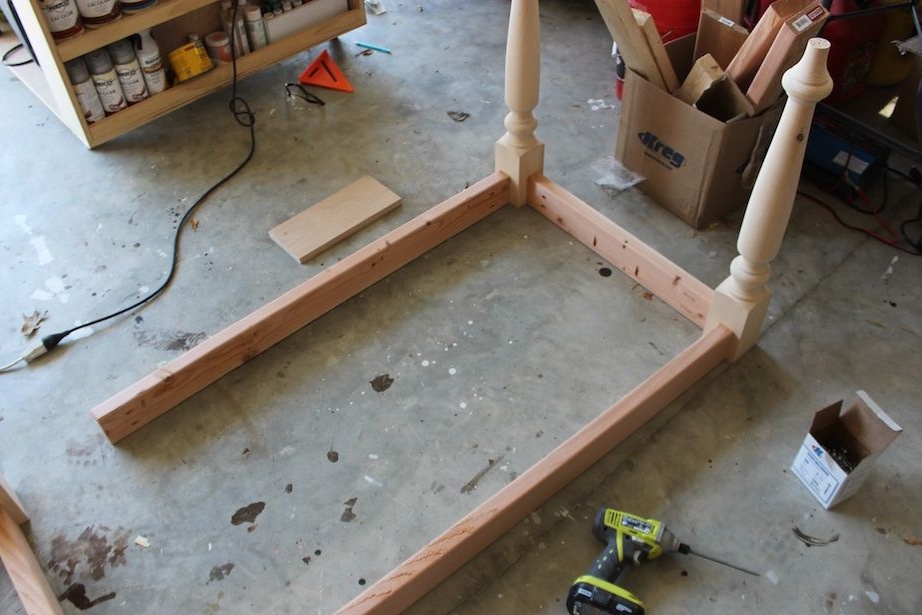
Assemble the table frame to begin with. To do this, connect the legs to the longitudinal and transverse parts of the frame. Three internal jumpers will give the frame the necessary rigidity. If desired, you can also use metal corners. They are used when assembling the frame or to connect the frame and countertop.

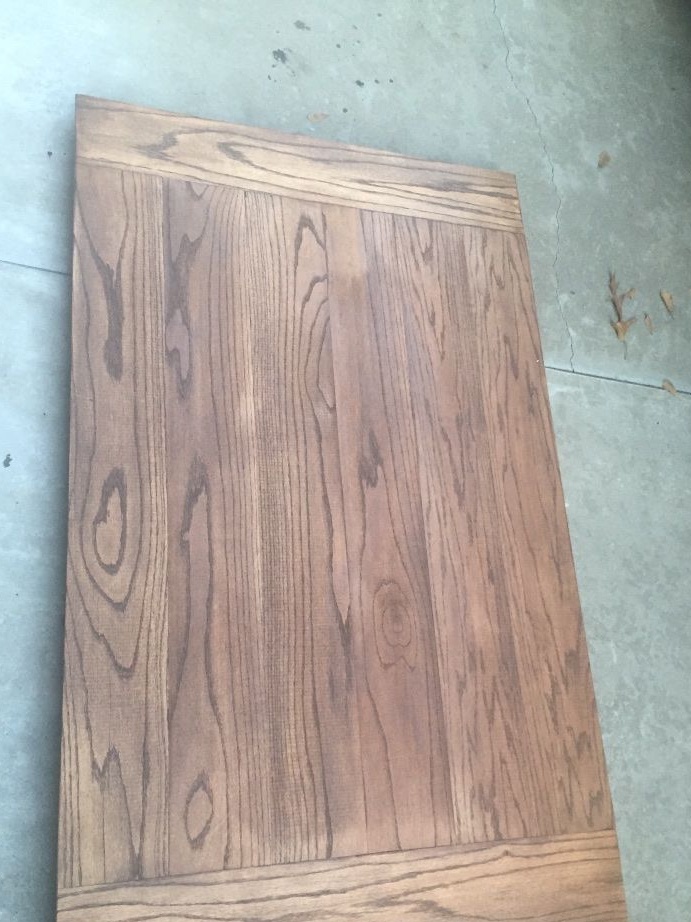
Step Four: Making Oak Countertops
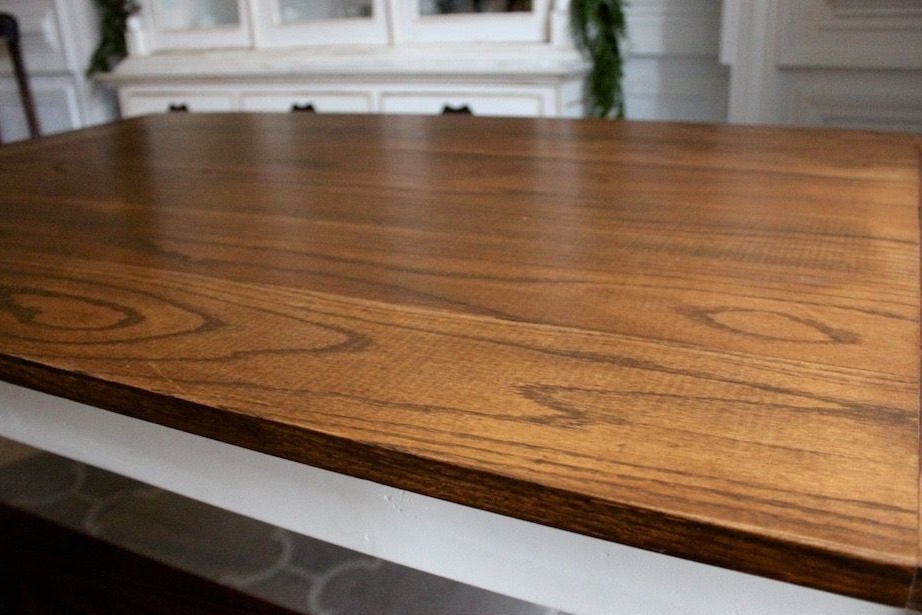
Working with oak is not as simple as it might seem at first glance. However, if you use quality planed boards, everything will go smoothly. Do not rush to carry out grinding. You can return to it after assembling the countertops.
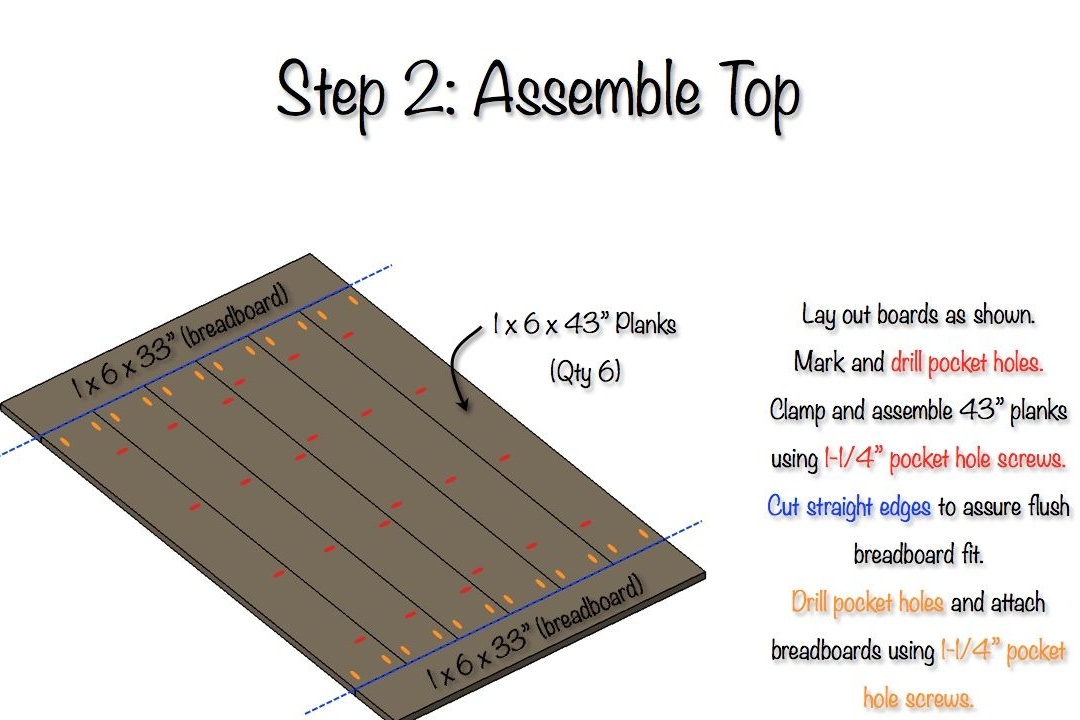
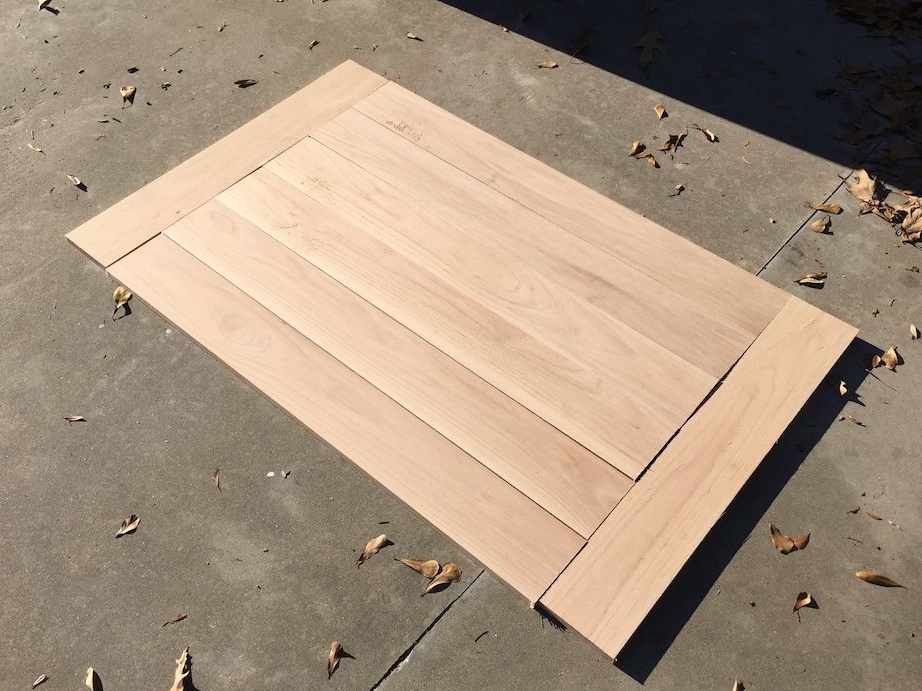
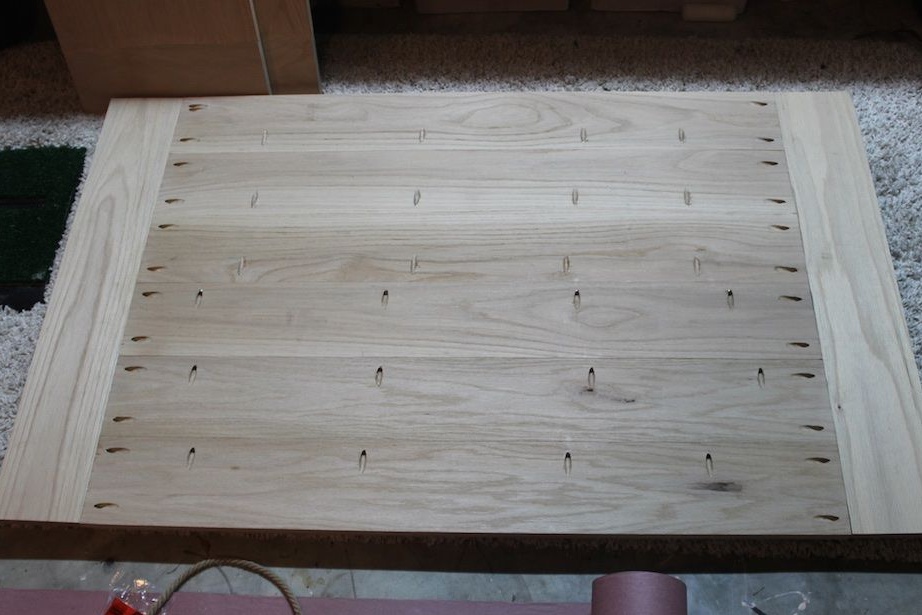
In the process of manufacturing the countertop and assembling its parts, the author also used pocket joints. The mounting scheme of the parts is visible in one of the schematic pictures below.The countertop consists of lateral transverse wide elements, between which are longitudinal parts. All of them are interconnected joint by joint with screws.
The holes are located on the back of the countertop. In principle, you can leave them as they are, or you can fill them after assembly with special sealant or putty. From the side they will not be noticeable, so this is not important.
Mark and drill holes in advance. To make your task easier, use clamps to fix the workpieces together. Do not forget to use glue. Be sure to remove the excess before the glue sets. Place a load on the countertop for the period until the glue is seized. Grind the surface thoroughly, removing also traces of glue.

Step Five: painting and wood processing
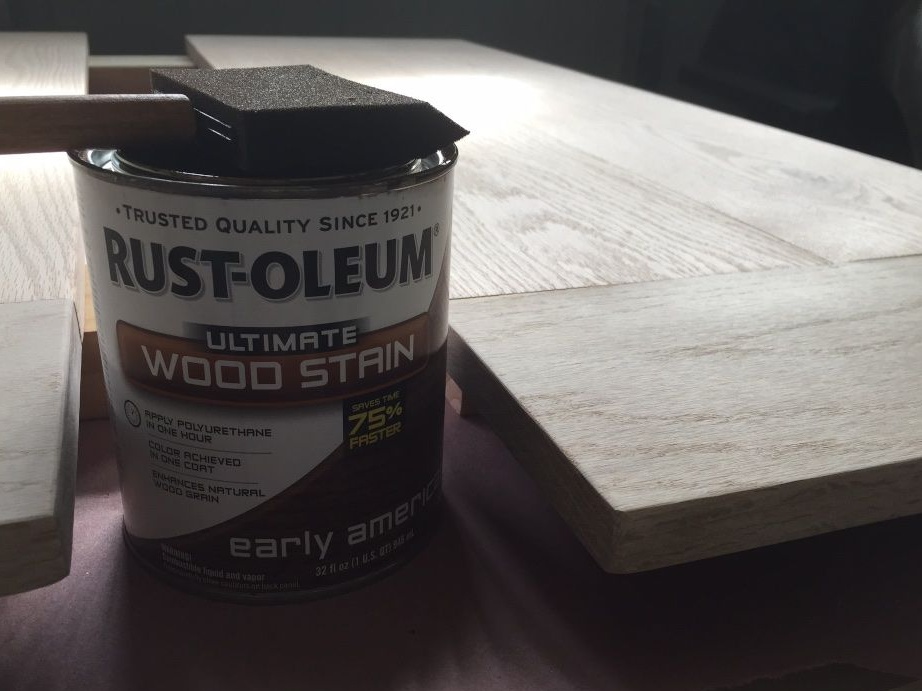
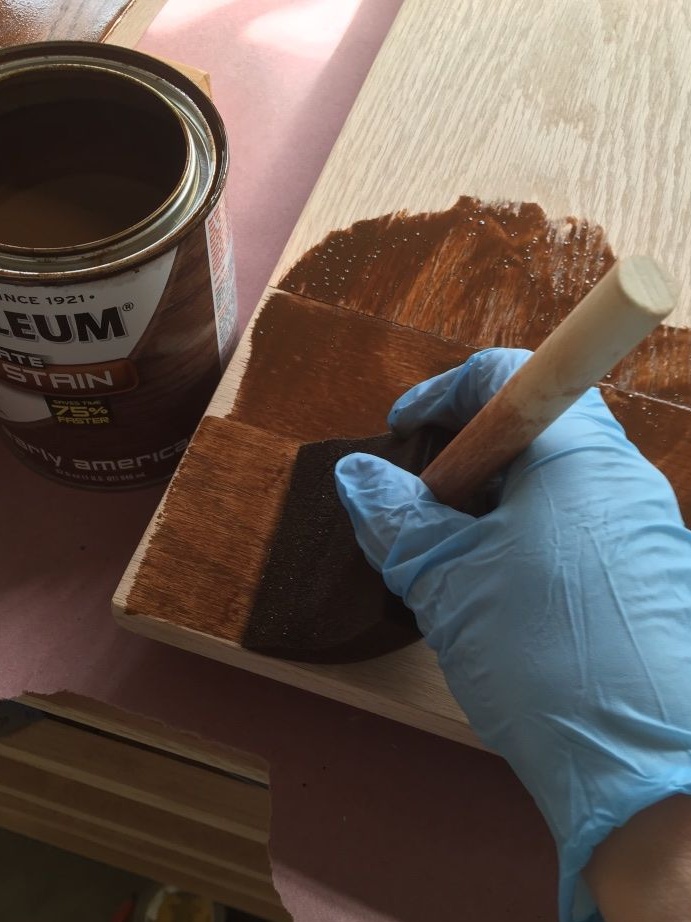
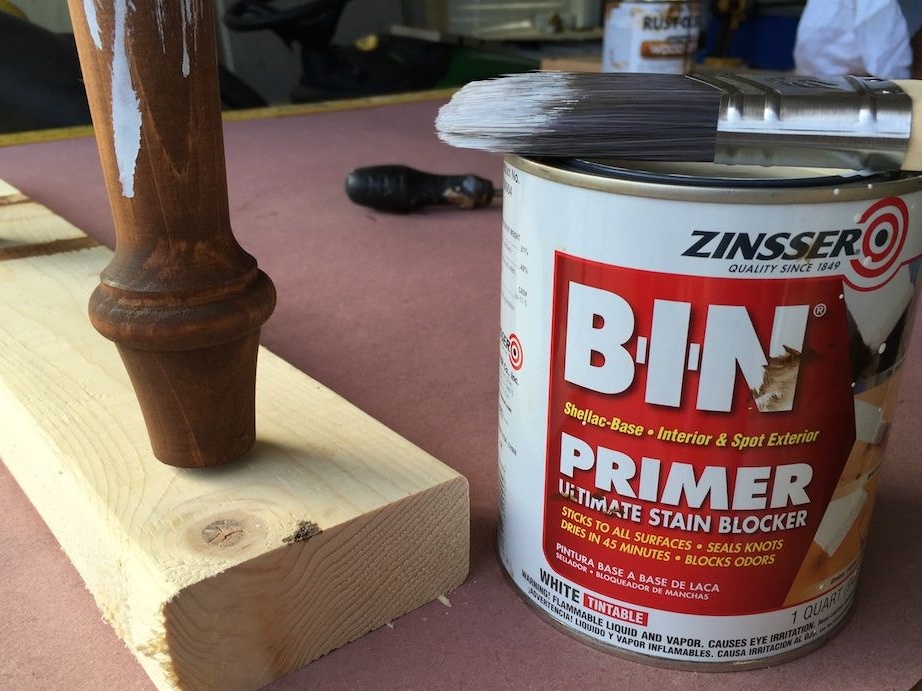
Despite the fact that the tabletop and frame details are made of oak, the author decided to slightly change the tone. To do this, he used RustOleum toner. This tool is an antiseptic stain, created on the basis of oils. Toner perfectly protects wood from harmful effects and is able to mimic valuable wood species. It forms a transparent pigment film on the surface, which is incredibly resistant to abrasion.
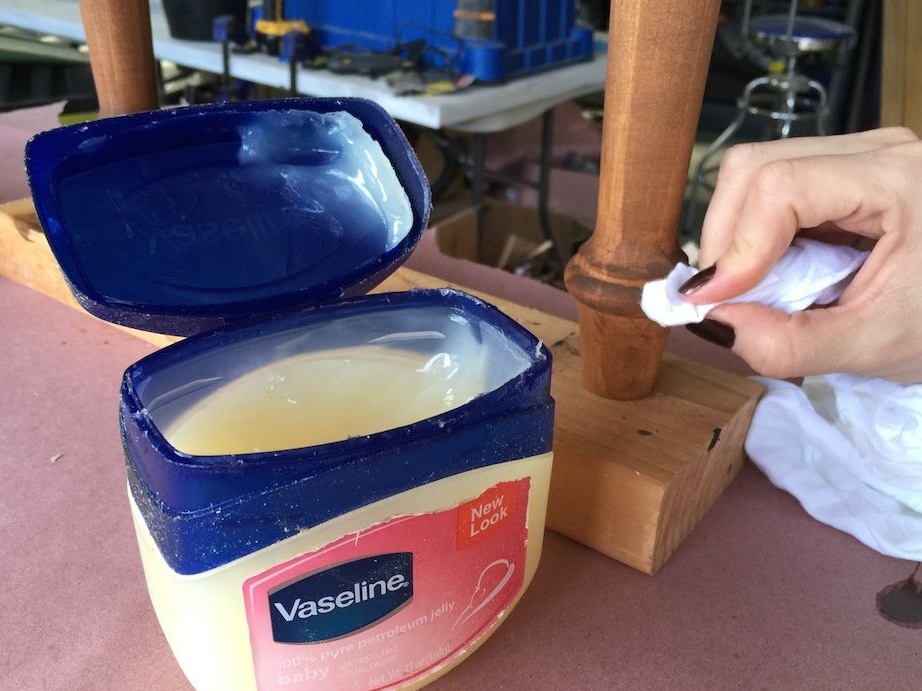
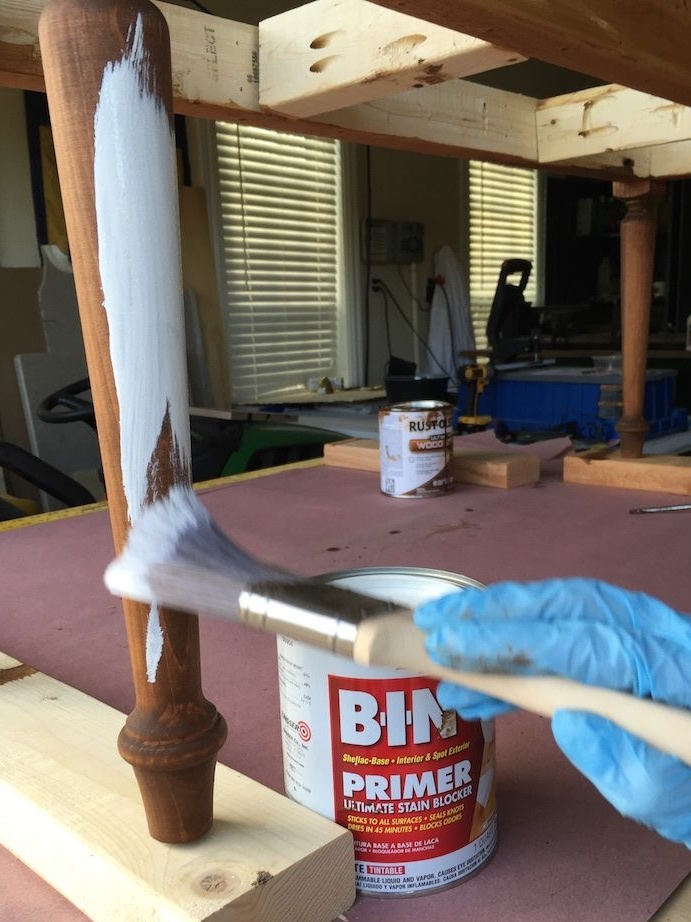
At the first attempt, the author tinted the table completely. However, the effect was not particularly impressive, so it was decided to paint the frame in white. In order to make the coating fit well on the toner, the author decided not to experiment, but to use a resistant primer - a base for white paint. It forms a beautiful dense coating and in such force majeure circumstances, it replaces the paint remarkably.
Primer should be applied in two to three layers. The same goes for paint. Choose the paint of the desired shade: snow-white or milky. Apply it on a polished surface in two to four layers and allow the coating to dry. If you use persistent self-sufficient paint, this will be enough. However, in some cases, the product should be varnished in order to extend its service life. Choose a varnish of the type that is compatible with your paint. Varnish the countertop as well.