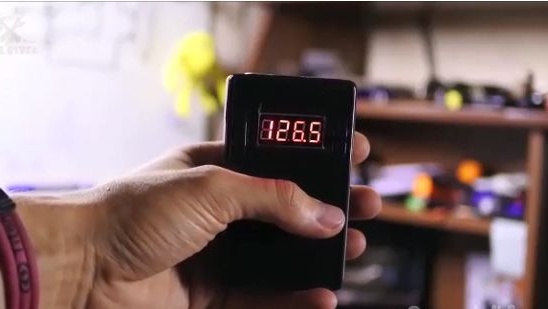
For him we need.
1) Arduino Nano.
2) Case.
3) A pair of switches.
4) Ultrasonic sensor.
5) Display with decimal points on a 95 chip.
6) Battery compartment for three “finger” batteries.
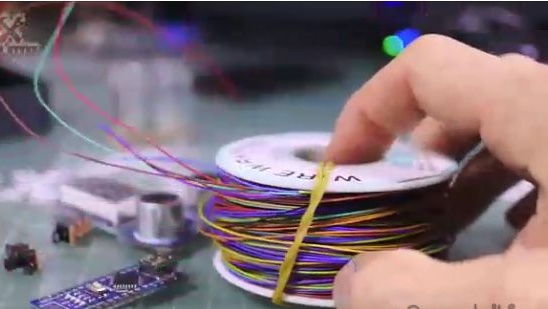
7) Installation wire.
8) Soldering iron, solder, etc.
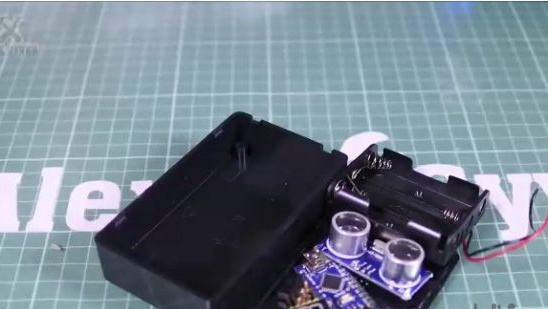
Manufacture:
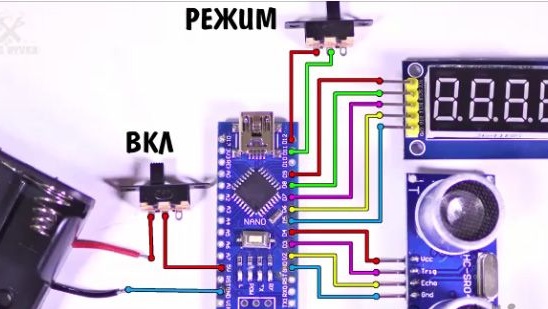
1) To begin with, consider the diagram below, according to it we will collect our rangefinder.
2) So before you need to solder, bite off and unsolder the pins from the modules.
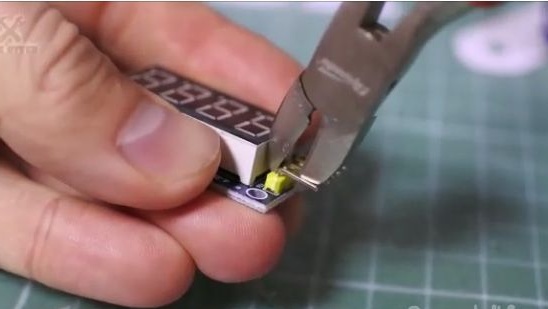
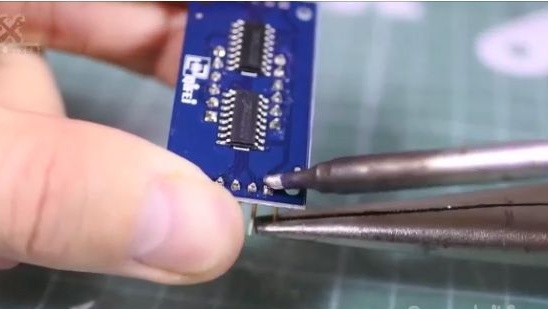
3) To connect all the components I will use eight colored Chinese mounting wire. First, the refrain of wiring to the Arduino Nano.
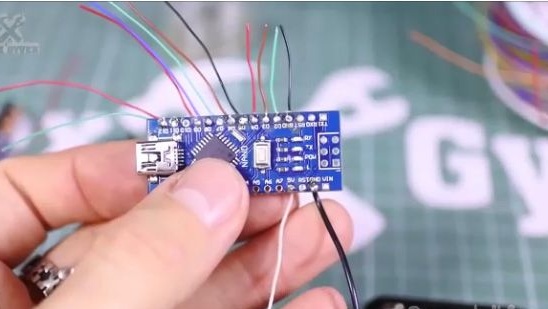
4) Then we solder everything except the switches.
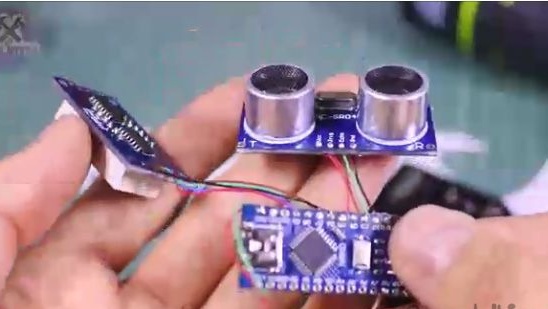
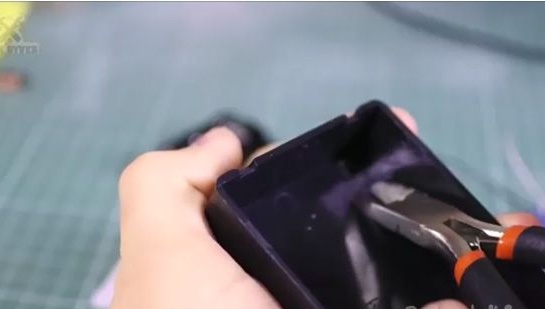
5) From the back of the case, bite off the legs under the circuit board. We will not need them and will only interfere.
6) Next, we take an ultrasonic sensor and remove all sizes from it.
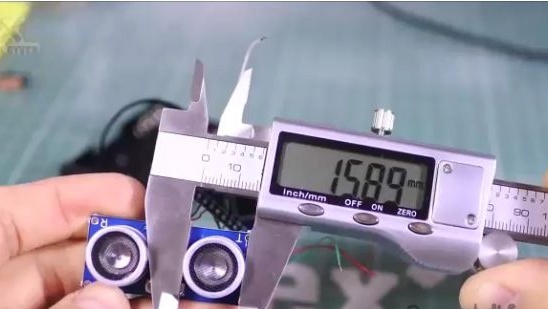
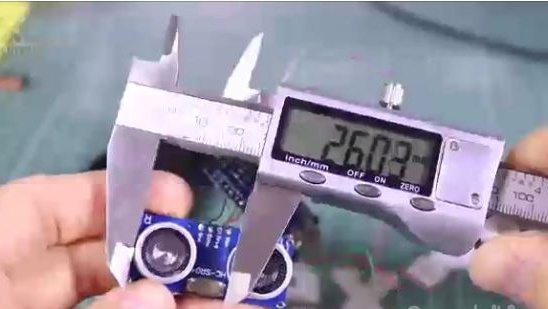
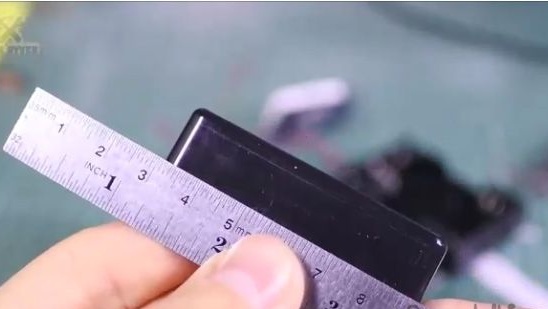
7) And we mark everything on the case.
8) First we drill with a conventional medium-sized drill.
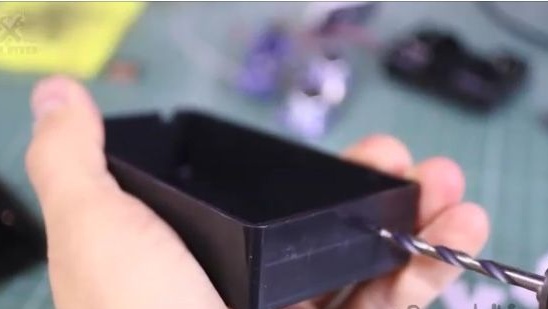
9) And then stepped.
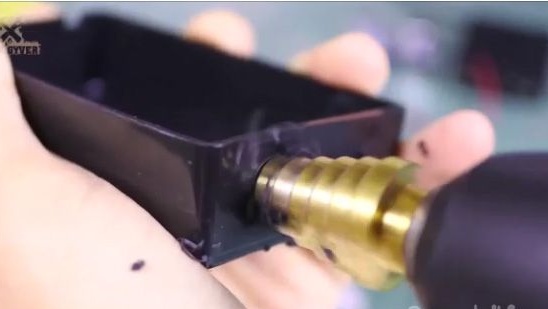
10) We will attach the ultrasonic sensor to the terma glue. The area where we will glue sanding with fine sandpaper, this will give us a stronger bonding.
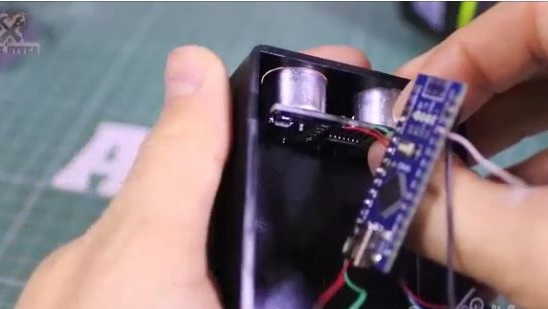
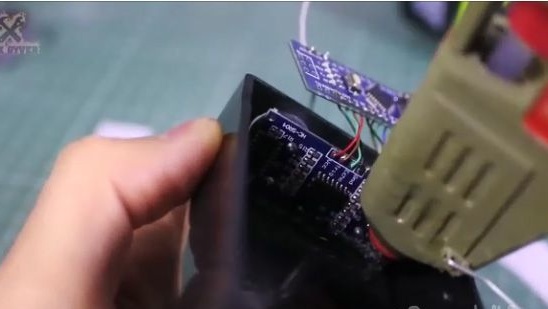
11) We seal.
12) Now you need to install the display. We measure it and transfer the marks to the case as shown in the photo below.
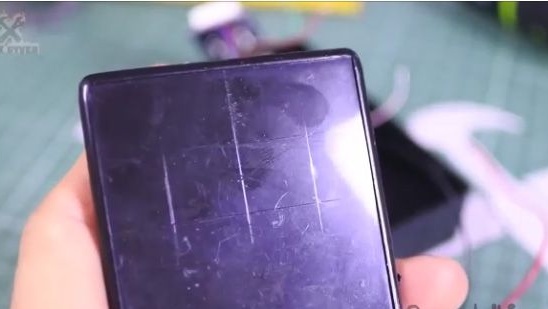
13) To begin with, drill large holes along the edges of the scratched triangle.
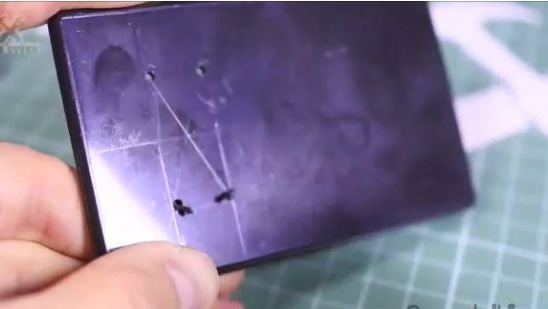
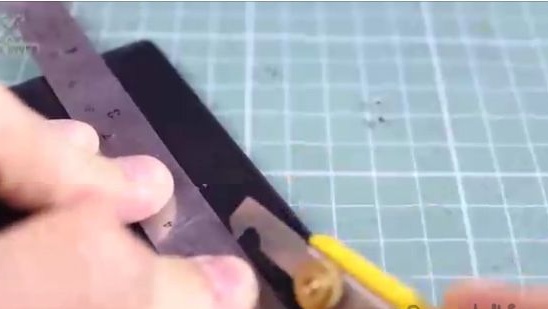
14) Then, with the help of a clerical knife and a ruler, we make deeper cuts around the perimeter as shown in the photo below.
15) Next, we cut the diagonals with a red-hot knife.
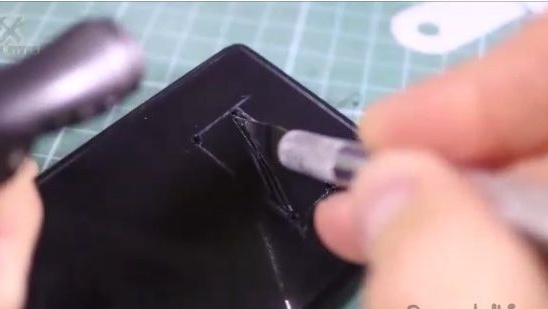
16) We break out.
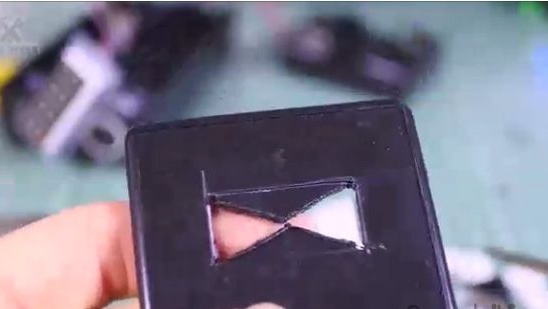
17) Modify the file.
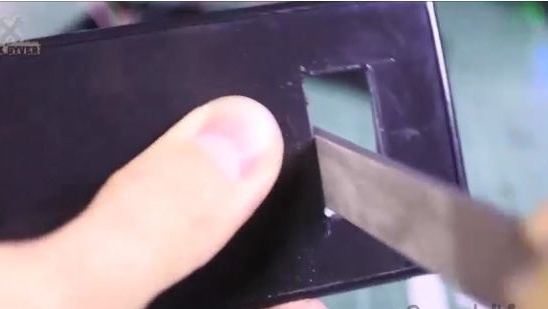
18) Then we drill holes on both sides of the display for the switches.
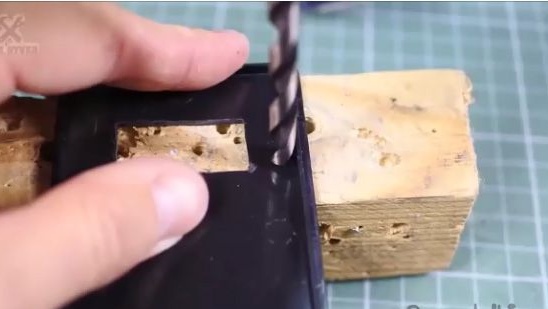
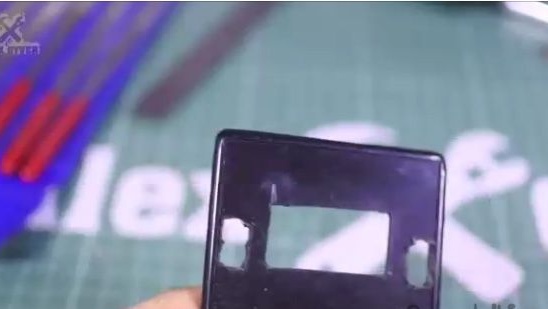
19) Now to install the display. We attach the display to the previously made hole and attach it to the tape as in the photo below.
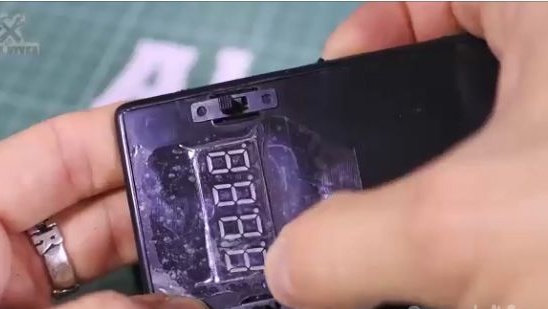
20) And well fill the term with glue.
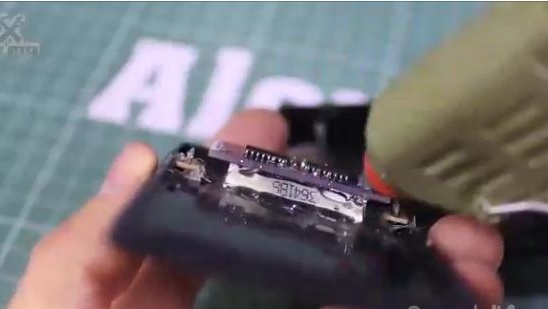
21) Peel off the tape.
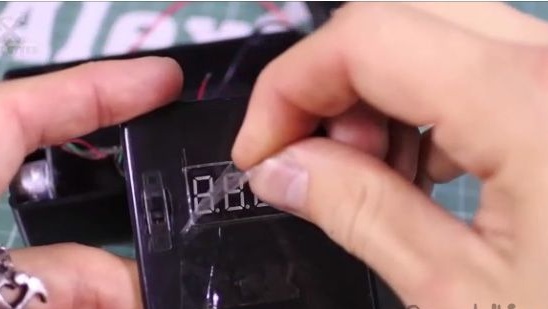
22) Insert the switches. And solder them to the circuit.
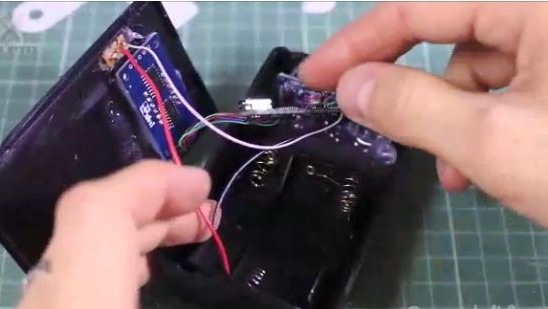
23) Our ultrasonic rangefinder is almost ready. We connect Arduino Nano to the computer.
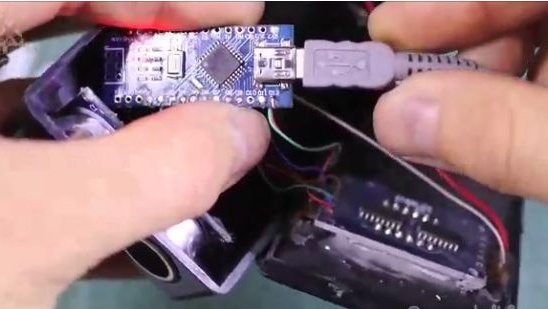
24). If this is your first experience with Arduino, you can read the step-by-step instructions on the intricacies of uploading a sketch to Arduino.


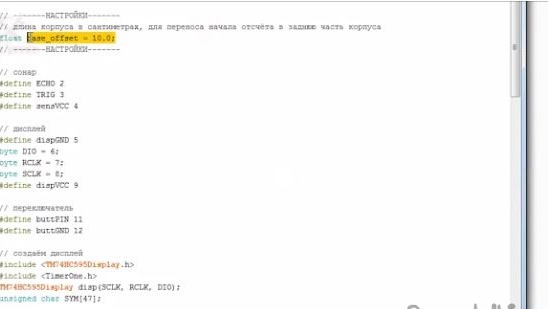
25) The setting here is only one - the length of your case. We put it along the length of your case, in our case it is 10.0 cm.
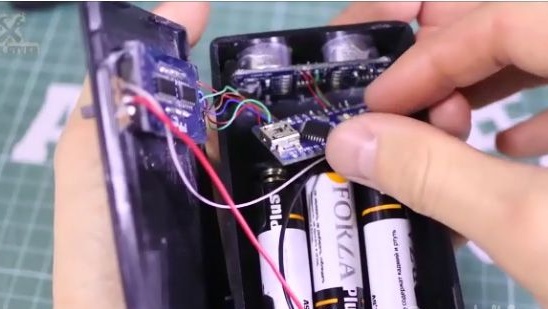
26) Now you can insert the batteries into our ultrasonic rangefinder. ALL IS READY!
Application:

First, turn it on with the right switch.
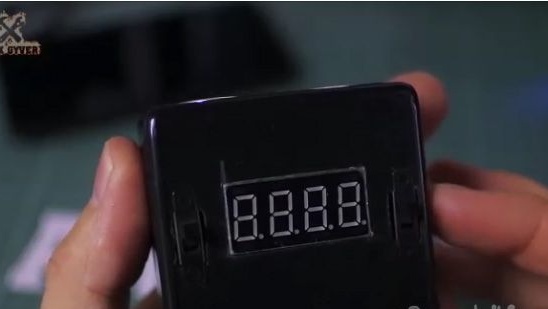
And we see that he immediately shows the distance.
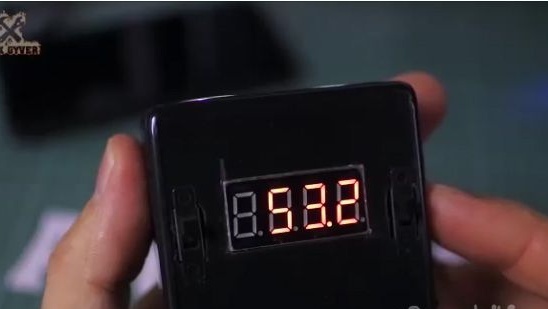
The second switch simply adds as many centimeters to the readings of the length meter as you specified in the setting. This is necessary in order to measure the distance not only from the sensor itself but also from the beginning of the housing.
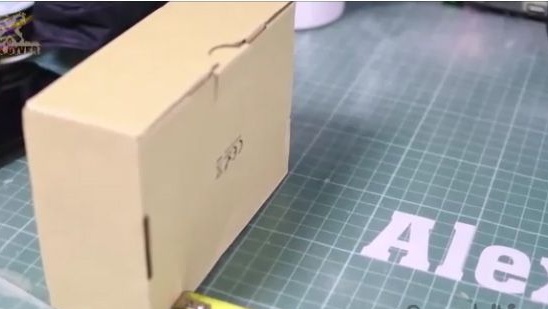
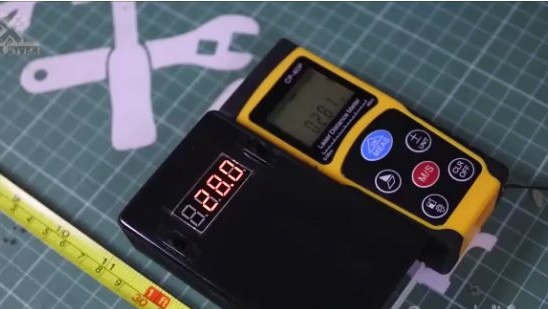
The device itself operates up to 3.5 m, but with this distance, you can measure distances for large flat surfaces, such as walls. The measurement error is not more than 3 mm, but again, it all depends on the measured surface. You can see the measurements in the photo below.
You can also see my video assembly below.
