
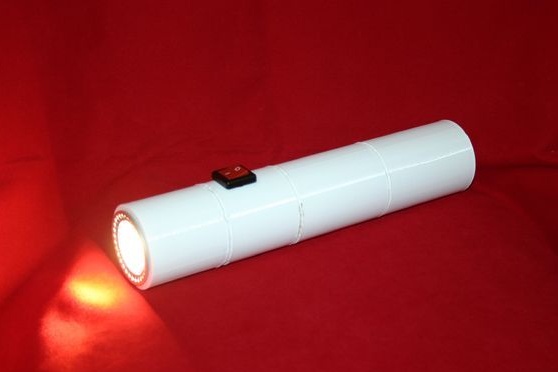
If you need a flashlight with an almost perpetual battery, this instruction is just for you. Then I will open the curtain of mystery and show you how to make a flashlight on a large capacitor. The device’s peculiarity is that it can be charged as many times as necessary, because the capacitor, unlike the battery, practically does not wear out, unless of course charging is carried out with reasonable current and voltage.
Disadvantage homemade we can assume that the flashlight shines only about 6 minutes, but it charges in 90 seconds. The power source for charging is used in 5A.
For this homemade work, the author used a powerful MR16 5W lamp, so the flashlight shines really brightly, but if you replace the lamp with LEDs, then it will shine much longer. What to choose, operating time or power, here everyone decides for himself.
Capacities here are two of 350 Farads each. Such powerful capacitors are used even in some handheld devices to start the car engine. Despite such a large capacity, these capacitors are safe to close, which can not be said about batteries. Even with a short circuit, the capacitor only heats the wire slightly, and the battery can heat it up to several thousand degrees.
Materials and tools for homemade:
- two capacitors for 350 Farad;
- lamp type MR16 with a power of 5W (or LEDs as desired);
- Boost converter;
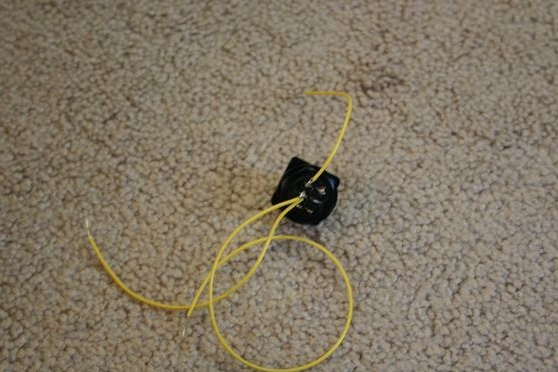
- a connector for connecting to a socket and a connector for connecting power;
- a power source with a current of 5A for charging;
- on and off button;
- fuse for 5A;
- solder, heat shrink, M3 screws, wire and 3D printer.

Flashlight assembly process:
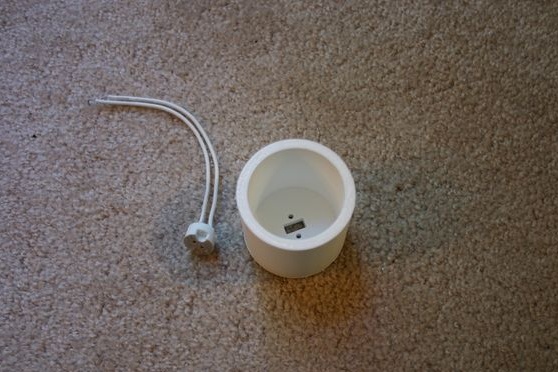
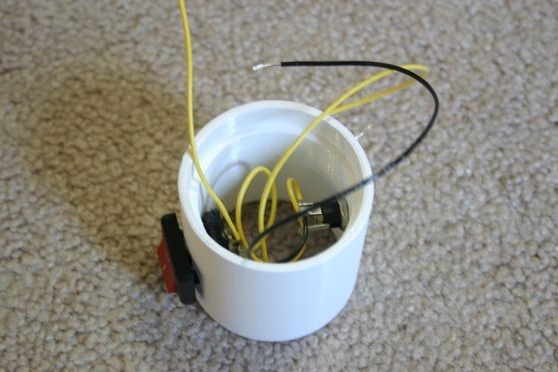
Step one. Install the lamp socket
All the necessary details over the hill have long been printed on 3D printers, but we often have to do them ourselves. If the housing you want is ready, install the lamp connector in it. The author fastens it with two screws.
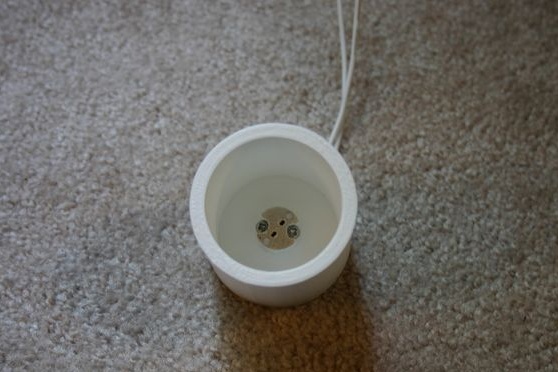
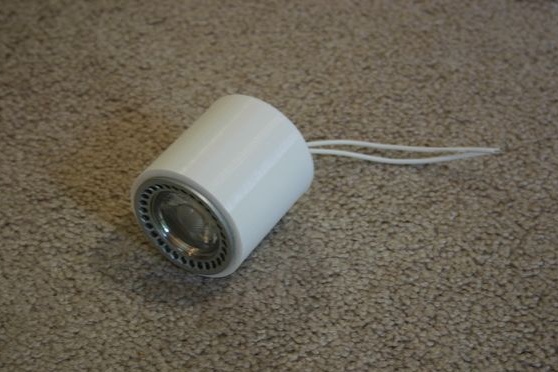
Step Two Lamp connection
If you have the right connector, the lamp simply connects to it. In extreme cases, it can be soldered.
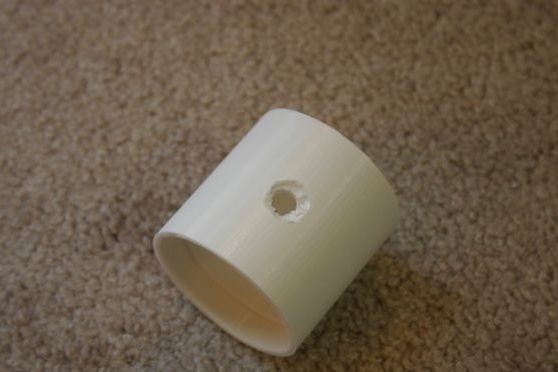
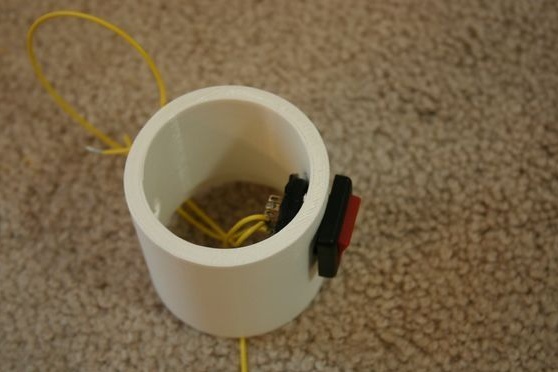
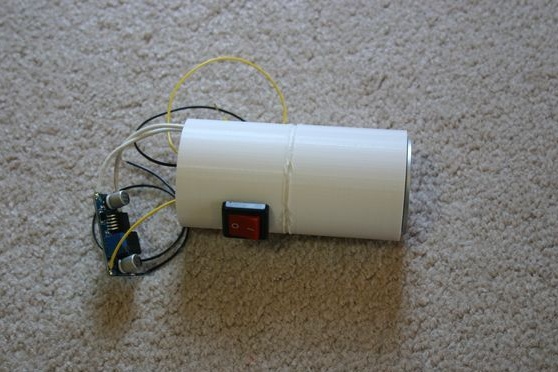
Step ThreeInstalling a switch and a charging slot
At the next stage, the author takes the second part of the flashlight and drills holes on the side opposite each other. These holes can be provided in the drawings and details can already be printed with them, but the author forgot. Well, then the switch and the input for the charger are inserted into the holes. For convenience, you must first remember to solder the wires to them.
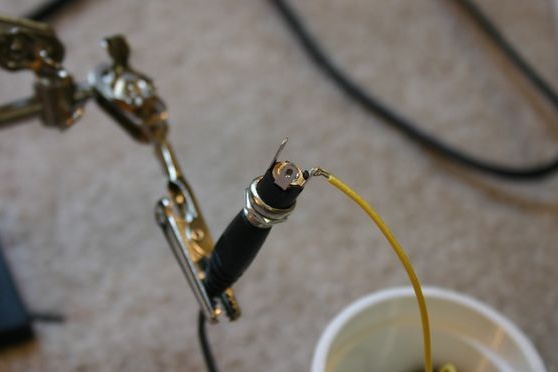
When soldering wires to the socket and switches, you need to work quickly so as not to overheat the contacts.
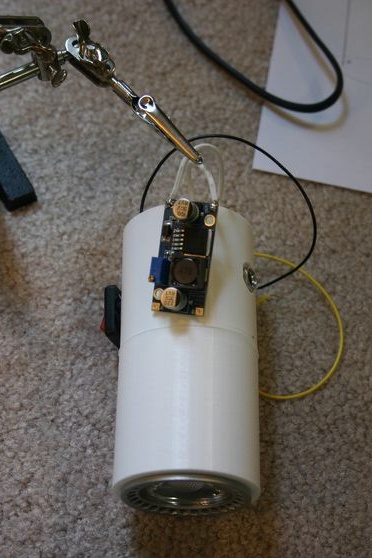
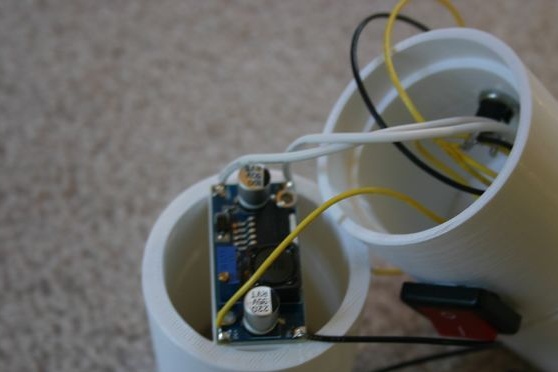
Step Four Install the converter
Next, a 12V converter is installed in the housing, thanks to which capacitors are charged. It is necessary to solder the necessary wires, and also do not forget to adjust the converter with the screw that is provided on it.
After all the necessary wires are soldered, the converter is mounted in the intended place using the M3 screw.
Step Five Connect capacitors
It's time to connect the supercapacitors. Judging by the photo, the author connects them in series. It is very important to insulate the joints reliably, here shrink will come to the rescue. The tubes can be put on one joint at once for greater reliability.
Step Six We charge and test the flashlight
That's all, the flashlight is assembled, you can try to charge it and turn it on. Capacitors need to be charged with a constant voltage of 5.4V with a current of 5 Amps.
To charge the capacitor faster, the author makes a voltage of 5.8 V and then makes sure that the charging current drops to 1 Ampere.
After charging, the flashlight can be turned on. According to the author, it shines very brightly, although the operating time is in the region of 6 minutes. Of course, you won’t go for a walk with such a lamp, but it can be useful in some places. For example, if you adapt it to charge from the car network, then you can carry such a lamp with you in the car to highlight something if necessary, and then you can quickly charge the device from the cigarette lighter.