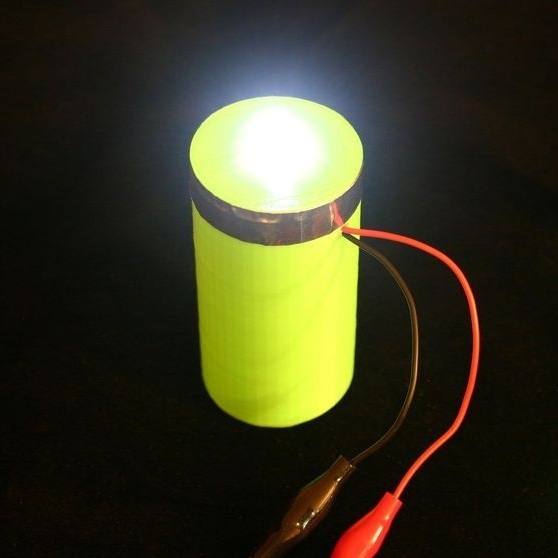
We recently looked at how to make a very bright flashlight on two supercapacitors. But his disadvantage was that a too powerful lamp was used there, which planted a flashlight in 6 minutes. Here we look at a similar lamp, which is made just the same in order to shine as long as possible. Despite the fact that there is only one capacitor installed, and not two, as in THIS COOKINGThe flashlight can shine for more than 5 hours. All this is due to the fact that here one LED is used instead of a lamp.
Everything is going pretty quickly, though you have to tinker with the case. It can be printed on a 3D printer or just pick a suitable cylinder.
List of materials and tools for assembly:
- 100 ohm resistor;
- wires;
- Light-emitting diode;
- heat shrink;
- soldering iron with solder;
- wires with crocodiles;
- diode;
- supercapacitor;
- switch and more.
Flashlight assembly process:
Step one. Parts preparation
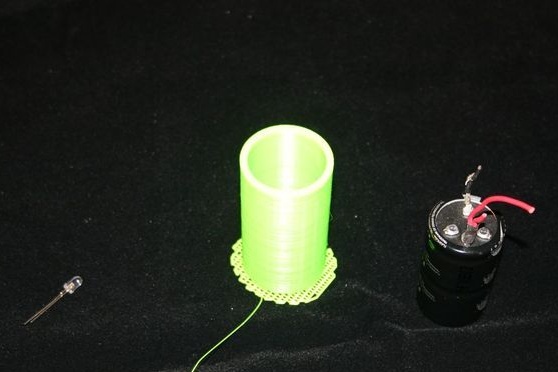
First of all, the author printed the case for the LED, cleaned out the capacitor outputs for soldering, and picked up the LED. All parts in this step are already prepared for assembly.
Step Two Scheme
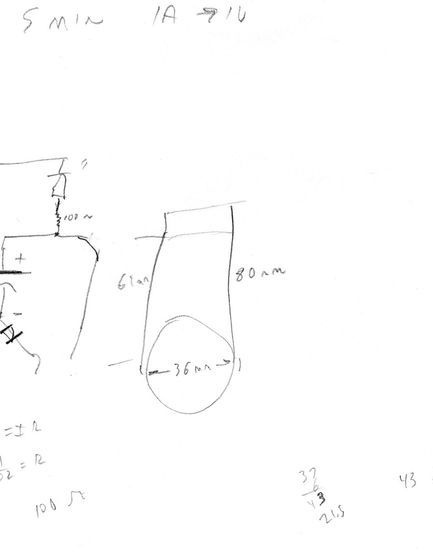
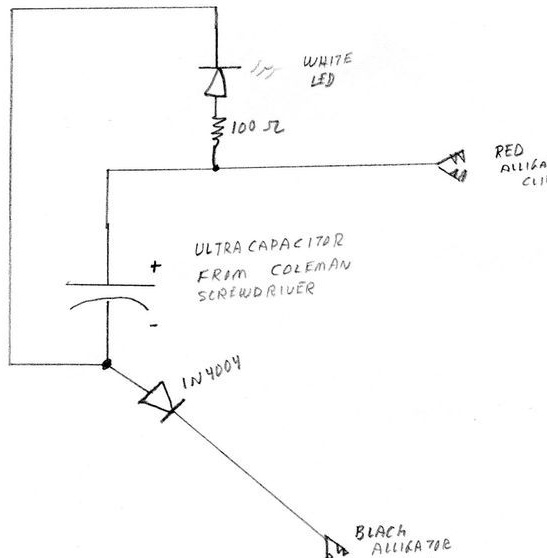
The author decided to charge his flashlight from the solar panel, in connection with this there is a diode and no switch. How exactly everything is connected can be seen in the diagram.
Step Three Install the capacitor in the housing
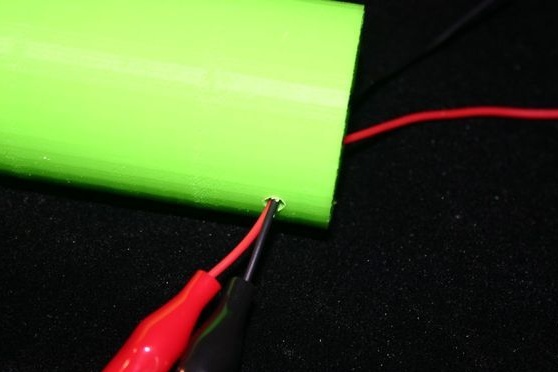
In the next step, the author installs a capacitor in the housing. First, in the upper part, you need to drill a hole for the output of the charging wires, since the author forgot to provide it.
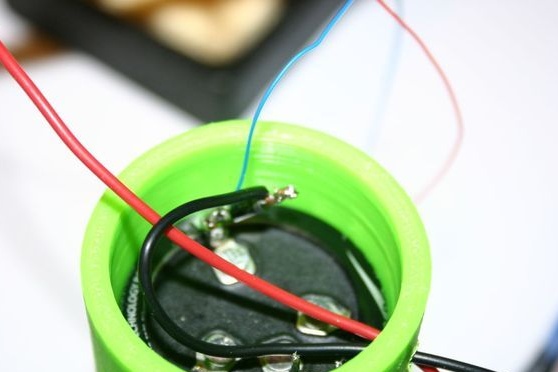
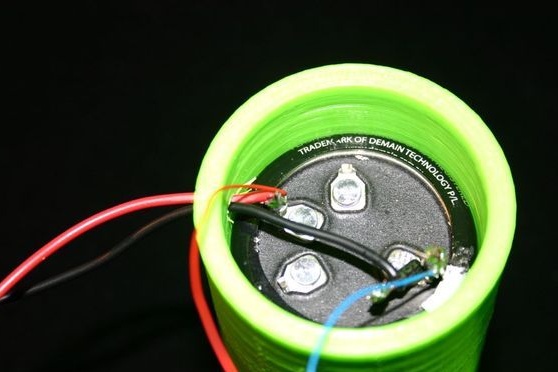
The author connected a resistor to the long terminal of the LED to protect the LED. A red wire is connected to the other end of the resistor so as not to reverse polarity. For insulation, the author pulled a heat shrink on the resistor. The author seats the pipe with a soldering iron. To the other end of the LED, you can solder a wire of blue or another color, so as not to reverse polarity during assembly. The other contact is also shrink-insulated.
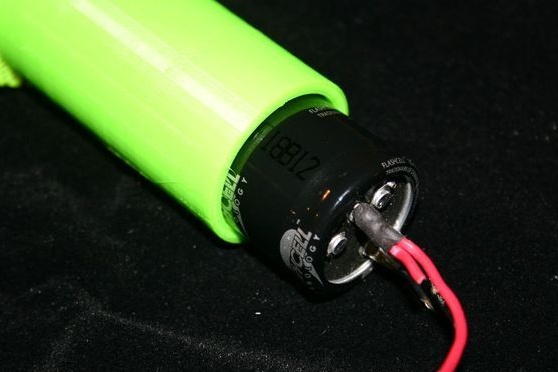
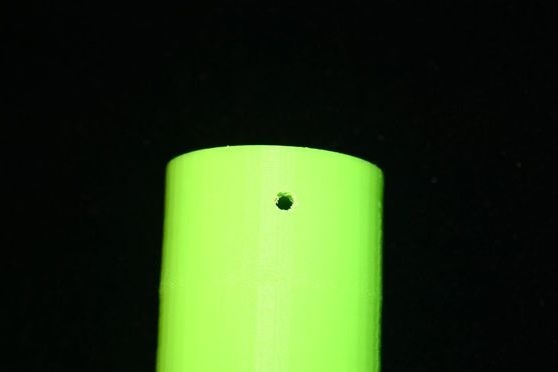
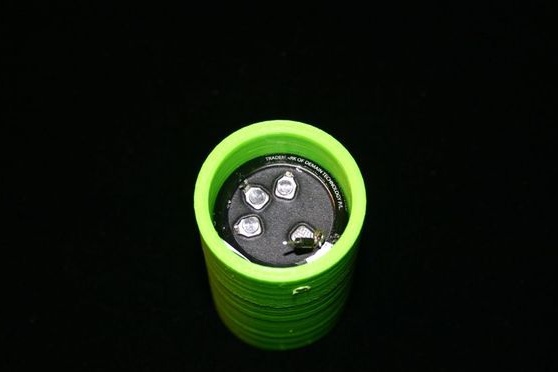
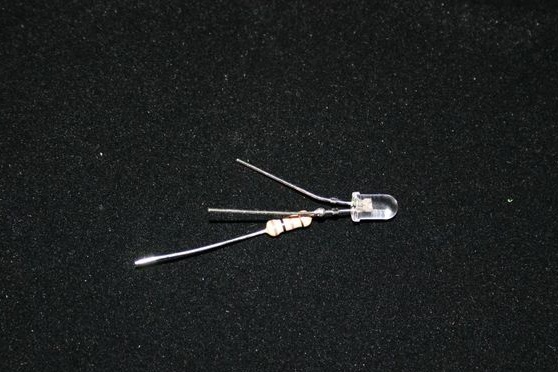
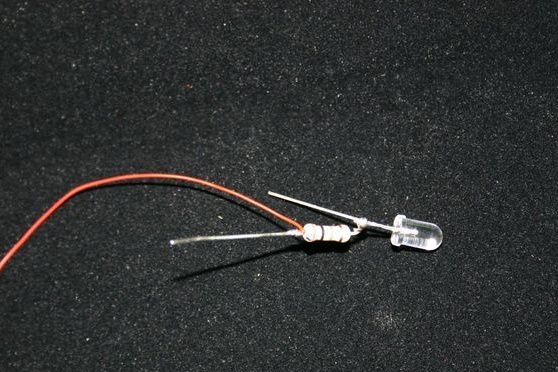
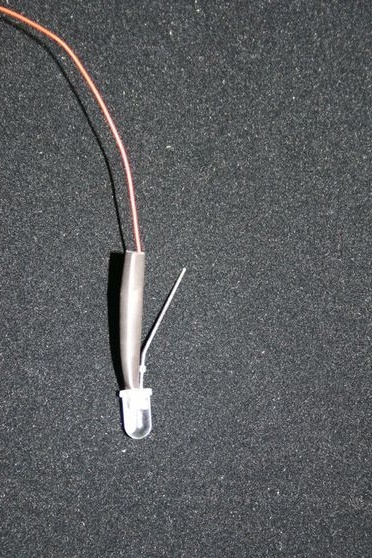
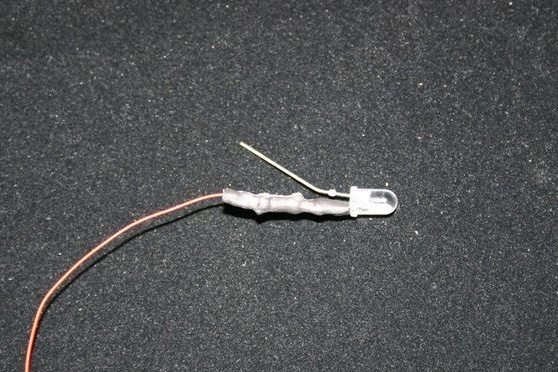
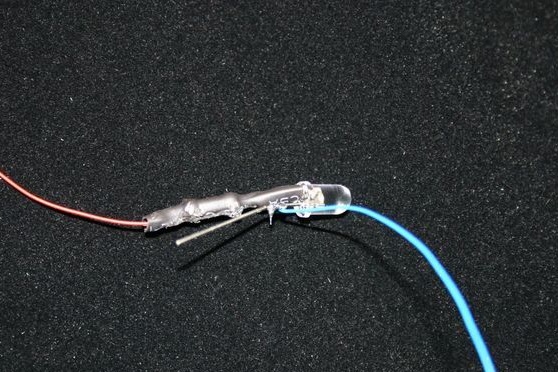
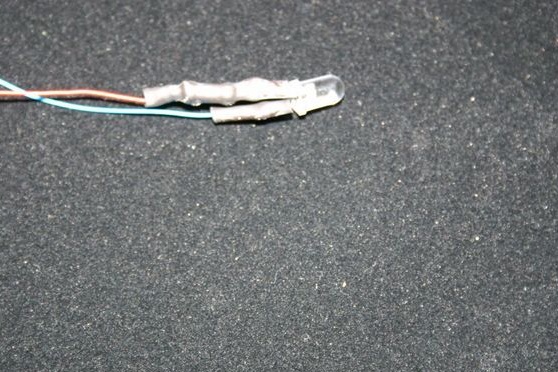
Even at this stage, you can remove the charging wires from the hole and solder them to the appropriate places.
Step Four Further assembly
Push the LED through the cover. Then it remains to solder all the other wires, including installing the LED. At the end, the cap is fixed with an aluminum scotch. So the flashlight can be quickly disassembled if necessary.
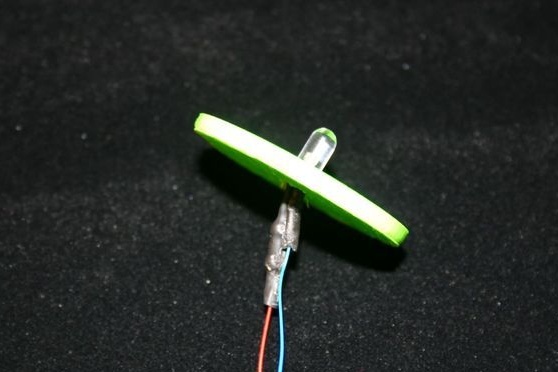
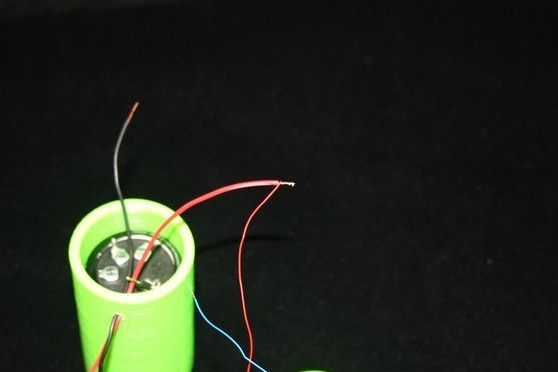

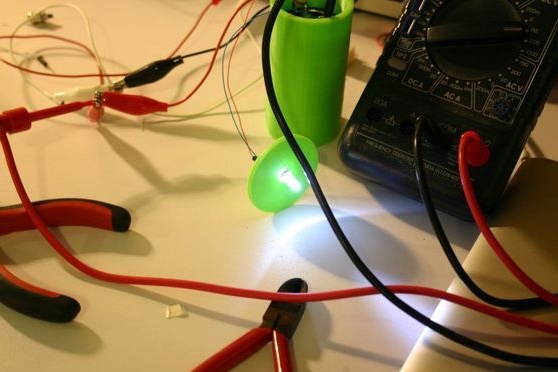
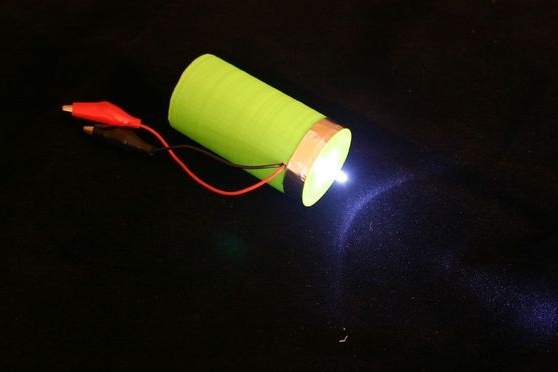
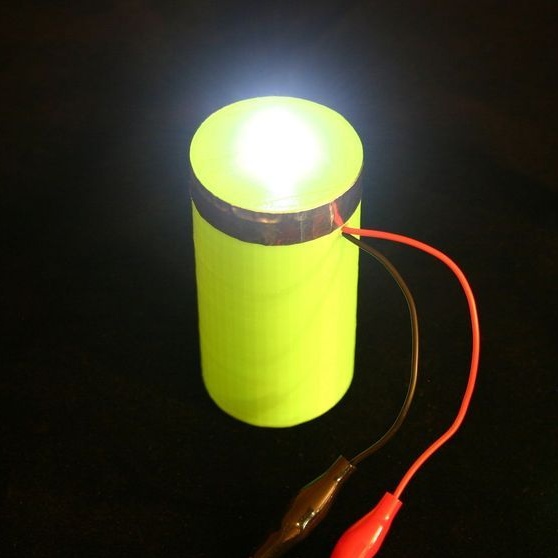
That's all, the flashlight is ready. For best performance, a reflector can be installed under the LED.
