
A file is a very good source of steel for making knives. Such steel after manufacturing homemade it can be hardened, or you can just turn the knife without overheating the steel and generally not harden it, it will still be durable.
The author considered the knife considered below a pocket knife, but in reality I would not have carried it in my pocket and would not recommend it to you, since when you fall, you can get hurt and no cover will save you. The knife does not fold.
Materials and tools for making a knife:
- file;
- ruler;
- drill with drills;
- grinder;
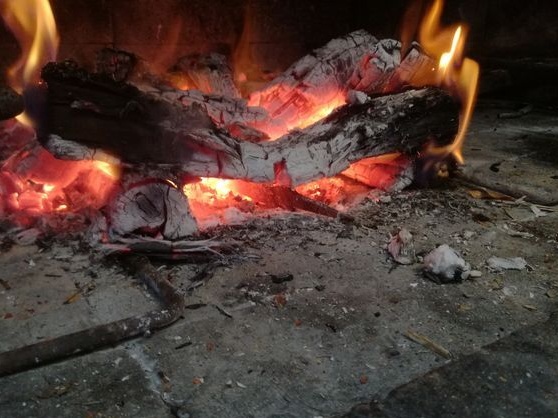
- bonfire or stove (for tempering / hardening of steel);
- belt grinding machine;
- a pair of files for processing the workpiece;
- wood, metal rods, epoxy for the manufacture of pens;
- leather, awl, thread for the manufacture of cover;
- oil for skin impregnation.
The process of making a knife:
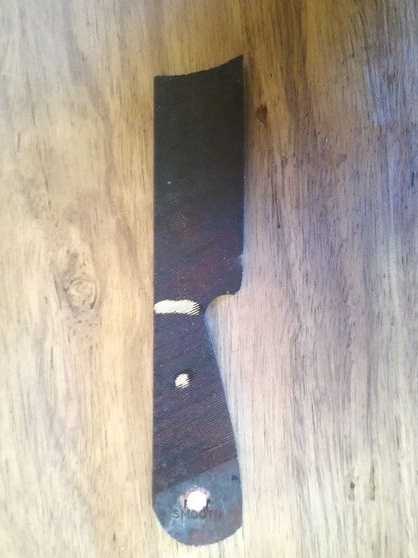
Step one. We prepare the source material and determine the size
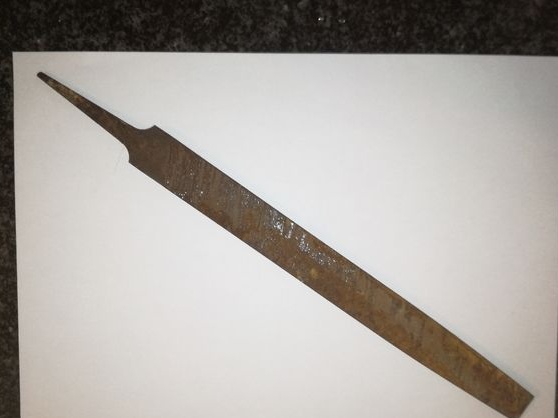
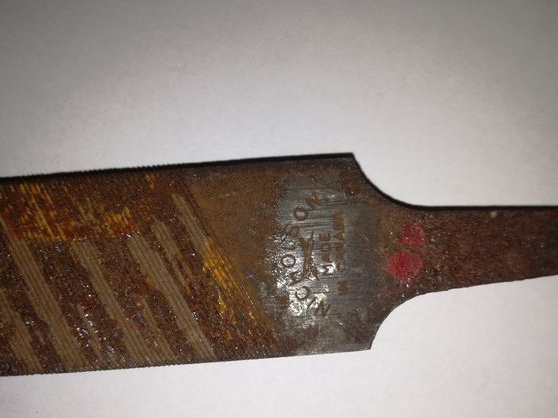
First thing you need is a file. Almost for free you can get the old file, they are often found on metal depots. It is important to carefully examine the file for cracks, it is also not necessary to take a broken file. An internal crack can be almost invisible, and all the work will go down the drain.
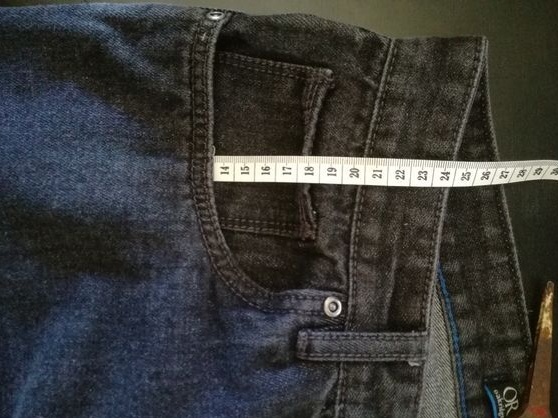
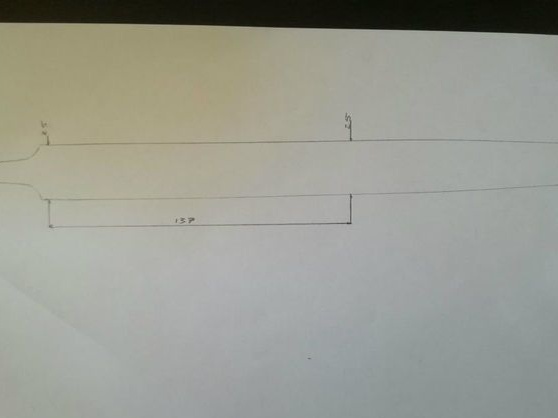
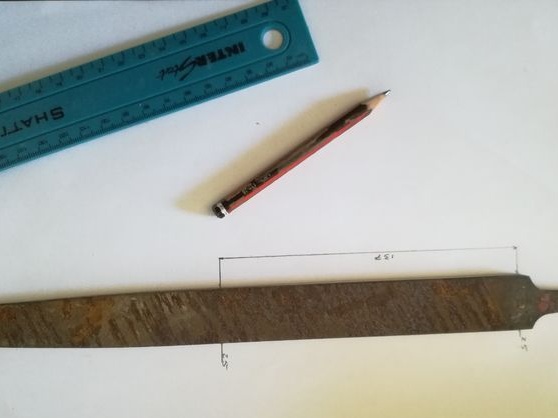
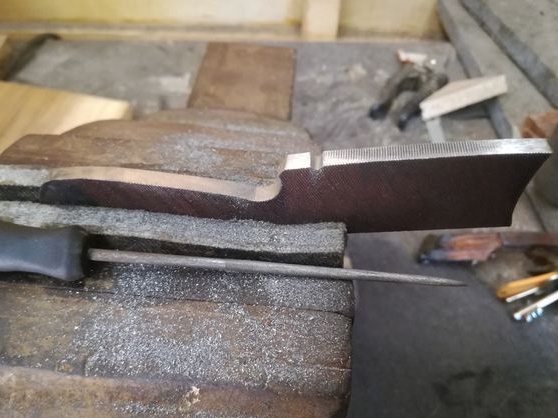
Further, the author determines the size of the workpiece. In his idea, the knife should fit in a jeans pocket. The depth of the pockets will need to be measured with a ruler or centimeter.
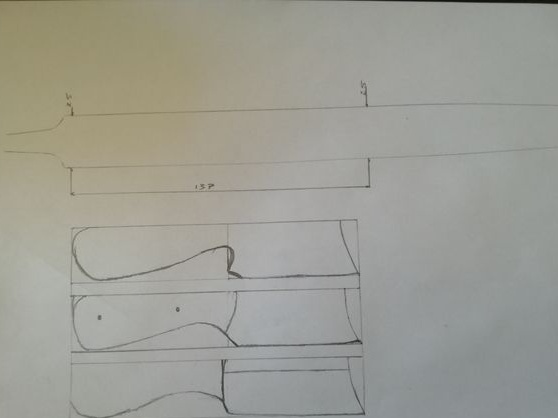
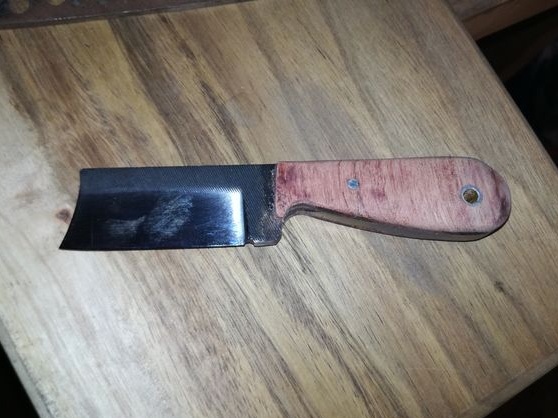
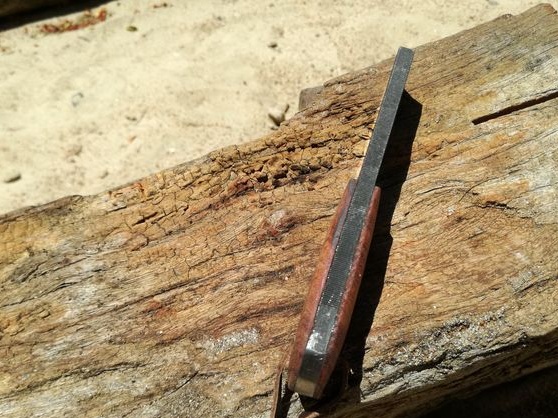
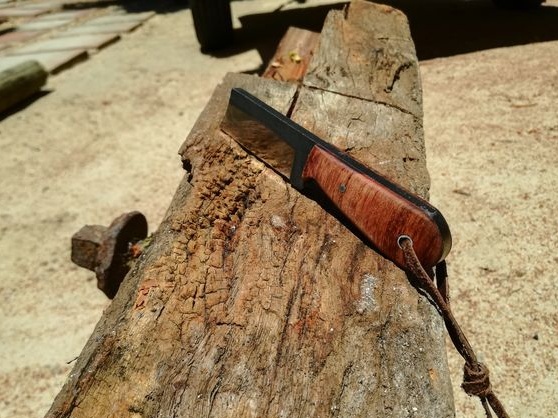
Knowing the size, the author takes on the development of the profile of the blade. The author’s blade has dimensions 13 X 2.5 cm. The author made the front part of the curve for more efficient cutting. The handle is three fingers long.
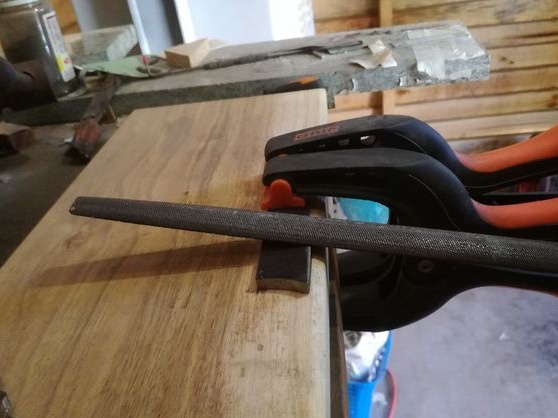
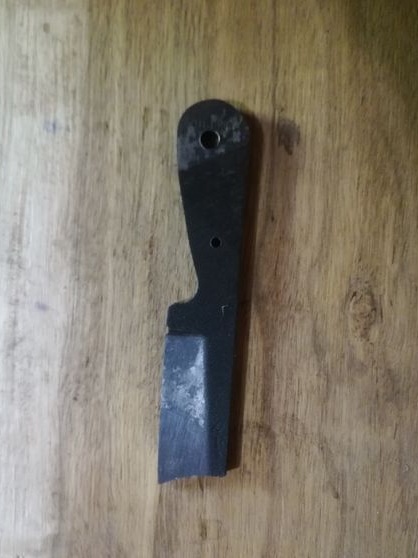
Step Two We prepare the blank for further work
You just won’t be able to drill a hole in the file, and forming a profile will be extremely problematic. For further work, the author makes the workpiece softer, this procedure is called vacation. If you do not have a stove, you can just light a fire and then heat the file red. After heating, the file must be pulled out and allowed to cool in air. After that, the metal should become significantly softer, and it should be taken with another file. If the metal has not softened, then the procedure must be repeated, heating the metal is stronger.
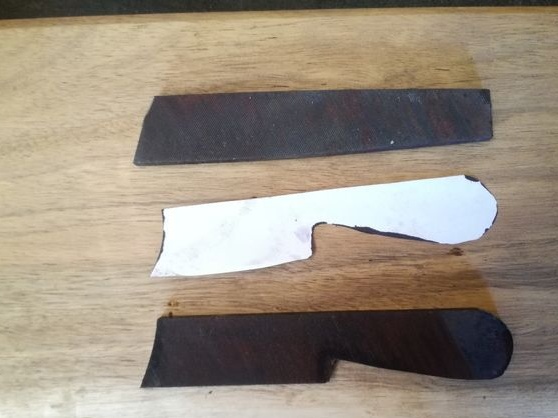
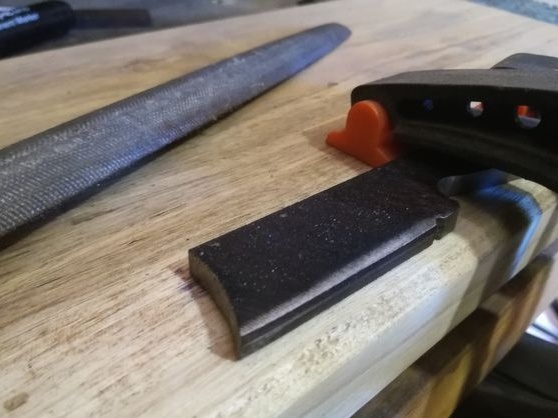
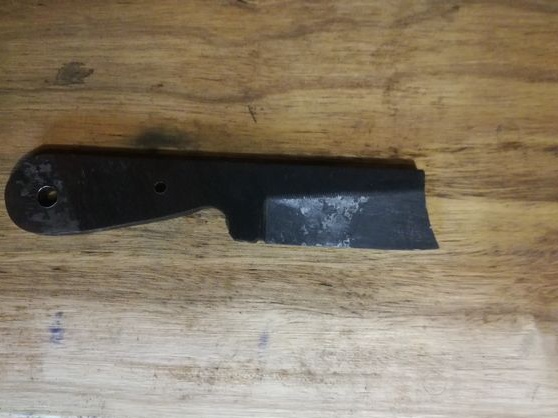
Step Three Cut the main profile
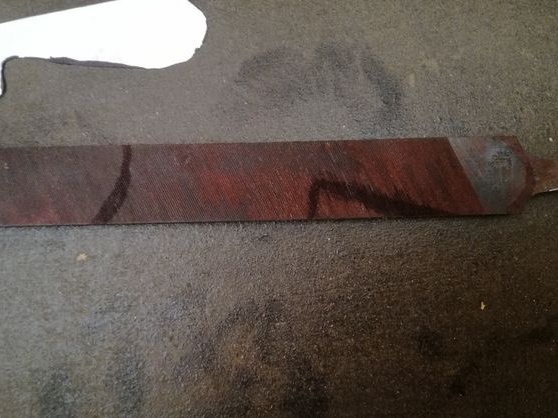
At this stage, the author cuts out the main profile of his knife from the file.You can do this by any available methods, using a grinder or a hacksaw for metal, the main thing is to observe safety precautions.
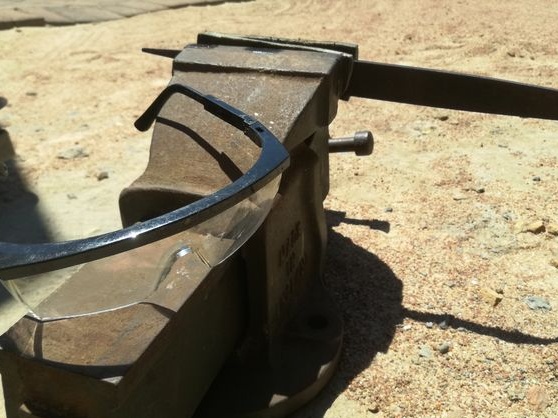
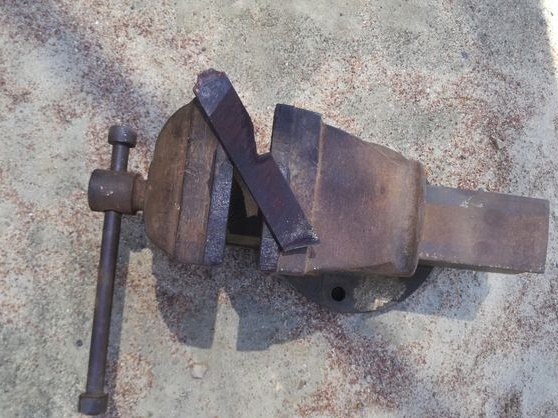
If you work with hand tools, the workpiece for convenience will need to be clamped in a vice.
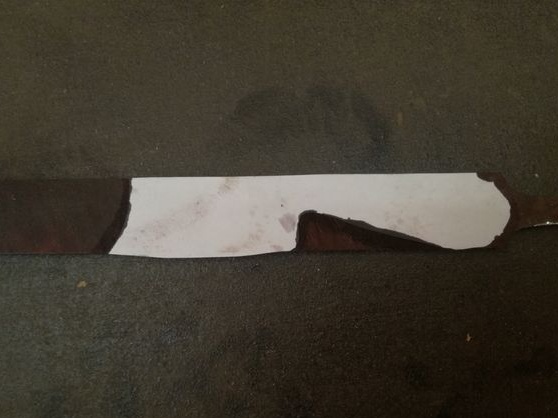
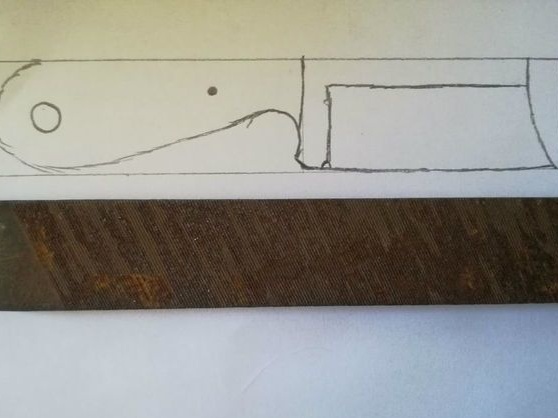
To easily cut the desired profile, first draw it on paper and then cut it out. Next, the cut out template is glued to the workpiece and cut out.
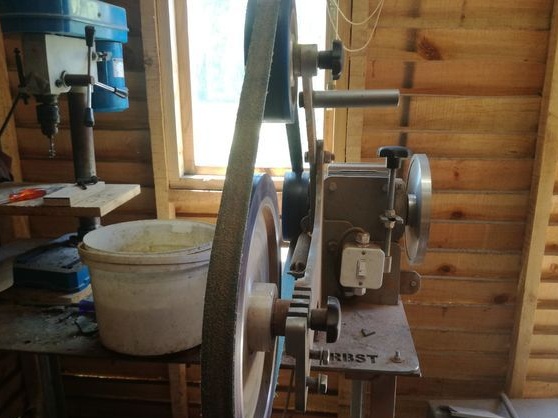
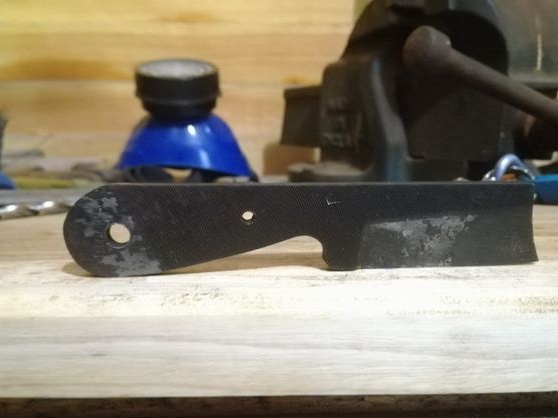
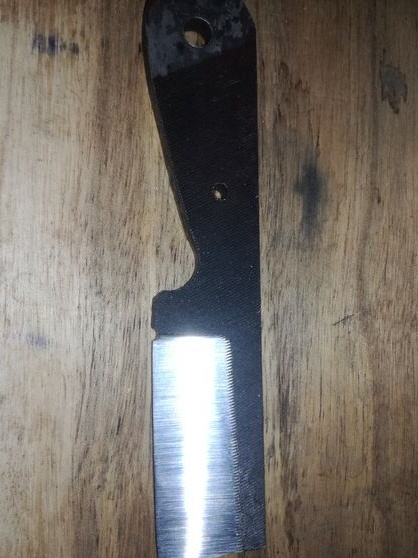
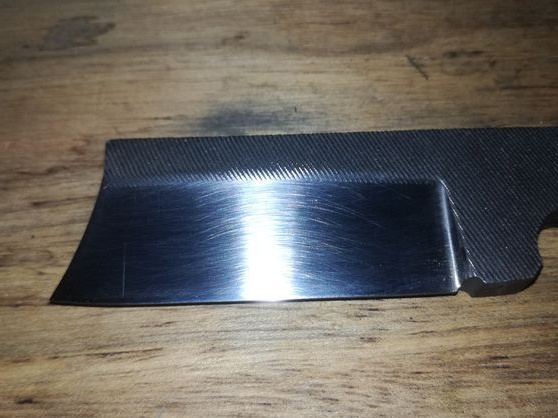
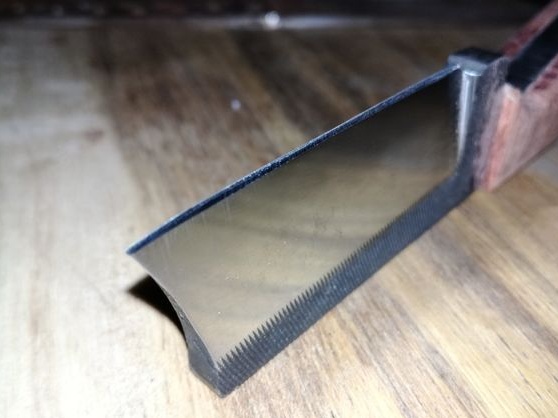
Step Four Knife grinding
For further work, it is easiest to use a belt sander. With it, you can conveniently and quickly form the bevels on the knife and bring the profile. But if there is no such device, all this can be done with a file.
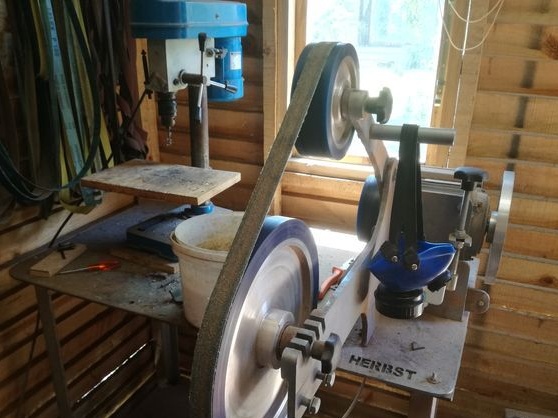
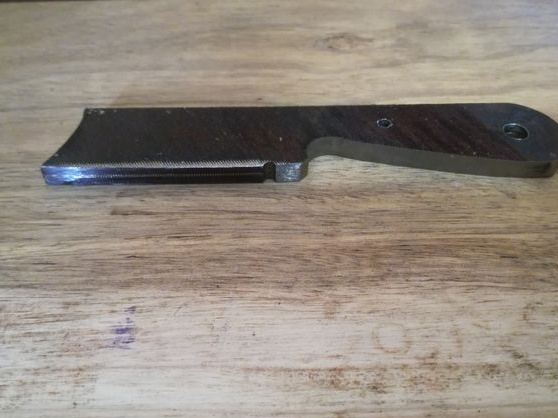
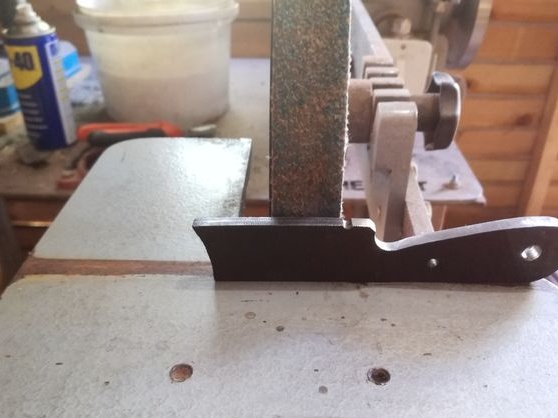
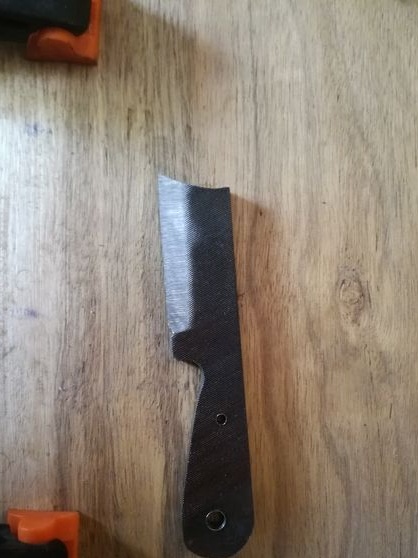
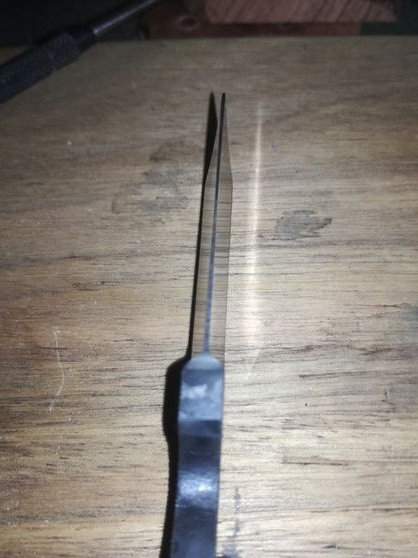
You can also combine it by completing the main work on the machine, and finer using a file. The most important thing in this procedure is to obtain symmetrical bevels, and also to correctly set their angle. If the blade is thin, it will cut very well, but it also creates a risk that the blade may warp during hardening.
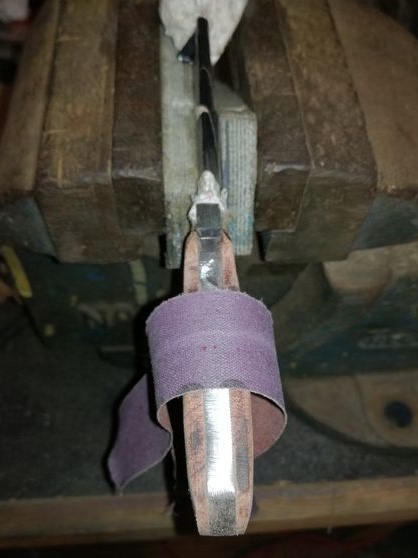
Step Five Quenching
Steel hardening consists of two parts. First, the knife is tempered so that the steel becomes as strong as possible. But strength means high fragility, so that subsequently the knife is specially released a little to give it flexibility.
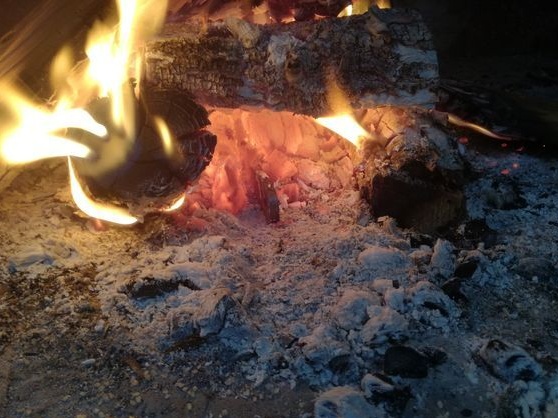
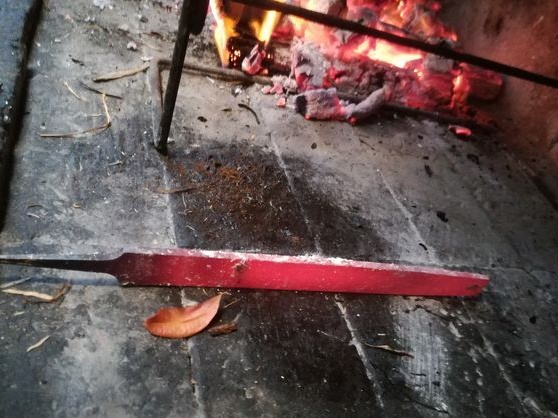
To heat the knife, we send it to the fire and heat red-hot. Ideally, the steel should heat up to such a temperature that the magnet ceases to attract it. If the temperature of your fire is insufficient, the coals can be inflated with a hairdryer and get a very high temperature. After heating, the knife needs to be held a little in such a state that it is all uniform in color, that is, it is heated evenly.
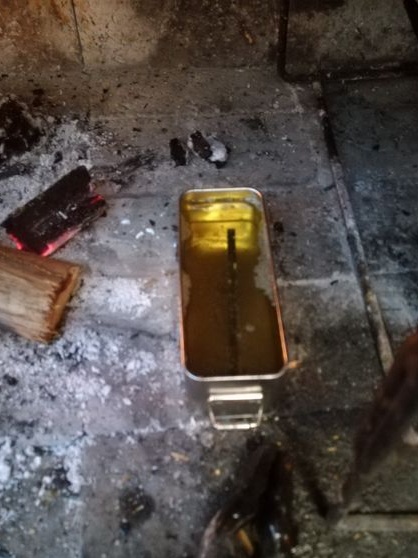
Well, then the steel will need to be quickly cooled. To harden such steel, the author uses ordinary vegetable oil. Here you need to be very careful, as when lowering the knife into the oil a lot of smoke and spray is generated.
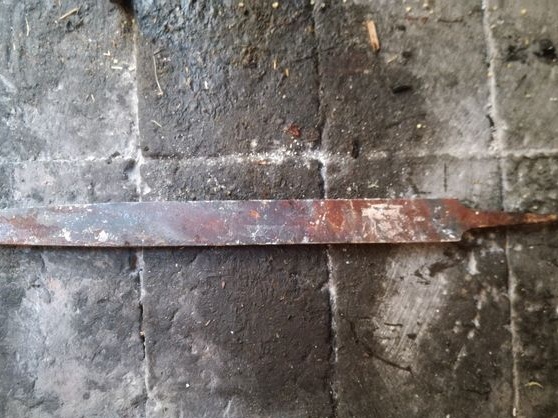
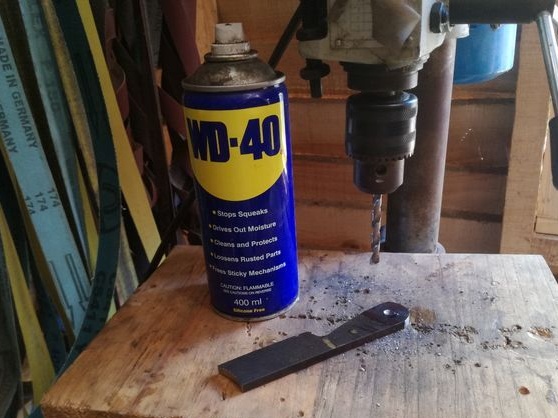
When the knife has completely cooled, it can be pulled out. It will be covered in oil and tan. The oil can first be washed off with a detergent. The remaining dirt is cleaned mechanically, that is, with emery, a grinder and so on. The author simplifies this process using the WD-40.
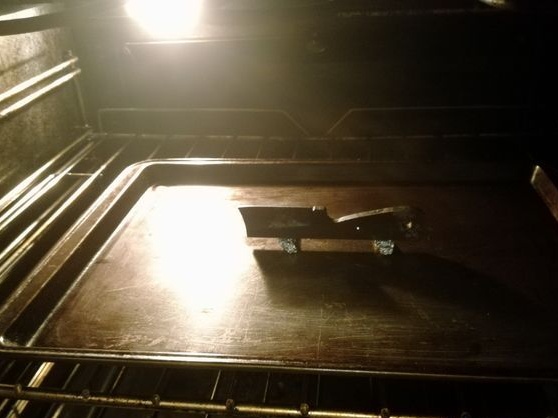
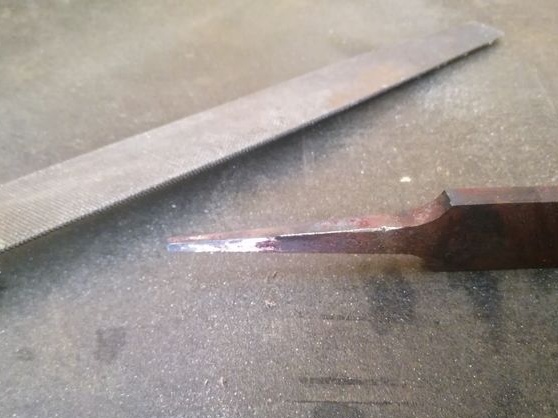
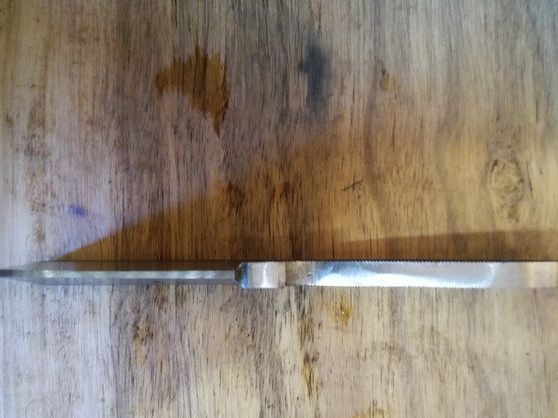
The next point will be testing our knife for hardening. To do this, you need to hold a file along the blade. If the knife does not scratch, it means that the steel is hardened well. Well, after that you can proceed to the final stage of hardening - the release of metal. Here the oven will come to the rescue, in it you need to set the temperature in the region of 200aboutC and place the knife. Here it should be in the region of one hour or more, depending on the thickness of the steel. After that, the knife is allowed to cool with the oven, that is, as slowly as possible.
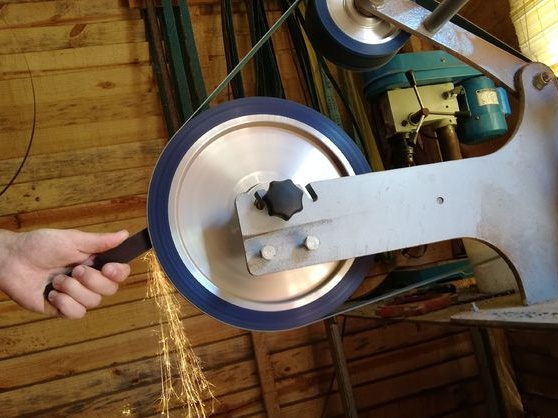
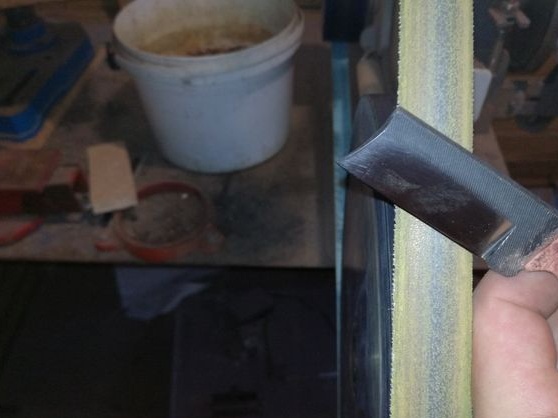
Step Six Final grinding
In the end, the author carefully polishes the blade, at the same stage it is sharpened to the state of a razor. When grinding the blade, you need to be careful not to overheat the metal, since all labor will be in vain. To do this, the blade must be periodically lowered into cold water.
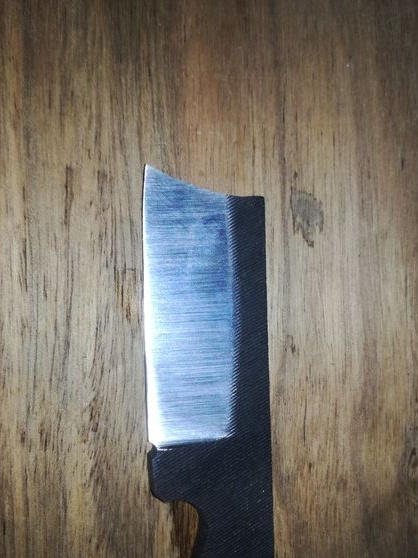
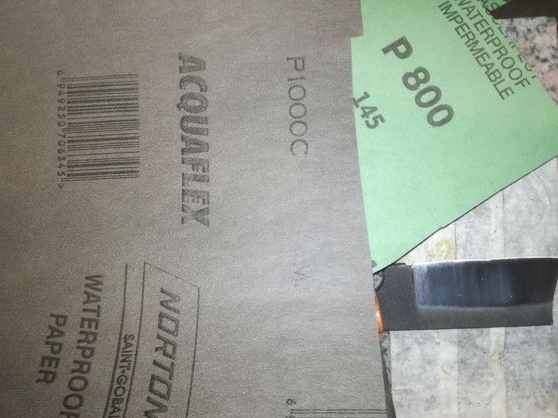
Grinding the author begins with a grain size of 80. When the edge of the blade approaches the mark of 1 mm, it is necessary to reduce the grain size by setting approximately 120-180. As a result, gradually reducing the grain size, the author brings the appearance of the blade to a mirror state.
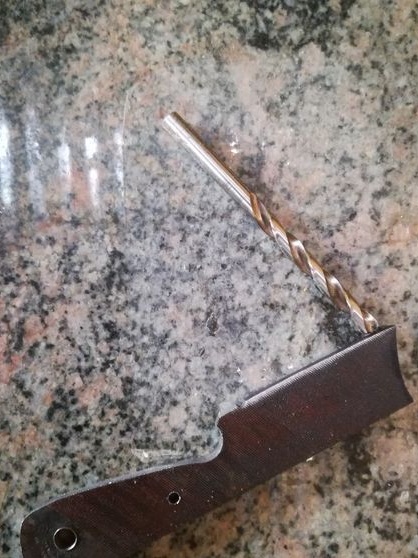
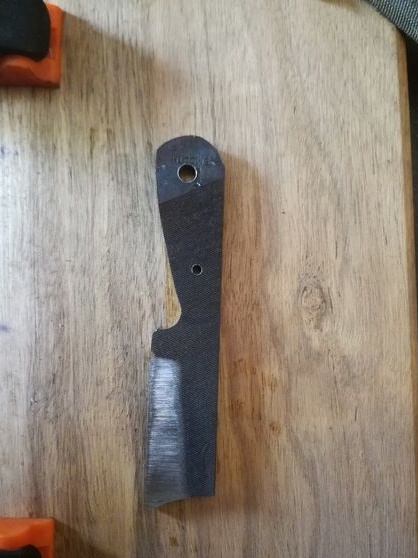
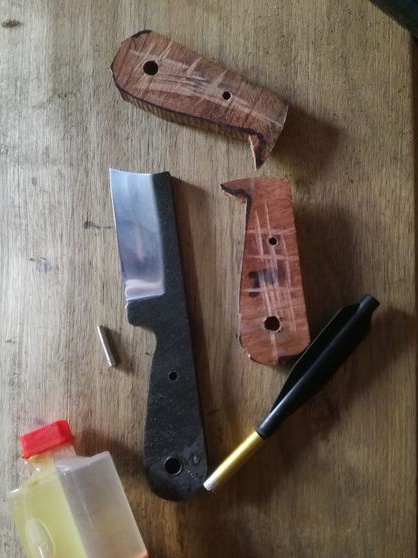
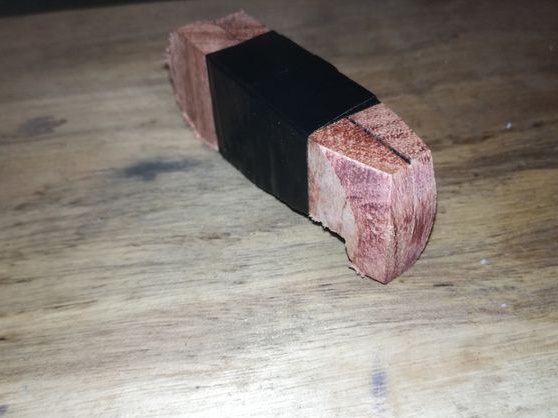
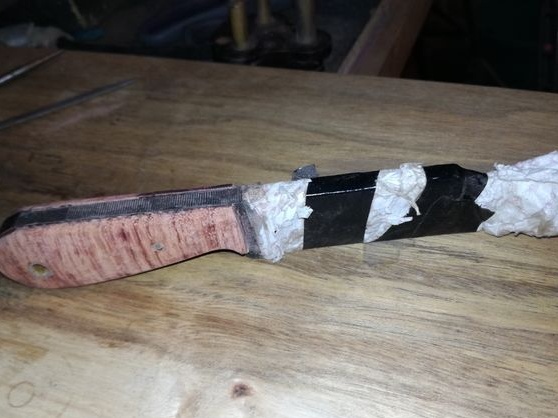
Seventh step. Making a knife handle
The handle for the knife is made in a classic way. Pick the right piece of wood and cut two halves in shape roughly similar to a knife handle. Instead of wood, you can still use animal horns, plastic and other materials. Next, holes are drilled in the handle and the two halves are connected by pins. They can be steel, but it is better to choose non-ferrous metal, such as copper or brass, so the handle will be more attractive.
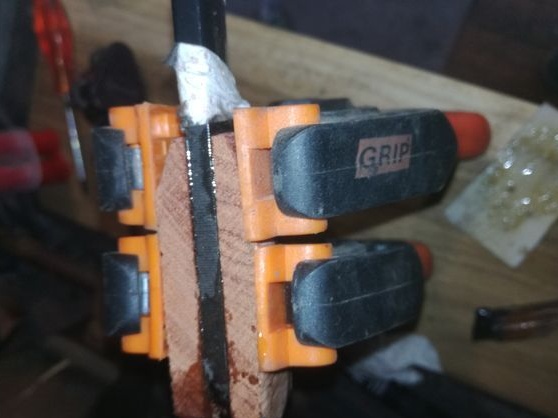
At the end, both halves are lubricated with epoxy and tightly compressed in a vice or clamp. Now we need to wait until the glue is completely dry. In order not to take risks, it is better to wait a day.

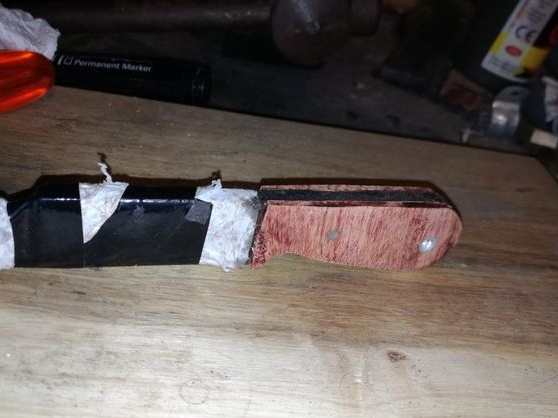
When the glue has dried, we again take the knife and go for the belt sander. Now we form the final profile of the handle. At the end, you can bring the handle to a smooth state manually using fine emery cloth.
Step Eight. Apply a protective coating and sharpen a knife
The knife can be sharpened to a super sharp state with a water stone, unless of course you need it. But if you still decide to carry it in your pocket, it is better not to sharpen it too much.
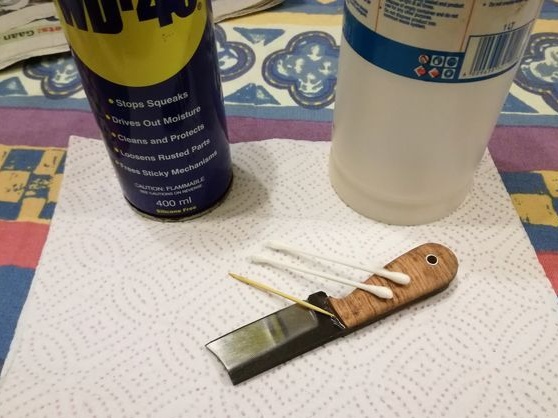
In order to protect the handle and steel from dirt and rust, it must be treated with a protective coating. The author uses linseed oil for such purposes. But before applying the oil, the knife needs to be thoroughly cleaned, here the WD-40 comes to our aid. To clean all the cracks, you can use a toothpick. Grinders usually accumulate pebbles from the grinder that scratch the blade.
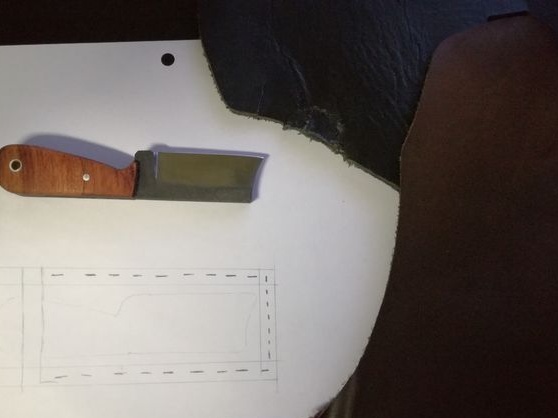
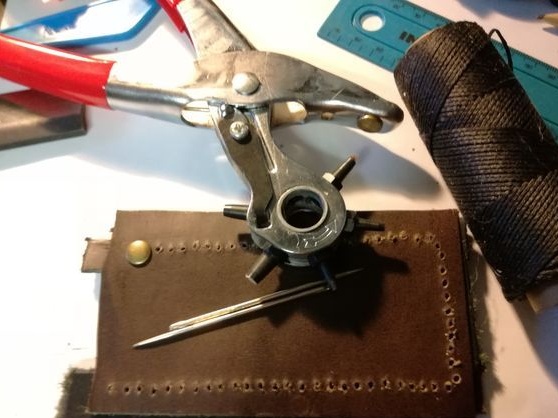
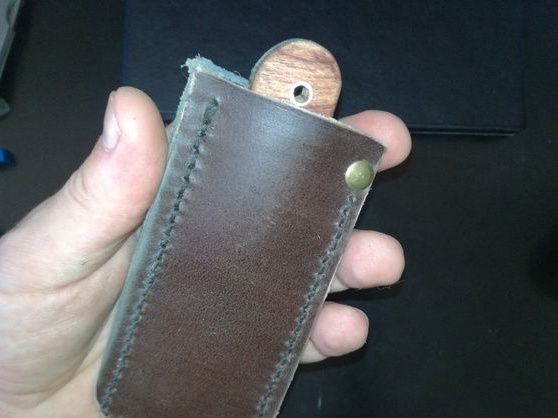
Step Nine. Cover making
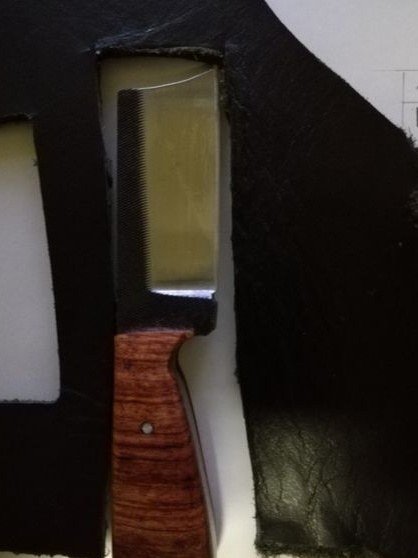
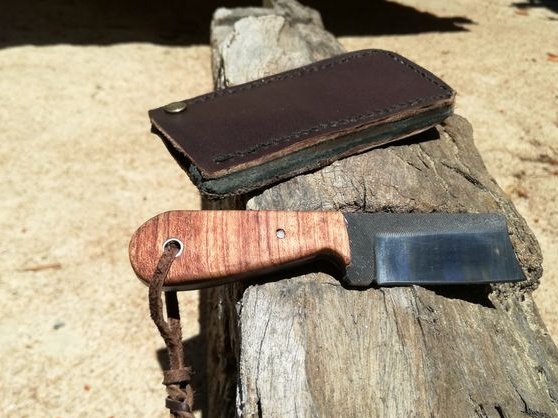
To carry a knife in your pocket you will need a good thick cover. It can be made from thick leather. If there is no such skin, then thinner skin can be folded in half. The cover can be made of two halves, which are then sewn together. For reliability, the firmware location can also be glued.
You can also cut the cover in the form of an integral design from two halves, and then sew the halves only on the sides, as a result, the bottom will remain cast. Here you will have to tinker with the manufacture, work with an awl and needles.
It would be nice to make the cover lockable or equip it with a latch so that the knife does not come out of the cover when walking from it.


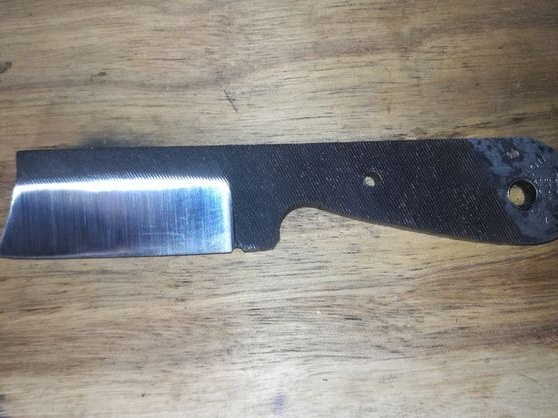
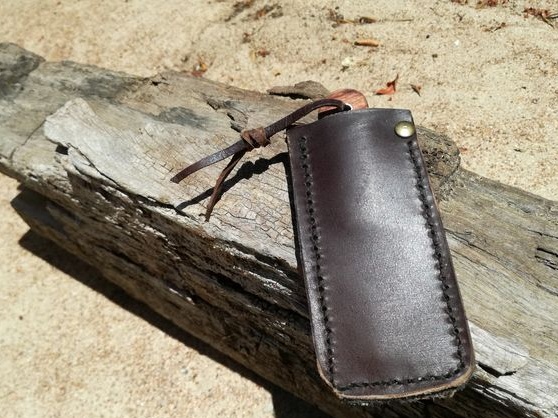
Step Ten conclusions
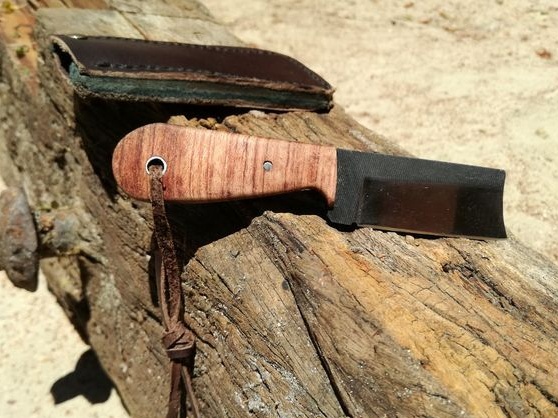
According to the author, he is pleased with his knife. The knife turned out to be small and very sharp. To make it easy to get the knife, the author tied a leather tape to the handle.

The knife will serve you for a long time if you follow it. To do this, regularly soak the handle with oil and make sure that the steel does not rust. The blade can be treated with the same oil or WD-40 to prevent rust. Well, of course, the knife needs regular sharpening, but do not overdo it.
Good luck 