Parting with old things is not always easy and simple. Especially if the previous owner made them their own hands. Some masters are seriously convinced that these things have a soul. Be that as it may, but it is safe to say that old products, tools and fixtures are an excellent model for their recreation.
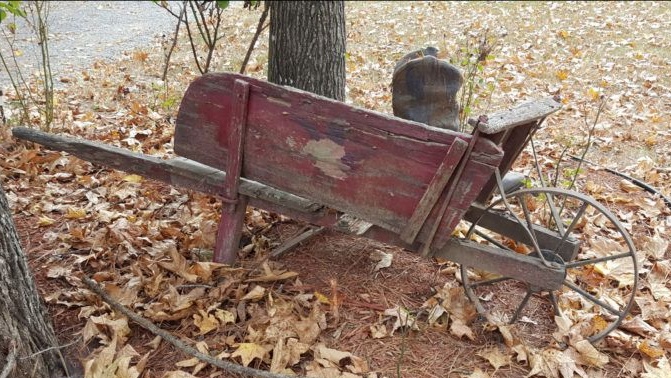
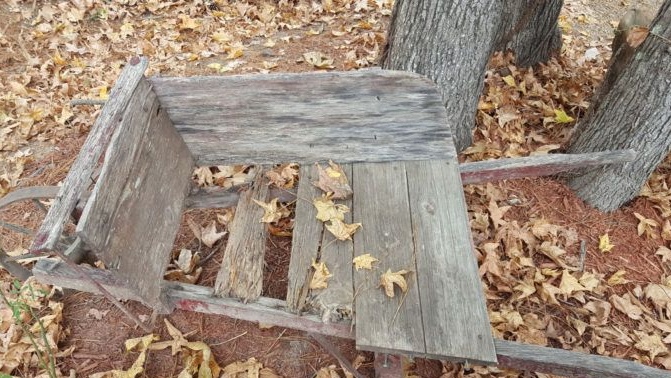
Such a learning comprehended an old wooden wheelbarrow with metal wheels, which her old owner had left on his plot before selling it to a new owner. At first it was planned to use it as a decor on a flower bed, but time passed, and the car continued to sour lonely in the damp grass along the road. In the end, her left side and hilt completely rotted, so that the inventory fell into disrepair.
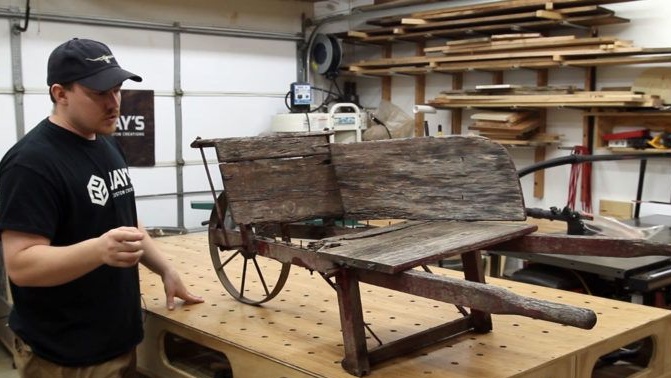
The author of this workshop decided to recreate a wooden wheelbarrow using the surviving metal wheels and mounts. To do this, he dragged a sample falling into pieces into his workshop and set to work. Let's see what you need to do it yourself build a wooden wheelbarrow for chores:
Materials:
- non-thick, but durable wooden boards suitable for the manufacture of a wheelbarrow body;
- bars for the manufacture of handles or boards for gluing such prefabricated bars;
- wooden slats for the frame;
- primer antiseptic;
- paint of a suitable shade;
- screws, bolts, washers and nuts, if necessary, nails;
- glue for working with wood materials, if you want to extend the construction life;
- metal wheels and fittings for their installation .;
- epoxy sealant (resin).
Instruments:
- jigsaw or circular;
- a planing machine if the boards have pronounced bumps or have been stored for a long time in inappropriate conditions;
- grinder;
- electric drill with a drill on wood;
- screwdriver;
- clamps and clamps;
- a metal scraper for forming curly details from wood or a convenient knife for woodcarving;
- paint brushes for wood processing and staining;
- construction tape measure;
- square and ruler;
- a pencil.
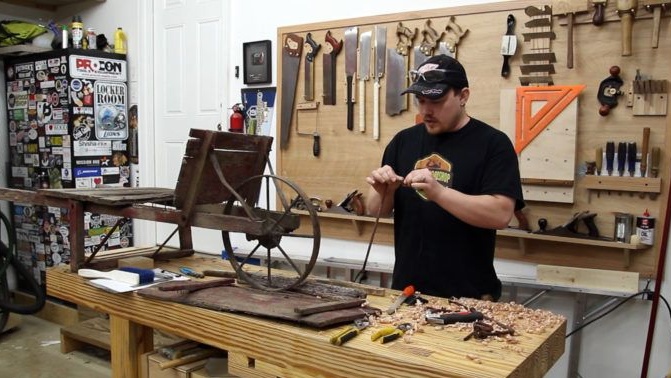
Step one: sample preparation and selection of materials
The author used an old wooden wheelbarrow as a layout. Initially, he planned to clean e from the garbage, deliver it to his work shop, then assess the damage and replace the damaged elements with new ones.However, time did its job and it soon became clear that the car was not repairable. Therefore, I had to start all over again and make a wooden wheelbarrow myself.
The material that the author chose for the construction is red oak. From experience, the forest is not very resistant to decay, however, he did not want to buy new material specifically for this project. Instead, the author intended to work with what was left of him, and this material has not been used for a long time due to its unpresentable appearance.
When choosing materials, be guided by what work you will use your wheelbarrow for, as well as by what conditions it will be stored. Oak is an excellent material for such needs. Boards can be cut very thinly, but at the same time they will retain their excellent strength. However, even in this form, oak is a heavy material. Pine is a good alternative. This softwood impregnated with resins and with proper processing and operation will last a long time. However, pick up boards without knots.
You can also choose plywood for making the case. Someone's combination of oak frame and plywood case is definitely suitable. This is a glued, non-thick, but durable material. However, be prepared for the fact that plywood requires processing that prevents decay and delamination due to moisture. The ends of the plywood case can be sheathed with thin metal, such as galvanized, to protect them from mechanical damage.
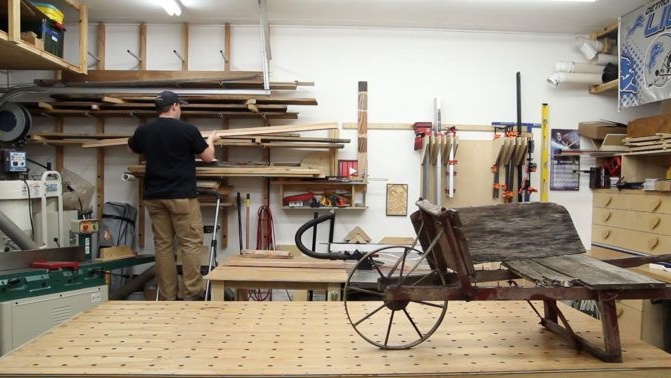
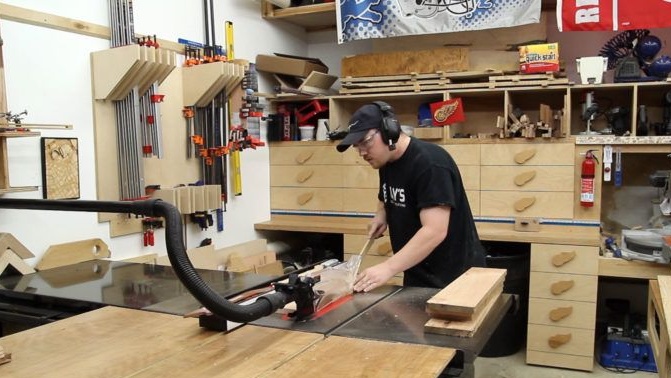
Step Two: Preparation of Lumber and Metal Parts
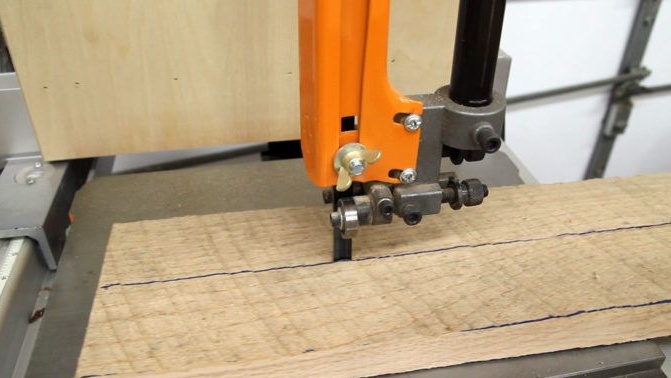
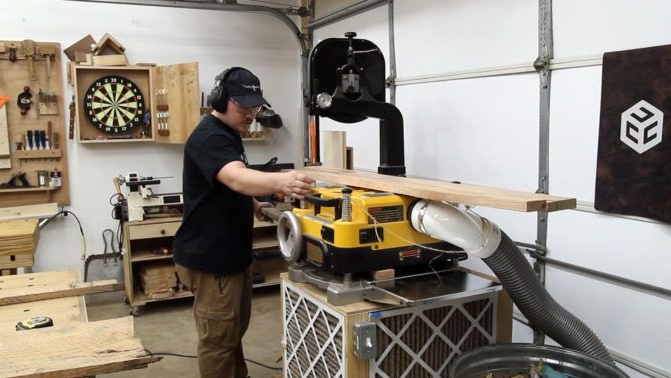
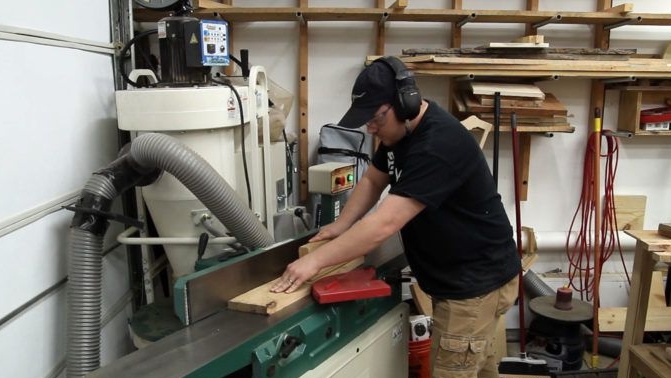
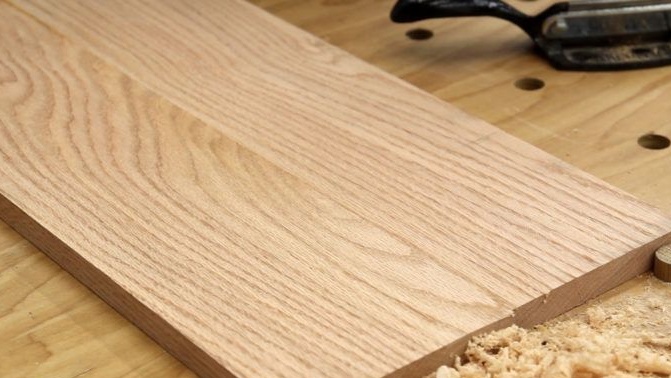
The author used uneven second-hand boards not of the first freshness. To process them in this form on a saw machine is not only difficult, but also very dangerous. Therefore, to begin with, the boards were planed on the machine. The author achieved a kidney with a perfectly flat surface and simultaneously returned to the material a completely attractive appearance.
If you use second-hand materials and plan to paint them, planing, or at least grinding, is a step that would be a big mistake to exclude. The consumption of paints and varnishes increases, the appearance suffers, and the whole process is significantly delayed.
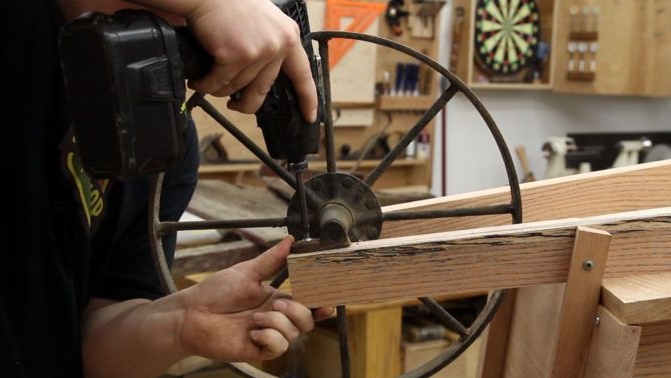
Of all the metal parts, only the wheels survived. Other elements were destroyed, and it became clear that their further use in this project is impossible. The design had to be slightly changed, but in general the appearance of the future car was almost no different from its ancestor. The author cleaned the wheels of debris and oxide before using them.
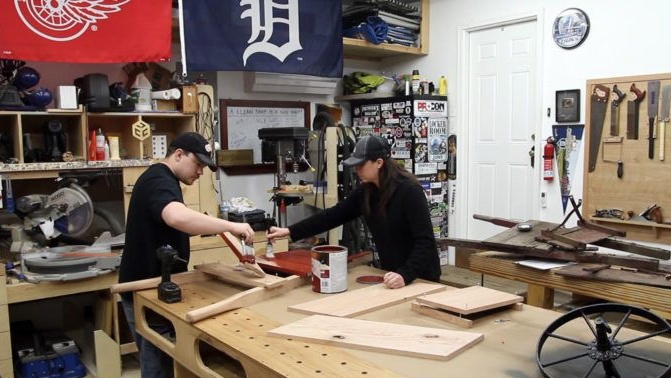
Step Three: Making Wheelbarrow Handles From Boards
In order to make the handles, it is convenient to use a solid bar. However, the author took advantage of only what was at hand. He made blanks from oak planks by gluing them together.
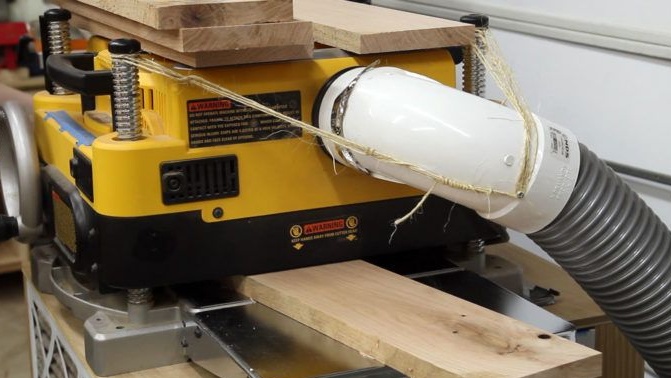
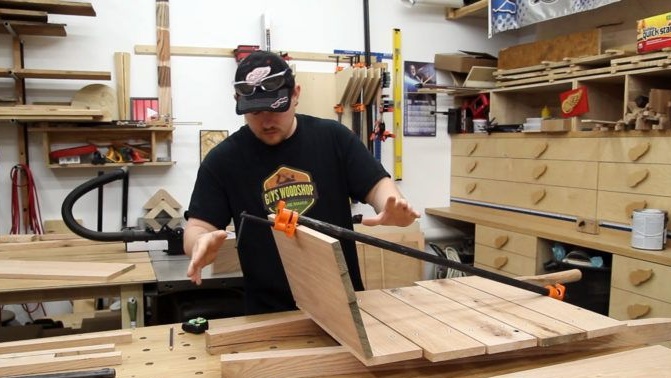
Each blank, consisting of four thick boards, he placed in clamps and left in this form for the night. When bonding such parts, their plane should be perfectly even.
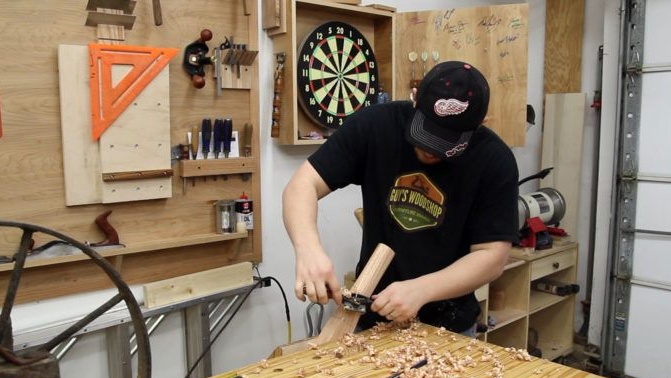
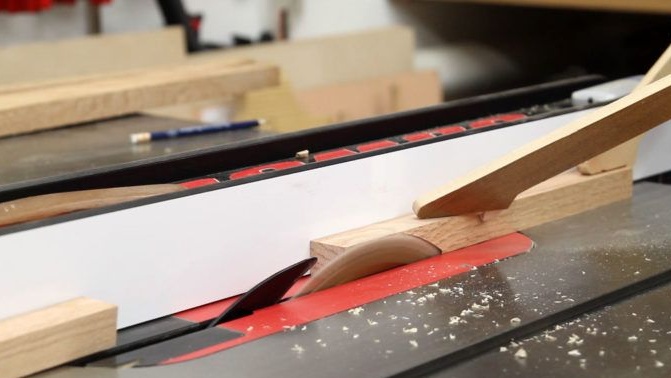
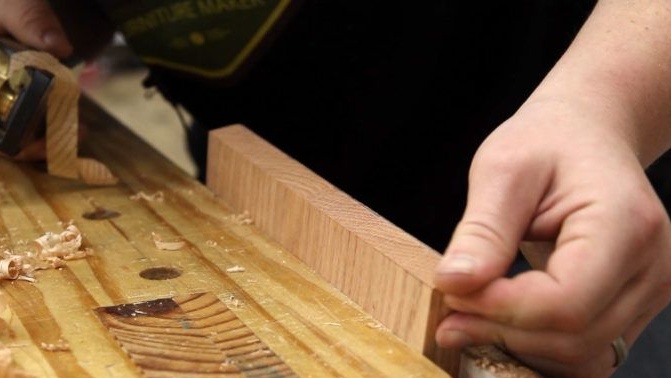
He gave the finished bars a beveled shape on a planer, removing all unnecessary. This decision was the most economical in terms of lumber conservation.
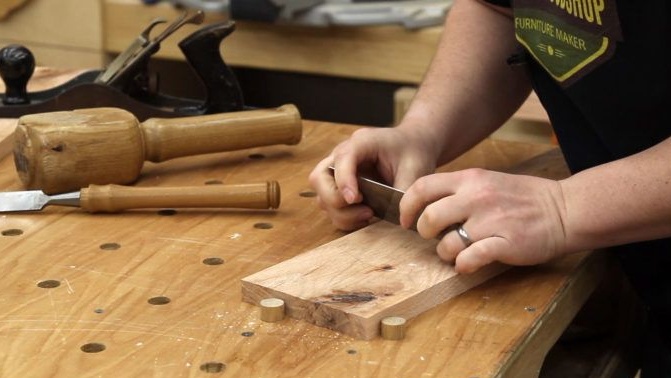
He also used a scraper to form rounded handles at the base. This work can also be done with a sharp wood carving knife. However, it will not be easy to work with oak. Use a reliable and properly sharpened tool. The author polished the figured plane, giving them smoothness and completeness.
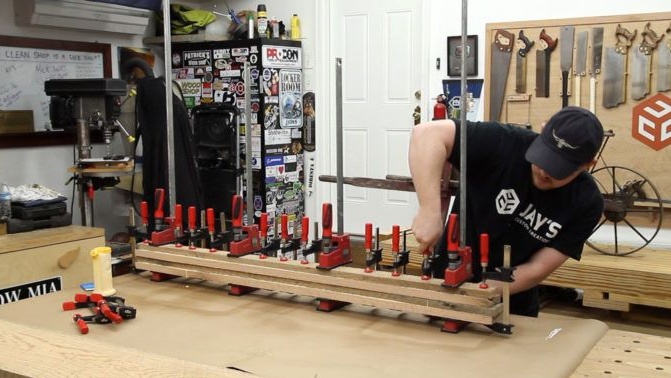

Step Four: Assembling Body Panels
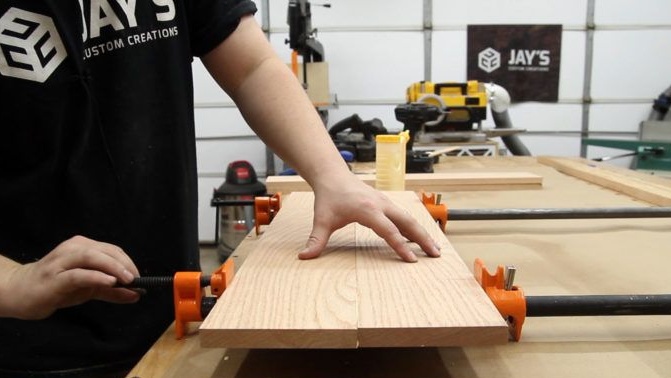
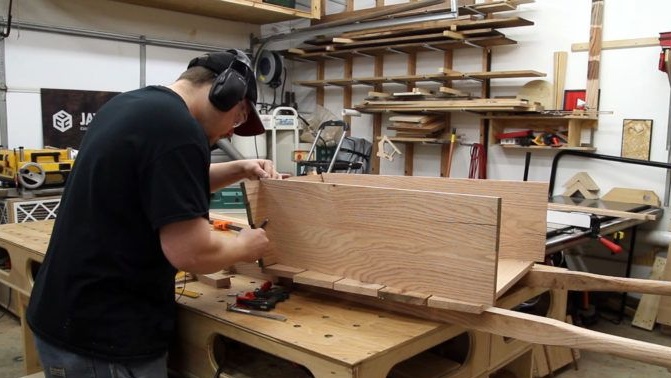
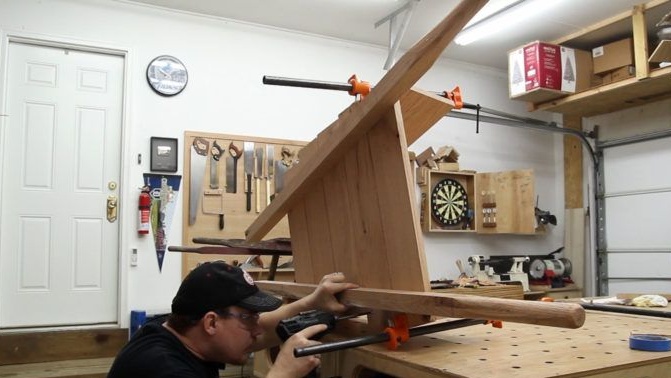
Since the author used oak planks to make the case, he needed to prepare solid panels by gluing the parts together and leaving them in the clamps until completely dry.
The boards had fairly even edges, so the author used only two clamps to glue them together.The panel retained a perfectly flat plane.
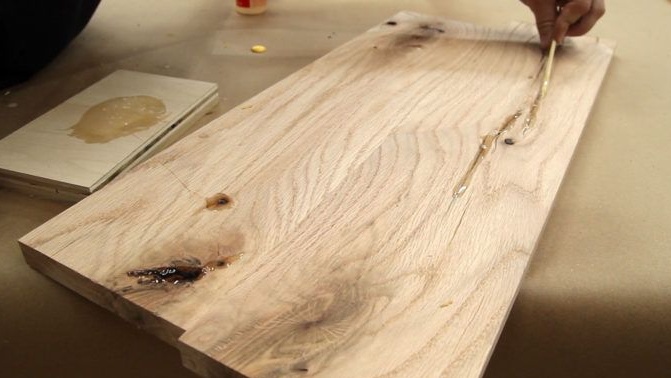
After that, he filled some of the defects with epoxy. As soon as the resin hardened and hardened, the author removed its excess with a metal scraper. He also polished the remaining glue. This is necessary if you plan to paint the wooden structure, since the dried adhesive reduces the adhesion of the material (adhesion). In this case, the adhesion of wood and the paint you use.
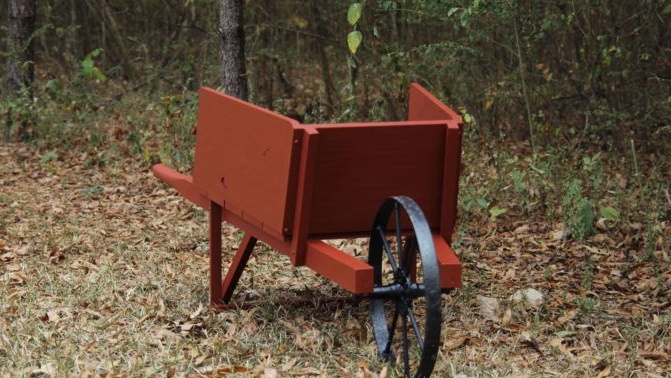
Step Five: Build a Wheelbarrow
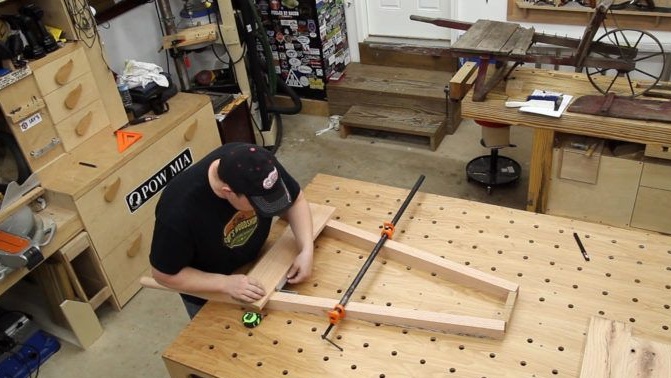
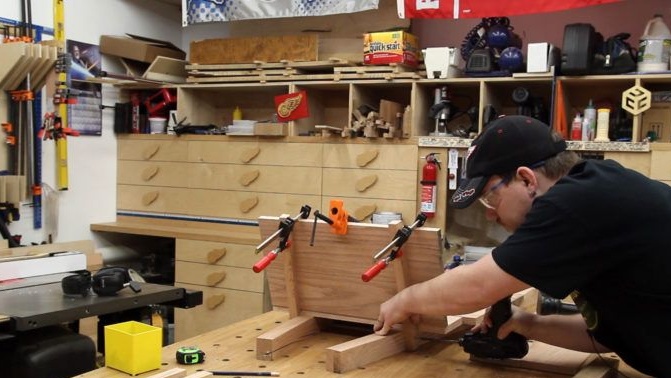
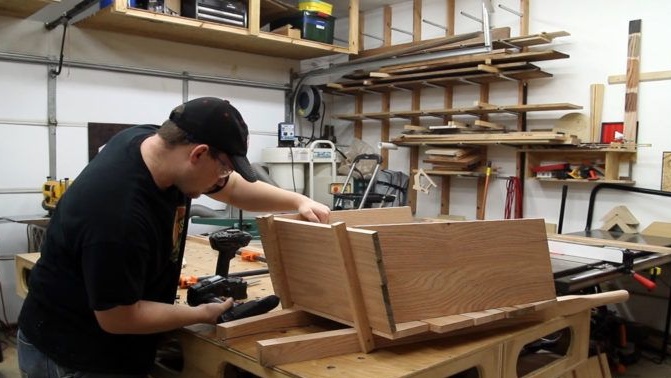
In order for the handles to be arranged symmetrically, the author used a clip and a system of marks at an equal distance. Only after that he secured the first bottom base board.
Then he placed all the boards with an interval, because he did not want water to accumulate in the car. If you plan to transport sand on the site, the bottom can be covered with tarpaulin or any dense material.
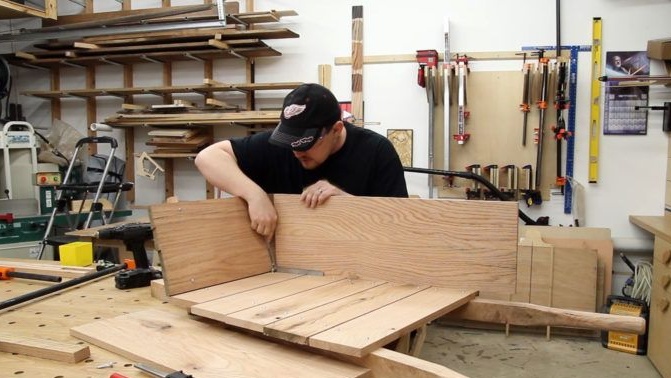
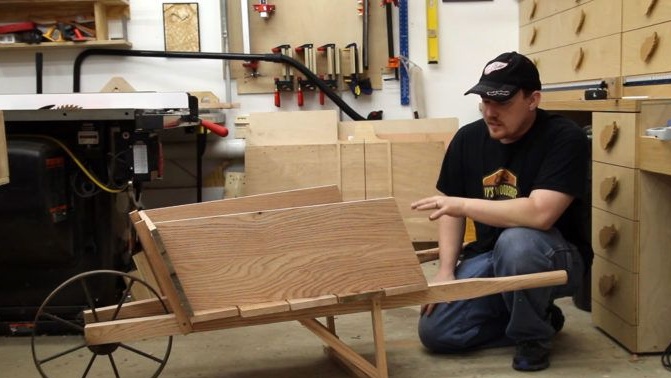
The author previously fixed the front panel in order to mark the side elements, since according to the plan it is located at an angle and it is necessary to make a bevel.
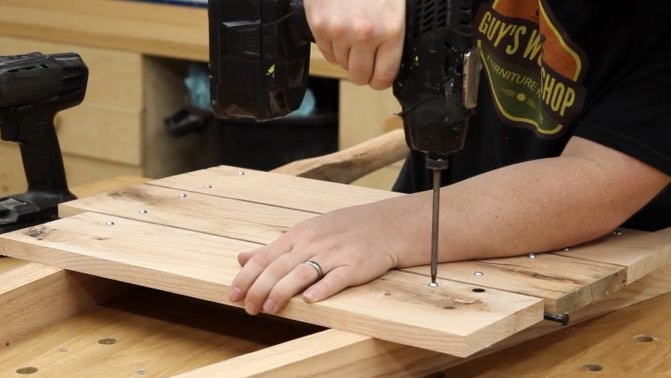
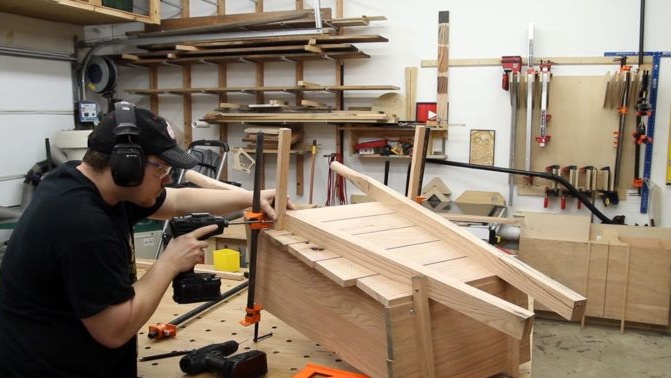
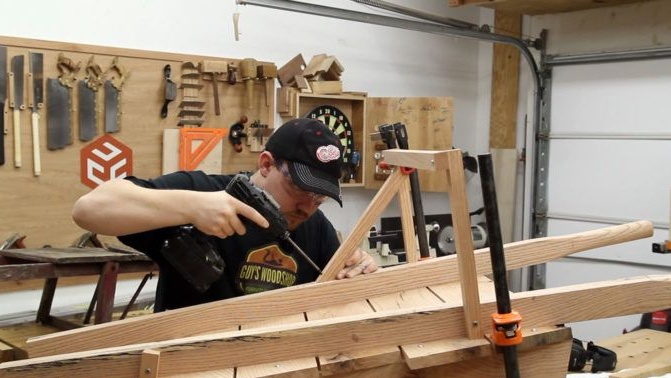
He fixed the front panel with the help of rails on the outer surface of the case. The author fixed the side panels with screws and washers to the front and bottom panels.
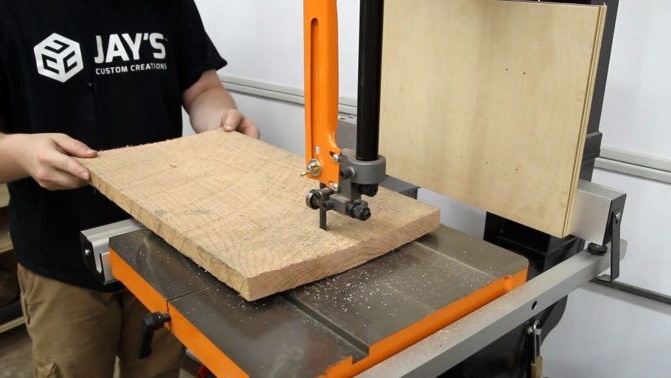
The author also assembled a support system of legs using screws and then secured a metal wheel. It remains to trim the uneven edges of the base and process the wood.
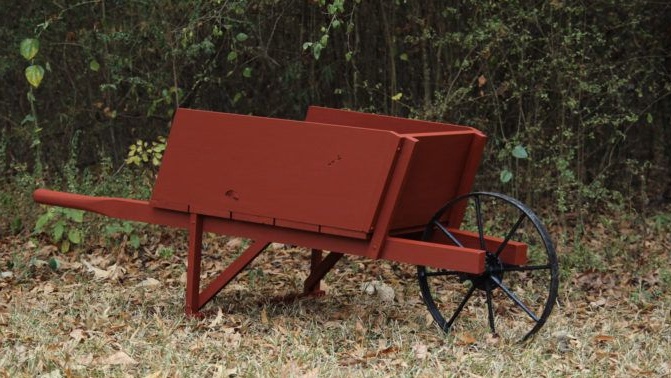
Step six: processing and painting a wooden car
To protect the tree from decay and the formation of mold and fungi, it must be primed and painted.
Antiseptic primers for outdoor use are widely available on sale. Just what you need. As soon as the primer is absorbed and the surface dries, you can start painting.
Paint in several layers with a durable, reliable composition, such as alkyd, oil or nitro paint. Allow each coat to dry thoroughly before applying a new one.