The traditional look of the purchased interior doors is a bit boring. Agree that such doors often do not differ in originality. At times, they even have quite a decent quality, but sooner or later the day will come when you want something special, something simple and therefore unique.
Interior doors made of natural wood, even with plywood elements - a good solution for your home or apartment. Their advantage is that such doors can be made do it yourselfsaving a decent amount of money.
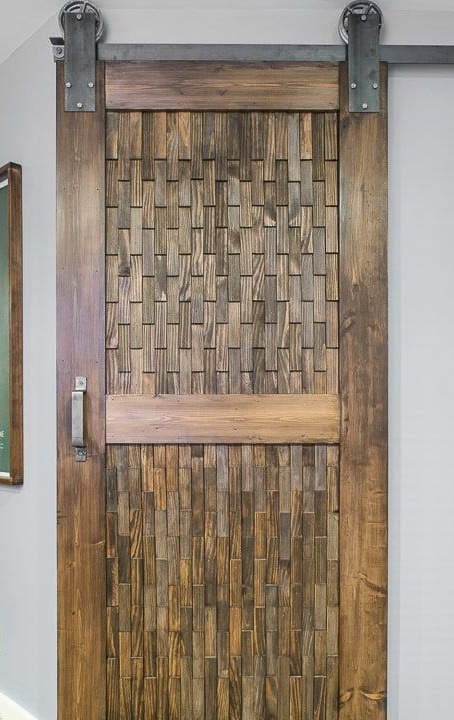
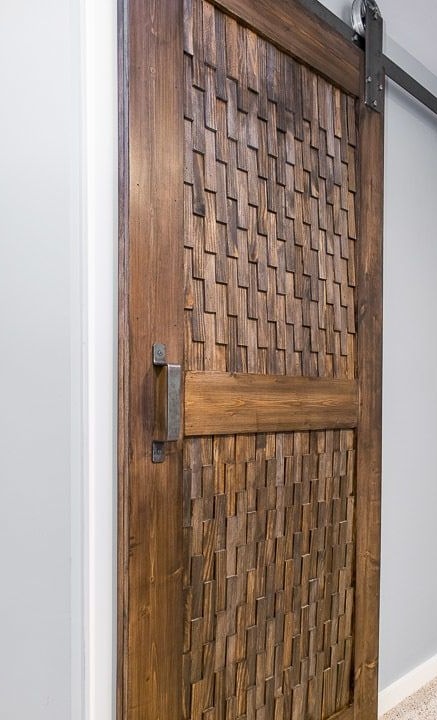
The doors from this master class imitate the paneled construction, however, their uniqueness, in addition to this trick, is in the decor invented by the author. The doors are decorated with wood chips, which is fast, beautiful and cheap. The wood is tinted with a primer and imitates a valuable species of wood.
In order to make such a wooden interior door with your own hands, you will need:
Materials:
- finished paneled doors with plywood inserts;
- pine boards with a thickness of 25 - 35 mm, if you plan to make the base of the doors yourself; plywood for the size of the door;
- veneer for processing plywood edges;
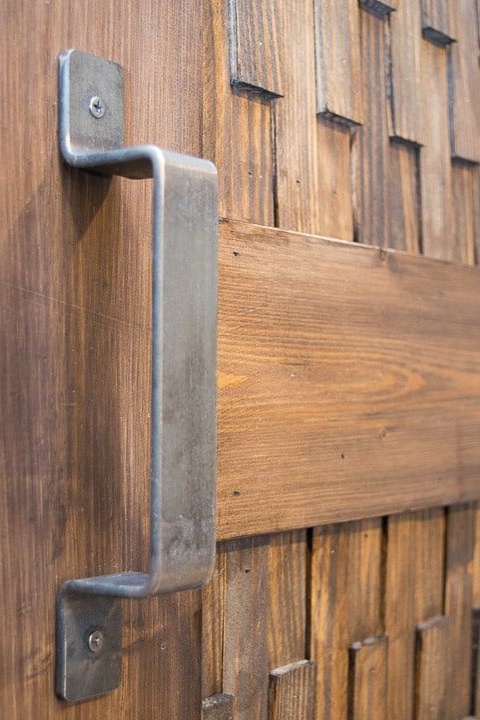
- metal handle - 2 pcs;
- door hinges;
- primer-toner, protective-decorative oil or stain for alcohol for tinting doors and wood chips;
- resistant varnish with a hard coating;
- actually wood chips for decoration or thin slats instead of wood chips;
- glue for woodwork;
- small nails, wood screws.
Instruments:
- miter saw or circular;
- grinder;
- screwdriver;
- carpentry hammer or pneumatic nail gun;
- paint brushes, soft tissue without lint;
- clamps if necessary;
- construction tape measure;
- building level;
- sandpaper;
- a pencil.
Step One: Door Preparation
The author made the doors from scratch. It offers an incredibly simple way to simulate the paneled structure of a door structure. The fact is that frames with grooves, as such, simply do not exist. There is only a single piece of plywood for the size of the door and the details of the overhead frame. It is attached to plywood with glue and small studs. When using high-quality glue, this is quite enough.
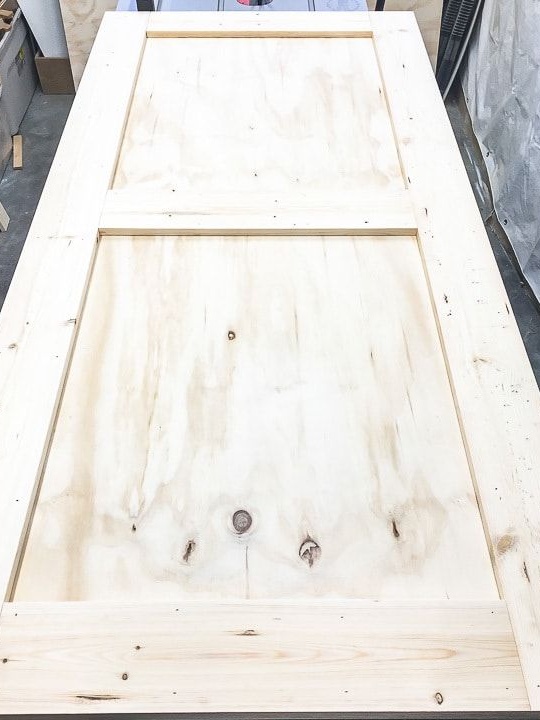
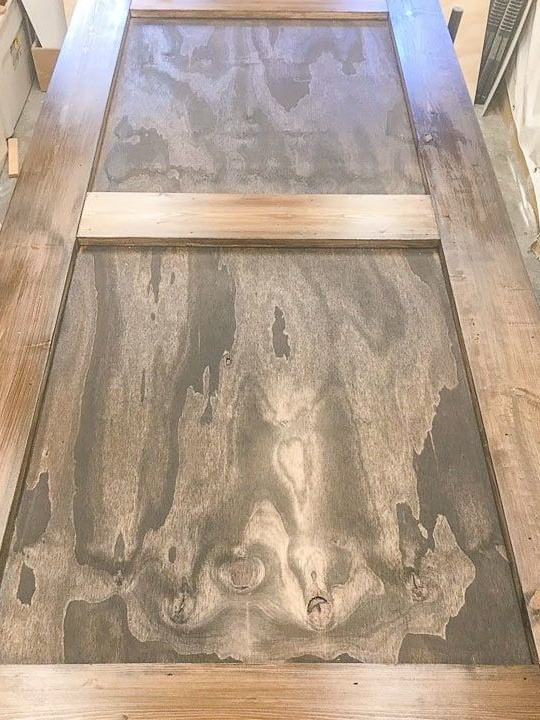
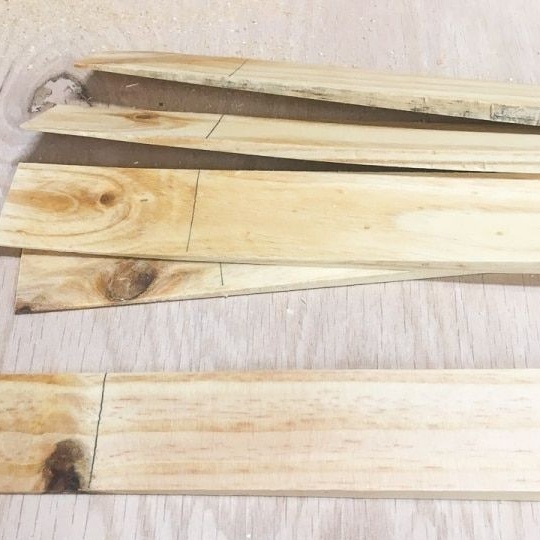
Therefore, proceed to the manufacture of the basis of doors for decoration, starting from the size of your door frame.You will need plywood and five parts of the overlay frame: two longitudinal and three transverse (see photo below).
Frame details can be made of plywood, or you can use natural pine boards. The second option, of course, is preferable. However, for a number of reasons, the use of plywood is justified. For example, if you want to facilitate the final design.
Boards for a frame carefully polish. Edges can not be touched if you, like the author, plan to cover them with veneer. If not, wait a moment with polishing and return to this question after the doors are assembled.
Install the frame parts on the plywood using glue and nails. You can use clamps so that the parts fit snugly to the base. However, there will be enough nails that pull them to the plywood. In extreme cases, screw a few screws around the perimeter.
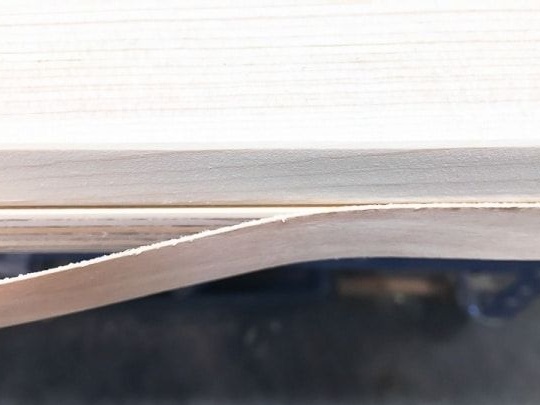
The author is not a big fan of unprocessed plywood edges, so he got a decorative veneer for finishing them in advance. The veneer must be cut into strips along the width of the edge and glued with glue. Leave the door for a while until the glue has completely dried.
Step two: chip selection and processing
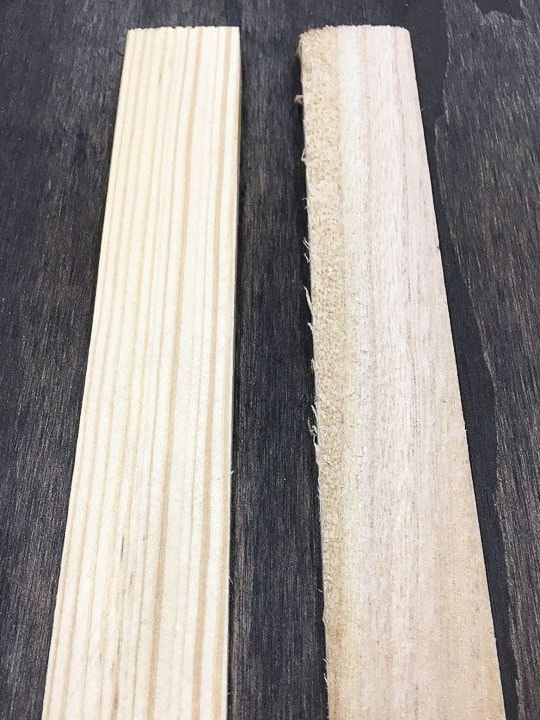
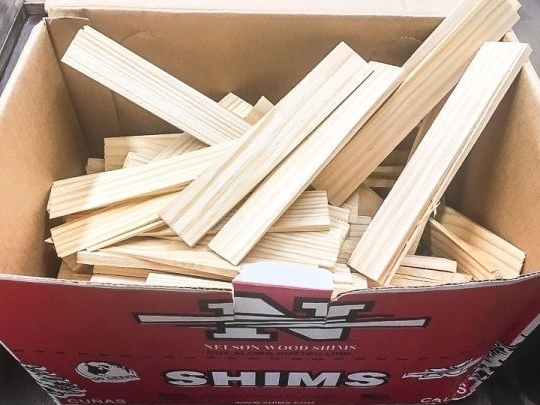
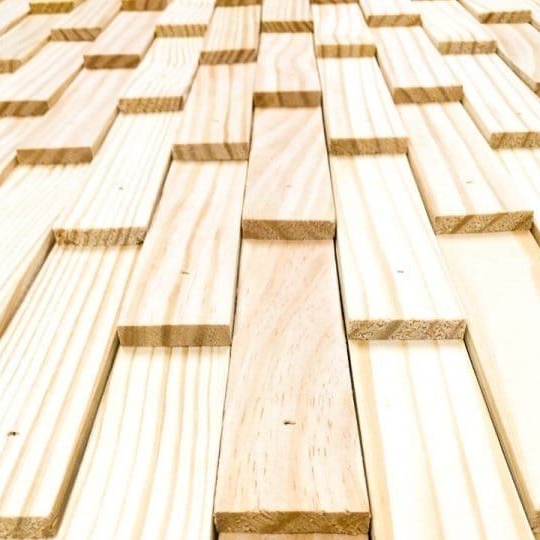
The author used natural wood chips to decorate his interior doors. This is the perfect choice in this case. It is cheap, durable and lightweight. The reverse side of the chips is often rough, but the front should be smooth, since grinding each die is a silly task.
Chips can be replaced with pieces of thin wooden slats. They are much more susceptible to wear and require protective paintwork, however, they are quite suitable for such small projects.
Step three: protective and decorative processing of wood chips and base
To protect the wood and its tinting, the author used the Varathane primer-toner. This time he refused all kinds of polyurethane varnishes, since the doors are a passage to the pantry, and excessive scrupulousness is inappropriate here. However, for practicality, the door should still be varnished.
In order to save time and money, it is more expedient to varnish already at the stage after final assembly and decorating with wood chips. A pair of layers of varnish will be enough.
The author primed the base of the door and its decorative surface. Instead of a primer, you can use decorative oils or stain. In the latter case, varnishing cannot be avoided. After all, if the primer and oil somehow protect the surface of the wood from all sorts of troubles, then the stain is a decorative thing. Just toner and that's it.
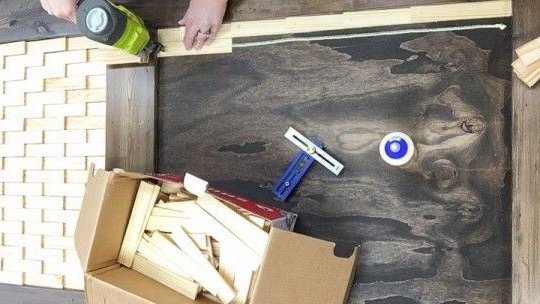
Fourth step: decorating the door with wood chips
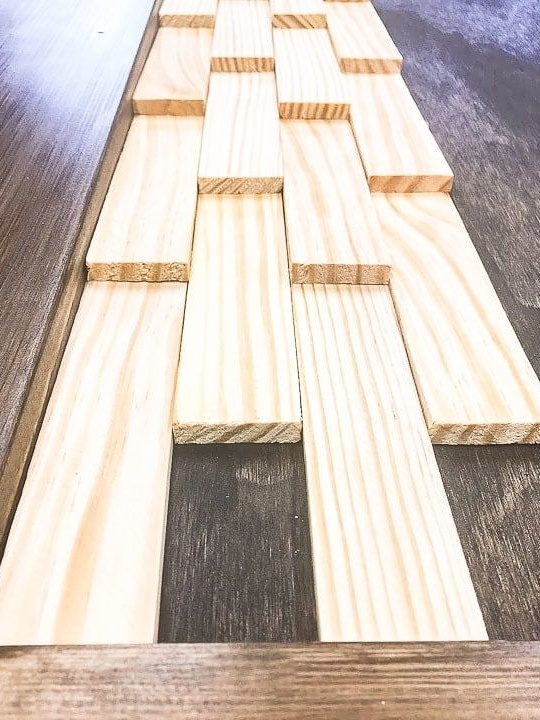
The base of the door is properly prepared, the veneer is glued and the wood chips are ready for use. In order to save material, the second decided to tint it at the end of all work, otherwise I had to paint over each die separately, which would take too much time and effort.
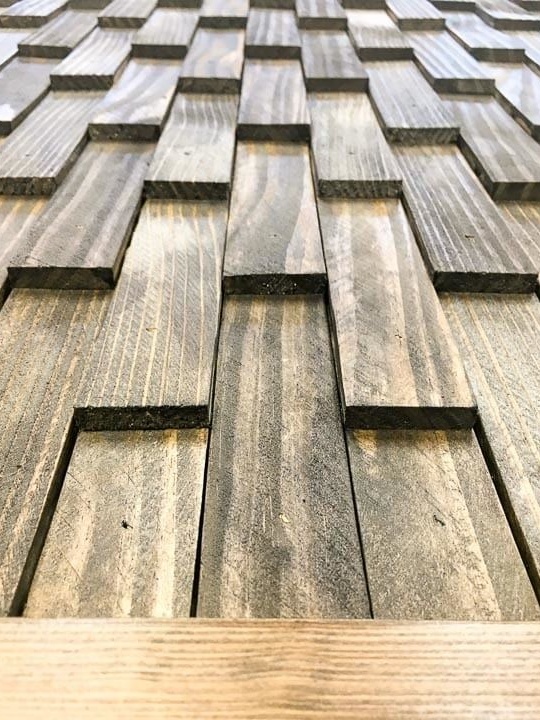
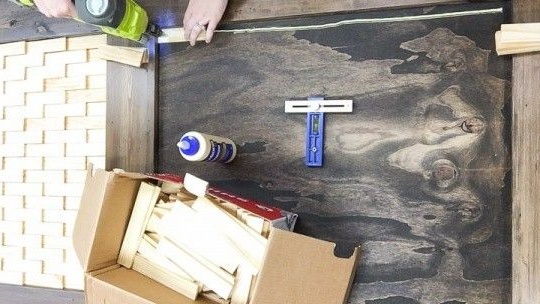
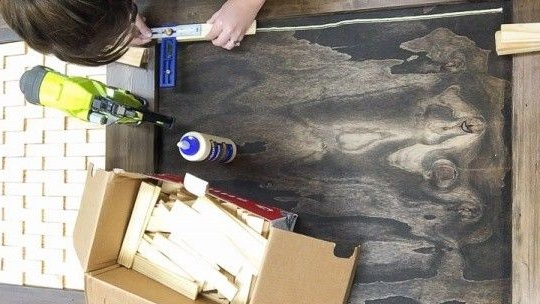
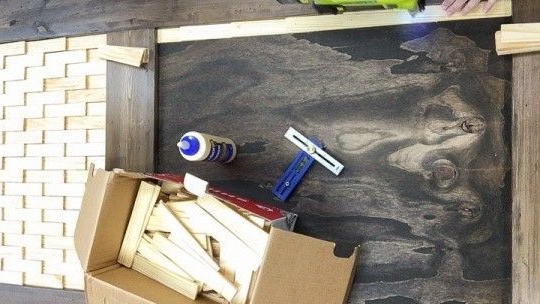
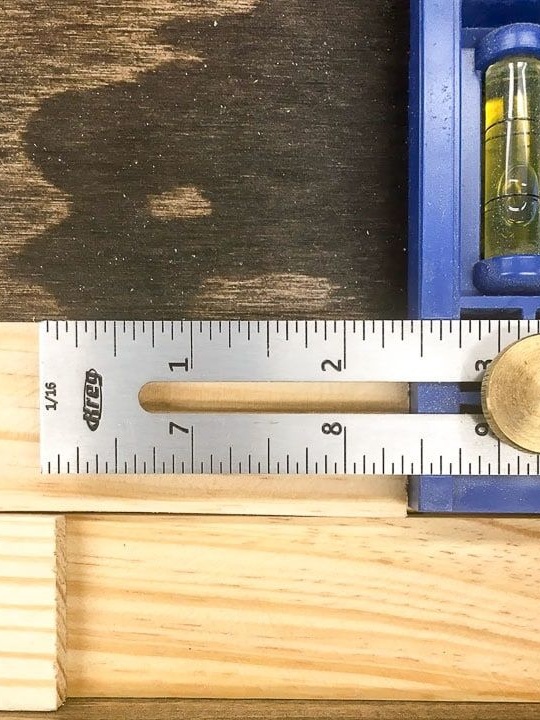
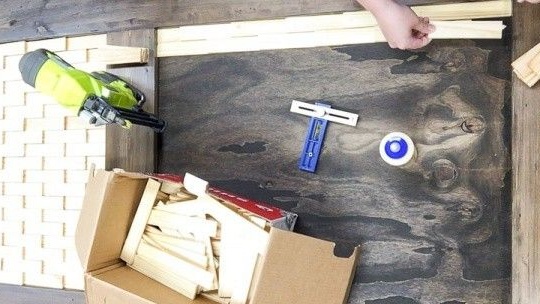
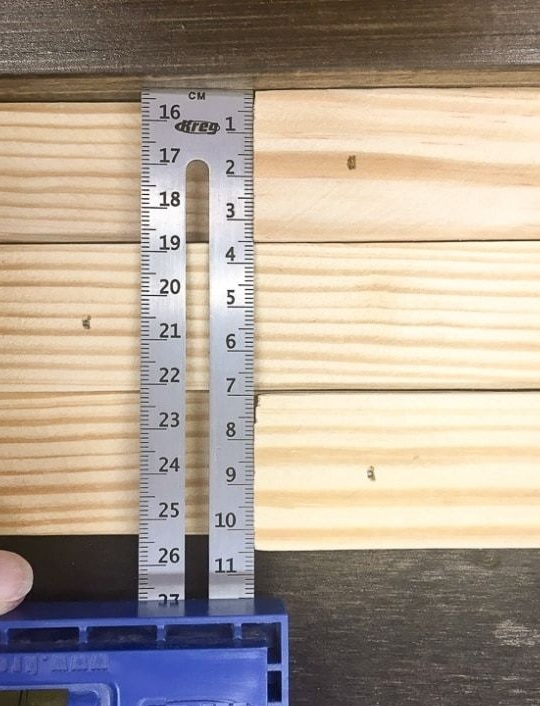
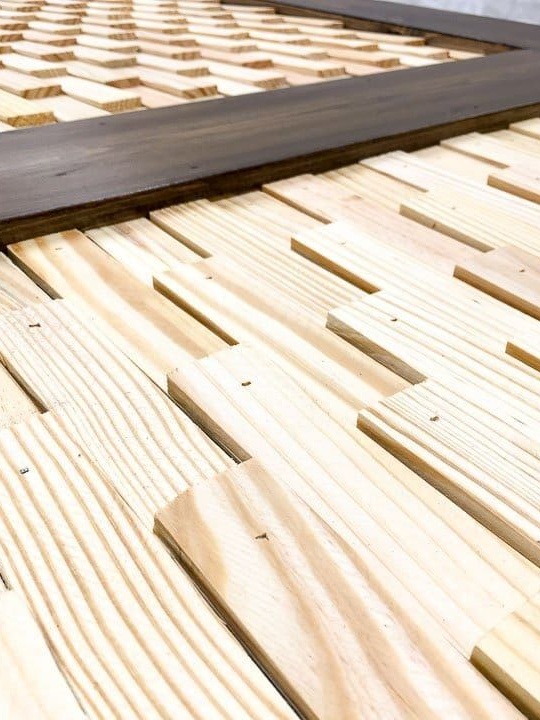
To begin, spread the chips on the working surface of the doors and estimate how much you need in each individual row. Wood chips are mounted in a checkerboard pattern with an overlap only vertically and do not enter the adjacent row. With the correct assembly of the door, there should not be any distortions in the end. The author has used the building level several times to make sure that the dies are level.
The author used glue and small nails to fix the wooden dies, and in order to keep the wood chips evenly, he made overlapping marks of one die on another with a simple pencil. After toning, not a single line will be visible, but the process will go much faster.
To drive such a number of nails, it is rational to use a pneumatic nail gun, but an ordinary hammer will do. In this case, additional gluing of wood chips will come in handy, because when working with a hammer, the die can move, which you will not notice in time.
As soon as you finish attaching the chips, you can begin to tint it. Carefully process the edges, despite the fact that the slices are all directed down. In this case, working with a cloth is inconvenient, so you have to master the use of a primer with a paint brush. Spread the material evenly over the plane.

Step Five: Install Hardware and Door Curtain
The author picked up a massive metal handle with a patina. In addition to the rustic rustic style, you can purchase flat decorative corners on the door. Also choose door hinges that are designed for this type of load. It's time to fix the fittings and move on to hanging doors.
True, the author used a horizontal system of sliding doors on casters. Such accessories can be purchased at the construction supermarket or ordered in the online store. You can also assemble it yourself, because the main element here is the rollers. And everything else is made of metal plates with fastening on bolts and nuts. The metal is easy to color, because in such projects, accessories are usually used in black or dark gray. Previously, you can walk with a primer on the surface.