Despite the fact that a tree house is often designed for use by children, not everyone will undertake such a project, because its implementation has its own characteristics, and the lack of special experience cuts down countless initiatives and impulses to the root building.
The author of this house spent almost six months on its construction. He armed himself with an entire professional workshop of power tools and watched on YouTube countless videos on the subject.
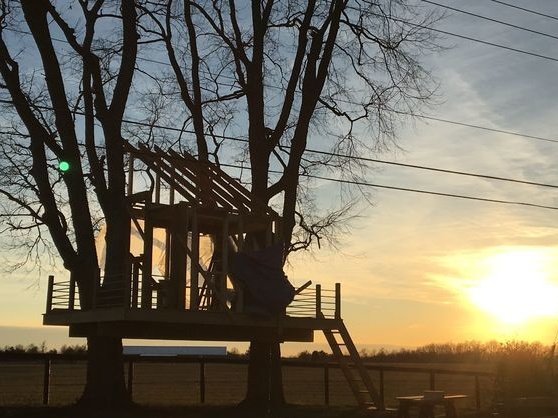
It is worth mentioning that the house is intended not only for its 9- and 7-year-old daughters. Mom often goes there, but for the author himself, the house turned into the most temporary refuge, when you need to be alone and gather your thoughts.
In order to realize this idea and build a frame house on a tree do it yourself, the author needed (and this is not a complete list):
Materials:
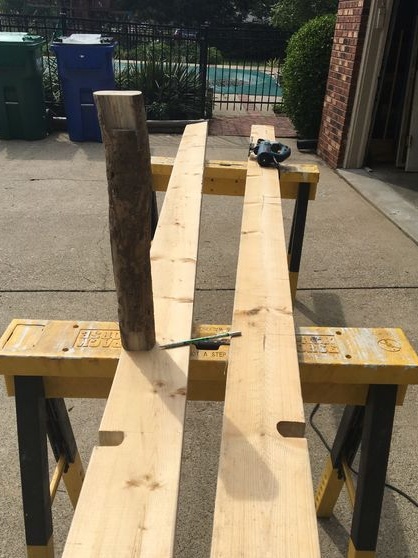
- pine boards, timber, bars and slats for the construction of the frame and base of the house;
- materials for stairs and parapets of the terrace;
- edged planed board for sheathing of internal and external walls;
- OSB for sheathing the frame;
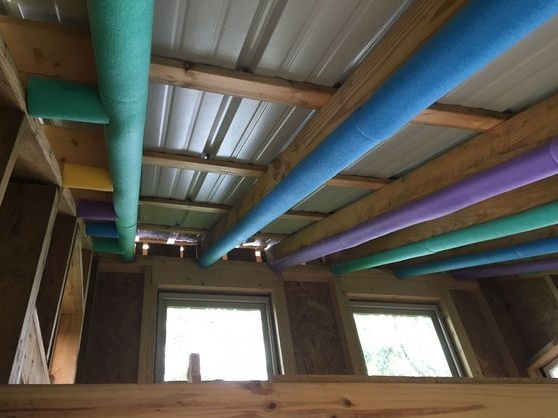
- insulation for walls, ceiling and floor;
- metal roof, such as profiled sheet;
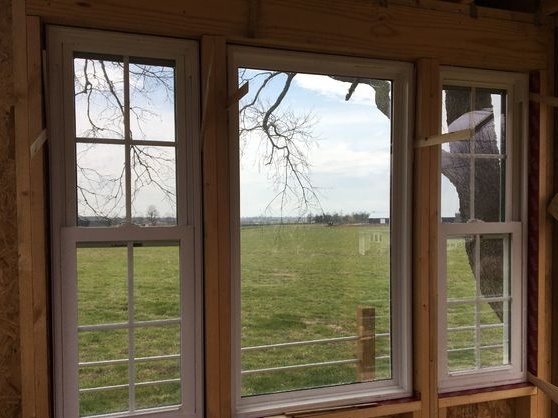
- metal-plastic windows and doors, foam for installation;
- primer-toner for decorative processing of wood and its protection;
- metal parts of stairs and other structural solutions;
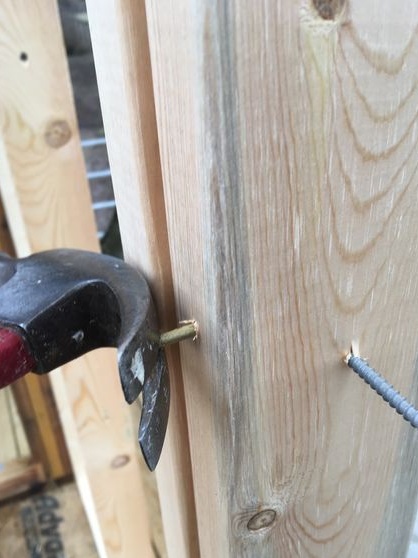
- all kinds of metal fasteners and consumables, such as angles, plates, bolts with nuts, screws, screws, nails, and so on;
- wind protection for walls;
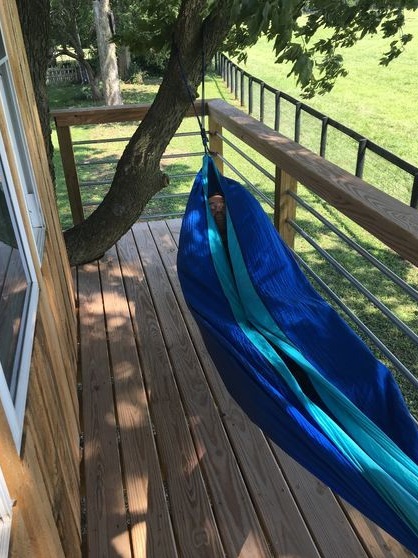
- elements of furniture and decor, all kinds of textiles, hammocks and the like.
Instruments:
- Miter saw;
- circular;
- grinder;
- electric drill;
- drilling machine;
- cordless screwdriver;
- Bulgarian and saw blades for metal;
- pneumatic nail gun;
- furniture stapler;
- hammer;
- hacksaws and bow saws;
- vise;
- all kinds of clamps and clamps;
- stairs and ladders;
- building level;
- construction tape measure, square, markers, screwdrivers.
Step One: Choosing a Location
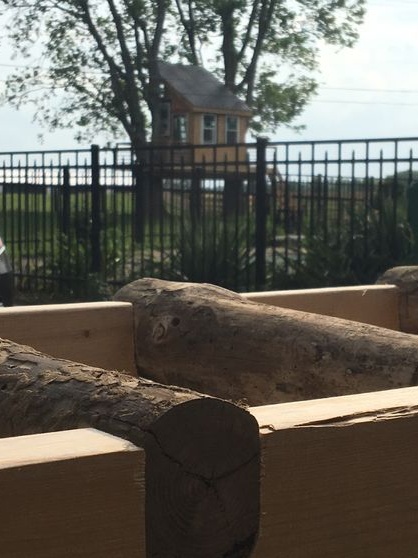
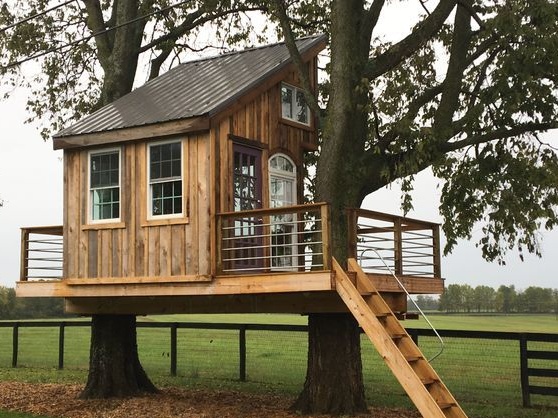
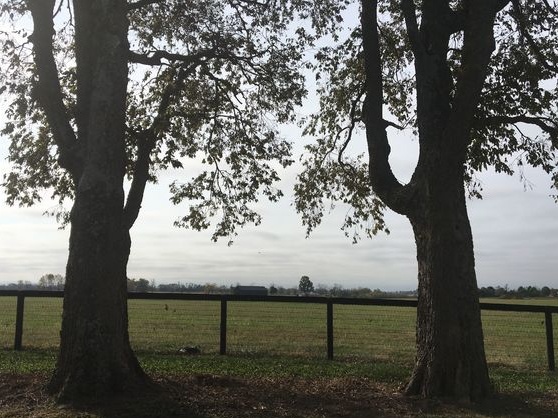
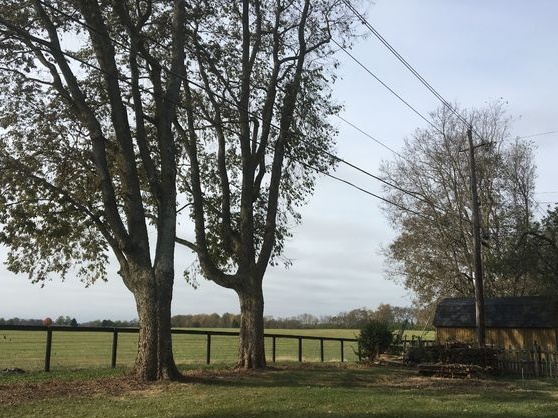
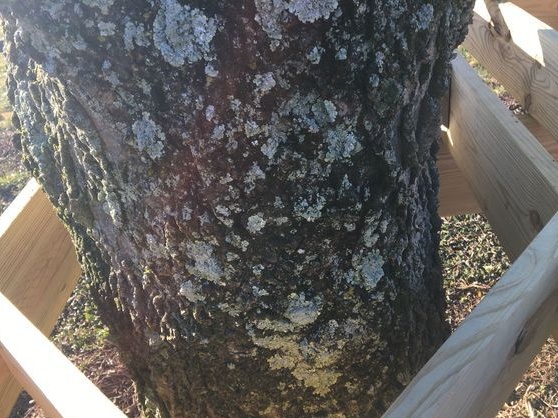
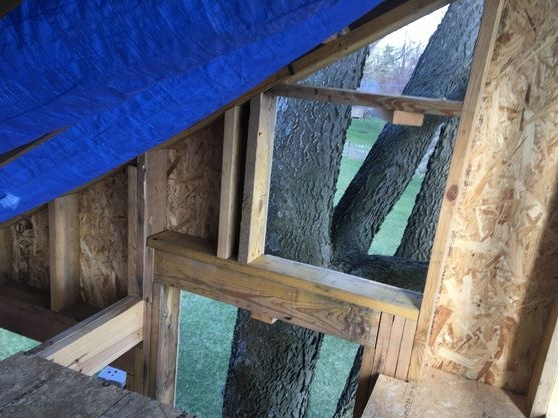
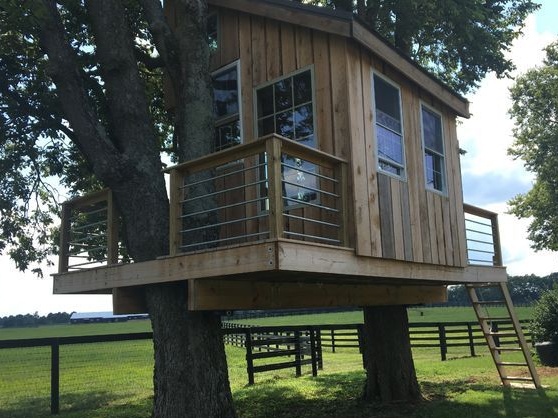
In this case, it’s not even the place that matters, but the choice of the tree (s). The author was lucky. On its site, two huge deciduous long-lived trees grew nearby in one line. Their growth has slowed significantly over the years, so you could not be afraid that the tree trunks will eventually destroy the terrace of the house.
Trees have an almost cylindrical trunk shape, which is very helpful. There are no branches in the lower parts of the trunks. These are ideal conditions for building a treehouse.
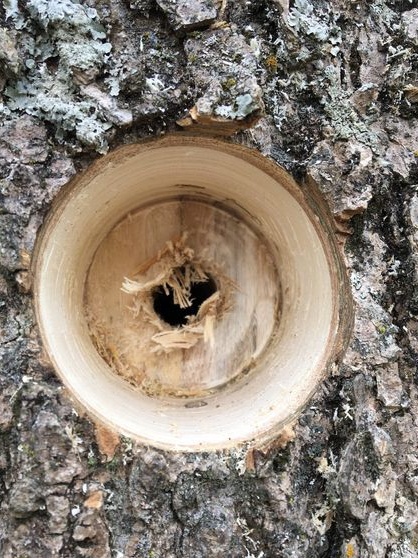
You also need to be sure that the trees are healthy and their trunks are strong. Any bulky hollow, insect damage and visible rot are a bad help for construction.
Step Two: Design
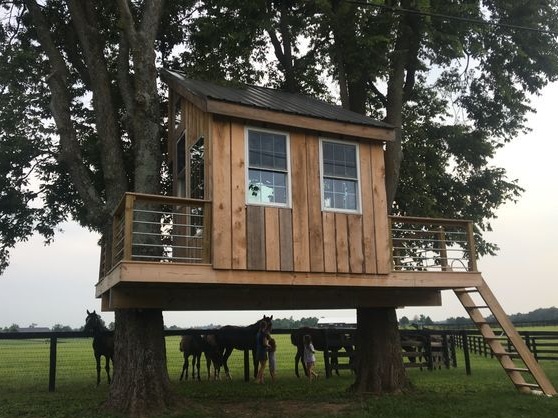
Thinking about how you and your family would like to use the tree is the first step in designing. My family wanted the house to be easily accessible to children, grandparents, large enough to arrange an overnight stay on its birthday, had many windows to enjoy the view of the pasture with horses from a neighboring ranch. Also, the house should be surrounded by a terrace in order to spend more time outdoors, read and play.
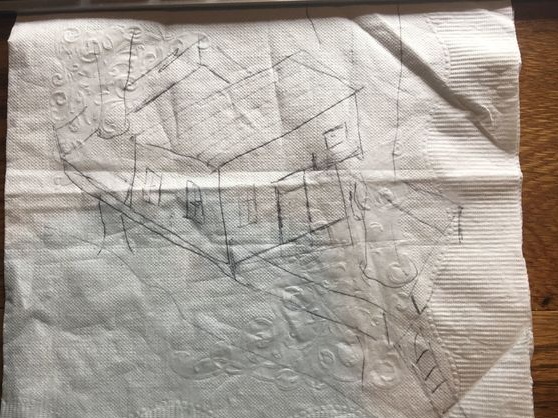
Thinking about the plans, the author sketched his design on a napkin. After that, he began to create a list of necessary materials. To do this, you can use popular computer-aided design programs, or you can go a more informal way and use your own freehand sketches.
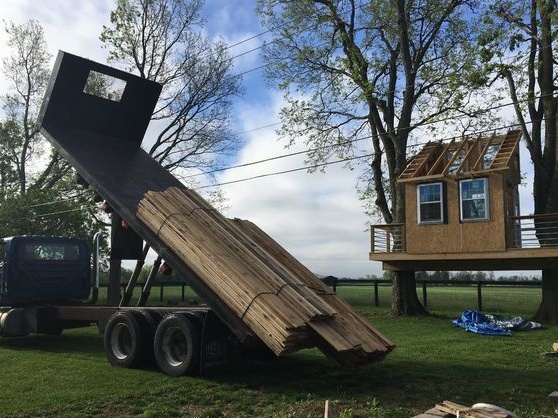
The author strongly recommends ordering at least 10-20% of additional lumber, as well as more mounting consumables, such as all kinds of corners, plates, bolts with nuts, screws, screws, nails and more.
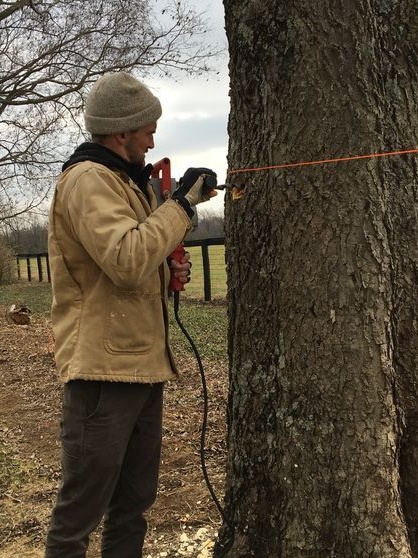
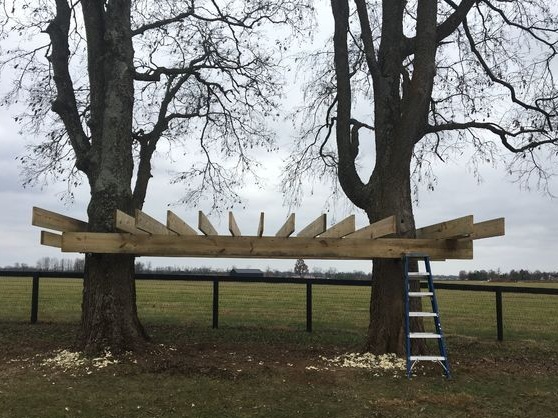
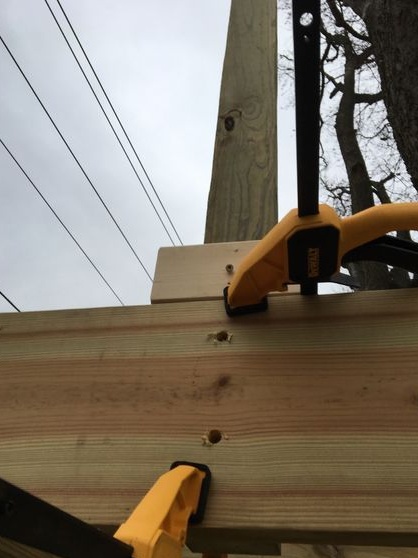
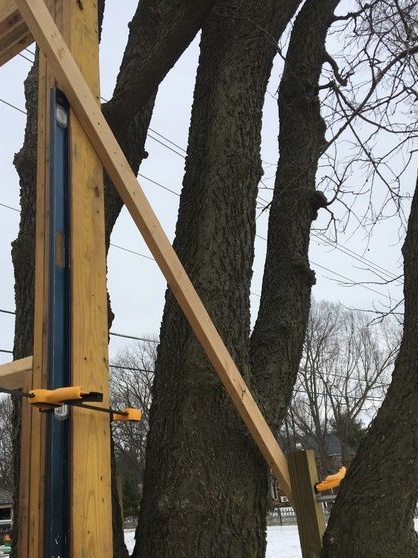
Step Three: Installing Base Screws on Trees
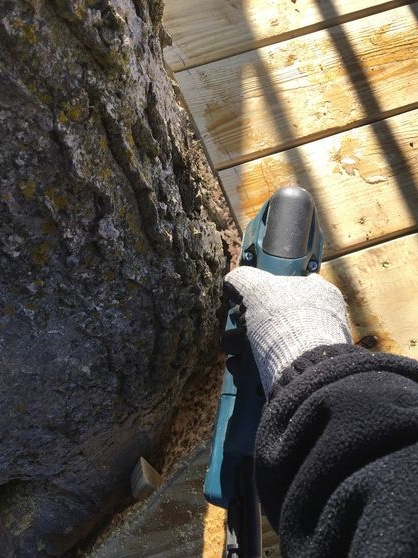
Since the installation of screws for the base beams is perhaps the most important part of the entire construction, the author invited a specialist to perform this task. Moreover, this is actually an unbearable job for one person due to the high weight of the materials.
He installed screws and two support beams, glued and machined under pressure. If the lumber is not processed properly, they must be impregnated with an antiseptic.
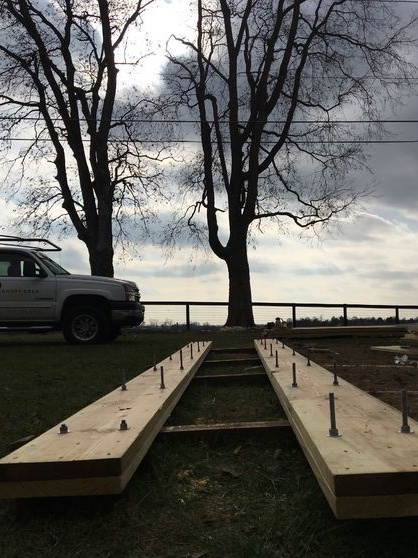
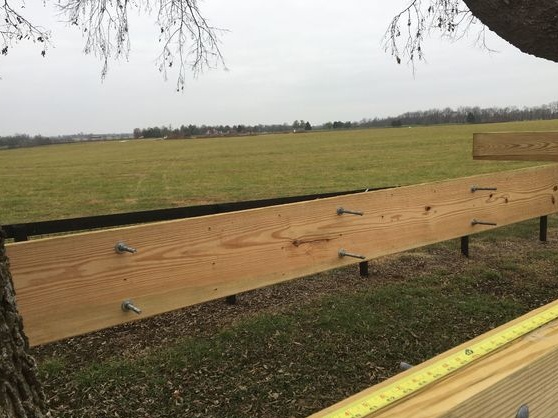
Step Four: Installing the Base
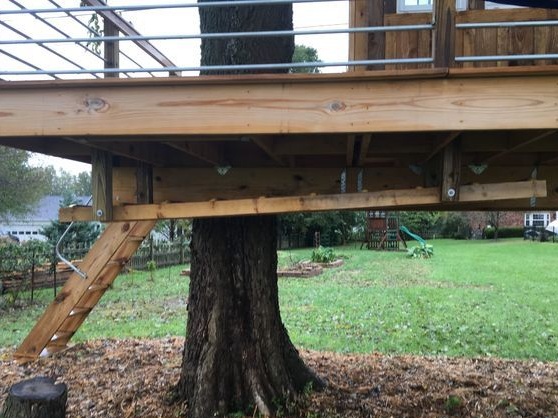
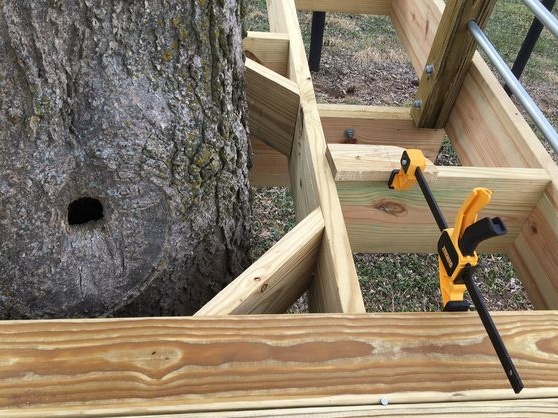
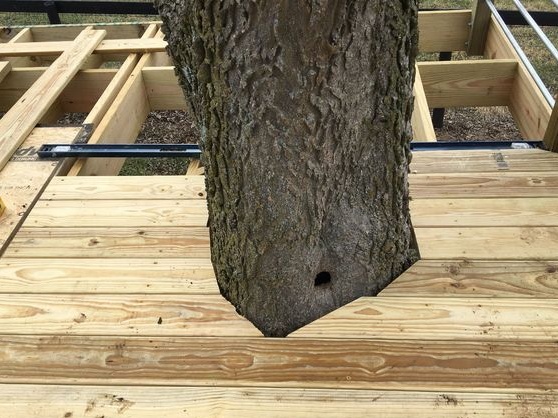
Installation of floor beams should take into account the fact that living trees serve as a support for the house. Beams are not located near the trunks, and the holes around the latter ensure that in windy weather, the trees will not destroy the structure of the house.
The author sheathed the base around the perimeter with a wide board for strength and a more aesthetic appearance. To do this, he used liquid nails and screws.
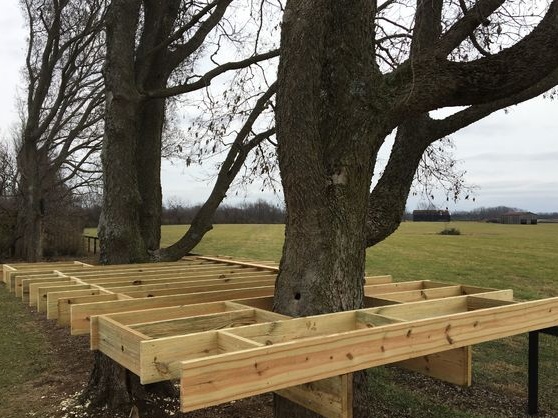


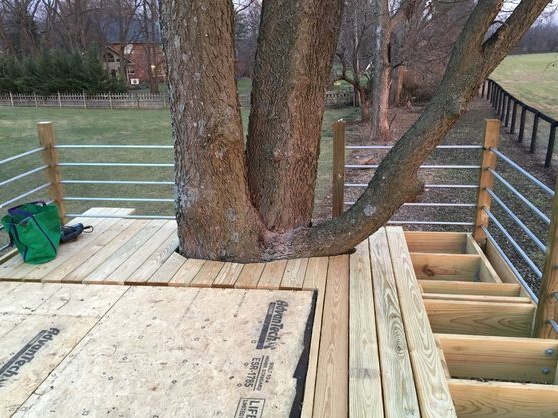
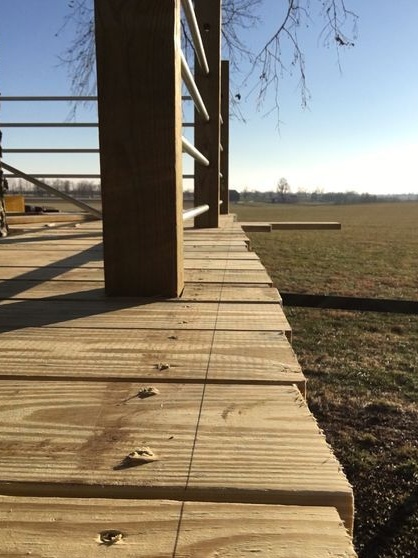
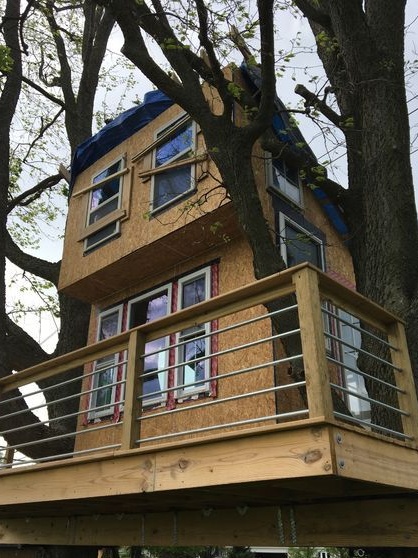
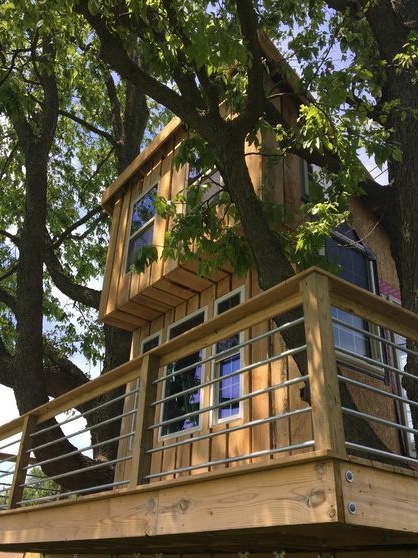
Step Five: Installing the Terrace Columns
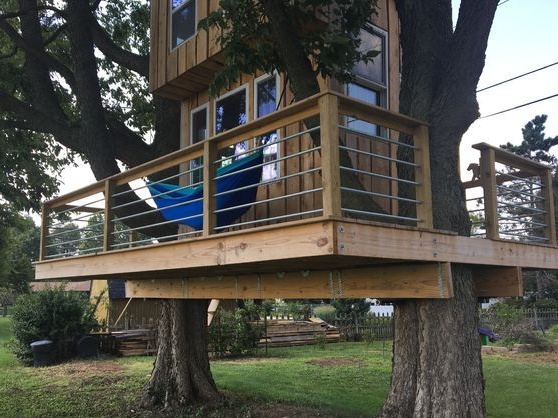
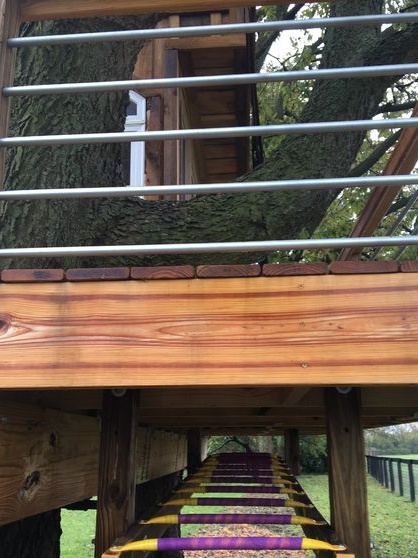
The author planned to install metal aluminum handrails around the entire perimeter of the terrace. To do this, he previously made holes in the columns - a little larger in size than the outer diameter of aluminum tubes.
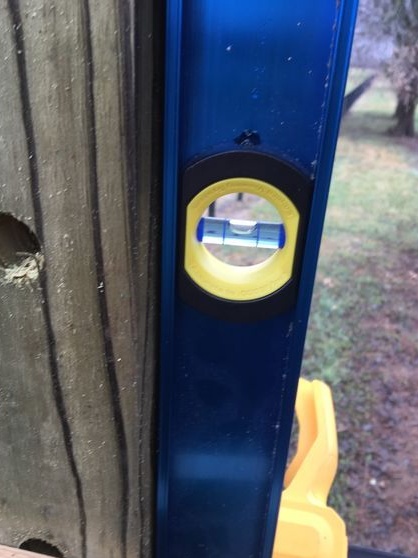
He previously fixed the posts in the designated places with metal plates and set them in level. Finally, he mounted a wooden handrail on top.

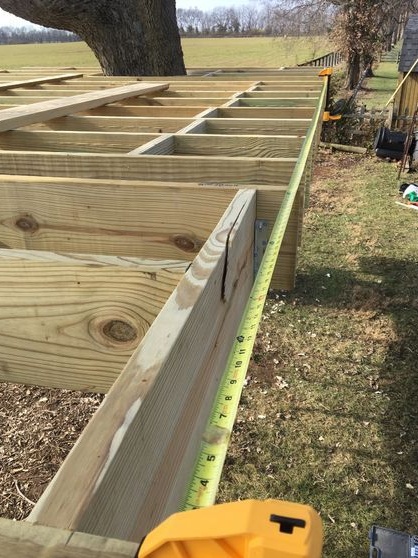
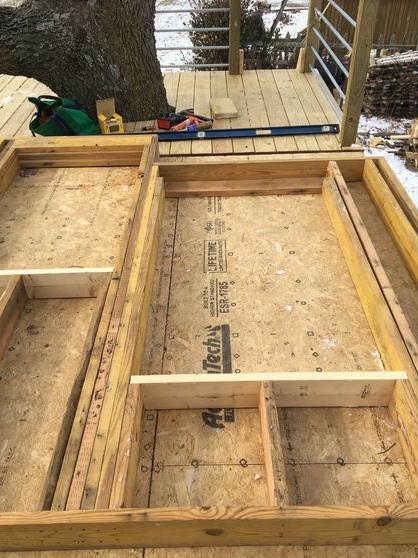
Step six: laying floor and terrace
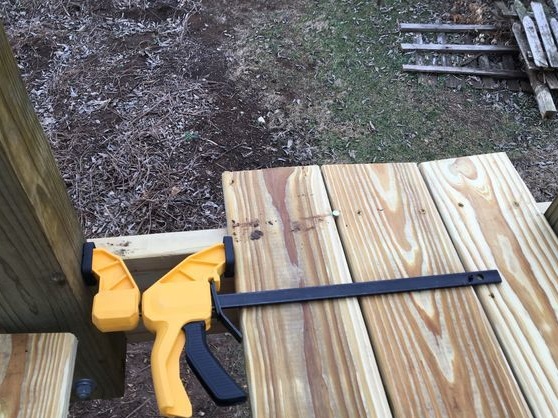
The author used edged planed boards processed under high pressure as a covering material for the terrace. He fixed them with a certain interval so that precipitation would not linger on the terrace, and the moisture would quickly dry out. Between the trunks and the boards a clearance of 5 cm was obtained, which is necessary in the framework of safety measures.
To arrange the floor, the author sheathed the base with plywood. The use of treated boards in this area is unjustified, since it is not affected by precipitation. Later, the floor can be sewn up with a thick edged board. and polish thoroughly.
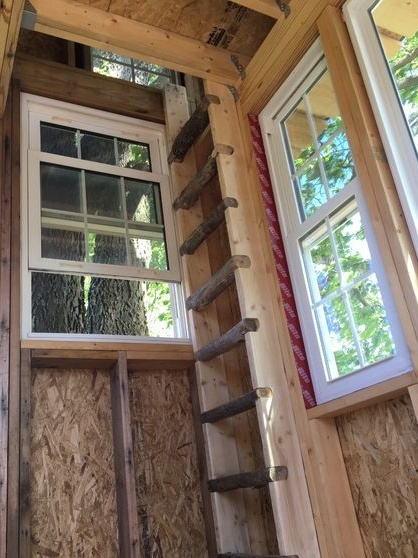
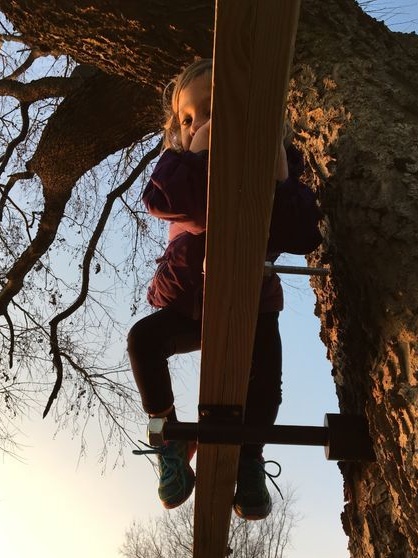
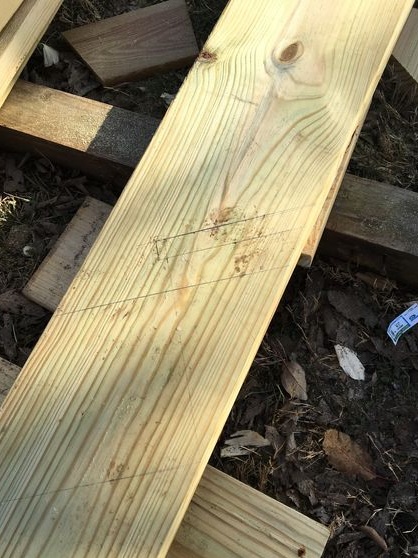
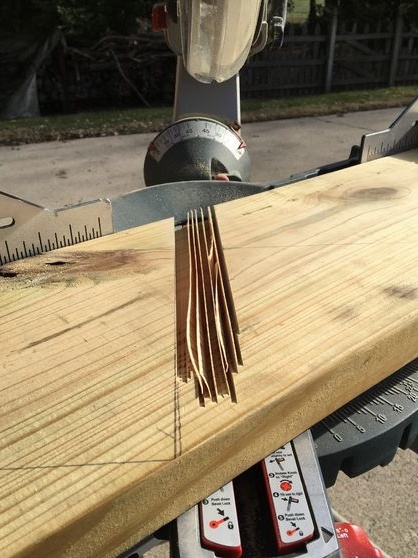
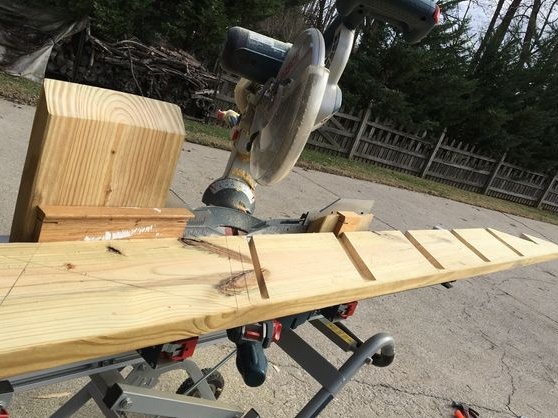
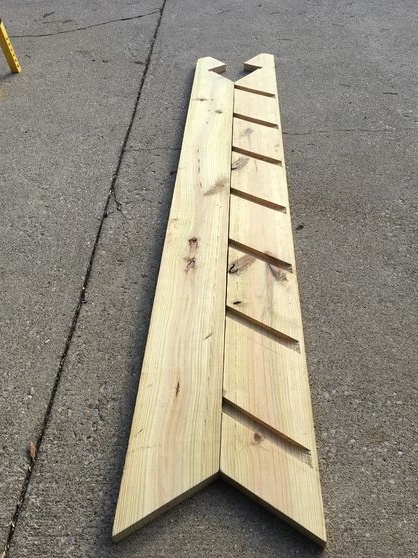
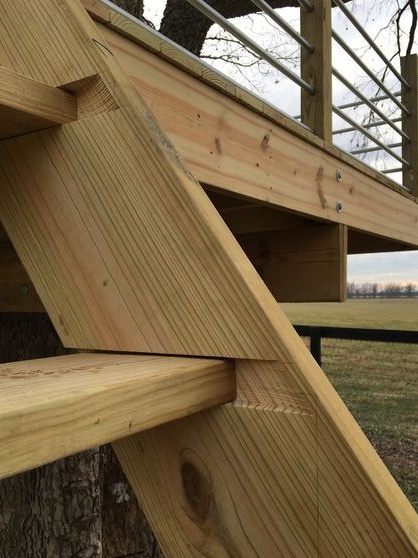
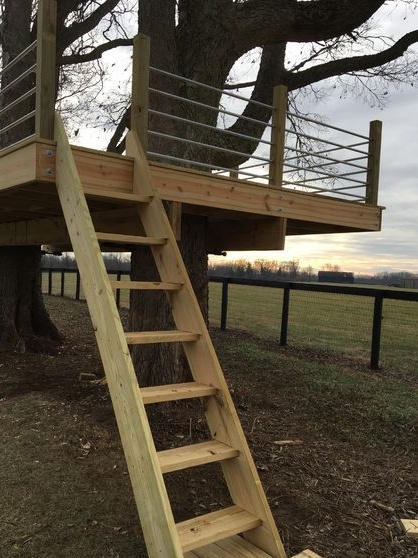
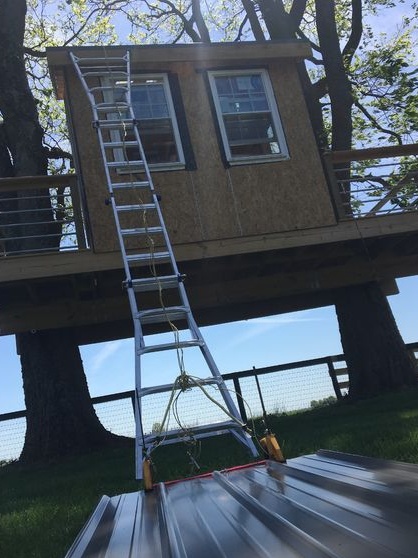
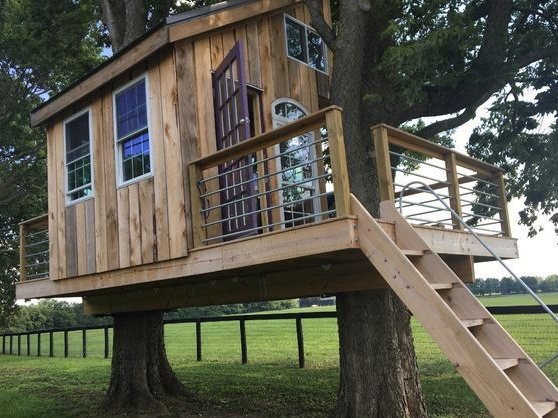
Step seven: construction and installation of stairs
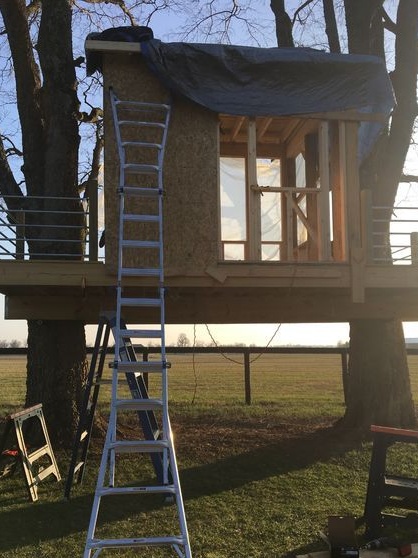
While the idea of a rope ladder for accessing a tree seemed most attractive to the author, he wanted to facilitate access to the house for children and the elderly. So he decided to make a comfortable wooden staircase. All work was carried out after the terrace deck was installed, so the top of the stairs was located on top of the deck.
The tilt angle was chosen arbitrarily by eye and officially approved by the author’s wife as safe.
Each step for extra strength goes into the shallow grooves of the side rails and is secured with two screws on both sides.
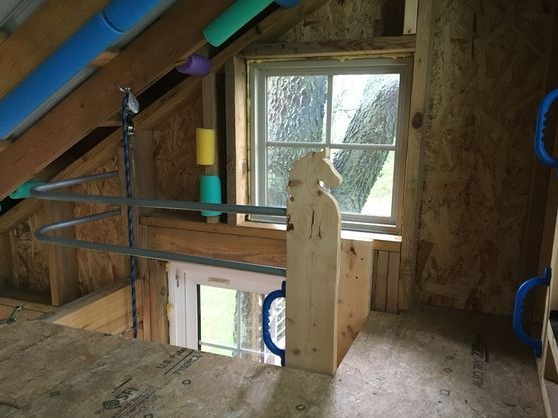
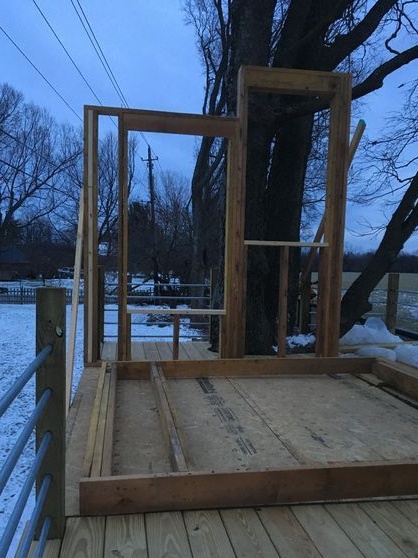
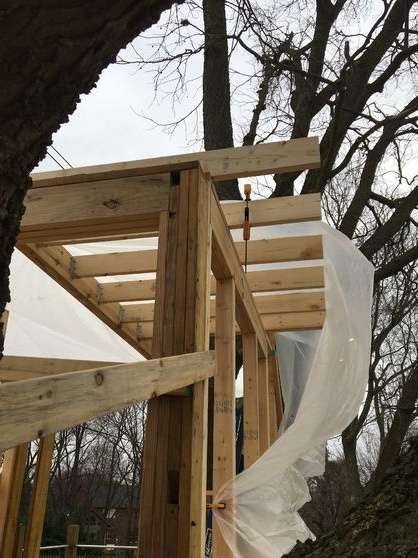
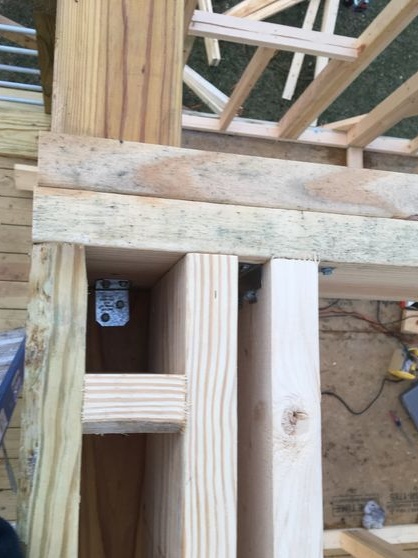
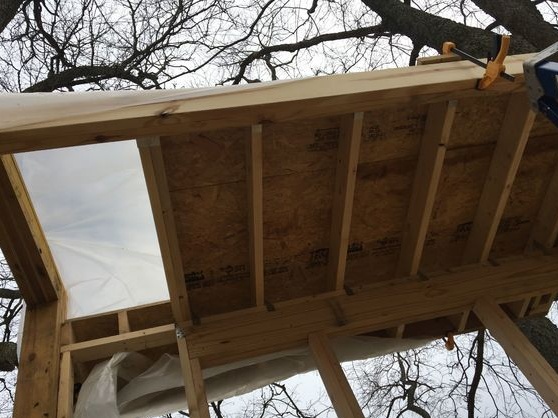
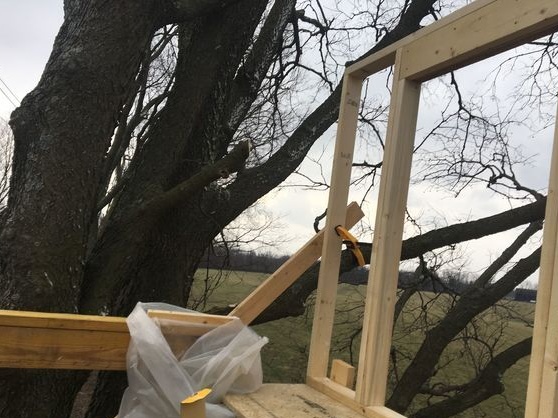
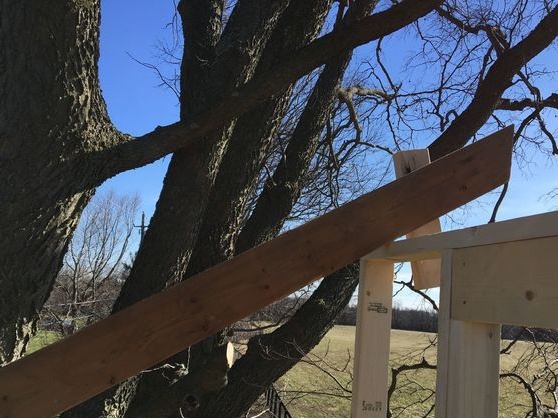
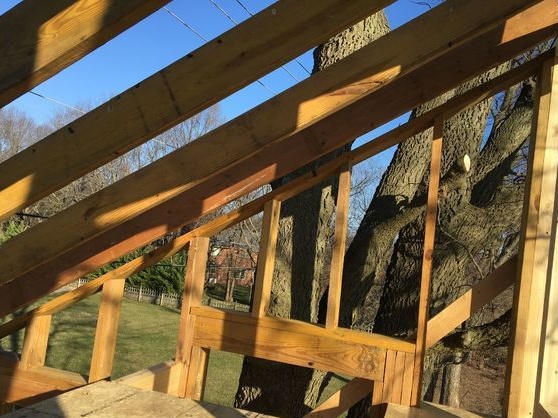
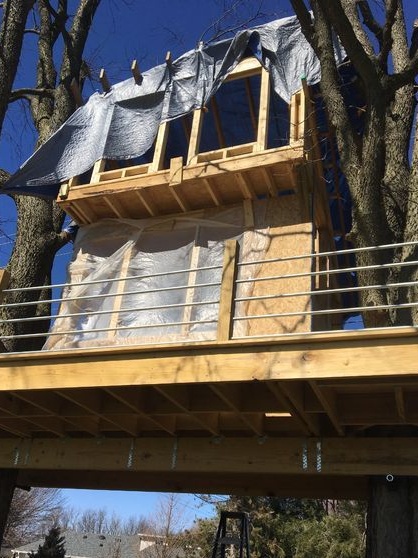
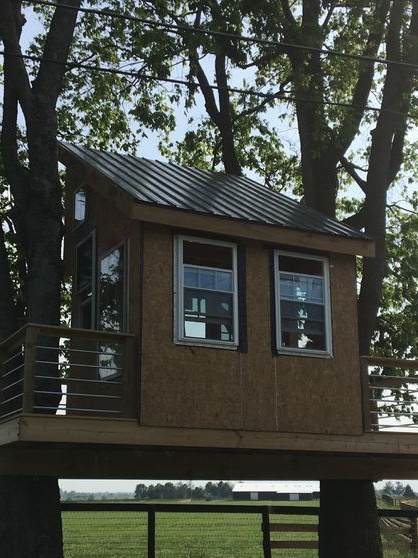
Step Eight: Building a House
The author deliberately provided this crucial step with many photographs, since the construction of a house is similar to the construction of any small frame structure.
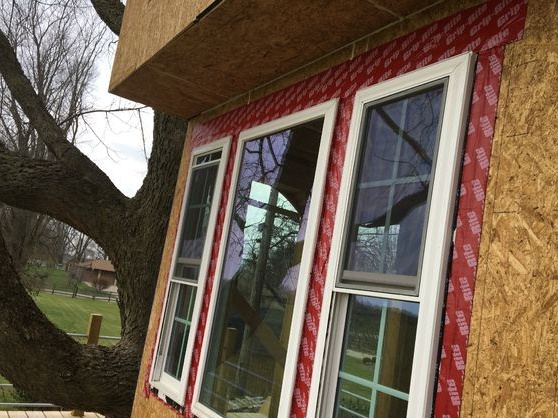
He decided to build a house as weather-resistant as possible, so he used real windows and doors. Some of them came from the reconstruction of a large house, and some turned out to be used, so 12 windows were not such a costly item.
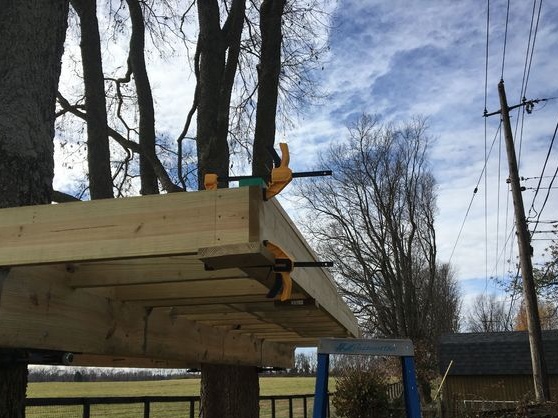
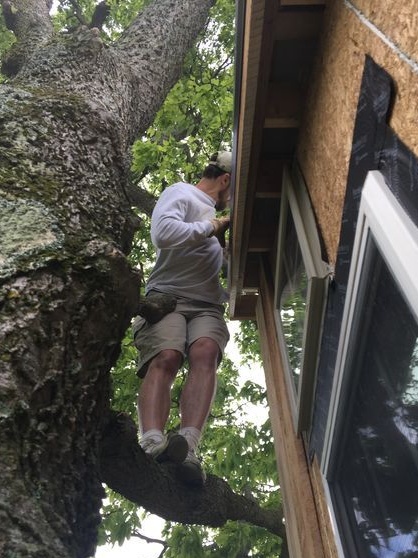
The frame and wall panels were built directly on the terrace, because one worker could not independently raise the pre-assembled panels.
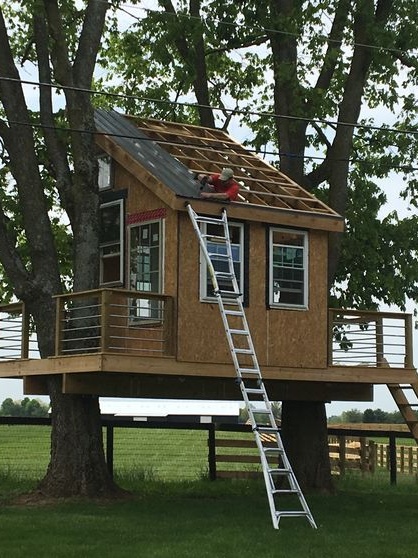
The wall sheathing was carried out after installing the rafters, fixed with metal plates, as free openings facilitated the process of working on the construction of the roof.
The author decided to use a metal roof, because it is light and easy to install. He drilled the holes for the screws in advance, which greatly facilitated the work and saved the roof from multiple mechanical damage, such as scratches.


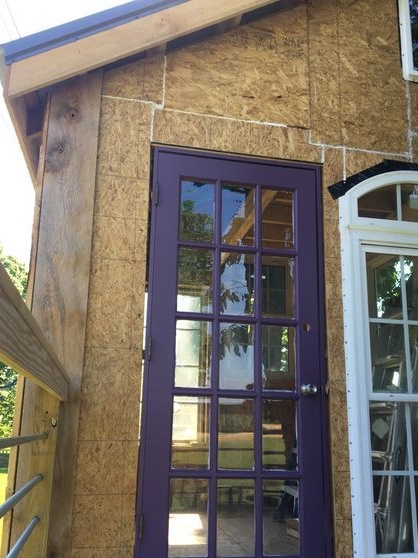
Step Nine: Siding
Even at the initial stage of design, it was decided to sheathe the house with wooden siding, i.e. mess up. The author selected the most unpretentious and weather-resistant wood from the local wood species available to him.
If desired, shalevka can be treated with an antiseptic or primer. It all depends on the quality of the wood you use.
Siding is located vertically. This greatly facilitated the process of wall cladding around the curly elements of windows and entrance doors.
Step Ten: Fun & Attractions
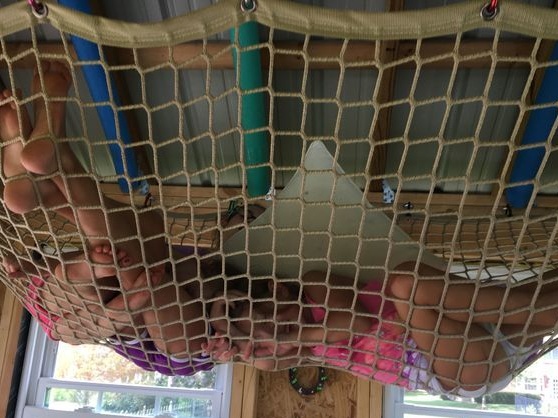
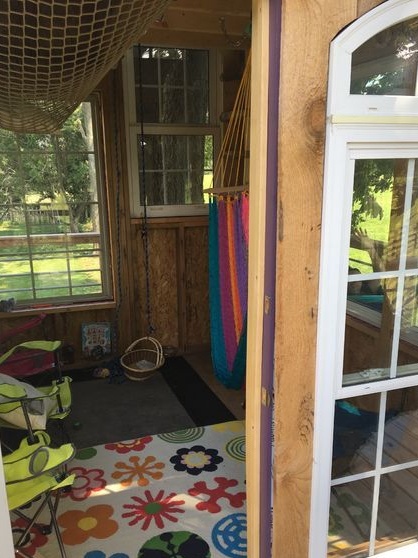
A treehouse is a wonderful place for arranging all kinds of attractions for children. Horizontal and vertical stairs from various materials, various hammocks and other amenities for many months will occupy your children.
Use home-made simple wooden furniture, bright accessories and textiles to make the atmosphere of the house as comfortable and cozy as possible.