Are you tired of your old bed? Many of us still continue to use the old Soviet in an apartment setting furniturecreated once for the needs of the working class returning home in order to spend the night. She never had a special aesthetics or a meticulous selection of materials, and therefore had special value.
Therefore, if you are still sleeping in the old Soviet bed, you know how to end this. Pay attention to the plans for the manufacture of simple platform beds from natural wood, the assembly of which even a novice can handle.
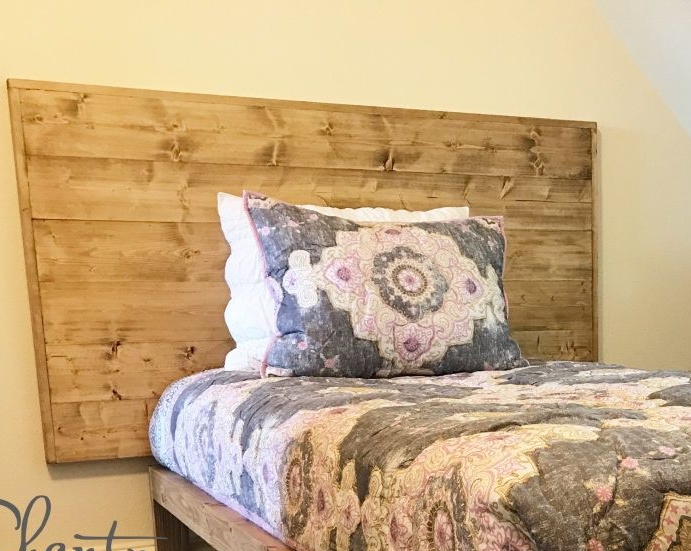
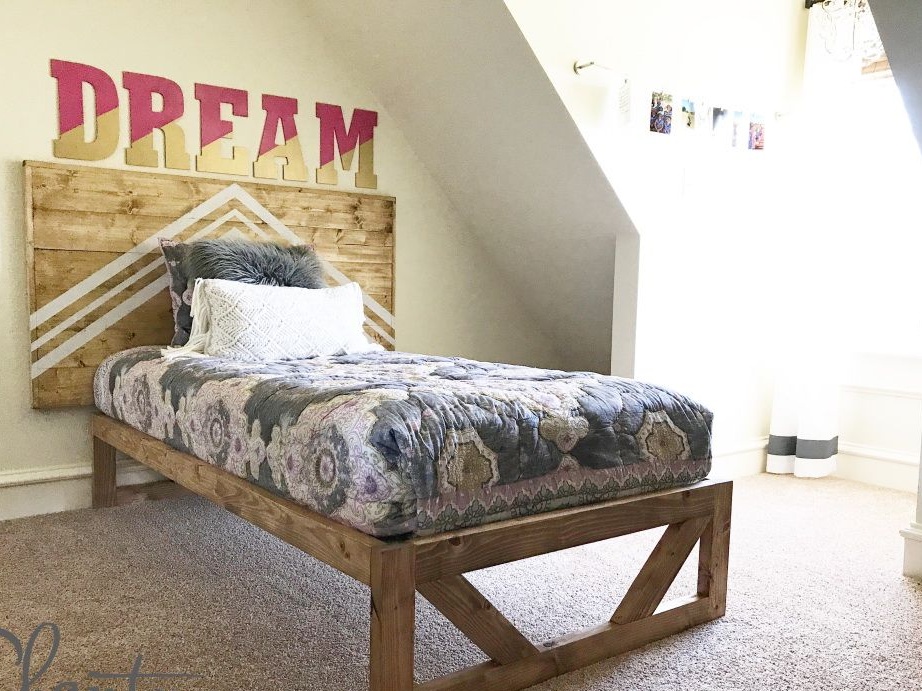
An author from the USA made this bed for her daughter for only $ 50. This is a negligible amount for the inhabitants of America, since the finished furniture from the furniture salon will drag on several hundred. Moreover, the bed is made of natural wood, and this is a real luxury by modern standards.
To make a wooden bed in home In conditions you will need a fairly modest inventory, metal consumables, such as furniture screws, and wooden boards, bars and slats. But more about this:
Materials:
- wooden blocks with a section of 70 x 50 or 75 x 50 mm for the manufacture of a frame;
- supporting rails for flooring under a mattress or lamella with a thickness of at least 25 mm;
- lamellas or non-thick boards for the manufacture of the base under the mattress;
- planed boards for the wooden headboard of the same thickness;
- decorative slats for framing the headboard according to the thickness of the boards used;
- decorative protective oil-toner or primer-toner for wood processing;
- white paint for headboard decor;
- furniture screws;
- metal corners to strengthen the frame as desired;
- glue for woodwork.
Instruments:
- circular or miter saw (you can use a sharp hacksaw on a tree with a small tooth);
- electric drill;
- screwdriver;
- a grinder, if necessary;
- a soft cloth for processing wood with oil or paint brushes for priming and drawing a headboard pattern;
- building tape measure and square;
- a pencil.
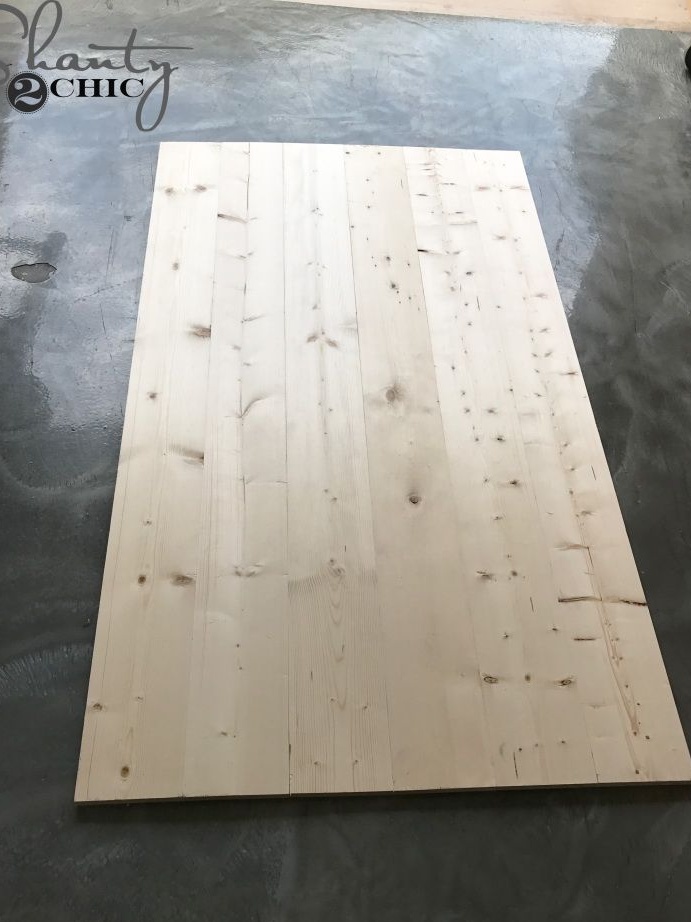
Step one: preparing lumber for work
If you manage to get properly processed boards, the whole process of making a bed will be simplified by several times. Not to mention the list of tools and equipment that you will need.
This means that the boards must be carefully and evenly planed, have a smooth surface and a suitable degree of drying. Before ordering the delivery of the material, make sure that the bars and boards have the same thickness. In this case, the error will not have fatal consequences, except, perhaps, for the untidy appearance of the finished structure.
To the rails of such requirements can not be put forward. The only thing that matters to you is the even plane of one of the faces on which the lamellas or stitches under the mattress will be fixed. However, it is also desirable to treat them with protective compounds, and if the surface of the tree is loose and uneven, their consumption increases significantly. But this is sometimes the most expensive item of expenditure.
Step Two: Preparing to Build
Assemble the frame of a wooden bed do it yourself - The task is not so difficult. The main thing is to adhere to the sequence. Of great importance is also the accuracy of the markup and high-quality sawing.
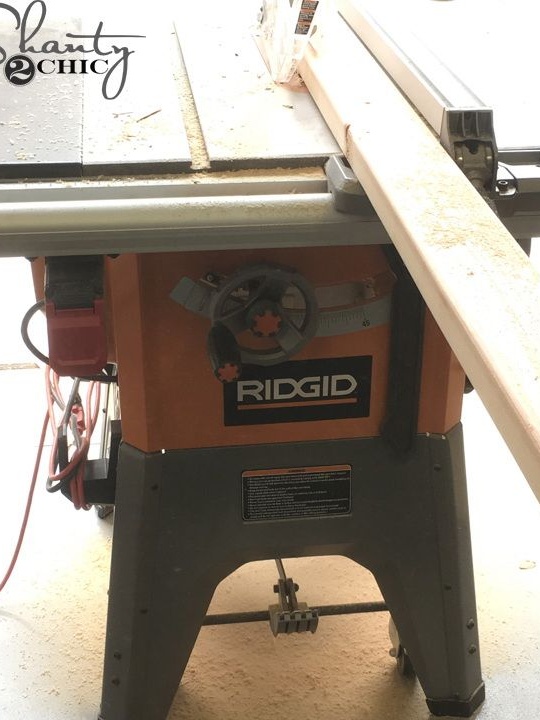
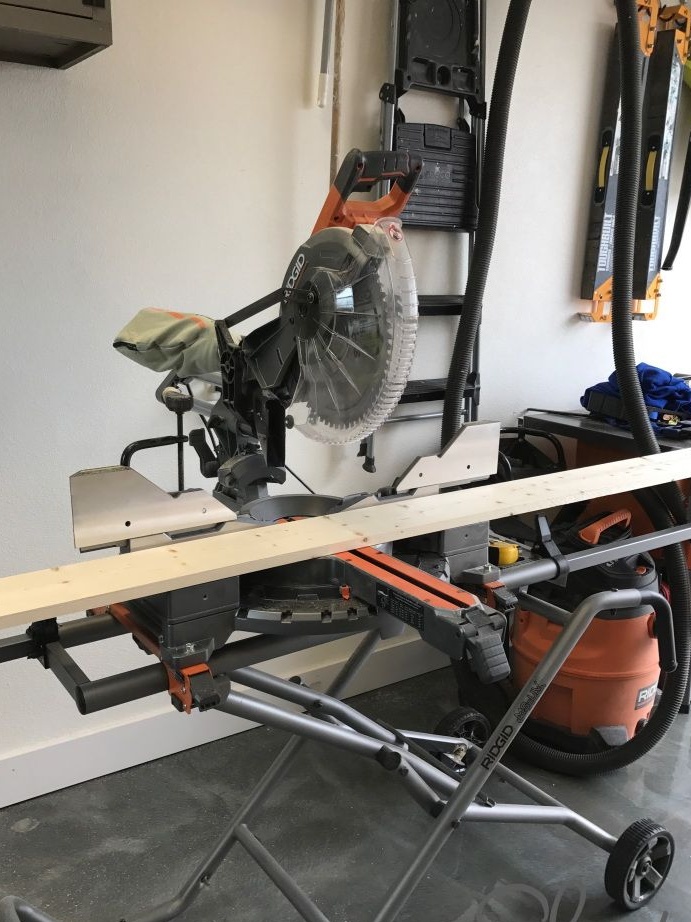
The most convenient tool for sawing lumber for furniture is, of course, a miter saw. It allows you to maintain an exact even angle, so that all parts of the structure are even and tightly adjacent to each other. However, until recently, the miter saw was an impermissible luxury, and everyone could do without it.
With the same success, you can use a circular or a hand saw in wood. And in order to make the angles even, buy and use a construction angle, which allows you to mark the bevels at a certain angle, including at an angle of 90about.
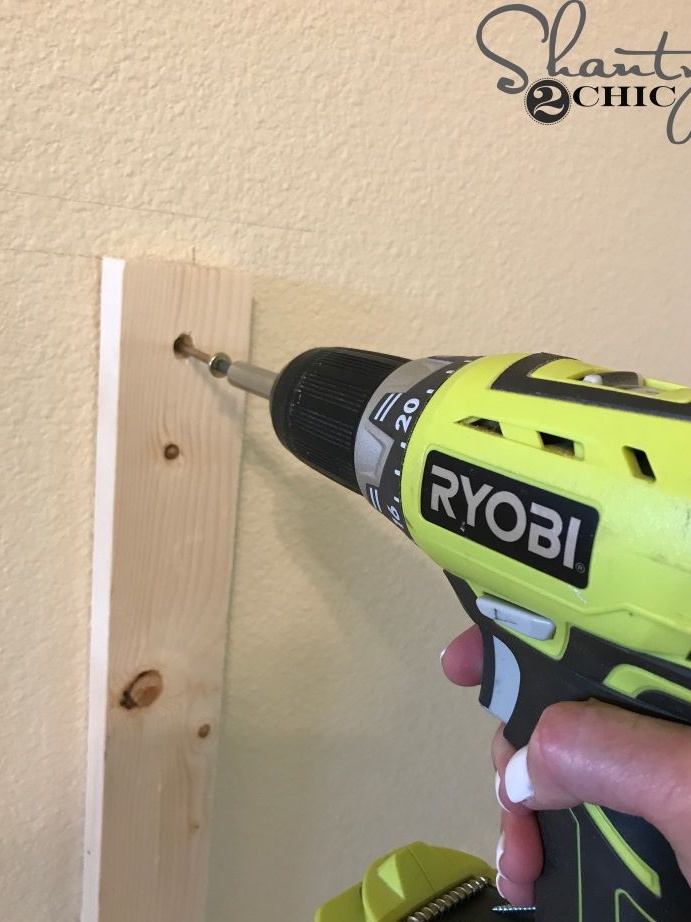
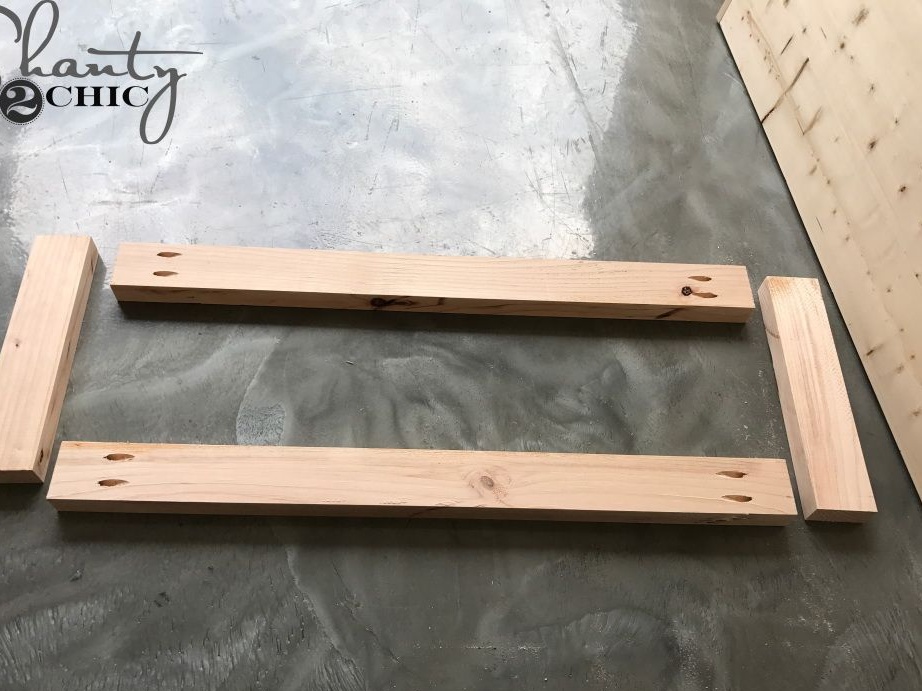
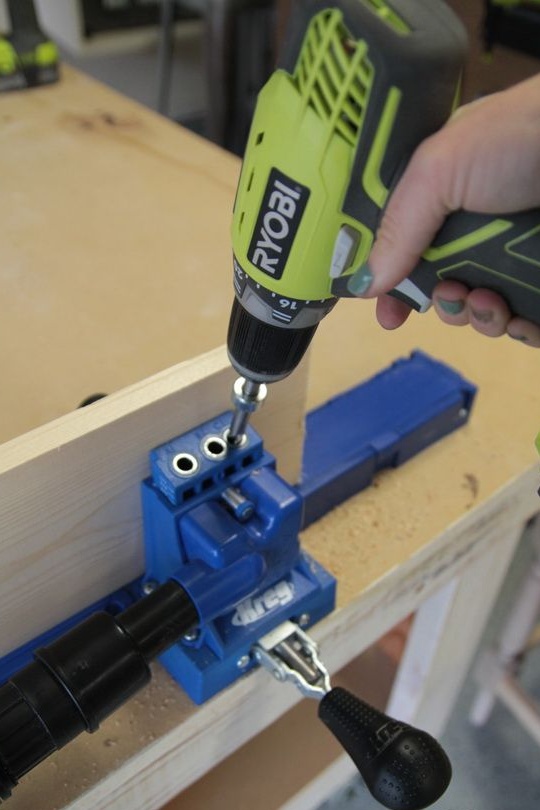
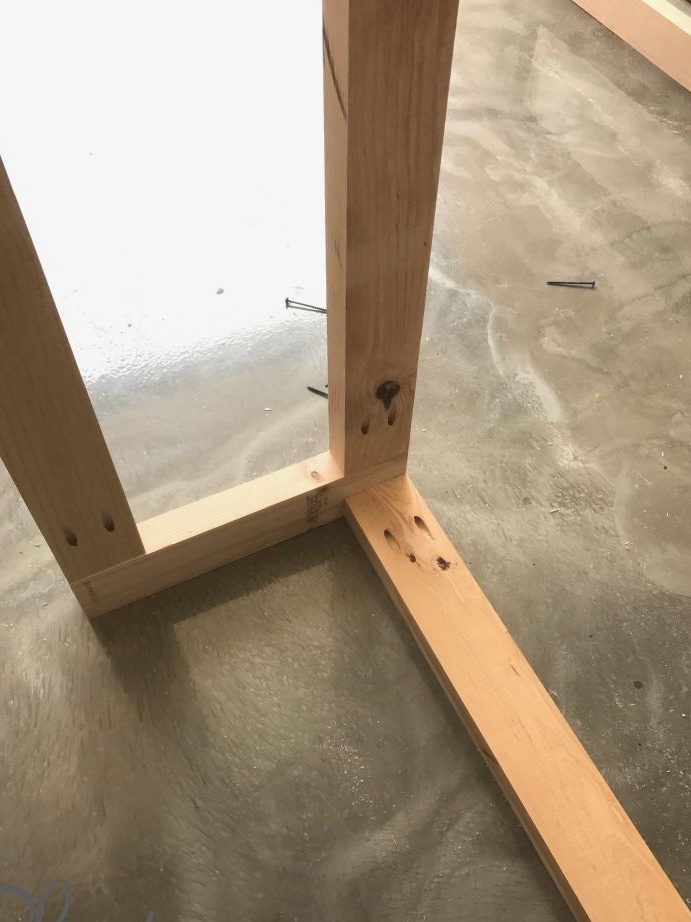
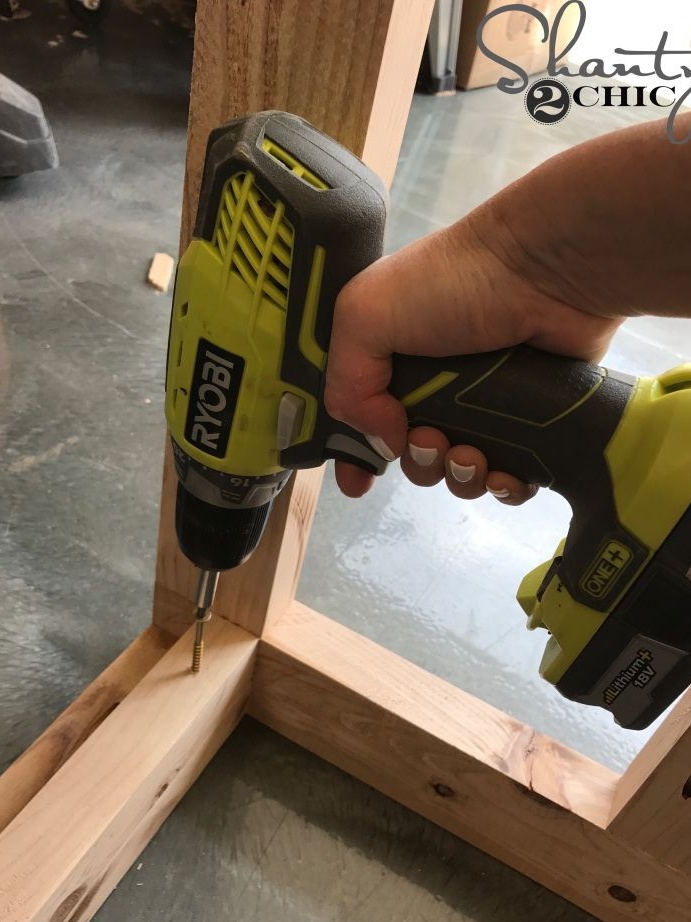
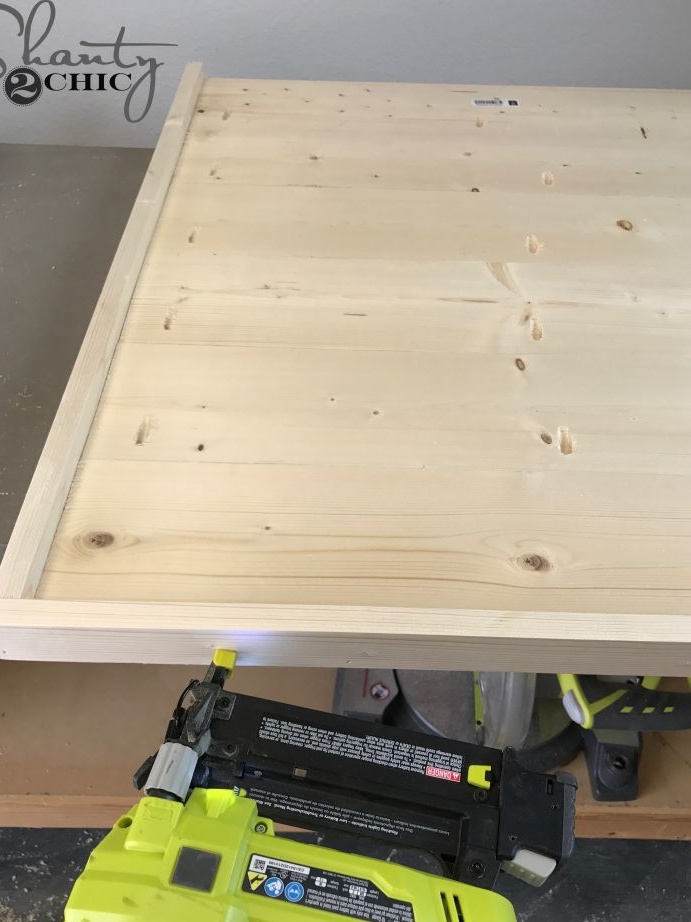
The author used simple pocket-to-joint seams. This avoids the manufacture of complex grooves that so frighten beginner home craftsmen. Pocket connections are connections with furniture screws or wood screws, twisted at an angle, so that the hat is recessed in the wood.
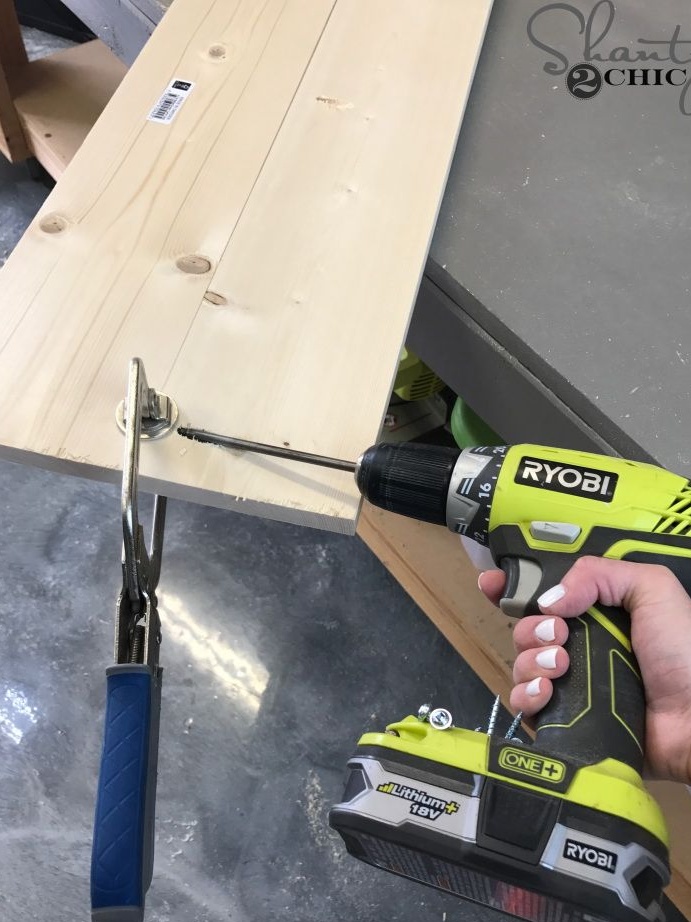
All holes are pre-drilled using an electric drill. Later they can be filled with epoxy sealant or wood putty. However, it is better to arrange them so that the compounds are invisible to the eye.
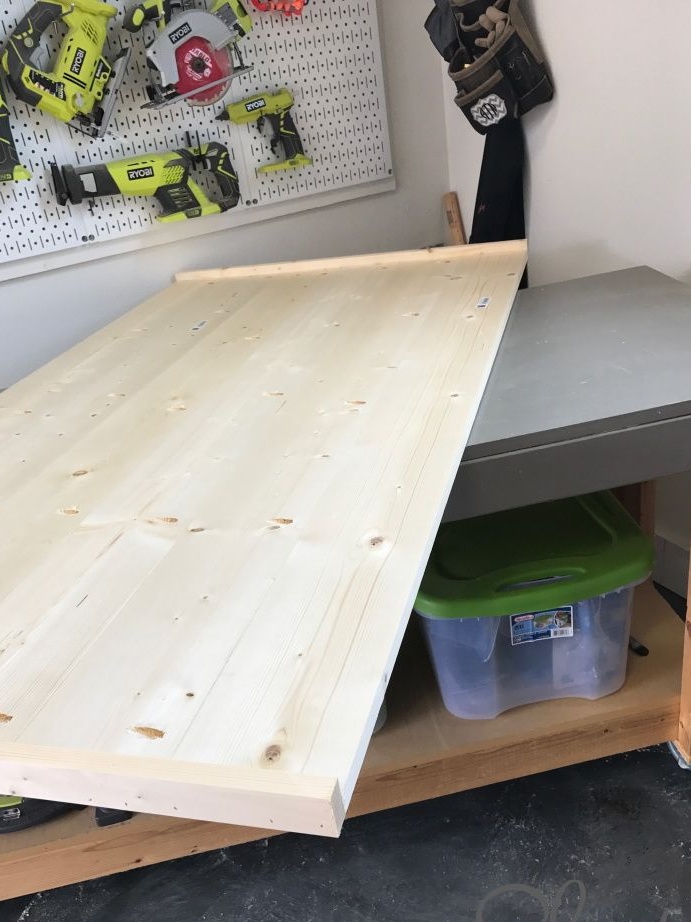
Step Three: Assembling a Wooden Bed Frame
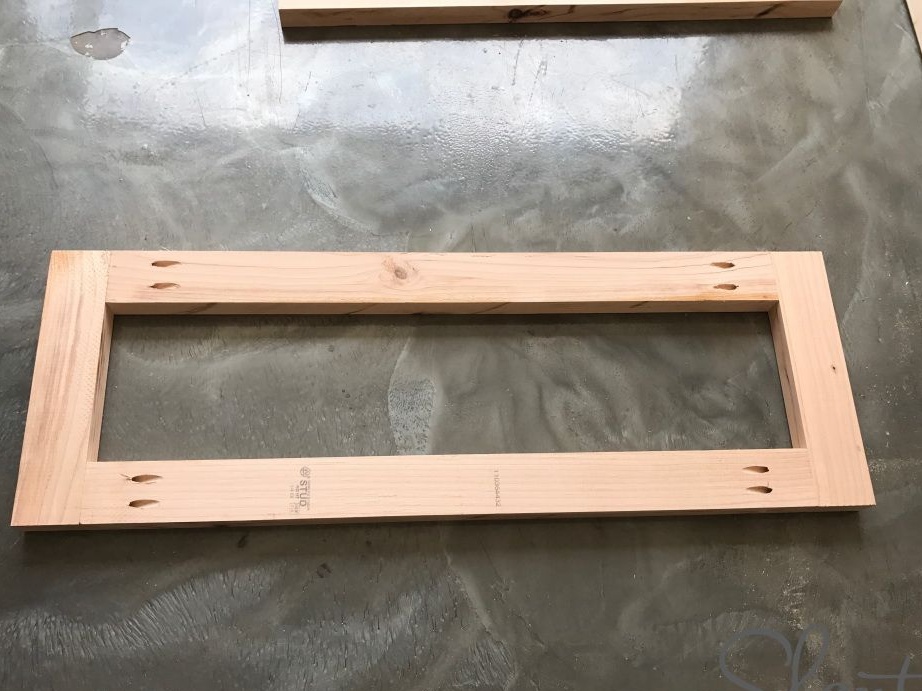
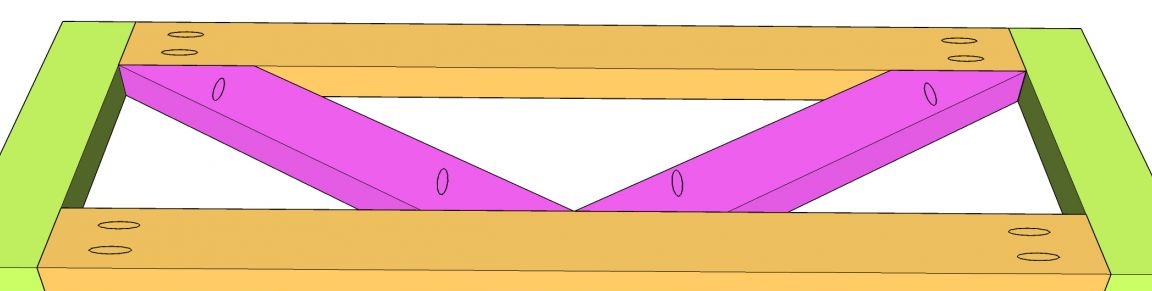
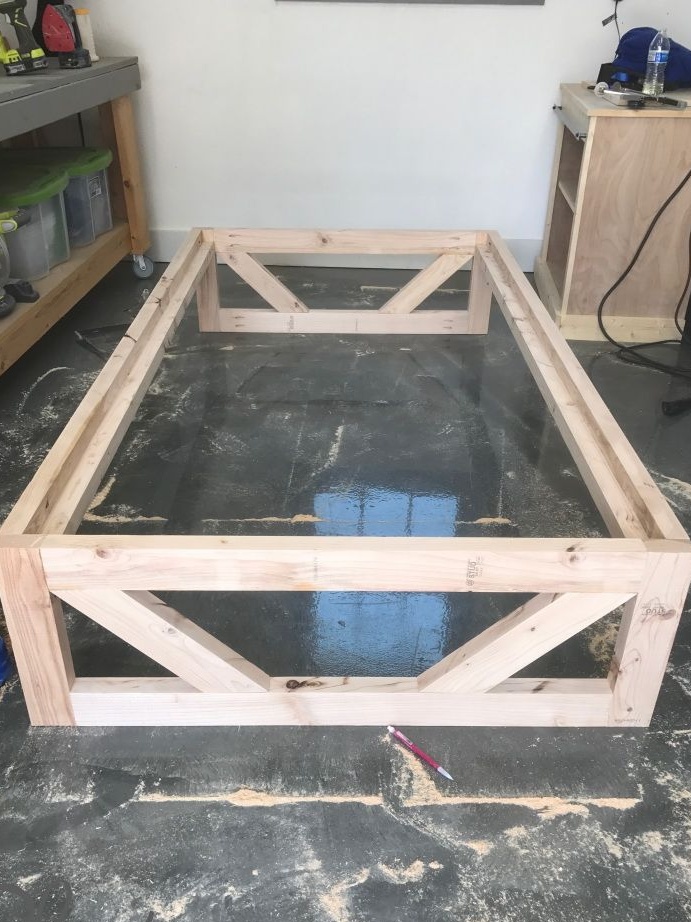
The author recommends starting the assembly of the frame with the manufacture of the front and rear panels. Both panels are identical and consist of six parts: four parts of the frame and two braces, which are also part of the decor.
All parts are joined butt-to-butt, so pay particular attention to marking and fitting. Assemble the frame first with screws and glue. Saw off the braces at the desired angle and reinstall.
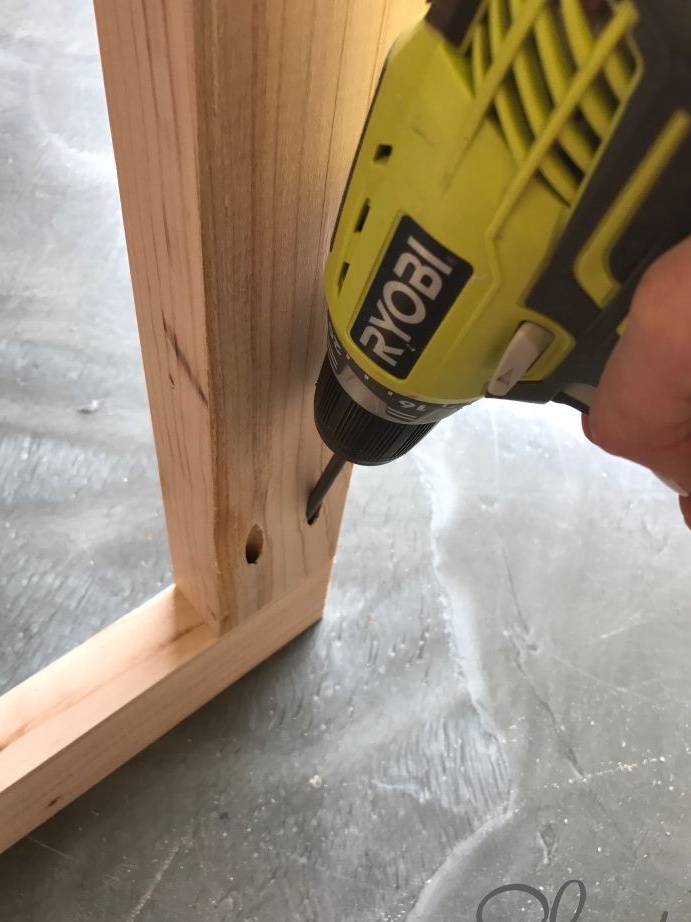
Screw the longitudinal bars of the bed frame. Fix on them support rails or bars for flooring lamellas or sill under the mattress. At this stage, you can strengthen the frame using metal corners and connectors. It all depends on what kind of load is expected during operation. However, first you need to finish all the woodworking. So feel free to move on to the next step.
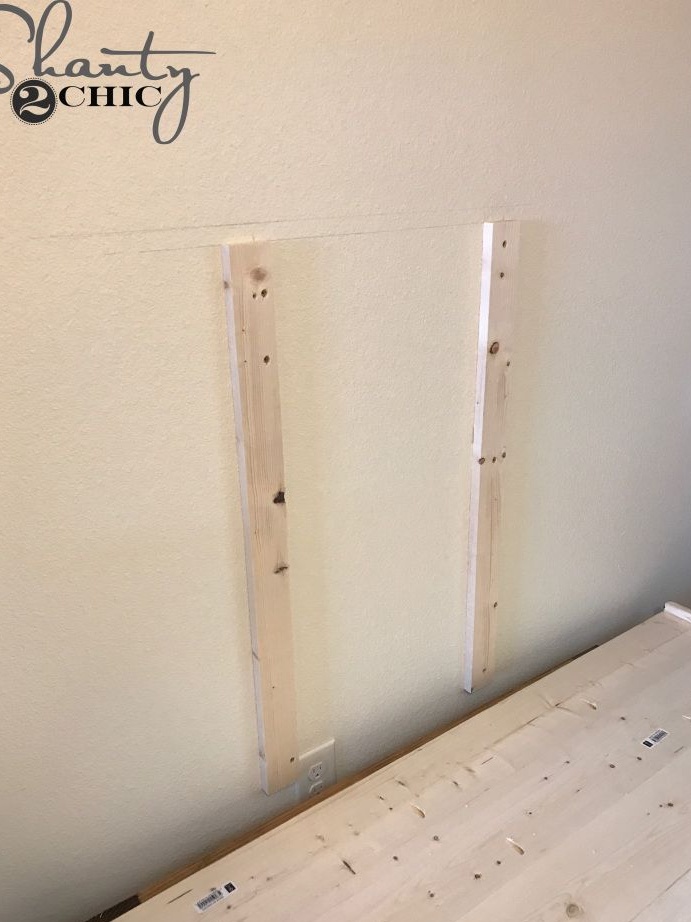
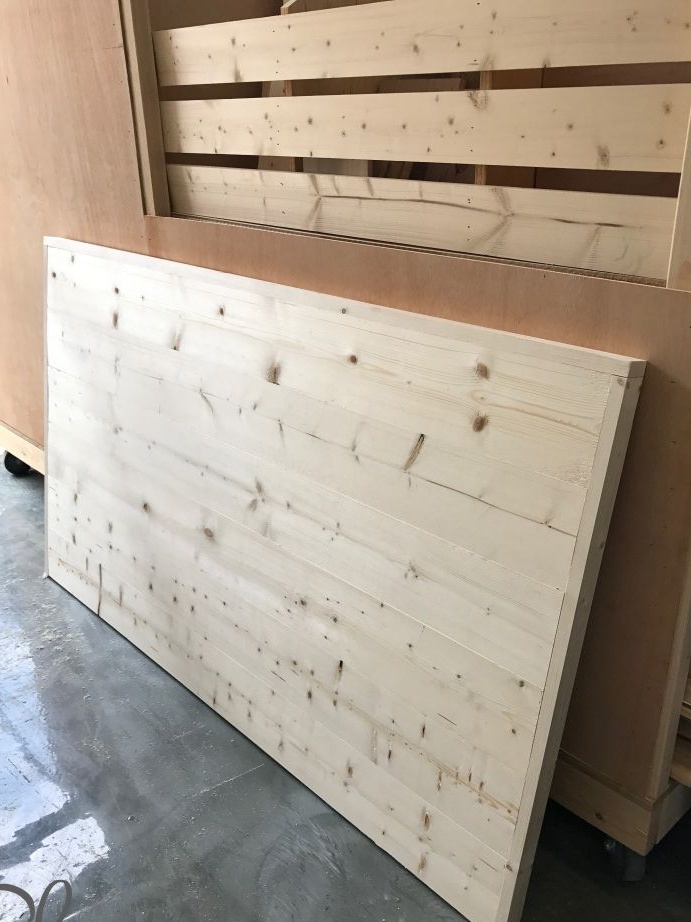
If you wish, you can also make a hinged panel - the head of the bed. It is assembled from planed boards and framed by slats. The dimensions of the panel are arbitrary and depend on the size of the bed itself. In any case, it perfectly complements the bed and helps you fit it into the interior.


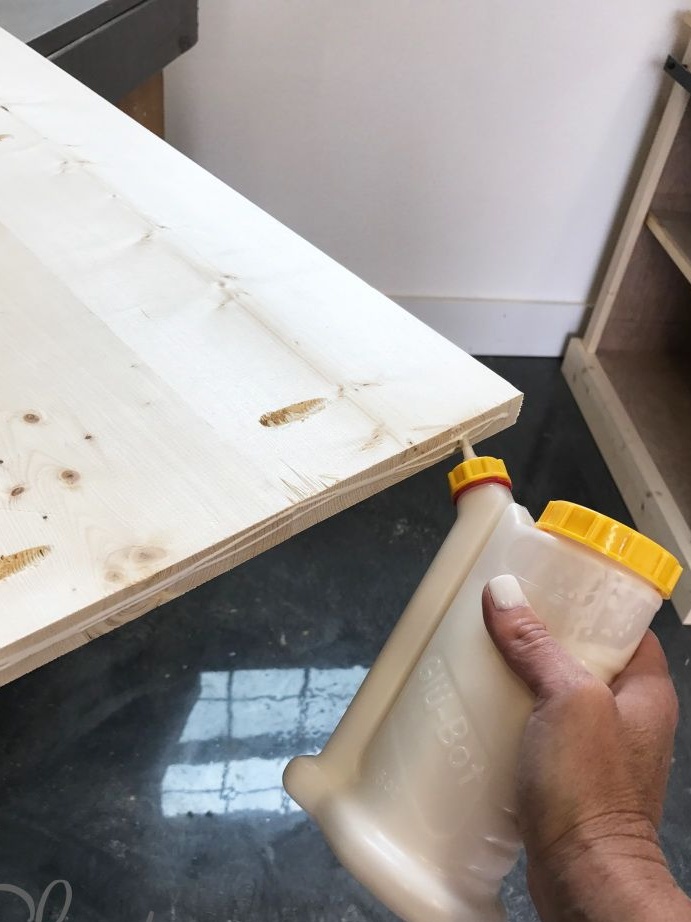
Step Four: Wood Protection and Decoration
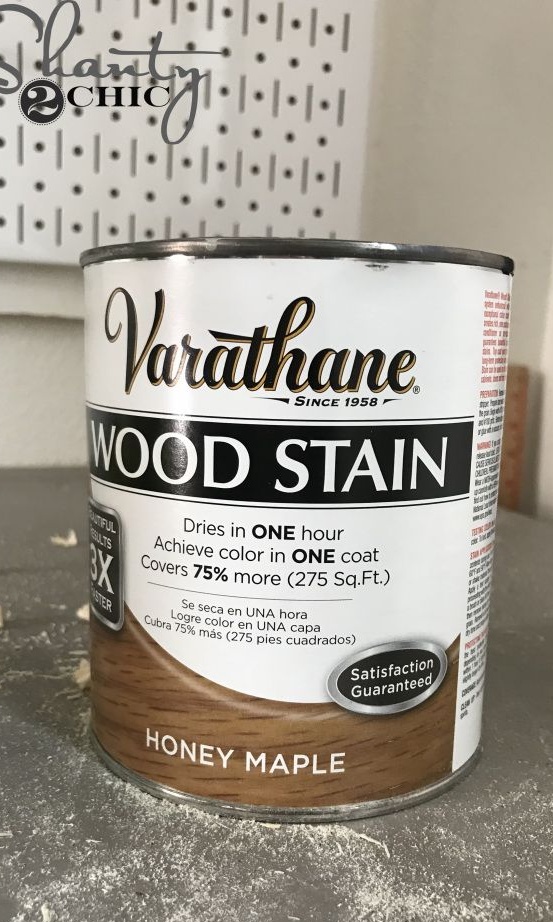
The author used a primer-toner, which perfectly tones a natural tree, imitating valuable species of wood, but at the same time preserving its natural texture. It also protects wood from moisture, dust and the formation of fungi.
You can also use decorative toner oil or tinted varnish. All these compounds are the means of a new generation.They give an interesting effect, slightly different, but generally similar. The most resistant coating of all of the above is varnish. It also protects the tree from minor mechanical damage.
Apply the coating of your choice in several layers according to the instructions. Give each new layer time to dry.
Step Five: Final Touch
Install lamellas or machined hems in order to form a base for the mattress. Screw also metal hardware, if it is provided in the design.
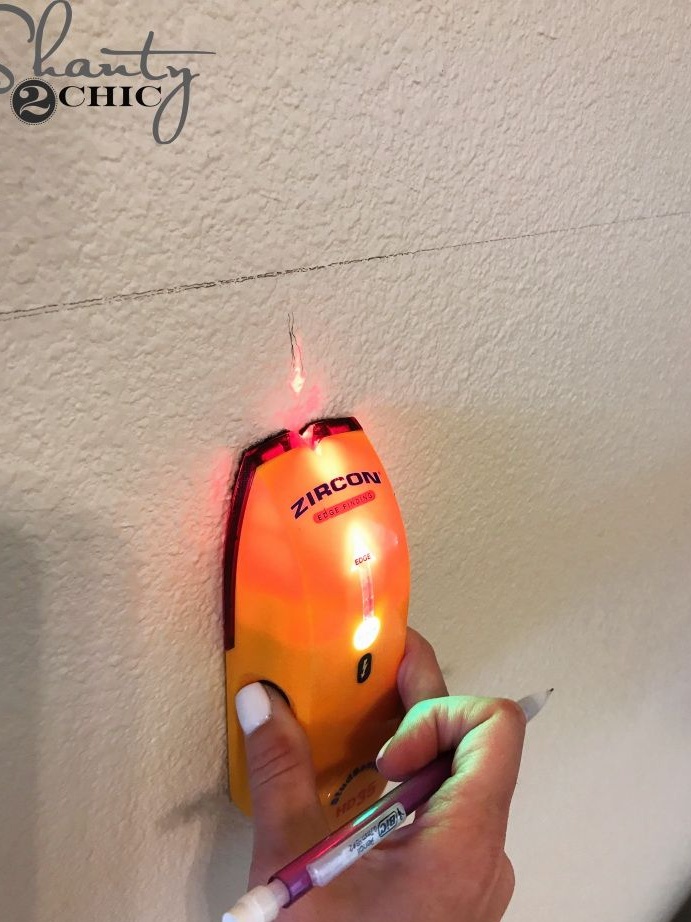
Install a wooden headboard on the wall level. The author used a laser level, but you can use the usual one. Lay the mattress on the base.