» Joiner »Notebook with wooden cover

Notebook with wooden cover

Notebook with wooden cover
Dear visitors of the site, from the material presented by the author, you will learn how to independently make a notebook with a wooden cover from several species of wood.

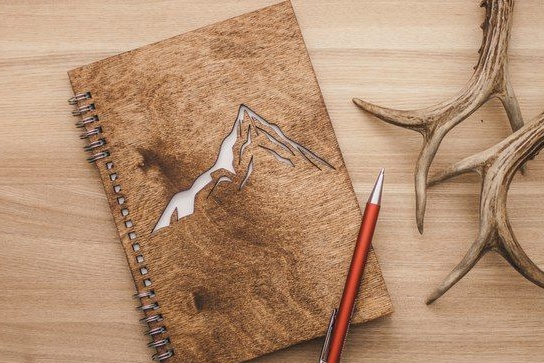
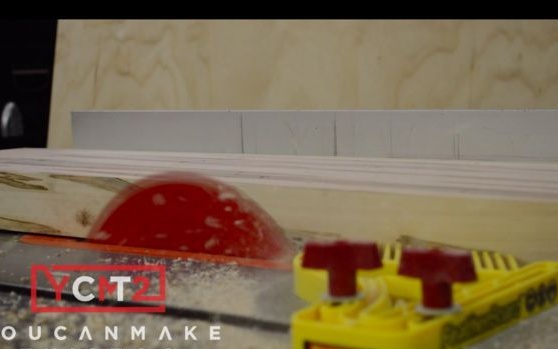
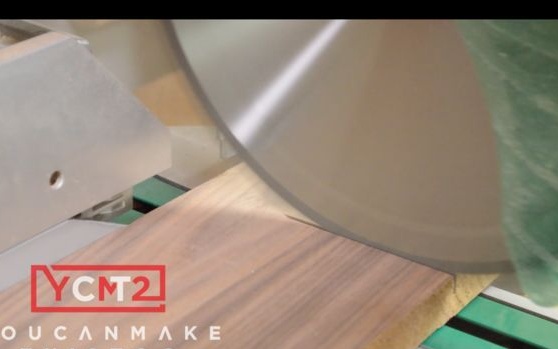
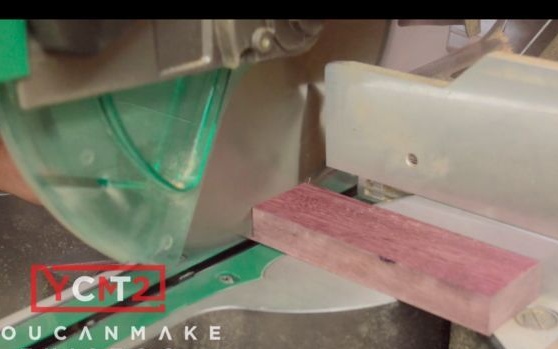
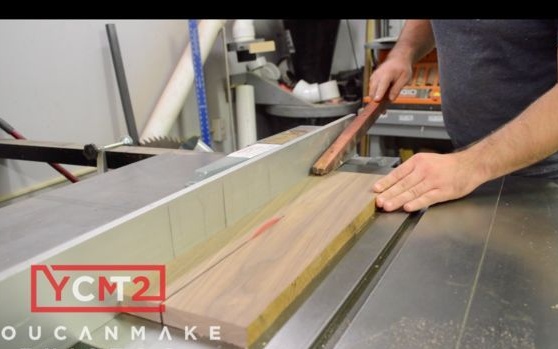
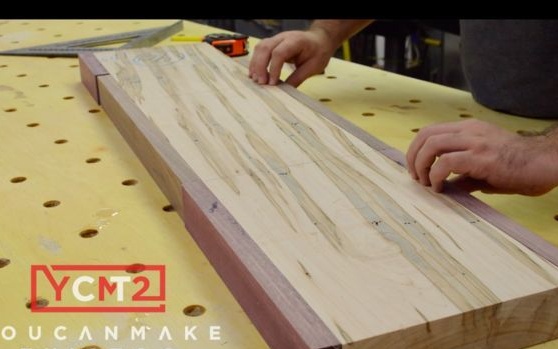
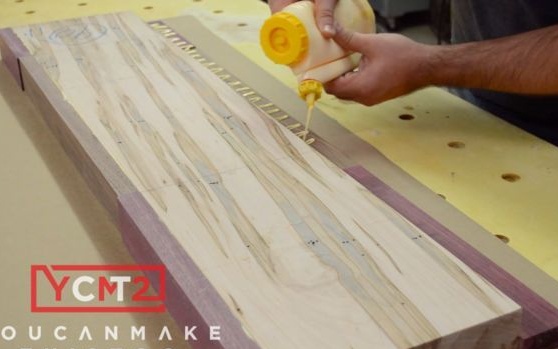
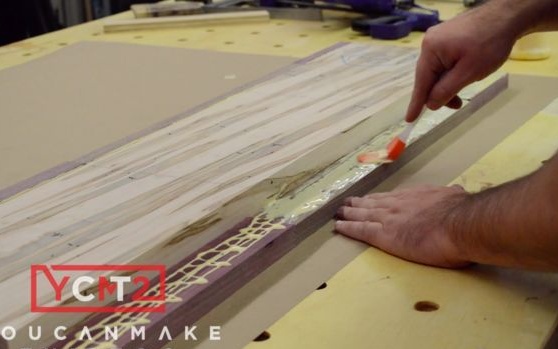
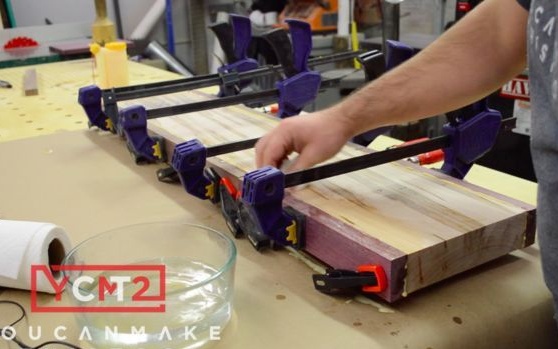
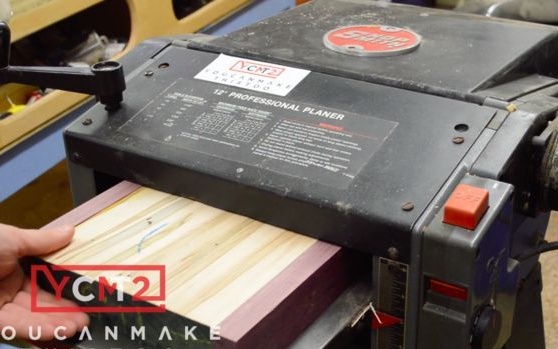
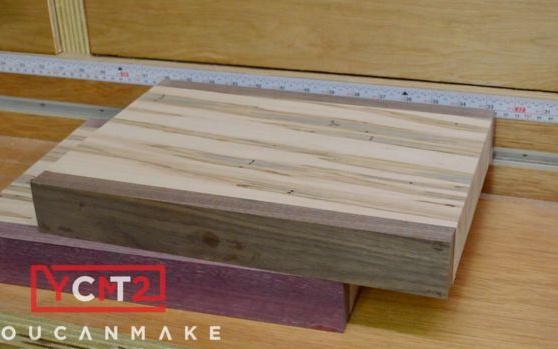
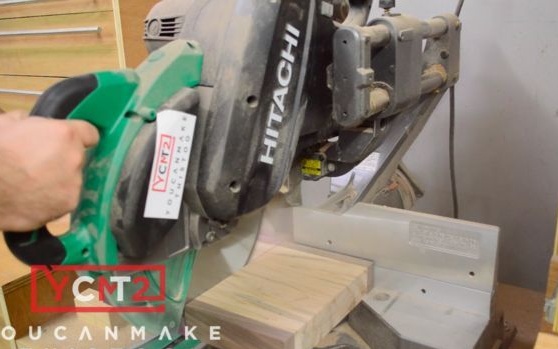
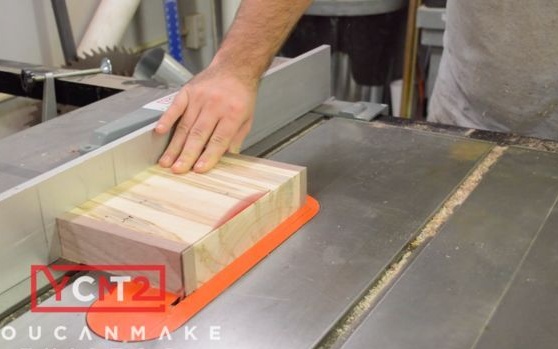
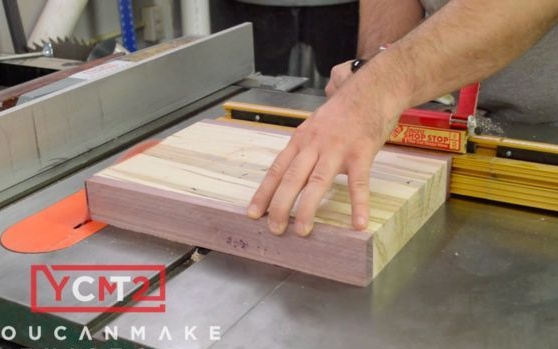
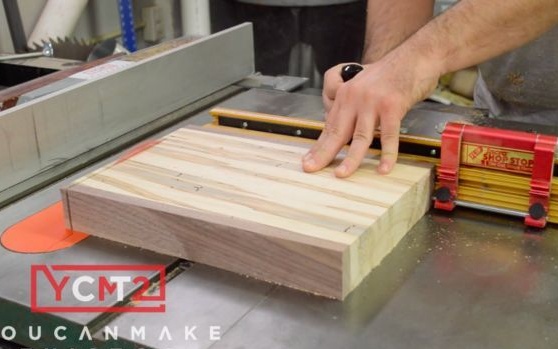
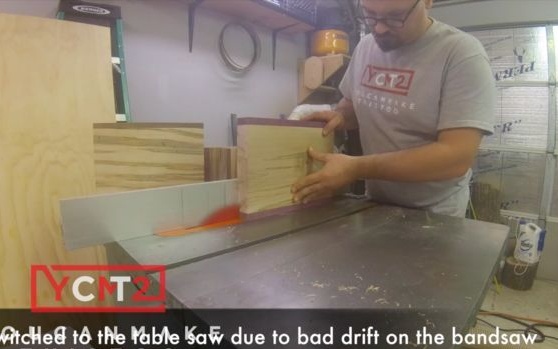
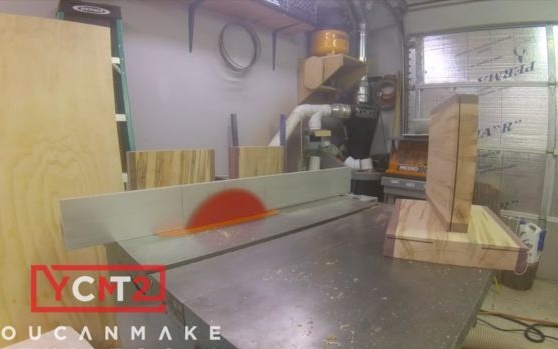
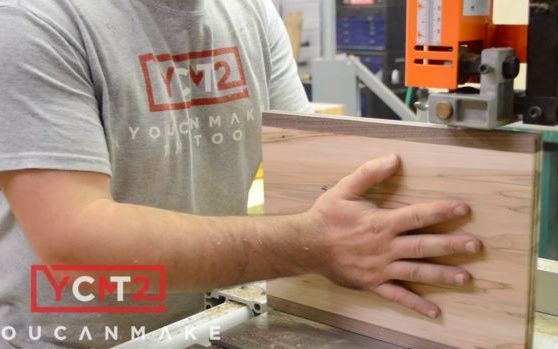
This cover for a notebook is made of several species of wood, namely at the base of maple and along the edges is a purple heart, the second option is with a walnut. The boards are first thoroughly planed, run through the thicknesser, sanded, and then glued together with carpentry glue and pulled together with clamps, they are in this position for 24 hours until the glue has completely dried. Next, the resulting boards are once again passed through the thicknesser and sawn into thin boards, the finished covers are well polished again.
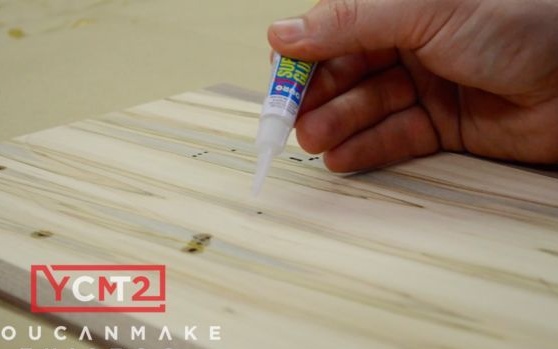
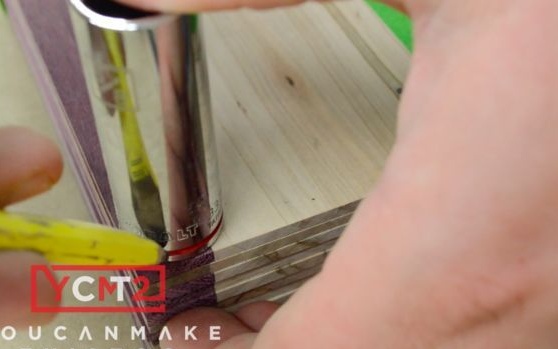
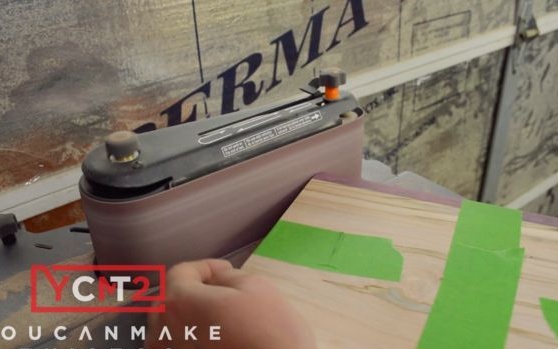
There may be wormholes in the wood and they need to be filled with wood putty or epoxy to make the surface perfectly smooth. After that, the edges of the cover are rounded, for which it is necessary to attach a round object, for example, a pipe and circle the edge of the circle, and then grind the excess on a belt grinder.
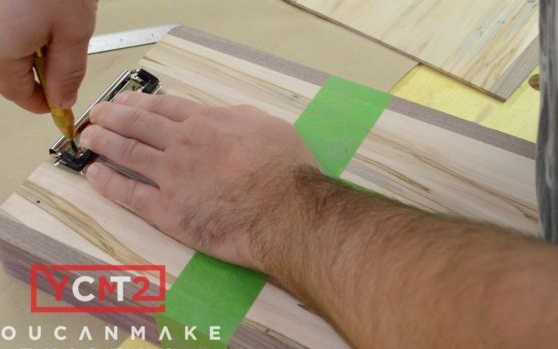
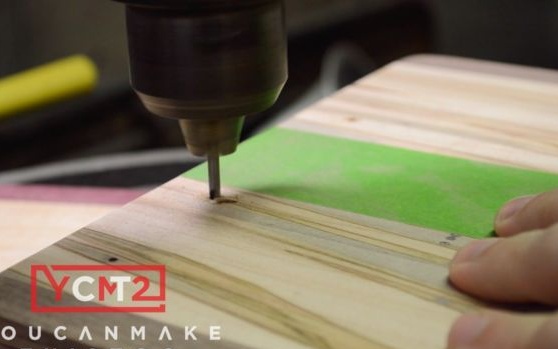
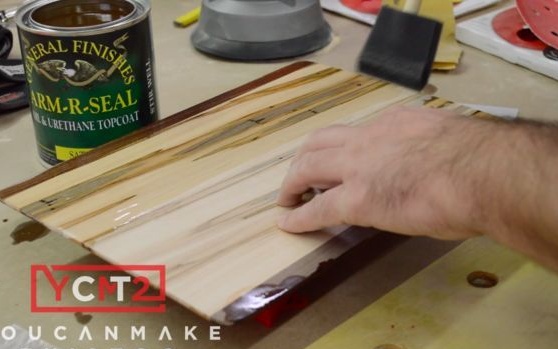
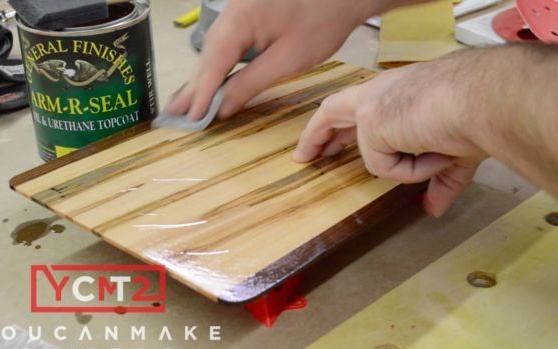
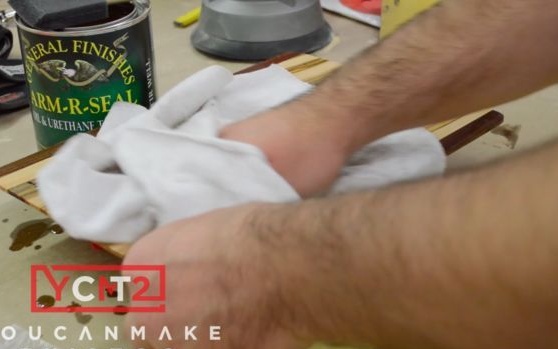
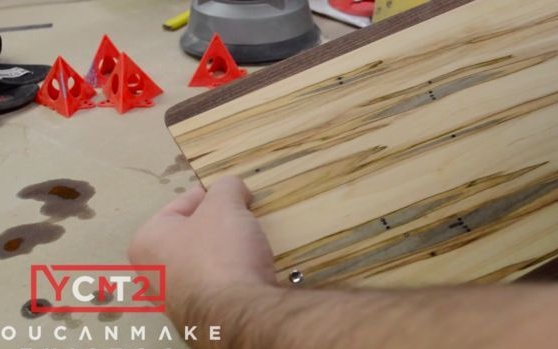
The surface is covered with stain or varnish to give the wood a noble and aesthetic appearance. Then holes for fastening paper are drilled.

And so, let's take a closer look at the whole process, and also analyze what exactly is needed for this?

Materials

1. wood of different species (maple, purple heart, walnut) or any other different in color and texture.
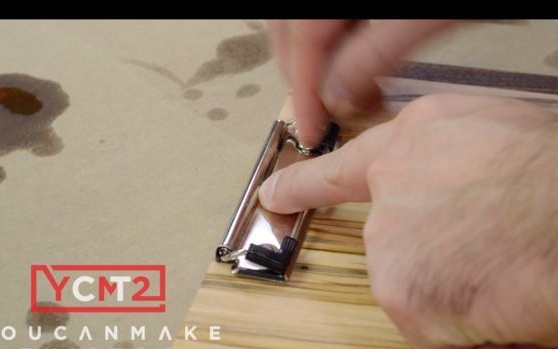
2. paper holder
3. varnish or stain
4. wood putty or epoxy

Instruments

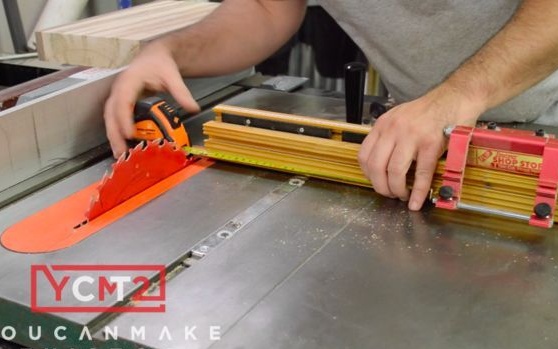
1. stationary circular saw
2. drill
3. Thicknesser
4. belt grinding machine
5. ruler
6. clamp

Step-by-step instructions for creating a wooden cover for a notebook do it yourself.

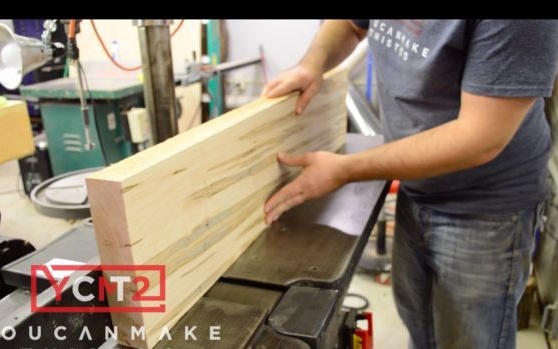
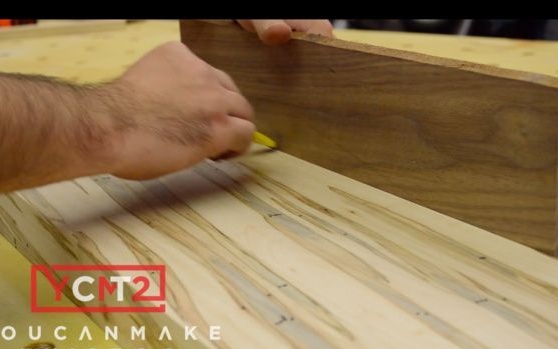
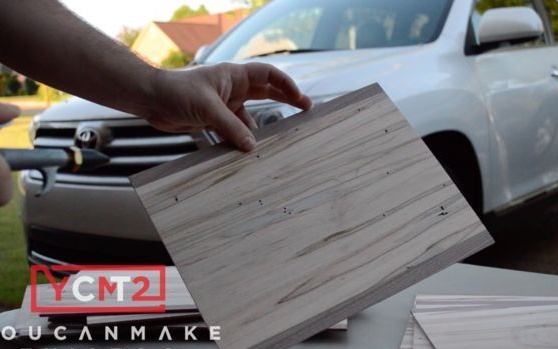
First of all, the author prepares a maple board that will form the basis.


Then, plates of a tree of another species of different colors are glued around the edges, in this case the first version with a purple heart, and the second with a walnut. In fact, you can take any kind of wood, the main thing is that they vary in color and texture.


Glued workpieces are reliably tightened with clamps and remain in this position for 24 hours so that the glue dries, then the resulting workpiece is passed through a thicknesser.
Here is the result.
After that, the edges of the blanks are aligned and the irregularities on the circular saw are cut.


And then the board unfolds on thin boards.


Some boards may have wormholes and should be filled with wood putty or epoxy. On the reverse side, masking tape or tape is glued, and resin is poured into the cavity.

The resin should dry and it will take another day, then the workpiece is again ground using an orbital sander.

The edges must be rounded, for which marking is done using a round object, in this case, a piece of pipe.
It is ground on a grinding machine.

Holes are drilled.
The surface is varnished and the mount is installed.


Here is such a wonderful notebook with a wooden cover turned out by our author, quite unusual and unique, which is very important today.
Step-by-step instructions are provided for you, so we take and do it. Go for it friends!

That's all, thank you all for your attention!
Come visit often and do not miss the latest in the world of homemade goods!
10
10
10

Add a comment

    • smilesmilesxaxaokdontknowyahoonea
      bossscratchfoolyesyes-yesaggressivesecret
      sorrydancedance2dance3pardonhelpdrinks
      stopfriendsgoodgoodgoodwhistleswoontongue
      smokeclappingcraydeclarederisivedon-t_mentiondownload
      heatirefullaugh1mdameetingmoskingnegative
      not_ipopcornpunishreadscarescaressearch
      tauntthank_youthisto_clueumnikacuteagree
      badbeeeblack_eyeblum3blushboastboredom
      censoredpleasantrysecret2threatenvictoryyusun_bespectacled
      shokrespektlolprevedwelcomekrutoyya_za
      ya_dobryihelperne_huliganne_othodifludbanclose

We advise you to read:

Hand it for the smartphone ...