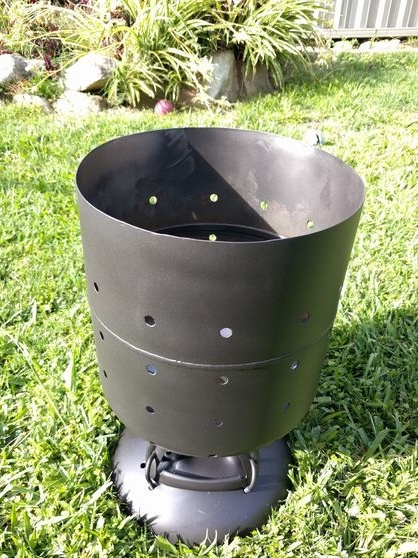
You will not surprise anyone with a grill or a gas stove from a gas cylinder, but the disadvantage of such designs is that welding requires some welding, which not everyone has, and not everyone knows how to use it. In this instruction I will show you how to make a simple outdoor stove do it yourself without the use of welding. You will need only a tool for cutting metal (grinder or dremel), as well as a drill with drills and more.
Such a stove can be used all year round, it is especially pleasant to spend spring and autumn evenings around the campfire. Here you can cook or heat the barbecue, fry marshmallows and others who have enough imagination. It is possible that you can bake and potatoes here.
Since the furnace is made of thin metal, it is quite warm near it.
Materials and tools for homemade:
- gas cylinder (for the author it is an empty helium cylinder, which is used to fill the balls);
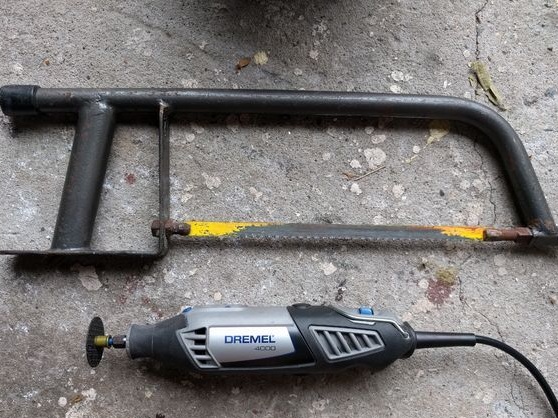
- dremel;
- a hacksaw;
- Bulgarian (theoretically, the work can be done using it);
- heat resistant paint;
- a grinder with a metal brush (if you do not want to conceive a cylinder manually);
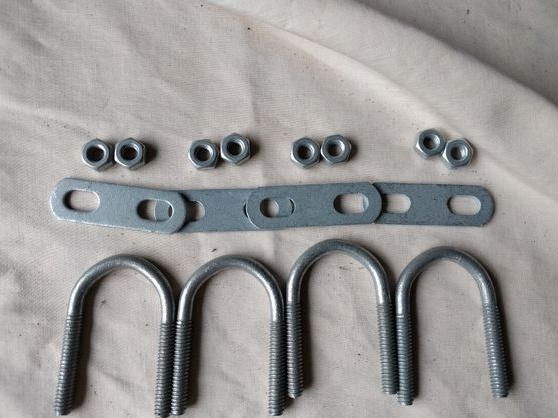
- a pair of bolts with nuts;
- spanners;
- metal staples with nuts and washers for screed;
- file;
- felt-tip pen;
- pliers and more.
Furnace manufacturing process:
Step one. We remove gas from the cylinder
Dangerously!
It all starts with cutting a gas cylinder, which is always a very dangerous event. Even if the gas in the cylinder is not combustible, this does not mean that you may not get injured. Always use protective gloves, a mask, and long-sleeved clothing when handling these items.

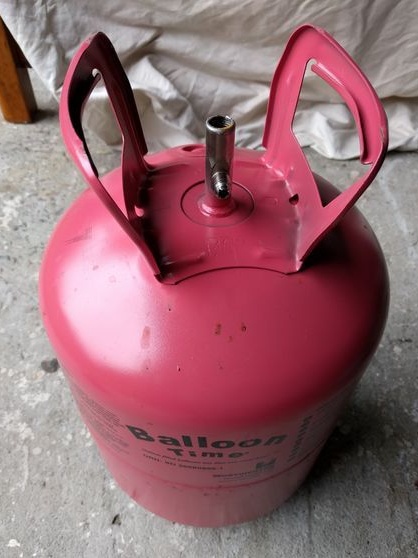
First of all, you will need to remove all gas from the cylinder. There are tons of ways to do this. First of all, you will need to first unscrew the valve to the full extent and bleed the gas. Next, the crane will need to be completely removed. Now you can pour water into the container under the ovary and drain, it is advisable to carry out this procedure several times.As a result, combustible gas should not remain there. If you are still afraid, you can take the bottle to a vacant lot, set fire to a fire under it, thereby it will all burn out. This procedure is good for it because it burns and is easier to clean.
Step Two We cut the balloon
After making 100% that there is no gas in the cylinder, you can start cutting it. The complexity of this procedure will depend on the tool used. Probably the fastest way to work is a grinder, but a dremel or other tool will also work.
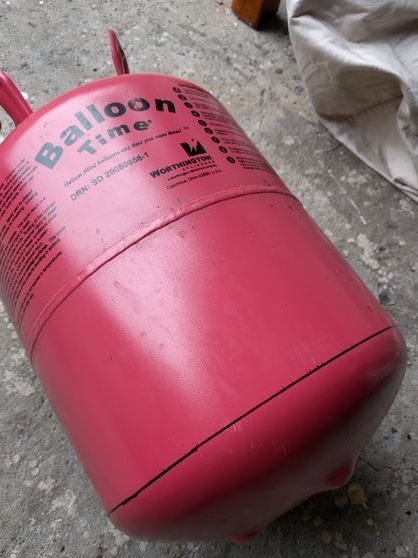
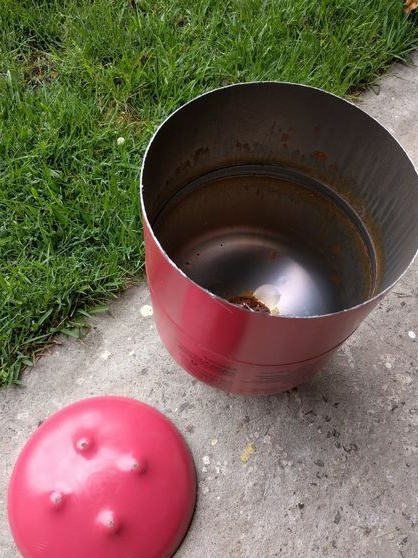
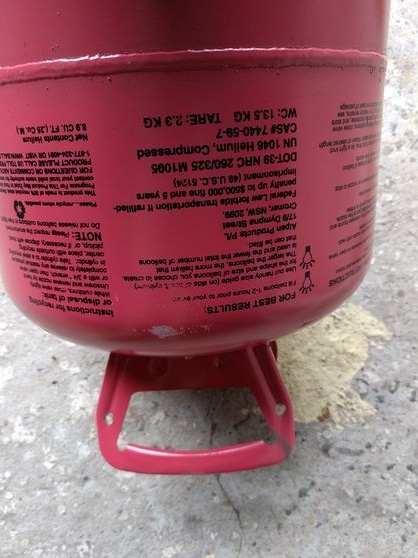
Of course, it will be possible to make such a furnace only if you have such a cylinder as the author. If the bottle is a little different, then you have to do a little magic. Armed with a cutting tool, cut off the bottom of the tank. After that, you will need a file or large sandpaper. With the help of it you need to go to the place of the cut, removing burrs, which can hurt your hand. At this step, the work is over.
Step Three Fasten the base
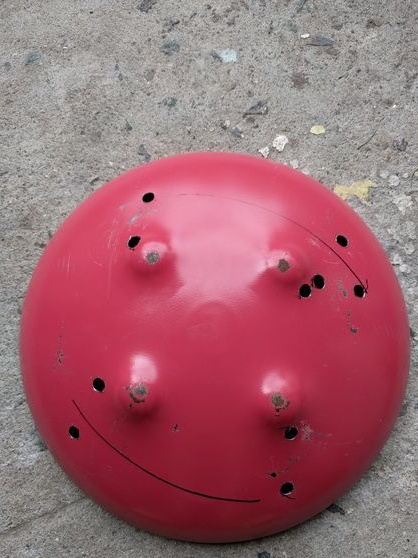
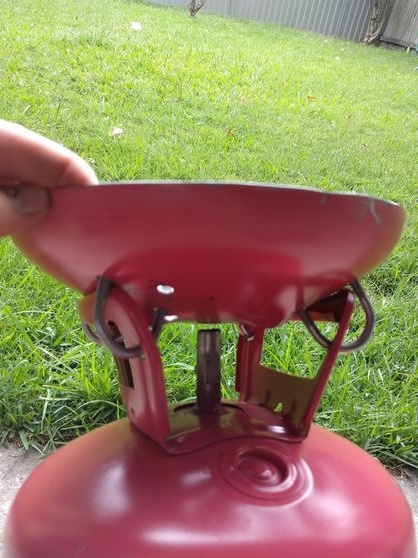
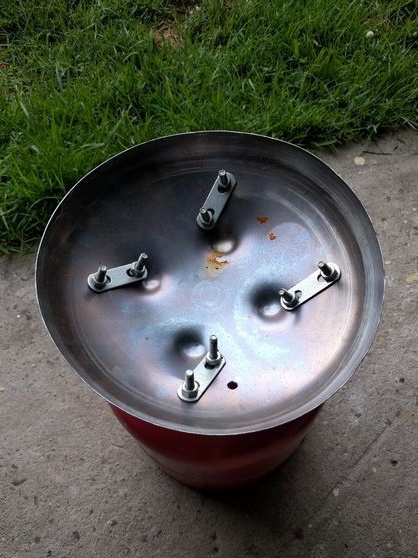
The previously cut off part acts as the base for us, and it is fastened with brackets with threads and nuts. To do this, the corresponding holes are drilled in the base. Well, then insert the brackets, tighten the nuts well and the installation of the base can be considered complete.
When tightening the nuts, turn the oven over and see if it is level. If the furnace is skewed, the brackets can be released, the furnace adjusted, and then finally tightened.
Step Four Grind and drill holes
For burning wood in the stove, air must be supplied. The author decided not to bother with the blower and simply drilled holes in the cylinder. The author tried to drill holes evenly throughout the furnace. They are located in 4 pieces in each row. In order to drill holes evenly, it is recommended that you mark everything with a felt-tip pen first.
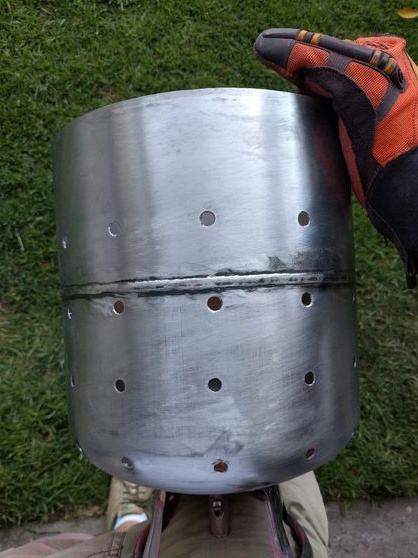
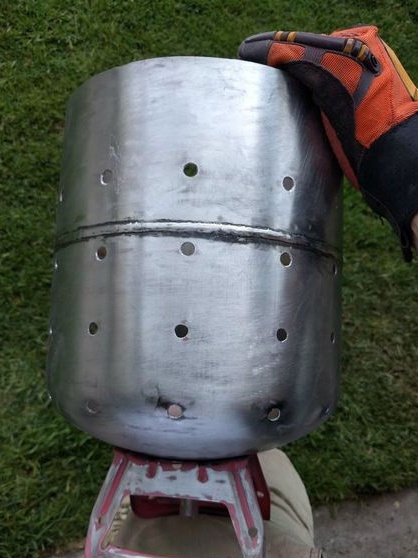
After that, you can proceed to grinding. All factory paint will need to be stripped from the bottle, otherwise when the furnace is kindled, it will start to smoke and stink. It is better to perform this work mechanically using a grinder with a metal brush. If you strain, then, in principle, you can tear it off with rough sand paper.
If you find rust, it is also recommended to remove it.
Step Five The final stage. Paint the oven
If the oven is not painted, it will rust very quickly from heat and moisture, and eventually burn out completely. For painting you will need a heat-resistant paint. If this is not the case, the metal must be coated with at least a primer.
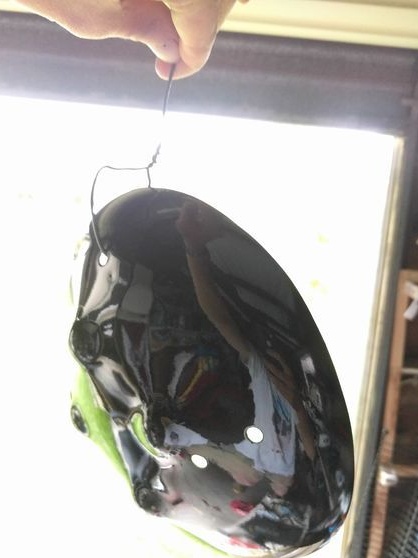
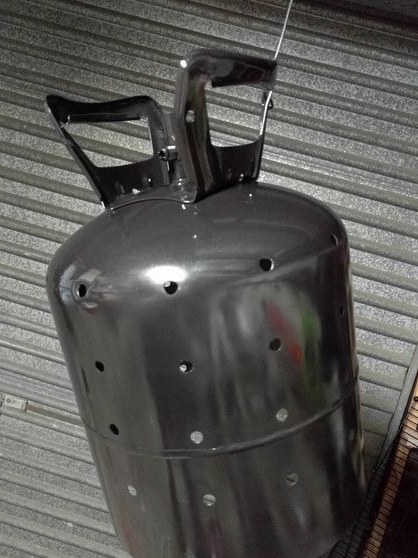
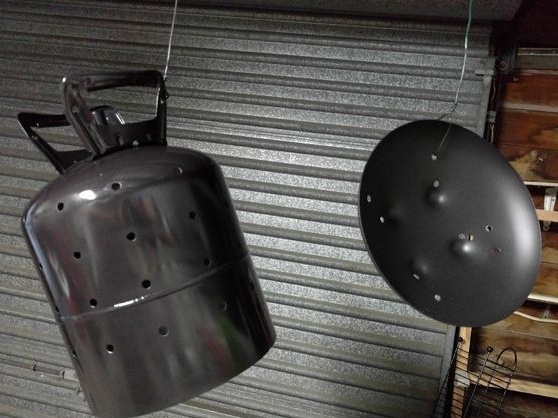
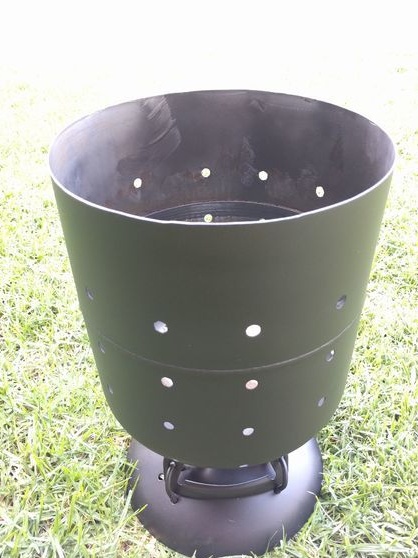
The author paints his stove both outside and inside. It is convenient to do this if the stove is hanging. The drying room must be warm. In order for the coating to be thick and look good, you need to paint the oven several times. The author covered it with just two coats of paint, but recommends painting in three strokes.
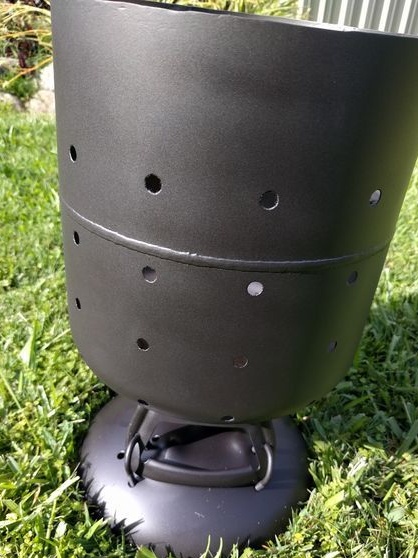
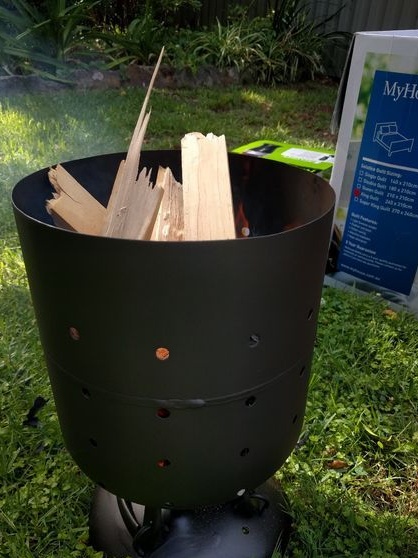
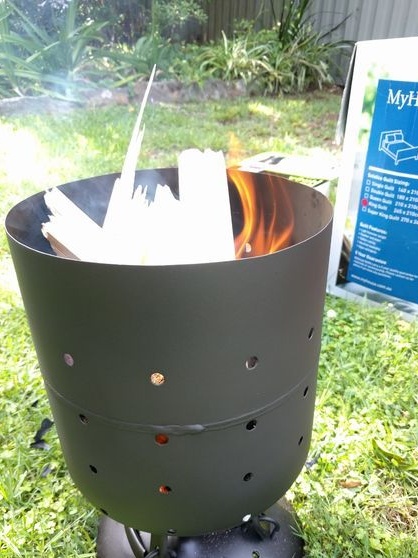
That's all, the stove is assembled and the decisive step remains - checking and annealing the paint. To test the stove, you need to install it in an open space and throw a little firewood. It is necessary to raise the temperature gradually so that the paint dries evenly. Then in the oven you need to gradually put so much firewood so that it starts to buzz. Annealing the paint will produce gas that is unpleasant on the backswing and is not recommended for breathing.
Now the stove is completely ready at your service.
