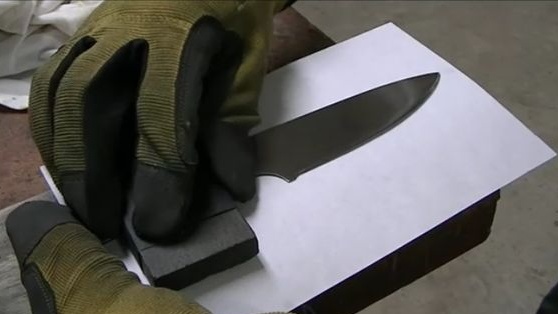
If you can find the source of the used saw blades, you can make excellent knives from them. This steel must be quenched, at least many claim that high carbon steels are used in the manufacture of saw blades.
The knife is made quite simply according to the classical scheme. Maybe you will learn something new from this manual. The author does not use a grinder, grinder and other sophisticated tools in the manufacture, everything is done manually, not counting devices for hardening.
Materials and tools for making a knife:
- saw blade;
- a marker with a thin tip;
- cardboard, scissors, drawing tools for the manufacture of the template;
- a hacksaw for metal;
- files of different grain sizes;
- vise;
- drill with drills;
- wood and brass pins for the manufacture of the handle;
- clamps;
- water stone for sharpening;
- sandpaper of different grain size and more.
The process of making a knife from a saw blade:
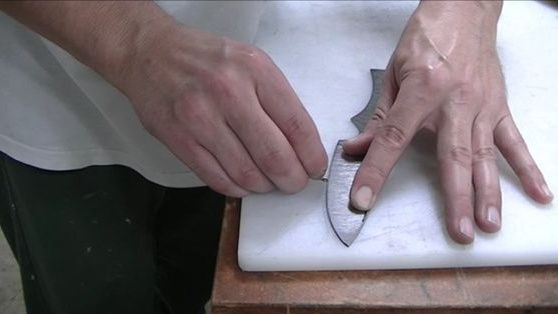
Step one. We transfer the template to the metal
Make a paper template first. Choose the type of template to your taste. In the first case, the template can be created on thin paper and cut. And then this template is simply glued to the workpiece and then cut out.
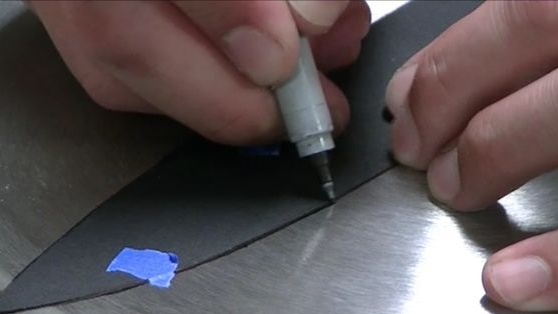
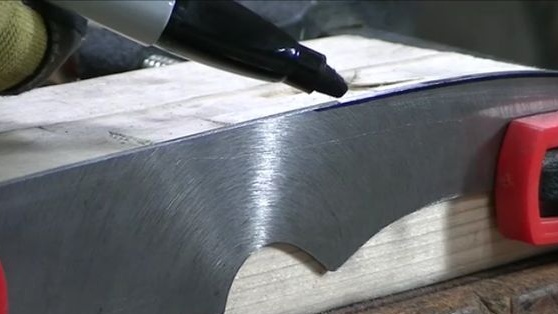
In the second case, the template is made of thick paper, such as cardboard, and then outlined on a sheet of paper with a marker. It is this option that our author chose. The marker needs to be used with the thinnest tip, since in the future there will be problems during processing.
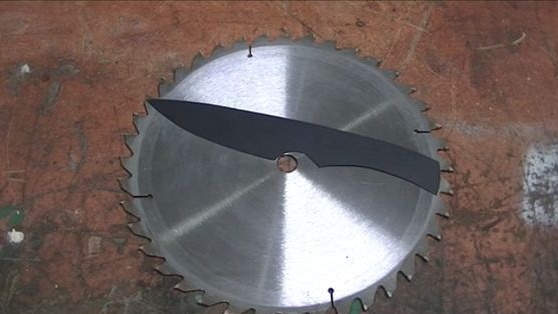
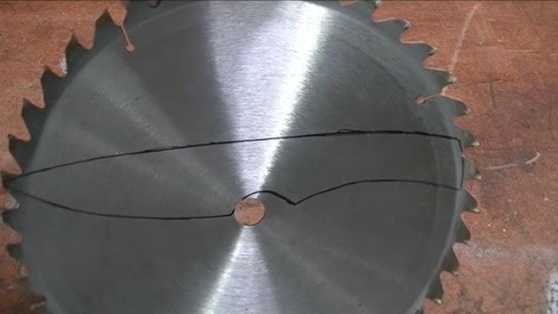
The author decided to make the knife as long as possible, so that the template was made along the entire “length” of the saw blade.
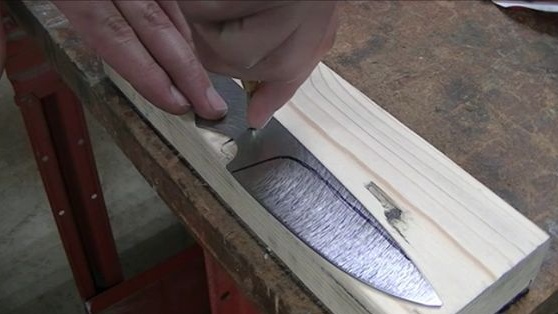
Step Two Cut the workpiece
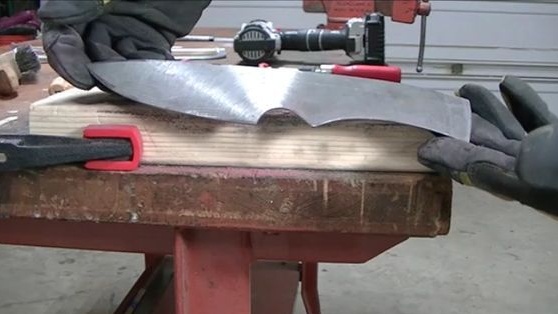
The work is carried out with an ordinary hacksaw for metal. You can use a grinder or a tape cutting machine, the author just makes the knife amateurly, so to speak, "for an argument." First, with a hand hacksaw you can cut a very rough profile, it cuts just straight lines. For further work, you will need a vice or clamp.
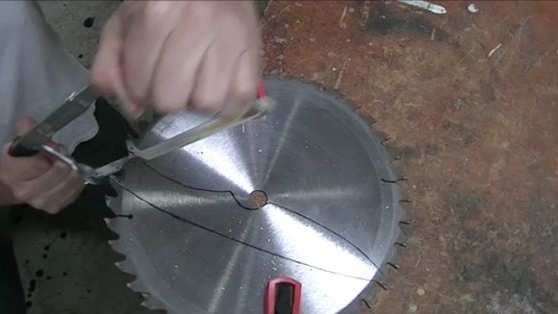

Next, when the main profile is ready, you will need to cut rounded places. For these purposes, the author makes several transverse cuts to the profile line, and then cuts these places in sections. This allows you to cut the desired shape with a conventional hacksaw.
Step Three Stitching too much
Further work is usually done at least by a grinder or grinder, and ideally on a belt grinder. The author does everything, armed with good files. With it, we grind all the tubercles, irregularities that remained after rough work with a hand hacksaw.
Using the file, you can still make some measurements of the plane, if there are any on the blade.
Files here need to be used different, the more you have them, the better. It will take not only flat, but round, semicircular and others. You need to navigate here with a felt-tip pen, as a result, this line should be sharpened and disappear. Well, or you can grind metal to it, then who already chooses how.
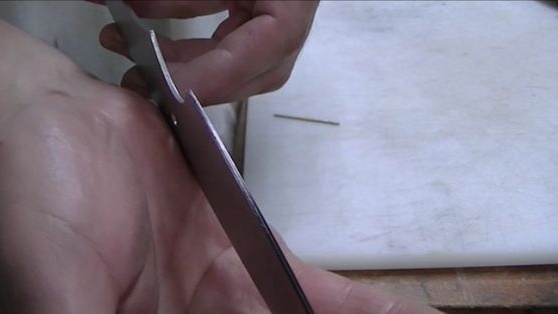
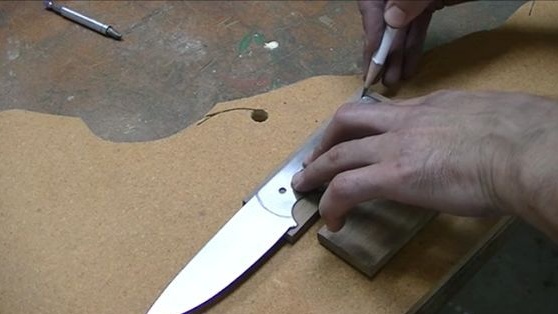
Step Four Drill holes and outline the blade profile
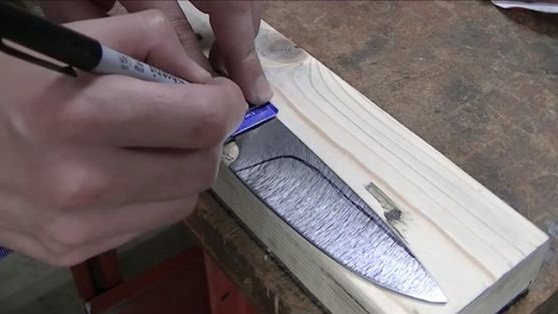
At first, the author wanted to make long wide bevels, but the metal of the saw blade was too thin, and they had to be reduced. So differently, to create even bevels you need to mark them on the workpiece with the same marker.
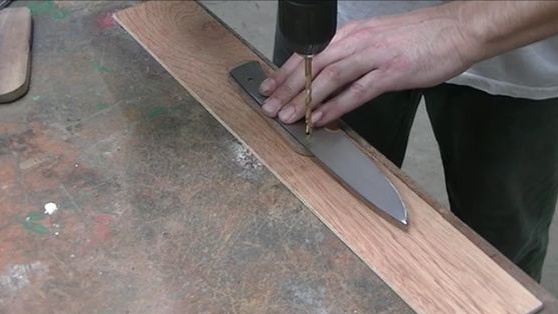
You will also need a drill of the same diameter as the thickness of the workpiece. Putting it and the drill on a flat table, draw a line along the entire length of the blade. This will allow it to be clearly divided into two halves. Then it will be very convenient to grind the bevels.
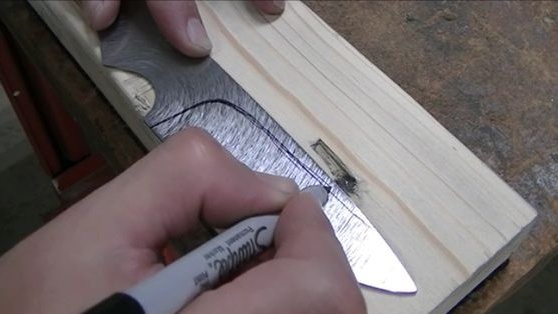
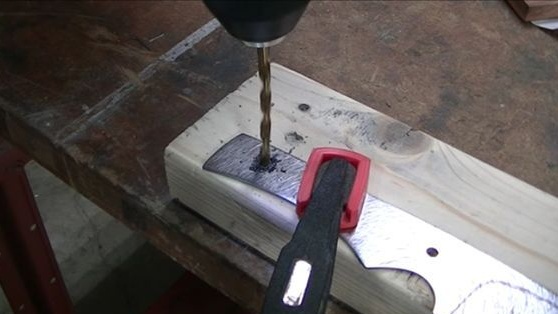
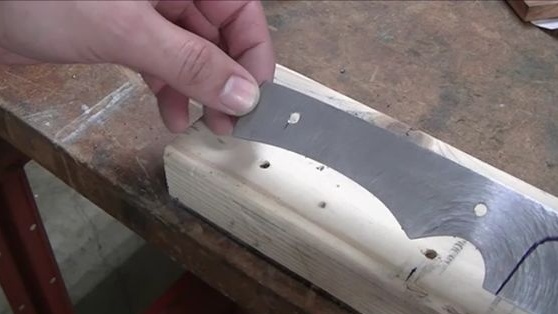
At the same stage, the author outlined and drilled holes in the metal for the pins that will hold the handle. Of course, he used a drill, not a manual mechanical one, but a cordless one (on the battery). Well, I think everyone has an electric drill.
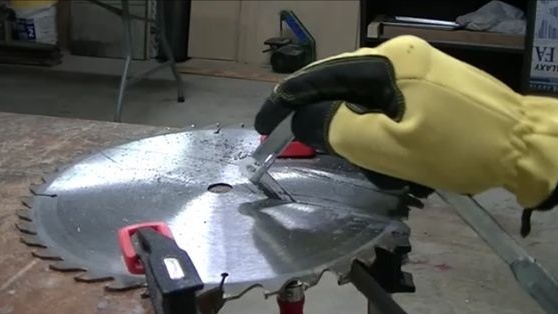
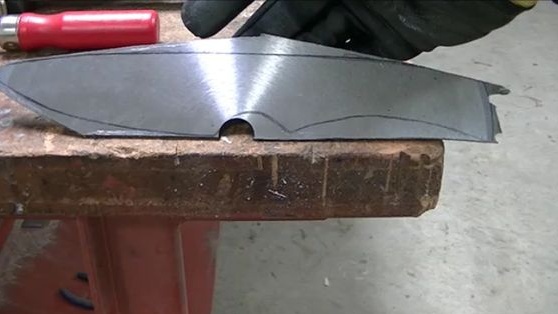
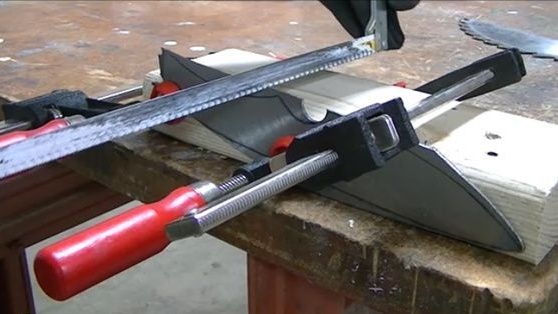
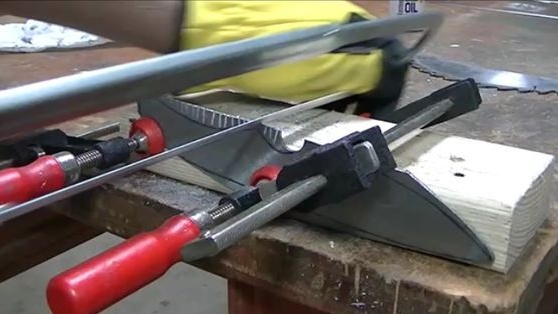
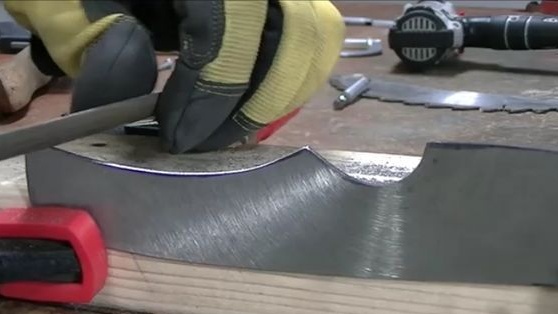
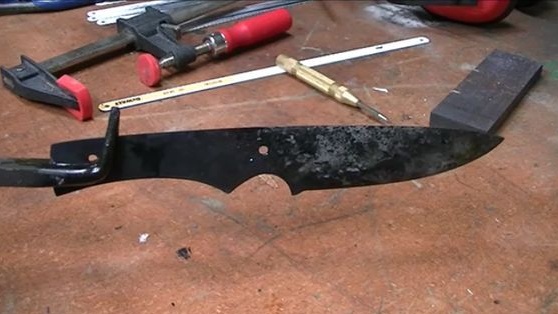
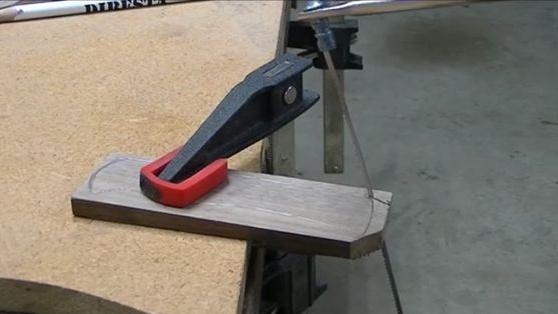
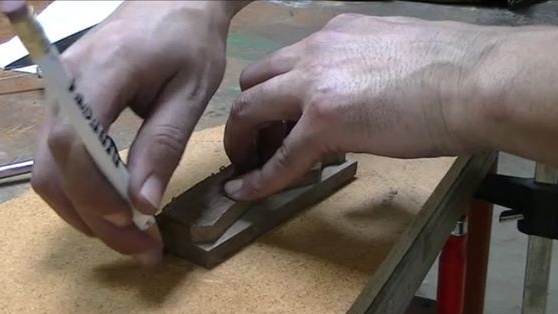
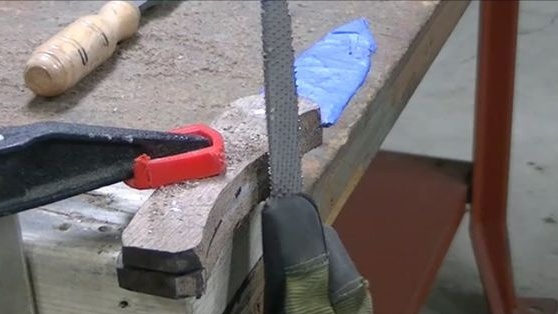
Step Five We form a profile and grind the blade
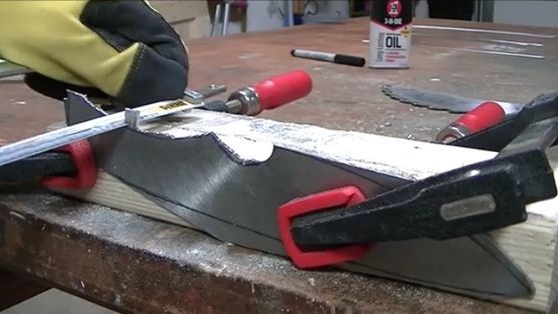
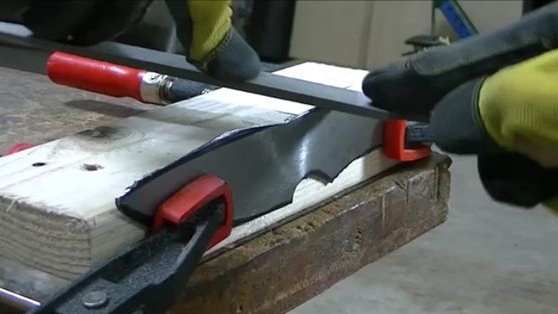
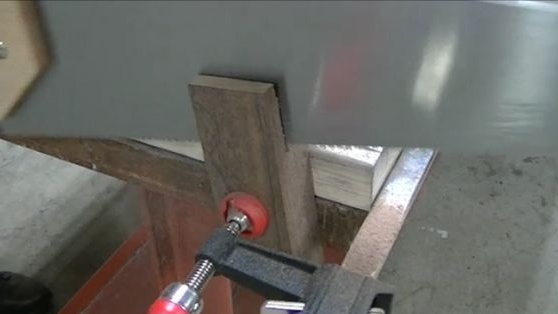
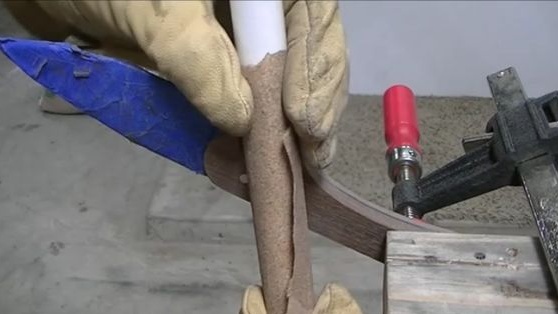
The most responsible and difficult stage in the manufacture of the knife comes, because all cutting data will depend on it. To form the bevels you will need a securely fastened block and a couple of screws. Attach the workpiece to the bar and screw it with two screws. Now, armed with a file, you can slowly form a bevel. Take your time and keep the bevels even.
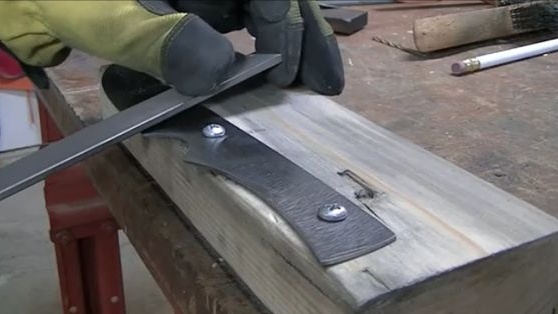
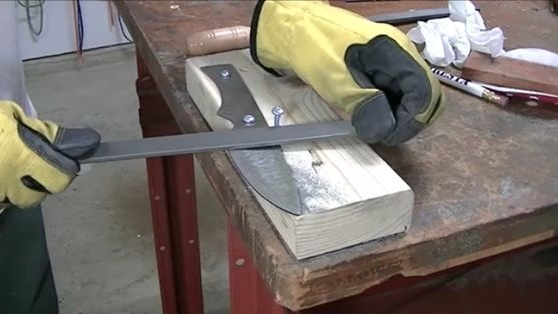
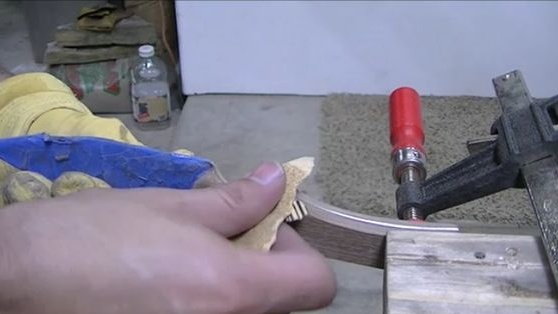
When the bevels are made, the blade can be ground. This will remove the scratches from the file. Here you need 220 grit sandpaper. You will need to attach the sandpaper to the bar for convenience.
That's all, the workpiece is ready for the next step - hardening.
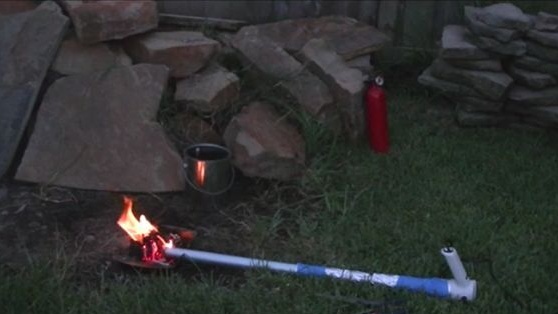
Step Six Metal quenching and tempering
To make the knife as durable as possible and hold the sharpening for a long time, it can be hardened. Although in some cases, when making knives from saw blades, they do not harden at all. For hardening, you need a good bonfire, or you can use a small home-made stove, as in this case. To get the right temperature for warming up, you need a regular household hair dryer and a piece of a long tube (suitable from a vacuum cleaner). Well, then, how, what and where, I think you will guess for yourself. By the way, instead of a hairdryer, a vacuum cleaner is also suitable.

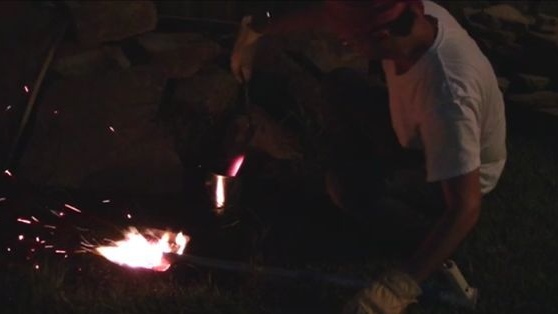
We need to heat the metal until it is no longer attracted by a magnet. If you have no experience, keep a magnet near you and check. Another degree of heating is indicated by the color of the metal. The cross section should be bright.
When the knife is evenly heated, it is time to cool it. For cooling, the author used peanut butter. However, any other vegetable should do. Cooling will produce a lot of smoke and spray, so do it at a safe distance and generally follow all safety rules.

An integral part of quenching is the tempering of metal. If you ignore this, the blade will be strong, however, it can scatter into pieces if it falls onto a hard surface, as the metal will be too fragile. To make the knife resistant to mechanical stress, you need to let it go a little. An ordinary household oven comes to the rescue here. It must be heated to a temperature of about 200 degrees Celsius and then put a blade in it for an hour.After this time, the oven must be turned off and allowed to cool with the door closed. So there is a vacation of metal. Further work is carried out when the metal cools down.
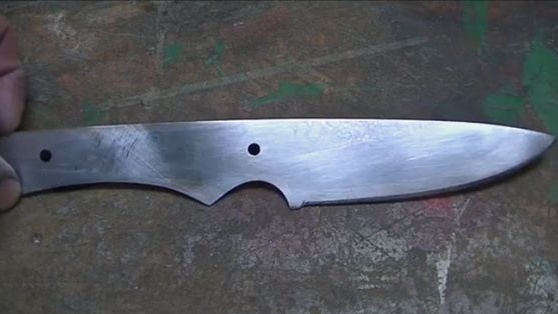
Seventh step. And again we grind
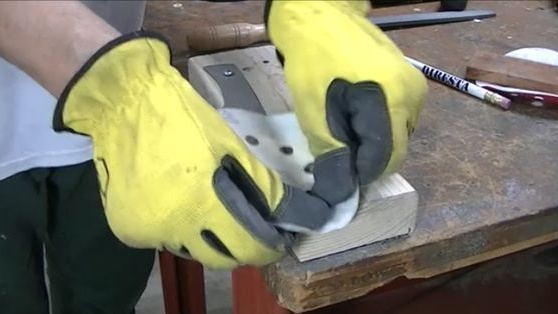
As you might guess, after quenching, the metal will have a lot of burnt oil and other contaminants. They will need to be cleaned and brushed to metal. Here you will need sandpaper with a grain size of 220 and 400. The cleaning process also speeds up the WD-40.
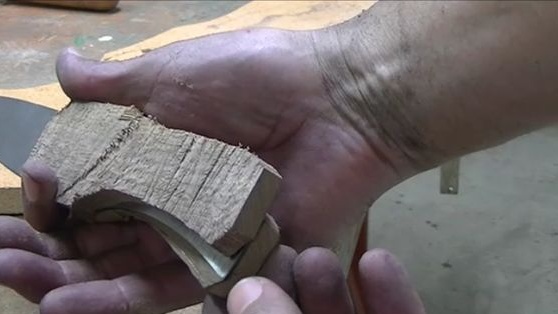
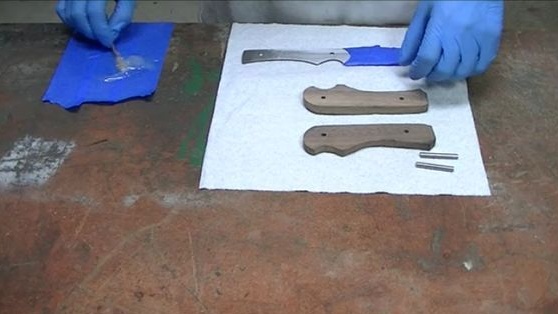
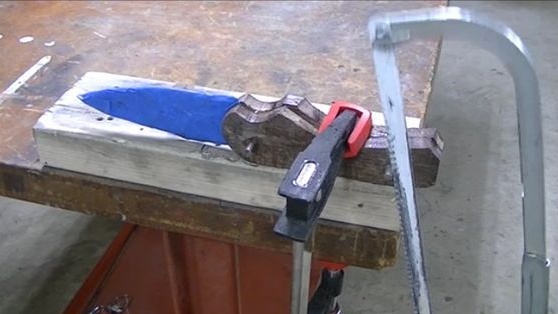
Step Eight. Pen making
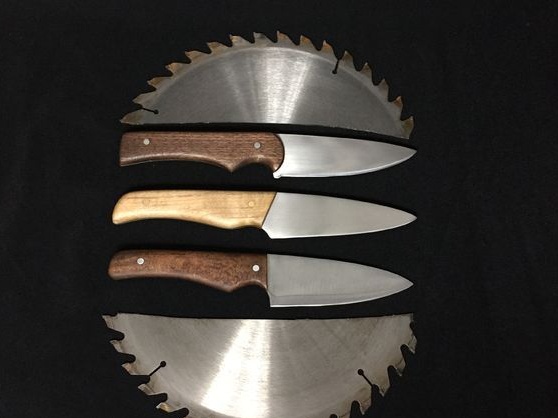
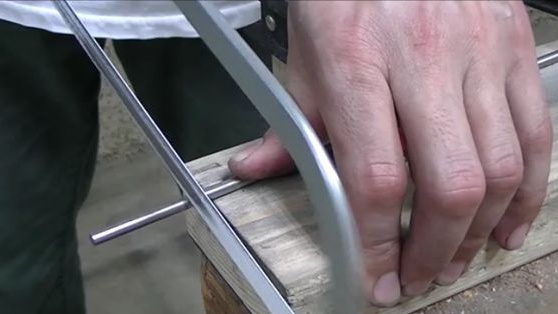
The author makes a pen from walnut, there is some nuance in manufacturing. Since the workpiece was too thick, the author then cuts it along with a hacksaw. As a result, two halves are formed. Here you will have to suffer a little to get an even cut.
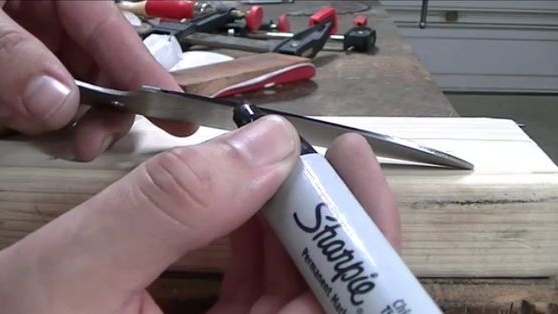
As a handle profile, we use the knife itself, simply circle it with a felt-tip pen or a sharp object, attaching it to a tree.
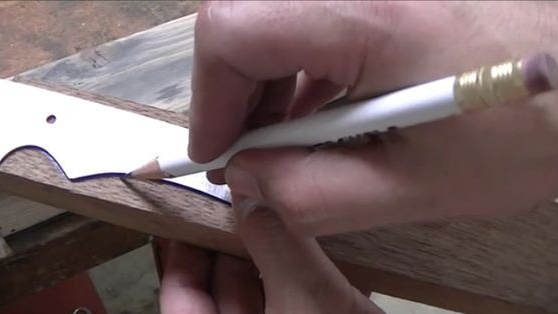


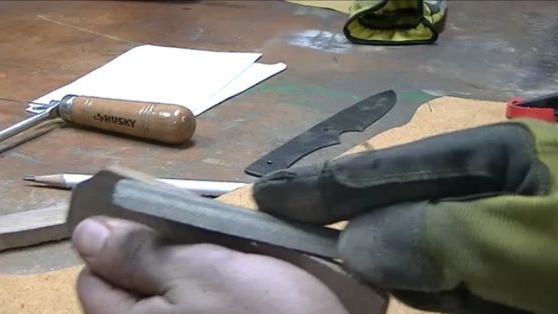
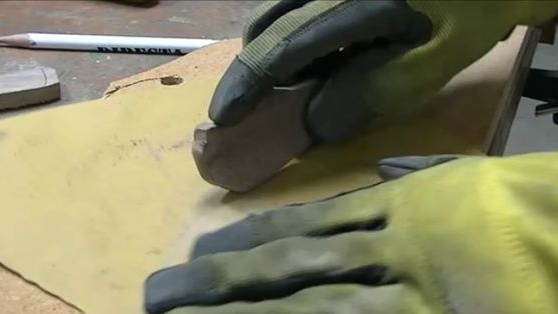
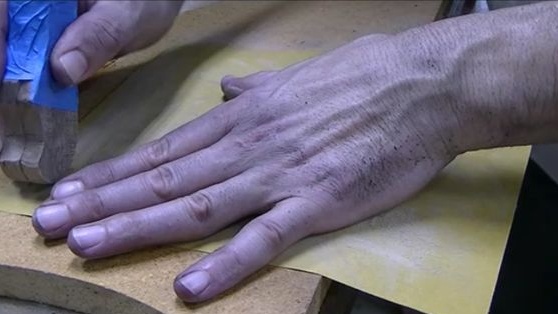

Cutting the workpiece and cutting it along, the author then forms a rough profile of the handle. Even at this step, it is important to ensure that the handle planes that are adjacent to the knife are smooth, this will provide good bonding, and indeed the handle will be of good quality. So we take the blanks and drive them over a piece of sandpaper or a grinding wheel.
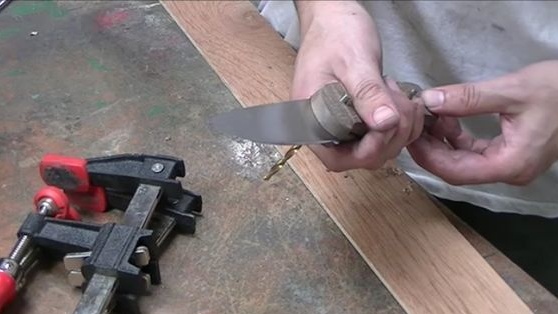
At the same step, we drill two through holes for installing the pins. The pins should go into the handle with some effort, but be careful, if the hole is too small, the handle can be easily split when driving the pins. Pins can choose copper, brass or others to your taste.
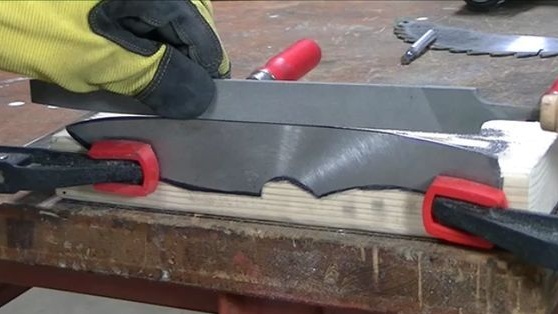
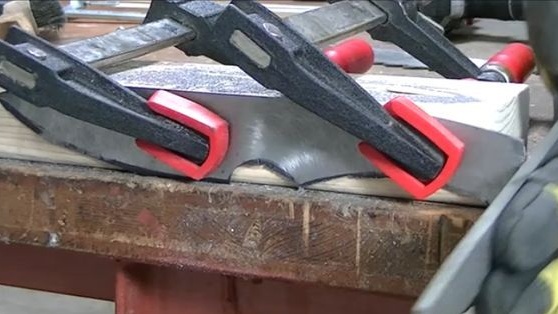
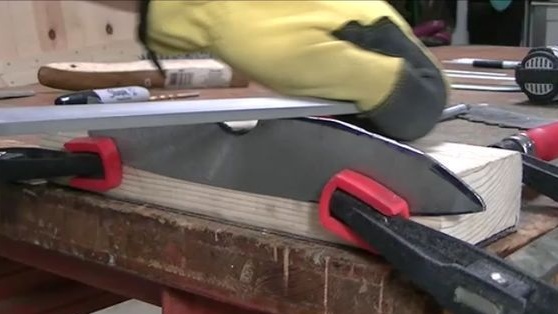
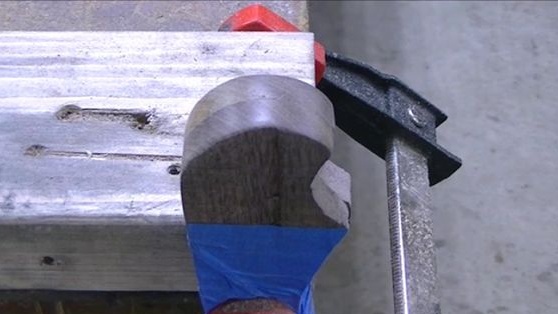
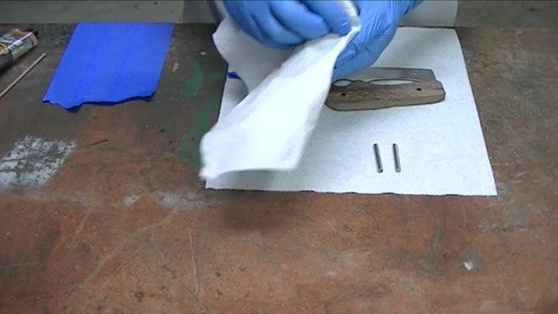
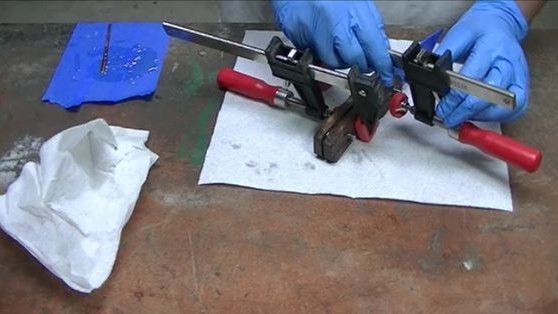
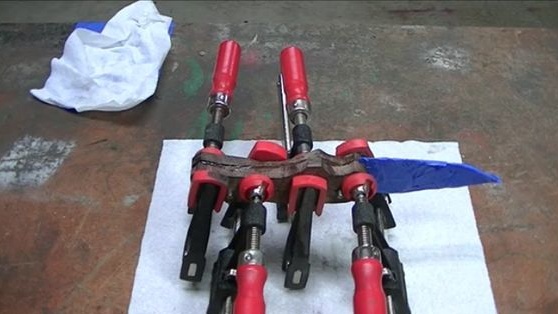
Step Nine. Glue the handle
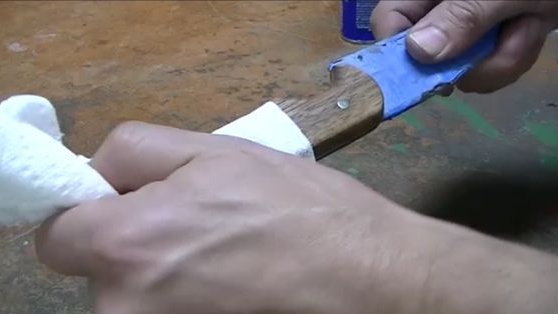
Before gluing, do not forget to thoroughly strip the metal with sandpaper so that the glue securely connects the handle. Well, then take the epoxy, lubricate the two halves, install the pins, and the handle is clamped with clamps until the glue completely dries. Usually epoxy hardens completely after 24 hours, but there is also such an adhesive that dries faster.
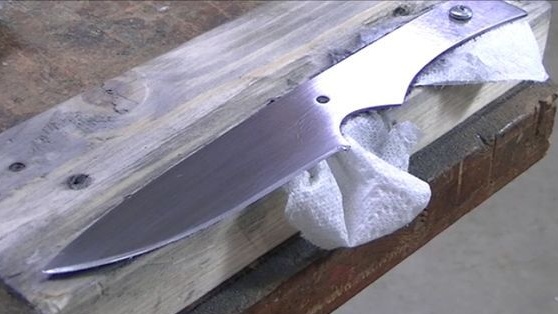
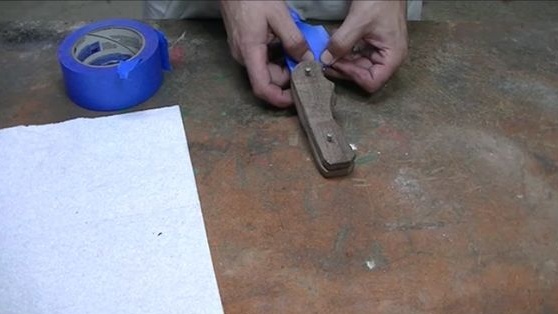
In order not to cover the blade with glue, it can be sealed.
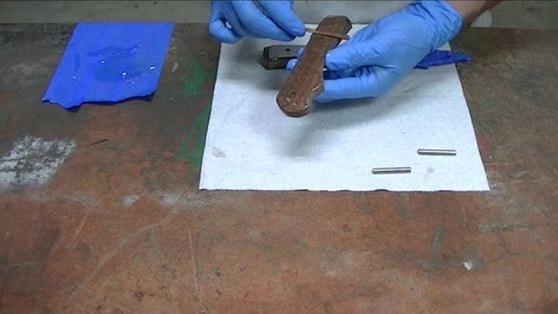
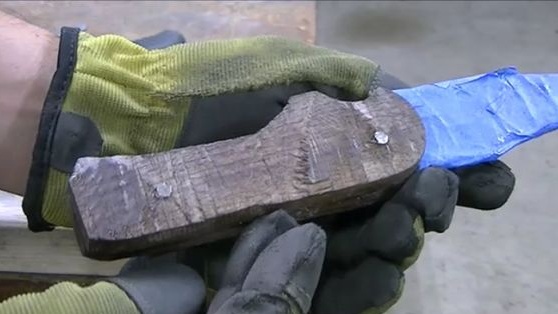
Step Ten We form a handle profile
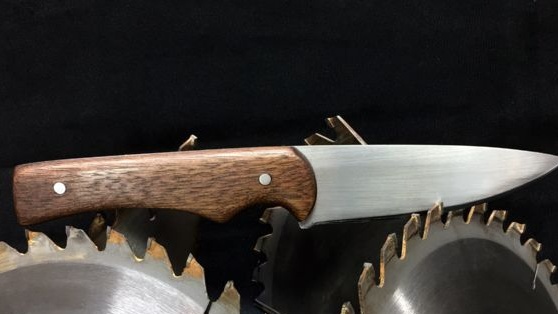
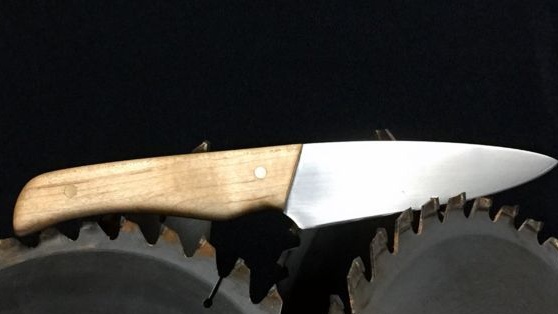
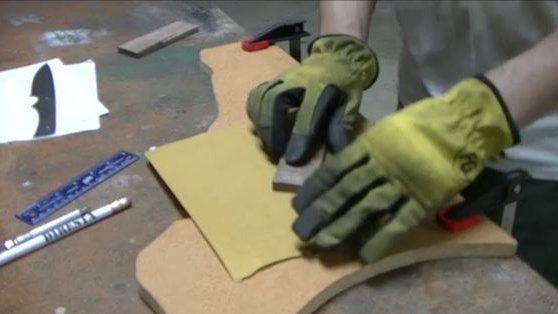
Armed with files of different grain sizes, it is now possible to form a handle profile. Gradually reduce graininess as it forms. As a result, sandpaper comes to the rescue instead of a file. With it, the handle is finally formed, it must be made perfectly smooth. In the end, the author used 600 grit sandpaper.
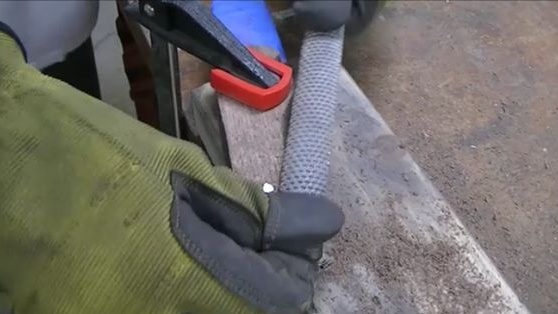


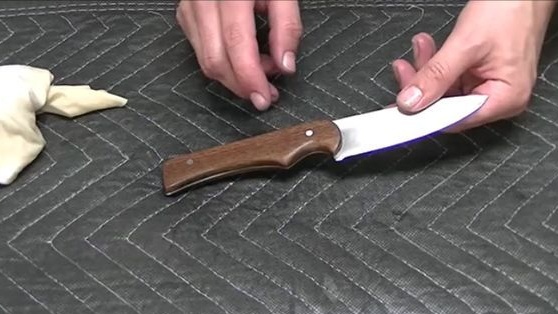
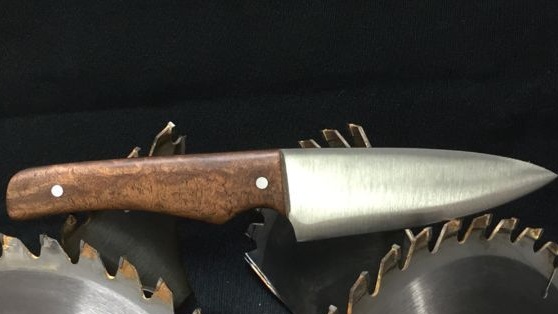
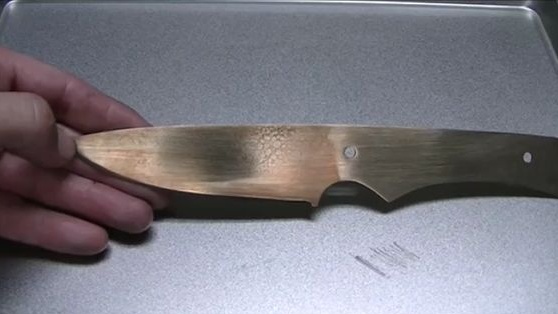
That's all, the knife is almost ready. Soak the handle with linseed oil or other substances to protect it from moisture. In conclusion, it can be polished, it will sparkle as if it is under a layer of varnish.
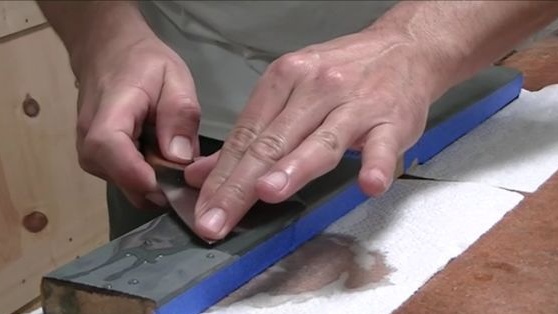
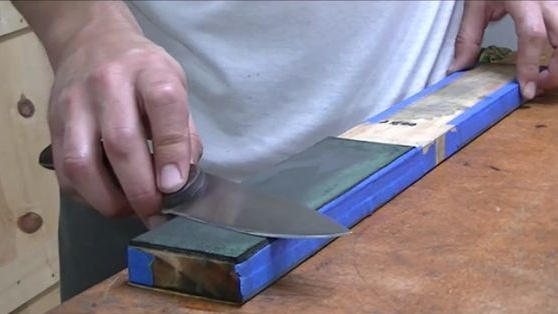
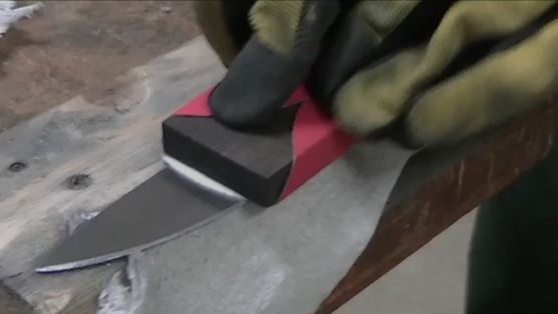
Step 11. Sharpen the knife
Want a really sharp knife? Use a water stone for sharpening. As in the case of grinding, the granularity of a water stone must be gradually reduced, bringing the blade to the ideal. Do not forget to moisten the stone all the time so that it is cleaned of metal dust.