Organization of the workspace requires ingenuity and imagination. Especially when it comes to a school desk for your child and if you have two children. Of course, they should not interfere with each other to do their homework, and their things should be stored separately. However, what to do if the modest space of the apartment does not allow to arrange two separate nurseries for each child?
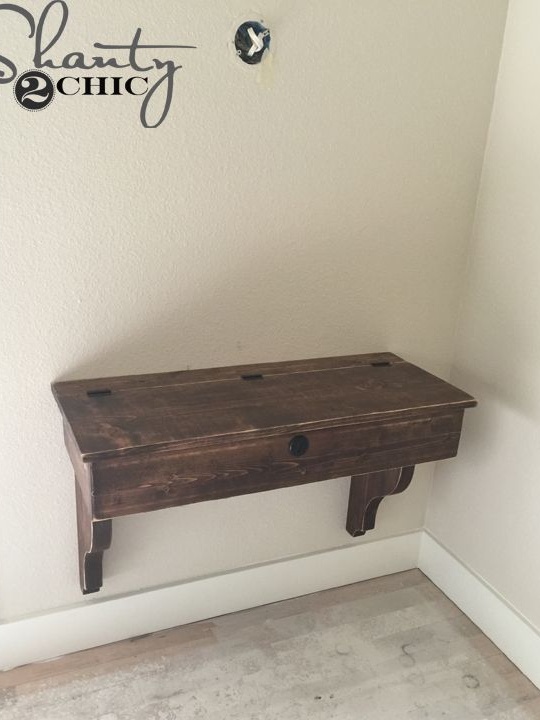
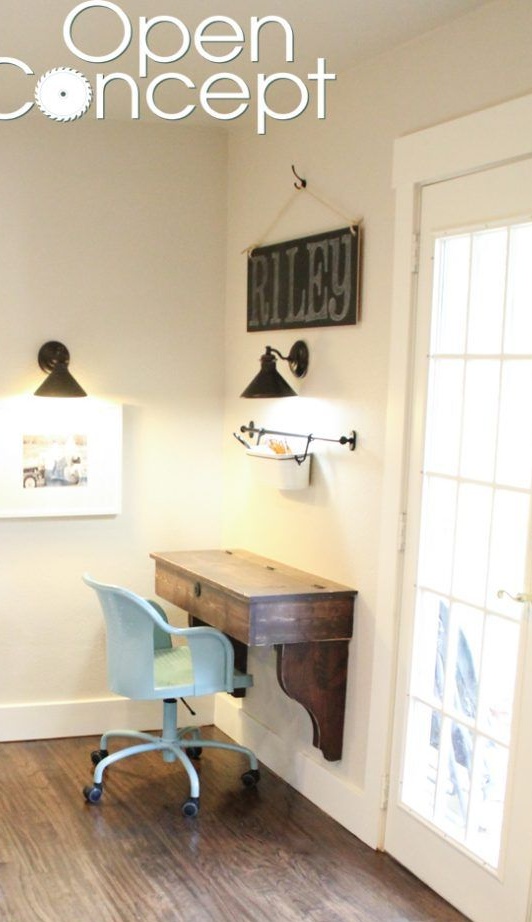
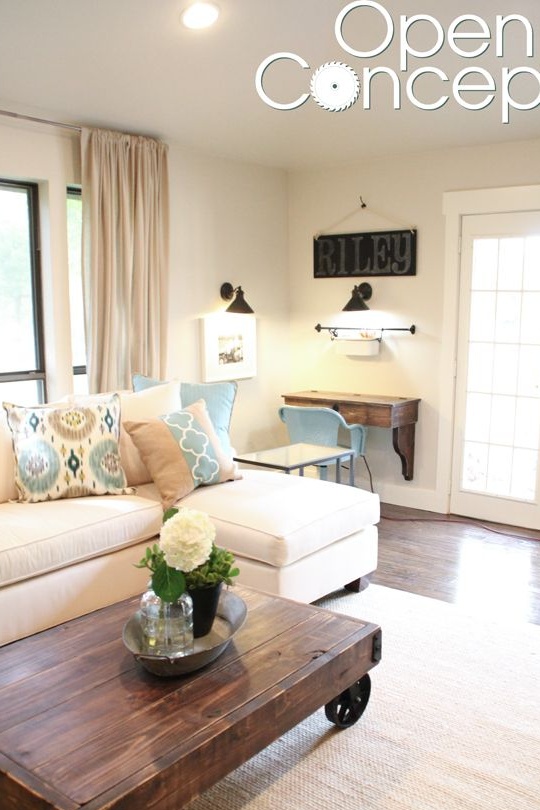
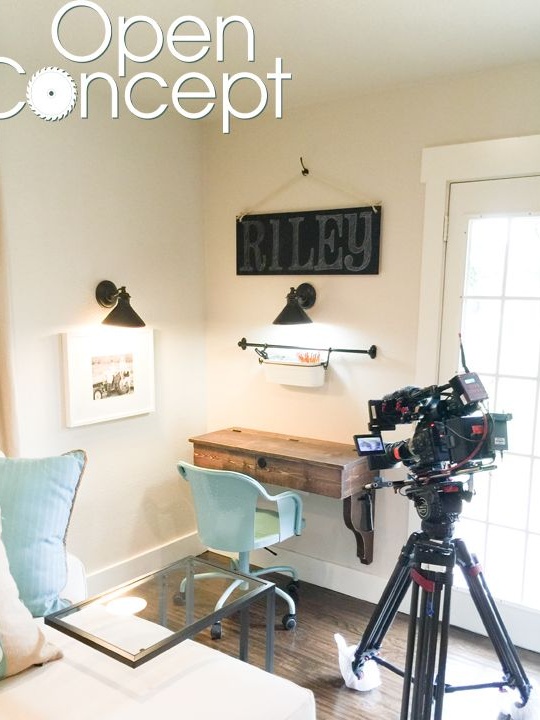
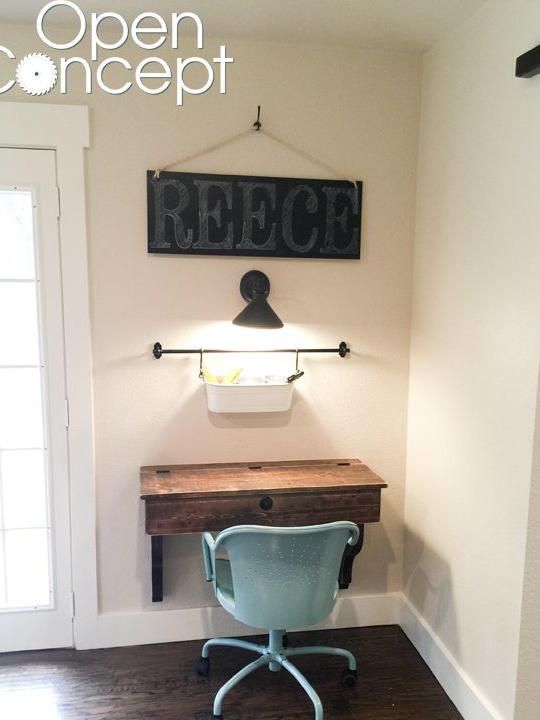
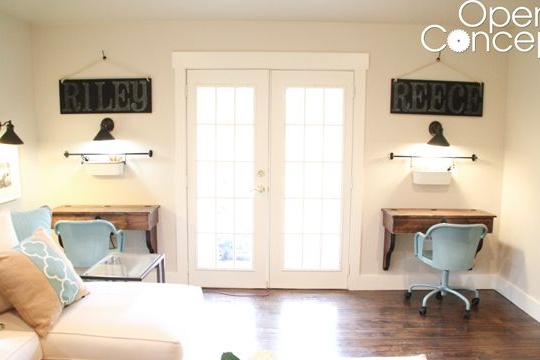
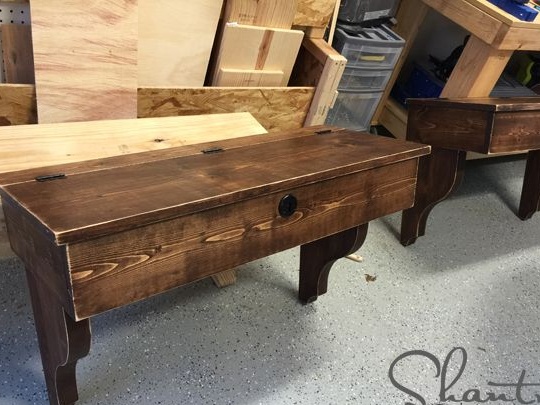
The author of this master class faced such a problem. Children grew up, and there was a need for personal space. This problem was especially acute when they were always taken for lessons. Then the parents decided to equip each of them with small hanging tables with an opening drawer for storing educational supplies. As a result, they got a couple of wonderful desks located in one room. To store textbooks and notebooks, you can immediately arrange convenient wooden shelves, since the volume of desks is designed for a small amount of educational supplies.
School desks from this master class are made of natural wood and glued plywood. They have a cavity with a convenient opening lid on one-piece hinges. In order to make such a hinged wooden table, you will need:
Materials:
- pine boards for the manufacture of the frame of the table - a thickness of 25 - 30 mm;
- pine boards for the manufacture of curly support elements for hanging a table on the wall - 30 - 35 mm thick;
- plywood for the bottom of the table;
- boards for the manufacture of countertops of suitable width;
- metal corners to enhance the structure as desired;
- glue for working with wood materials;
- suitable accessories for fixing the table on the wall;
- a primer with a tinting effect for wood processing or protective and decorative oil-toner;
- resistant varnish for varnishing of furniture;
- furniture screws or wood screws;
- hinges for table top.
Instruments:
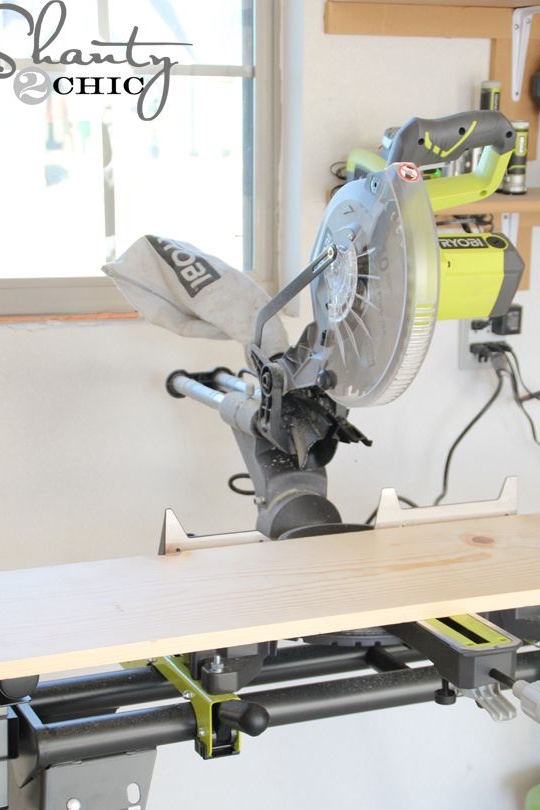
- miter saw or circular;
- grinder;
- screwdriver;
- electric drill;
- jigsaw or saw machine;
- paint brushes and soft tissue, if you use protective and decorative oil for wood processing;
- clamps;
- PVA paper and glue for marking curly details using paper patterns;
- building tape measure and square;
- a pencil.
Step One: Preparing Materials
The author used natural wood along with plywood. Plywood in this case facilitates the design.In addition, it is convenient to use it in those areas where bonding of individual parts from boards to wooden panel panels can be avoided. Choose a plywood with a dense structure and a pleasant smell. It is worth immediately abandoning the use of fiberboard here, since the box is planned to be very voluminous and the weight of things stored in it with fiberboard is potentially not compatible.
Determine the dimensions of the future table: the length and width of the countertop, the height of the drawer and the size of the curly supports. Moreover, the height of the box when hanging the table should not interfere with the child comfortably sitting at the table. The table itself is not designed to be too big, so immediately focus on the fact that books, textbooks and notebooks should be stored on additional hanging shelves nearby. In any case, this will significantly save living space.
Lay out all the parts using a building angle to plot strictly right angles. However, first evaluate the material you use. For such projects, lumber residues from previous projects are often taken. Sometimes not the first condition.
If the plane of the boards is loose and uneven, or has considerably changed its shade to gray, it must be touched or, at least, sanded. Carefully process the edges of not only wood, but also plywood parts. Partial grinding is always carried out after assembly, but the bulk of the work can be done at the initial stage in the preparation of materials.
Saw the details in any way familiar to you. The author used his faithful miter saw. For such small-scale projects, you can use a hand tool, such as a hacksaw for wood with a small and sharp tooth.
Step Two: Assembling a Hinged Wooden Table
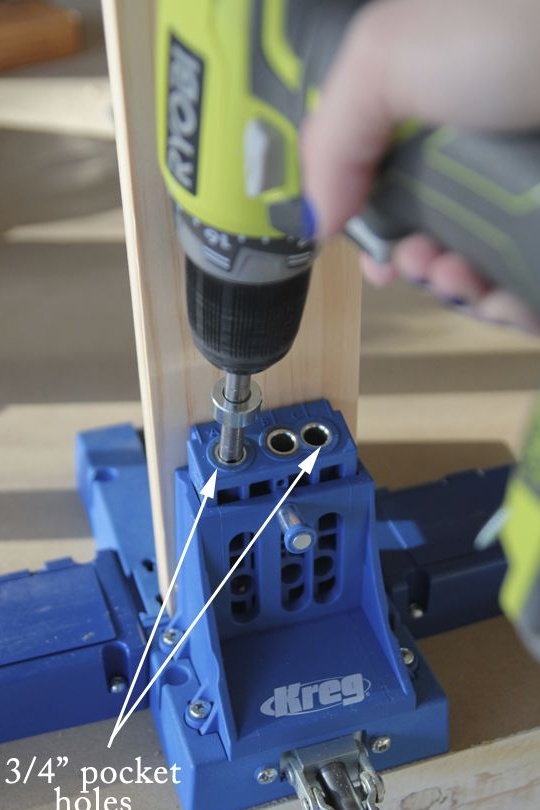
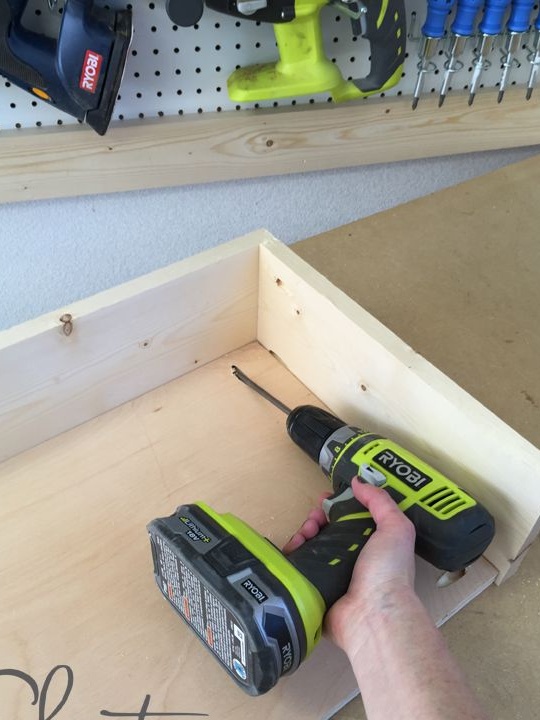
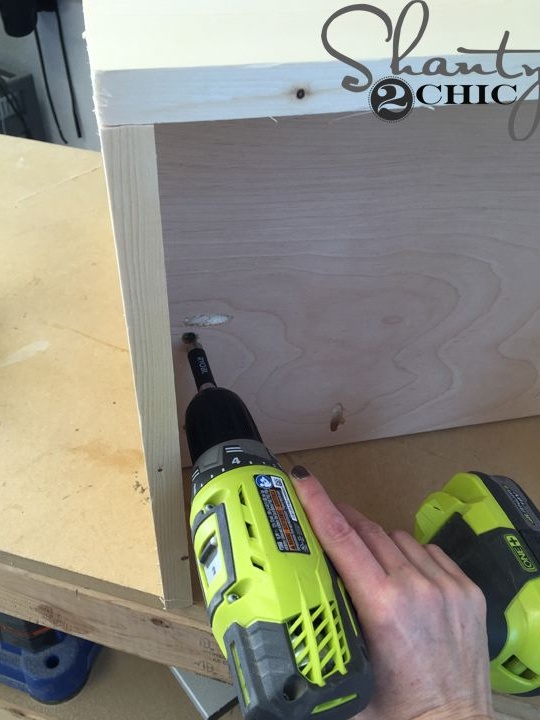
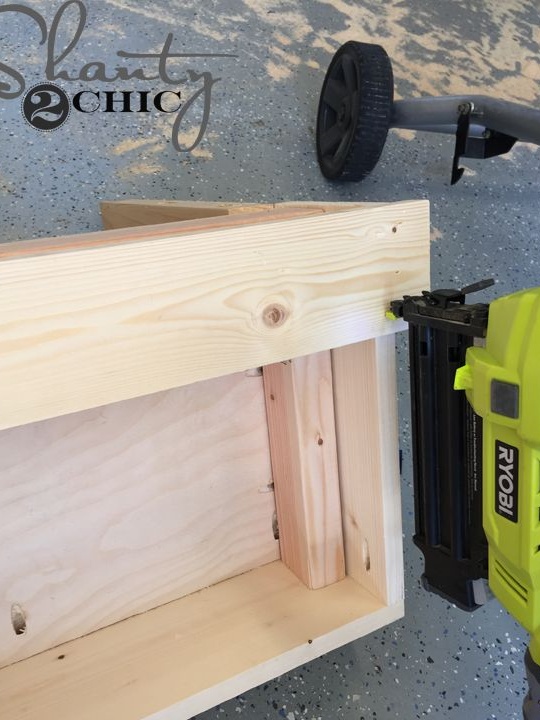
Since the author uses pocket connections when assembling the table, he noted in advance the places of fastening parts. The holes for the screws were drilled at an angle using a special drilling machine with guides. This is an inexpensive but very convenient household machine. Especially useful for those who in their free time trades in the manufacture of furniture for their home or cottages.
If desired, such holes are easily and simply hand-made using a drill. It is only necessary to securely secure the workpiece. A few dozen training holes - and you will become a real guru of pocket holes.
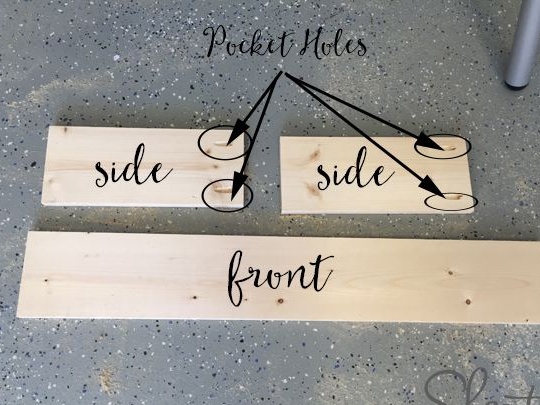
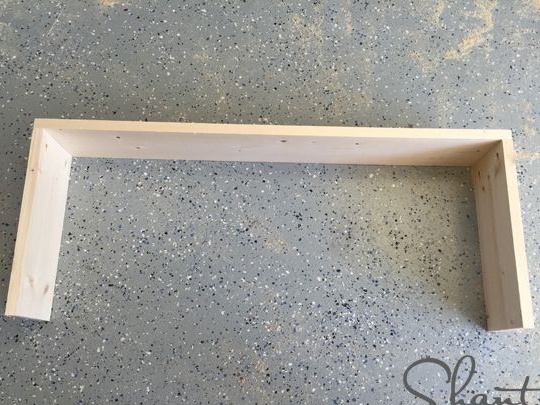
Assemble, in this way, the front panel of the table from three parts as shown in the photo below. The evenness of the corners can not be checked, but focus on the shape of the plywood bottom when adjusting the braces. Fasten the bottom of the plywood inside the U-shaped structure with pocket holes and screws. Use wood glue throughout the assembly process. It is not so difficult and costly, but it gives a tangible result in matters of furniture strength.
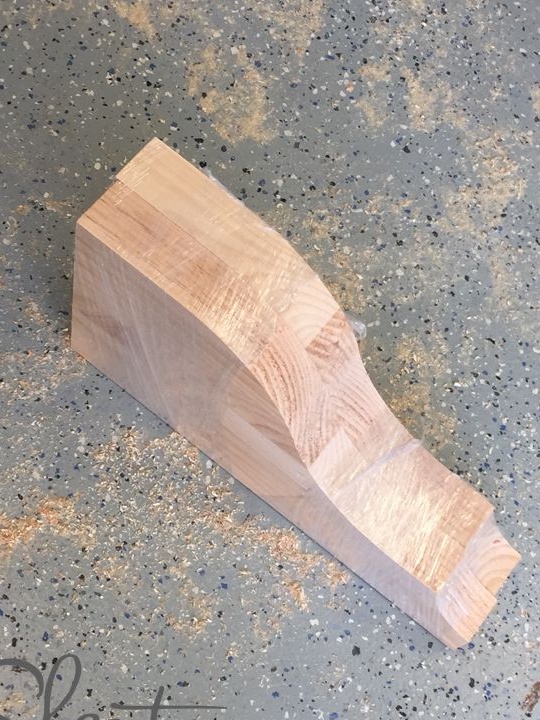
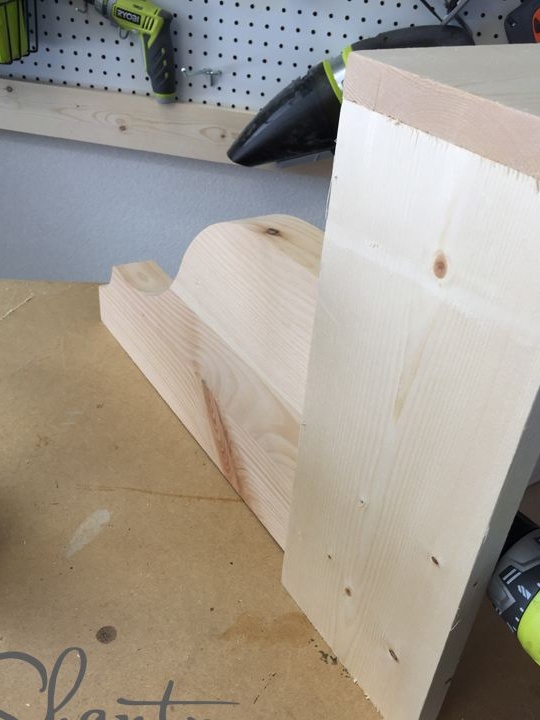
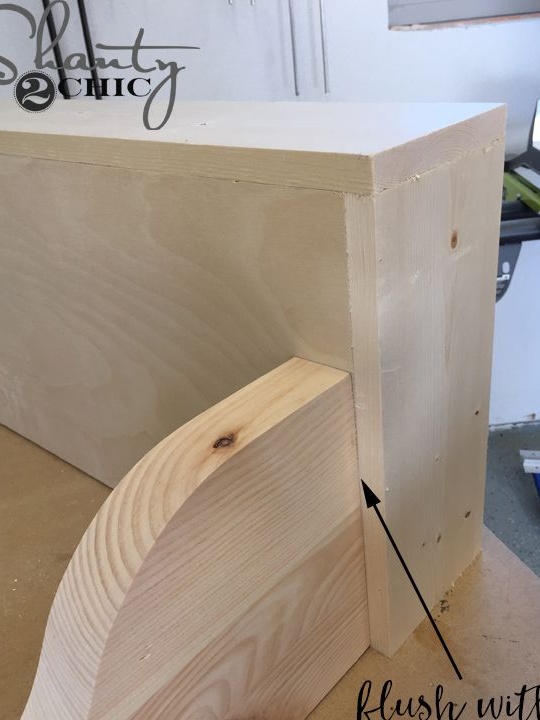
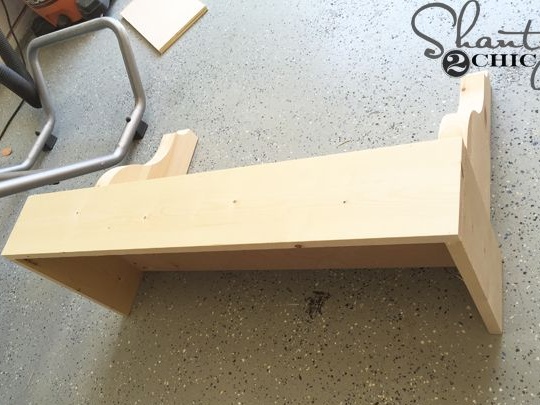
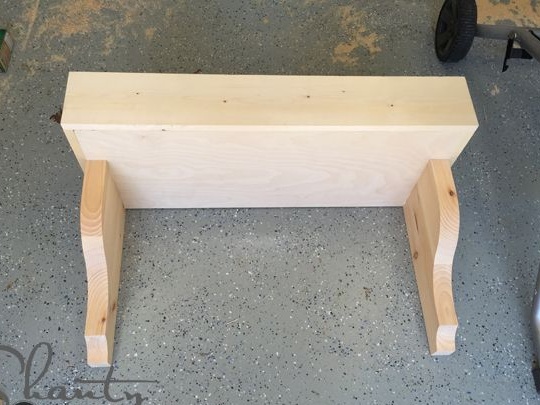
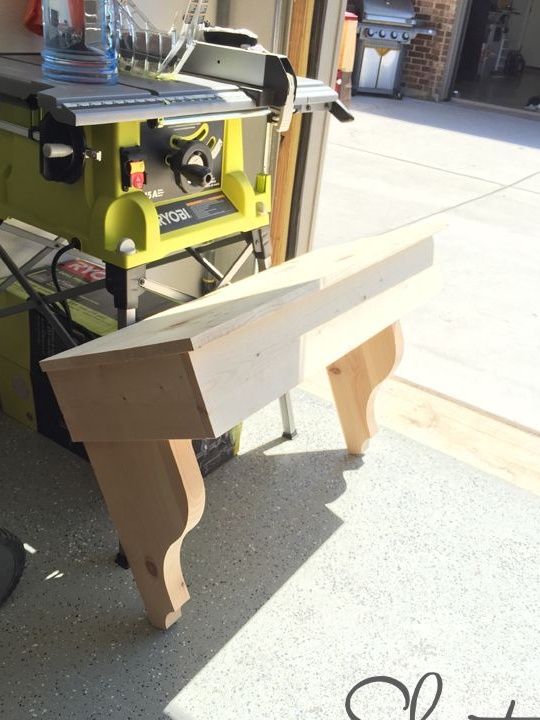
The author made curly supporting parts for a table made of natural wood. You can cut them with a jigsaw or a saw machine with a corresponding narrow blade. If you did not have at hand boards of sufficient thickness, massive figured parts can be glued from two separate parts. For these purposes, you will need clamps. Fasten the butt joints to the joint and secure with screws on the inside of the box. Do not forget about glue.
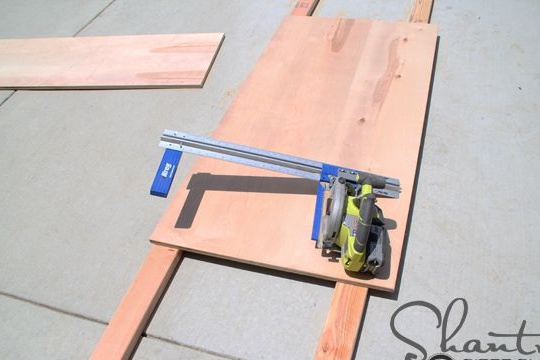
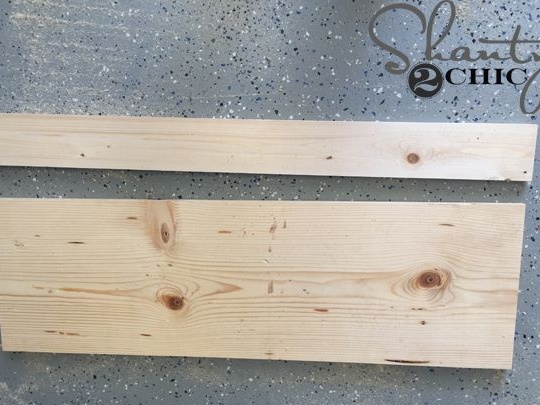
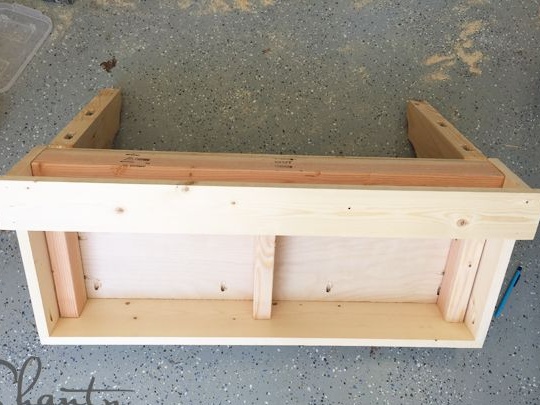
For the manufacture of countertops, the author selected two boards of suitable width: a narrow one on which the loops are located, and a wide one - the actual working part of the countertop.
Fasten the narrow board in place and try on the wide part. After processing and staining, you can install the hinges and fix it permanently. Here the author used nails and a pneumatic nail gun.
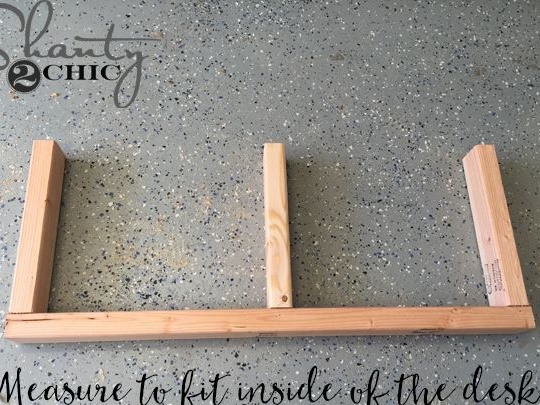
The author divided the inner cavity of the countertop into two zones with the help of bars.Saw the bars along the length, connect with screws or nails and place inside to make sure that all the parts are flush. Fix the separator with nails or self-tapping screws.

Step Three: Painting and Protecting Wood
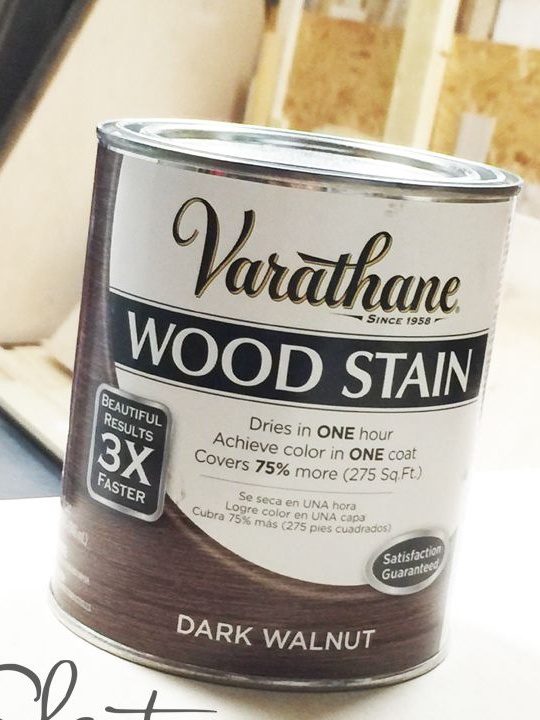
The author purchased a wonderful primer from Varathane with a tinting effect. It has an oily texture and is usually applied with a soft, lint-free cloth in one to two layers. The primer is completely self-sufficient, however, in the manufacture of any furniture it is recommended to varnish it.
For this purpose, the author used polyurethane varnish of the same brand. It is very high quality, so one layer was enough. However, in those areas where the furniture is most susceptible to wear, it is recommended to apply varnish at least in two to three layers using interlayer grinding. Along with polyurethane varnish, you can also use nitrol varnish or specialized furniture varnish.

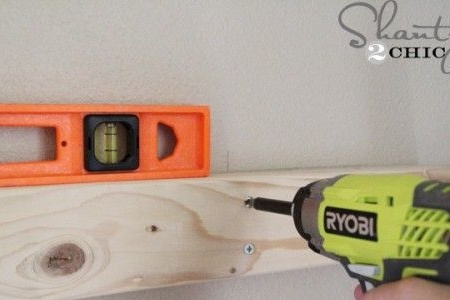
Install metal fittings and enjoy the result of the work done! Hang a table on the wall using suitable fittings, focusing on the material from which the walls are built. Use the building level for this.