My apartment is a bay project type. The balcony is not used for anything and cluttered with various old things that were formed there on the principle of "let them lie down." Therefore, at first I cleaned the balcony and threw away everything unnecessary. It was a pity, of course, to part with many things. But the sauna is more important.
The first step in building your own sauna will be flooring and floor insulation on the balcony. The old glazing bothered me little. I decided to leave it, because it would still be covered by the walls of the sauna and blinds.
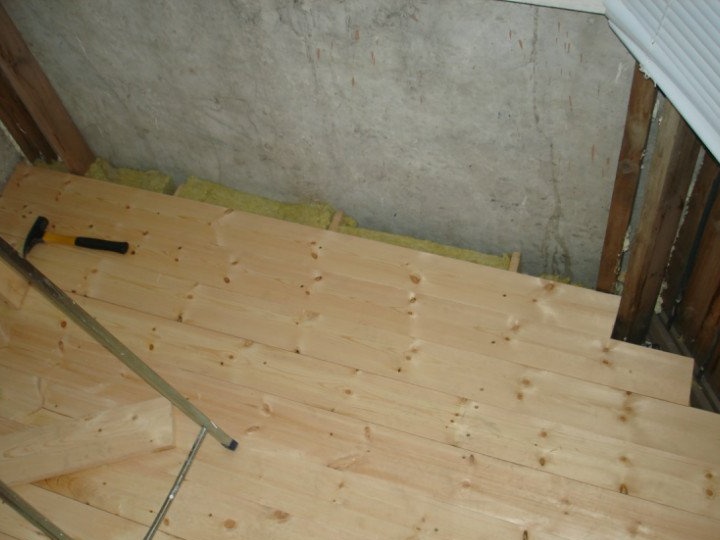
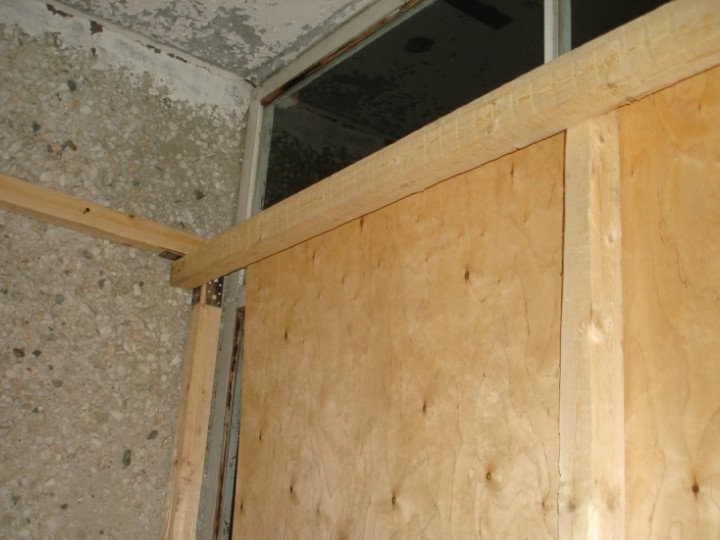
Then close to the walls are building a box of 50x50 from a bar and we also insulate it with standard insulation made from mineral wool. There are, of course, special certified heaters, but I preferred natural.
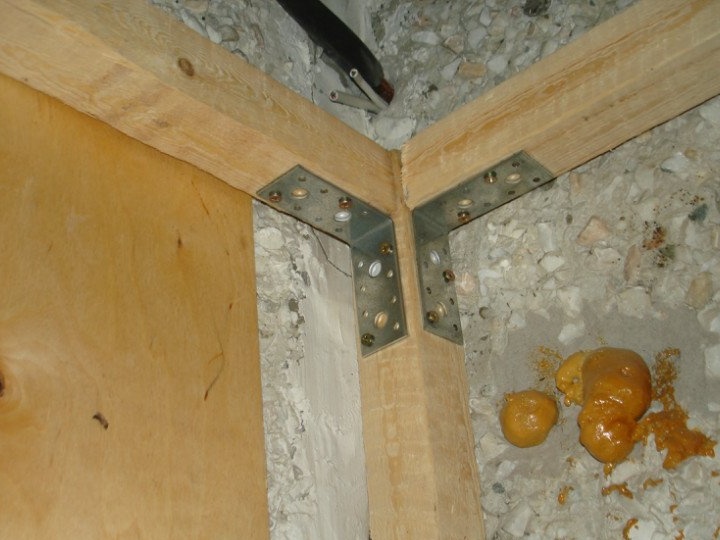
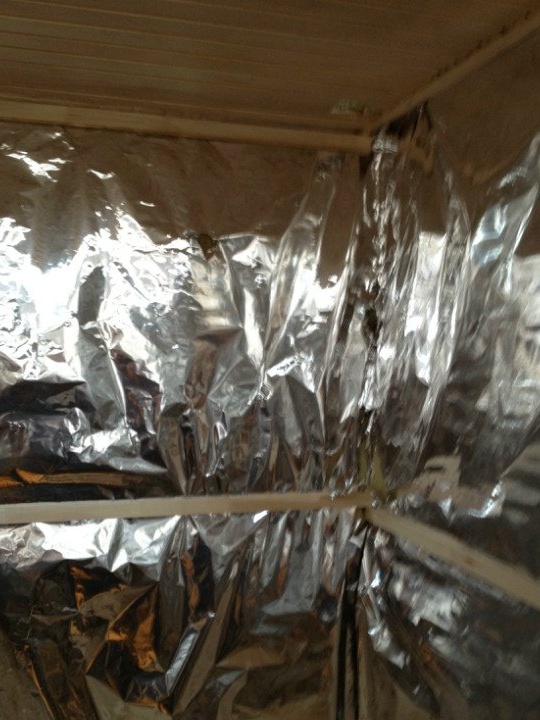
Outside, I covered everything with aluminum foil. The main thing is that there are no open areas. For these purposes, carefully glued aluminum tape on top, where necessary.
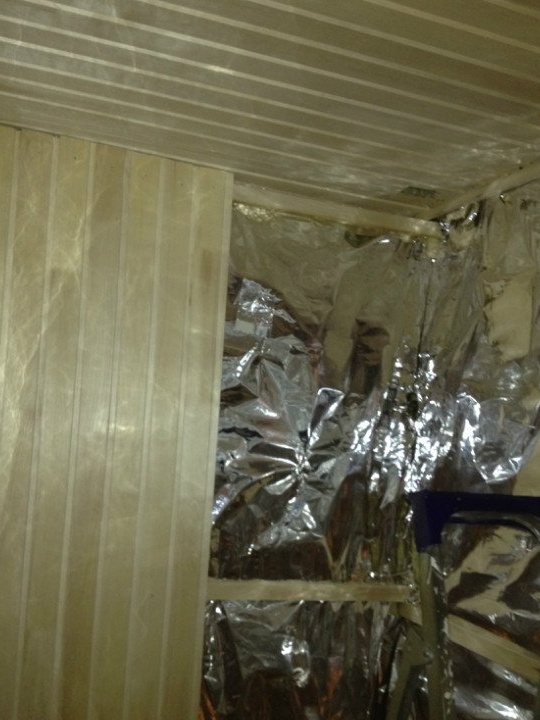
Then I spent wiring in a metal sleeve to the lamp conceived from below. She trimmed the walls using aspen boards (nothing else was found in the store at the end of the year). After that, I started working with the ceiling. Sheathed and insulated it with a double layer, and then laid aluminum foil. In this case, the foil was used to trap rather than reflect heat.
In the process of covering the ceiling, I also made an outlet. Then, for the flow of air, he made a hole for ventilation under the stove. All this is necessary if you intend to feel good in the sauna.
On the walls went slats measuring 14 mm, to which I nailed the skin. It would probably be better to screw it with screws, but the tree cracked easily.After installing the door, I finished covering the last wall.
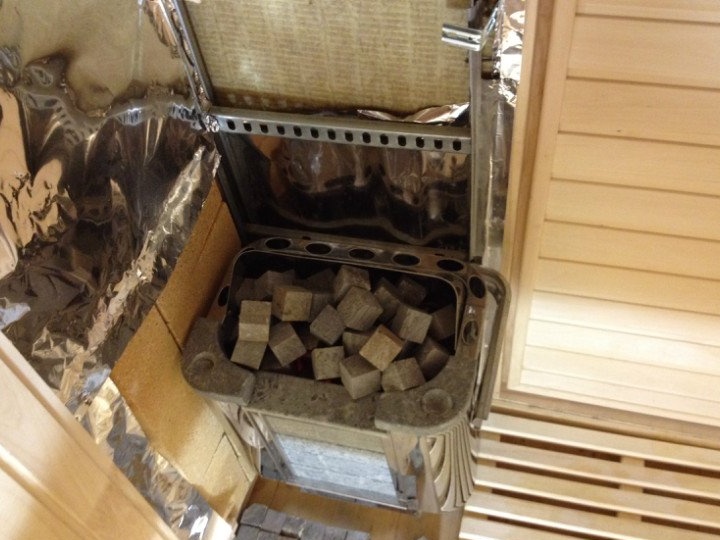
A small rack was built and installed for the stove, and protective elements against touch were made.
An important issue in this case is the electrician. The correct solution is to use a separate cable from the shield, a separate machine for 25 A (with a heater of 4.5 kW), UZO. These all requirements have been met. It is also advisable to use corrugated pipes for insulation, an additional outlet on the balcony.
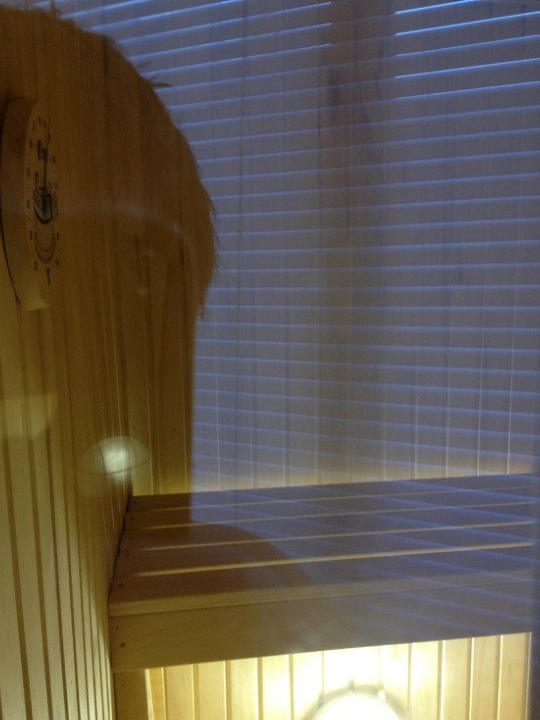
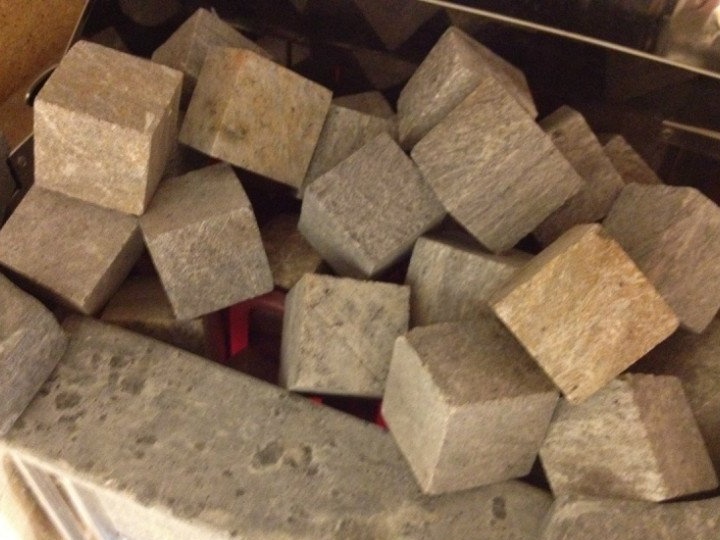
Finally, it remained to make shelves. Given the fact that several people can sit on them, shelves should not be mounted to the wall. The material for them was the Abashi tree. Although expensive, it’s worth it, because for good heating the boards should be light. After that, everything was ready. The stones are loaded in the stove, and on the floor there is an additional lattice for legs. You can safely bask in the cold winter evenings.