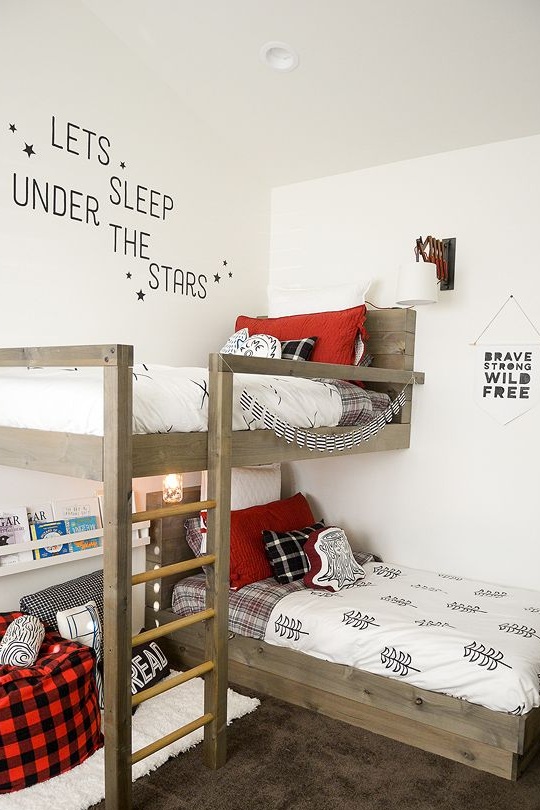
Equipping a place to sleep in a nursery may not be as difficult as it seems. The manufacture of bunk and triple beds from simple lumber greatly simplifies the process. Assembling such beds, if desired, will take you no more than a day. Another couple of days will be spent on the preparation of all the necessary materials and the design of a berth.
Manufacturing cost of furniture to the nursery will pleasantly surprise anyone. Of course, in the furniture salon there are ready-made economical solutions, however, they are all boring and monotonous, and they are not encouraging with special quality. On the other hand, wooden furniture, albeit home-made, continues to be the standard of furniture production.
In order to do it yourself to make a bunk bed for a nursery, you will need:
Materials:
- plywood for the manufacture of the base under the head;
- wooden boards, loose on narrow slats for the design of the head;
- wooden boards for the manufacture of bed frames;
- square bars for handrails and the base of the stairs;
- slats and birch plywood for the equipment of the base under the mattress;
- glue for woodwork;
- metal shavings and vinegar for the manufacture of toner or stain for alcohol;
- matte resistant varnish as desired;
- furniture screws and self-tapping screws, small nails;
- cylindrical slats for the steps of the stairs.
Instruments:
- miter saw or circular;
- milling machine (optional);
- grinder;
- electric drill;
- screwdriver;
- pneumatic nail gun or joiner's hammer;
- a manual hacksaw for wood for the manufacture of grooves in bars;
- a paint brush for varnish and a soft, lint-free cloth for stain;
- building tape measure and square;
- a pencil.
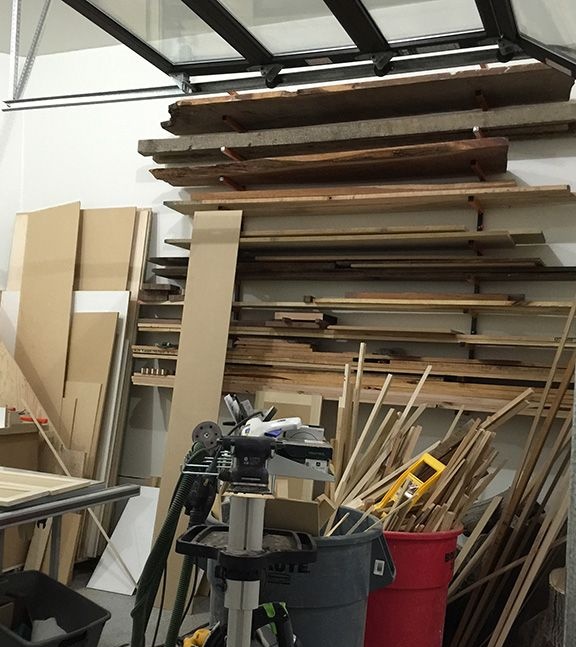
Step one: search and selection of lumber
The author responsibly approached the choice of lumber and wood species in particular. He used birch plywood as the strongest he had to work with. For the casing, he chose an alder. On the one hand it is inexpensive, on the other hand it is a soft tree. It is easy to process and tinted remarkably.
Poplar went to make a base for home-made plywood slats. The lamellas themselves are also made of birch plywood and personally tested by the author for strength.Such a base slightly extends the life of orthopedic multilayer mattresses, compared with a solid one-piece base made of boards or plywood. By the way, in the USA, most manufacturers of mattresses can void the warranty on their products if the client’s bed does not have a flexible base for the mattress.
If you will not be able to plan boards or carry out thorough grinding, select boards with the smoothest surface and always the same thickness. In this case, it will be quite easy to polish already upon the assembly of an integral structure before painting the beds.
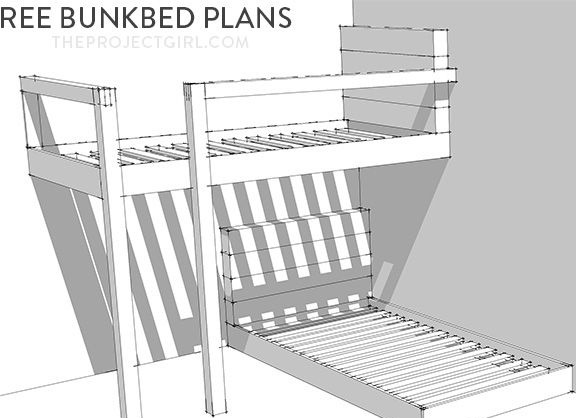
Step Two: Making and Preparing Bed Parts
After agreeing on the size of the beds, you can start marking and sawing lumber. If you don’t have a miter saw, use a square during the marking process, since the final result of all your work greatly depends on the quality of the workpieces.
The customer of these beds wanted to achieve the maximum aesthetic effect from the use of wood. To make the structure of natural boards stand out against the backdrop of modern interior and textiles, the author processed the edges of the boards to design the headboard on the milling wall. He removed some material, making the visible gaps between the rails more pronounced.
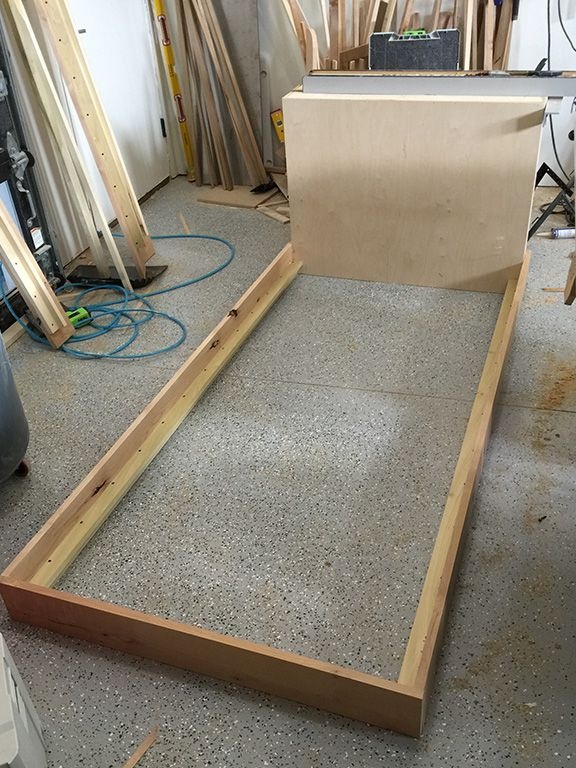
Step Three: Build the First Tier
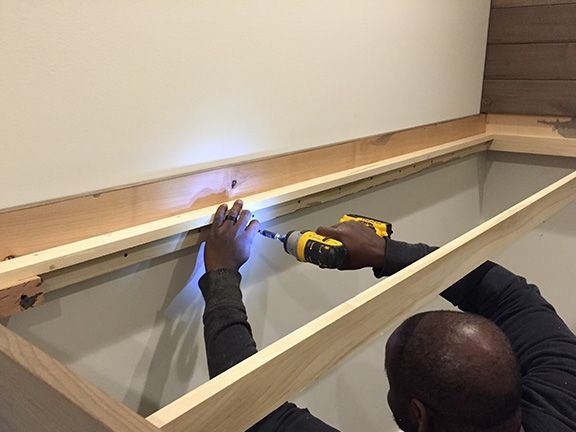
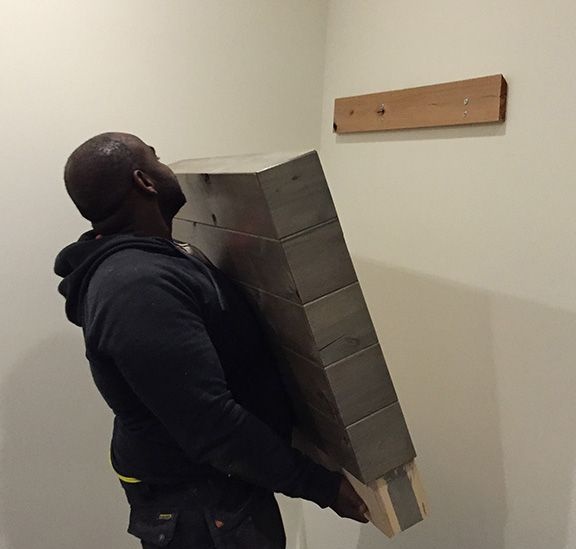
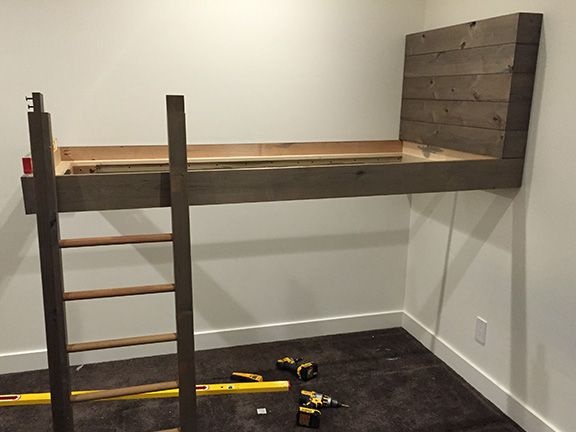
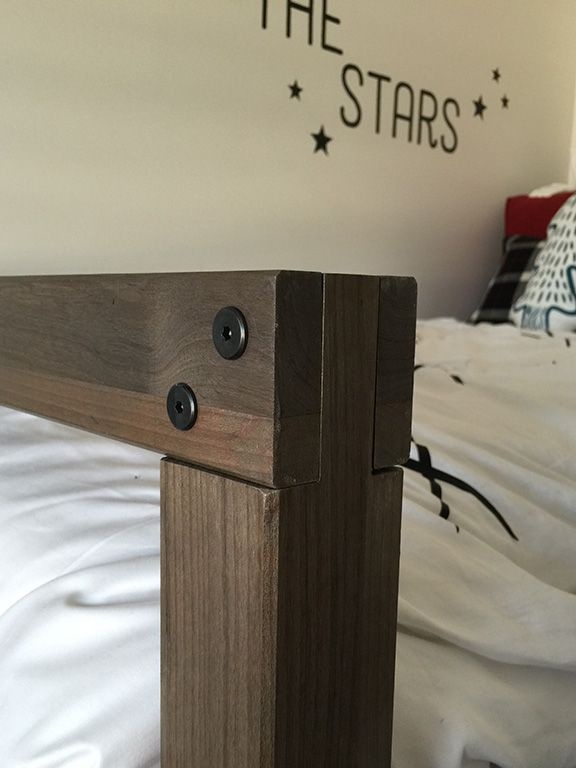
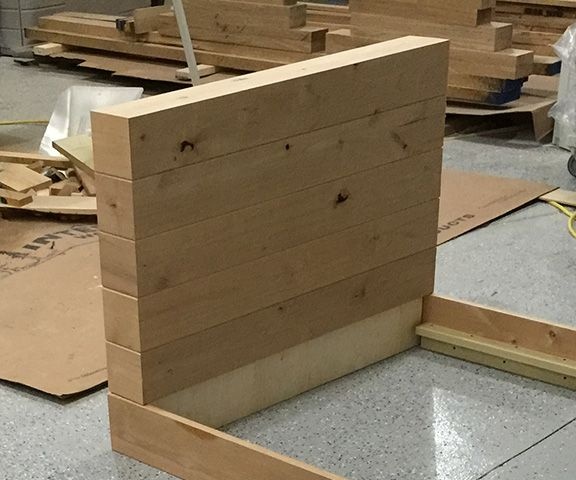
The author advises starting the assembly with a bulk plywood headboard. Inside it is hollow and will later be decorated with natural wood. Assemble the head of the bed and secure the longitudinal details of the frame on it. Use glue as you build. This is a prerequisite that will significantly increase the life of the product. Just apply a little glue to the joint, press the parts against each other and fasten with screws.
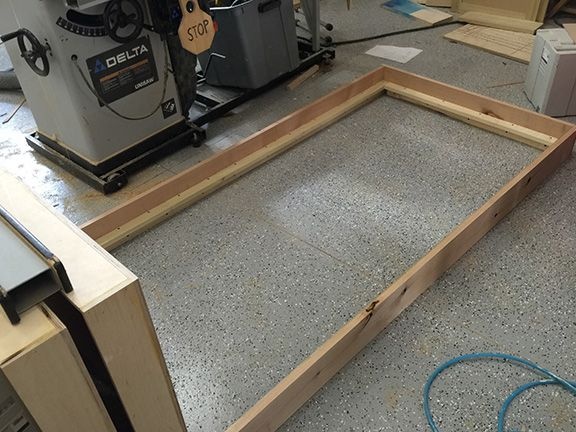
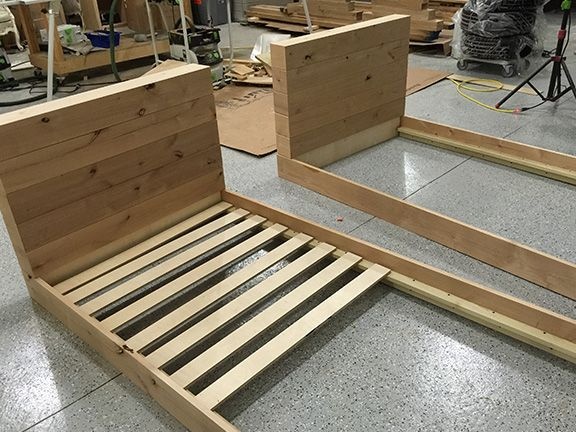
On the reverse side, fix the transverse detail of the frame. At this stage, if you wish, you can strengthen the frame with metal corners. However, given that the beds are designed for children, there is no particular need for the use of metal fittings. Inside the frame, fix the base strips under the mattress as shown in the photo below.
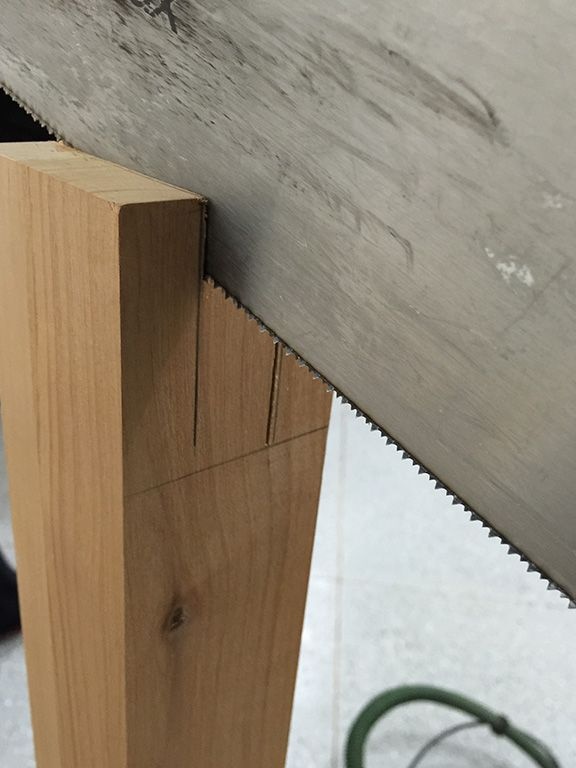
Proceed to the headboard trim. To make it seem more monolithic, the author sawed rails at an angle of 45 degrees with his miter saw. The skin is attached to the plywood base with glue and small nails. Remove excess glue immediately. After the surface dries, carefully grind the contaminated areas with fine-grained sandpaper, otherwise the effect of treatment with stain can be unpredictable. Sheathe the base of the bed with plywood slats.

Fourth step: making the stairs
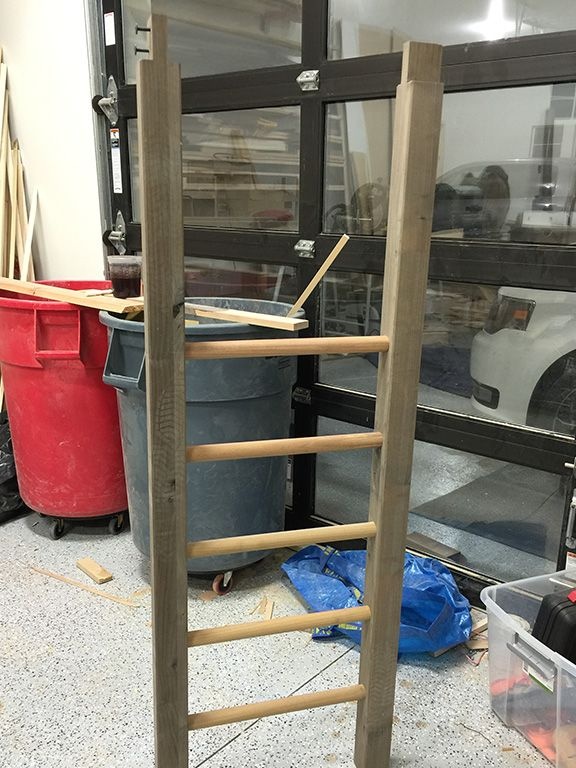
The staircase from this workshop consists of two massive square bars and cylindrical wooden poles. All parts are interconnected on glue.
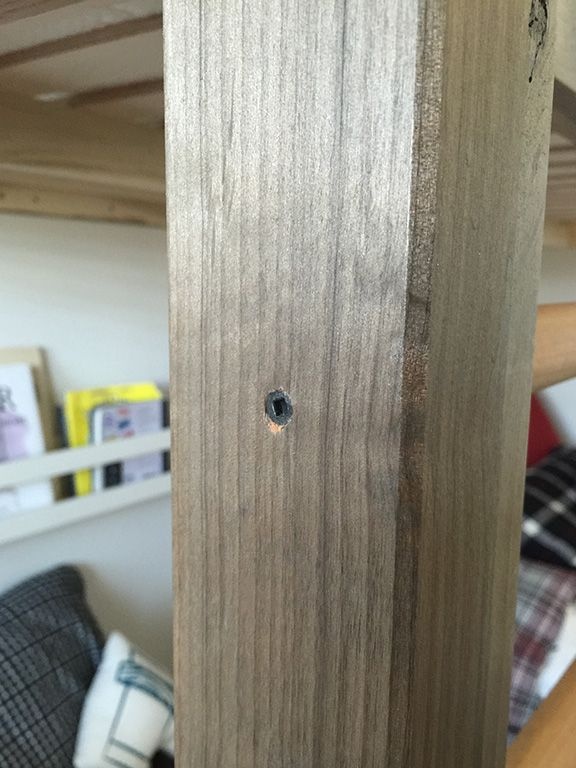
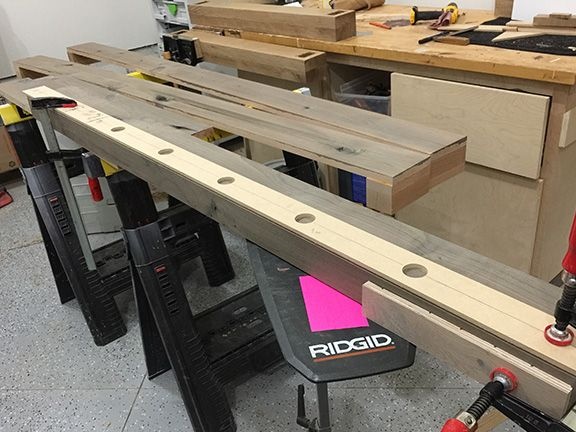
Holes under the steps are sawn in the bars. In order for the holes to be at the same distance, the author used a home-made plywood template. A groove for wooden handrails was made on the top of the bars.
Step Five: Wood Tinting
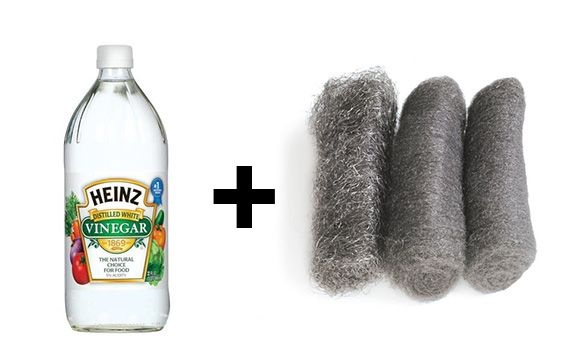
The author used homemade toner for wood processing. To do this, he acquired vinegar and metal sponges. Sponges stayed in vinegar for about 12 hours, after which the stain was ready. In general, the proportions in this recipe are a question, the answer to which can be obtained by purely experimental means. It all depends on the quality of vinegar, the degree of acidity, the composition of the metal and the fraction of metal chips that you use. The period during which the solution is infused is also important.
You can easily repeat this entire process at home. But if you do not want to bother with homemade materials, take a ready-made stain based on alcohol.It has a low cost and is very effective when it comes to tinting natural wood or plywood.
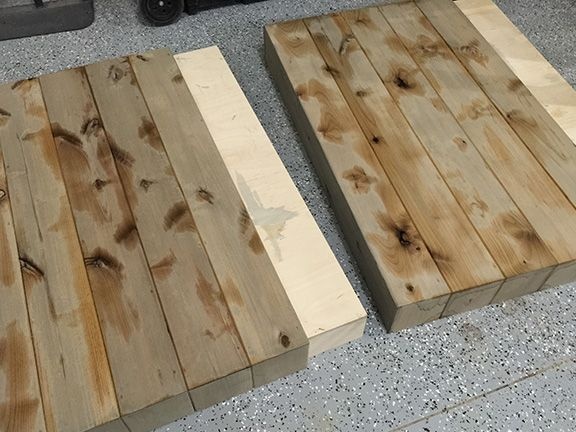
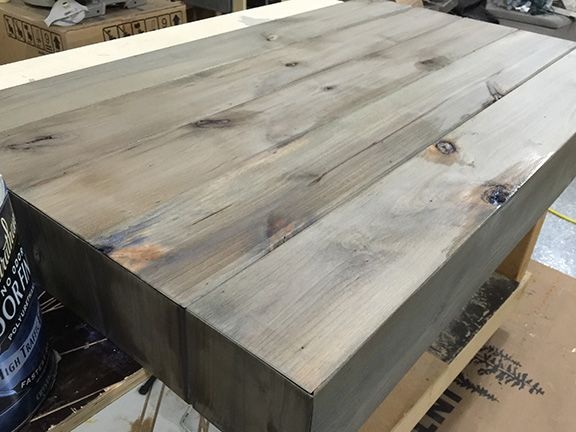
Apply any stain - whether it’s homemade or purchased - with a wide paint brush along the fibers, trying not to stain the already tinted areas again. If the received tone is too light and does not correspond to the sample declared by the manufacturer, repeat toning. Let the wood surface dry completely.
As the finishing touch, the author used Varathane polyurethane varnish. For economical use of material and a lasting effect, he advises the following technology for varnishing furniture:
1. Apply a thin base coat of varnish. If the varnish is too thick, dilute it with a suitable solvent: water or industrial alcohol. Consider that in this way you primed the wood.
2. Once the varnish has hardened, go over the surface with fine-grained sandpaper. However, do not overdo it, otherwise remove too much, including some of the tinted wood.
3. Apply a second coat of varnish. Now you will need significantly less material since the pores of the tree are sealed. The second layer may also be thin. After drying, you can repeat grinding, it will only improve the adhesive properties of the varnish layers.
4. Finally apply a third thick coat of varnish. This is the top coat and does not require sanding.
Choose a matte polyurethane varnish that maximizes, but does not overshadow, the natural advantages of a natural wood. Remember that this type of varnish has a very unpleasant odor and is toxic. Therefore, precautions should be taken when handling it.
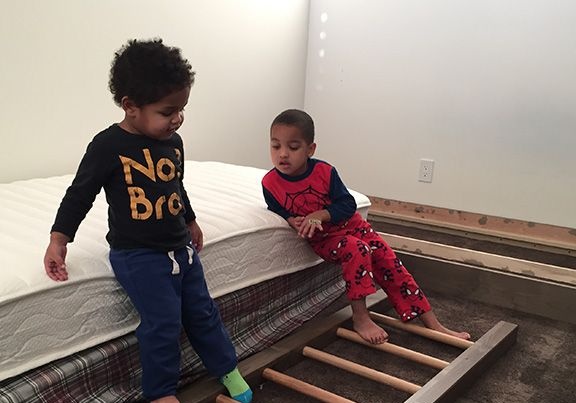
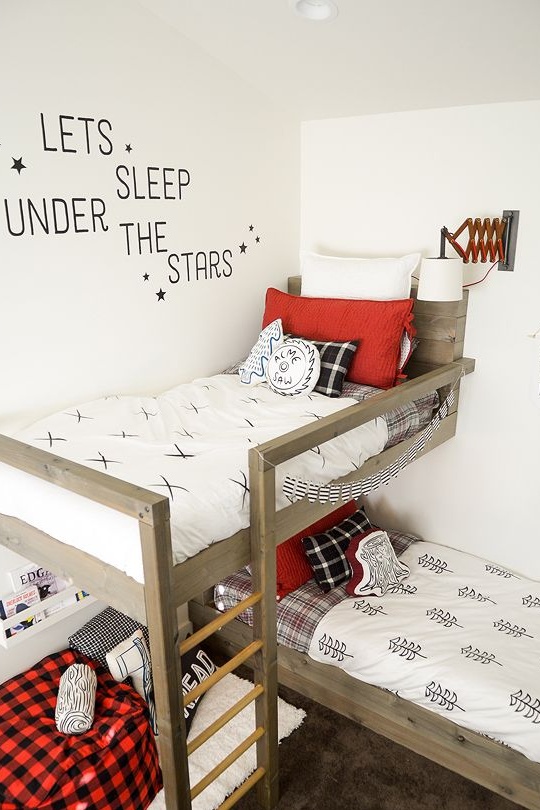
Step six: installation of the second tier and stairs
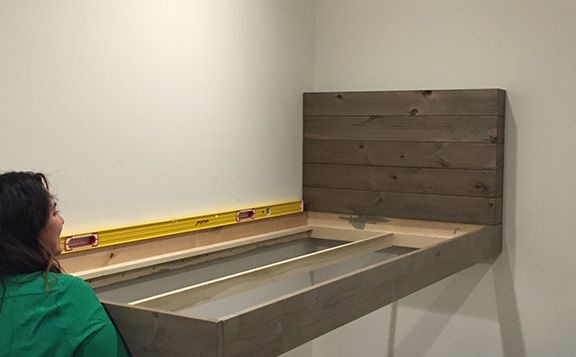
Sleeping places are not an integral design, and the second tier is installed separately. To do this, fix the headboard on the wall using the building level. Fix also the frame of the second tier by screwing it with screws directly to the wall. Depending on the material of the walls, use dowels to seal the joint.
Install the ladder and screw it to the frame with screws. Fix the wooden handrails around the perimeter of the second tier - a groove in a groove with the uprights of the stairs.