
Has your child already asked you to build a house for him? If not, then everything is still to come. Such simple constructions, it turns out, play a big role in raising children and have a beneficial effect on their development. Having their own space teaches children responsibility and serves as a refuge space where the child can be alone and gather his thoughts.
Children's houses are often of two types: seasonal and capital. The first, as a rule, are built without insulation, they do not have full windows and doors, however, as well as energy supply. They are also missing furniture and other elements of the situation.
Construction capital houses is not inferior to the construction of full-fledged housing for adults. The difference is felt at the level of communications, such as water supply or sewage, which, of course, do not exist in the game housing. In addition, children's houses are characterized by a modest area and low ceilings. Inside and on the territory, various entertainments and attractions are often provided - everything that parents are much fond of.
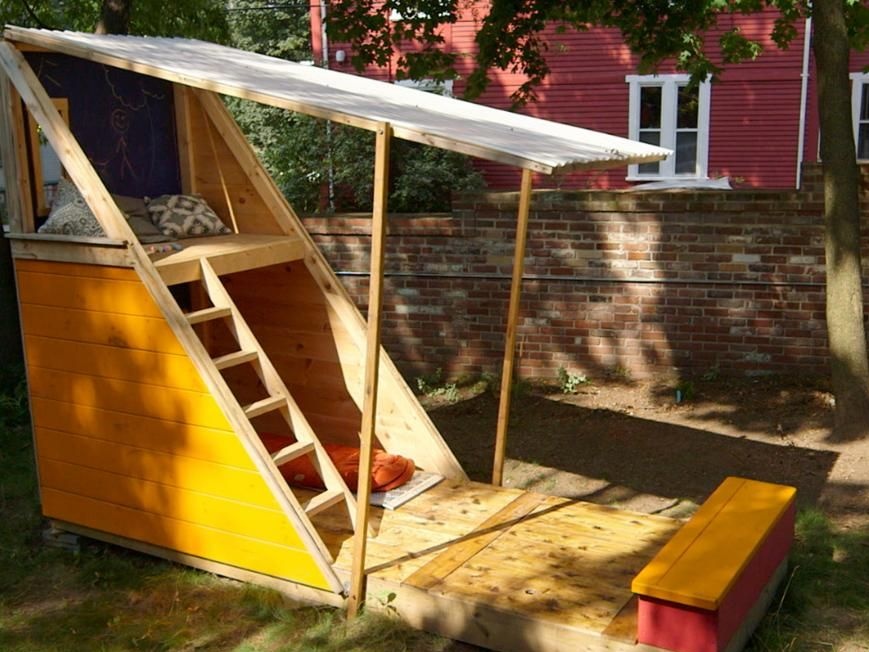
The house from this master class has a very original and thoughtful design. It has two levels and a terrace with a bench. The tiny room is protected from atmospheric precipitation by a canopy of metal. If desired, it can be closed for a period of cold weather, which will significantly extend the service life of the structure.
In order to build such a children's playhouse, you will need:
Materials:
- plywood for covering the rear wall of the house;
- boards for covering the rest of the frame, floors and decking of the terrace with a thickness of at least 20 mm (for walls) and 30 mm (for the floor);
- boards and bars for the manufacture of shops;
- a beam with a section of 50 x 70 mm or 40 x 60 mm for the construction of the frame of the house, as well as stairs to the second level and supports for the canopy;
- metal roof to cover the canopy;
- boards for the construction of the base of the house;
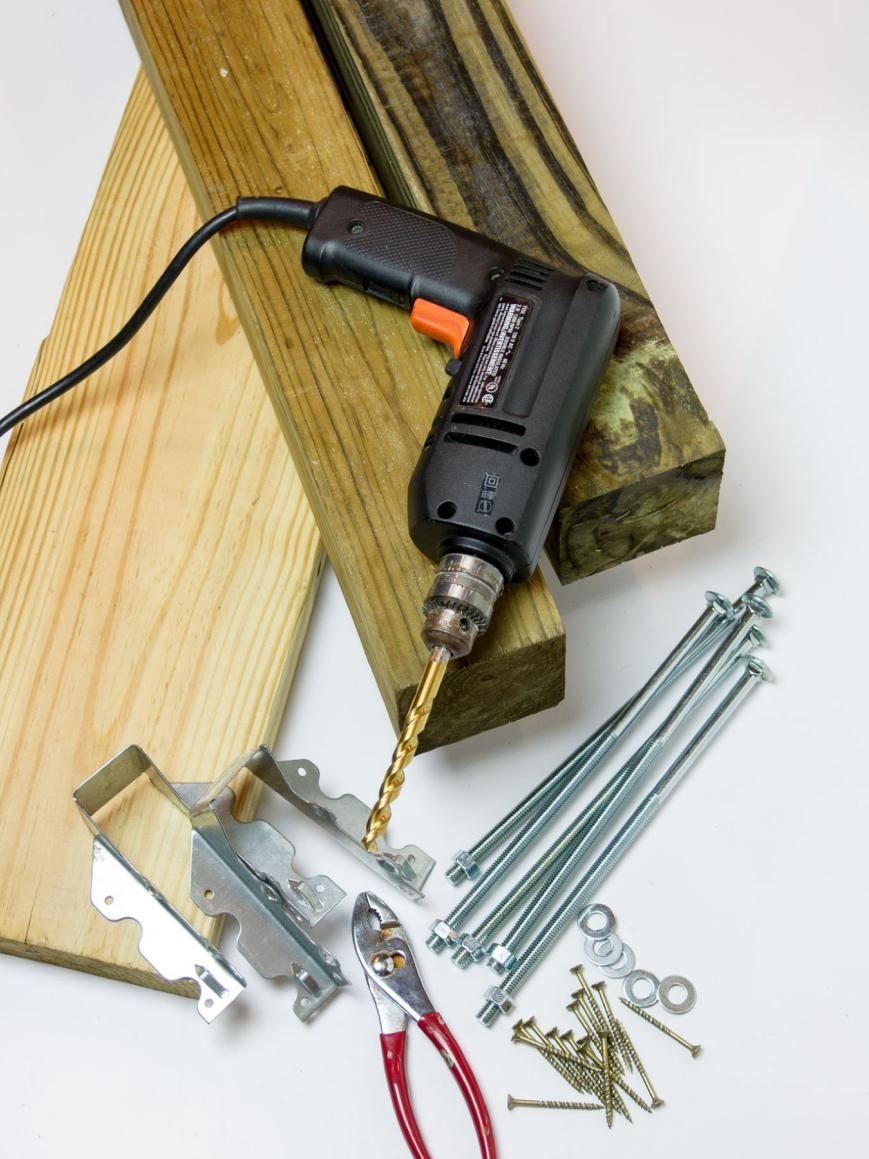
- metal fastening accessories to strengthen the wooden frame;
- wood screws and screws, nails, metal screws;
- primer for wood processing;
- slate or slate.
Instruments:
- miter saw or circular;
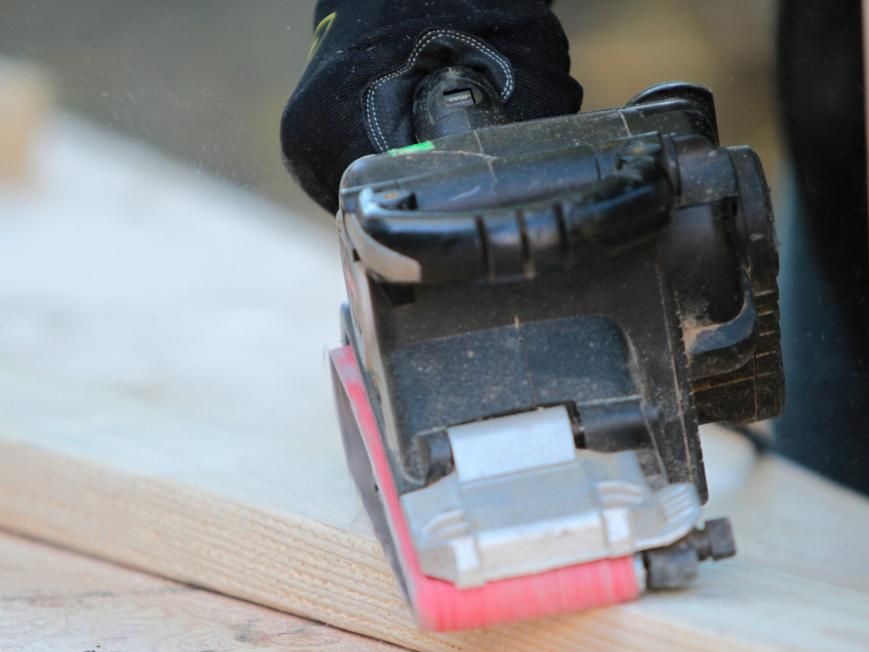
- grinder of any type;
- electric drill;
- screwdriver;
- pneumatic nail gun or joiner's hammer;
- long construction level;
- construction tape and square, ruler;
- paint brushes;
- Bulgarian with a saw blade for metal;
- pencil and marker.
Step one: calculations and layout of parts
Start by marking up the main large parts: key elements of the frame, base and back plywood wall. It is rational to carry out all subsequent marking in the course of work and the assembly of the house.
Decide on the overall dimensions of the structure and the height of each level. Children do not need too large volumes of space, but the levels should have dimensions that allow you to freely carry out construction work and periodic cleaning during the operation of the house.

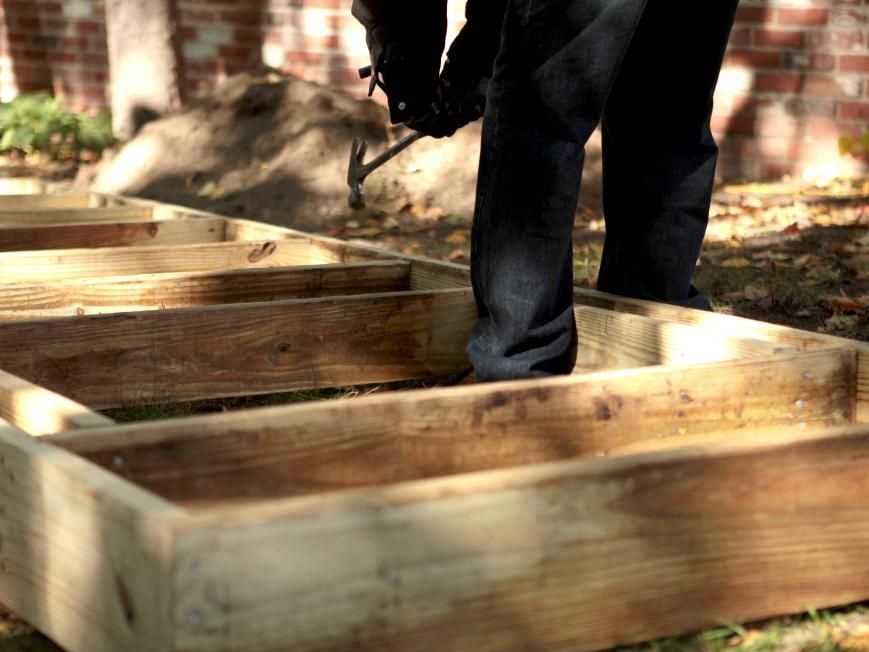
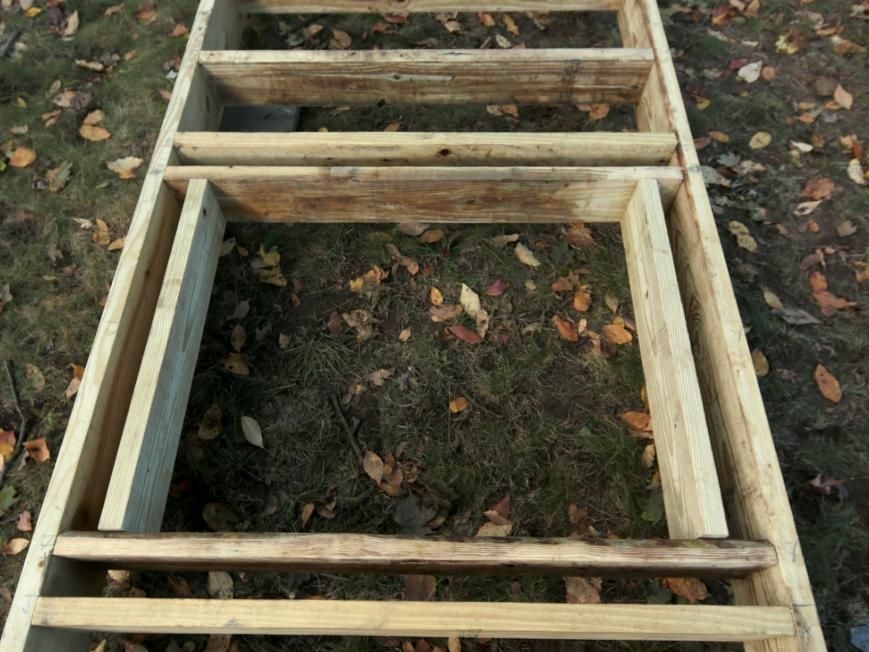
Step two: the construction of the foundation of a children's house
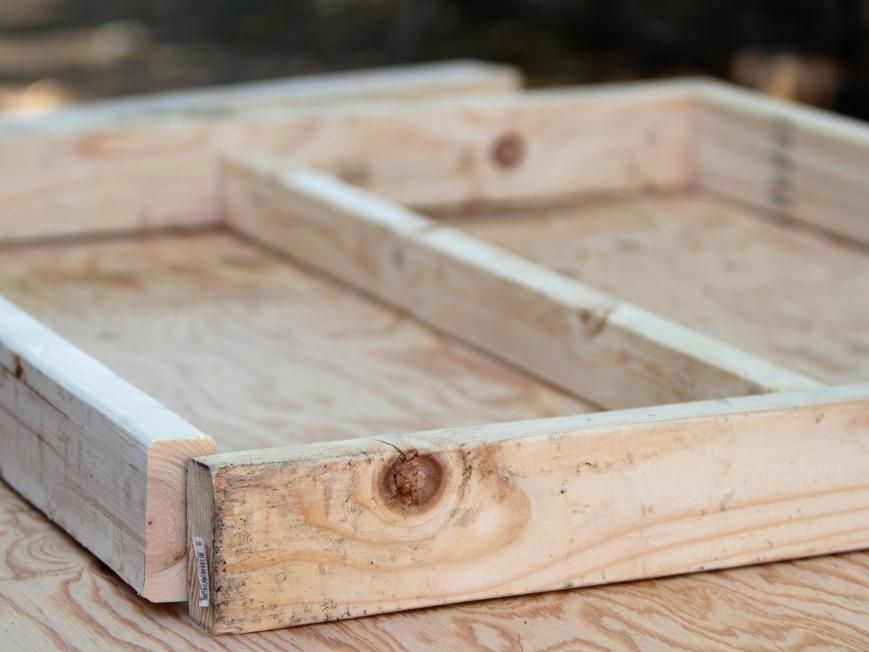
The author used boards in order to assemble the base of the house. The base is located on a columnar foundation. Concrete columns can be poured without formwork onto a sand and gravel cushion to avoid seasonal movements of the soil and the destruction of concrete structures.
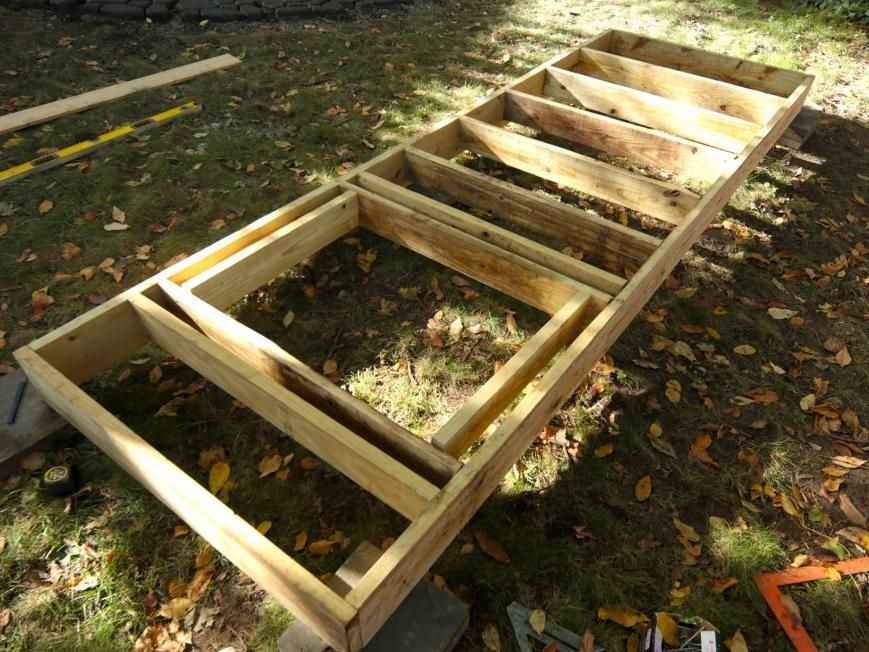
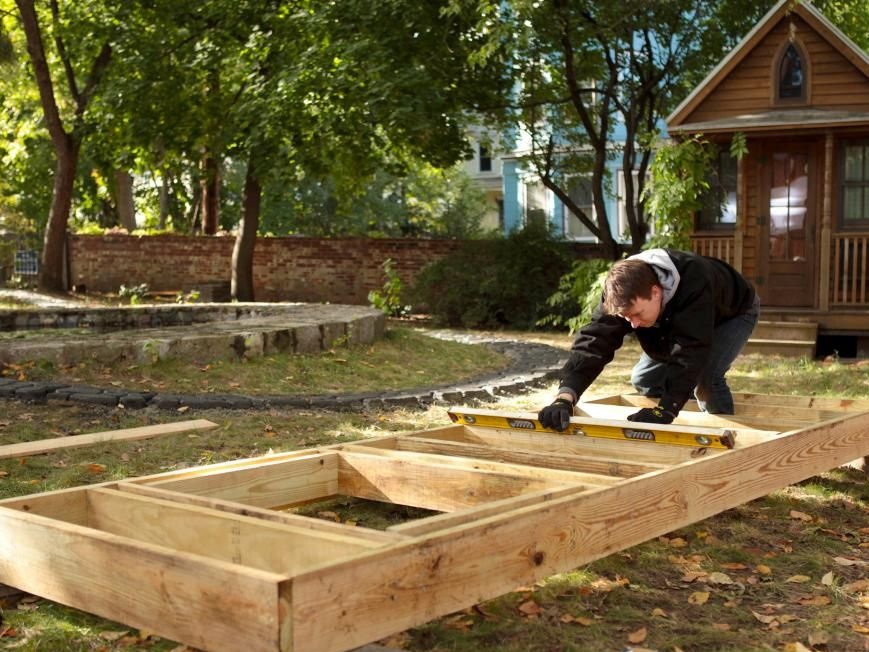
Assemble the wooden base of the wood screws. Use a level and a long rail to ensure that the base has a perfectly flat surface. The more carefully it is assembled, the easier it will be for all subsequent assembly work.
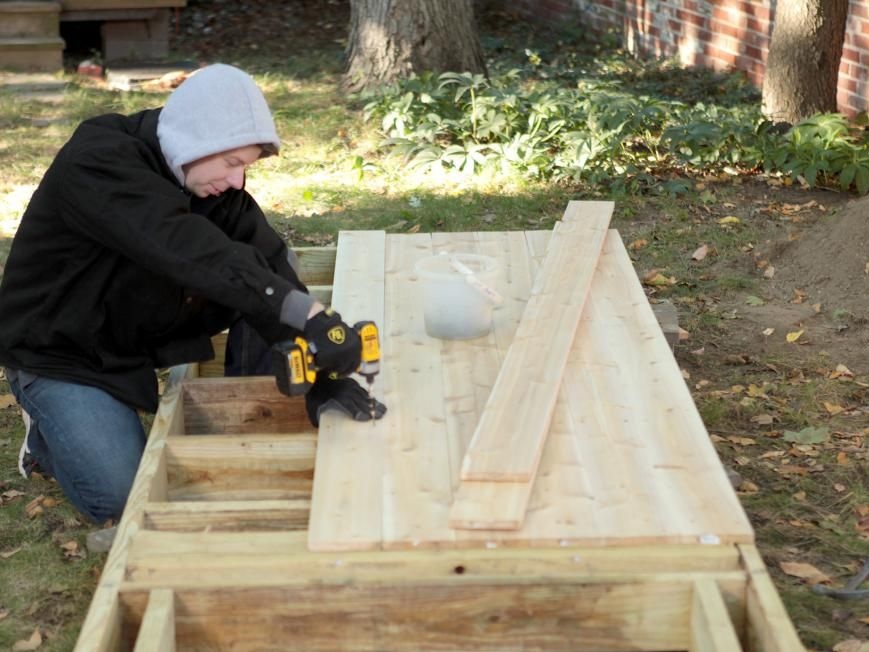
Sew with boards the base of the terrace and floor of the lower tier of the house. You can use ordinary untreated boards or high-pressure sawn timber. In the first case, the boards should be soaked with an antiseptic to prevent wood decay.
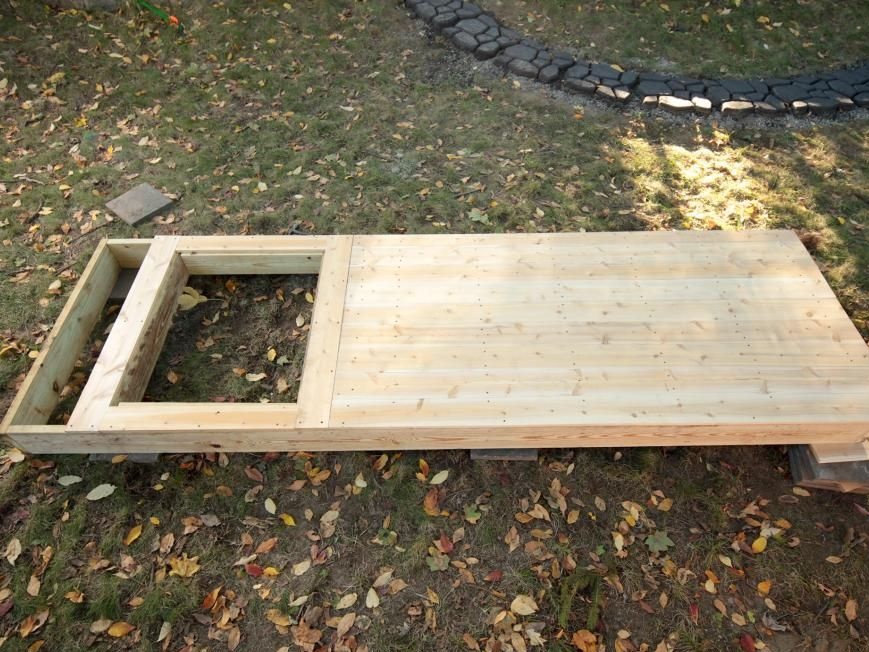
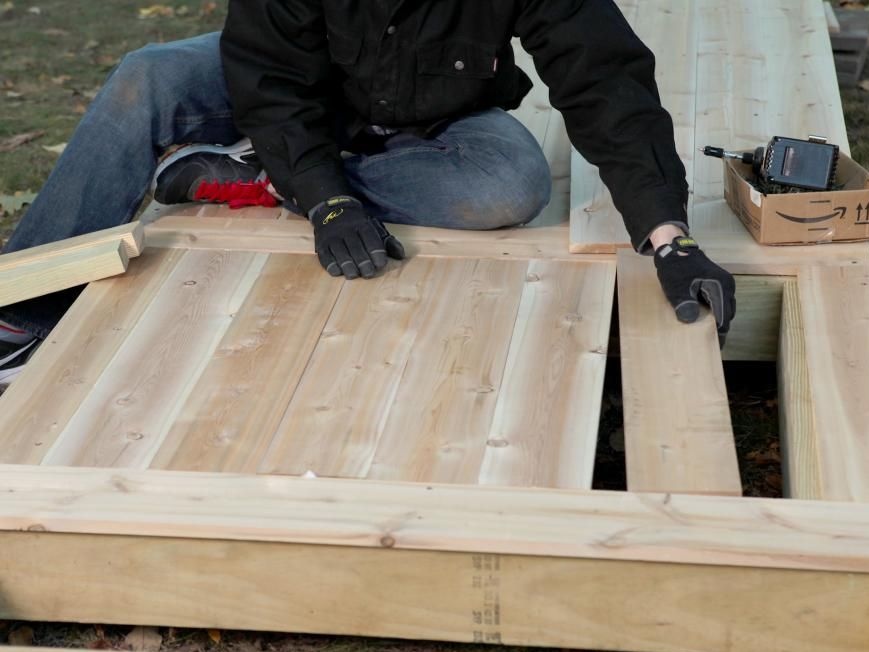
Step Three: Build Level One and Two
Establish a back wall. Fasten the plywood to the timber frame and place the panel on the base. In order to maintain a right angle, temporarily screw a couple of planks that will securely hold the wall panel in place.
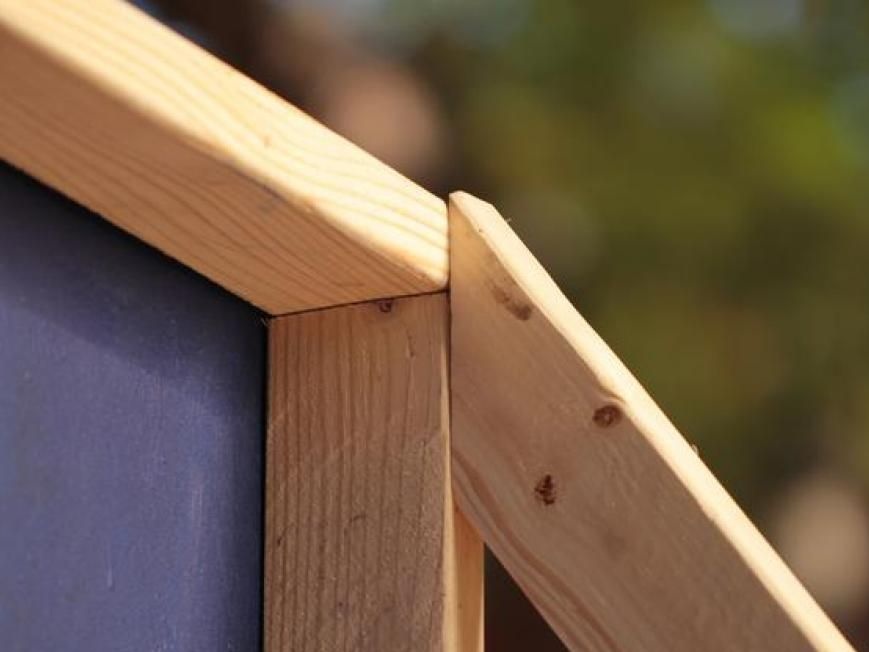
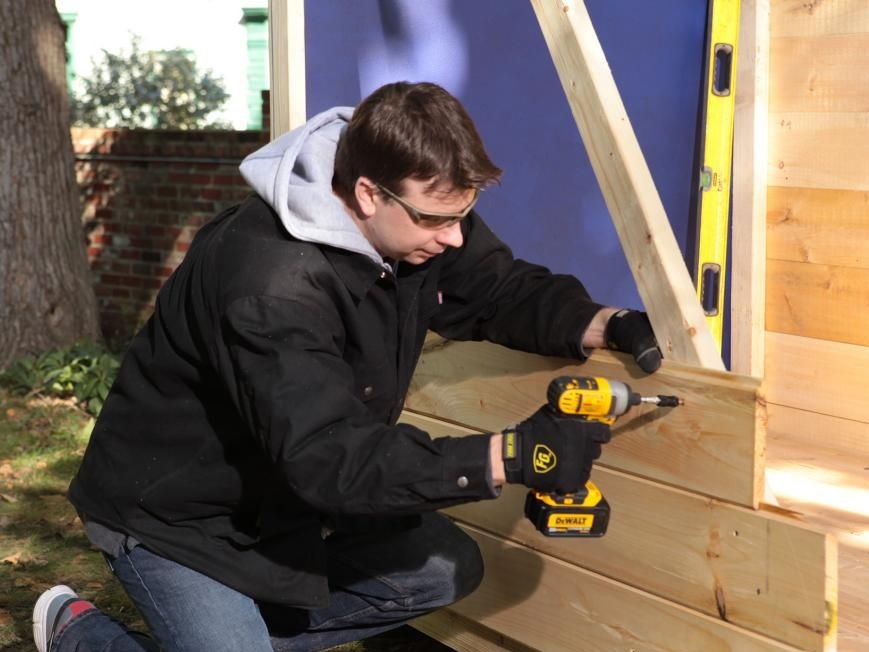
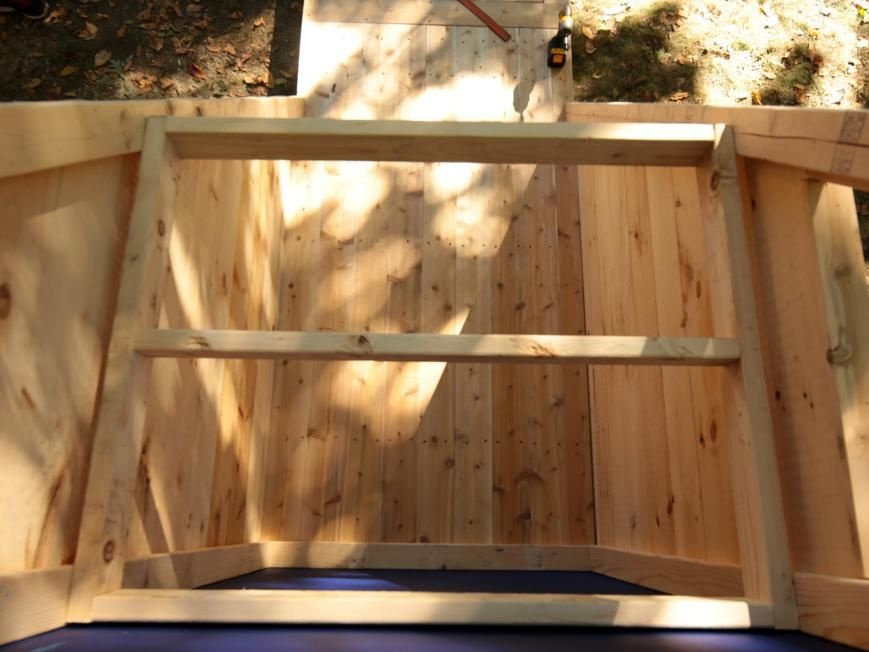
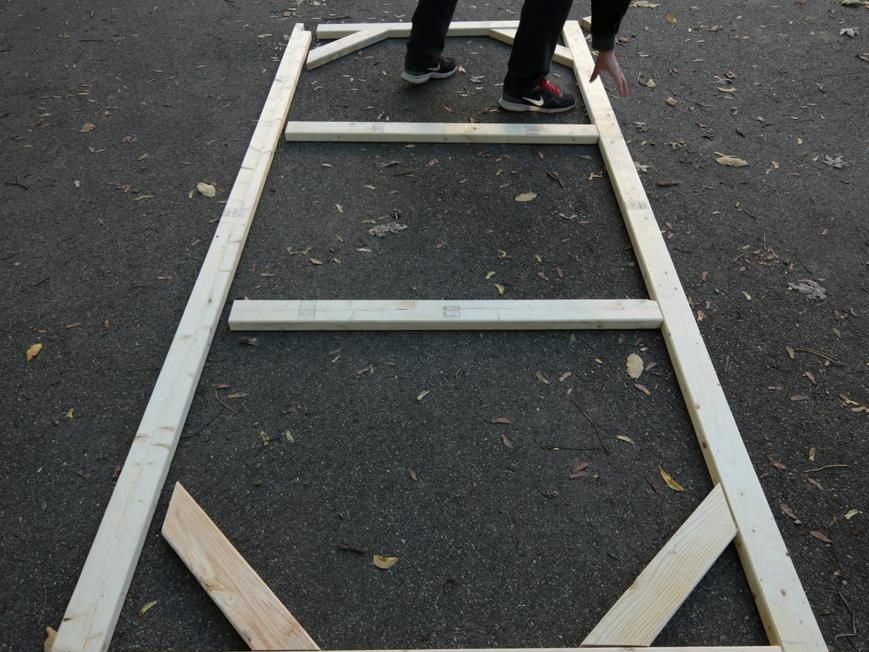
Fasten the diagonal parts of the frame to the back wall and floor. Sheathe side walls with planed boards or clapboard. Install the base frame of the second tier as shown in the photo below (top view) and sew the floor with boards.
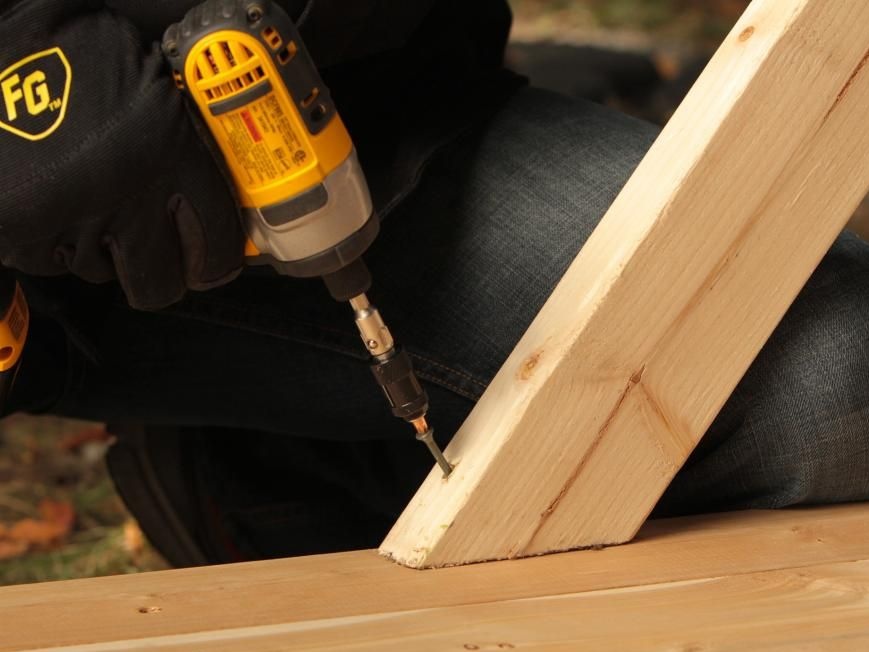
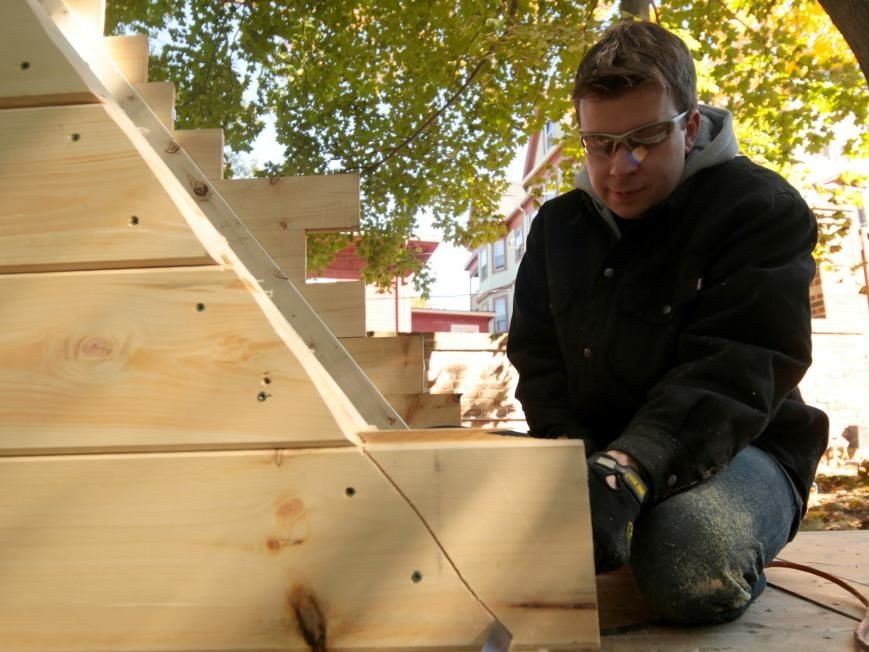
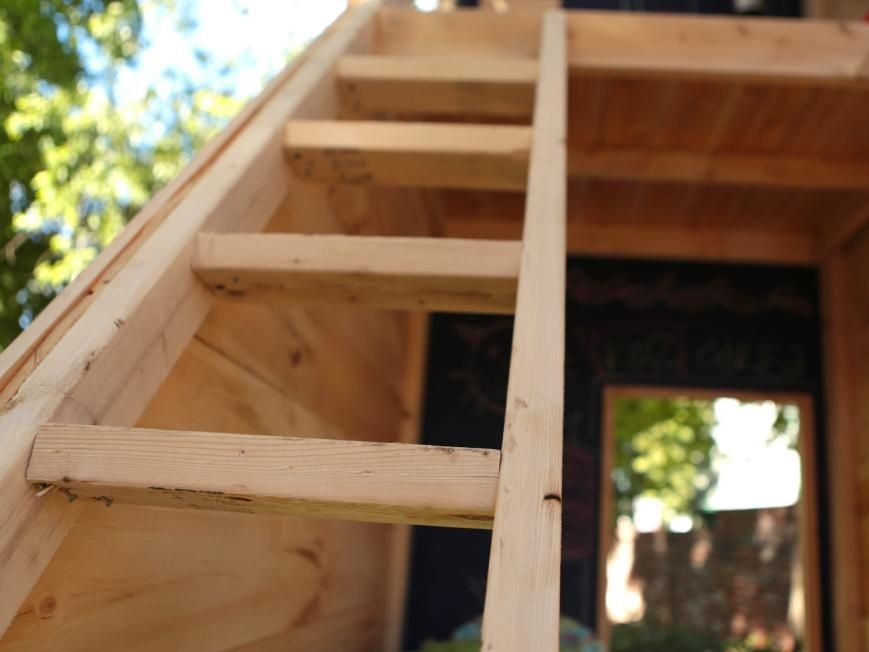
Now you can build a staircase. The author used the diagonal part of the frame as the first guide for the stairs. The second, made of timber, he secured parallel to it. The steps are also made of timber and are mounted on the screws at an angle so that it is convenient to climb the stairs.
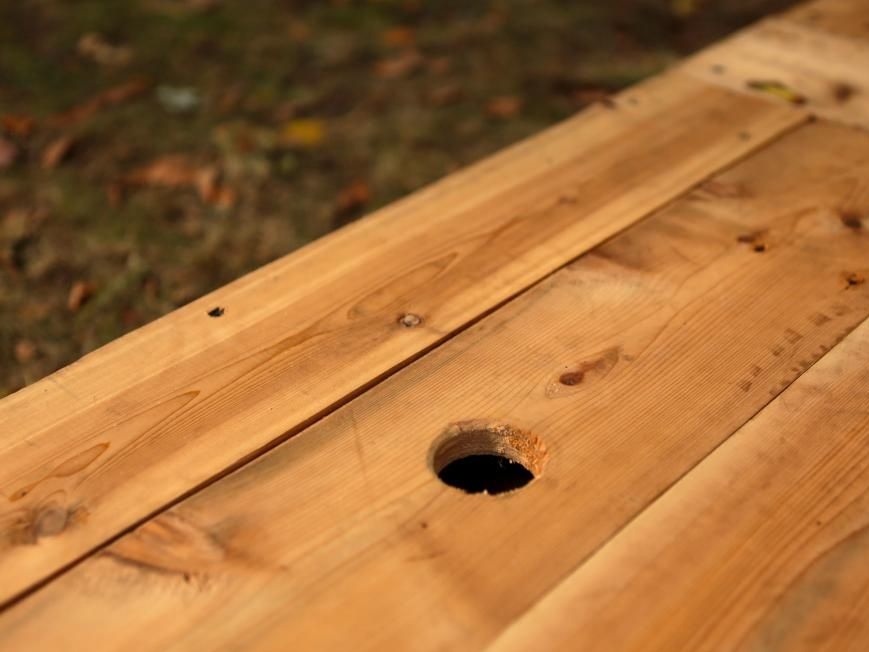
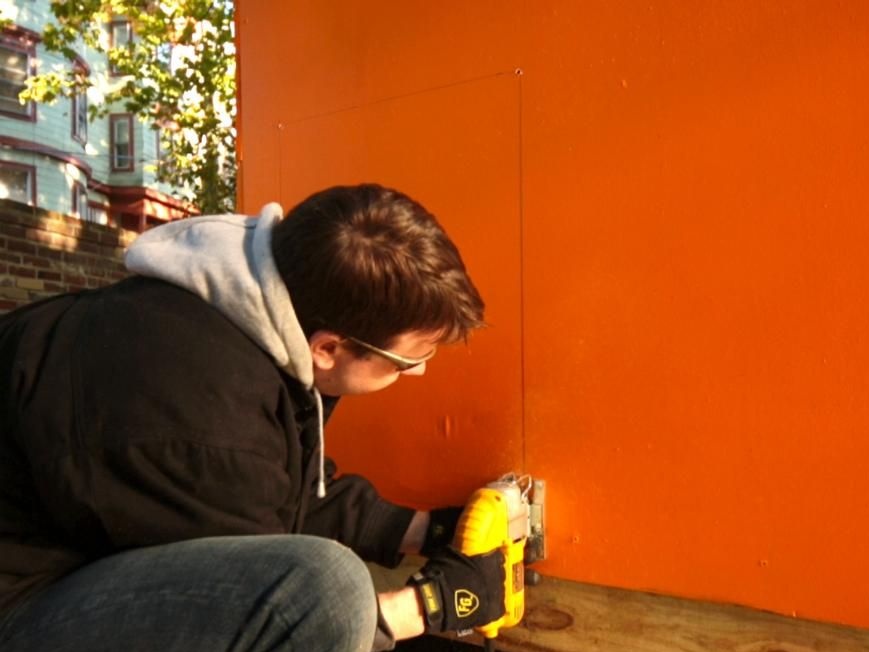
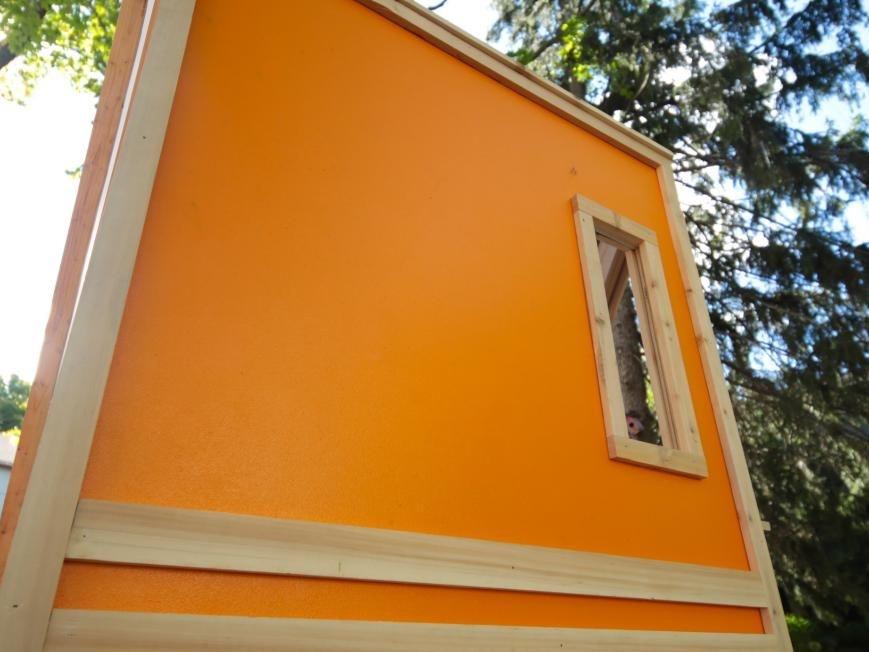
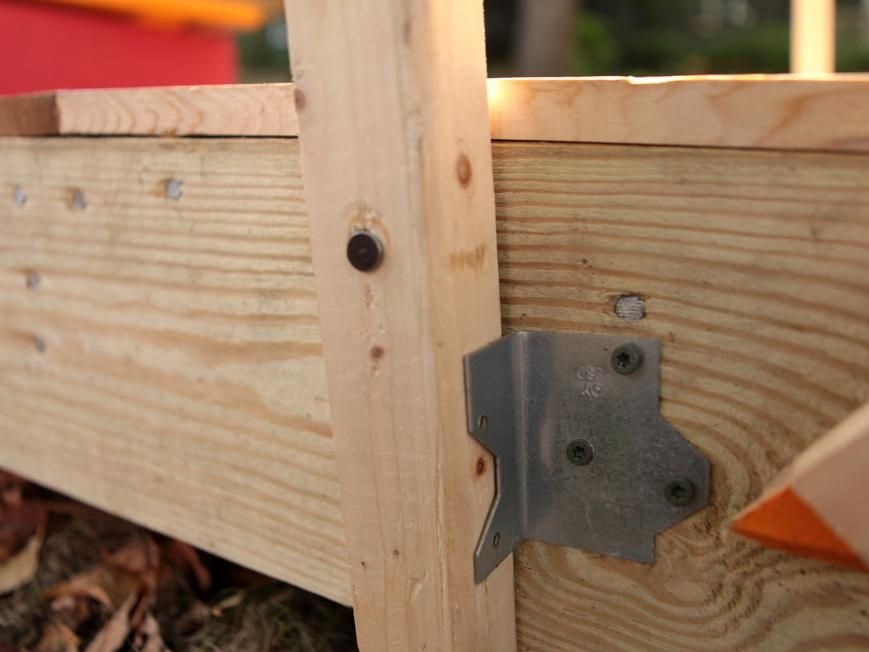
Fix the frame with metal corners and plates. So, you will be confident in the reliability of the design. Insert a small window into the hole in the rear wall. To do this, fix the glazed frame on the outside of the wall. Install also a decorative frame inside on the second tier to create a window opening.
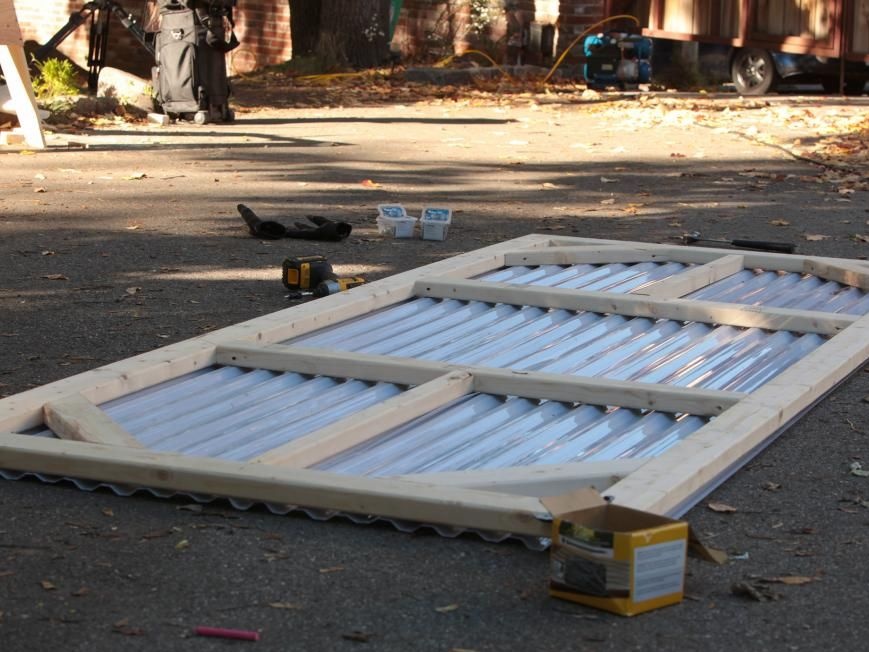
Fourth step: making a canopy over the house
The canopy completely covers the house and partially - the terrace in front of it. It is hinged and designed so that, if necessary, the house can be closed before the onset of favorable weather conditions for games.
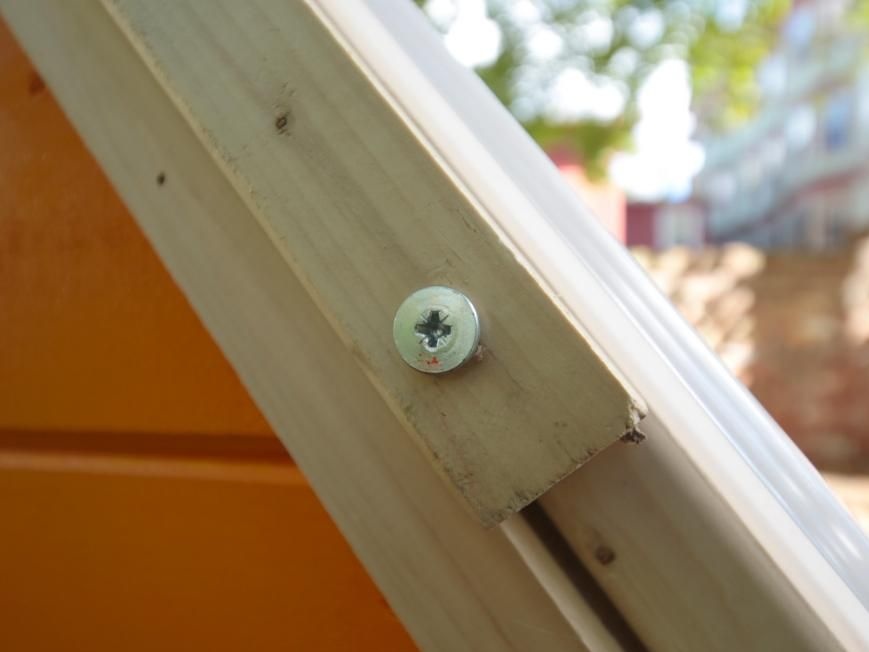
The canopy supports in the open position are fixed stationary on the screws. At any time, you can unscrew them and lower the canopy down.
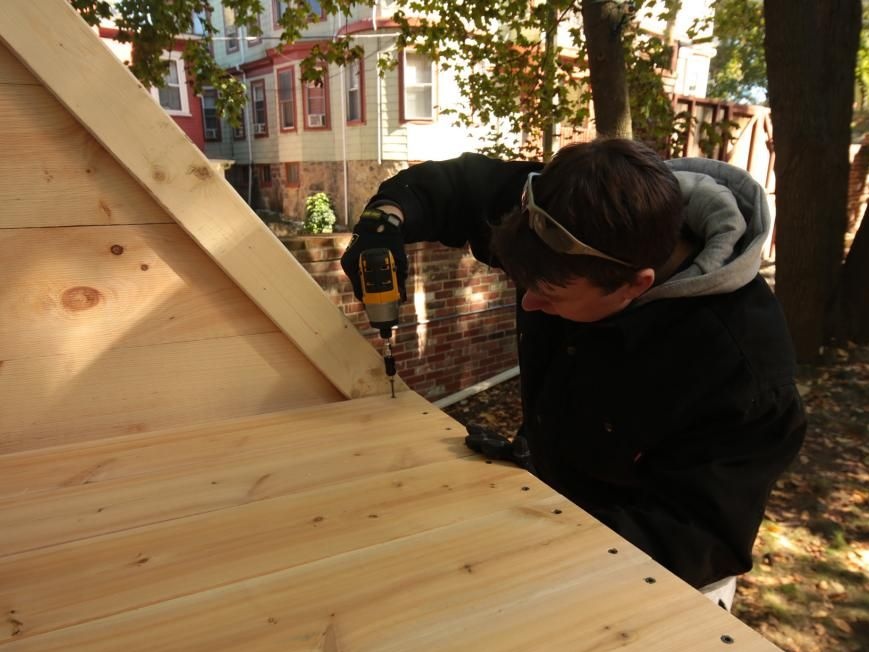
Assemble the canopy frame on the screws as shown in the photo. Use a grinder to cut a sheet of metal roofing of a suitable size. The materials used should preferably be treated with an antiseptic in advance.
Secure the sheet of metal to the frame using wood screws and rubber gaskets. Hang the canopy cover on the hinges and install the supports, fixing out with self-tapping screws.

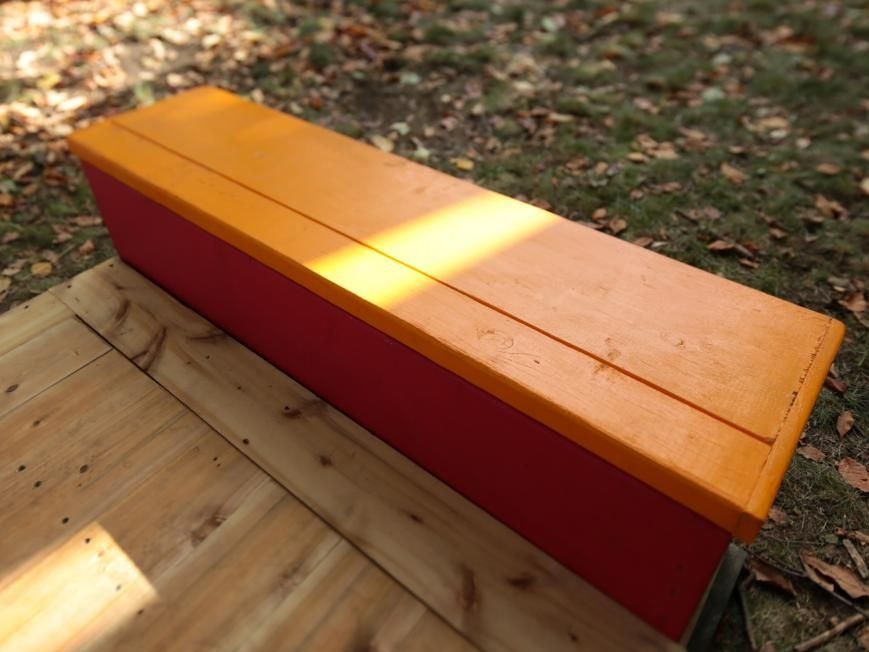
Step Five: Assemble the Bench
According to the author’s idea, a bench is located on the terrace. It has a hollow design and, if desired, can be used to store things. To do this, hang the seat on the hinges. Paint the bench to add bright colors to the structure. Later, you can set up a small table on the terrace, where children can draw or enjoy their mother’s treats.
Step six: protect wood from rot
If you used untreated wood, it requires special treatment to prevent rotting and the formation of fungi and mold. For this purpose, an antiseptic and a primer layer will do a great job. Sometimes manufacturers offer a cross between the two, with a wider range of functions. You can also purchase a 3-in-1 product, which, along with other merits, also has the properties of a toner for wood.
The house can also be painted, however, take the choice of paint as thoughtfully as possible. It must be stable, durable and have moisture repellent properties. Such paints are based on solvents. First of all, these are oil, alkyd compounds and nitro paints.
Seventh step: the design of the house
The author used special plywood with a slate layer facing inward. Children can freely draw chalk on it, as if on a blackboard. Think about what kind of entertainment you can arrange in the game house. Several colorful pillows and a soft mattress slightly diversify the atmosphere inside, and if necessary, they can be quickly removed for storage in the house.
