Each of us had to grind something with a knife, or any sharp tool; cut thin plywood, plastic, polystyrene; sanded any surface, for example, the same plywood and plastic; to clean the keyboard from dust, and all this manually. All these actions must be done with sandpaper, a knife, a saw, a whetstone. And why not make a device that can do all of the above actions, that is, grind, cut, grind. That's it about such a device that will be discussed. In this article I will show you and tell you how to make a universal mini saw do it yourself at home conditions from improvised materials. This saw will have three nozzles, that is, a grinding nozzle and sandpaper sharpener, for cutting objects from parts of a stationery knife, and a nozzle for cleaning the keyboard and any surfaces of three toothbrushes. Let's get started. To make a homemade universal saw we need:
Instruments:
1) A sharp clerical knife (for cutting plastic parts),
2) Glue gun and hot glue (for gluing parts),
3) Drills of different diameters (for drilling holes),
4) Electric drill,
5) Electric soldering iron (for soldering wires),
6) Marker or a simple pencil (for notes),
7) Sandpaper (for grinding bumps),
8) Compass,
9) Scissors (for cutting sandpaper),
10) Nail (for drilling small holes on plastic).
Materials:
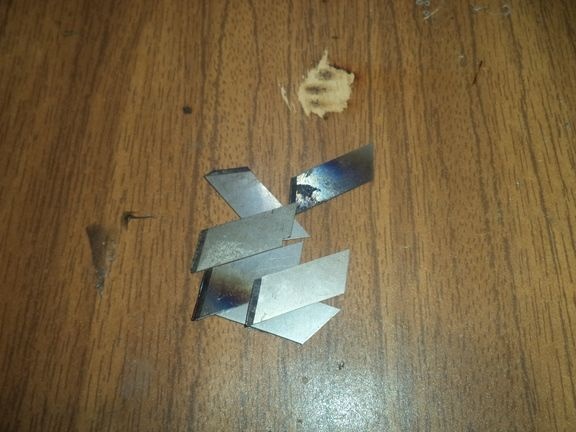
1) Six small broken off blades from a clerical knife blade (for saw),
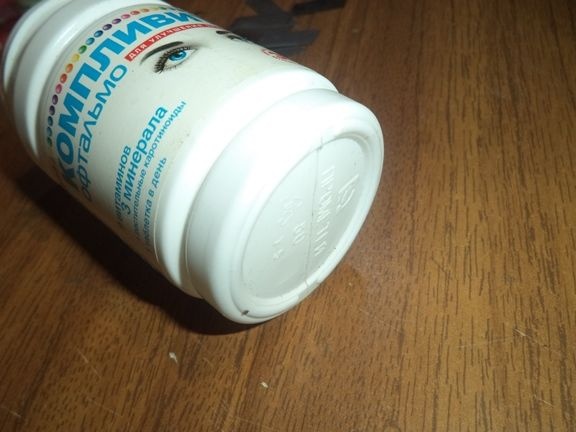
2) Plastic jars of vitamins or medicines,
3) Wooden block (for the handle of a mini saw),
4) 5 volt electric motor,
5) Wires (for connecting the device to a power source and for connecting electronic components)
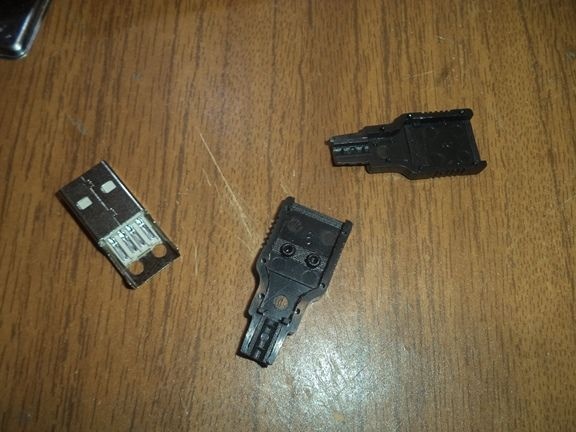
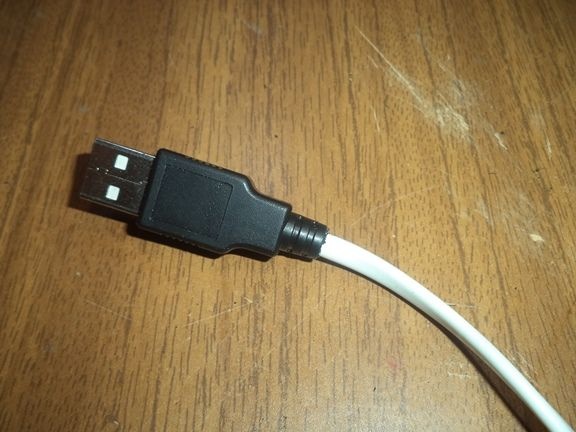
6) USB connector with a disassembled case (for connecting the device to a power source)
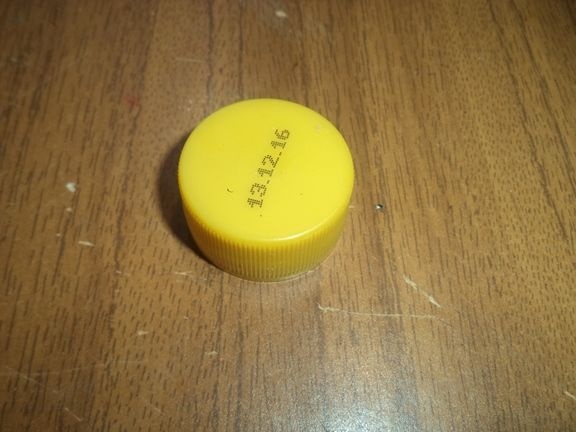
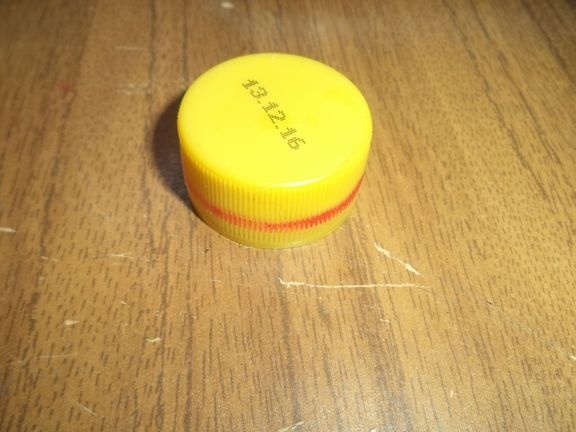
7) A cap from a plastic bottle from a carbonated drink (for closing an electric motor),
8) A round wooden piece (for a grinding nozzle),
9) Sandpaper (also for sanding nozzle),
10) Three unnecessary toothbrushes (for the third nozzle).
The process of making a universal mini saw with your own hands.
We take an unnecessary blade from a clerical knife and break it into six small identical parts.
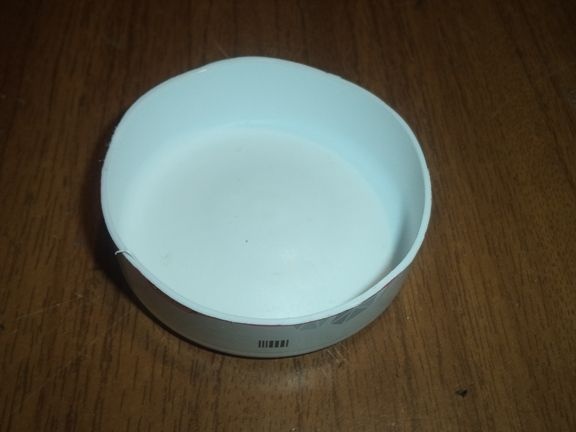
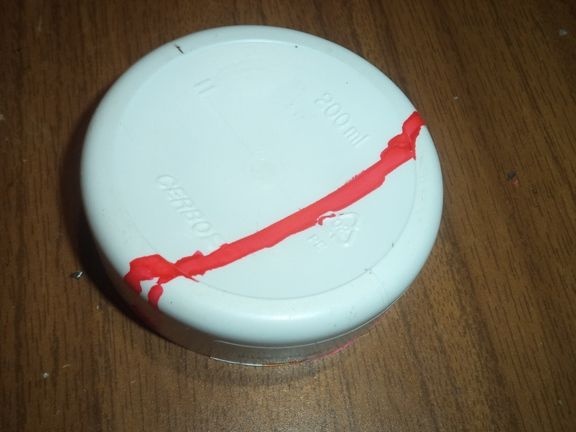
Next, we take a plastic jar of drugs or vitamins and cut off the bottom and the cover from it with a stationery knife. We get two identical circles with equal diameters.
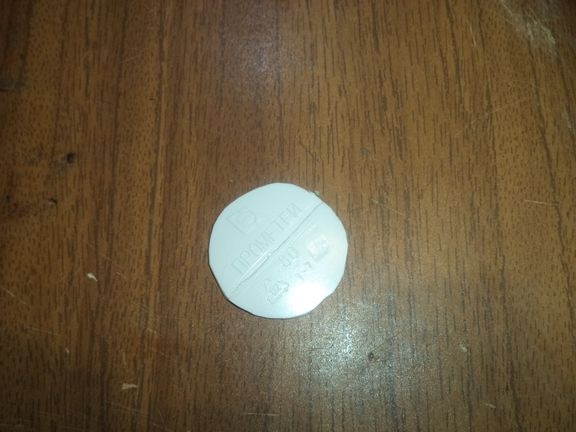
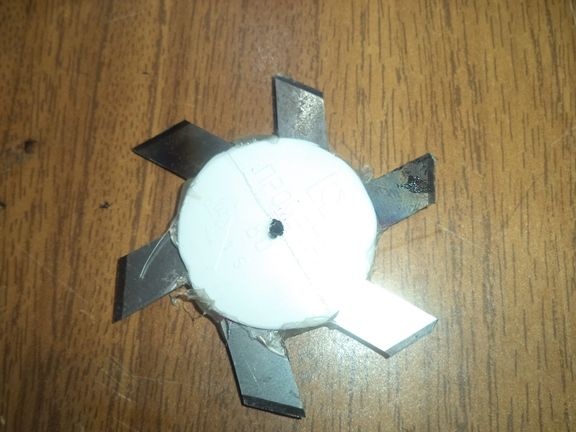
We glue with a glue gun all the previously prepared parts into one, that is, glue six pieces of a clerical knife blade, two round parts and we get something similar to a circular disk.
But first, without gluing onto the round part, put all six small blades (I will call them that) and look at their evenness, try to put them as evenly as possible so that there are no strong vibrations, but I still have vibrations . Next, mark their positions on the circle with a marker.

Using hot melt glue, we begin to glue small blades one at a time on a round part.
After all six blades are glued, glue them with another round part from the top so that the gluing places are not visible and that everything holds tight.
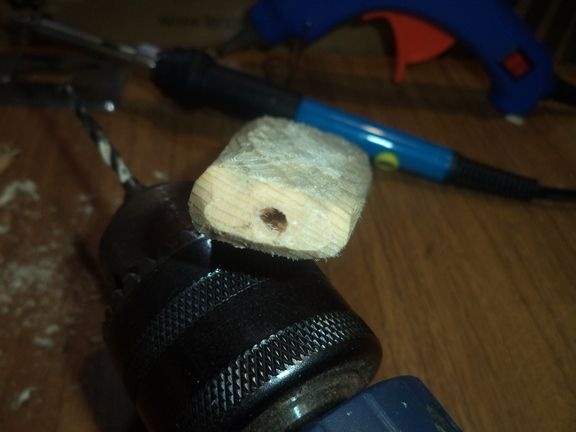
We take a thin nail, fasten it into an electric drill and use it to make a hole exactly in the middle, that is, in the center of the circular disk (I used the nail so that I did not have a thin drill, but if you have such a drill , then you should use it, not a nail, although it also drills plastic well).
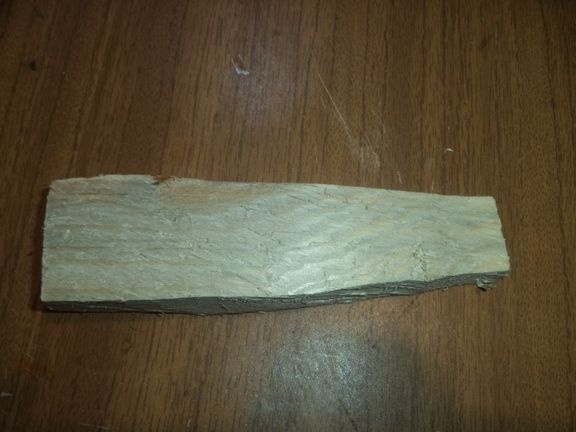
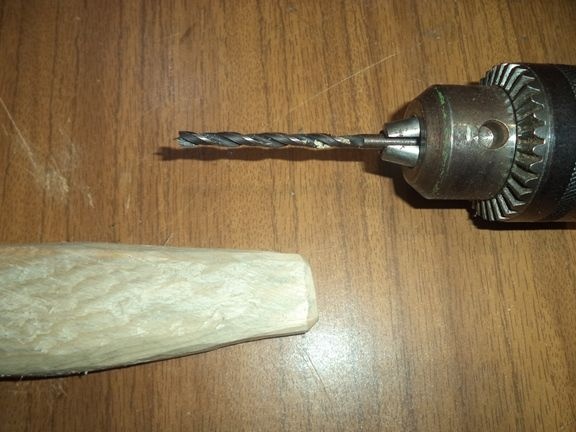
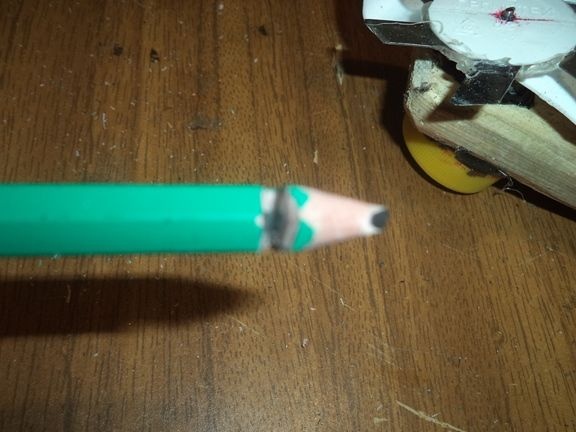
Now we need a wooden block. Then this bar should be slightly processed, trimmed, polished so that it lies comfortably in the hand, since it will serve as a handle for our future device.

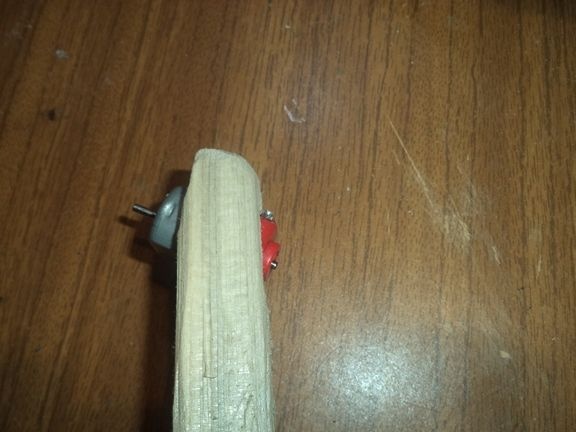
On this wooden handle with an electric drill, we drill a hole with a diameter of the thickness of an electric five-voltage motor.
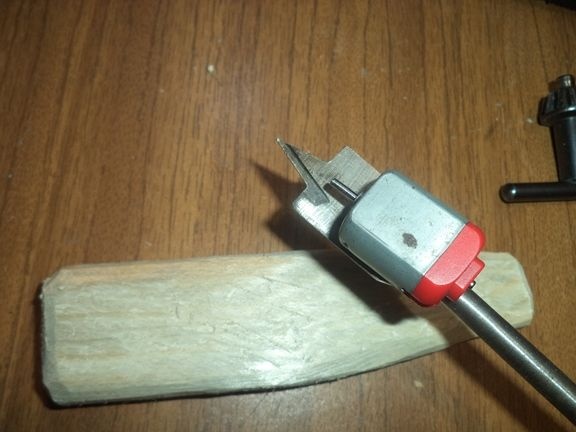
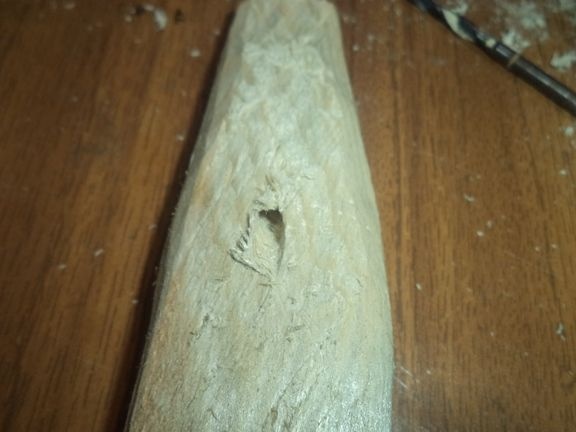
The hole should be made at a slight slope, angle, in order to make it more convenient to use the future device.
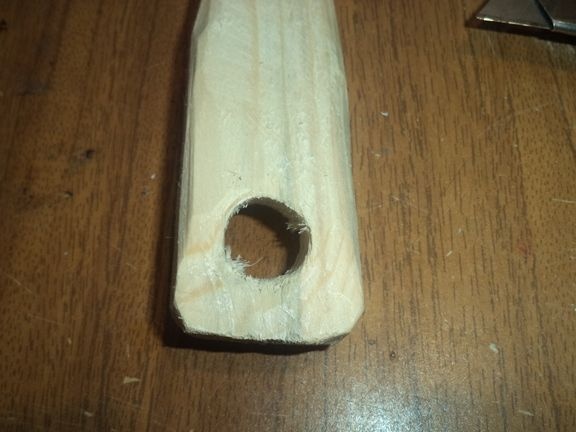
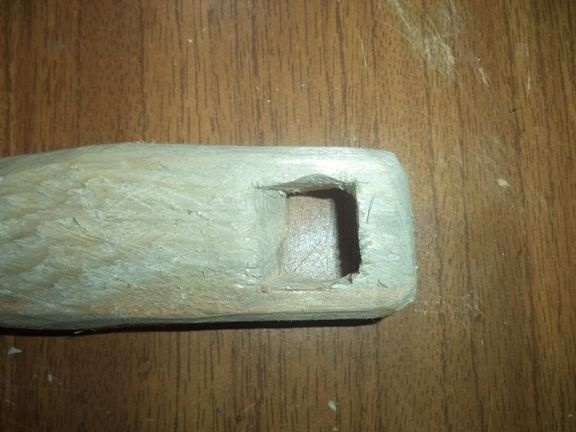
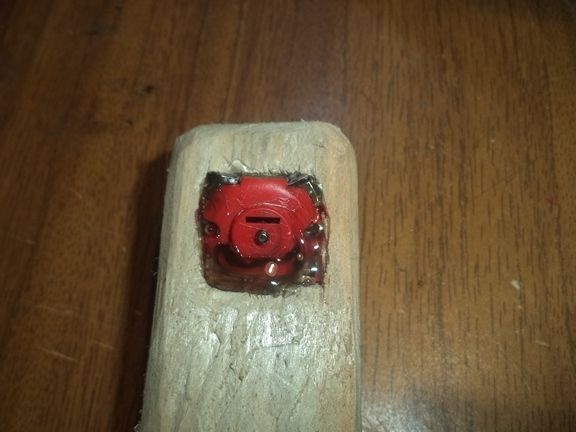
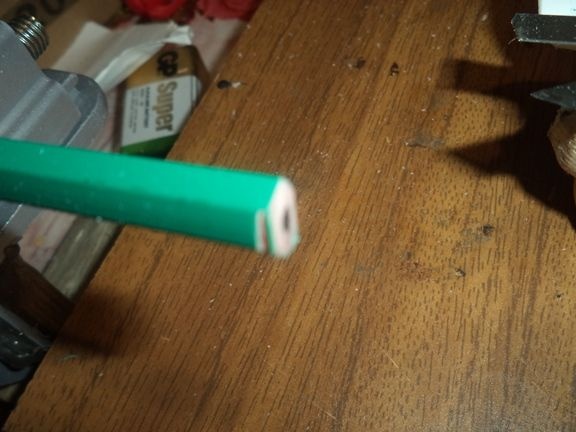
Using a clerical knife or file, we process the round hole into a rectangular one so that the five-volt motor can be inserted easily and reliably.
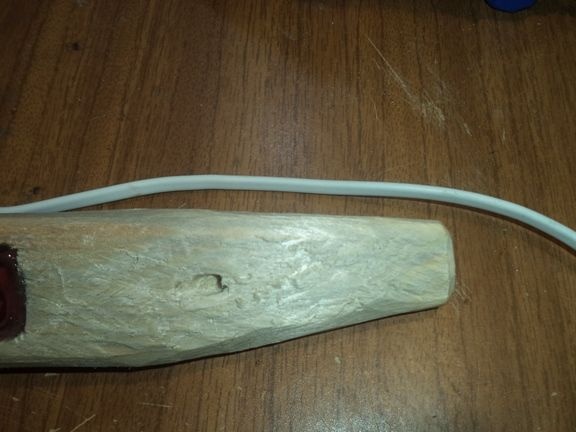
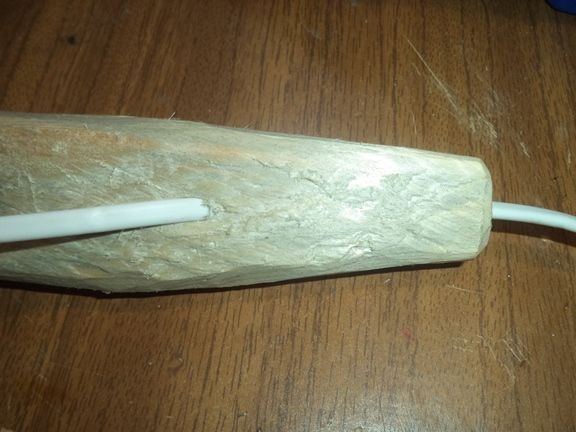
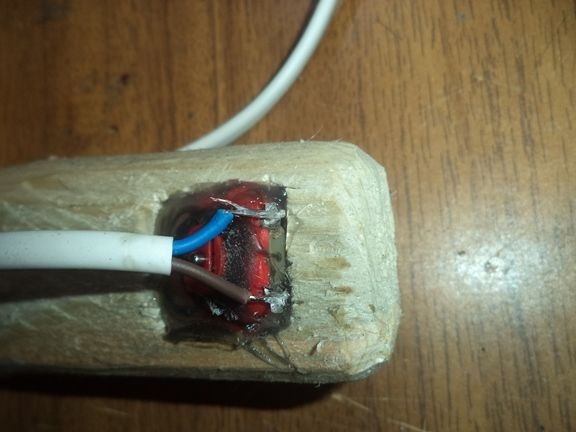
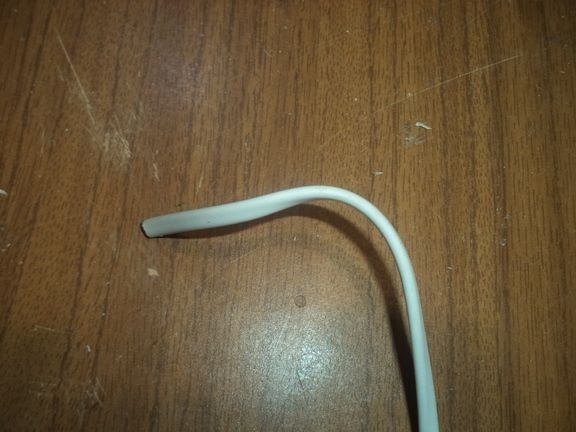
Next, using an electric drill, we drill a tunnel for the wire so that the power cord is hidden inside the wooden handle.
This is how it is seen, the wire does not interfere with this and it is tightly hidden inside the case.

Do not forget to fix the motor itself. To do this, take the glue gun and glue the motor tightly to the wooden handle.
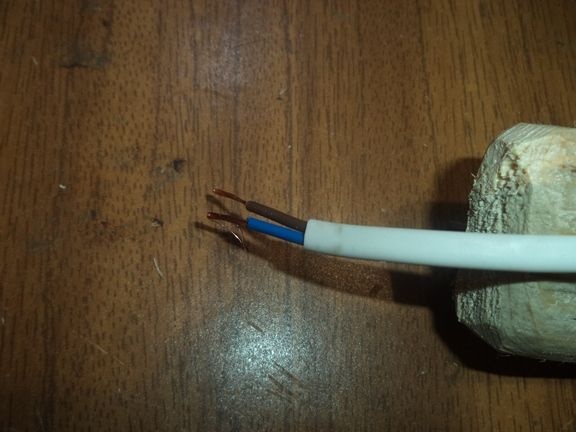
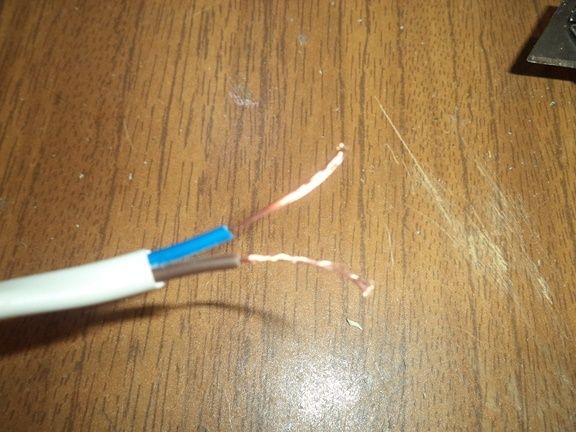
Pass the wire inside the handle body.
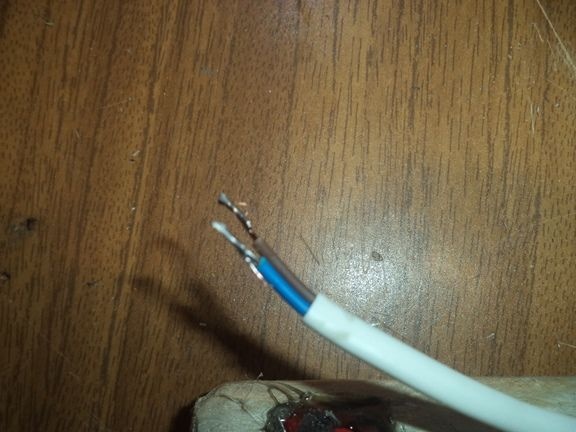
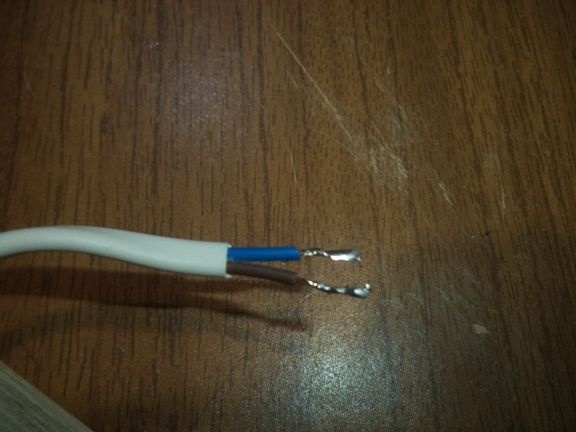
We clean this wire and use an electric soldering iron to solder it to the electric motor, observe the plus and minus, but this is already in your opinion.
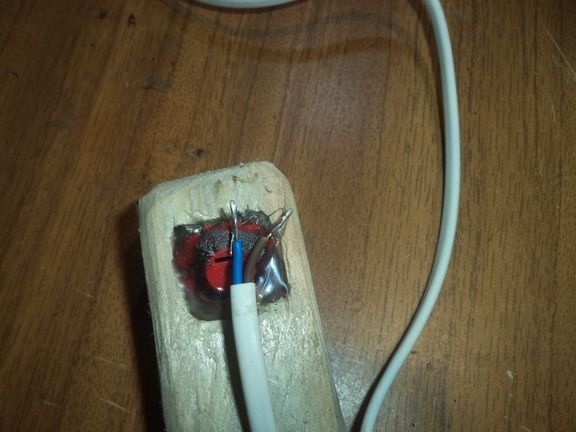
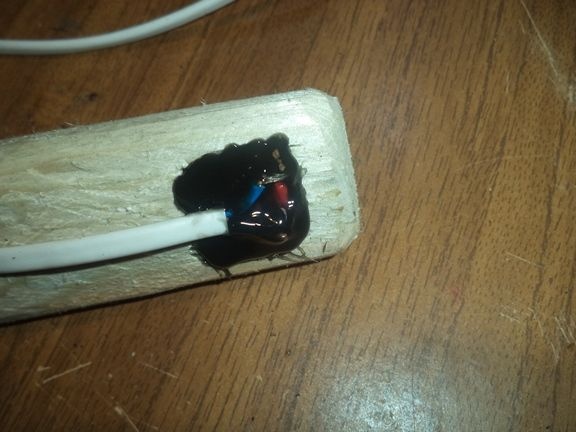
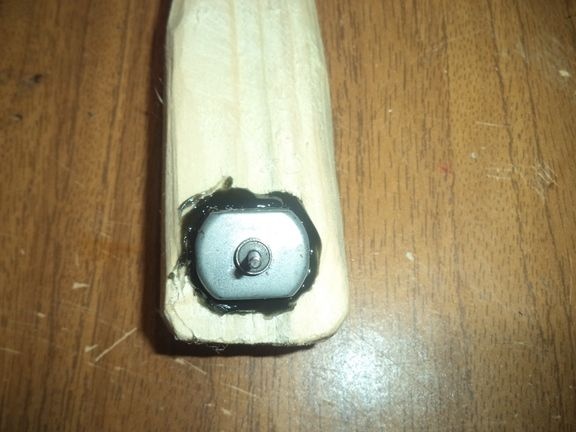
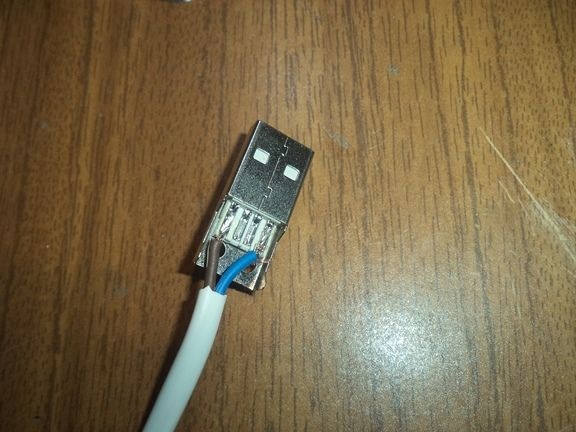
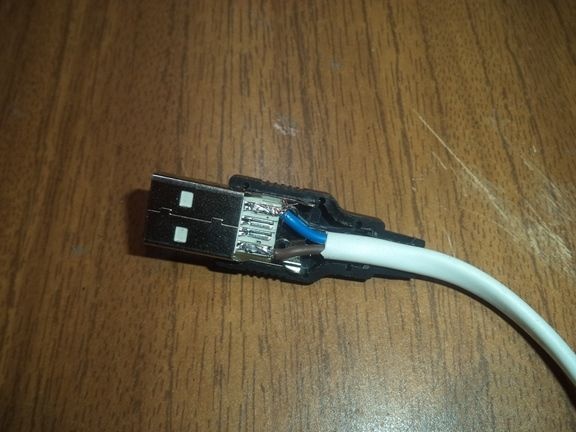
On the other end of the case, solder the usb connector to connect to the power.

We take a plastic cover from a plastic bottle from a drink, process it with an office knife for our needs, in order to close the motor side sealed with wires.
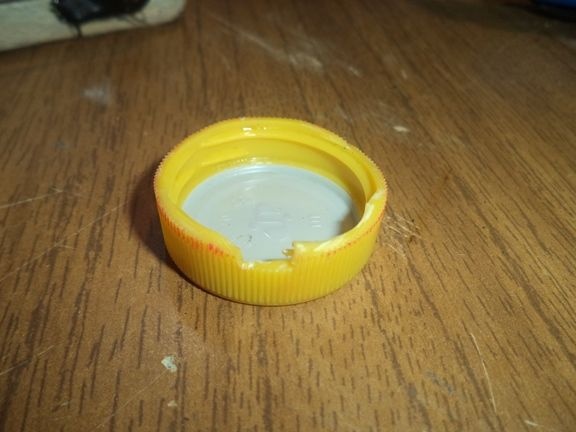
Using a glue gun, glue it on the sealed side of the motor.
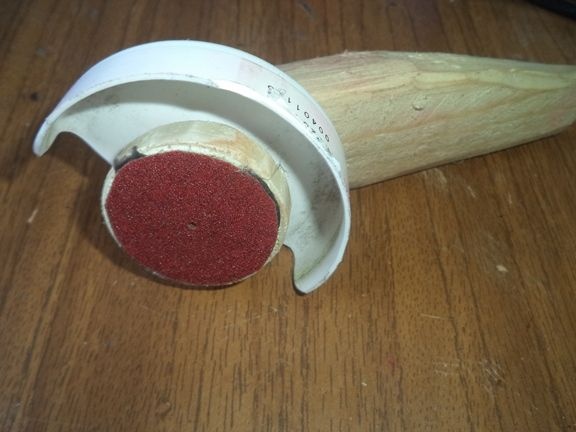
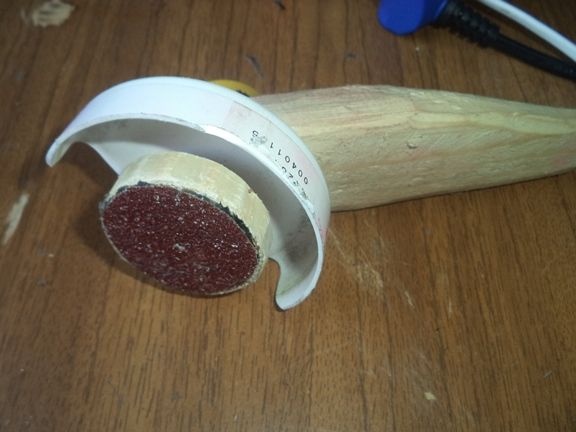
We insert our first manufactured nozzle and insert it into our mini saw.
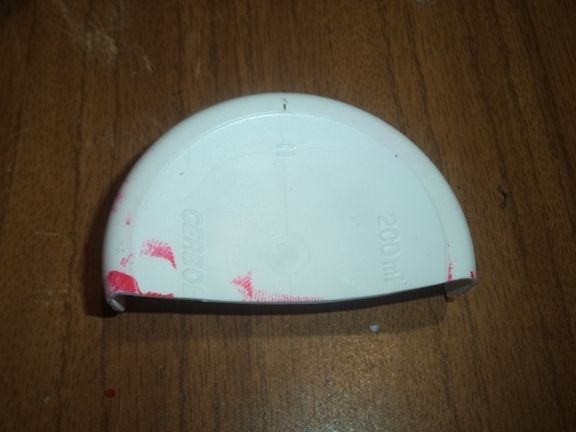
Now you should make protection against this circular saw, in case it does not accidentally fly out. To do this, again take a jar of vitamins or medicine.

We cut the bottom according to the marks marked with a marker and process it so that the rel fits on our mini device.
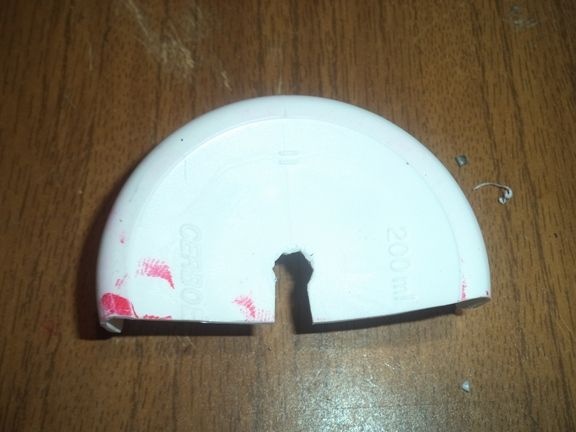
Using a glue gun, glue it on a mini saw and insert the nozzle.
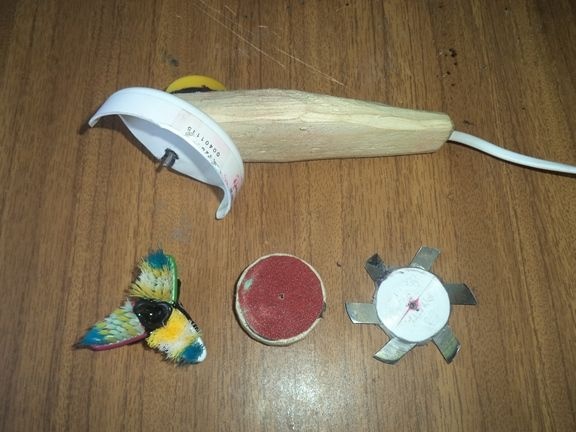
The first nozzle and the device itself are ready. Now we need to test them.
But in this way you can sharpen the saw on sandpaper.
Now we make the following nozzle for grinding and sharpening sharp objects.
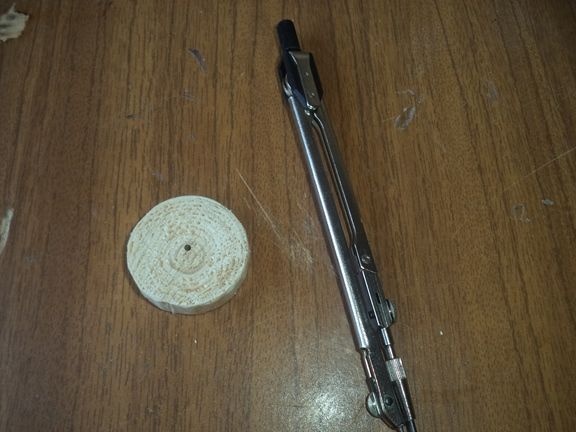
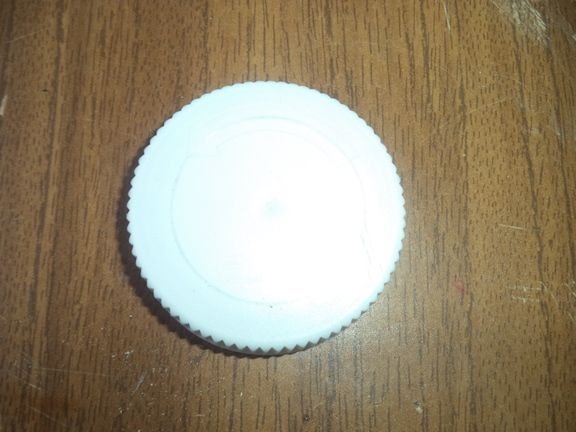
To do this, we need a round wooden part, which we will align and process.
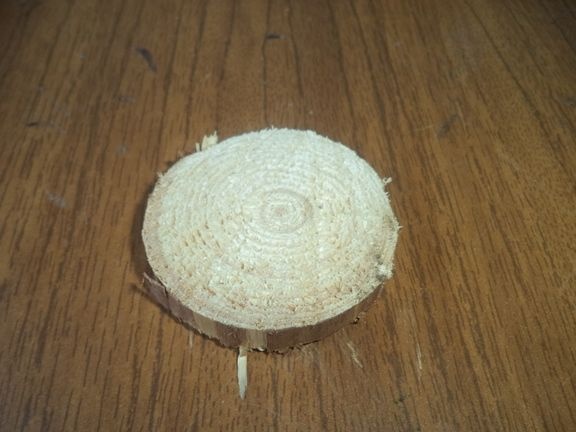
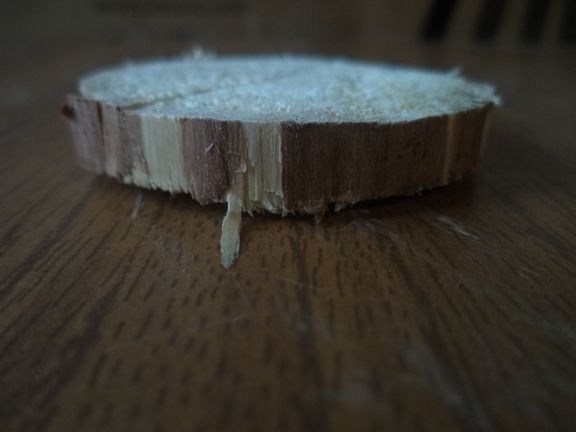
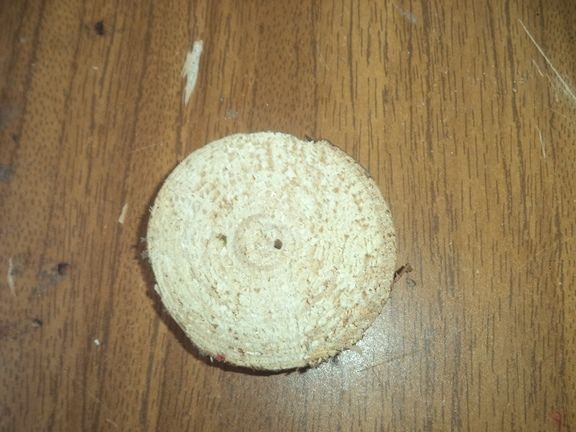
Again, precisely in the middle we drill a hole.
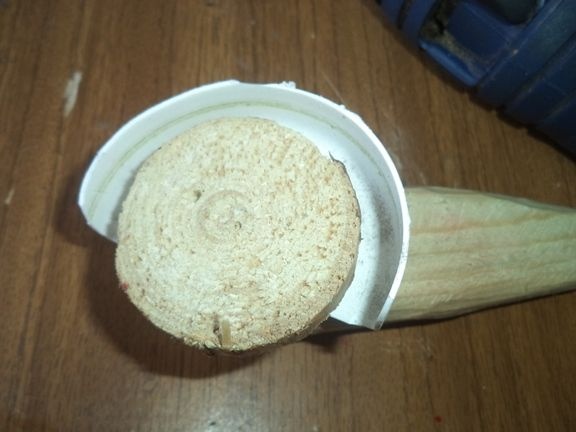

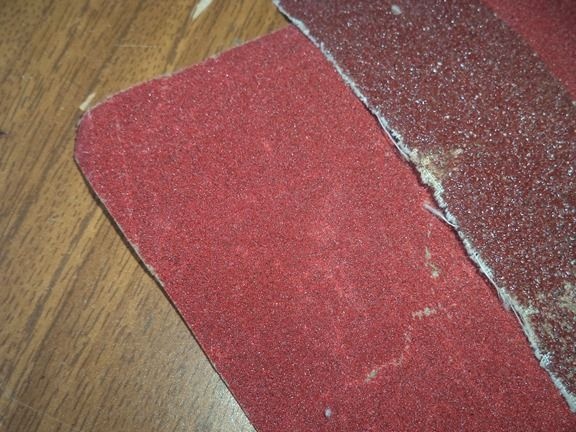
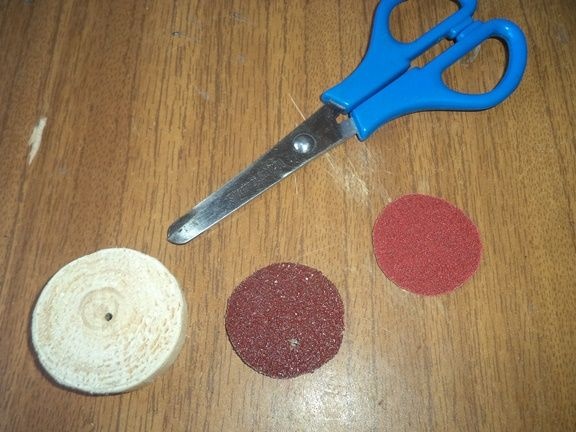
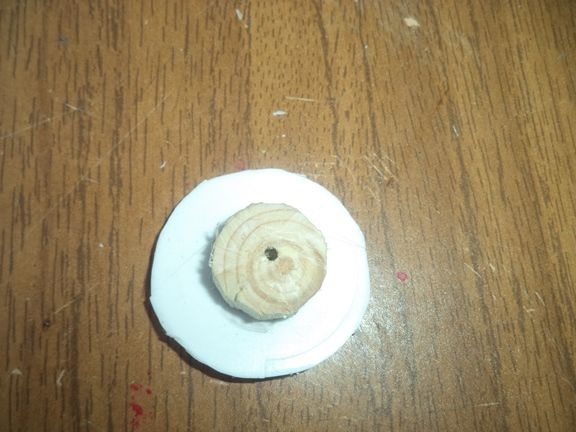
Using a compass, draw circles on sandpaper with diameters equal to the diameter of the wooden part itself.
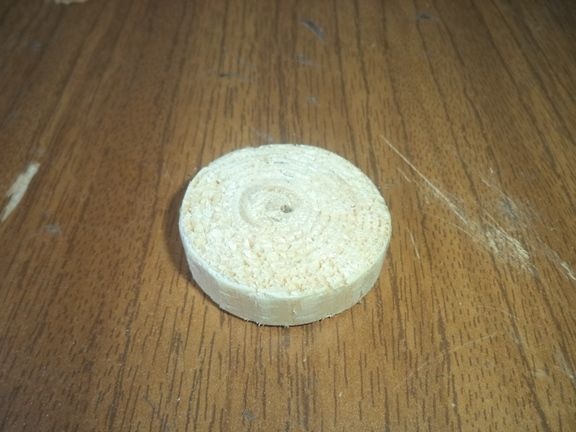
Then, with the help of scissors, we cut out the drawn two circles from sandpaper and glue them on a wooden circle with the help of a glue gun.

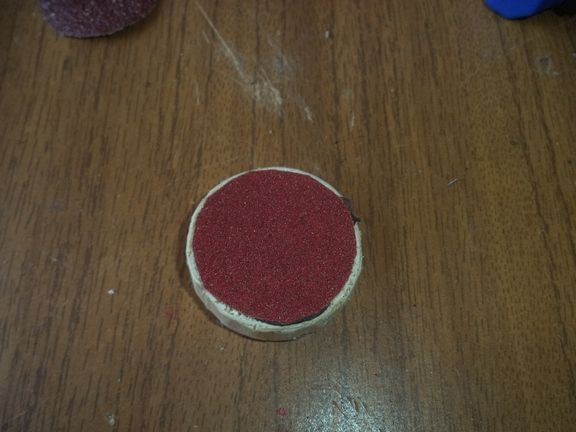

Testing our second nozzle for performance.
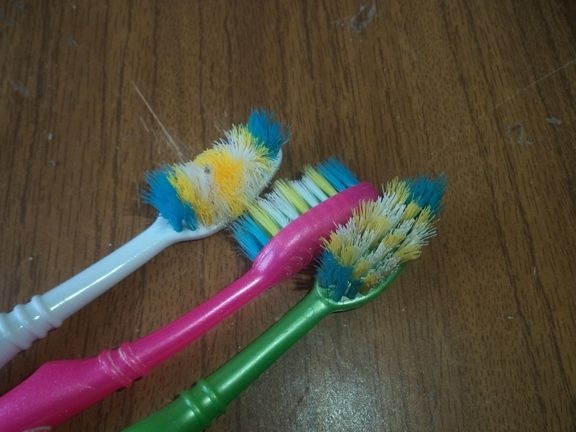
Now we make the third nozzle for cleaning the keyboard or any items from toothbrushes.
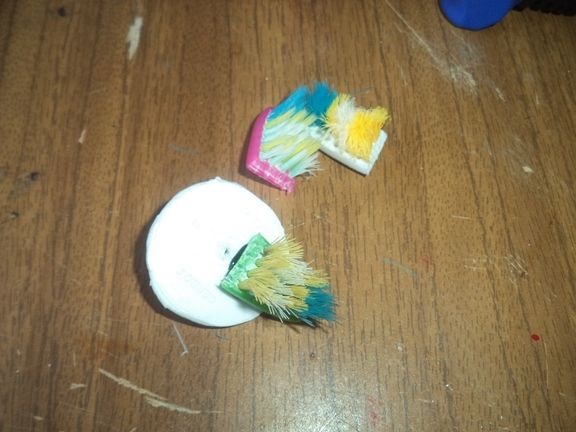
To do this, we make two circles of plastic again from a can and from wood. Then with the help of hot glue we glue them to each other.


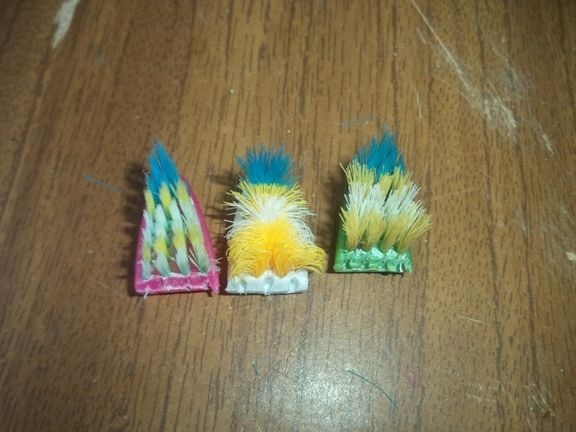
We take three unnecessary used toothbrushes and cut off the parts with bristles from them with the help of an office knife. Glue the cut three parts to the previously manufactured part.
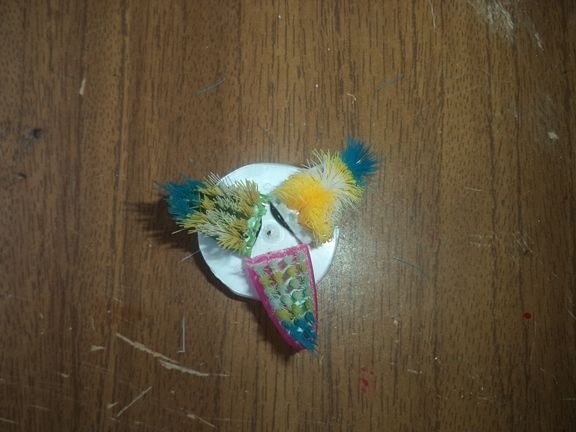
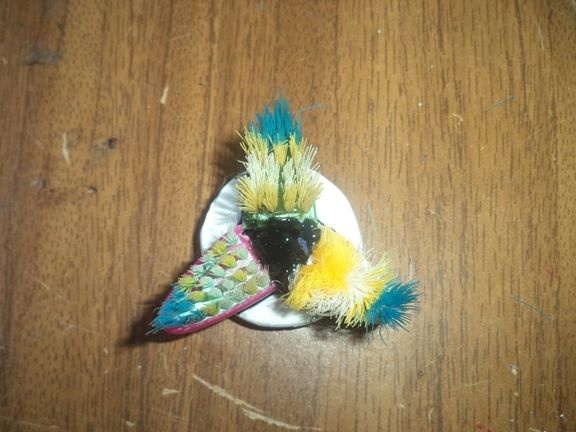
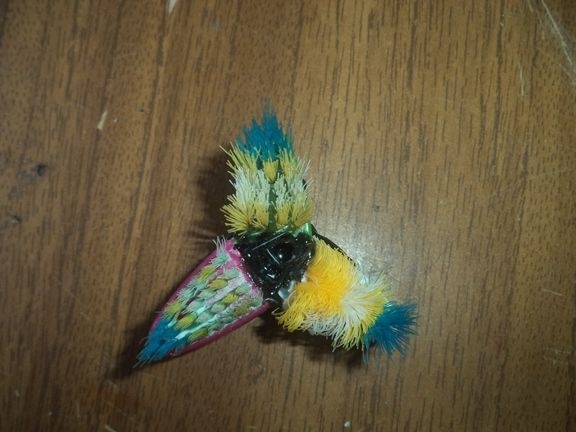
Again, precisely in the center, drill a hole with a nail and check for operability.
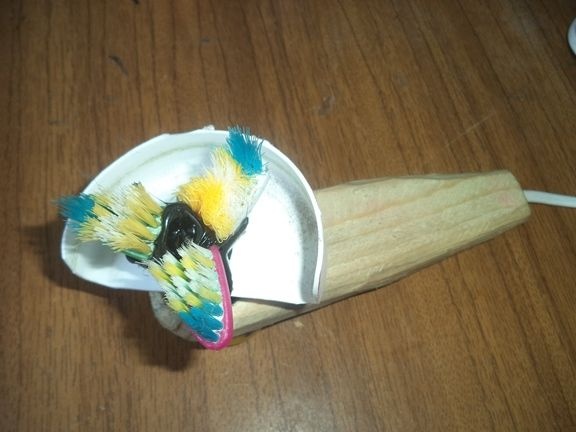
That's all, the mini saw itself is ready and all three nozzles are ready for it too. Now all of them can be used without difficulty. Of course, my motor is weak, because I took it from an old broken radio-controlled machine. The motor should be taken more powerfully and use a larger voltage, for example twelve volts. The nozzles themselves work well, perform their function perfectly, though the first nozzle, that is, the saw is inefficient to use, it is better to take a regular stationery knife instead. Well, the other two nozzles are very useful for work.