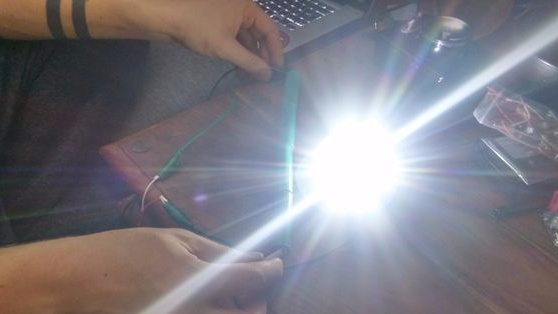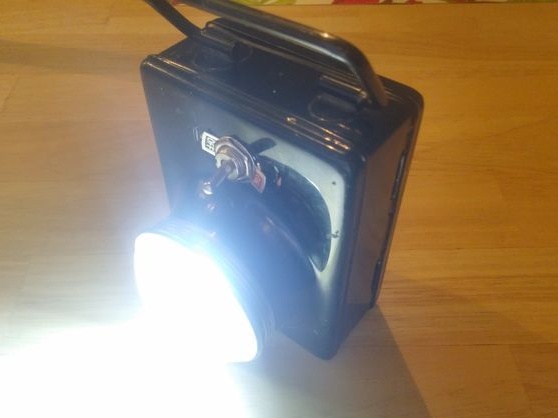
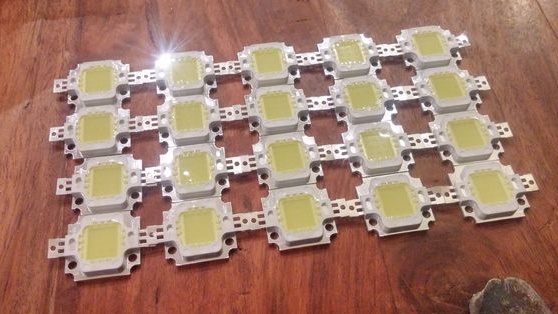
I have accumulated many different batteries from laptops and mobile phones, so I’m thinking of starting to make flashlights out of them for domestic purposes, since lanterns are needed out of town all the time. I found here on the Internet instructions for making a flashlight from 18650 batteries and a 10W LED. Who cares, recently bought this LED in the market, it cost me 20 UAH (Ukraine). Of course, if ordered from China, it will cost much cheaper.
Materials and tools for homemade:
- 10W LED;
- LED driver;
- a radiator with a cooler;
- three batteries 18650;
- switch;
- wires;
- hot glue;
- a drill with a drill and two small screws (so that you can screw the LED);
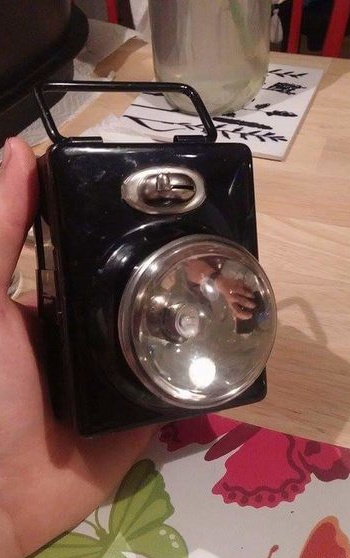
- an old flashlight.
The manufacturing process of LED lights:
Step one. LED installation
The author attaches the LED to the radiator using hot glue. He has a radiator with a cooler, so the diode does not have time to heat up so much as to melt the hot glue. But this is not a very reliable design, because with too long work and poor cooling, the glue can still melt.
To prevent this, together with the glue, it is recommended to attach the LED with two screws / screws to the radiator.
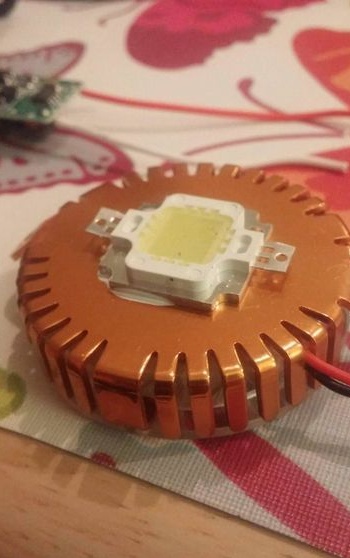
As for thermal conductivity, in general, I have repeatedly noticed by other authors that they fasten LEDs with hot glue. Probably, its thermal conductivity is enough to remove heat in such home-made products. Although it is not very professional.
Step Two Solder the wires and install the LED in place
We need to install the LED so that it goes into the reflector of the flashlight with its entire area, as a result, it will shine as bright as possible. To achieve this, you need to bore a hole in the old flashlight reflector. As a result, it should turn out to be square, since our LED is square.
Well, then the author mounts the radiator along with the LED to the flashlight body. Thanks to the glass and the reflector, the light will be well focused, and the lamp will shine far away. Even better if there is a lens instead of glass.
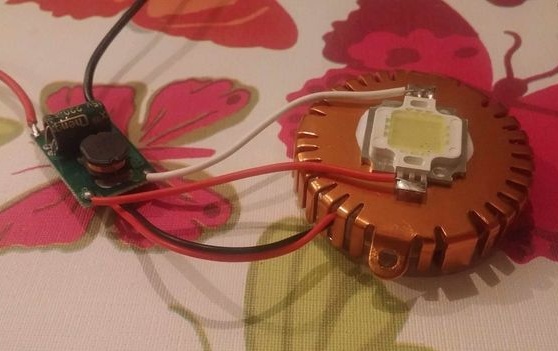
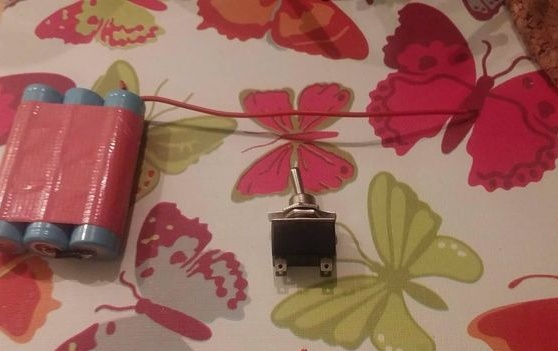
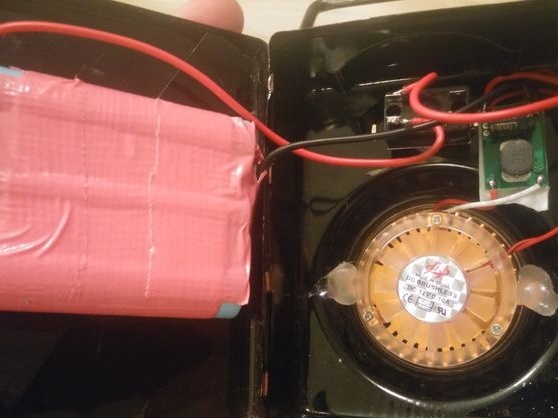
Now it only remains to connect the wires according to the scheme. The circuit provides a driver that controls the power of the LED so that it does not burn out. An LED is connected to the driver output, and the driver itself must be connected to the gap with the switch. In addition to everything else, there is a cooler in the circuit, it must be connected to the driver input, that is, it will turn on when the power to the driver is turned on.
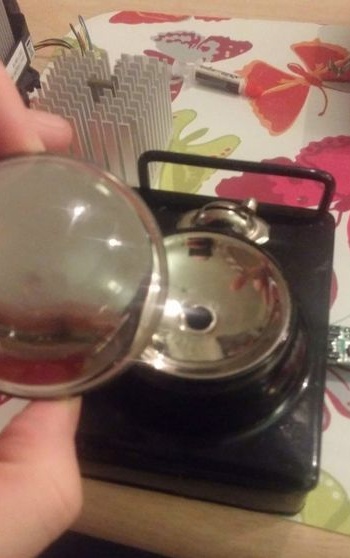
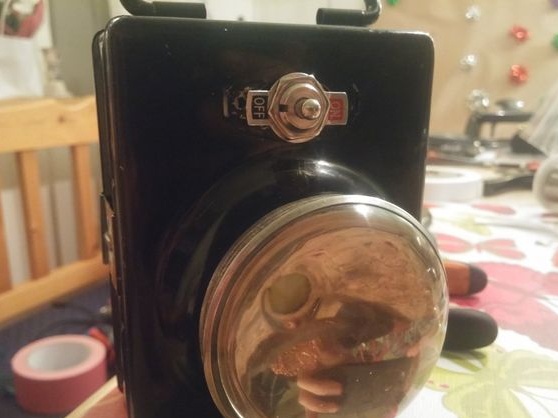
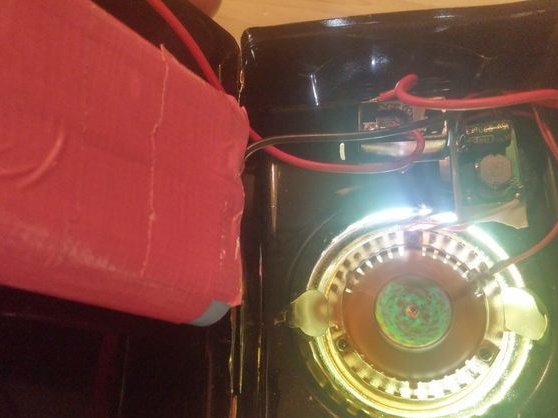
The author’s LED has a 3X3 circuit, that is, if you look closely at the crystal, then there will be only 9 points. If this is a crystal like mine, then it should work from a 9-12V power supply.
Three 3.7 V batteries each are used as a power source, that is, when connected in series, 11.1 V is output, which is enough for the LED to work.
Step Three Putting it all together and testing
That's all, the circuit is assembled, it remains only to collect the lantern in a pile. Well, this process depends on the specific design of the lamp.
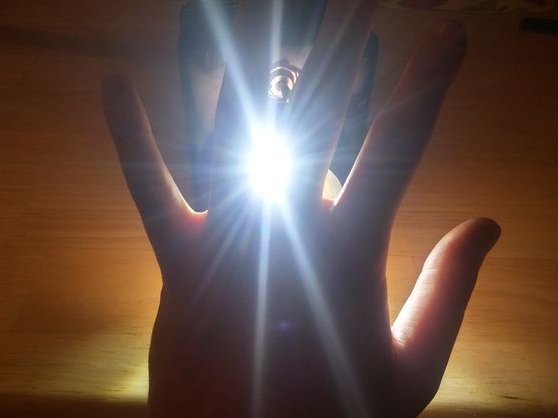
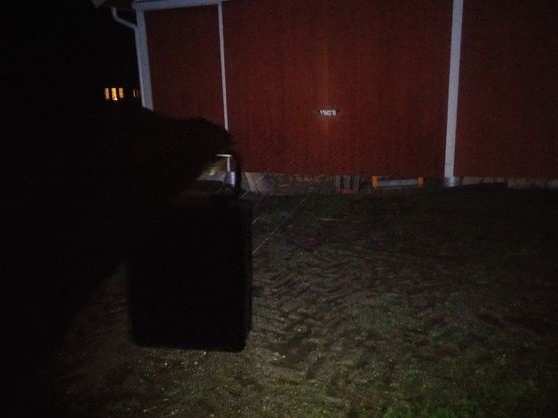
By charging the batteries, the flashlight can be checked. Judging by the photo, the searchlight turned out what you need
I also have a similar flashlight (also on an incandescent lamp), batteries, LED ... only I did not buy a driver. So there will be time, I will collect myself such a lantern.
