In this manual, I will introduce you to the process of making a good knife for wood processing. The knife is made of quality steel and goes through the hardening process. The steel used by the author is 1095. Everything is done with a minimum set of tools, you will need at least a hacksaw for metal, a vice, a saw for wood, files and other tools that are available to almost everyone.
Materials and tools for homemade:
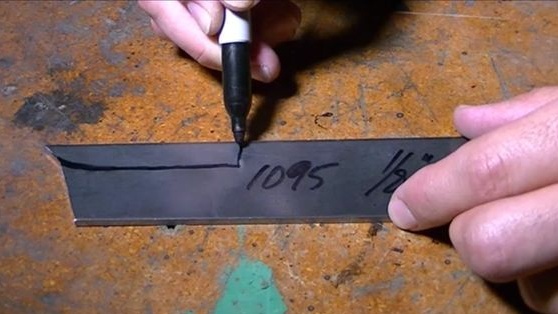
- preparation for the length of manufacture of the knife (the author used steel 1095);
- brass rod for the manufacture of handle pins;
- wood for the handle;
- a hacksaw for metal;
- marker;
- vise;
- files and sandpaper of different grain sizes;
- drill according to the diameter of the pins;
- a burner or other heat source for hardening, as well as vegetable oil;
- pliers, hammers, epoxy and more.
The process of making a knife:
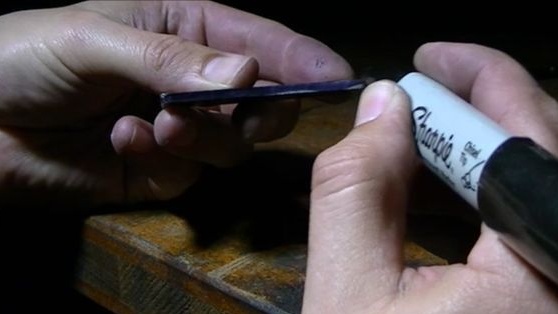
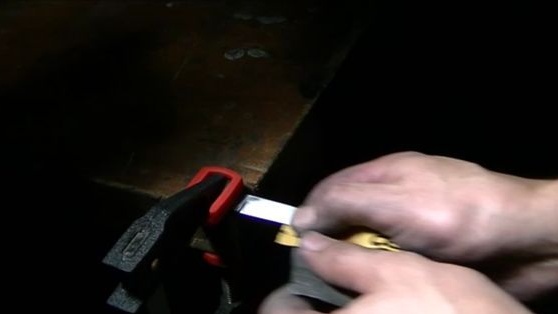
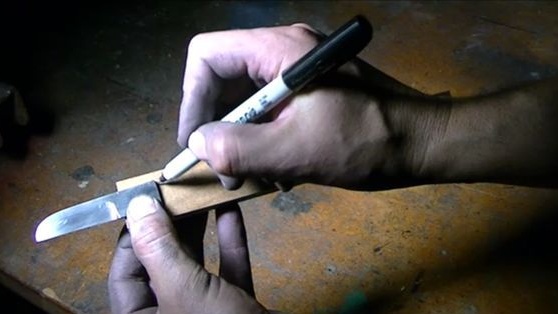
Step one. Transfer and cut out the template.
For this homemade product, a small piece of steel is used, since we do not need a long blade. Next, we arm ourselves with a felt-tip pen and draw a template for our future knife. The author does it by eye. But if you need to make such knives in large quantities, it is better to draw and cut a template from cardboard once.
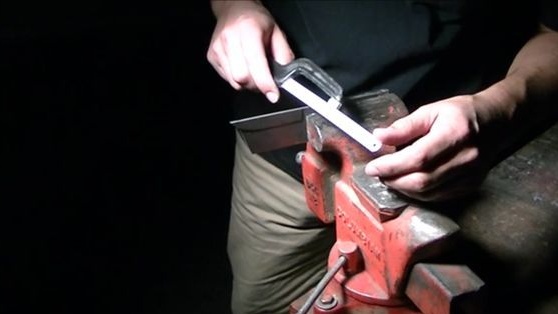
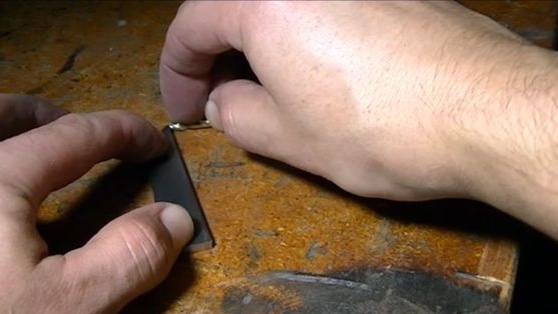
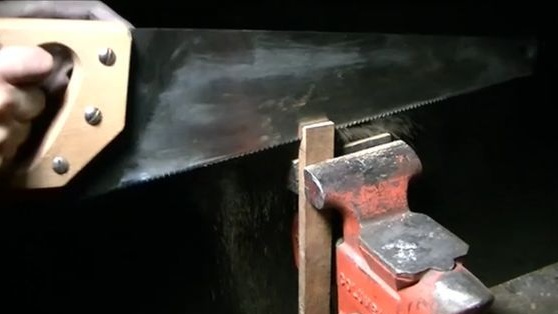
Well, then we clamp the workpiece into a vice and slowly cut it with a hacksaw for metal. If you have a grinder, then some work can be done using it.
If you can’t exactly repeat the contour, don’t worry, the excess can always be cut or grinded.
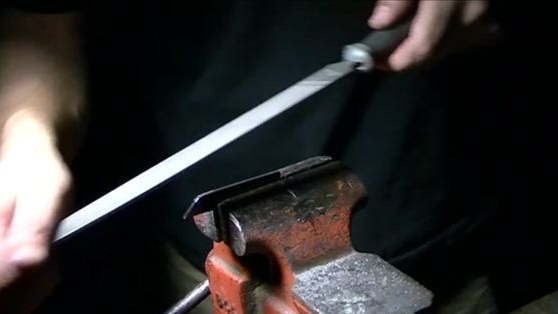
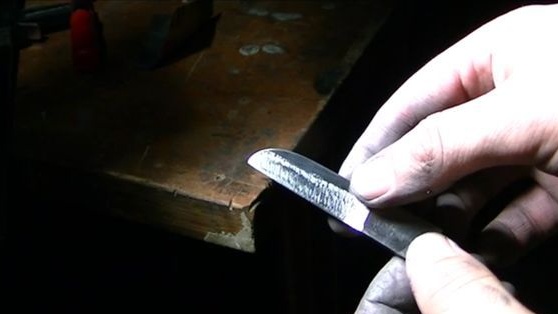
Step Two We work with a file
After cutting the workpiece, we take a file and grind off everything that is left after working with a hacksaw.
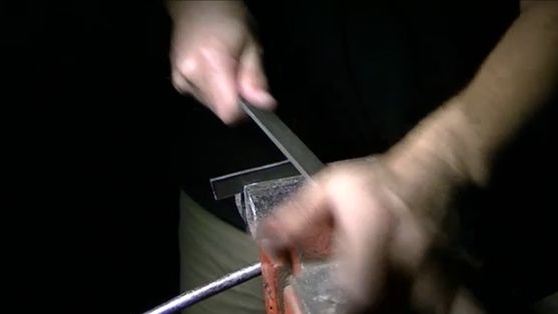
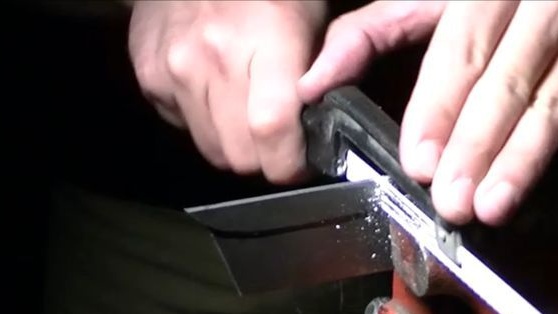
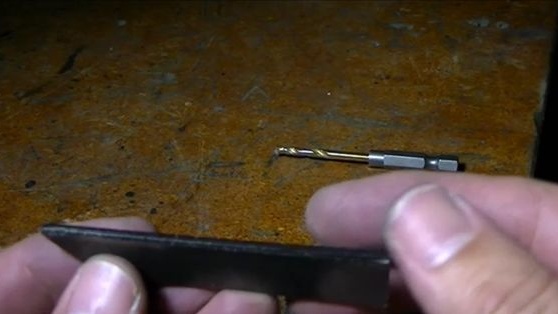
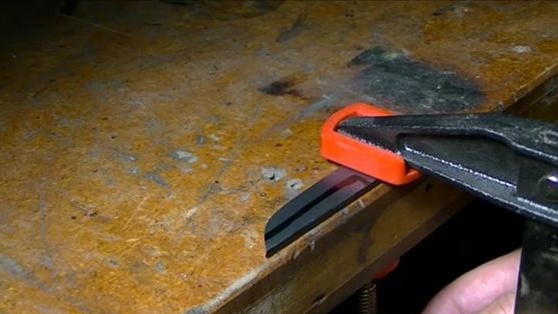
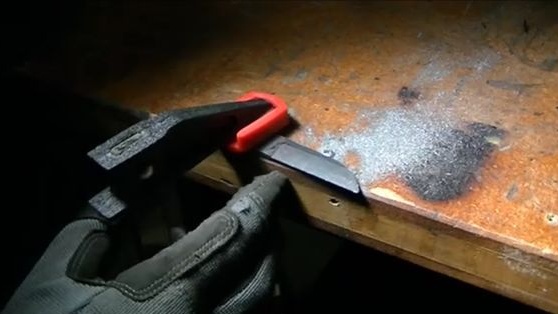
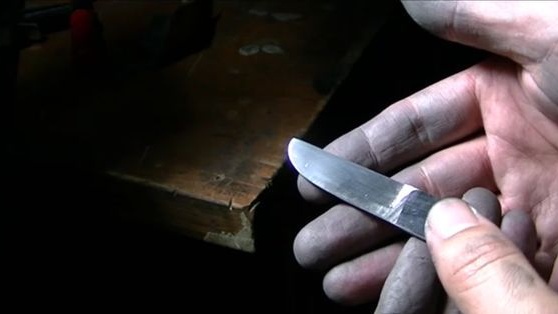
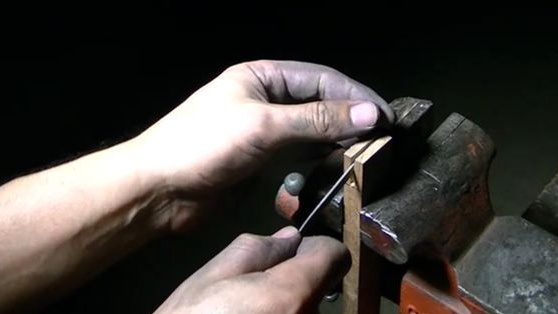
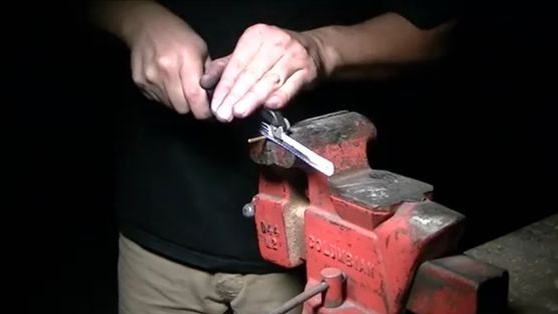
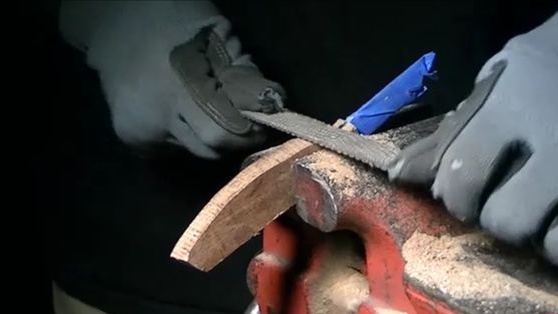
Step Three We mark and form the bevels
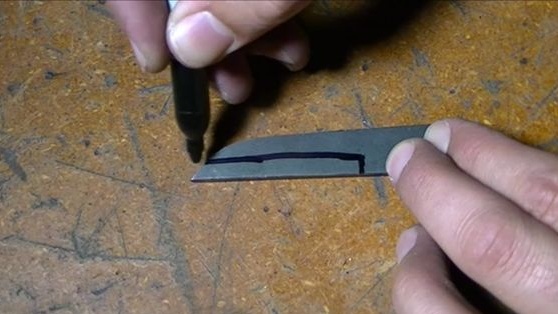
Bevels will play a key role when using a knife. To make them manually symmetrical, you must first make markings on the workpiece. Here you need a drill of the same thickness as the workpiece, as well as a felt-tip pen. We put the workpiece on a flat surface and then draw a line with a drill, dividing the thickness of the blade in half.Then this line will serve as a guideline for evenly grinding bevels.
You will also need a felt-tip pen, with the help of it draw on the blade the area to which the bevel will extend. The thicker the steel, the further the bevel will go.
After we have marked everything, you can arm yourself with a file and form a bevel. There is no need to rush here, the bevels must be symmetrical. First we grind one side, then the other, and then finally align them with each other.
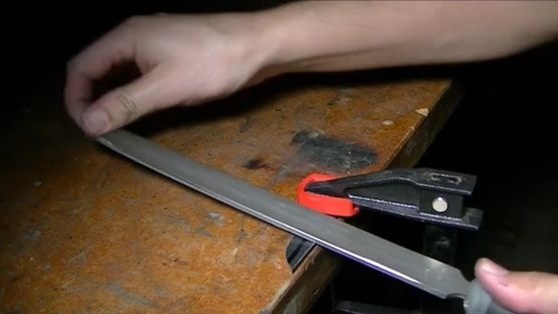
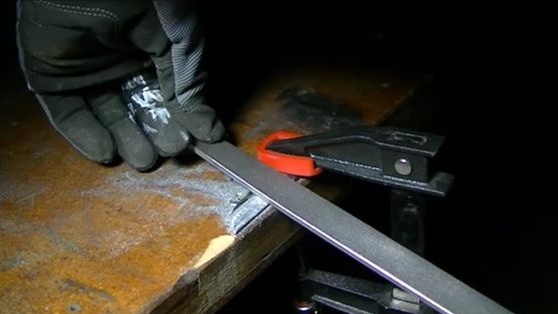
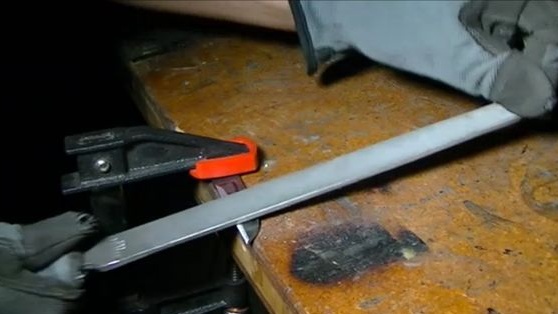
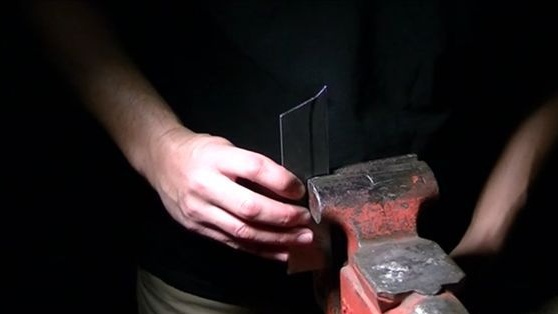
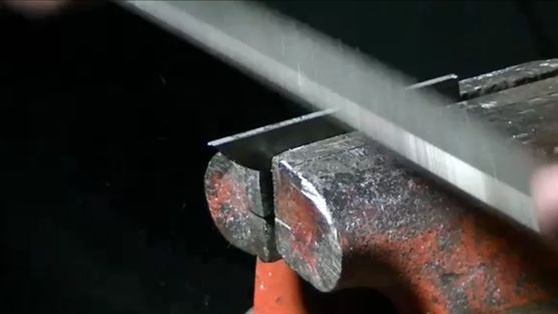
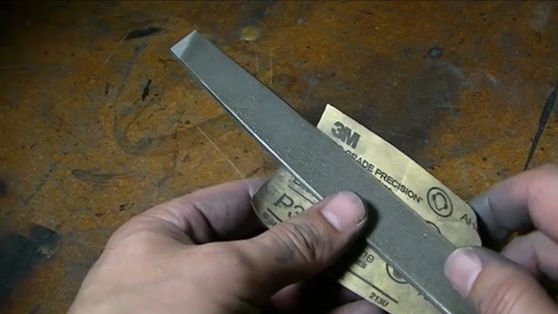
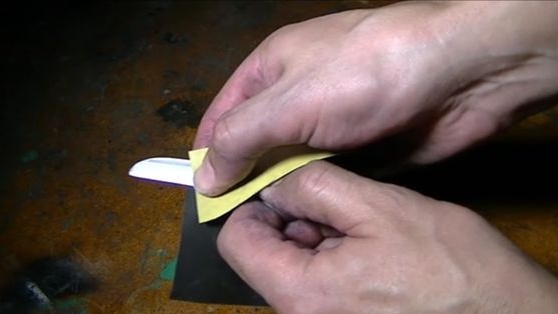
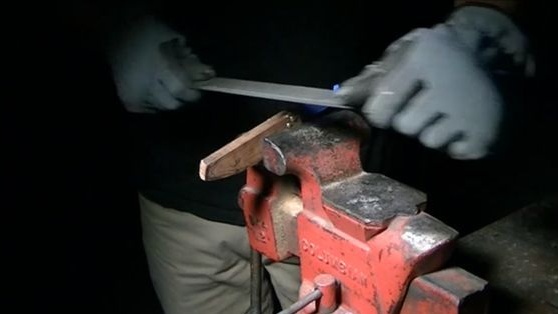
Step Four Grind the workpiece
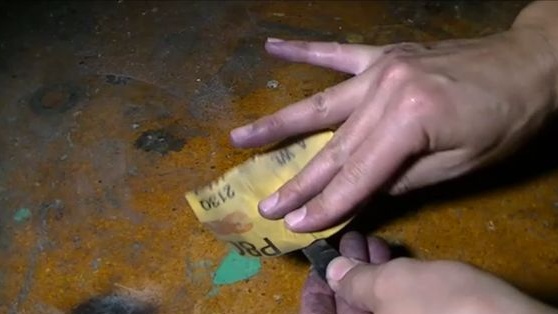
After the file on the metal there will be many deep scratches, now they need to be removed. For these purposes, the author resorts to using 320 grit sandpaper. She needs to grind the knife until deep scratches leave it. Further, to remove the scratches that remained after the coarse sandpaper, the author uses a finer sandpaper with a grain size of 600.
Just tear off a piece of paper so that it can be wrapped around the blade and grind.
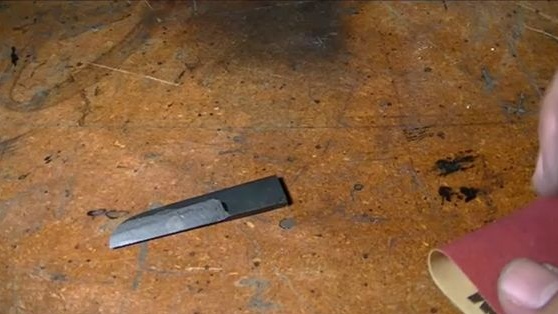

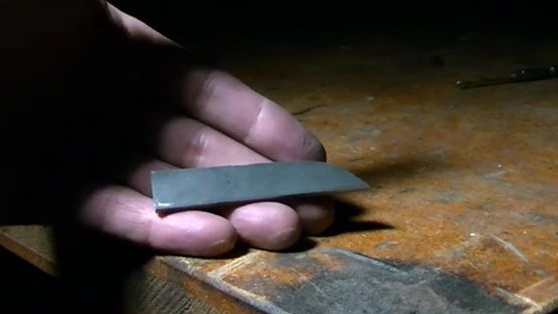
In the photo you can see how the blade was before grinding and what steel it was after. Of course, manually this is not done so quickly and easily, but it is possible. With a belt sander, everything is done much faster.
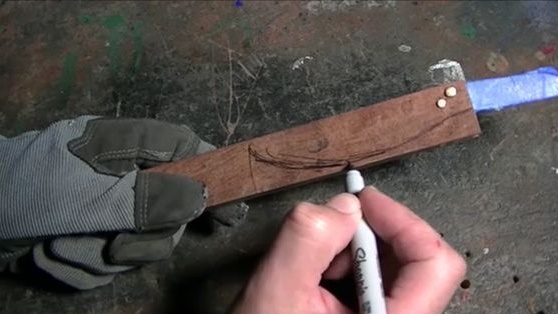
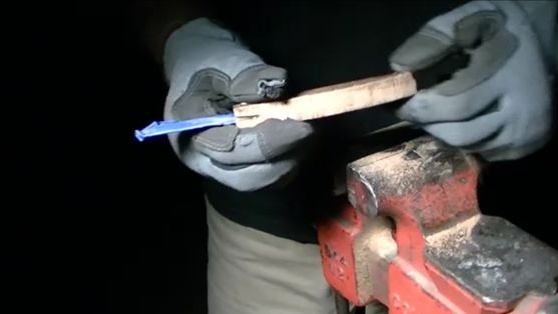
Step Five We turn to the manufacture of pens
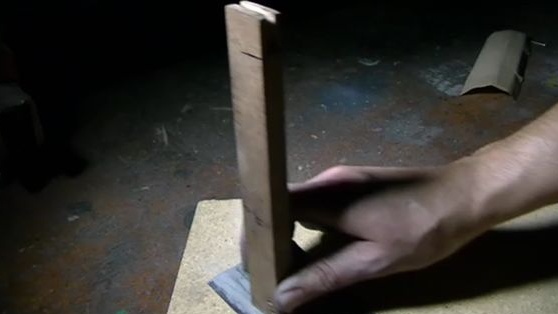
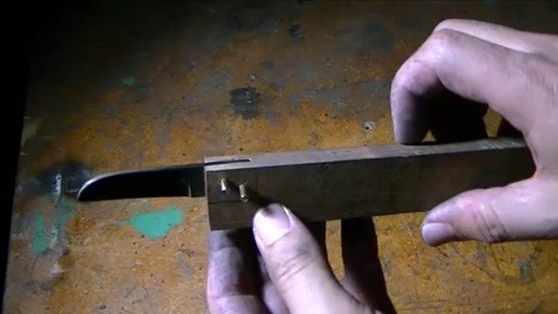
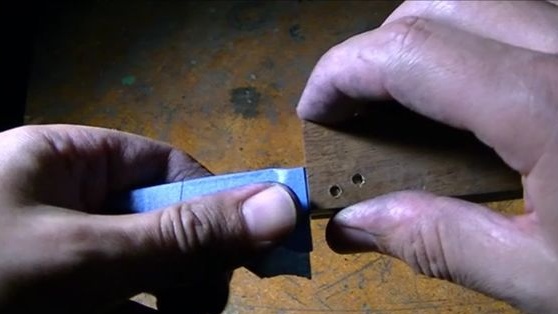
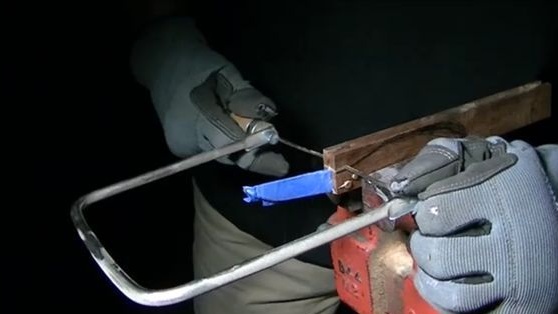
To make a pen, you need a suitable piece of wood. First, attach the workpiece to the wood, having decided on the depth of fastening of the blade, well, then draw a line so that it is clear where to make the groove. The length of the blade that goes into the handle should be such that two pins can be inserted into it without problems (the deeper, the more reliable).
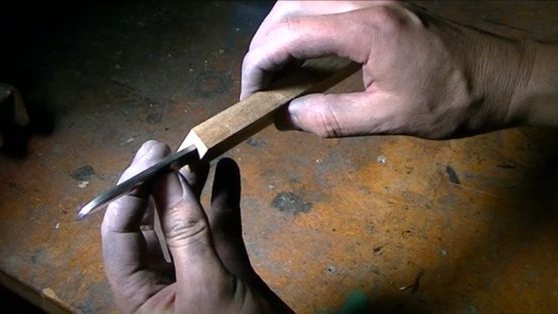

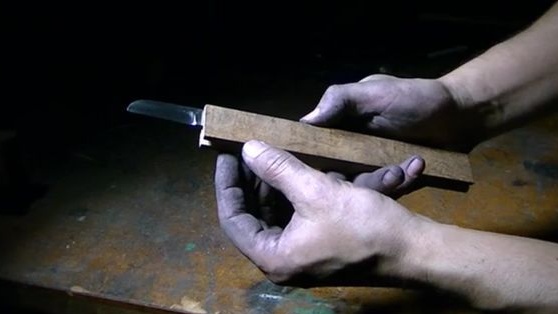
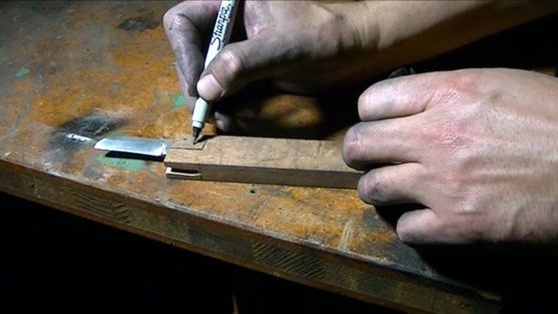
Next, you need a saw on a tree, clamp the workpiece in a vise and cut a slot into which the blade will be inserted. If the gap is narrow, it can be expanded using flat files. Ideally, the blade should sit tight, it should not hang out.
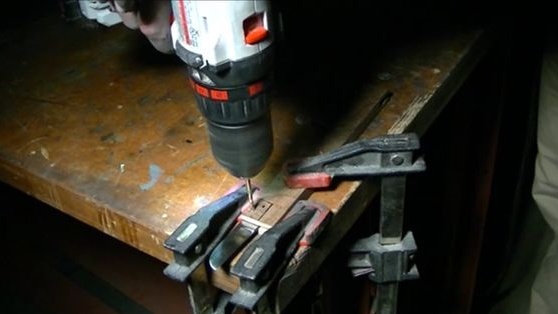
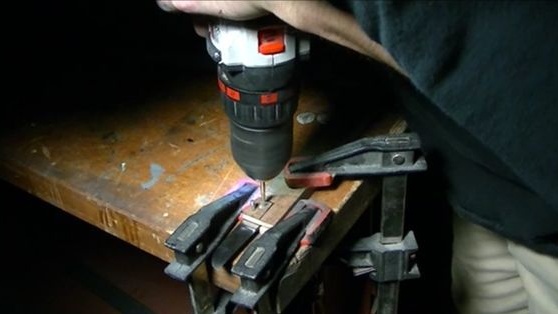
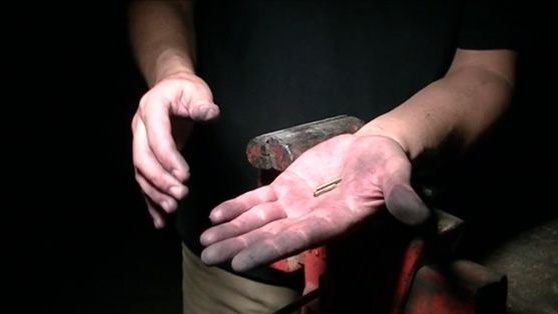
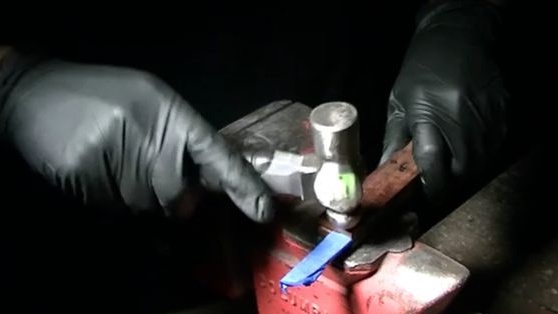
At the same stage, the author cuts off the pins of the required length and drills holes in the handle for them. After drilling the first hole, immediately insert a pin into it, and then drill another so that they do not move.
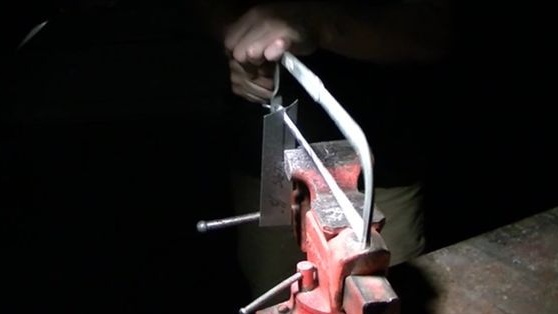
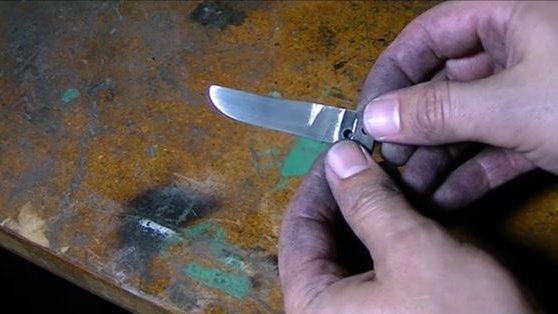
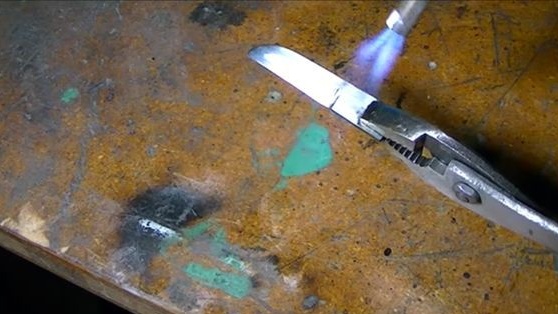
Step Six Steel hardening
To harden the blade, you will need to heat it to a temperature at which steel will no longer be attracted to the magnet. For such purposes, you will need a good bonfire, stove or propane burner. If the choice fell on a fire or coals, you can inflate them to the desired temperature with a household hair dryer and a pipe from a vacuum cleaner.

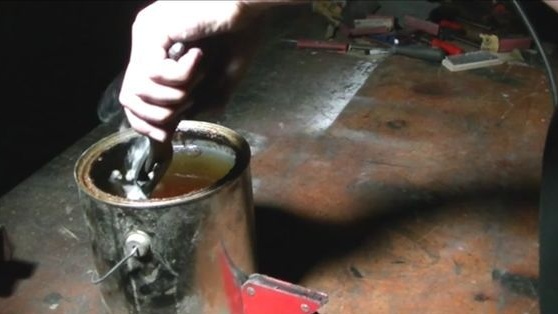
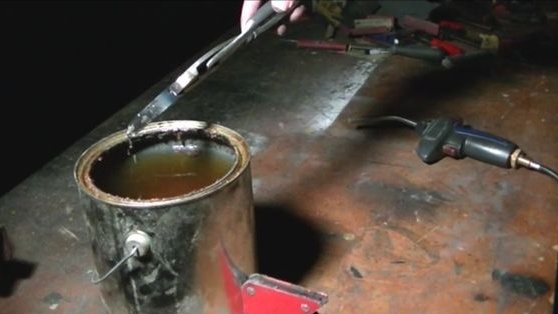
As soon as the steel is evenly heated to the desired temperature, we throw it in vegetable oil, the author chose peanut. This will produce a lot of smoke and spray, so be careful.
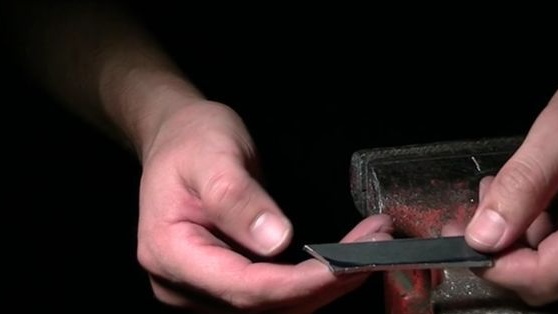
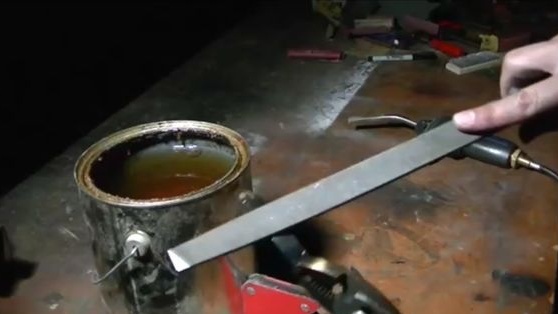
Seventh step. We clean the blade from soot
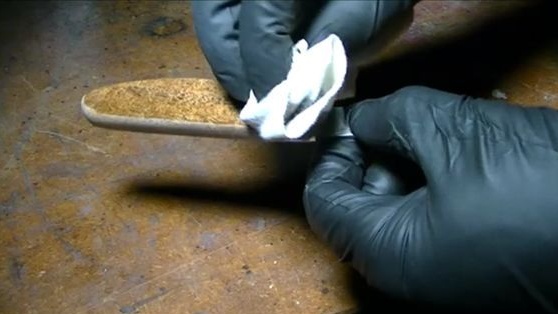
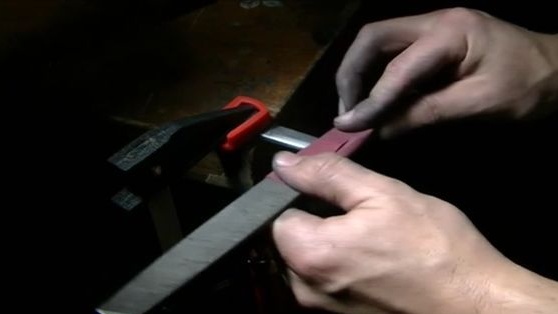
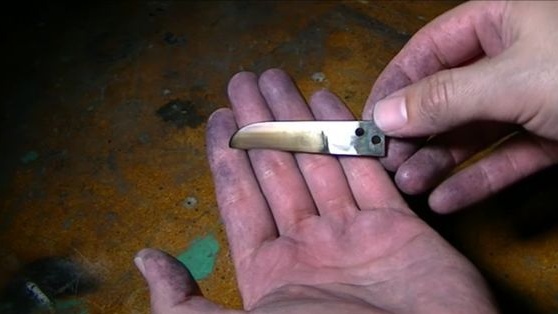
After hardening, the steel is subject to tempering, and the preparation must be prepared for this stage. We arm ourselves with 600 grit sandpaper and if there is a WD-40. We clean the workpiece from carbon deposits that formed after quenching. After that we proceed to the vacation.
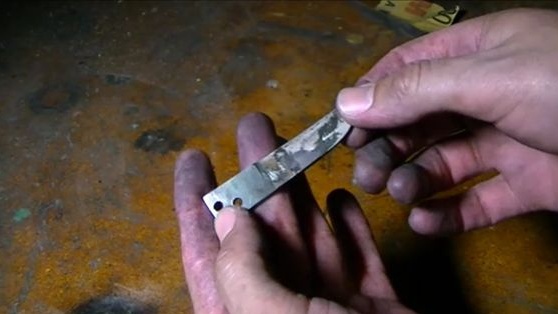
Step Eight. Metal tempering
After hardening, the steel will be too brittle to work with a knife. To make the knife durable, place it in the oven, heated to a temperature of 200-210 degrees Celsius. The metal should be hot for an hour, and then it should cool with the oven.
The author did not use the oven, he simply gently heated the steel with a propane burner until it became bronze in color, and then let it cool gradually.
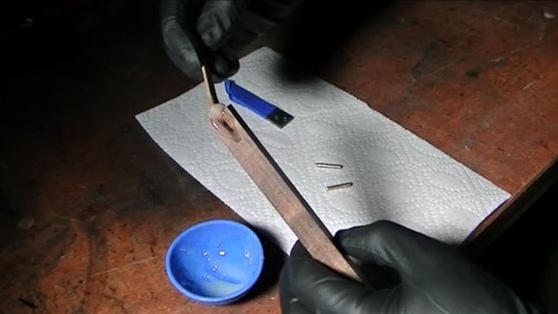
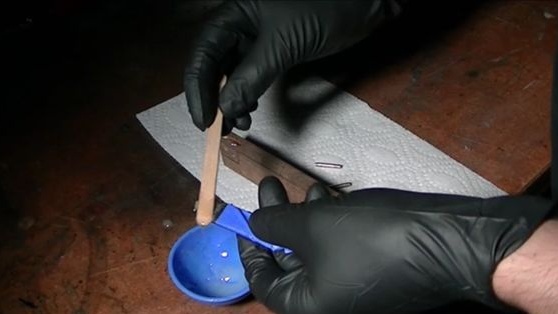
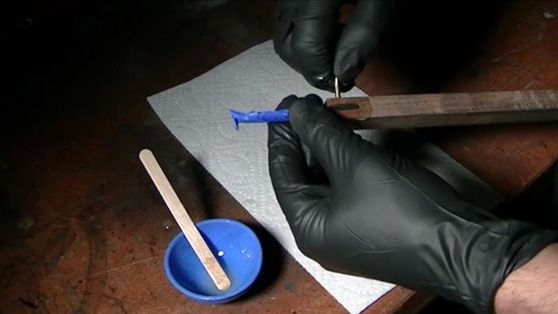
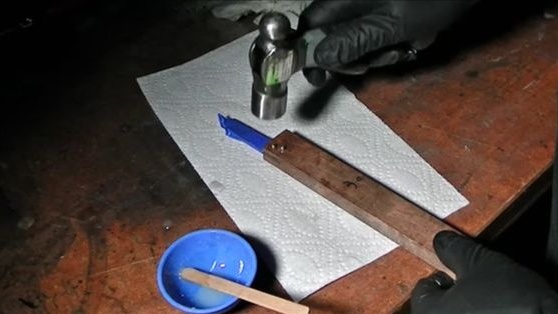
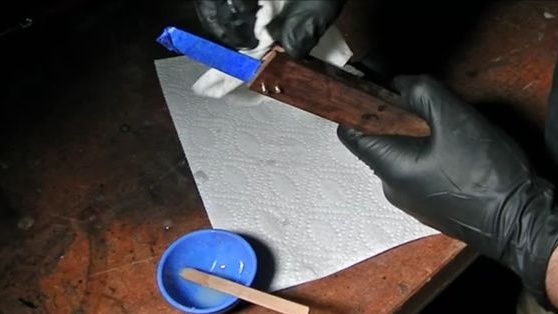
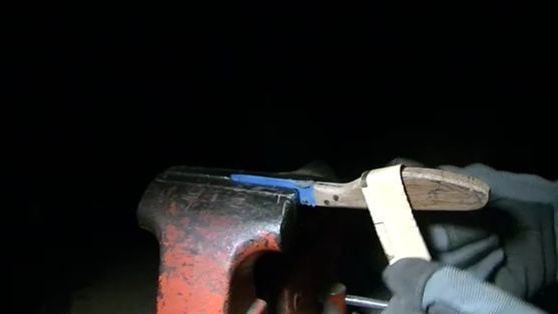
Step Nine. Install and finish the handle
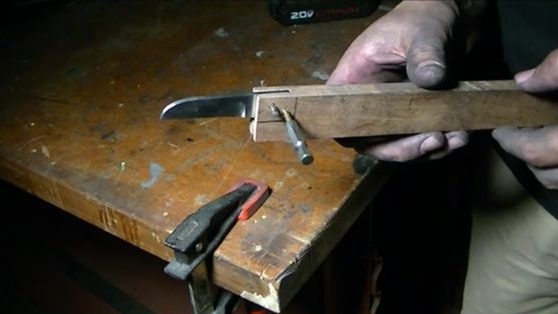
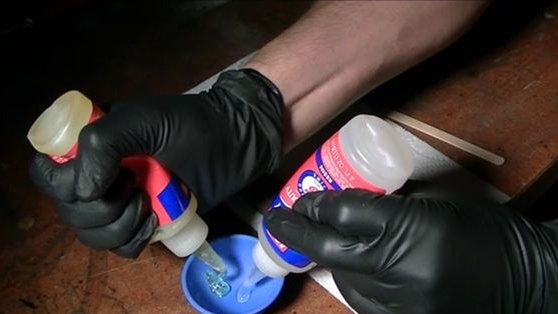
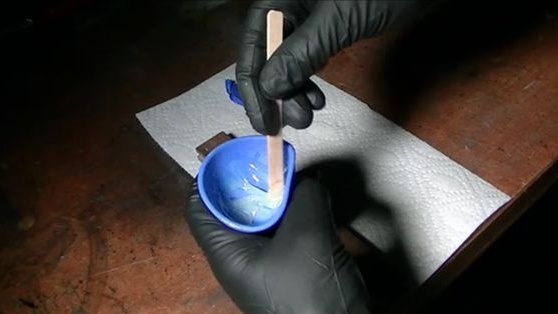
Having cleaned the workpiece once again with sandpaper 600, we lubricate the groove with epoxy and install our blade in it. Previously, in the handle and blade, it was necessary to make holes for the pins. Next, take a hammer and slowly hammer two pins into the handle. Holding the handle in a vise or clamps, let the glue dry.
Next, take a felt-tip pen or pencil and draw a profile of the future pen.We cut it with a hacksaw if necessary, it works with files, an emery cloth, we form a profile. At the end, the handle should be brought to a perfectly smooth state.

Final stage
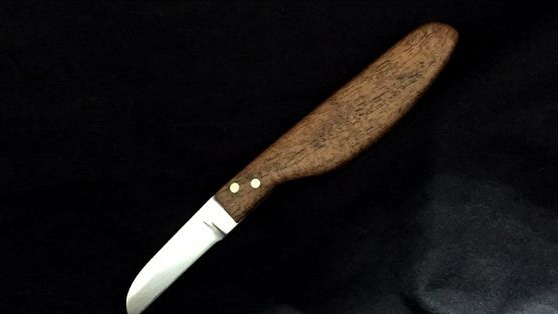
In conclusion, the author sharpens the blade to the state of the blade. Here you may need either a small sandpaper, which can be fixed on a wooden bar, or a water stone.
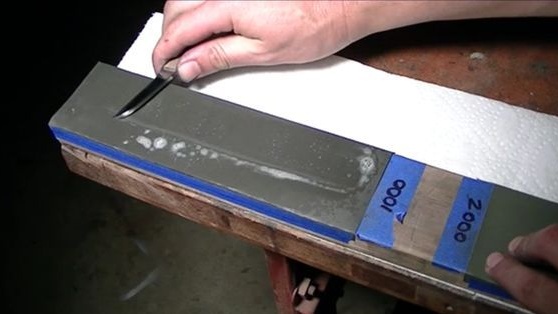
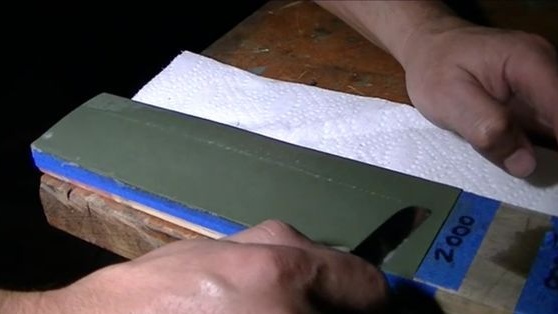
After sharpening it will remain to soak the handle with oil for protection and the knife is ready!