Good day colleagues, friends and sympathizers for us!
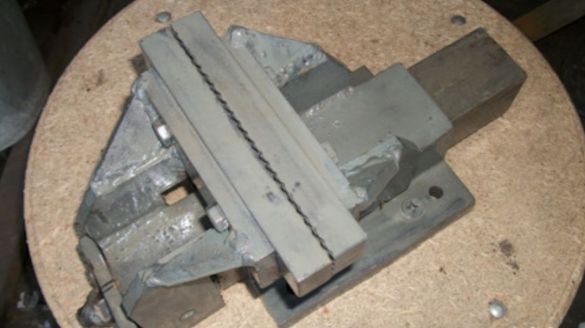
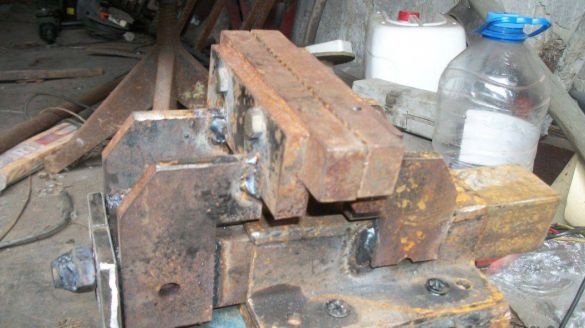
I found two yews, I decided to lay out my own, assembled entirely from Recyclable and slightly differing constructively.
If on your, factory-made, cast-iron yew lip broke off (which happens very often). It will be even easier for you. You can take sponges and a screw with a nut from them. If there is no such wealth, then you have to make a sortie to the scrap metal collection point.
In stores, this tool is widely represented, but its quality is poor and does not match the price tag.
For manufacturing you will need;
1) Corner with shelves 50mm.
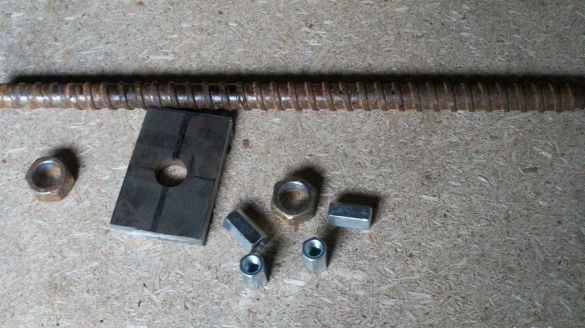
2) Stud with nut. I managed to find formwork with a diameter of 16 mm, it can also be used from plumbing valves with a passage diameter of 100 mm, tensioning heads of conveyors, locksmith stools and more. But the nut and the stud must be alike!
3) A little sheet metal, with a thickness of 8 mm.
4) Sponges. You can make them yourself (but I was lucky, I found it in scrap metal).
5) Hardware (bolts M10 - 4pcs, nuts M10 - 4pcs, washers with an inner diameter of 10mm - 4pcs, screws M8 (fastening door awnings Lada, Muscovites, Volga) - 8 pcs., Bolt M12 universal joint GAZ-53, nuts M16 - 2pcs, nuts connecting M8 - 4pcs.
Essential tool;
1) MMA (RDS) welding machine.
2) Electrodes.
3) angle grinder.
4) A couple of detachable and one cleanup circles.
5) Drill.
6) Drills with diameters of 6.5, 8, 10 and 16 mm (if your hairpin is of a different diameter, take this drill under your hairpin).
7) M8 taps.
8) Clamps.
9) Measuring tool (in my case, tape measure, vernier caliper, plumbing square).
10) Keyless pliers.
ASSEMBLY
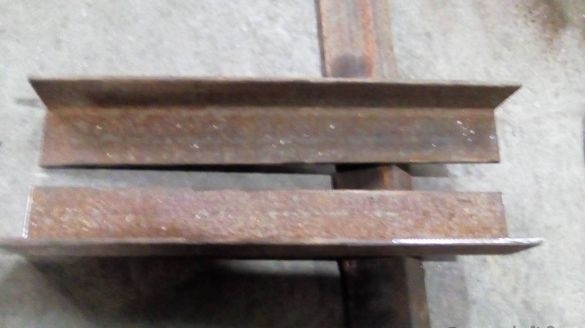
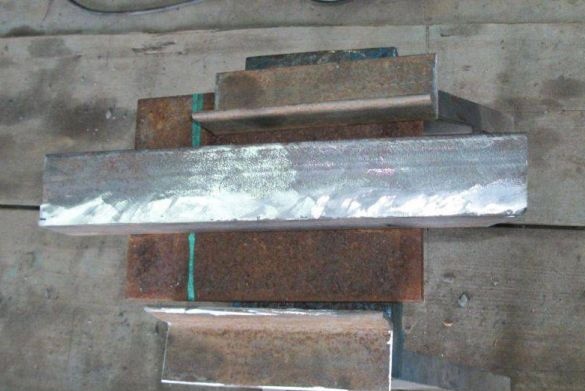
I cut two identical pieces 300 and 200 mm long from the corner
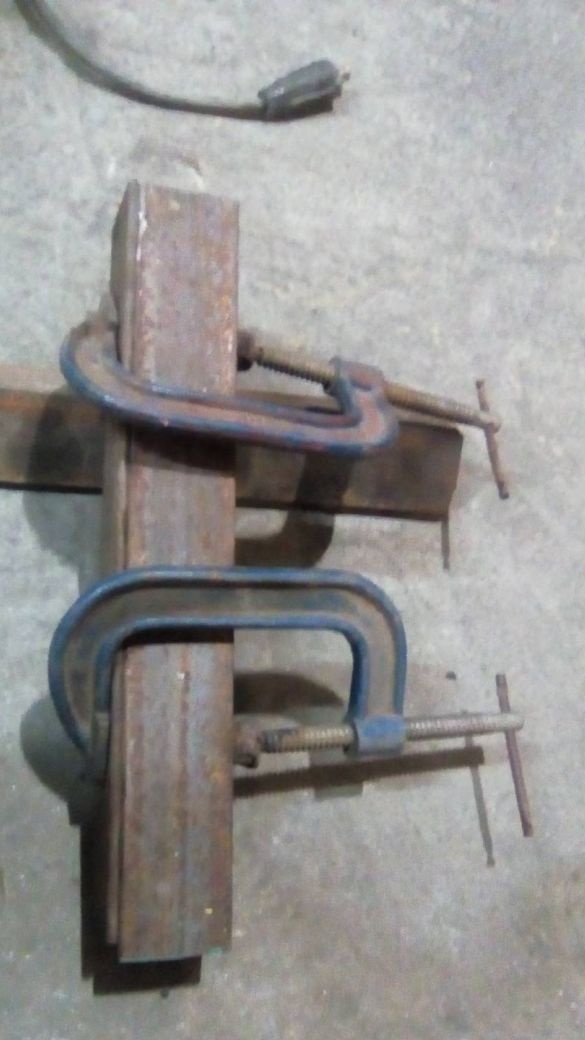
Long folded into a square, pulled together with clamps
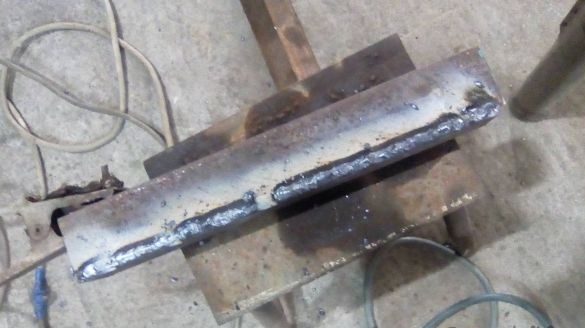
and cooked
Cleaned the seams
On the one hand, with the help of his compatriot Filipp Bedrosovich he removed the excess. This will be the base of the moving part.
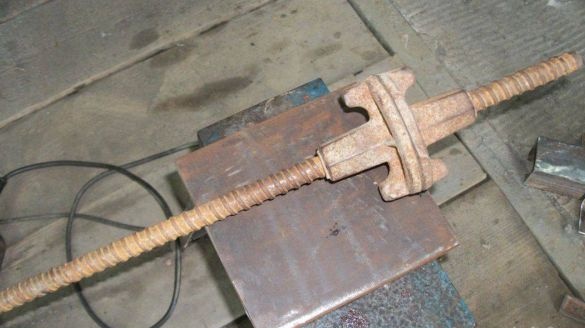
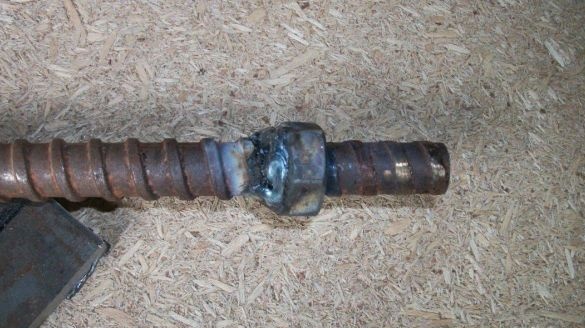
This is what the formwork stud looks like.
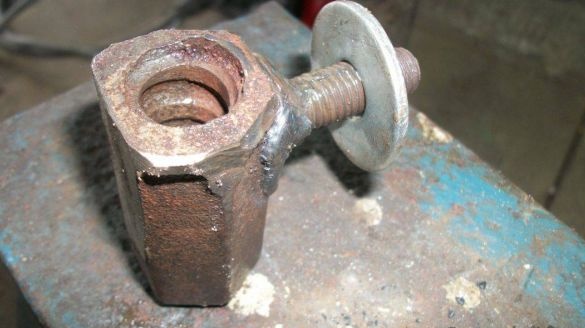
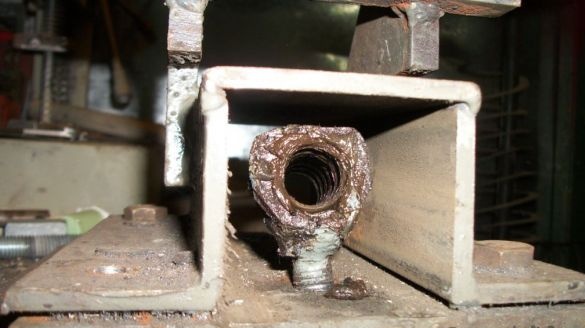
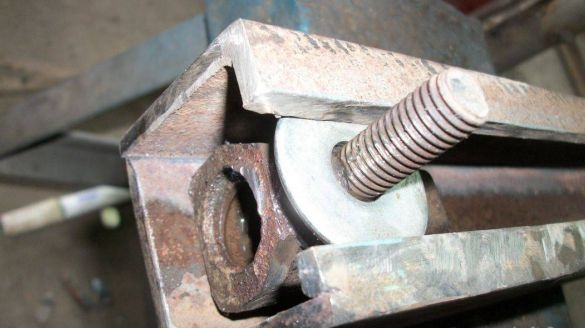
The angle grinder processed its nut, and welded the universal joint bolt (it will serve as an emphasis). This design of fastening the power nut ensures ease of assembly of the product and the uniformity of the applied force during operation.Alignment of the nut with the screw in the vertical and horizontal planes is observed, even if it was mistaken during drilling. What is difficult to achieve when welding the nut to the base.
The nut should move freely inside the welded square, but the play should not exceed 1 mm vertically, I chose the gap with the washer.
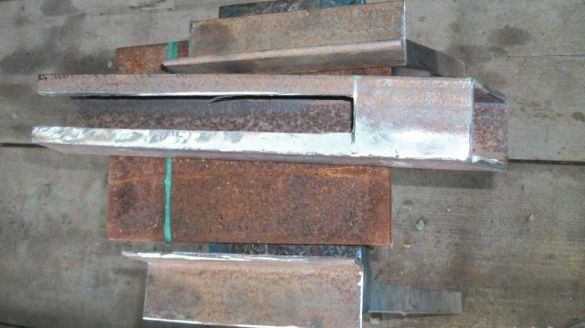
We begin to manufacture the non-moving part of the yew.
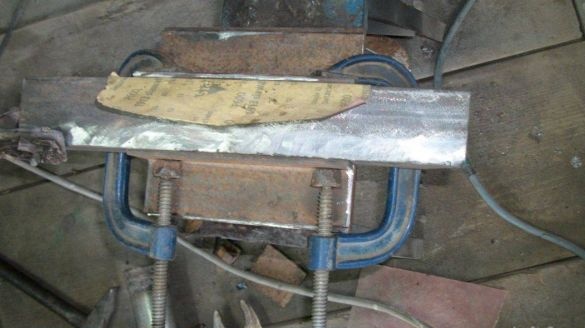
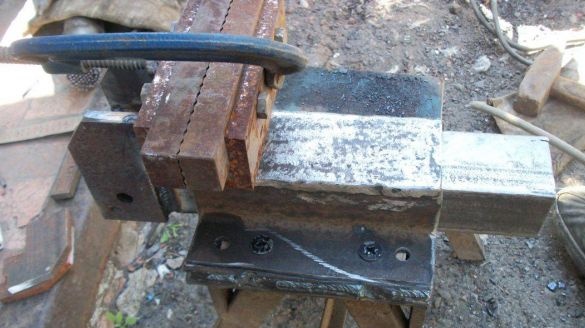
The square was wrapped with sandpaper (to ensure a clearance), with the help of clamps, fastened to it meek corners (200mm),
put a six-millimeter plate on top and welded the fixed part.
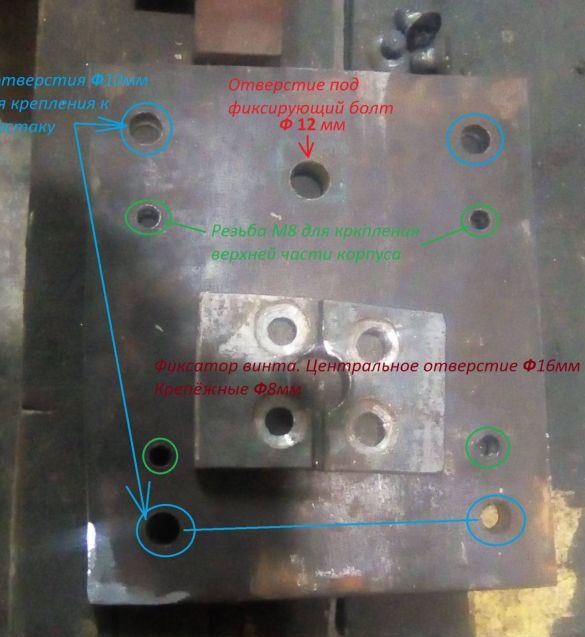
Prepared from a sheet of iron with a thickness of 10 mm the base (200 x 200 mm) of the fixed part and the front cap (screw support) movable.
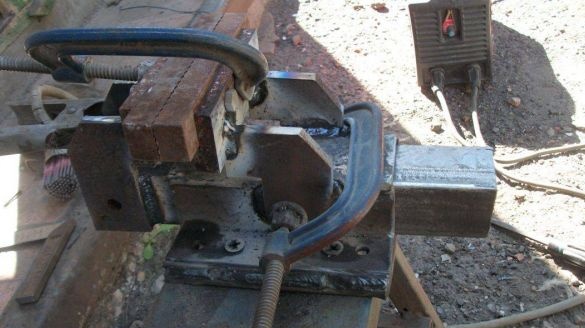
Using welding, clamps and 10mm plates, I first made friends with the moving part with a sponge
and then the back.
Something is already looming.
I needed M16 nuts without thread, so I had to remove it with a drill and the corresponding drill.
On a hairpin, he also removed 50mm threads, put on a nut and scald from the side of the whole thread.
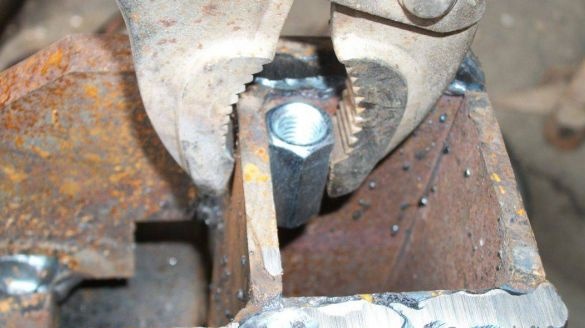
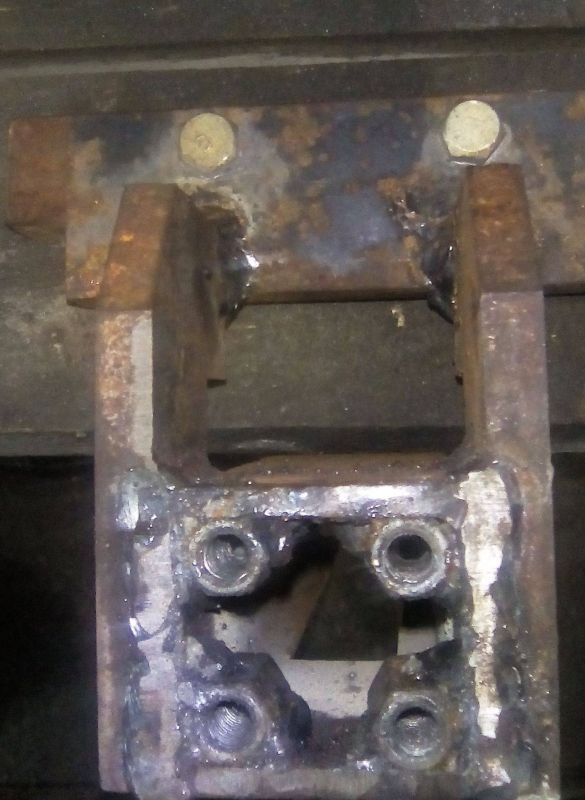
Inside the movable part, from the side of the sponge, using quick-clamping pliers, welded the connecting nuts (M8)
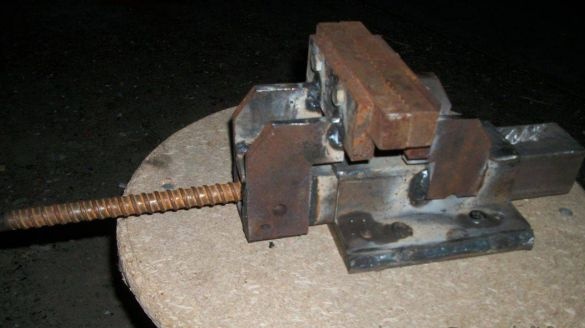
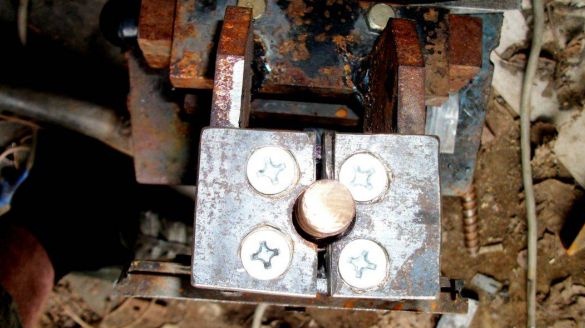
I screwed the pin, fixed it with a plate
and welded a second nut
Secured yews on a workbench
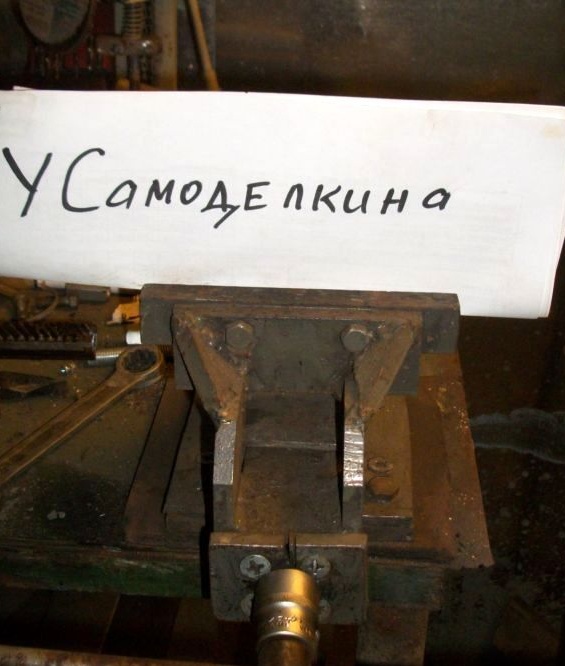
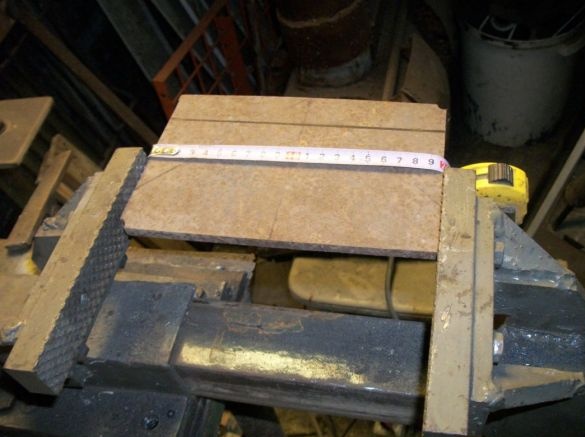
I have been using them for more than a year, besides I can confidently fix the part up to 200 mm!


