

A laptop is probably the most commonly used device to date. On a laptop, you can do many things, for example, shopping in online stores, computer games, chatting, making money on the Internet, watching movies, videos, and this is not all the possibilities of such a smart technique. Laptops serve us in many ways, so we need to take care of them. One of the most common problems is overheating of the laptop. And so that your laptop does not overheat, you need to install an additional cooling system.
Here in this article you will see how to make a homemade cooling pad for a laptop. You say laptop stand again? Yes, this is again a stand for a laptop, since I already had a stand with a cooling function. Here, by the way, at him linkOf course, if it is interesting. The case of the future stand will not be from the board, like the previous one, but from durable plywood. This stand will have a different cooling system, which you will see next.
And to make a homemade cooling pad for a laptop, we need:
Instruments:
1. Hacksaw (for cutting parts from plywood),
2. A simple pencil (to make notes),
3. Electric drill (for drilling holes),
4. Chinese drill (for grinding the future stand, for the manufacture of recesses on plywood),
5. Nozzles for a drill: circular discs (for making recesses and cutting sharp corners of a stand), also a nozzle for grinding (for removing unevenness and roughness),
6. Phillips screwdriver (for twisting self-tapping screws),
7. Manual jigsaw (for cutting small parts on a stand),
8. Glue gun and hot glue (for gluing some parts),
9. Lighter (in order to plant heat-shrink tubes, that is, to insulate the wires),
10. Electric soldering iron (for soldering wires),
11. Second glue (for gluing parts).
Materials:
1. Plywood, six layers thick, which is equal to ten millimeters (for stand),
2. Long and short self-tapping screws (for fixing the stand parts together),
3. A connector for connecting the stand to the 12-volt power supply (to provide the stand with power),
4. Button to turn the stand on and off,
5. Heat shrink tubes (for insulation of exposed sections of wires),
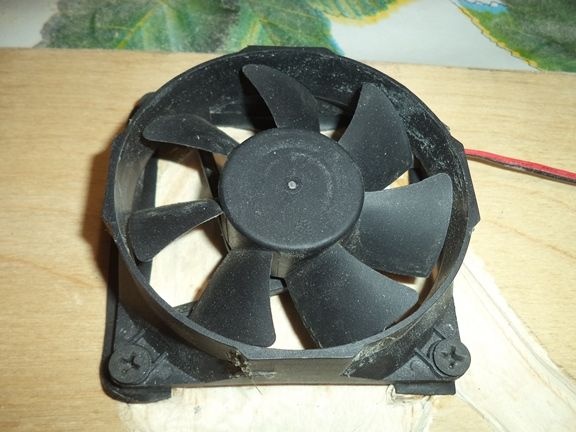
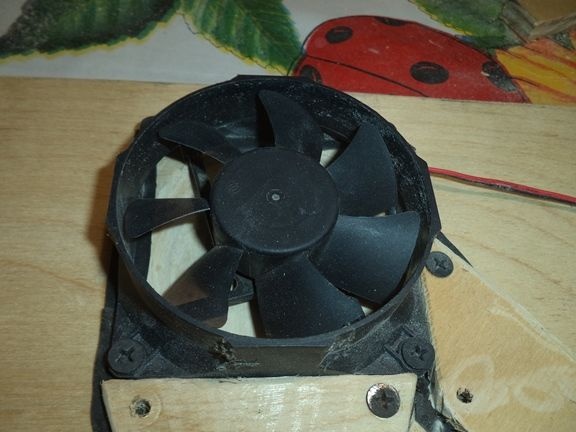
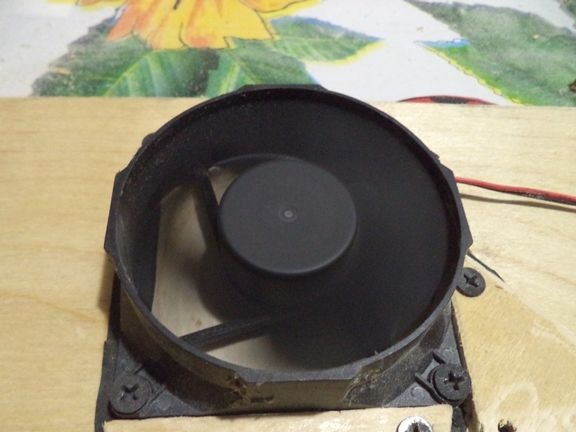
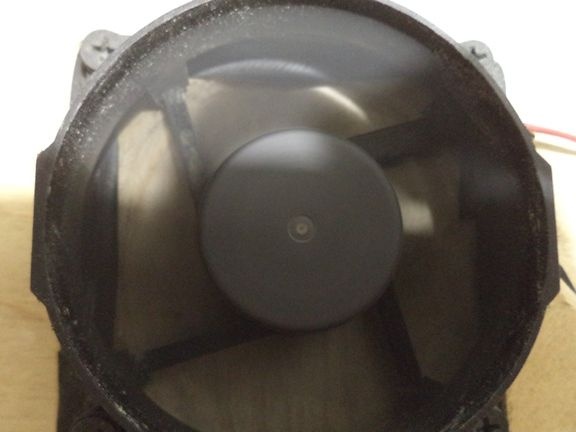
6. The fan from the computer is twelve volts,
7. The camera from the bicycle wheel (to close all openings of the cooling system),
8. A coil of wires (for assembling an electrical circuit),
9. Plastic ties (for attaching wires).
The process of making a homemade laptop cooling pad.
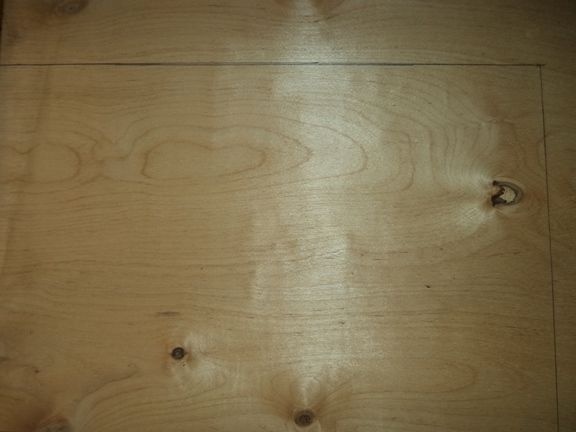
As you already understood, our stand will be made of plywood, so we take plywood six layers thick and use a hacksaw to cut a rectangle out of plywood, the dimensions in your opinion (in my case, 500 mm x325 mm).

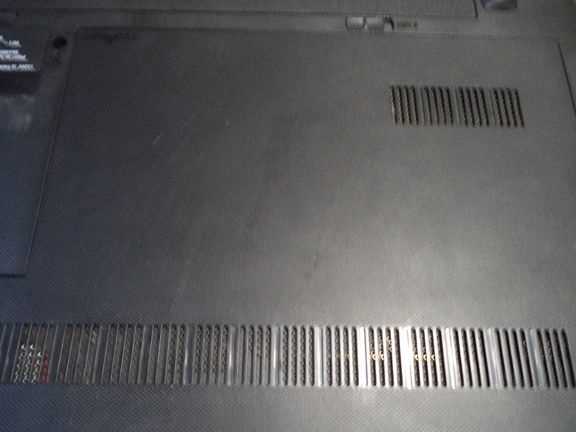
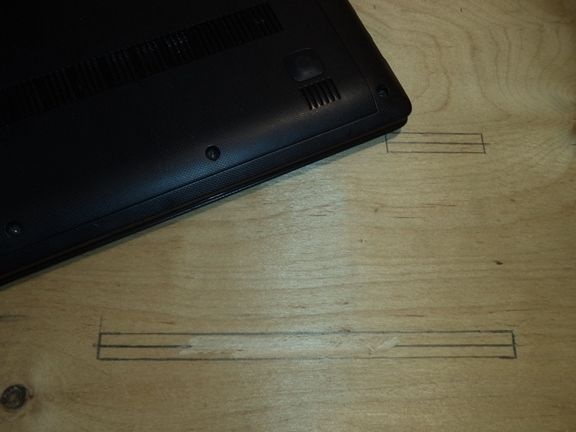
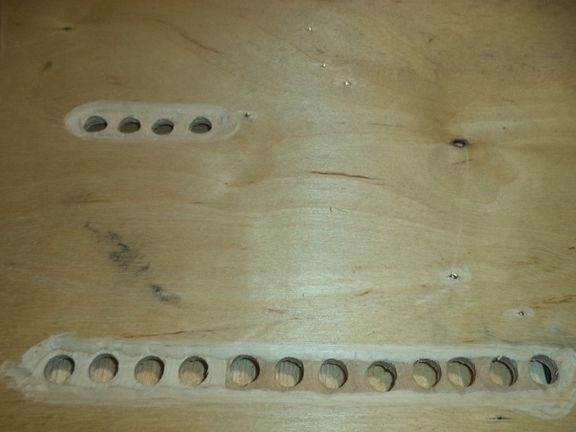
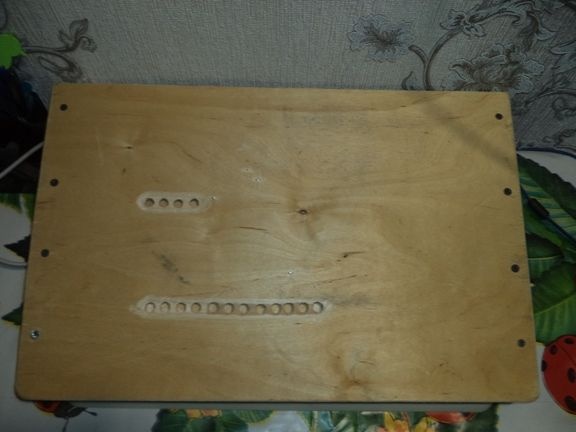
Next, we take the laptop, turn it upside down and, correspondingly, place the laptop’s ventilation spots on the plywood. The marks must coincide with the places of the ventilation openings of the laptop, in order to get better cooling. In my case, the processor, video card, hard drive will be cooled.
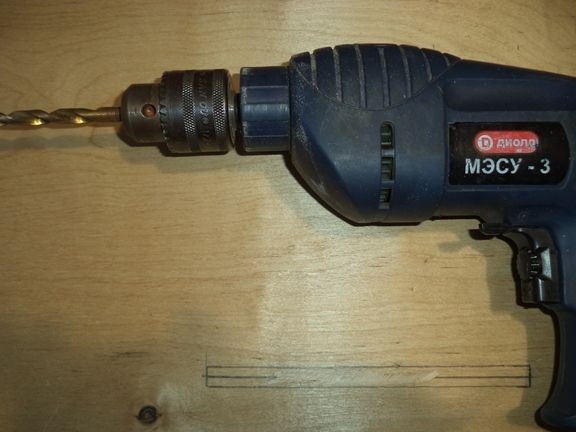
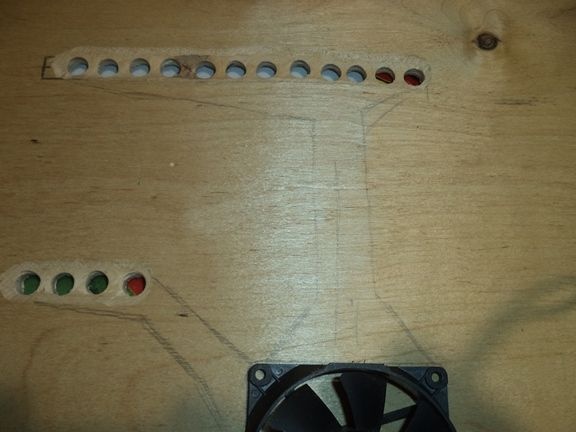
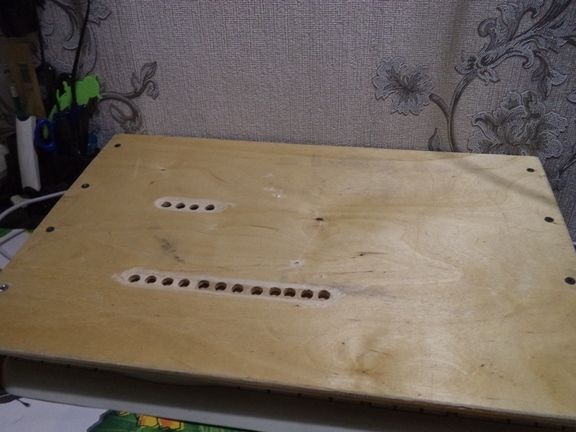
In previously marked places, we drill holes using an electric drill in the following ways.
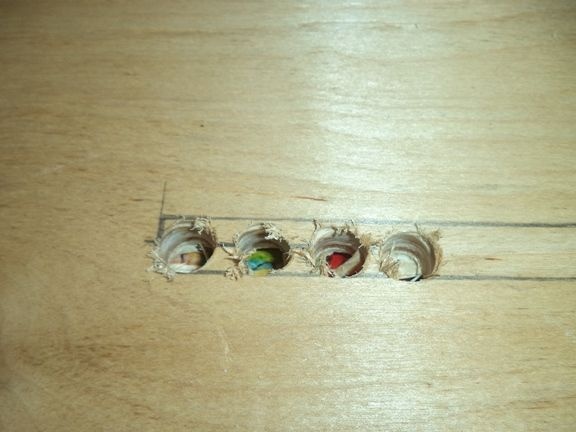
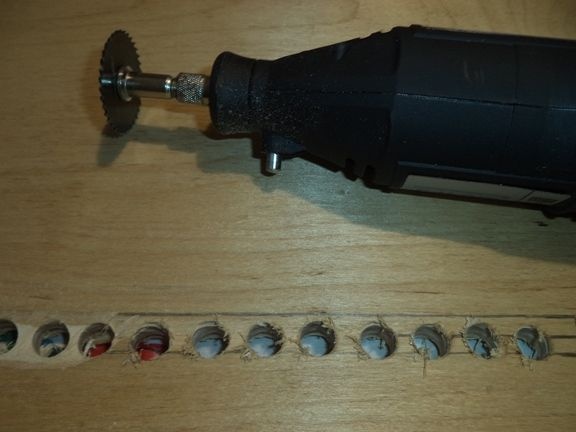
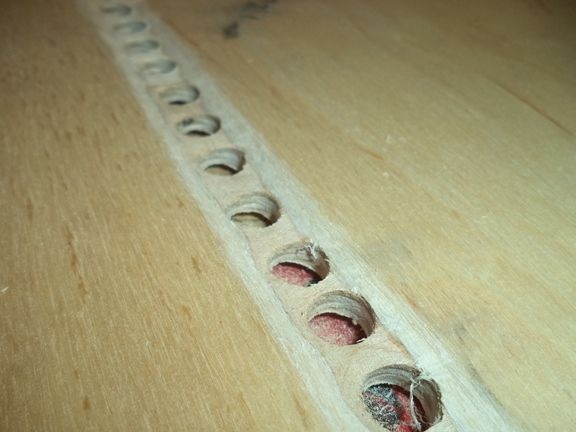
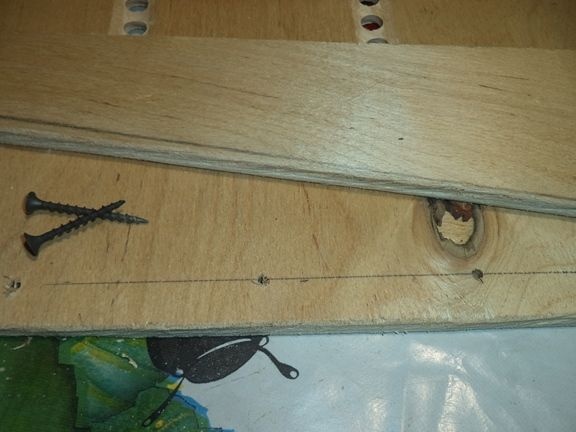
As an experiment, I decided to try to make a recess around the hole with the help of a Chinese drill and a nozzle for it - a circular disk. And I did it.

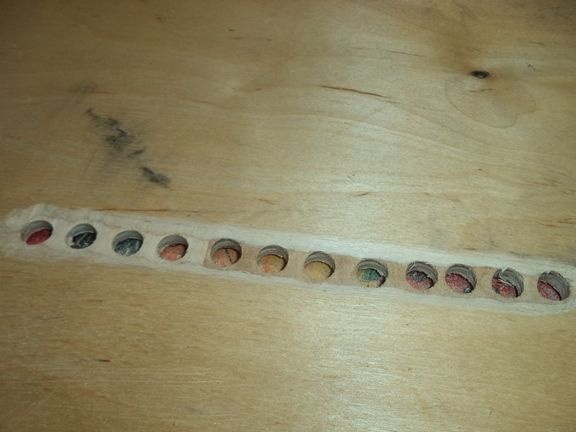
That's how it turned out.
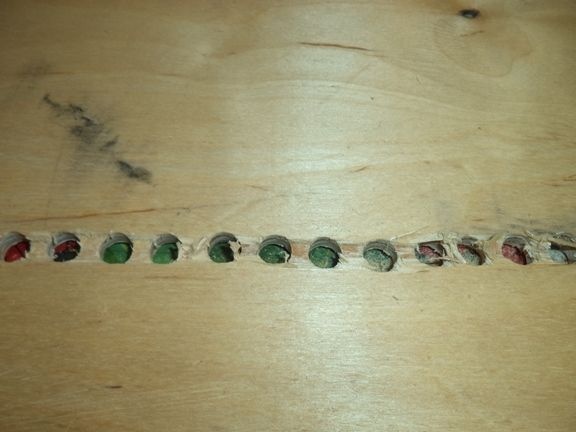
With these images, we continue to drill holes with a drill and make indentations around the holes with a drill.
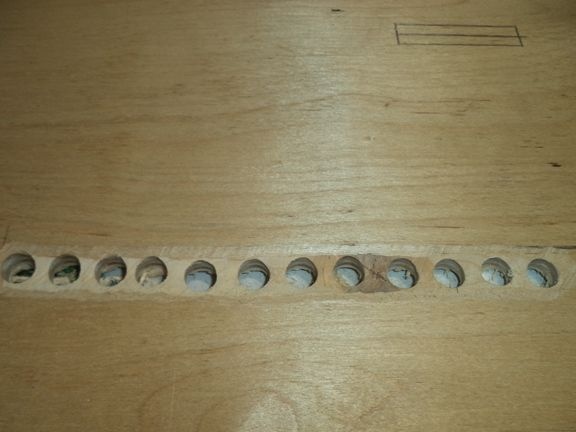
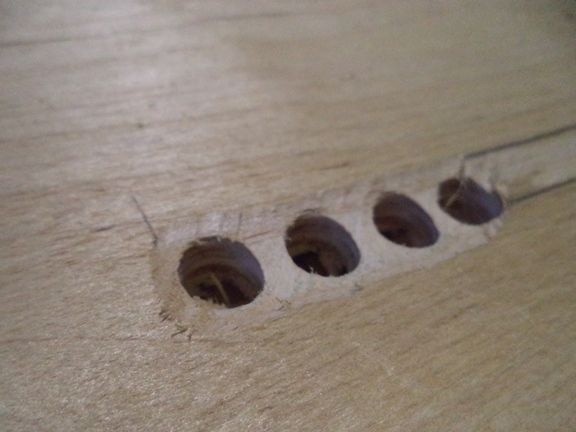
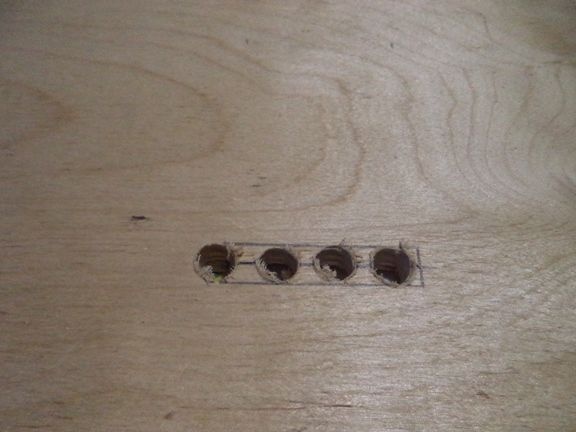
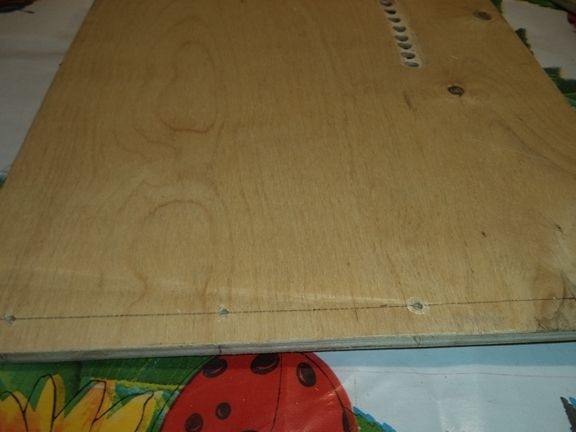
On the reverse side, plywood also decided to make a recess.
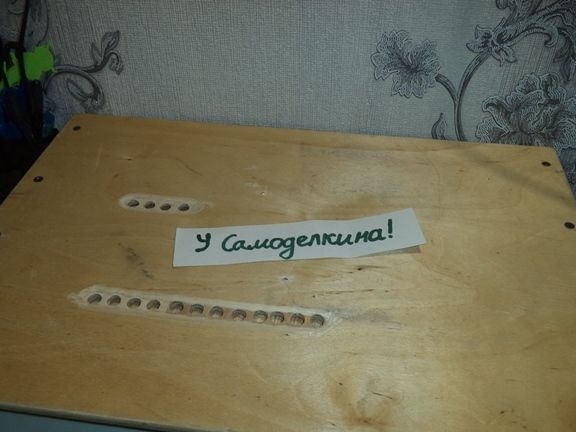
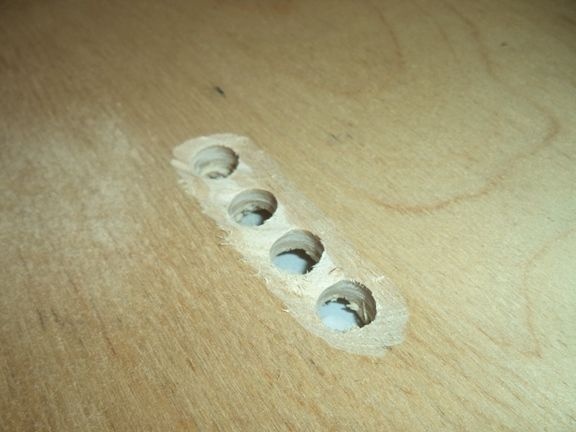
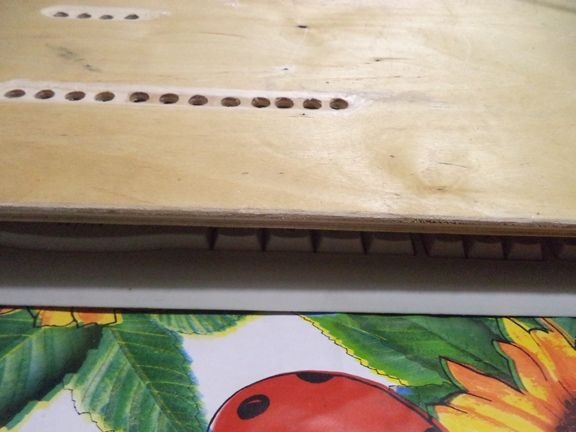
Now, at the marked places, we drill holes for cooling the processor. By the way, I took a drill for 10 millimeters.
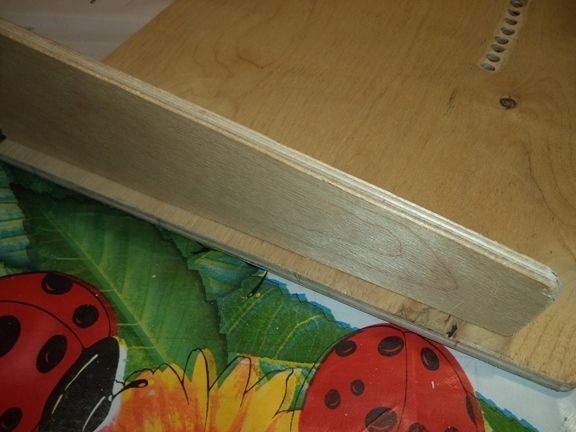
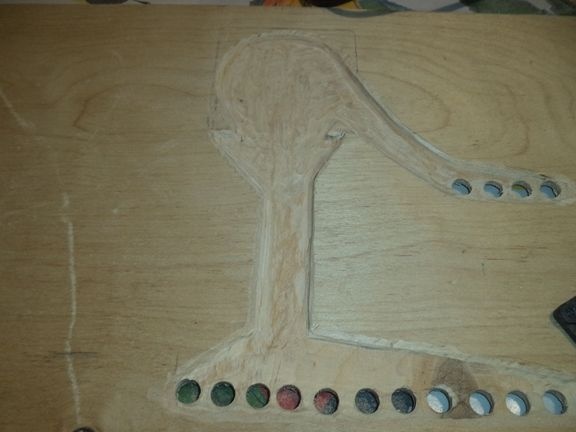
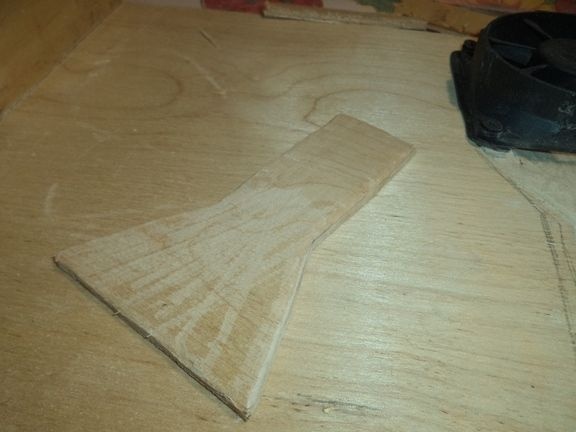
We begin to make legs for our future stand. To do this, with a simple pencil, we draw places for cutting legs out of plywood.

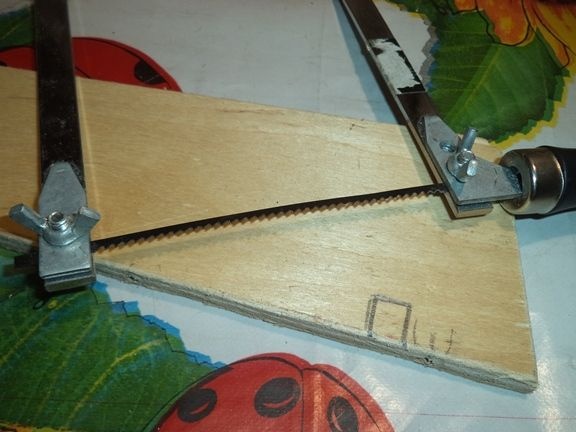
We cut out the legs and cut out the sharp corners of the legs.
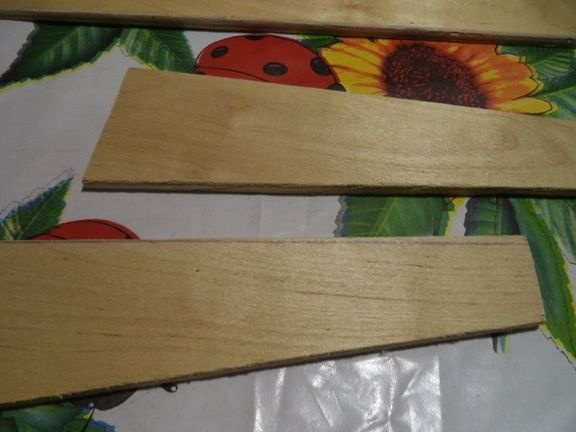

The sizes of the legs may vary, because the angle of inclination and height may vary, as it is more convenient for anyone.
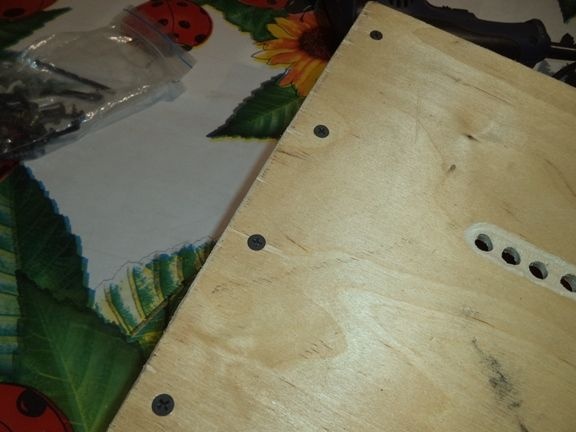
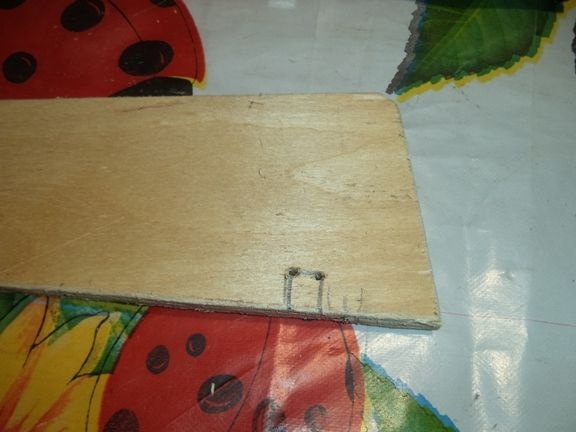
Now we fasten the legs with the help of screws to the base itself, that is, to the previously made plane. To do this, on the very base with a simple pencil, mark the places for drilling holes for screws and the attachment points of the legs themselves.

We drill holes for self-tapping screws with an electric drill and fasten the legs to the base itself.
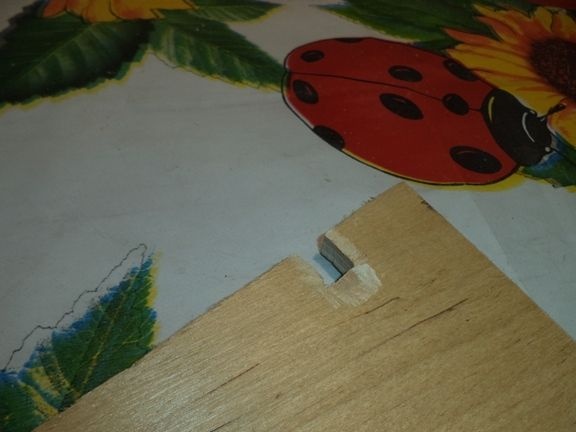
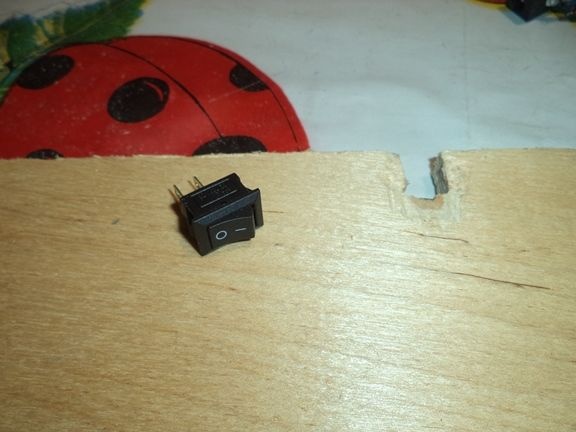
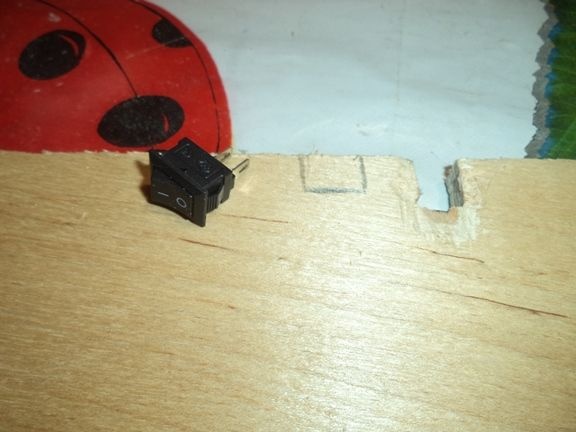
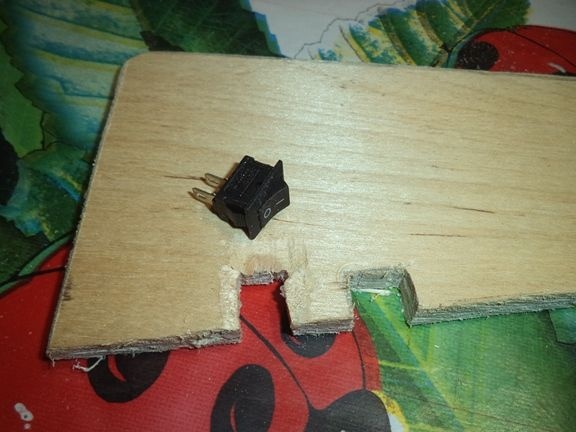
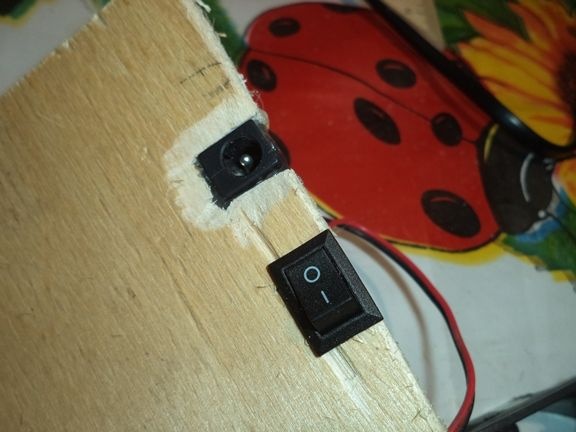
We are not yet fixing one leg, since it will have a power connector and a switch on it. Therefore, for the switch and the connector, we cut out the recesses with a hand jigsaw.
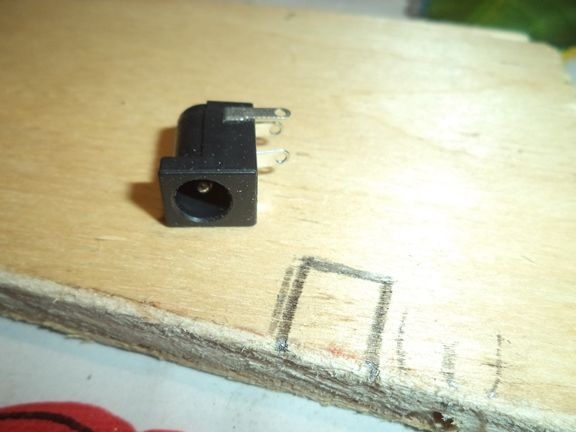
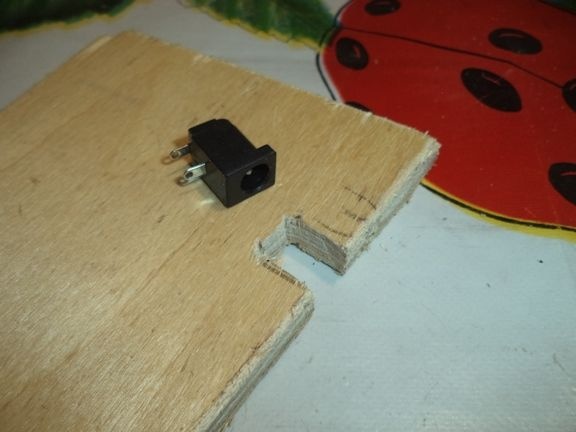
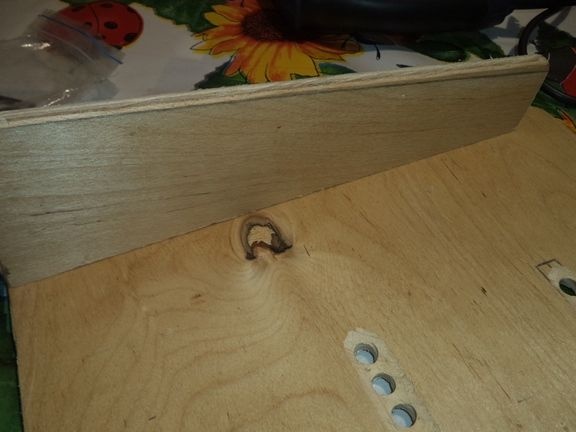
Again, we make a small recess with a drill for more convenient connection to the connector.
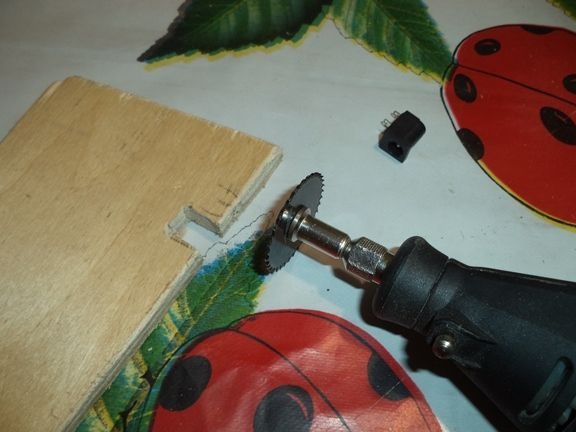
Now, using a manual jigsaw, we make a recess for the cooling system switch.
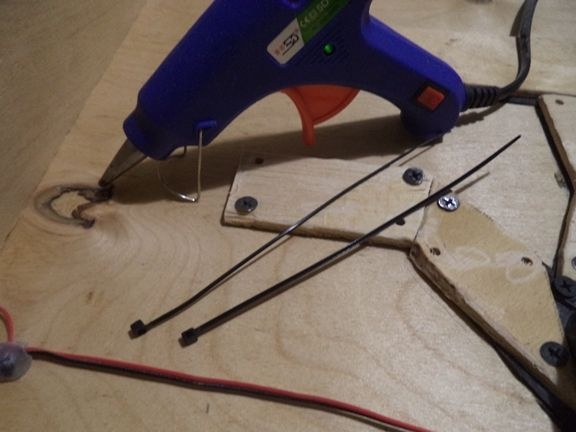
Using an electric soldering iron, solder the connector and switch in sequential order.
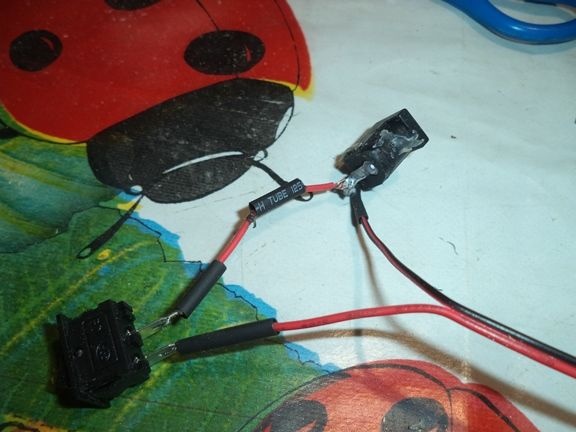
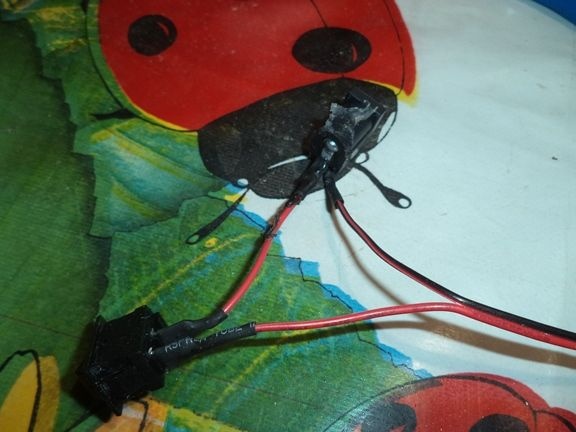
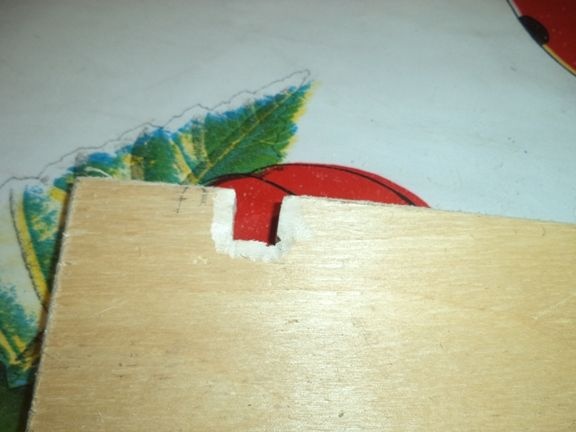
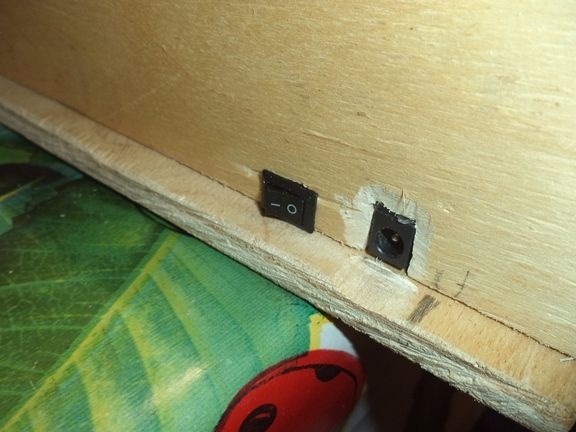
We insert the switch and connector into their previously prepared places and glue them with a glue gun.
We attach the leg to the base and with the help of the grinding nozzle we remove all irregularities on the entire stand.
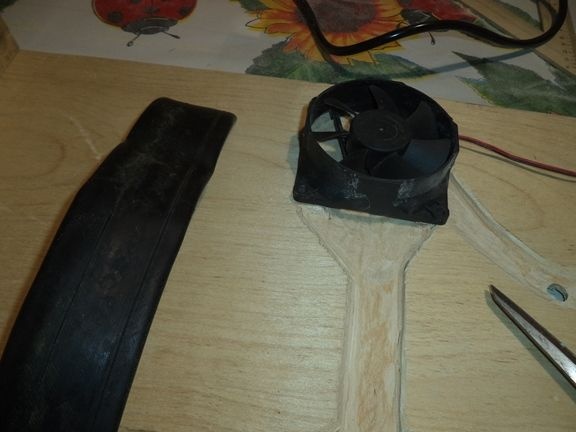
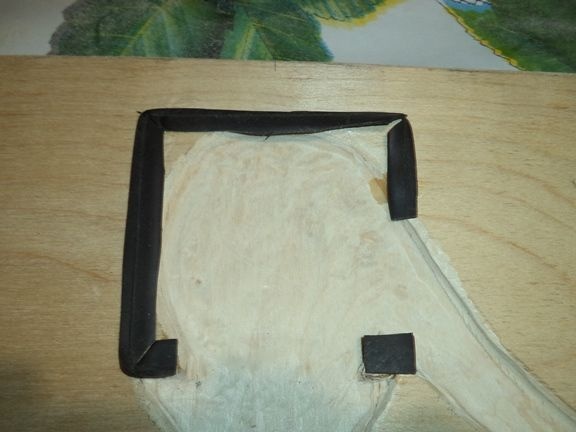
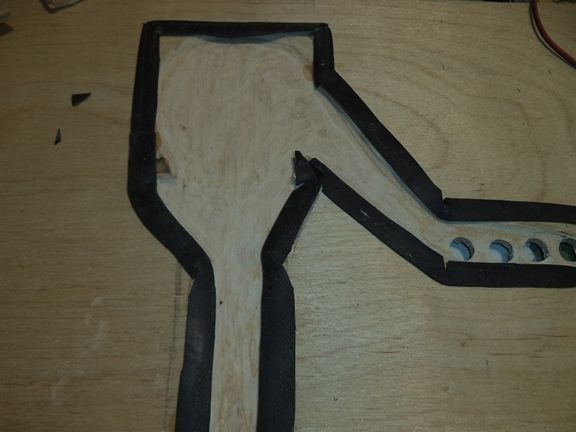
Now install the fan itself. And in order for the air flow to go from the fan to the holes with the help of a “swarm” drill, a recess on the base as shown in the photograph.
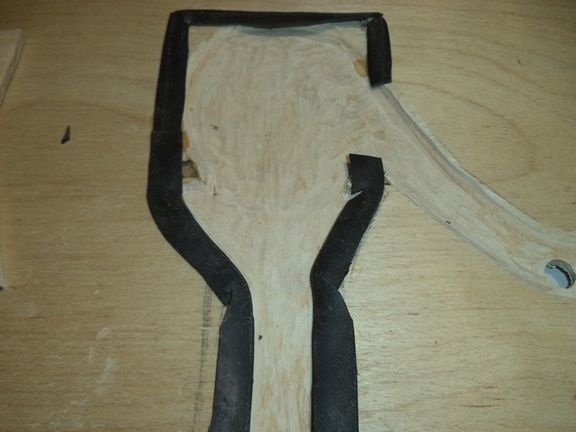
Now from these holes we have to get tunnels for air flow. To do this, take the camera from the bicycle bicycle wheel and cut the strips.
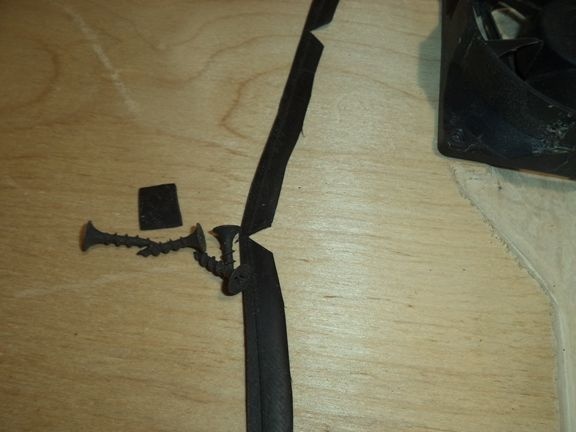
Using second glue, glue the rubber strips on the base.
Now we attach the fan to the base with the help of small screws.

Now, from plywood with a thickness of three layers, which is equal to 5 millimeters, we manufacture parts for closing the recesses on the plywood.

We seal the strips from the chamber along the contour of the recesses.
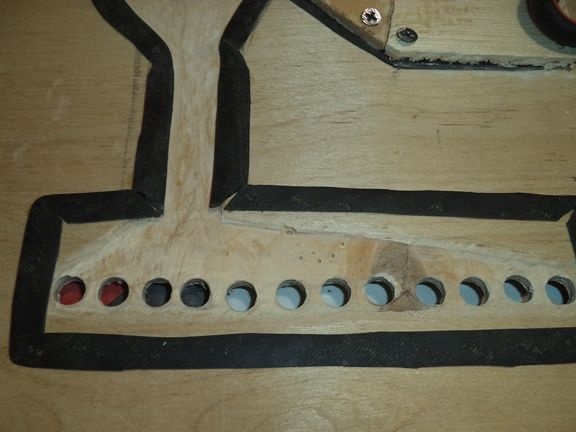
And all this is covered with details to close the recesses.
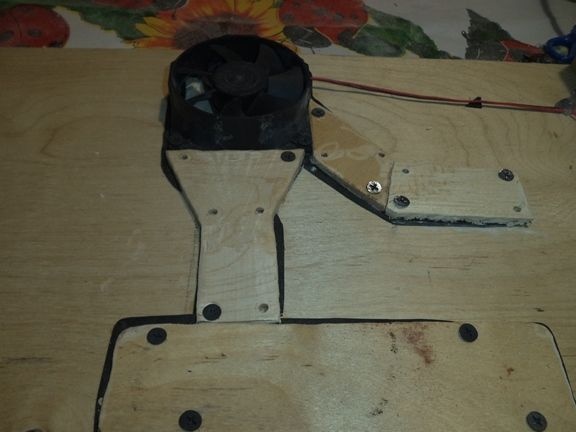
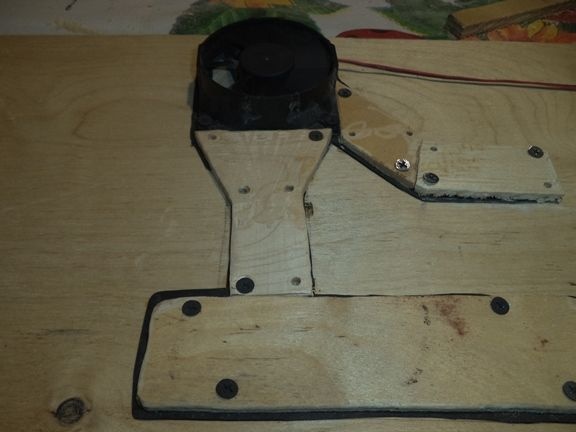
This is how the cooling system looks on top of the stand.
Solder the fan wires to the wires of the connector and the switch observing the polarity so that everything works. We connect to a twelve volt power supply and check for operability.
As you can see, everything works.
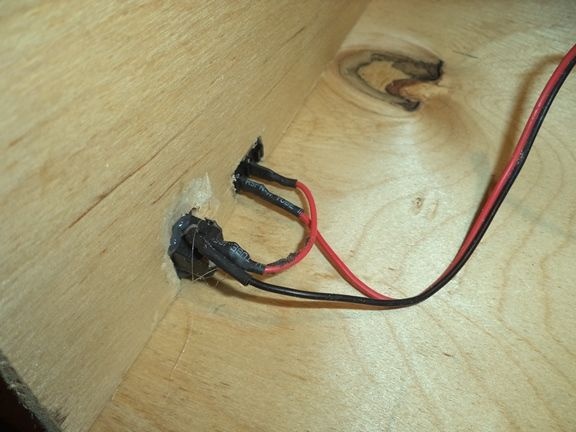
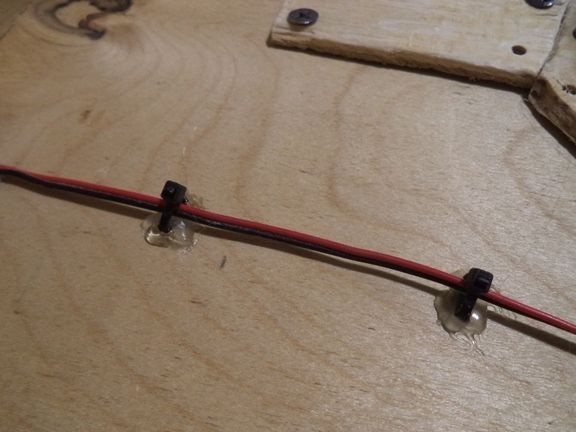
To prevent wires from dangling at the bottom of the case, they should be secured with plastic ties. In order to carry out this process, glue the screed to the base with a glue gun and pull the wires. We cut off the excess parts of the clamps.
You probably noticed how wide and far the legs of the cooling pad are from each other. This is to ensure that the keyboard fits freely between them. A keyboard to make typing more convenient.

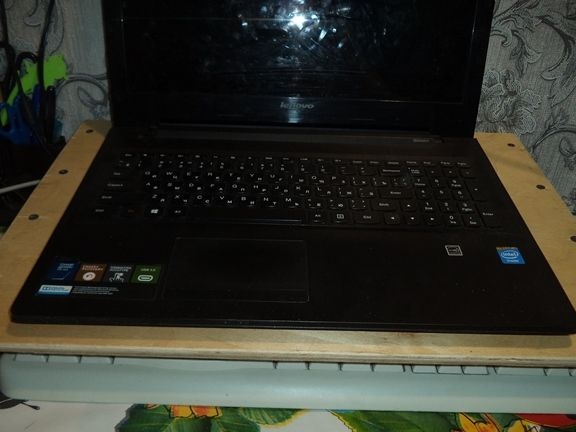
This is how my laptop cooling pad looks like do it yourself.
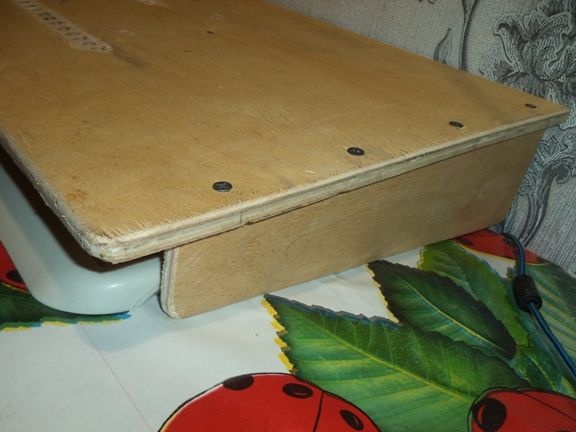
And so, on a stand is a laptop with a screen diagonal of 15.6 inches. There is still room on the stand for an even larger laptop.
This cooling pad works well, it blows quite strongly from the holes. When this stand is working, the laptop does not heat up at all, it keeps its constant temperature.