
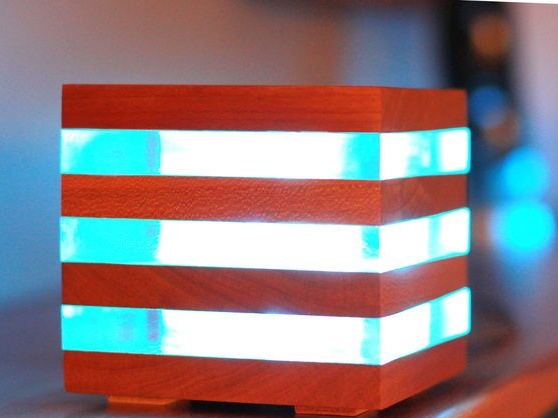
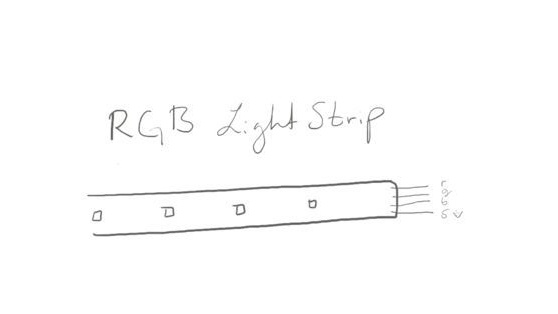
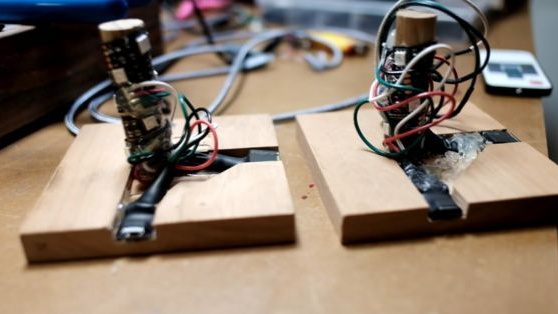
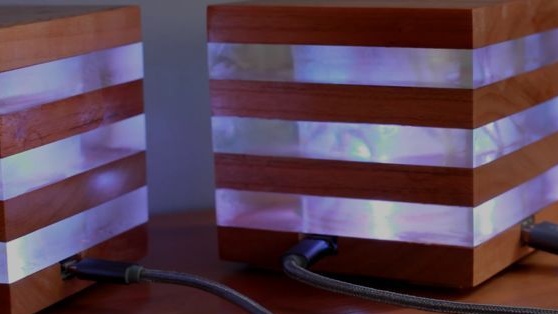
In appearance, this may seem simple and ordinary, if not for its filling. A feature of this lamp can be considered an RGB tape, which is the main backlight. Thanks to her, the cube can glow in different colors. But this is not all, such a lighting device can be controlled from a computer using USB.
This greatly expands its functionality. You can make color music, and indeed program the lamp at your discretion. The author makes several such lamps at once and simultaneously controls them from a laptop.
RGB strips are connected in series and operate from a 5 Volt power supply.
Materials and tools for the manufacture of lamps:
- LED Strip Light;
- acrylic;
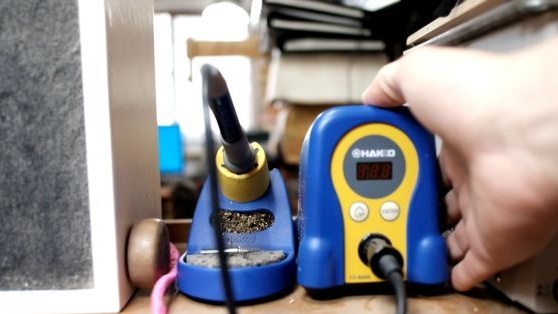
- soldering iron;
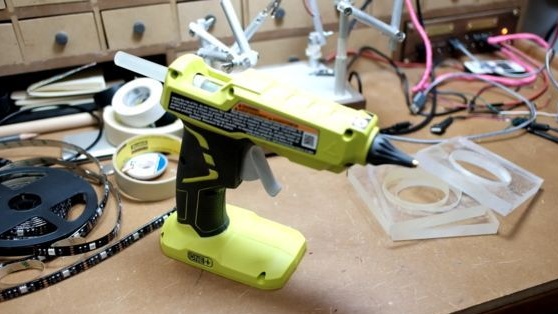
- hot glue;
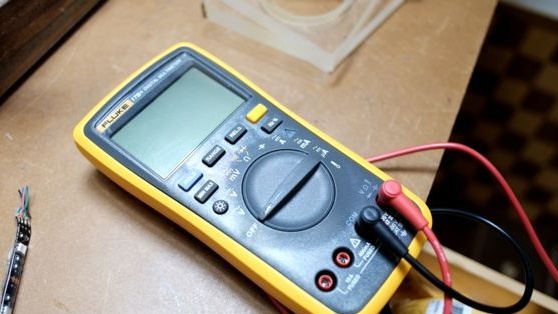
- multimeter;
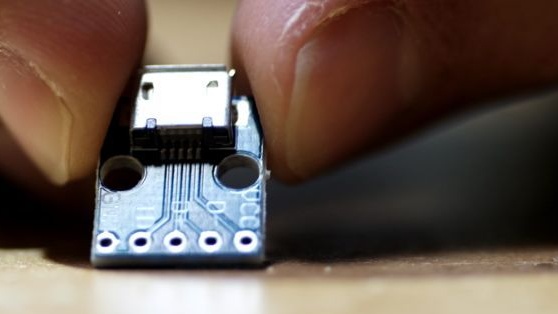
- Micro USB;
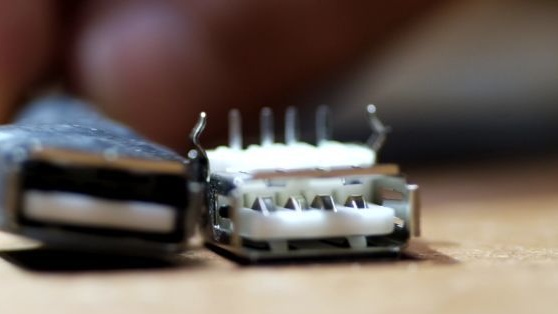
- female USB;
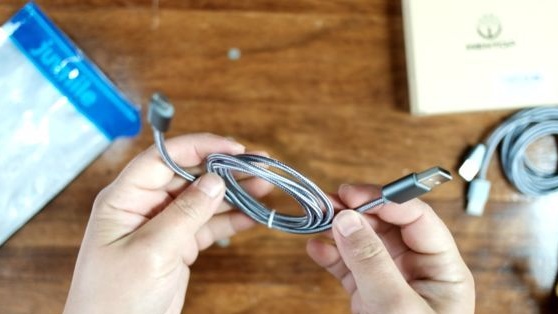
- USB cables;
- epoxy and more.
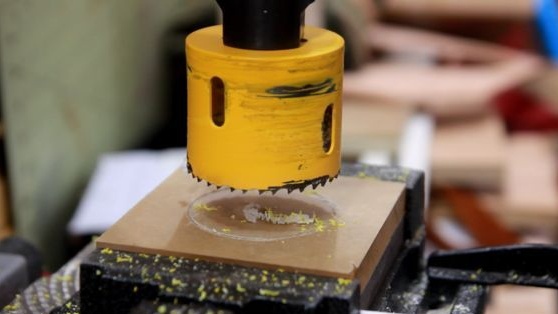


Of the tools you will need something for cutting materials, in extreme cases, you can do with a hacksaw. But with the manufacture of a hole in the center of the plates of acrylic manually have to try. Of course, everything is made much easier with the availability of tools like the author.
The manufacturing process of the lamp:
Step one. We prepare wooden blanks
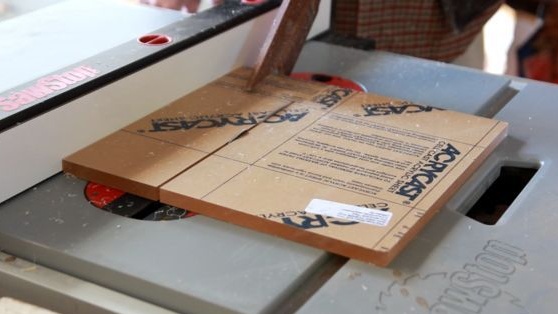
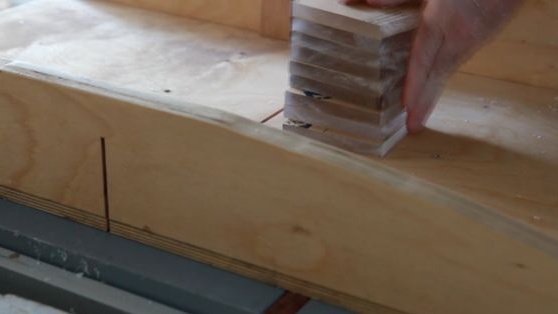
The author begins to manufacture a lamp by cutting wood. You will need boards of exactly the same thickness as acrylic sheets. However, this is not necessary. If you want the lamp to shine brighter, sheets can be chosen thicker and vice versa.
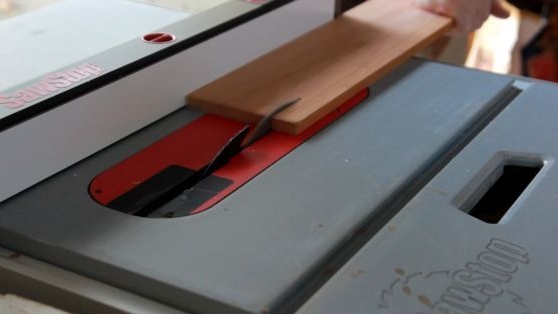
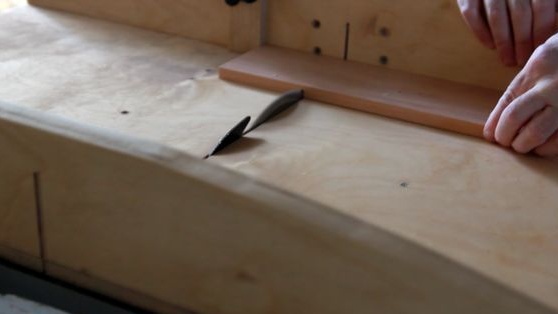
The author used cherries as wood for the lamp. You can cut this whole thing with a table saw. According to the author, acrylic is cut as easy as wood.
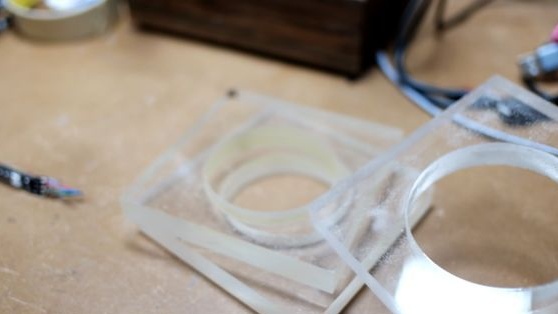
As a result, you should get squares measuring 100X100 mm or another size at your discretion.

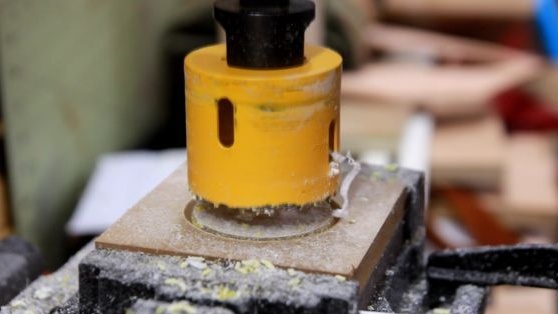
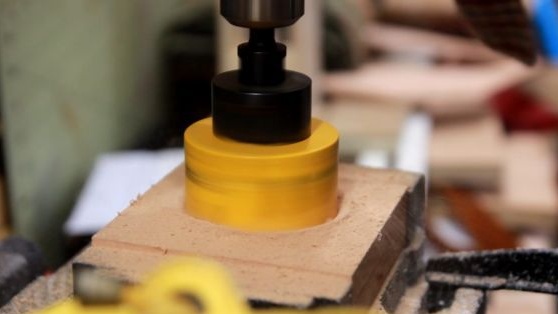
Step Two We drill the central holes
At this step, drill holes in the center of the workpieces. It is necessary to work with acrylic carefully; there is no need to rush in this matter. When the work with acrylic is finished, it remains to make exactly such holes in the wood, it will be much easier to do than in acrylic.

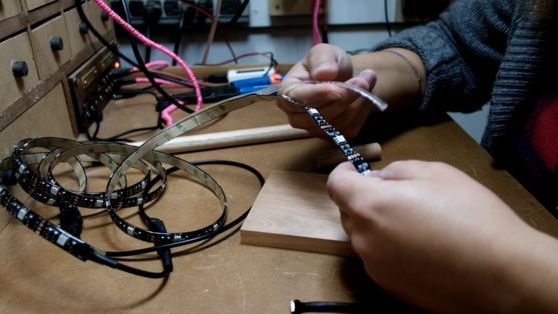
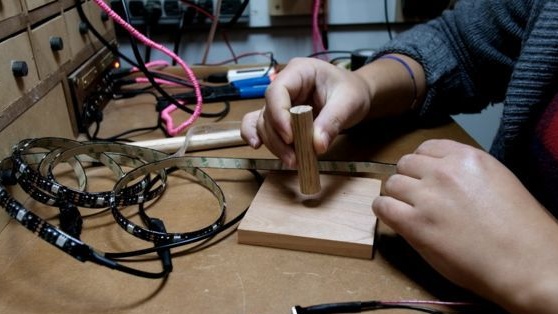
Step Three How does everything fit inside?
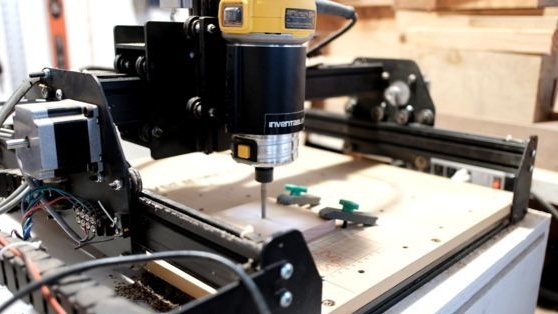
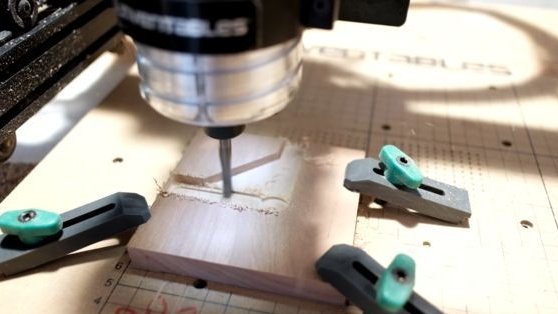
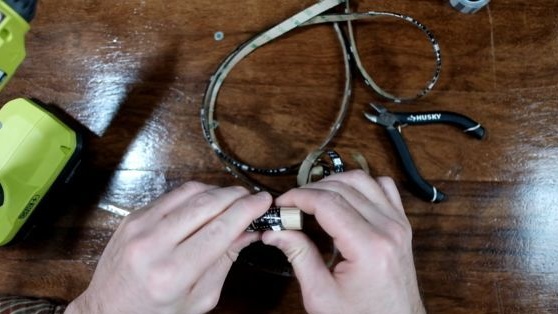
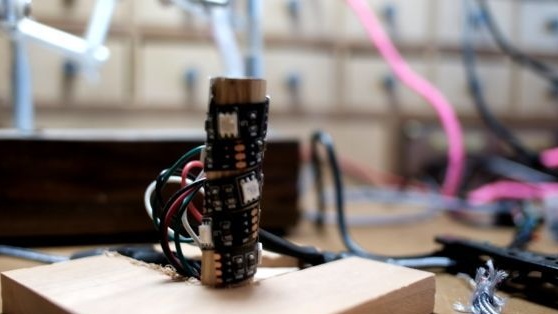
The author mounts LEDs on a wooden dowel, wrapping the tape around it. Well, then this dowel is attached to the base of the lamp. Among other things, the basis of the luminaire will also need to grind the channels through which the wires pass. The author does this with a CNC machine, but more affordable tools can be used.

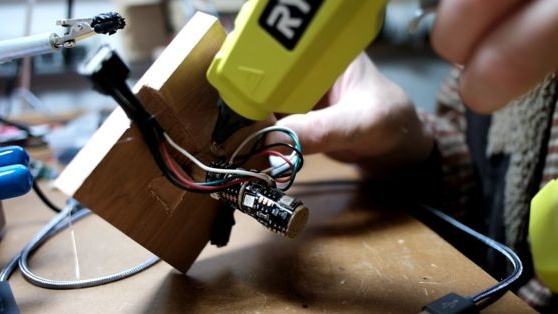
Step Four Electronic part of the lamp
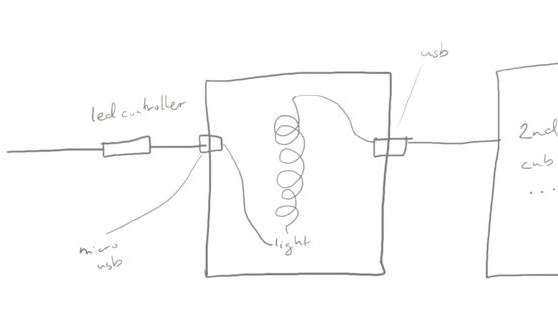
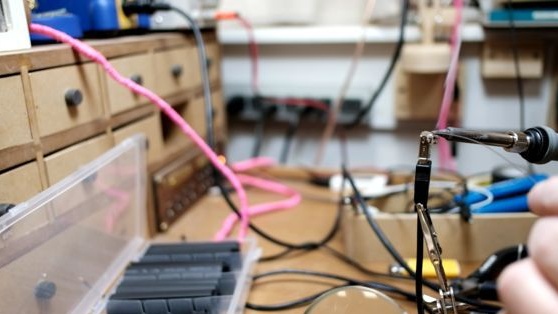
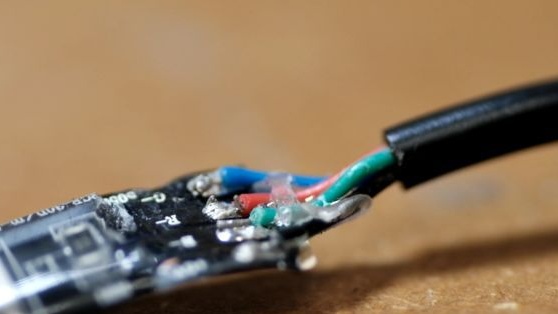
To build electronics, the author provided a circuit. You have to connect the LED controller that comes with the tape, as well as the necessary outputs and USB inputs. Here you have to work hard with a soldering iron, as there are many places for soldering.
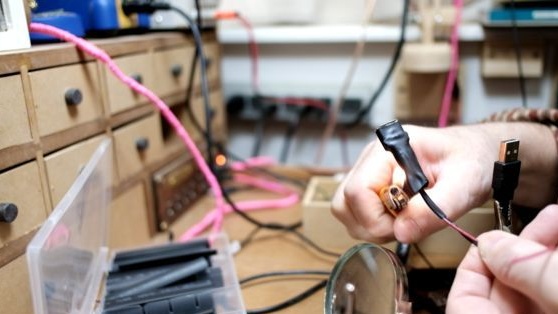
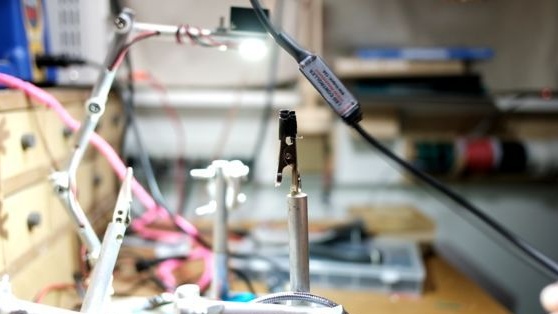
Step Five Soldering connectors
In the next step, the author solders all the necessary connectors to the wires. Occupation is quite painstaking. For additional fixation of the wires after soldering, they can be glued to the connectors with hot glue.

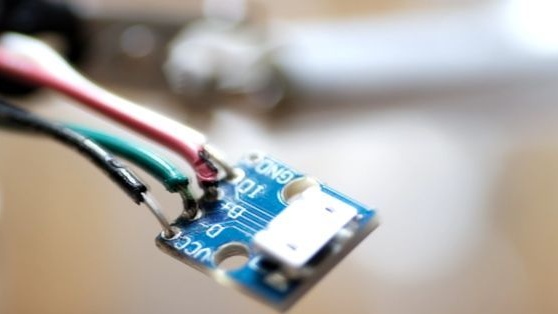
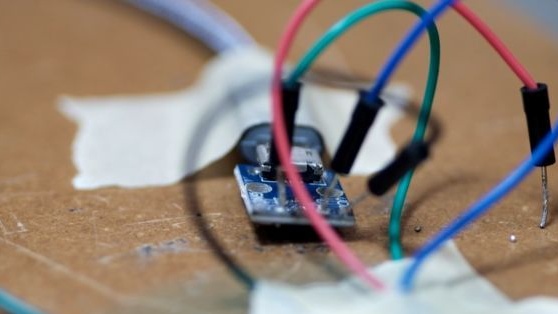
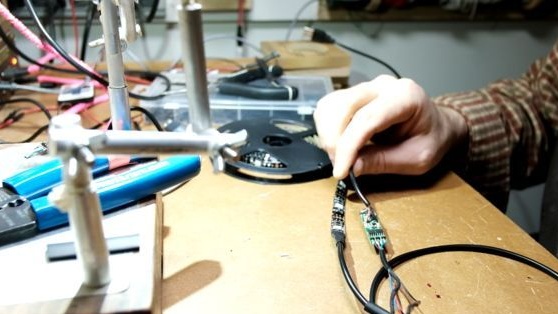
Step Six LED Controller
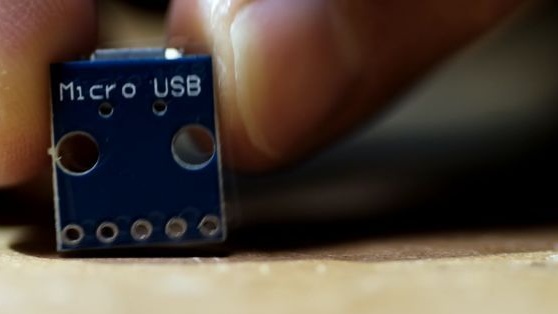
When buying an LED strip with a controller, it is usually soldered to the controller directly. But for this project it will be necessary to solder the controller to the male micro-USB, and then it connects to the LED controller.
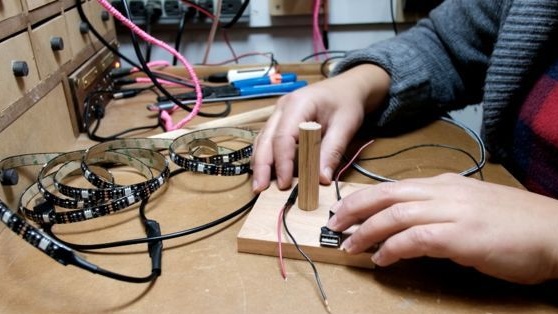
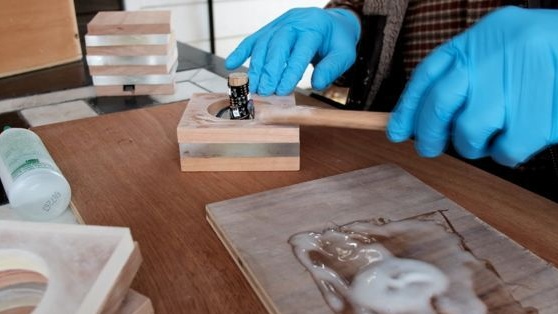
Seventh step. Install the dowel and connectors
Now we can install the dowel and mount the USB input. The tape is attached to the dowel with hot glue. As for fixing the dowel to the base, it can also be fixed with hot glue, but it is better not to be too lazy and fix it on a self-tapping screw. USB connections are also fixed with hot glue.
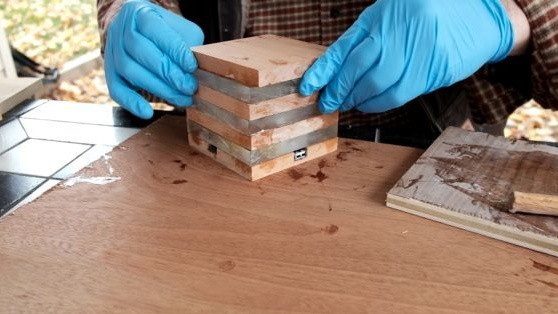
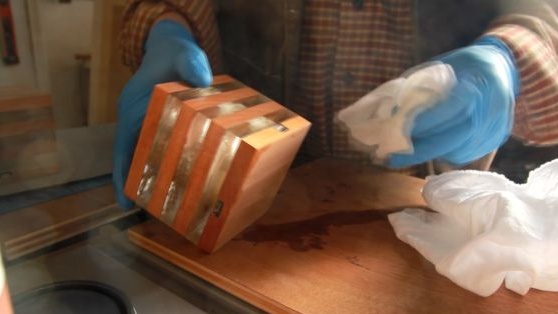
Step Eight. Glue the cube
All the details of the cube must be well glued together. Wood glue is not suitable here, as it will not adhere acrylic well. Epoxy glue is best used so homemade will be reliable. Assemble the cube evenly and press it so that all the parts are well pressed together. Remove the remaining glue.


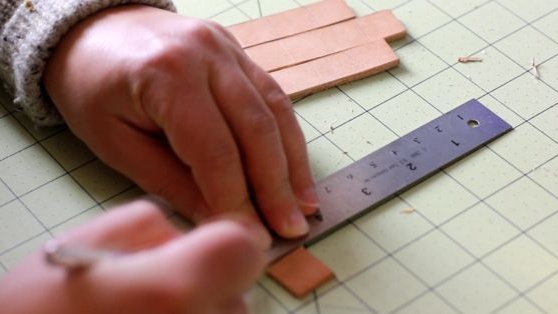
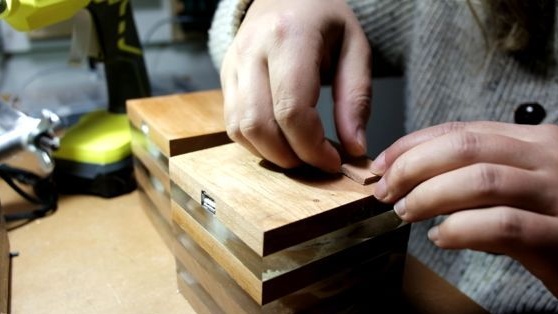
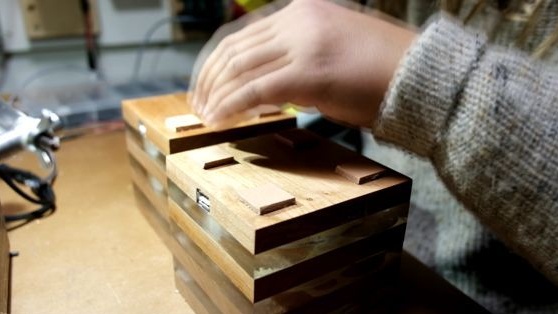
Step Nine. Legs for the lamp
For the lamp you need to come up with some kind of support, otherwise it will slide on the table, it may scratch it or even fall. And the lamp will look better if you lift it on its legs. For the manufacture of legs, you can use thick skin or other material. Just stick four pieces to the base.
Step Ten Lamp power supply
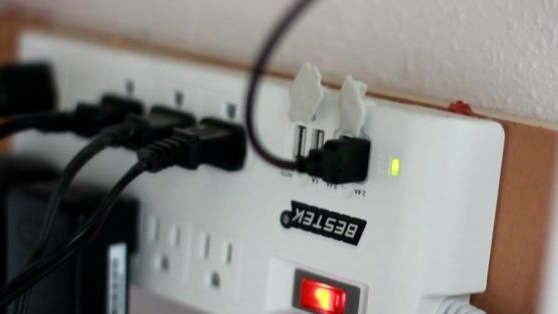
For the spirit of such lamps to work, you need a current of 1.5 Amperes with a voltage of 5Volts, so you need to think about where to get it. If only one lamp is used, then it can be easily powered from Power-Bank, a charger for mobile and other devices.

That's all, our lamp is completely ready. Connect it to your computer and enjoy. At the top of the article you will find a video where you can get acquainted in detail with the work of homemade. Good luck