Materials needed for work
To perform installation work, the following tools and materials will be required:
- screwdriver;
- screwdrivers;
- hammer drill;
- rule
- gun for liquid nails;
- roulette;
- pencil;
- sponge.
The built-in frame of the countersunk cabinet itself will not be manufactured. It can be purchased at a hardware store.
Installation process
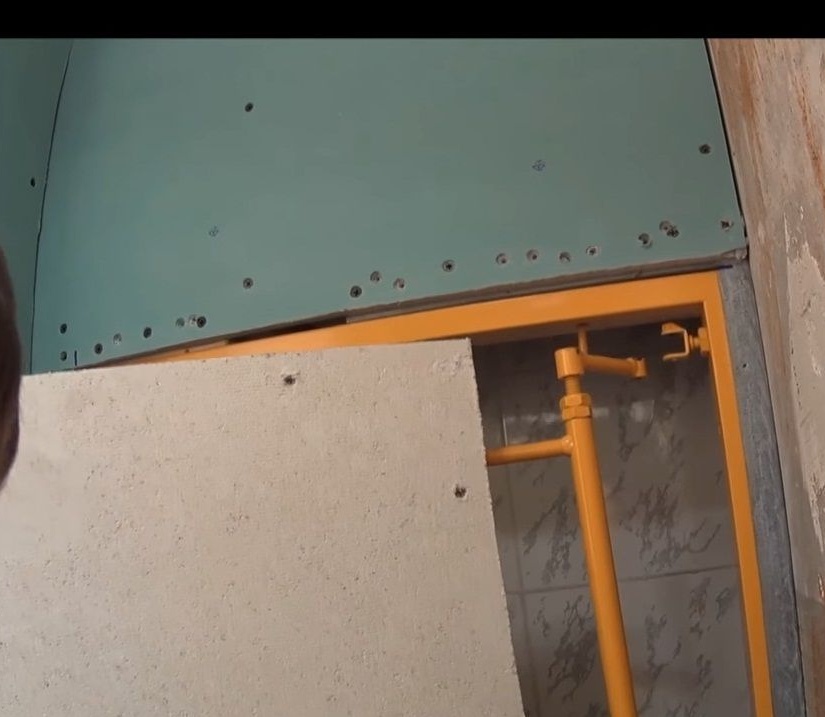
A hidden hatch will mount a pre-prepared drywall. When erecting it, you must take into account how deep the countersunk should be. This width should be retreated before starting to set the profile and twist drywall. In some apartments, protrusions are already present in the bathroom or toilet. As a rule, their presence is due to common risers passing through the room. In this case, a secret cabinet will be as relevant as possible. Plasterboard wall will hide communications, and a secret cabinet will make it possible to maximize the use of all available space.
In the plasterboard wall, leave an opening for the hatch or cut it out later. In a circle of the hole (on the reverse side) they insert mortgages. These are ordinary bars. They will betray stiffness, and a hatch will also be attached to them. When choosing the size of a hidden cabinet, it is recommended not to make it on the entire wall, as it will be inconvenient to open. Another point that you should pay attention to is the selection of the size of the hatch for the tile, which will be laid on the walls.
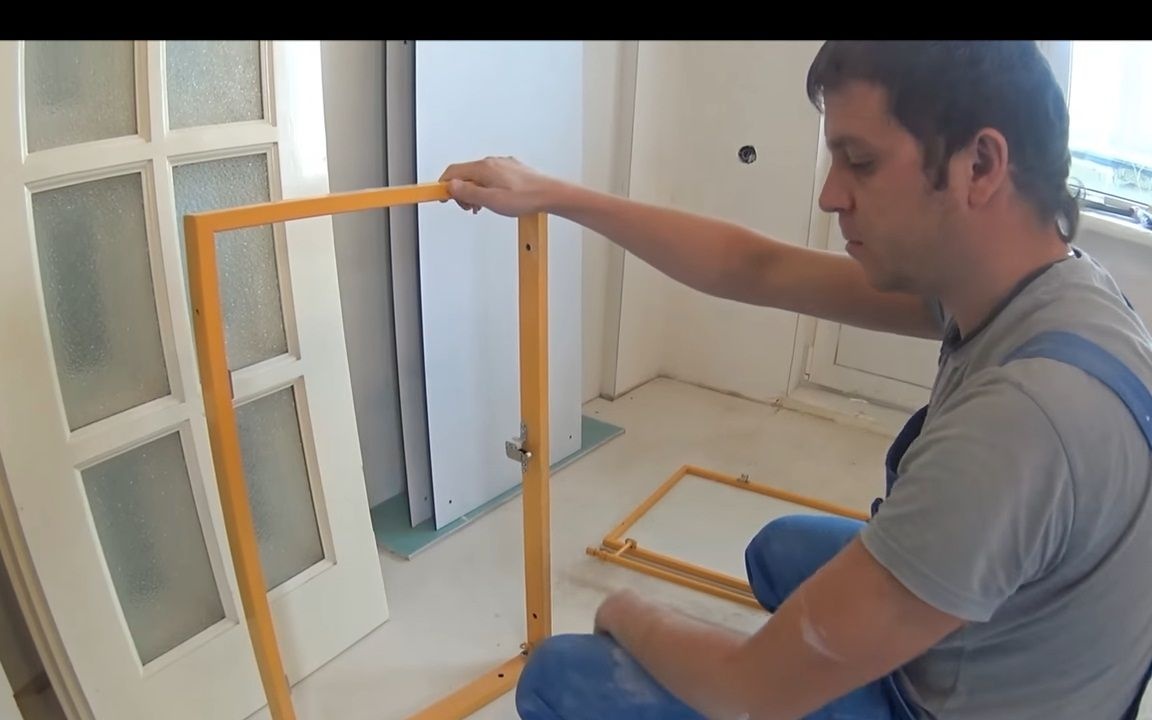
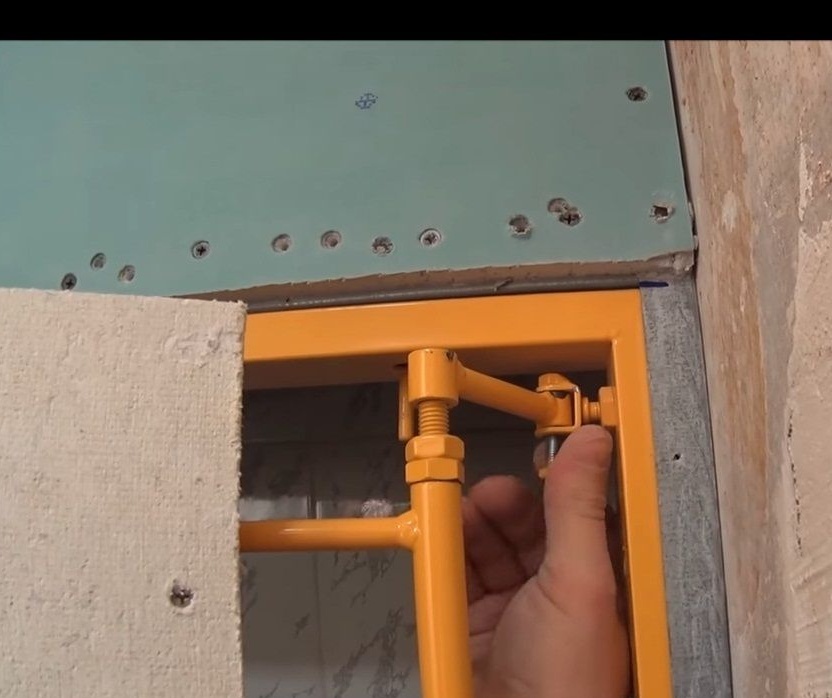
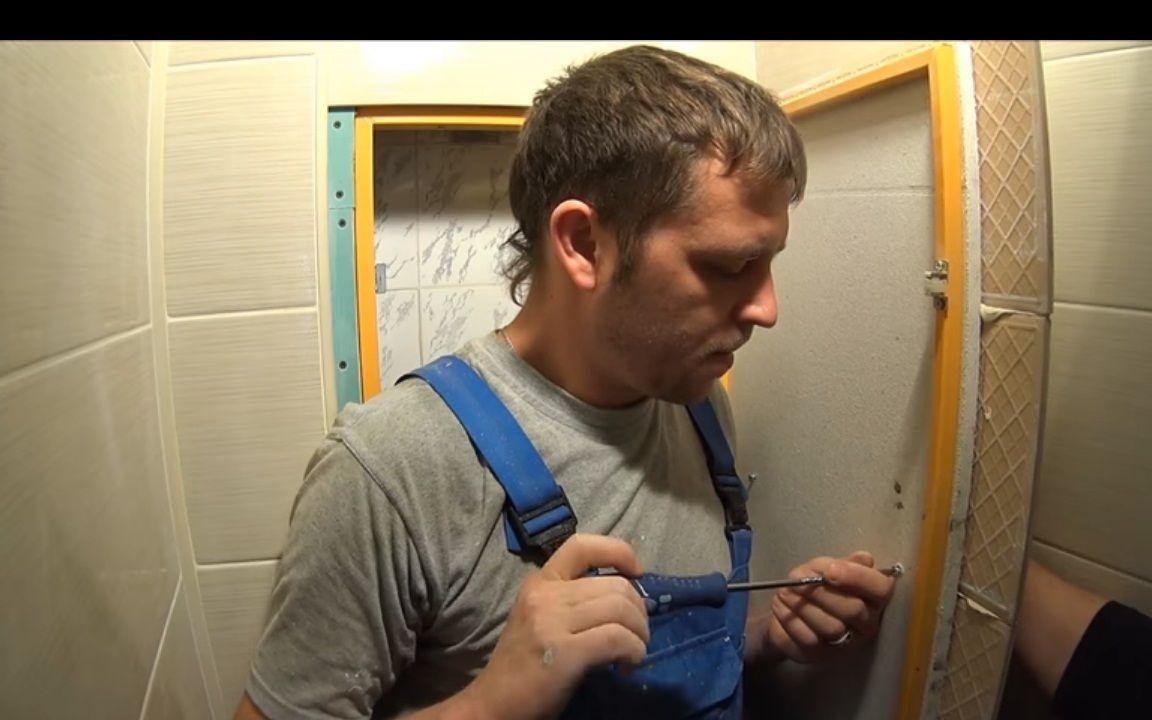
Before proceeding with the installation, it is necessary to divide the frame. Using a screwdriver, we unscrew the door from it. It is recommended that all removed fasteners be folded into a separate box so as not to lose component parts during the execution of the work.
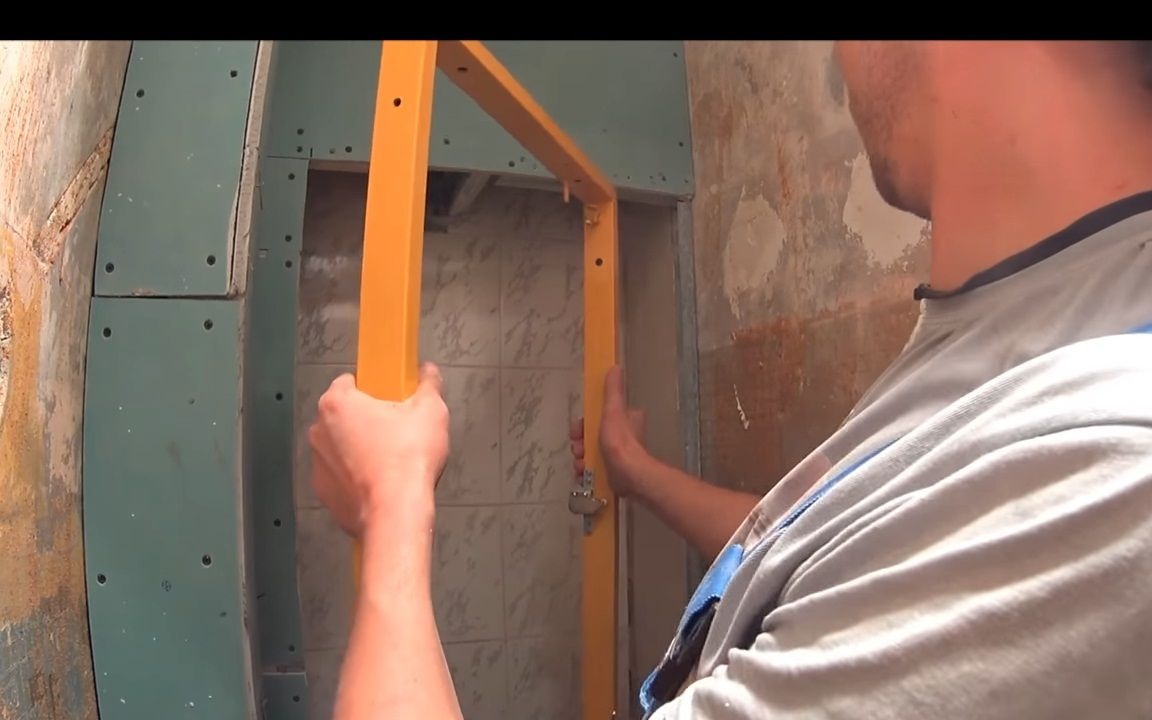
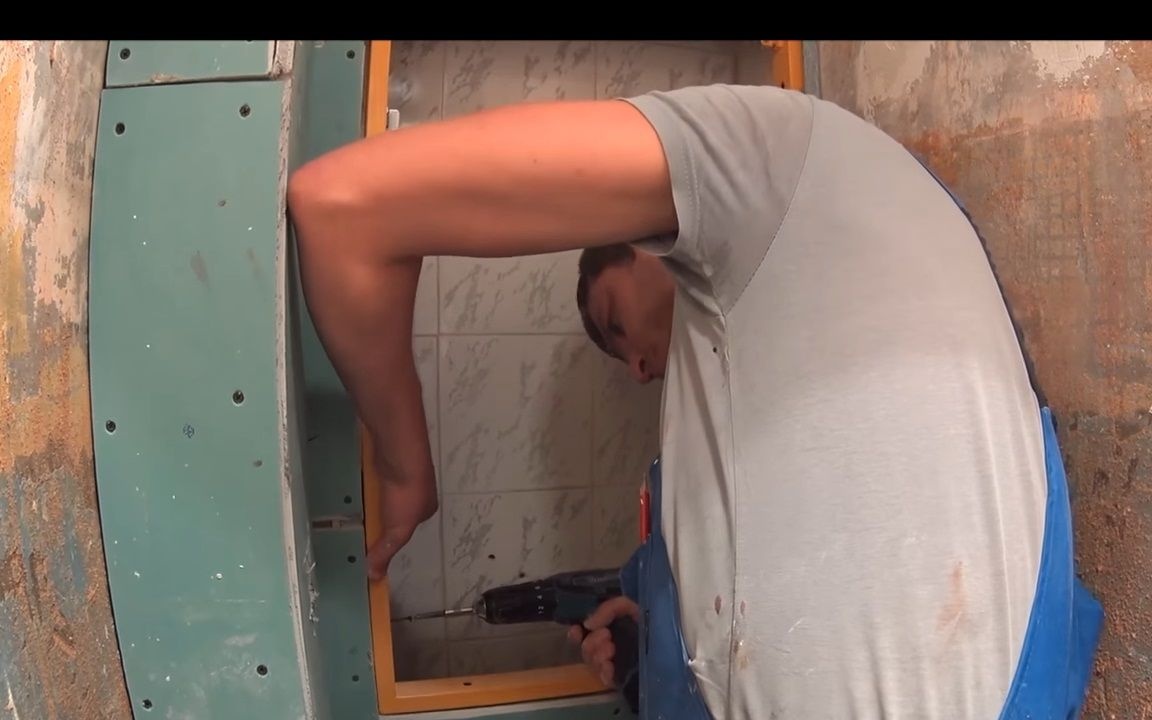
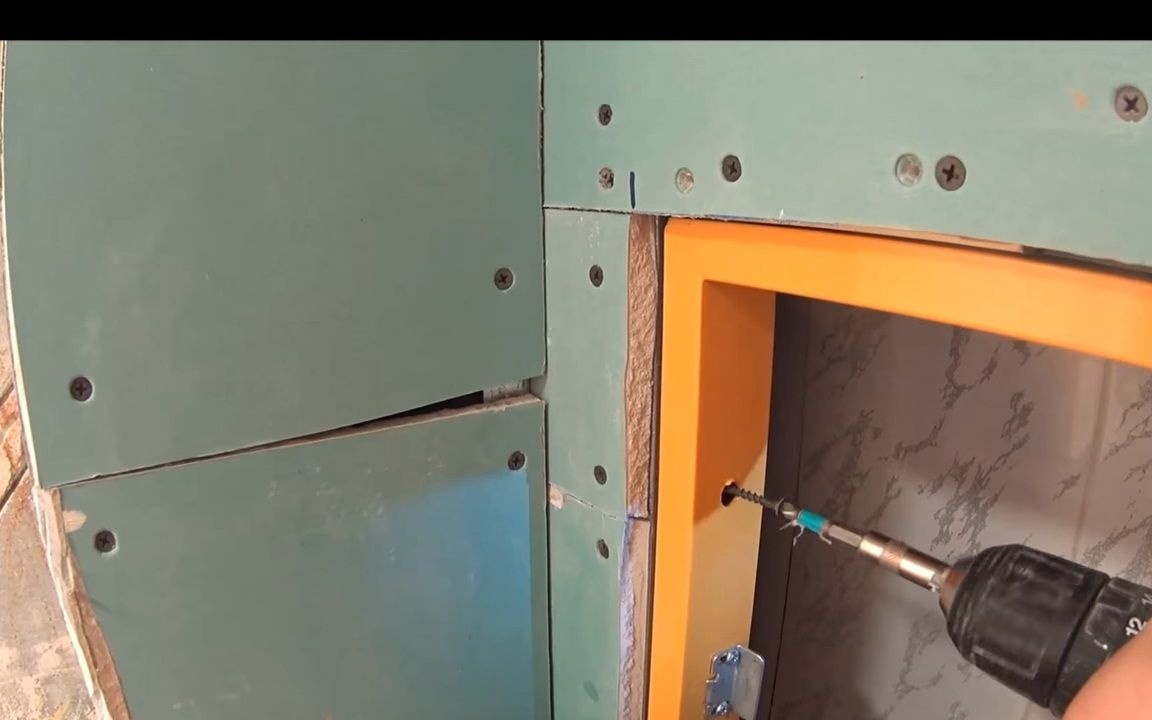
We insert the prepared part of the hatch into the hole on the wall. It is flush with the wall frame.
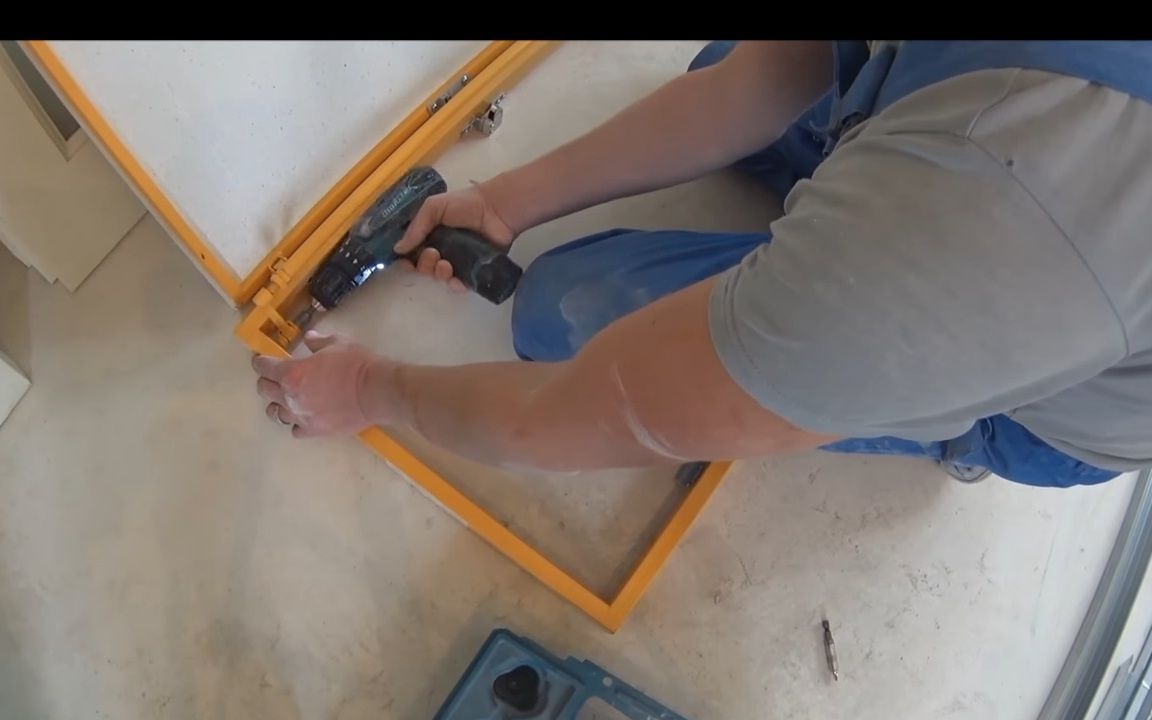
Using wood screws, we fasten the hatch to the mortgages (for this purpose, there are special holes in the hatch for fasteners).

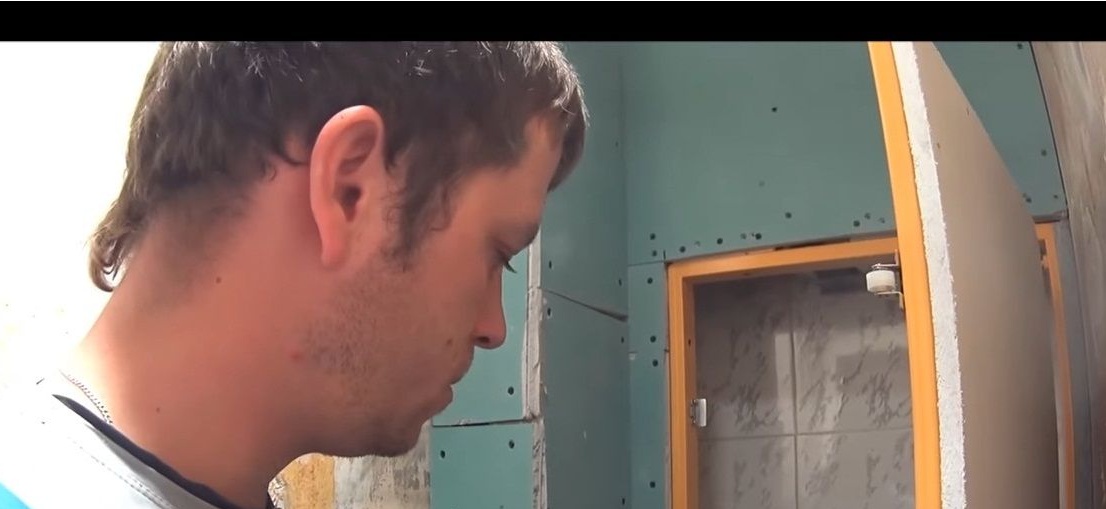
After the last self-tapping screw is screwed in, we return the hatch door to its place. Now it remains to check how this installation design works (try to close-open the door).
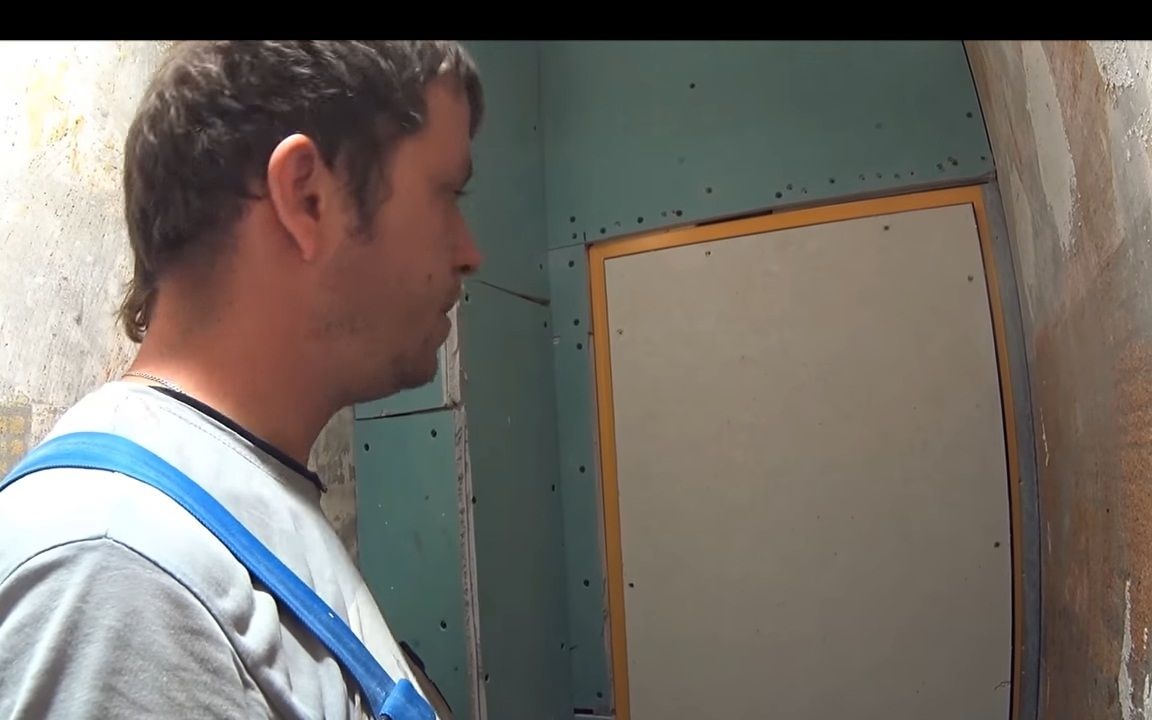
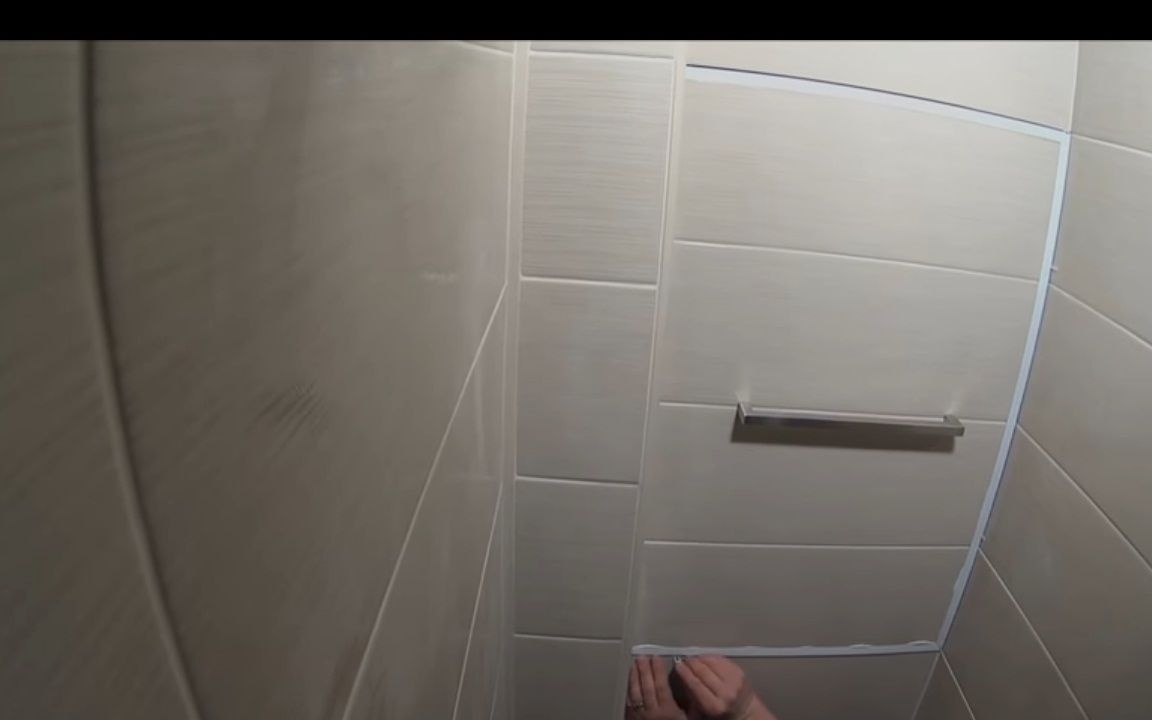
Laying tiles
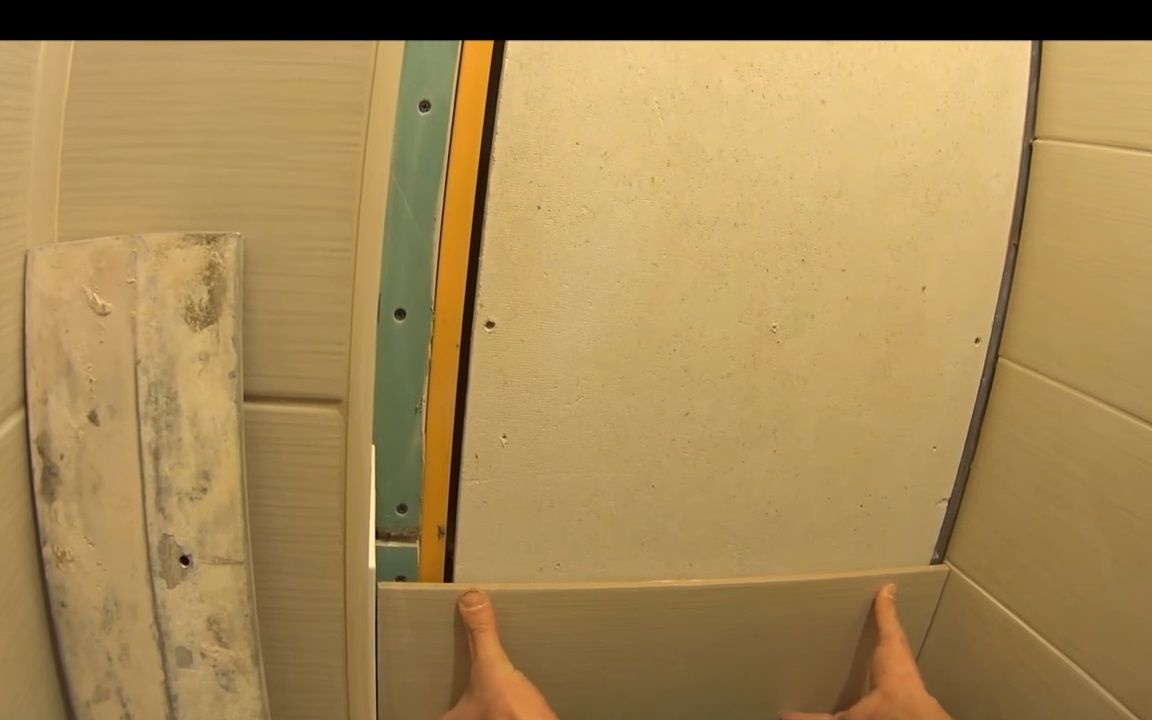
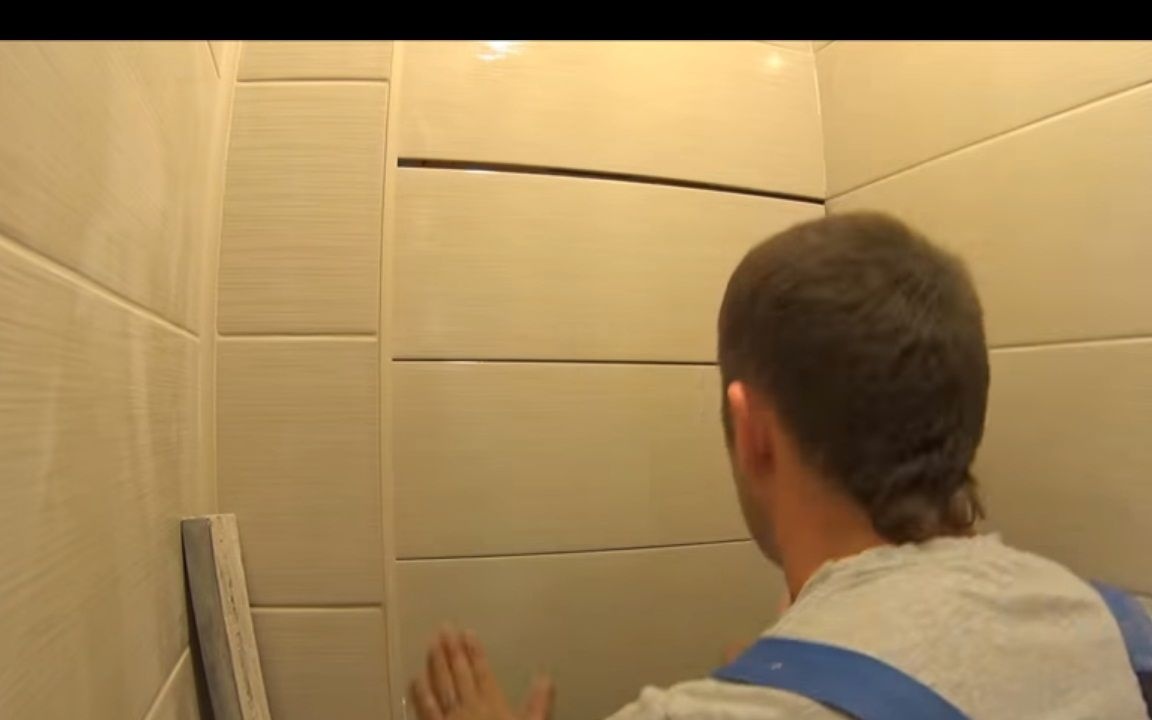
Initially, tiles are laid on all walls. If the calculation was initially made: the size of the hatch is the size of the tile, then the door will be completely visually hidden. If somewhere nevertheless there was a puncture in the calculations - you should not be upset. It will be possible to frame the hatch door and thereby correct the situation.
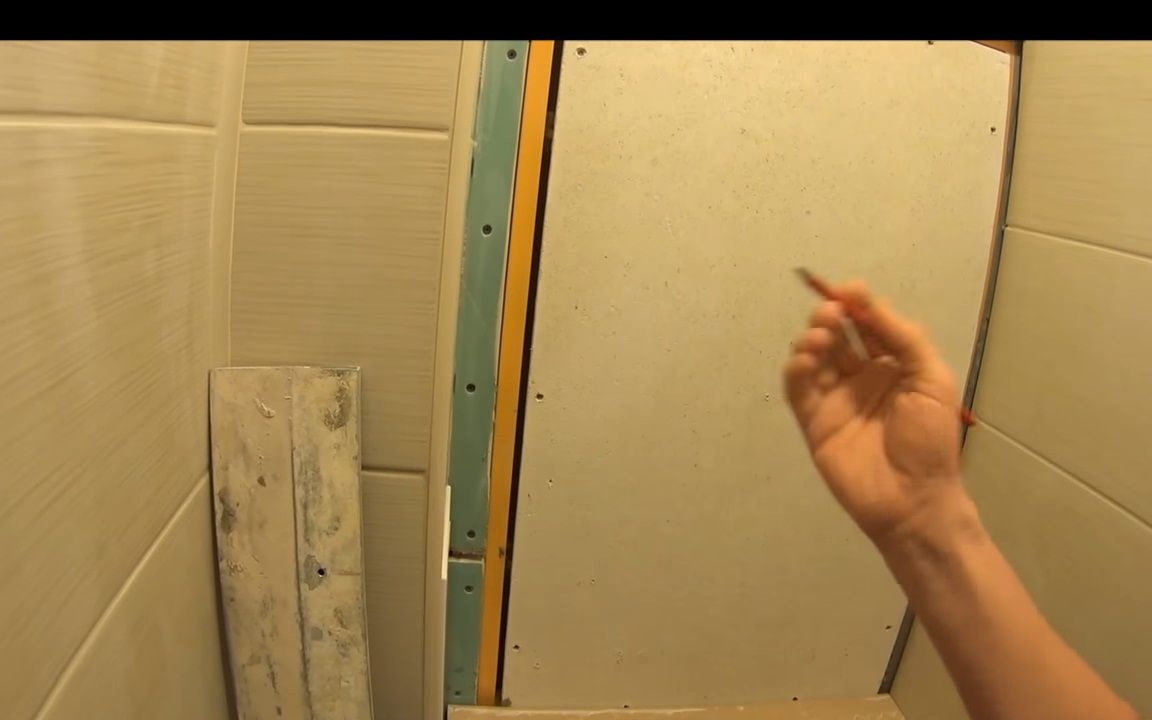
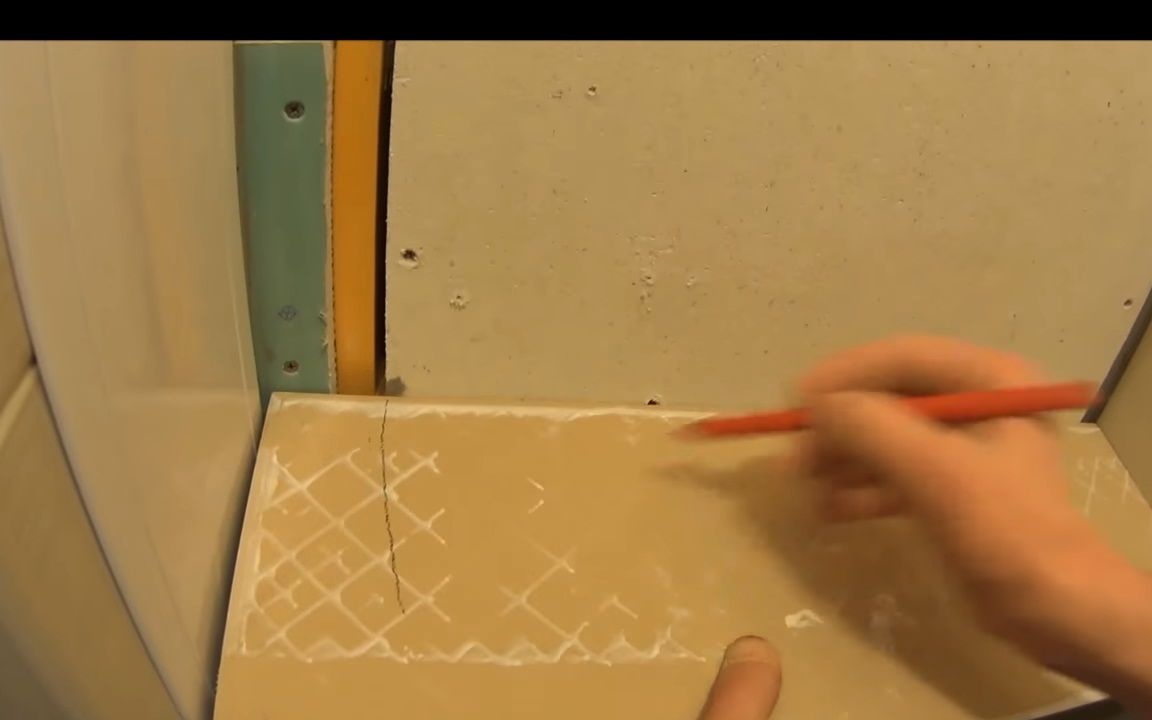
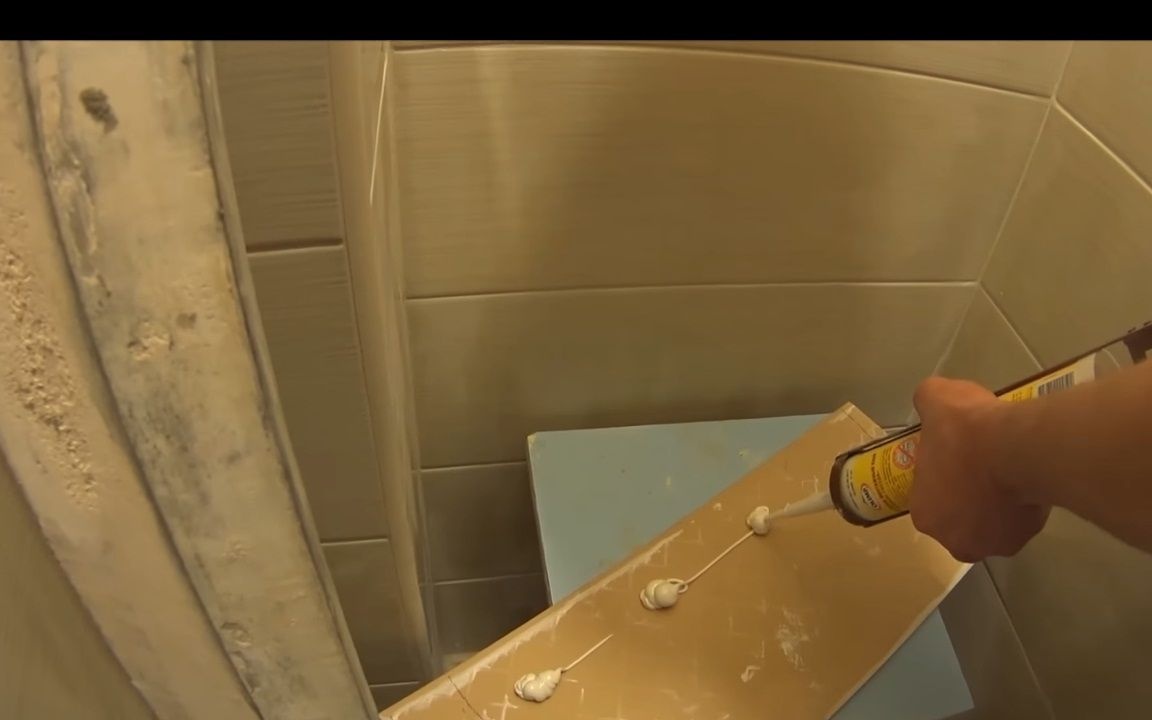
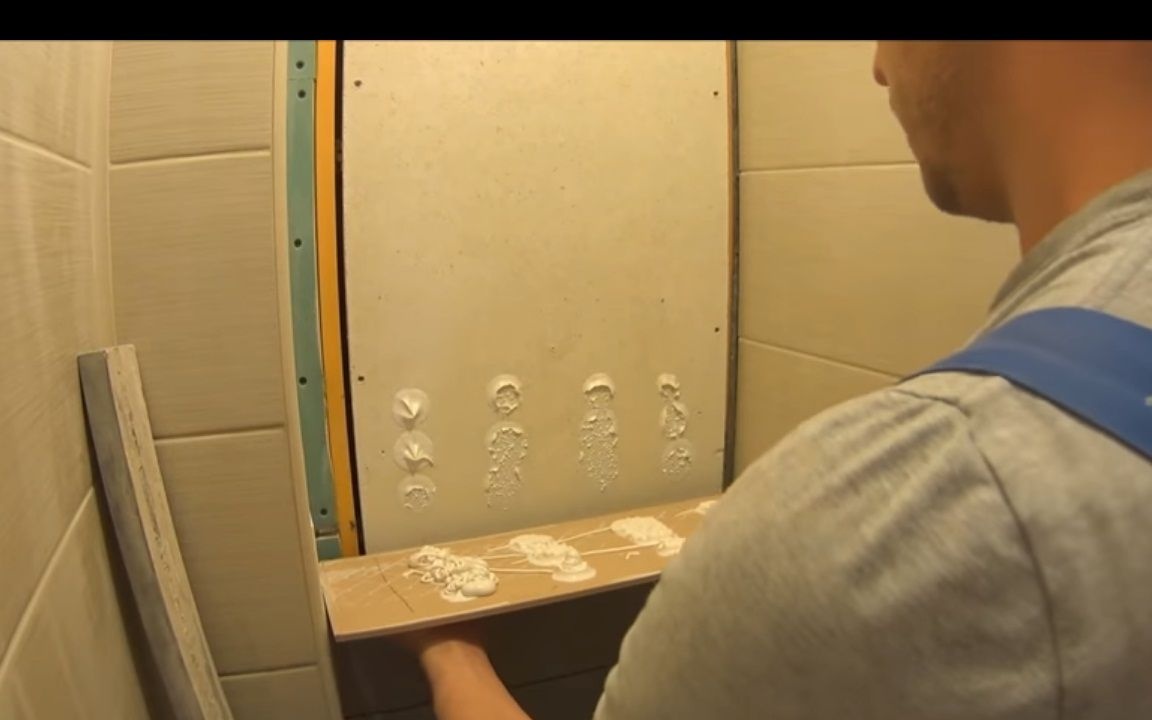
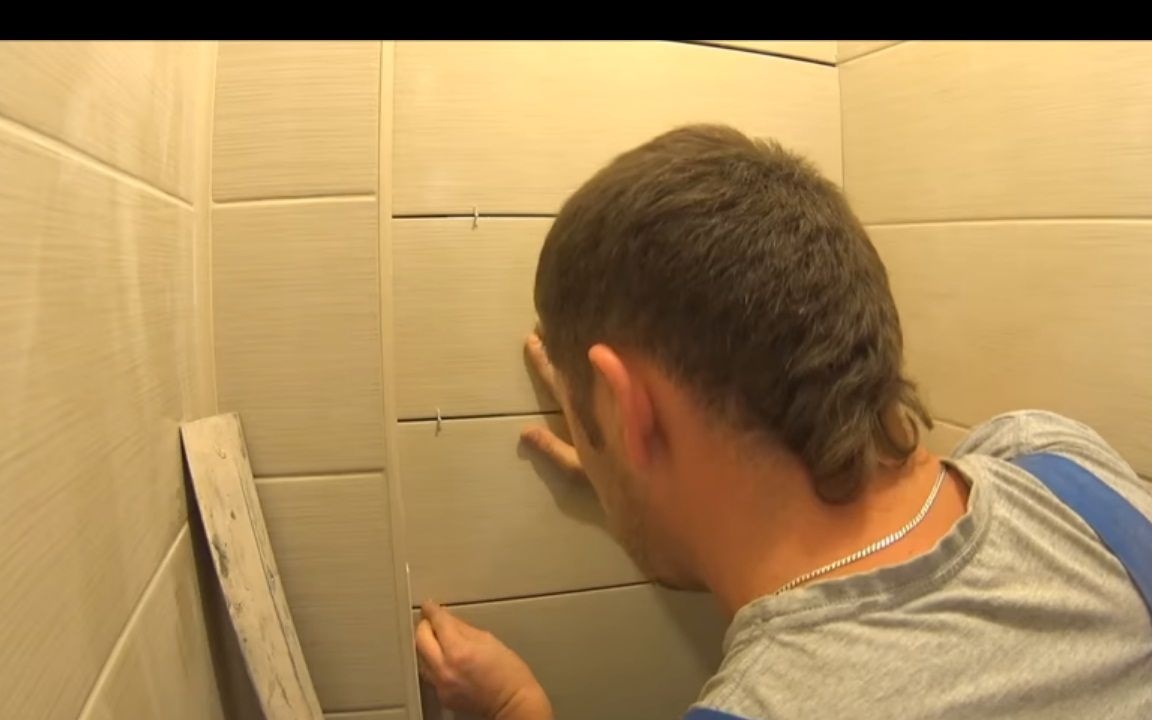
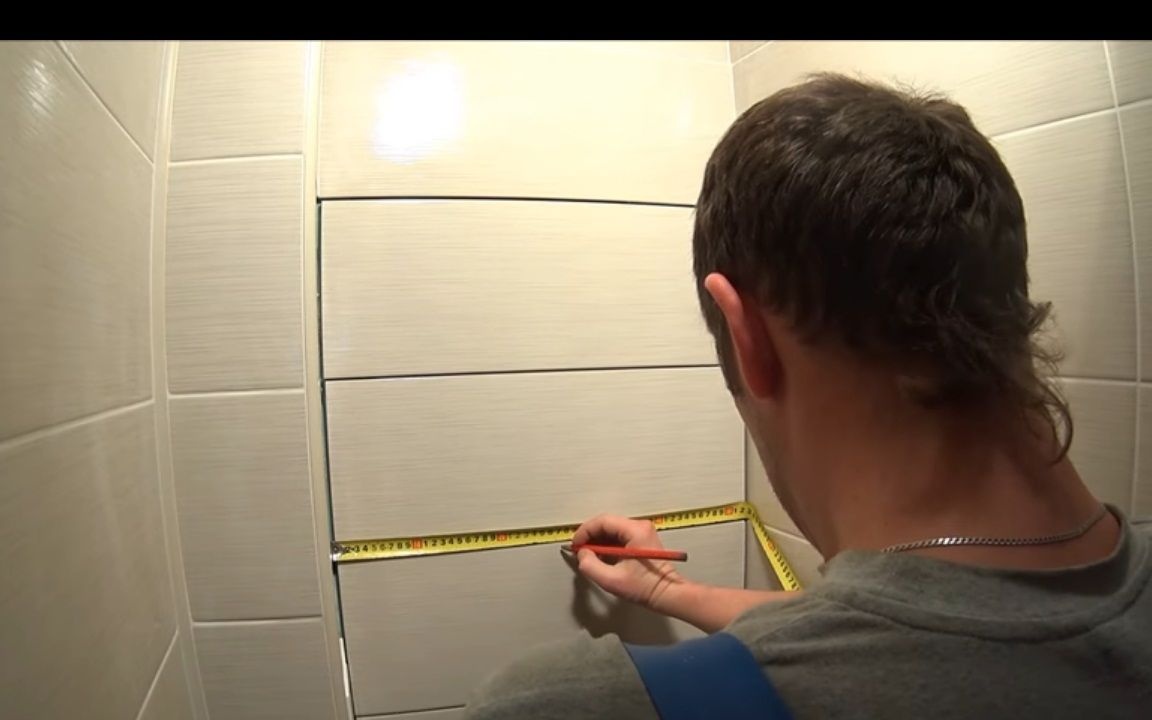
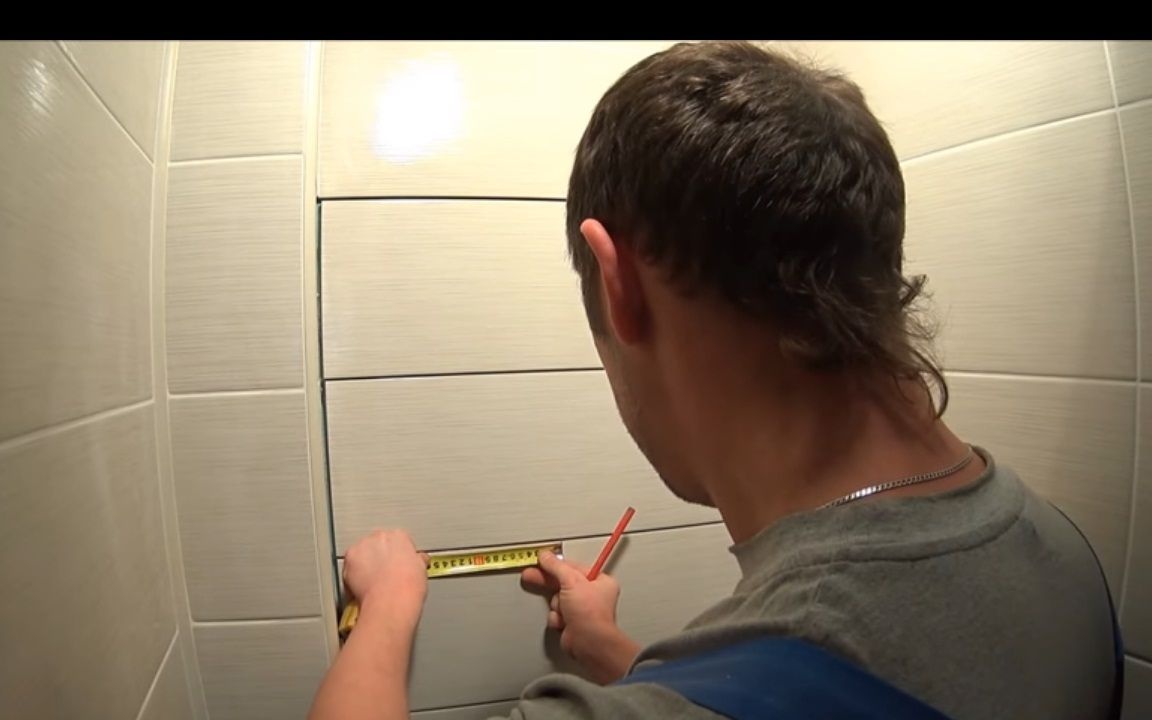
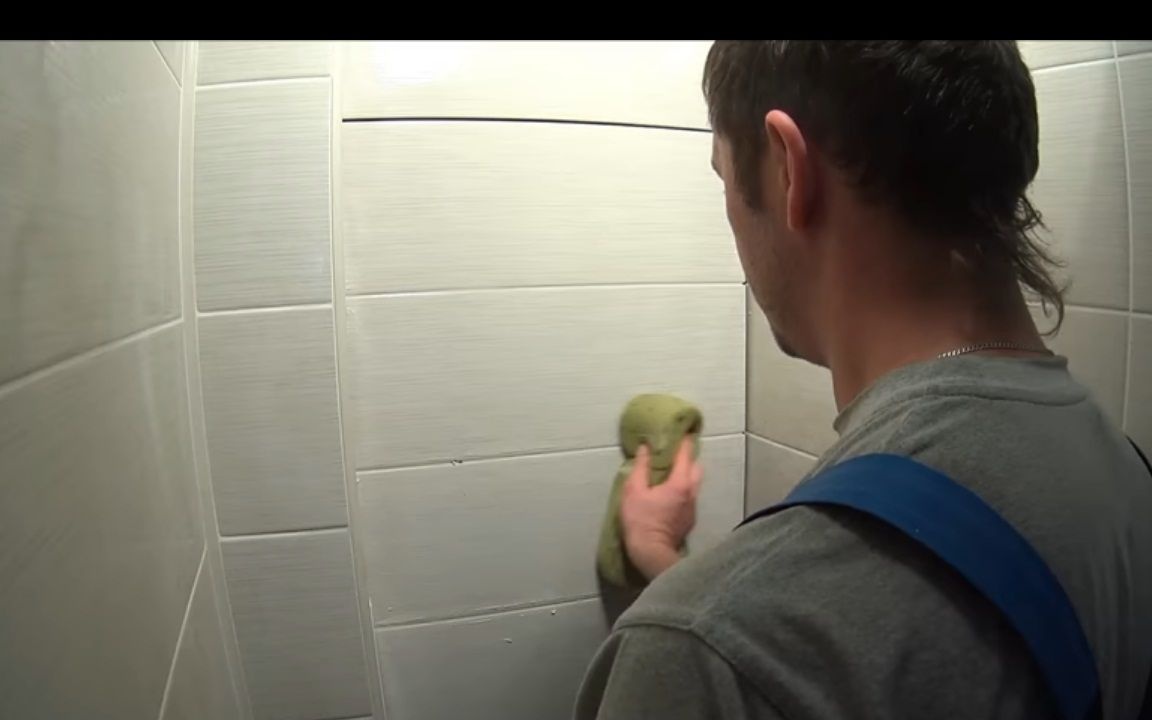
We measure the distance from the edge to the edge of the wall and transfer the data to the tile for its further trimming. After trimming is finished, we apply the tile to the wall and make a mark on it relative to the width of the door of the installation hatch. Now auto takes liquid nails and puts on the reverse side of the tile without leaving the mark. Otherwise, opening the hatch door will fail. The remaining tiles are laid in the same way. Do not forget to insert crosses between the seams so that they are the same and without defects.

Set the handle
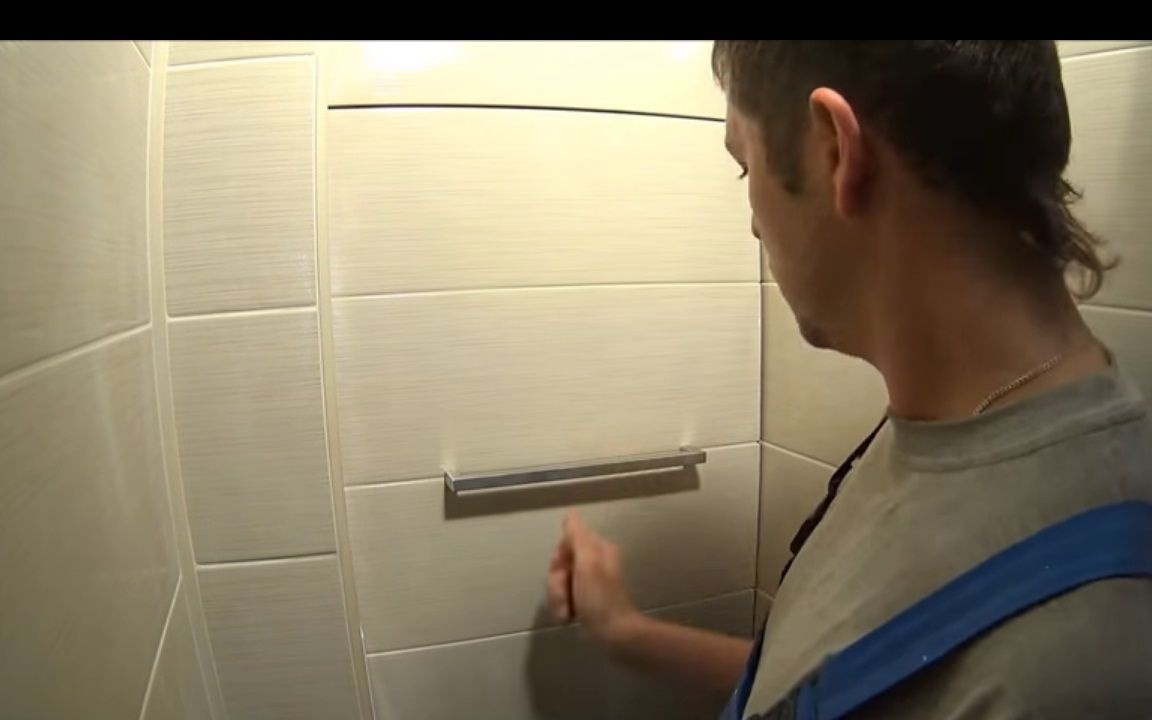
Despite the fact that the installation design provides for opening the door by pressing it, the author decided to install a handle. Due to the fact that a hidden cabinet is installed in the toilet, the handle can be used as a towel hanger.
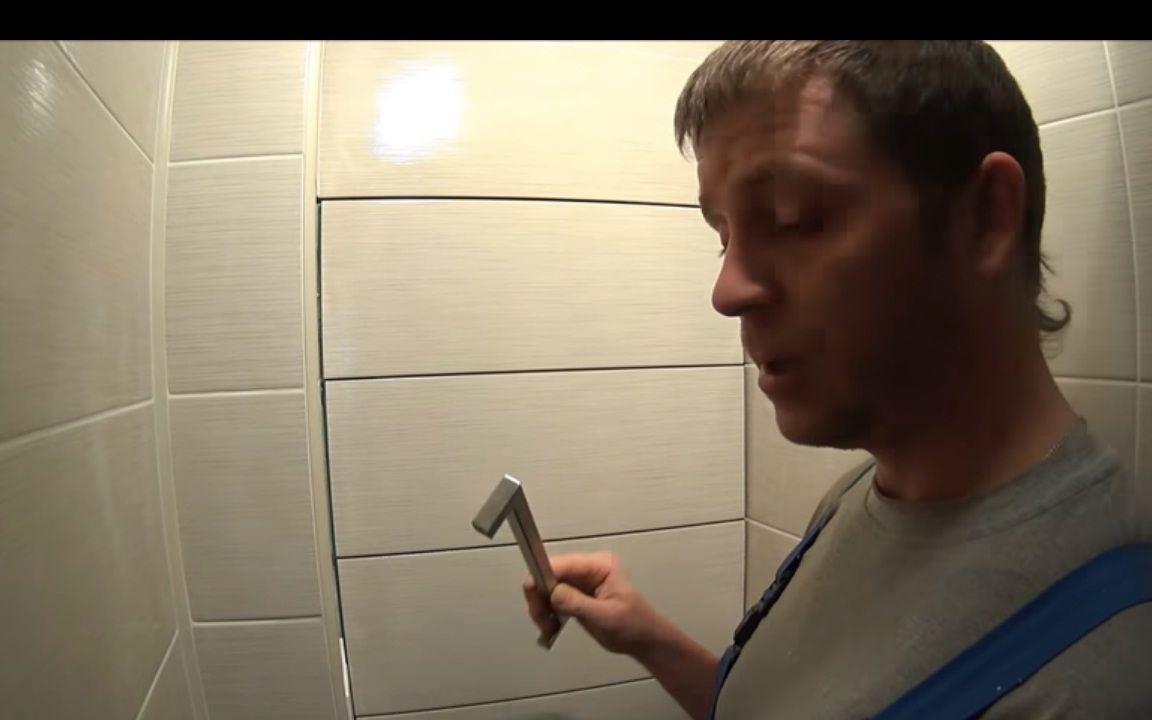
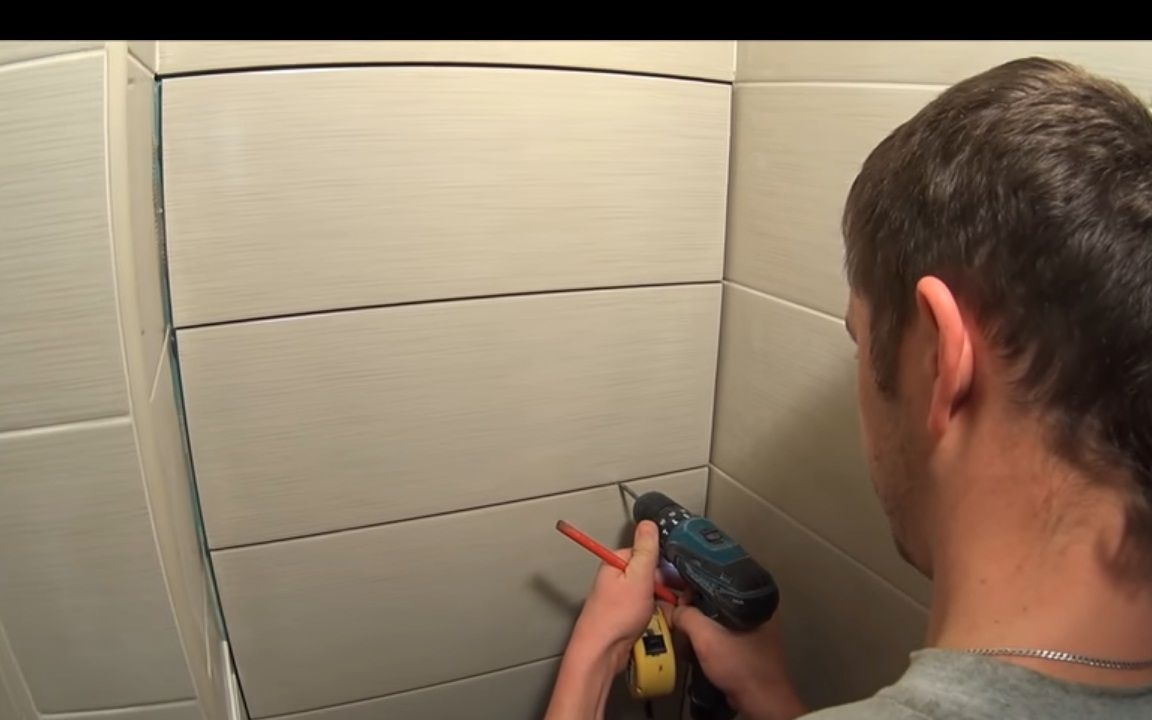
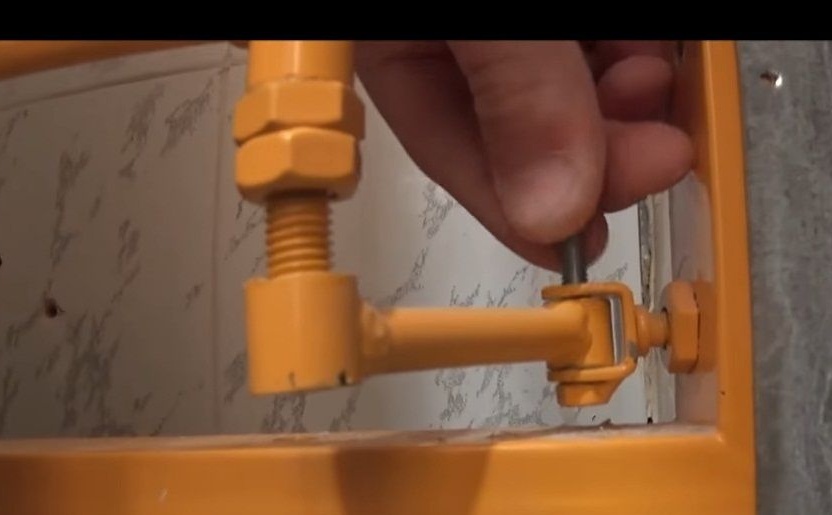
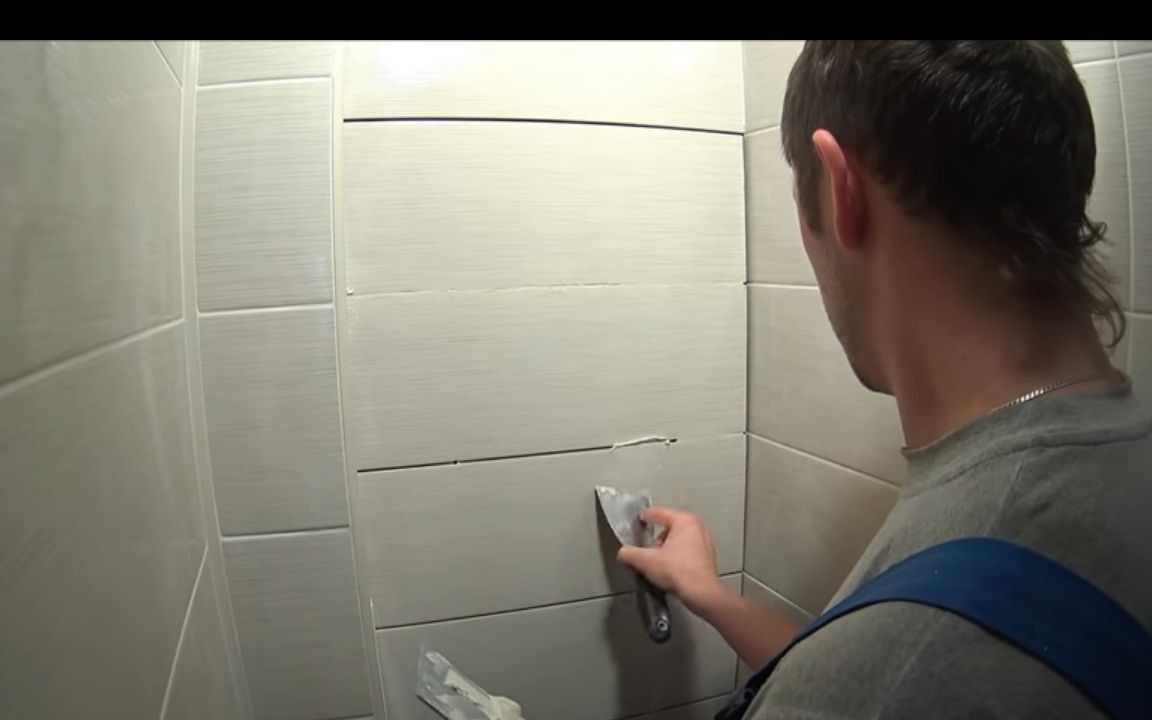
Using a tape measure, we find the center of the door. Now we measure the length of the handle (the distance between the attachment points), which will be attached and divide the resulting number in half. This value will need to be measured from the previously determined center on the door to the right and left side. Before drilling holes, it is recommended to attach a handle and check whether the marks coincide with the mounts. If everything is correct, use the drill to make 2 holes between the tiles. At this stage, we suspend the process of mounting the handle and proceed to grouting the seams. Drilled holes are left untouched, otherwise, you will have to re-do the marking to find them. We erase the excess grout with a sponge and wait until the grout dries.
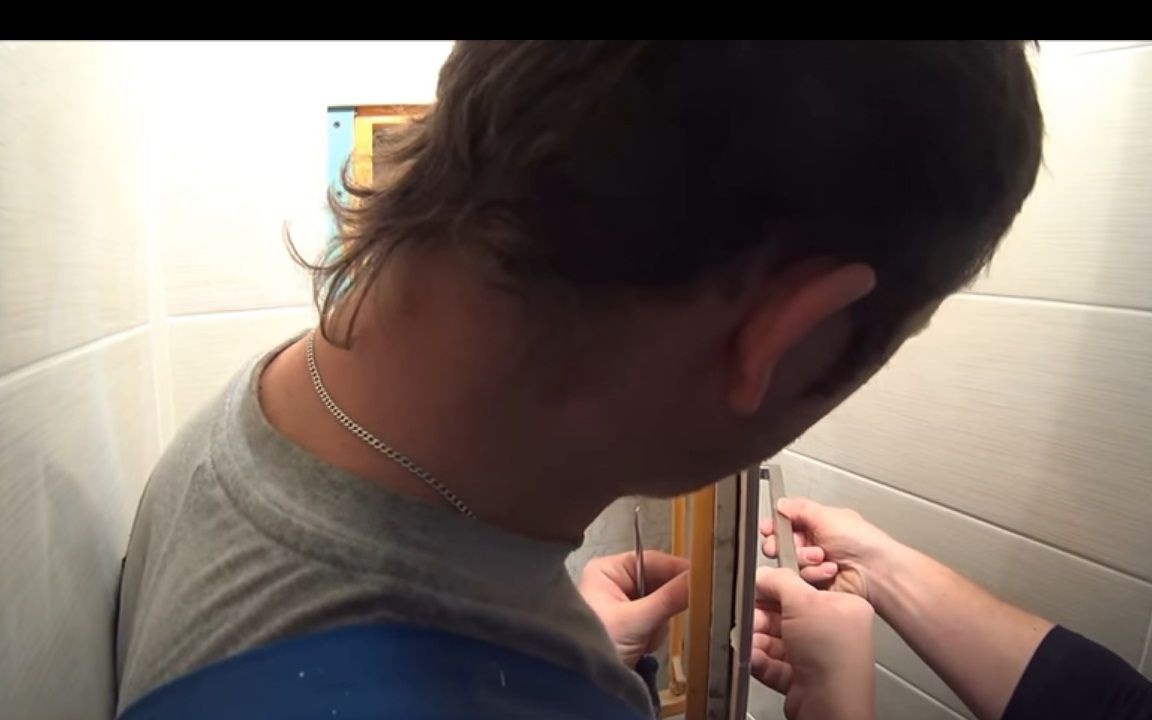
We open the hatch door and insert the bolts into the drilled holes. From the back, we bait a pen on them. We screw it with a screwdriver.
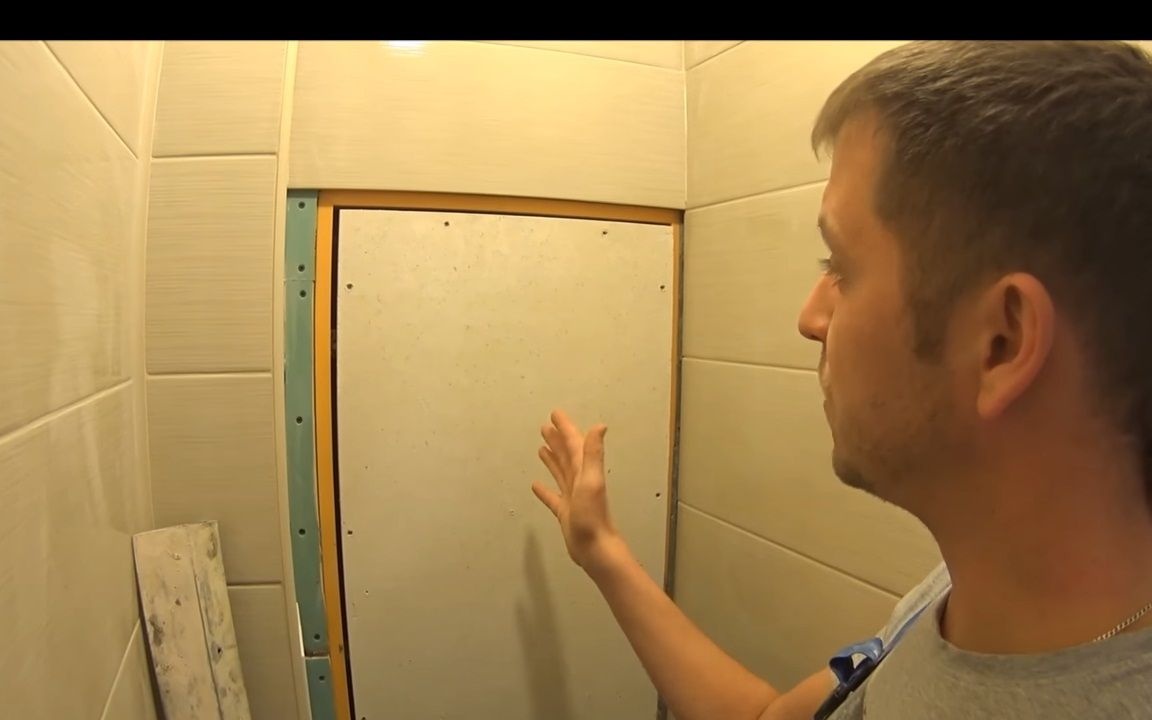
Hatch frame
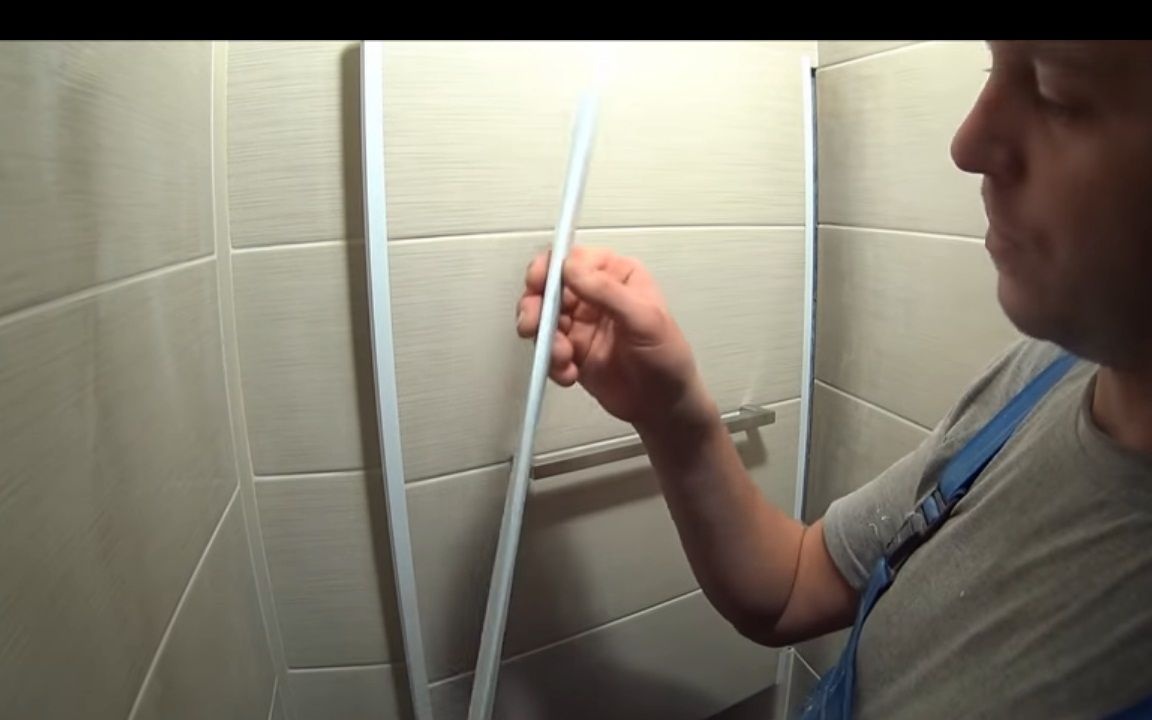
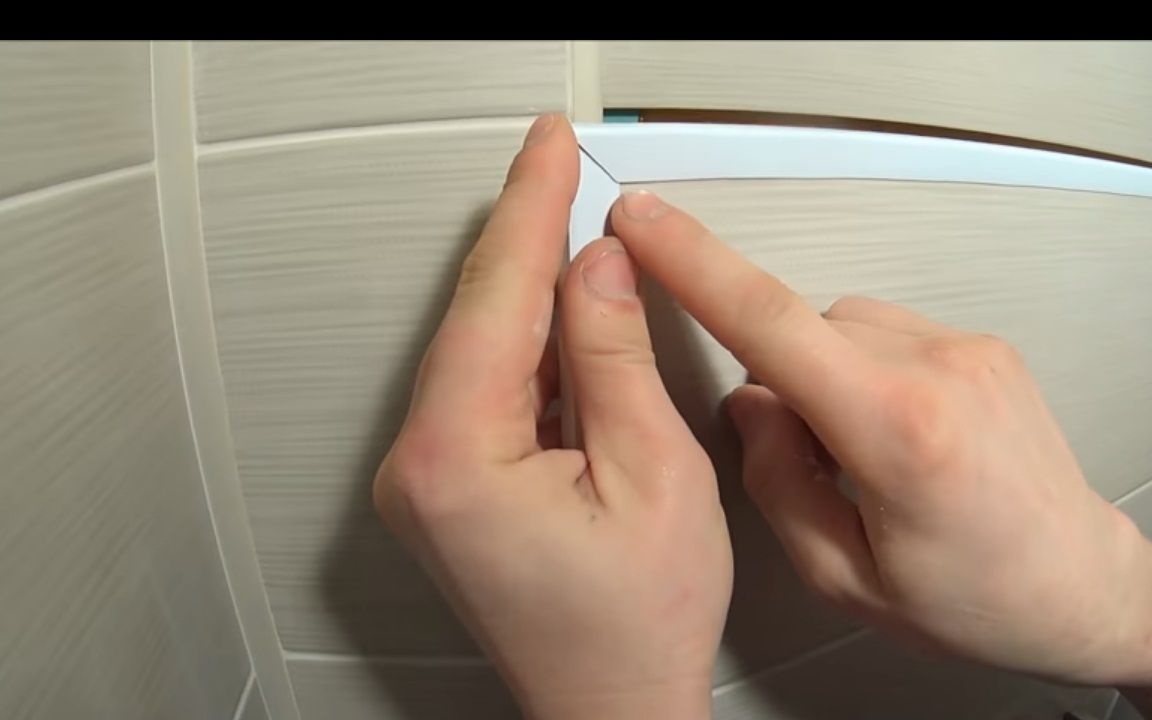
If you want or need to cover defects, we make a frame. To do this, use a tether corner and put it on the edges. To make the corners at the joints beautiful, we trim each bar at the edges under 45about. Initially, you should trim only the edges of the upper and lower corners, put everything on the structure and use a stationery knife to make a mark on the lateral corners. So it will be possible to dock the slats as correctly as possible relative to each other.
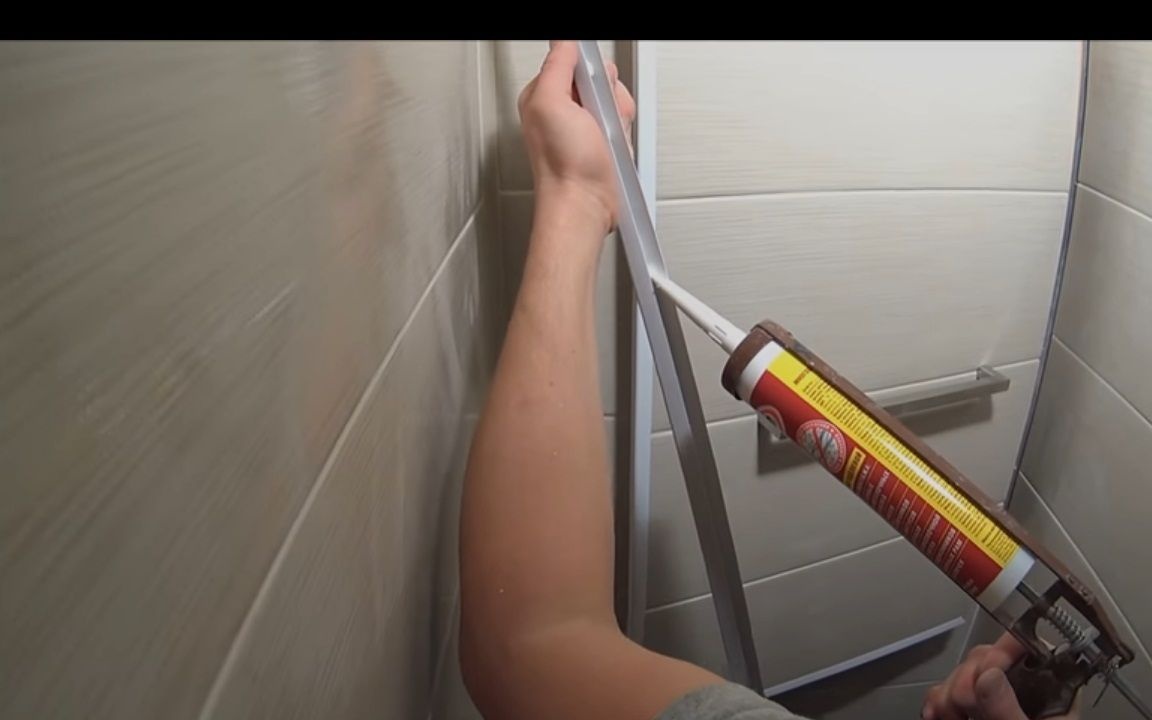
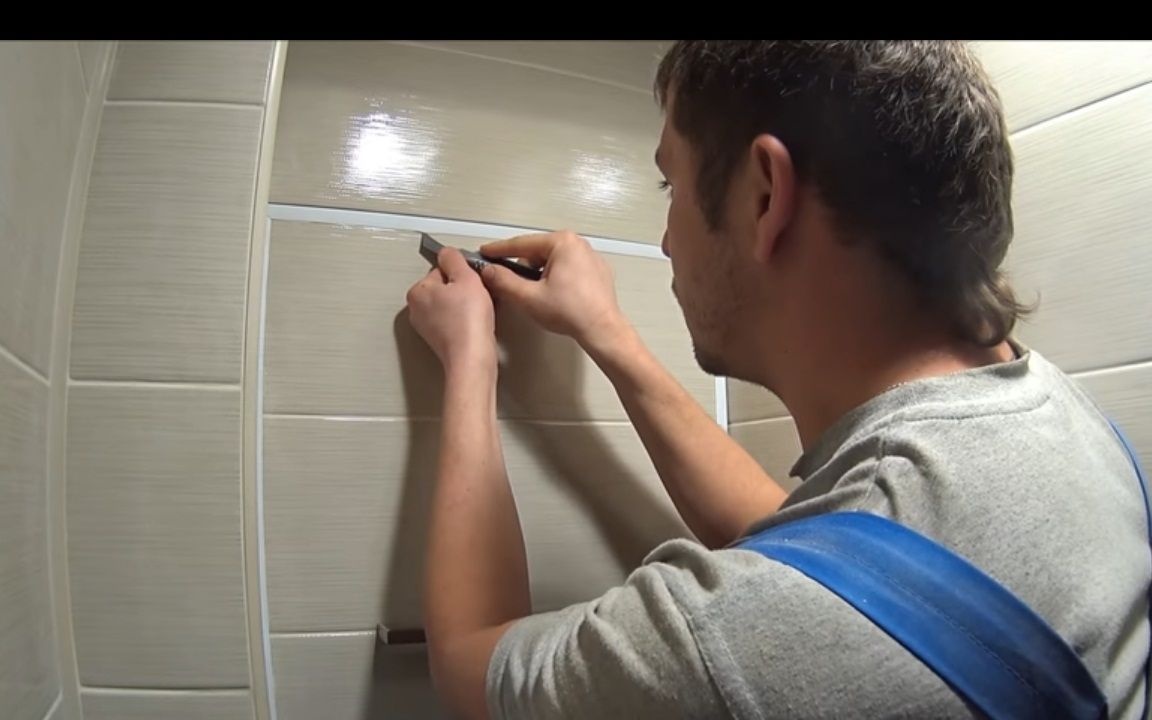
Gently apply liquid nails to the inside of the corner and glue to the door. At the edges we install wedges. They will allow you to firmly press the decor around the edges until the glue dries. When everything dries, it remains to cut off the glue that has come out with a clerical knife.
This completes the installation of the countersunk hatch. Now it remains only to make shelves behind the door to get a full cabinet.