
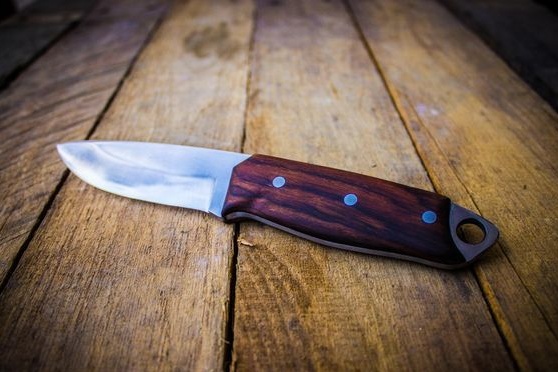

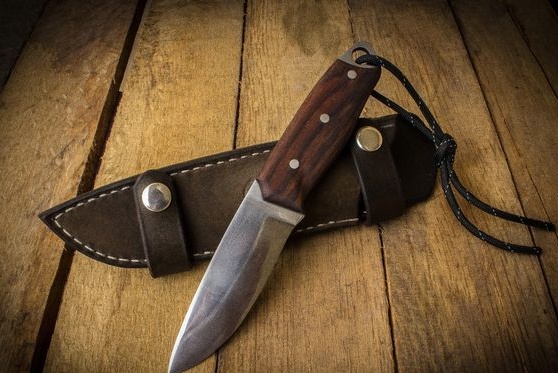


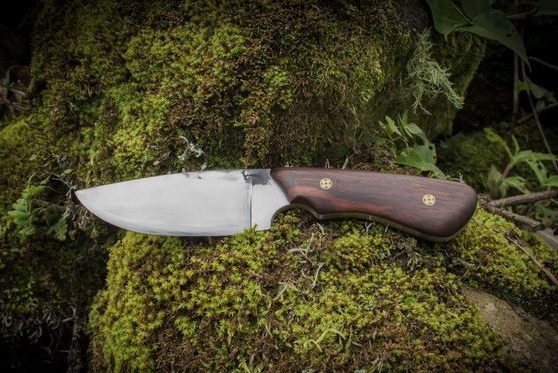

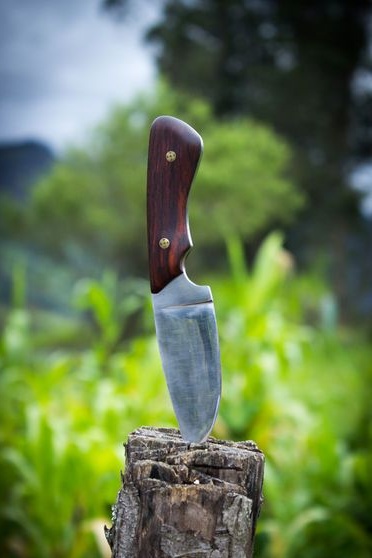
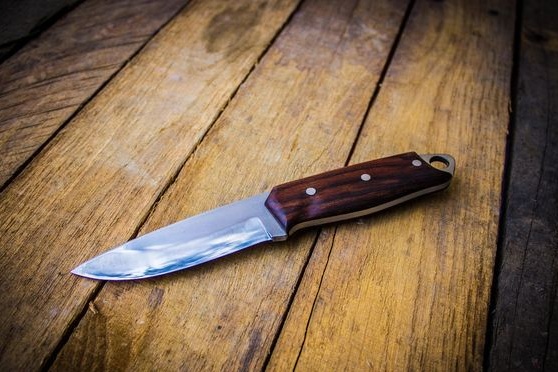
Want to make a knife like in the photo? It is not as difficult as it might seem at first glance. For the manufacture you do not need any sophisticated tools, everything is made from available materials and tools. At a minimum, everything can be done with a hacksaw and files, but it is better, of course, to have a grinder, sharpen, and ideally a belt grinder, it greatly simplifies the work process.
Materials and tools for homemade:
From the tools:
- a grinder with cutting and grinding wheels;
- files of different grain sizes (from large to small);
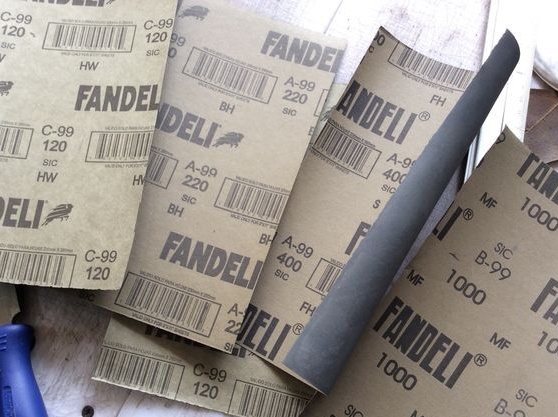
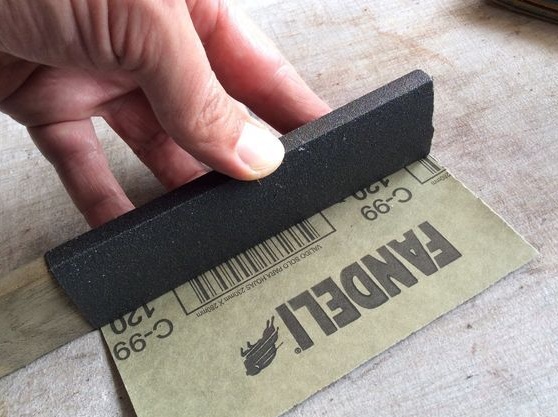
- sandpaper with grain size from 120 to 1000;
- a pair of clamps or a vice;
- drill;
- dremel;
- a furnace for hardening metal.

From materials:
- a source of high carbon steel (the author used CRA 1095);
- wood for the manufacture of pens (you can use plastic, horn, bones and other materials;
- linseed oil;
- epoxy adhesive;
- pins and other little things.
The process of making a knife:
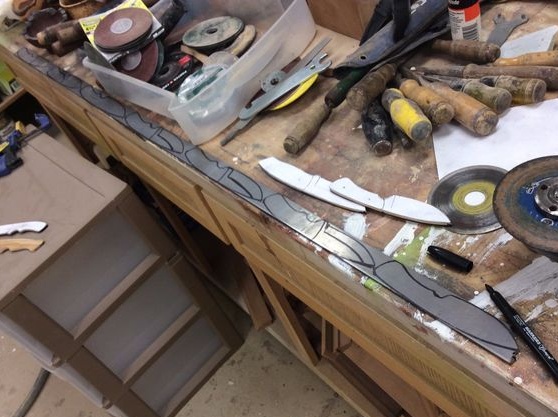
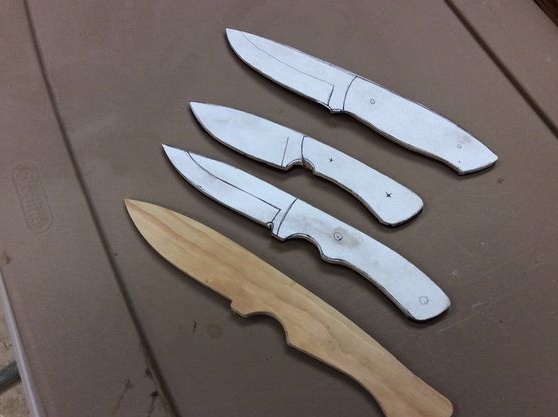
Step one. Template making
First of all, develop or find a ready-made template on the Internet. First we draw it on paper, and then cut it out. To understand in more detail what the knife will be, how it will lie in the hand, and so on, it can be cut out of plywood.
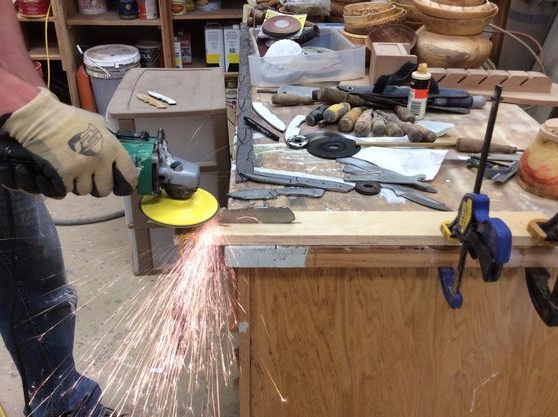
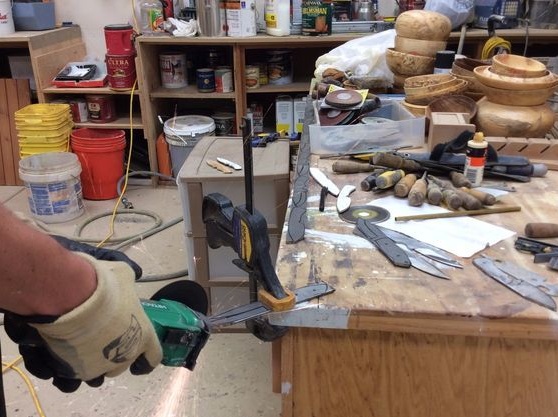
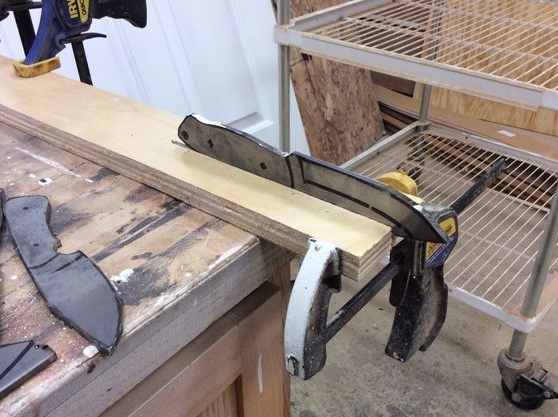
Step Two Cut a rough profile
Next, transfer the template to the metal and clamp the workpiece with a clamp. Using a grinder, we cut out a rough profile of the blade. Here you need to adhere to safety rules, as many sparks form that can get into your eyes.


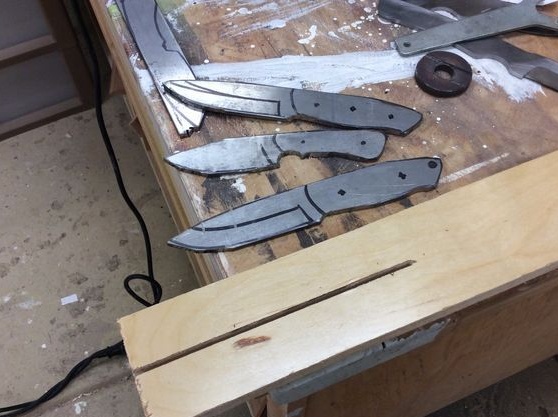
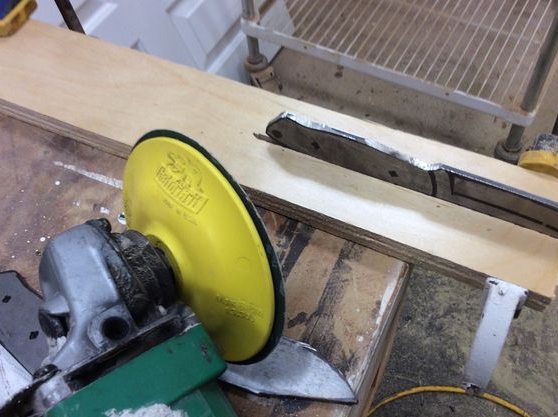
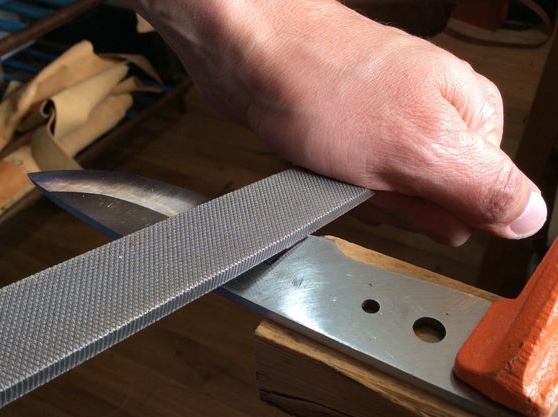
Step Three Grind the profile
At this step, it is necessary to bring the knife profile to the ideal. This can be done with files, though it will take a long time. It is better to use a small grinder with grinding discs and other nozzles.

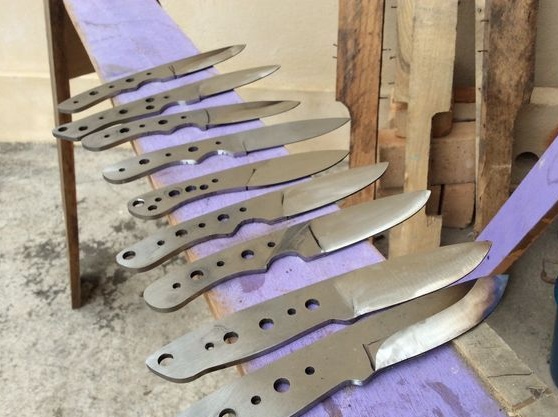
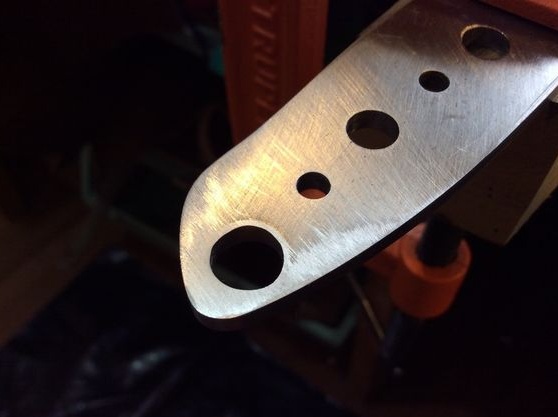
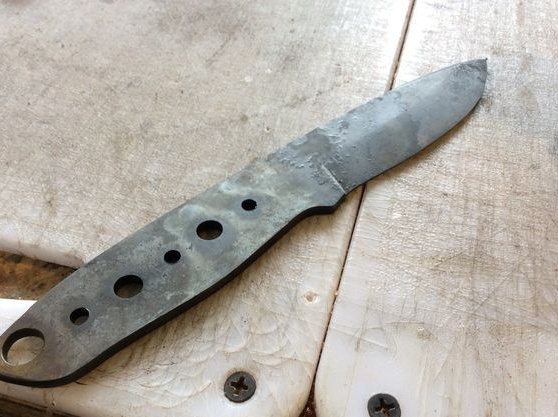
Step Four Drill holes
We take a hand drill, and it is better to use a drilling machine, and drill holes for the pins. First, the author makes holes of small diameter, and then enlarges to the desired diameter. If you want to lighten the knife, you can make a large number of holes. They will also serve for more reliable bonding of the handle.
Hurry in this matter is not worth it, since you can burn a drill. To prevent overheating, drill using oil.
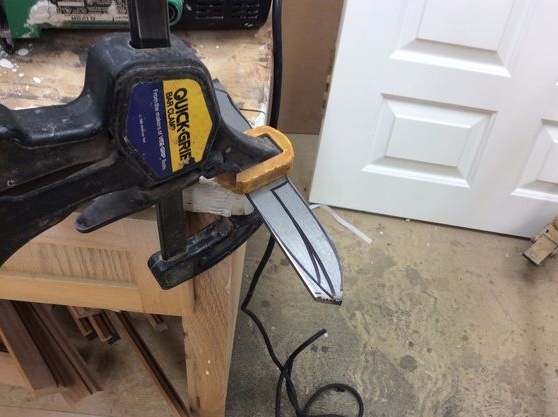
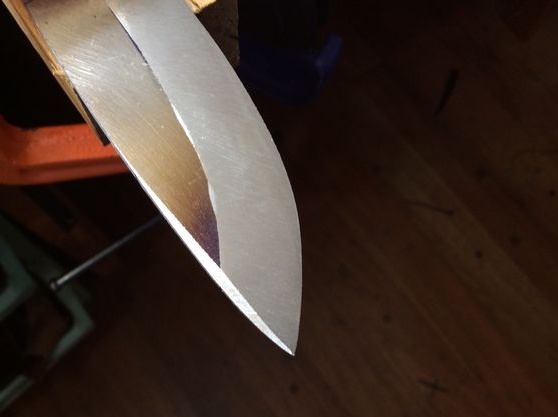
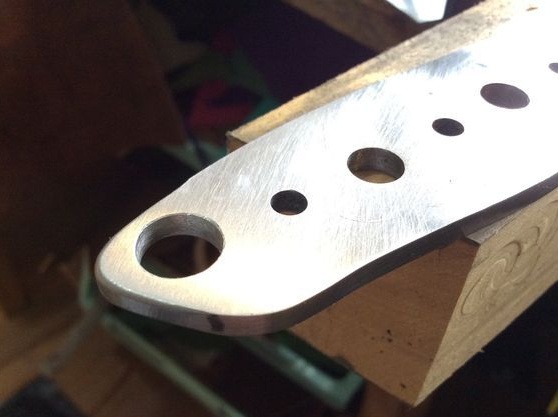
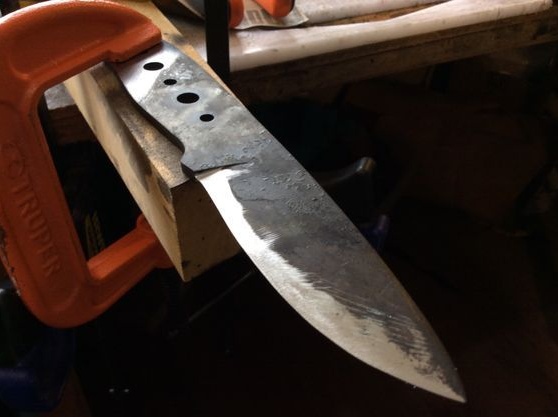
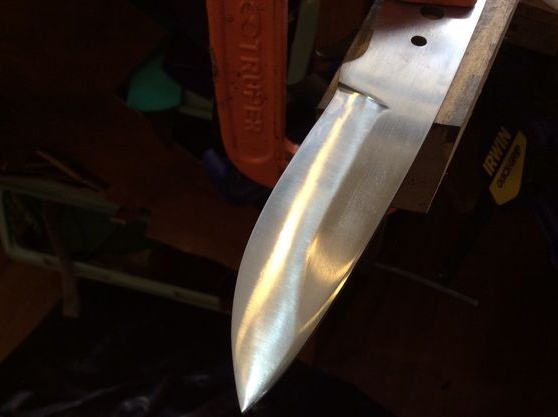
Step Five We form bevels
The bevel of the knife is responsible for its cutting characteristics.If you need a strong blade that can be chopped, make a bevel small, that is, the blade should be thick. Well, for good cutting, the bevel should go as far as possible.
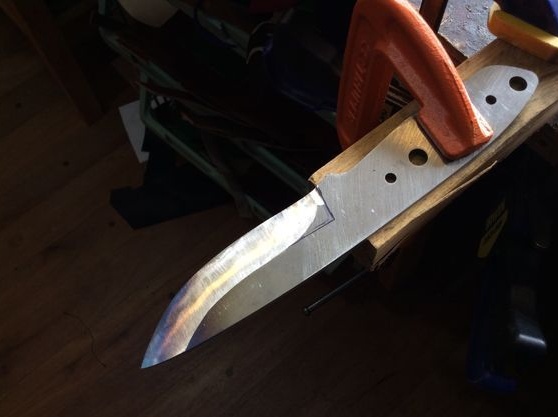
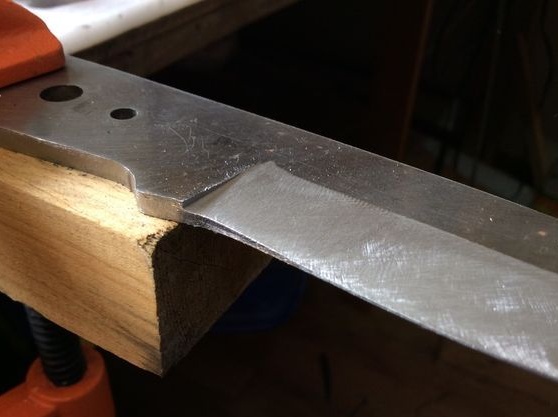
We clamp the workpiece with a clamp and use the grinder to form the bevels. True, without experience, a grinder can quickly ruin a blade, it is easier to do this with files. In any case, you will have to modify the bevels with files.
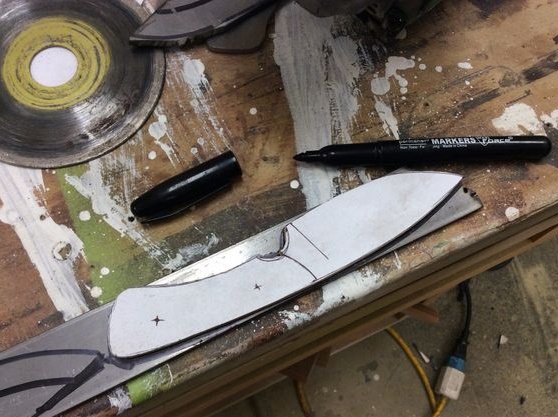
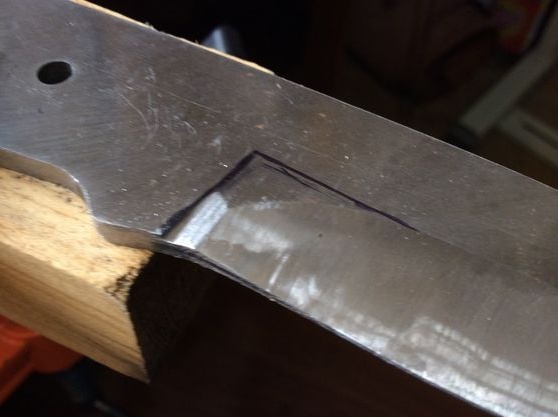
To keep the bevels even and symmetrical, mark the blade first. Draw a line along the end of the line that will indicate the center, this can be done with a drill of the same diameter as the thickness of the workpiece. Using a felt-tip pen, draw on the workpiece the area where the bevel will be distributed. Well, then a matter of technology.
Do not sharpen the blade too hard before hardening, as it can be easily damaged in the next step.
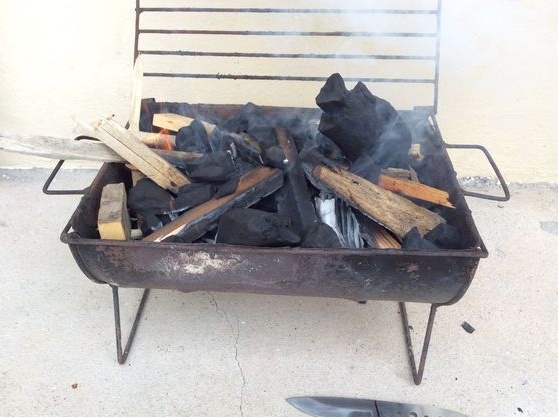
Step Six We temper steel
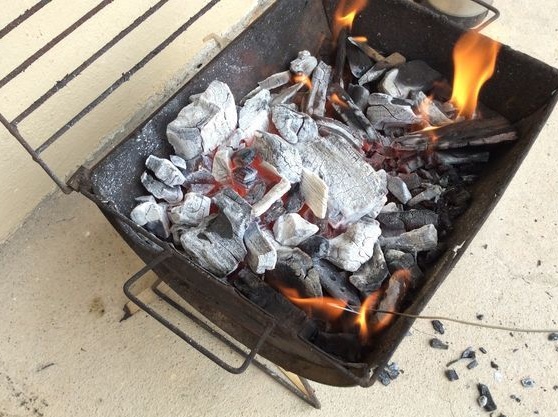
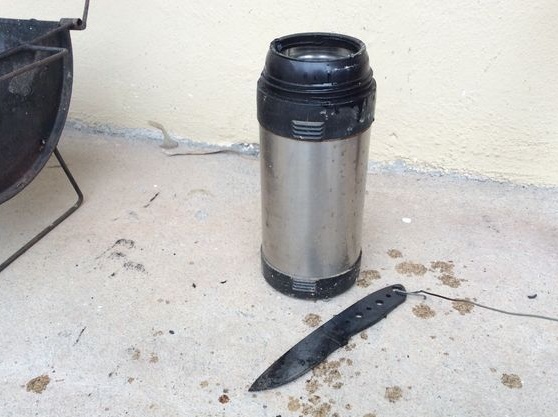
The author tempers the metal in the grill using charcoal. Tie the blade to the steel wire and shove it into the hot coals. The metal should glow to a bright orange color and should not be attracted by a magnet. Once the desired temperature is reached, cool the metal in oil. It is advisable to heat the oil so that the metal does not crack from a sharp temperature drop.
It is impossible to throw the blade into the container with oil, since after hardening it will become fragile like glass.
In order to make the blade durable, so that it can bend a little under heavy loads, the metal needs to be released a little. To do this, you need a household stove, heated to a temperature of 200-210 degrees Celsius. We put the knife there for an hour and let it cool with the oven without opening it.

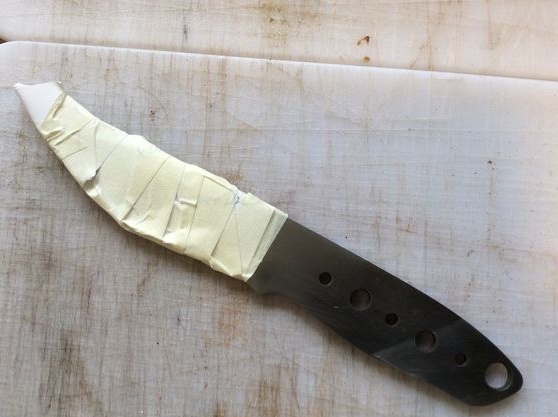
Seventh step. We clean the blade
After quenching, the metal will be all in oil soot and scale, this whole thing needs to be cleaned. We take files, emery paper and get to work. This process simplifies the WD-40. At the same step, the knife blade can be polished and ground. At the end of the work, cut a piece of cardboard, wrap it around the blade and fix it with tape, so as not to cut yourself.
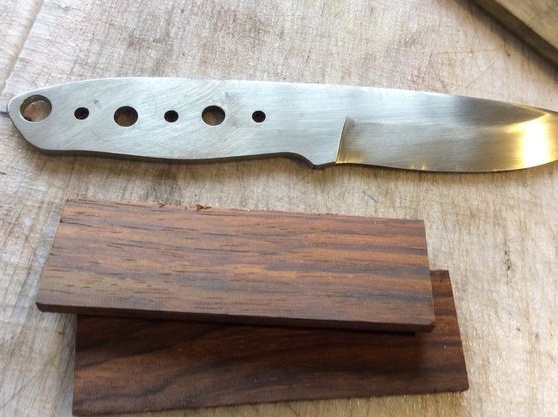
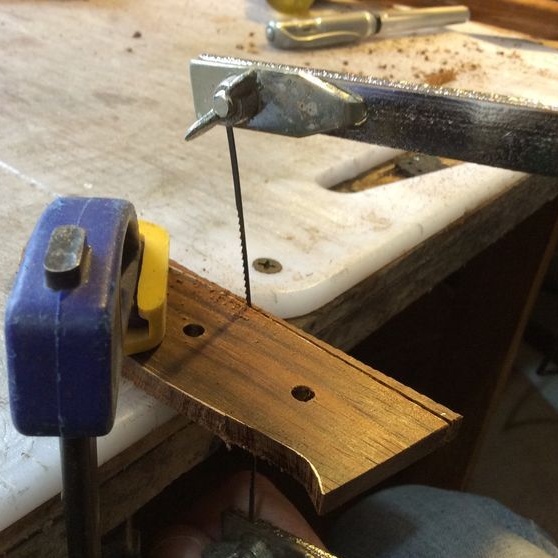
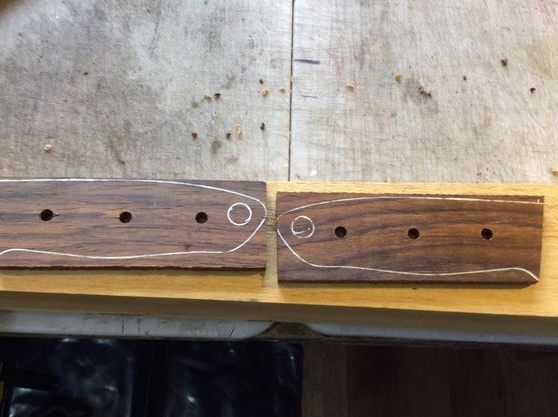
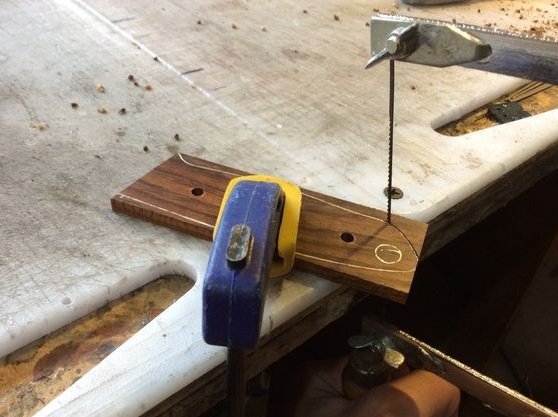
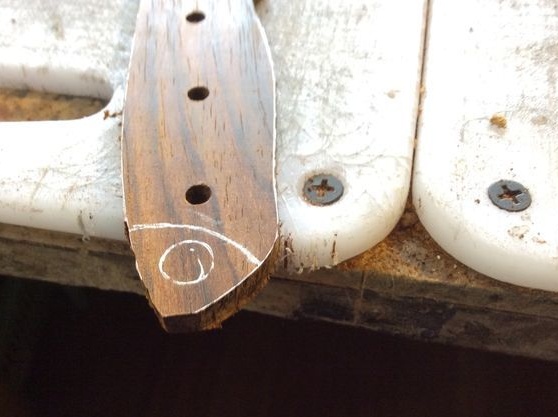
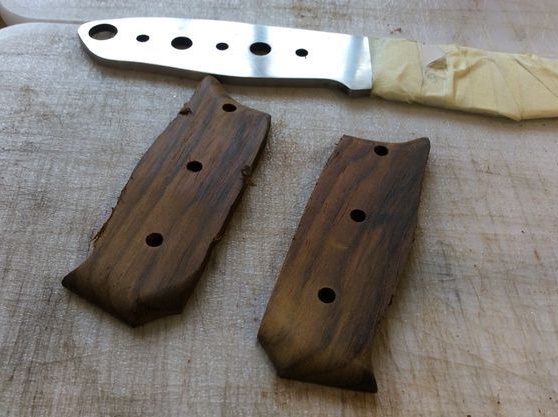
Step Eight. Pen making
To make a pen, you will need a clamp, a felt-tip pen, a jigsaw and wood. We attach the knife to the tree and clamp it with a clamp. Now we need to circle the knife with a felt-tip pen and cut the workpiece. To center the handle at the same step, drill holes in each half. Choose the diameter of the holes so that the pins fit tightly into them.

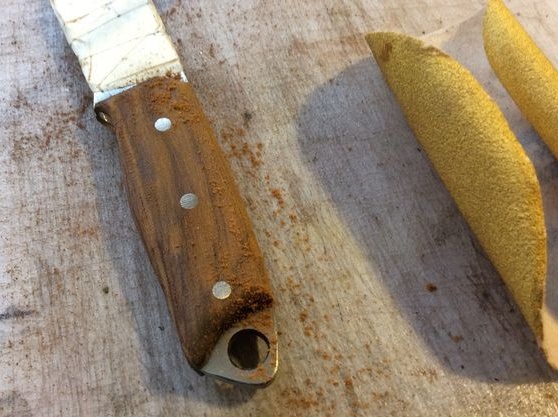
Step Nine. Glue the handle
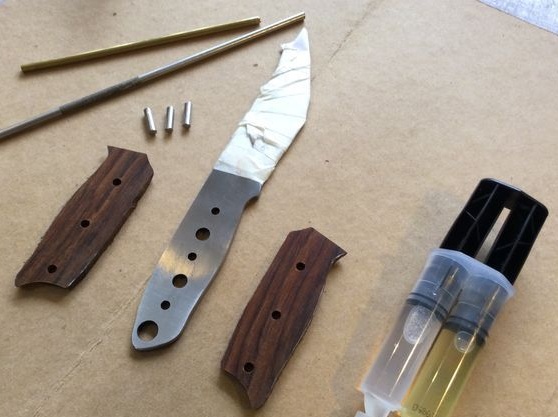
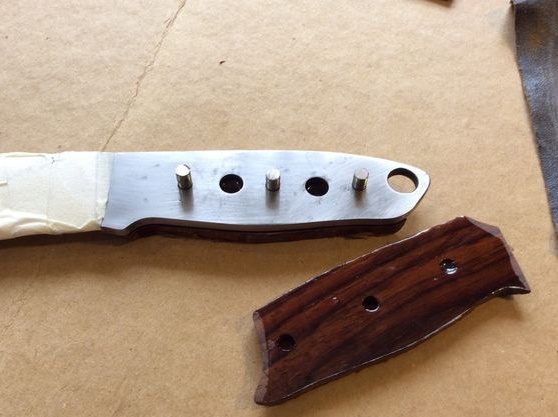
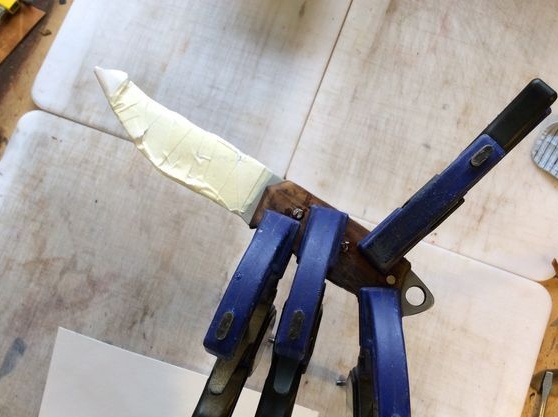
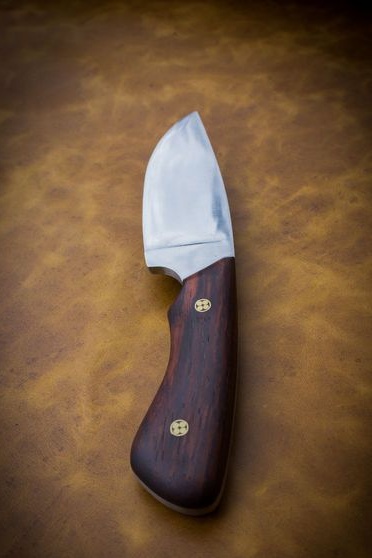
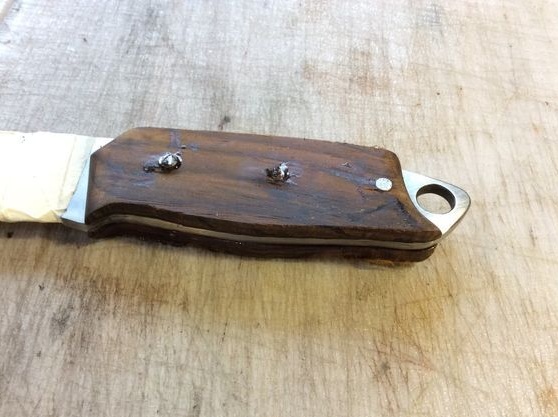
Epoxy glue is used to glue the handle. Mix the resin with the hardener and thoroughly lubricate both halves of the handle. Next, we take the prepared pins and insert them into place. The pins need to be made slightly longer so that it is convenient to assemble the handle. Then they can be easily cut and grinded. As for the number of pins, there must be two pieces to securely attach them. You can do more, they will decorate the pen. We tighten the handle with a clamp and leave the glue to dry overnight.
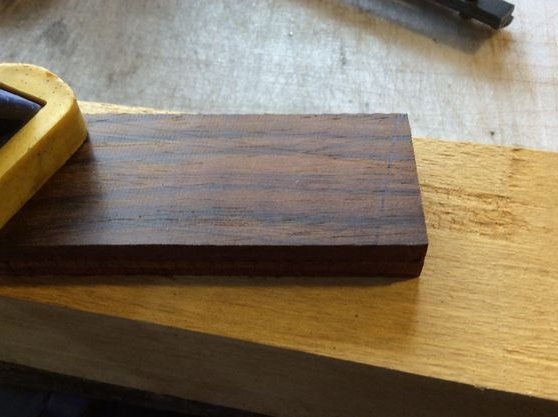
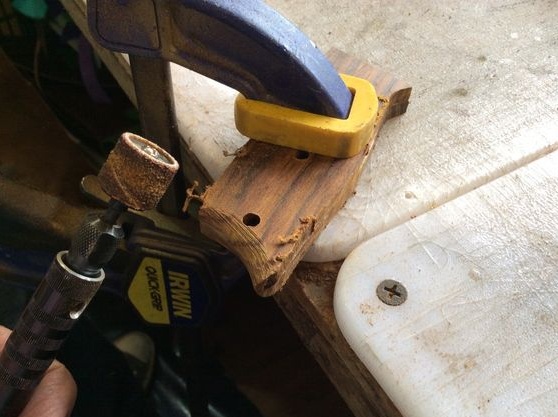
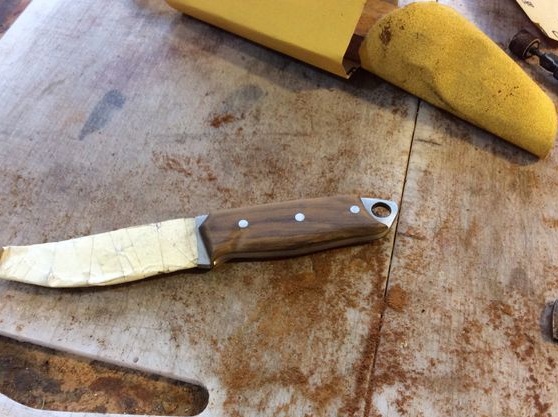
Step Ten Grind the handle
When the glue is completely dry, take a file and form the final knife profile. As soon as this is done, reduce the grain size of the file and grind it further. Then sandpaper comes to the rescue. Operating with different grit, you need to bring the handle to a perfectly smooth state.
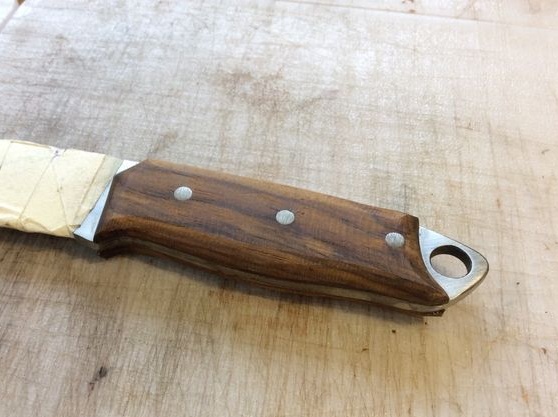
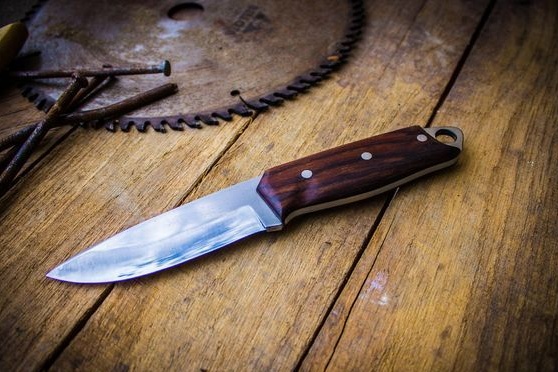
A wooden handle must be impregnated to protect it from moisture. And the appearance of the impregnation significantly improves. In the classic version, linseed oil is used for such purposes. Soak the pen and let it dry in the sun.
You can use a more modern approach, for example, apply a layer of polyurethane.


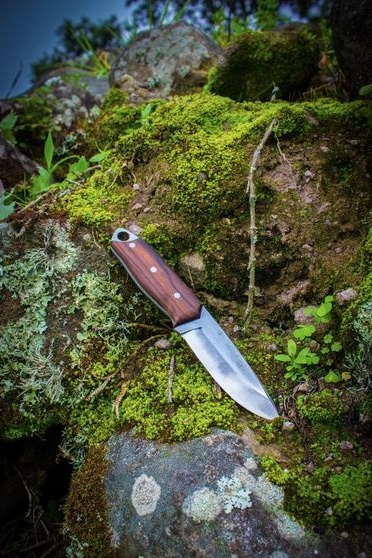

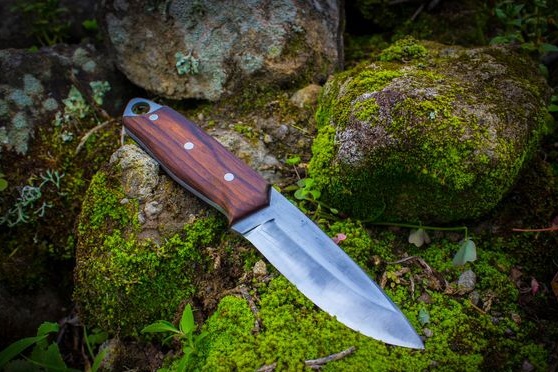
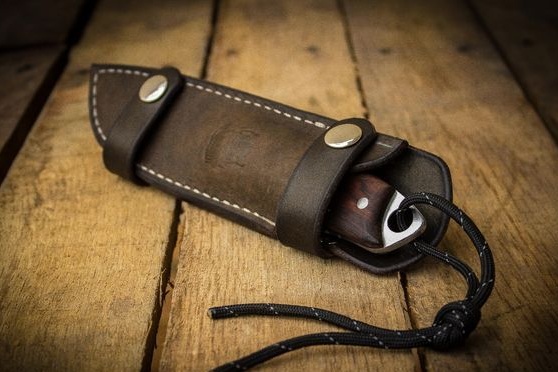
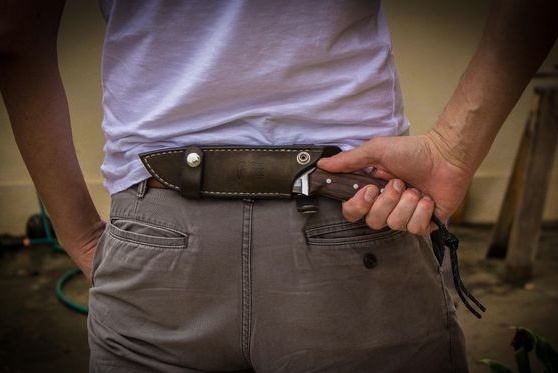
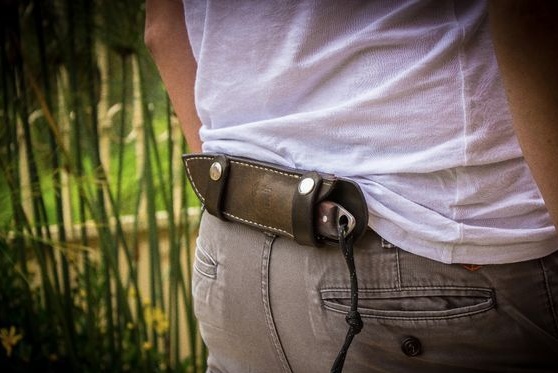
That's all, the knife is ready. Now you can imprison it to a perfect state. Water stone or fine sandpaper will do. For a knife, it is absolutely necessary to make a sheath so that it is convenient and safe to carry. You will need thick leather, sewing supplies and other little things.