
The manufacture of such a knife does not require you to have a furnace, hammer and anvil. So do it in the garage or a small workshop is not difficult. It uses ready-made steel, which has passed the necessary hardening and tempering. On the one hand, it’s good, but on the other hand it’s not very, since it will be problematic to process such a metal. It will be especially difficult to drill holes here, so it is better to choose a workpiece in which they already exist. So let's get started.
Materials and tools for making a knife:
For the manufacture of this knife you do not need a large number of tools, but the ones listed below will greatly simplify the process.
Material List:
- carbon steel billet (the author already has hardened steel with drilled holes);
- beautiful wood species for the manufacture of pens;
- copper wire and aluminum tubes (for the manufacture of unique pins;
- glue for wood;
- epoxy adhesive.
Tool List:
- A good set of files (you will need files of different grain sizes and shapes);
- a hacksaw;
- sandpaper with grain size from 40 to 600;
- hammer;
- a drilling machine or a hand drill;
- clamps and more.
It would be nice to have a grinder, a dremel and a belt sander.
The process of making a knife:
Step one. Metalworking
The author outlined the entire process for processing the workpiece in one step. If you have experience in the manufacture of knives, then I think this will not create great difficulties. I will describe only the main points of this process.

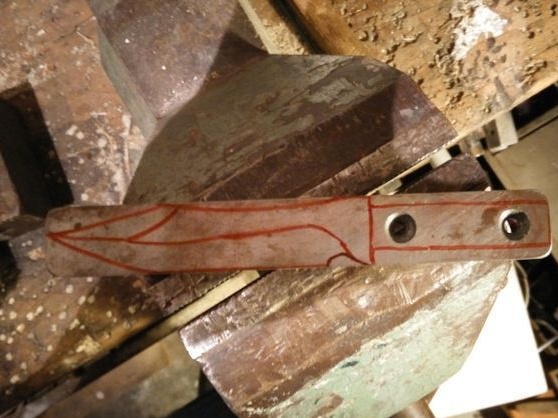
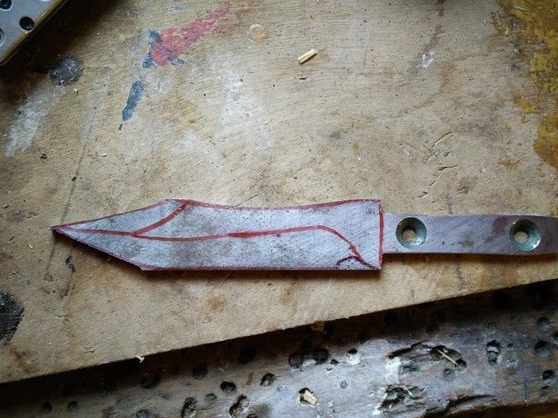
First of all, we make a knife template. Ideally, it is done on paper, and only then it is cut out and transferred to a knife. But you can immediately draw it on metal, if everything is fine with the drawings. You can create your own blade profile, you can find it on the Internet, or you can combine both of these steps and upgrade the already found profile to your taste.
Next, we cut out the profile, this can be done with a hacksaw for metal or a grinder, and the profane use band saws for metal. It is not necessary to strive to cut out all the bends of the profile, if it does not work out, just cut straight.
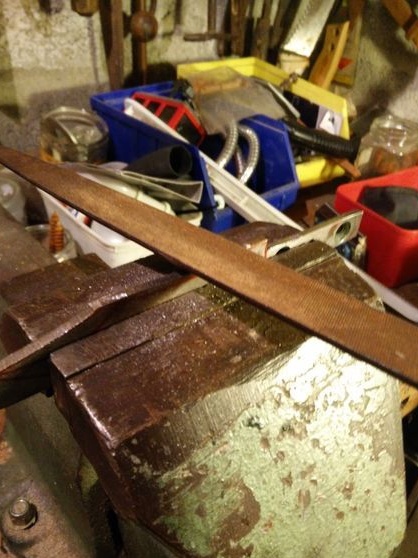
As soon as we cut out the main profile, we take the files and grind all the excess that we could not cut with a hacksaw. If you have a grinder, you can cut off the problem areas with the help of a pee or cut there first cracks, and then cut off the excess in a separate piece. How and what to cut / grind, I think, you will understand.
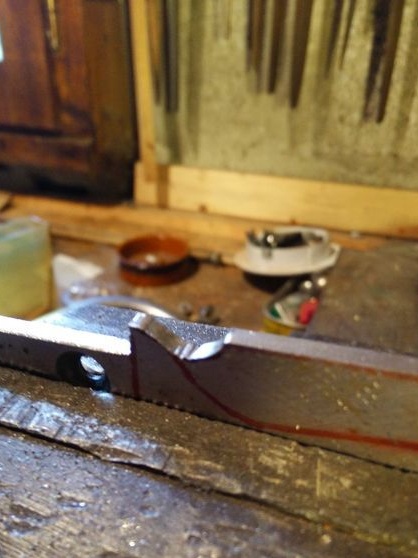
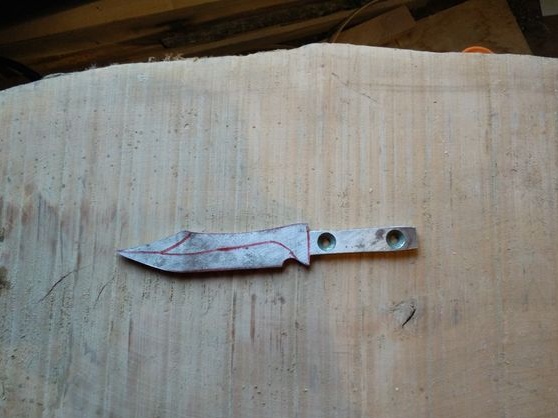

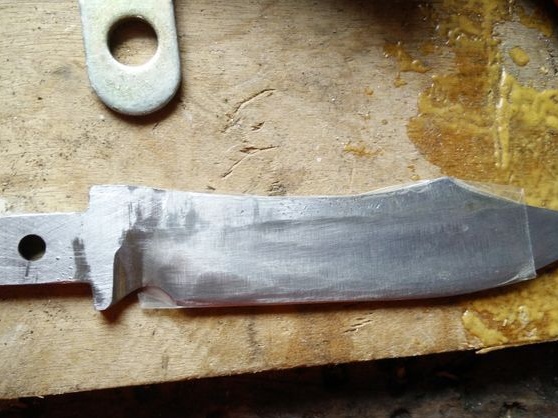
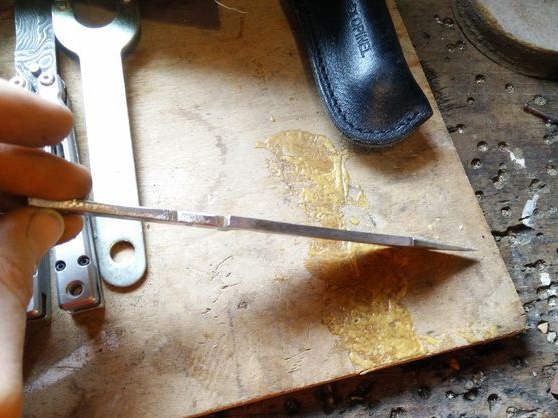
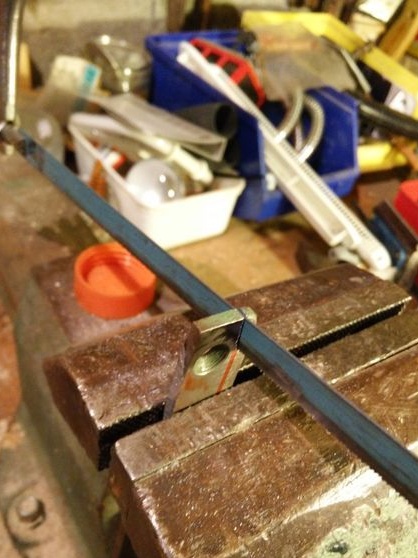
Now it is time to form the bevels, this is a crucial moment and requires accuracy. We draw a line in the end part of the future blade that will divide it in half, for this we apply the knife to a flat surface and draw a line using a drill of the same diameter as the thickness of the workpiece.
With the help of a felt-tip pen, you must draw lines to which the bevel will reach.
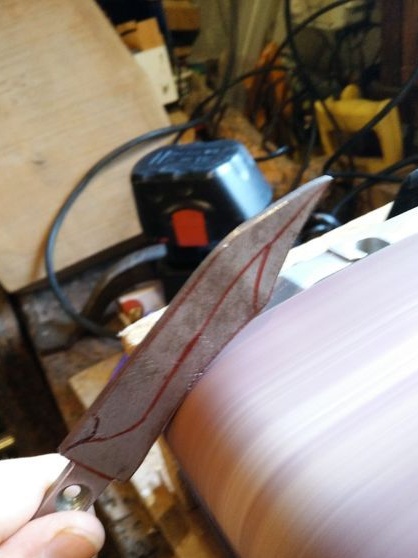
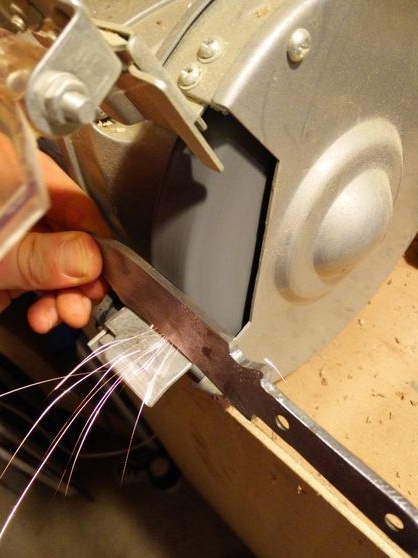
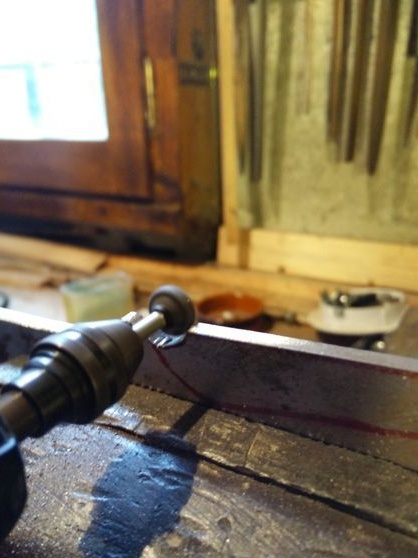
Well, now we again take files, a grinder and grind the excess. If you are going to work as a grinder, sharpener or grinding machine, be careful not to overheat the metal, otherwise there will be a vacation and the steel will become soft, but we will not temper it! When overheated, the metal changes color. To prevent this, the workpiece is periodically lowered into the water.
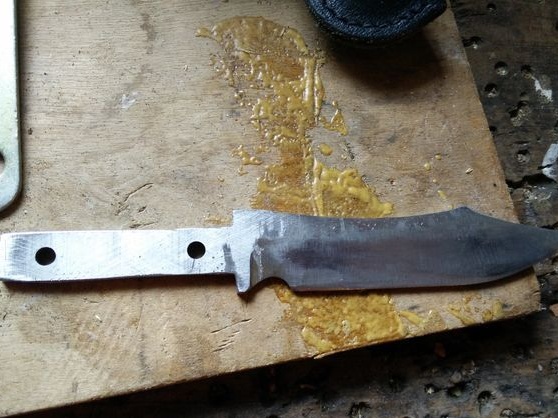
At the end, sand the blade over the entire surface, reducing the grain size of the sandpaper from the largest to the smallest.
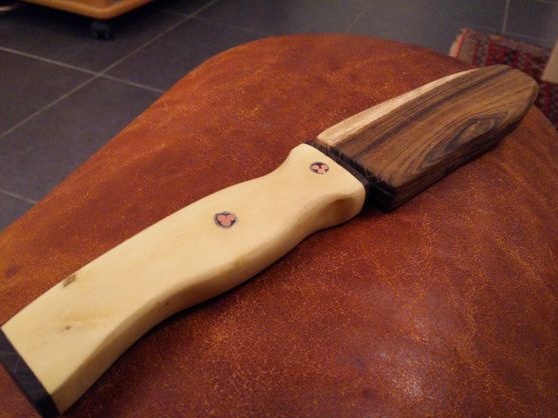
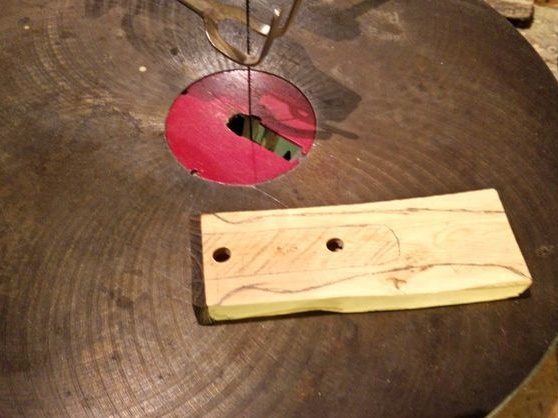
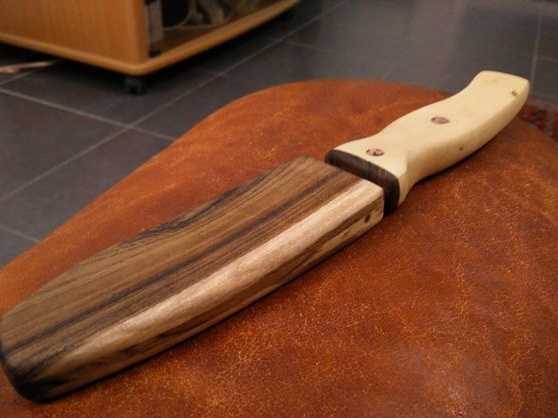
Step Two Pen making
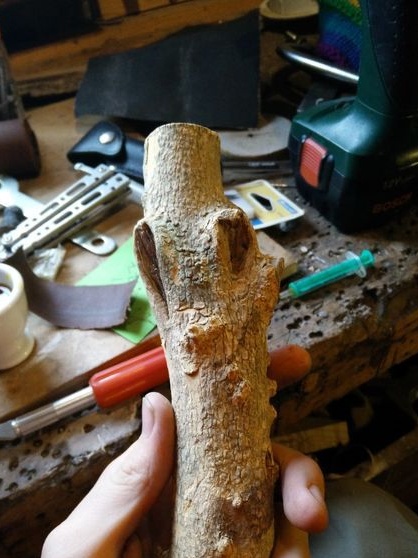
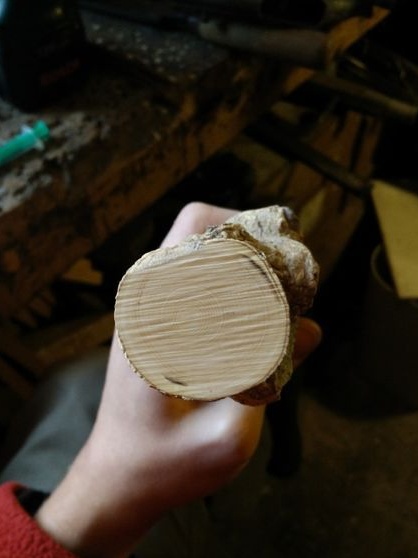
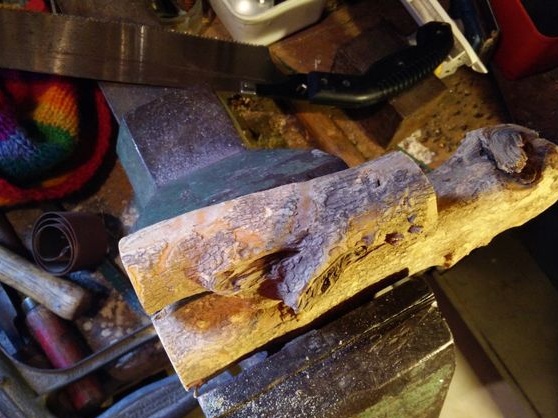
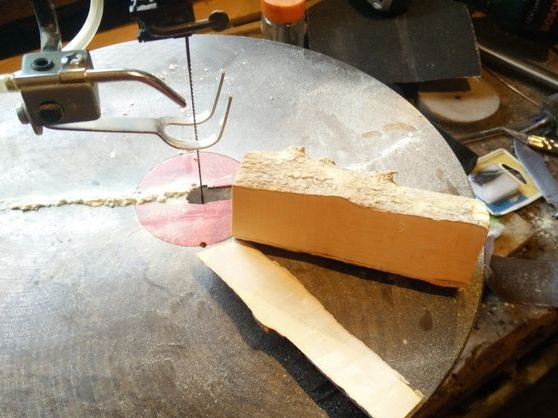
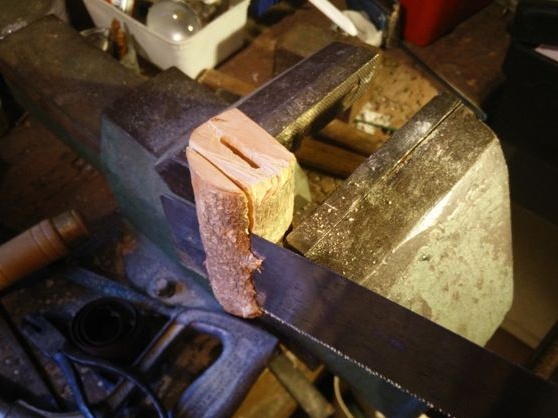
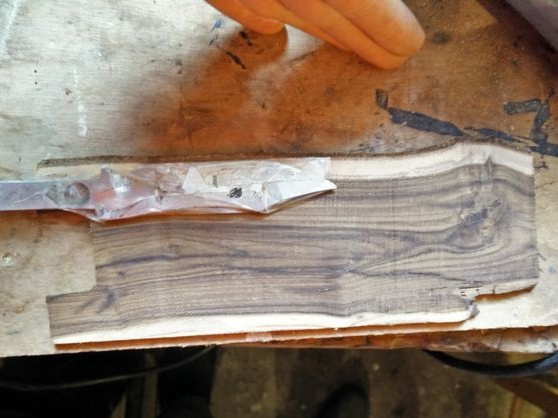
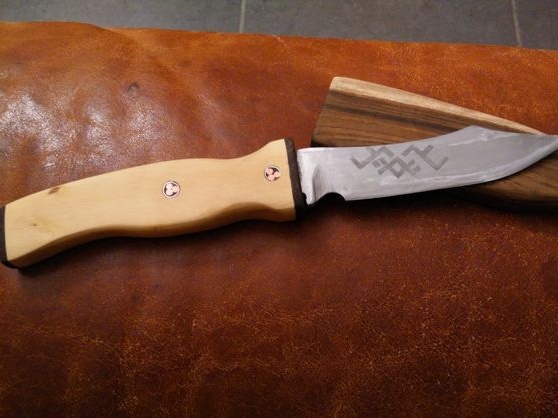
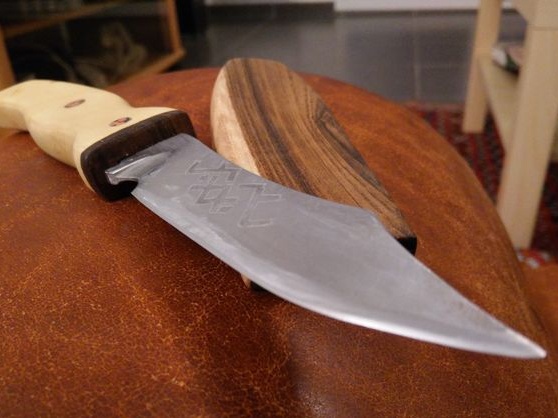
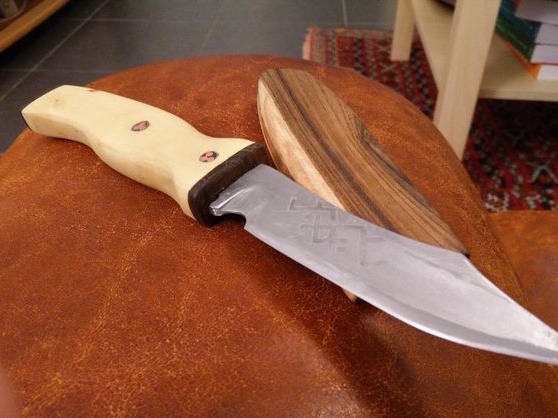
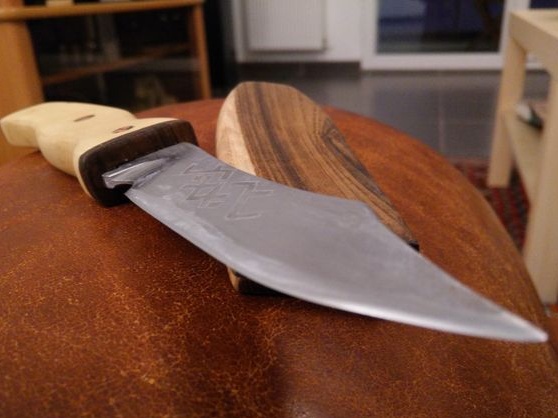
Take the desired piece of wood and cut out of it a rough shape of the future handle. Next, attach a blade to it and circle it, this will give you the opportunity to figure out where to drill holes and how to deeply make a groove. The author made a pen from a single piece of wood, making a groove of the required thickness in the center of the workpiece. Here you need a drill, as well as files. Work takes time and some strength.
Wood inserts of a different color were installed in the front and back of the handle, this is an element of decor.
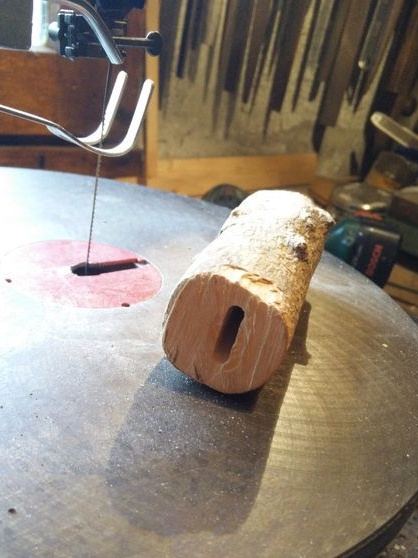

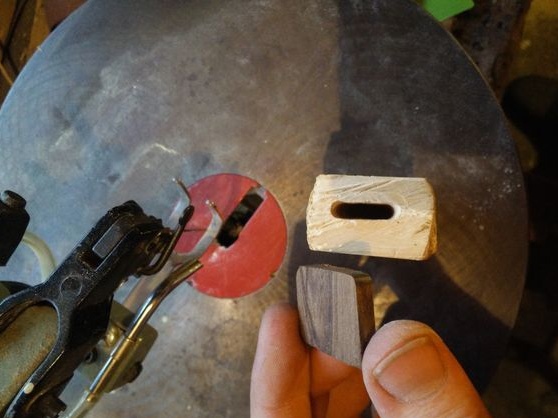
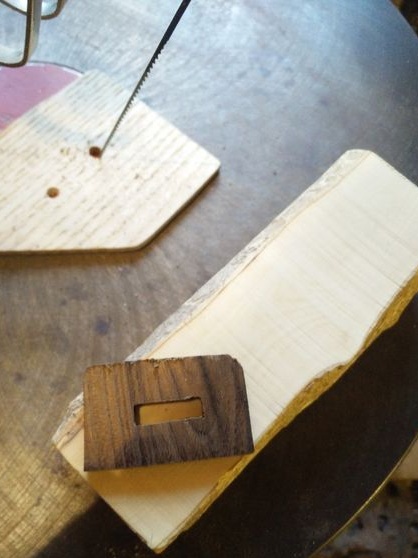
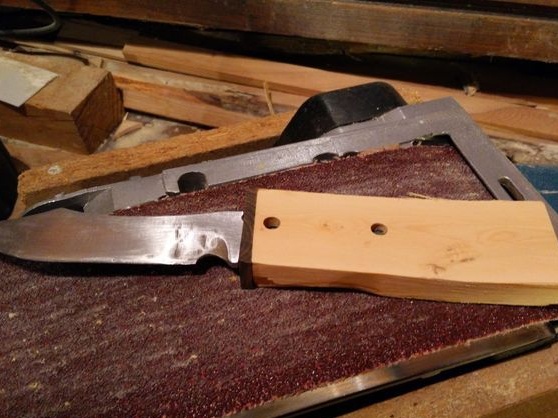
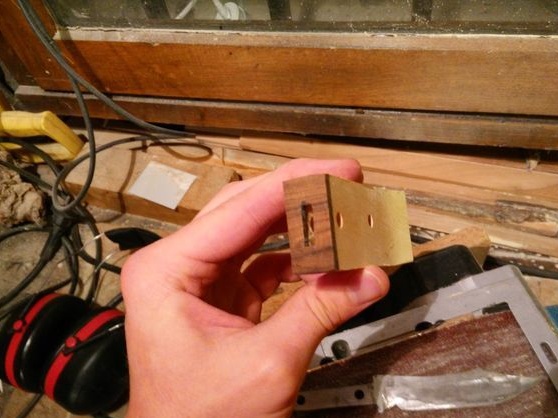
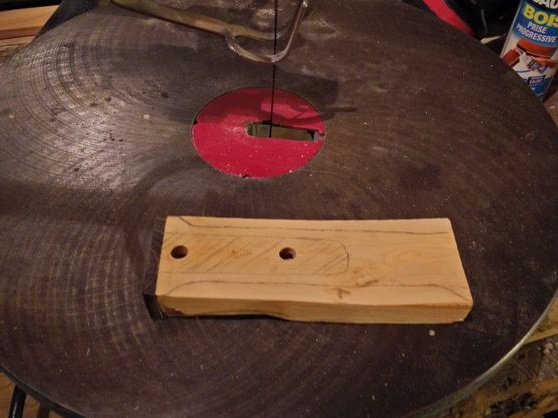
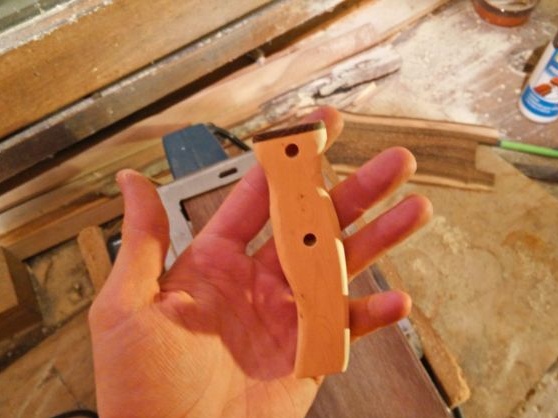

At the end, we drill holes in the handle for the pins, adjust the central hole and grind the handle to a smooth state. You can try on everything so that later there are no problems when gluing.
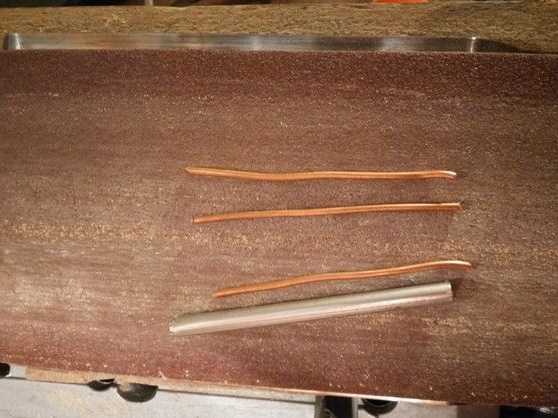
Step Three Pin making
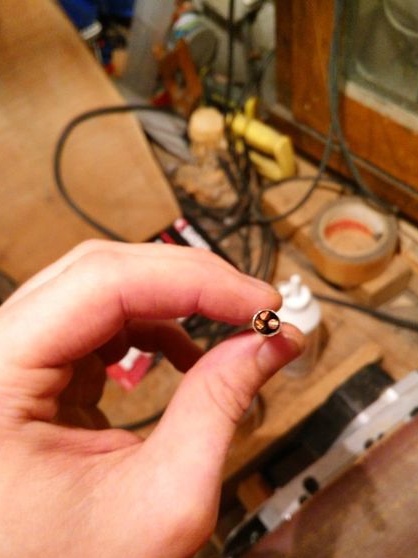
The author decided to make the pins unique, that is, they are not just pieces of brass. To make it, he needed an aluminum tube, copper wire and epoxy. Cut the necessary pieces of wire and tubes, insert the wire into the tubes, and then fill the whole thing with epoxy.
You can insert not three wires, but any quantity to your taste, any metals can also be used.
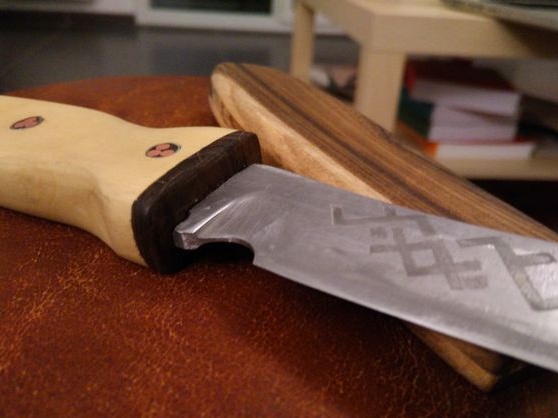
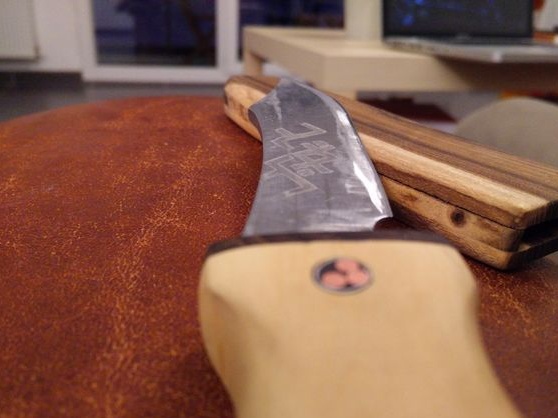
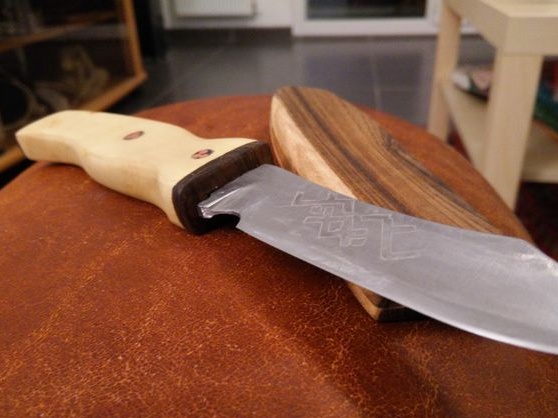
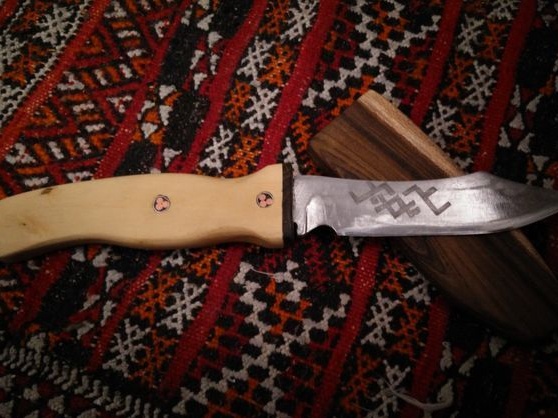
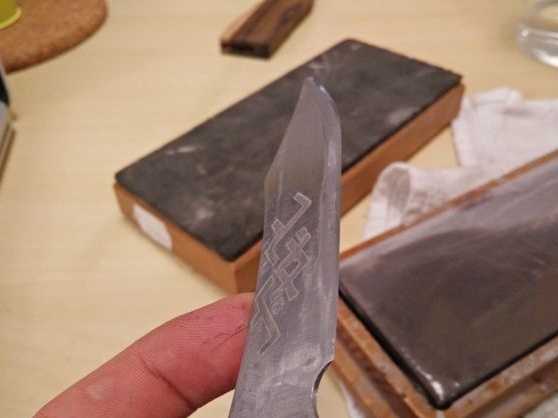
Step Four Poison drawing
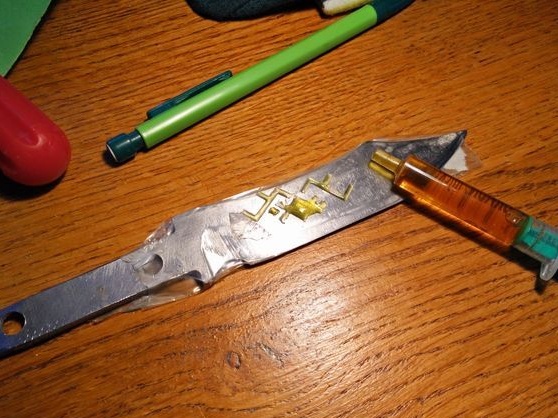
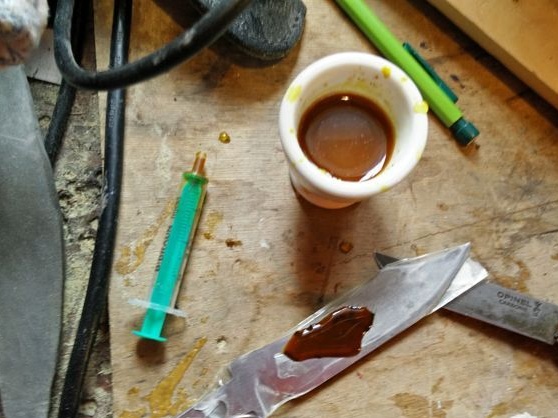
This step is not necessary, it will allow you to apply a pattern to the metal that never rinses off. For such purposes, you will need an adhesive tape and a special reagent that oxidizes the metal. On the ribbon we cut out the desired pattern and glue it to the metal. It’s best to buy a ready-made template, because manually cutting a beautiful inscription will not be so easy.
Well, then apply the reagent to the open area of the metal and wait for the set time.

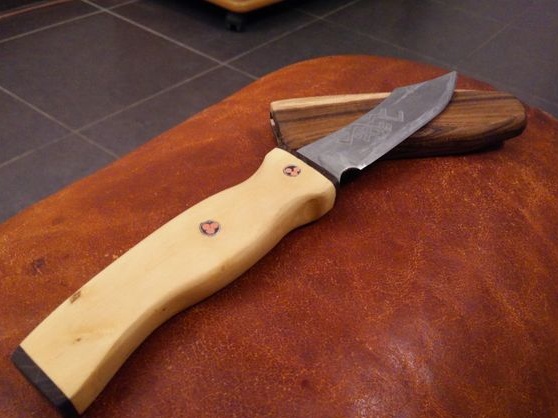
Step Five Assembly and grinding
Take a pen, glue and remove the knife. Do not forget to drive the pins in the right places. The glue needs to be allowed to dry well, the usual epoxy dries in the area of the day.
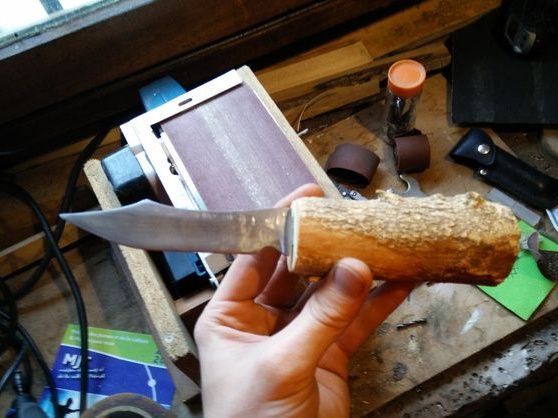
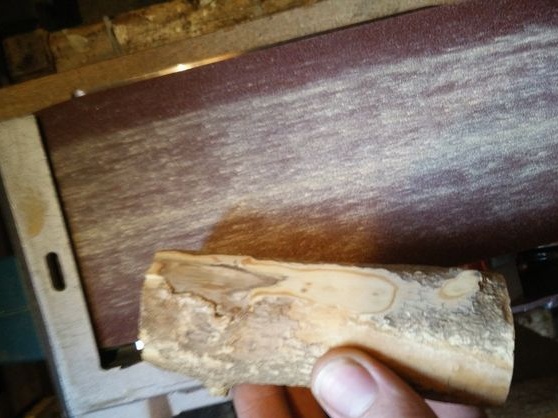
After the glue dries, the handle needs to be finally sanded, it is better to do it on a grinder. Well, then the pen is brought to the ideal with 600 grit sandpaper.
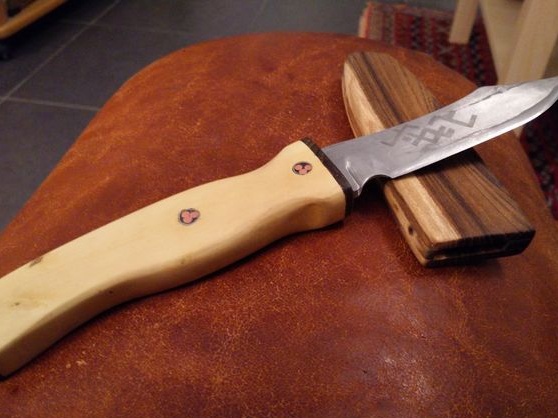
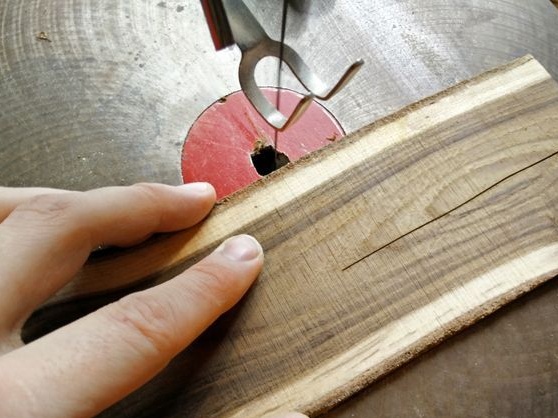
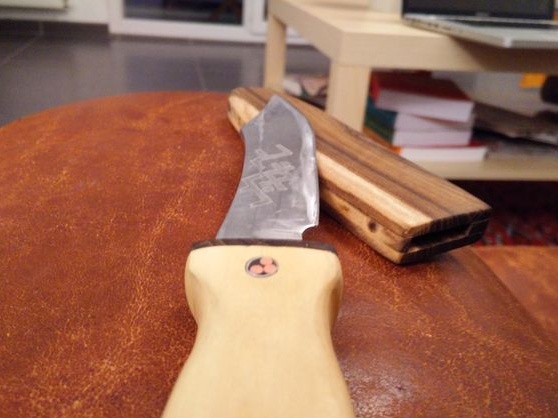
Step Six Knife sheath
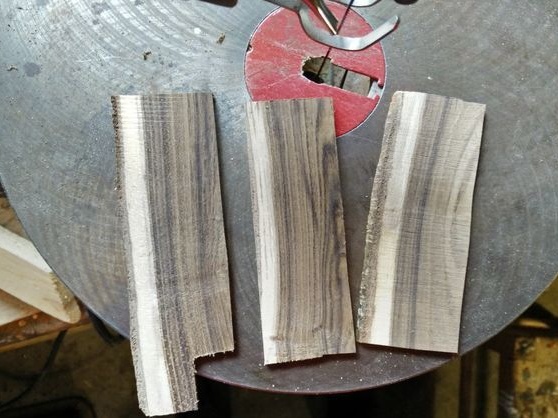
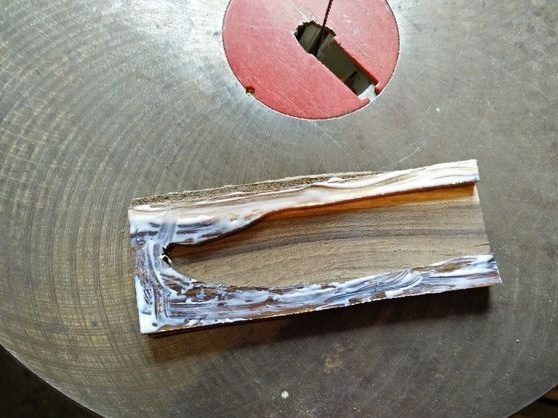
The author makes a special protective skin for a knife from wood. In the future, it is planned to make scabbard and leather for carrying a knife on a belt. You will need three boards, the width of the central one should be not less than the thickness of the blade, but not much more than it, otherwise the knife will hang in the case. We attach the blade to the board and circle it with a felt-tip pen. Next, this figure needs to be cut.
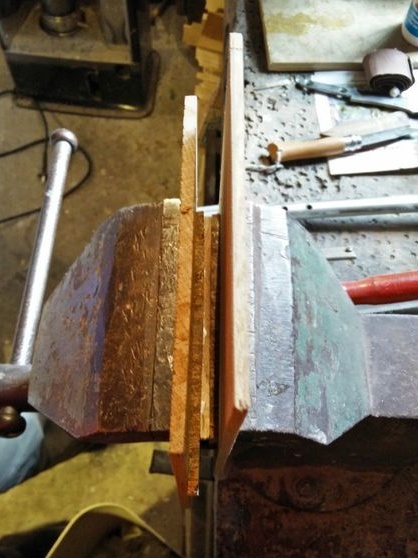
Then you need two more boards, they are glued from below and from above to the one that was made earlier. Well, then you just have to cut off the excess and polish the cover, bringing its shape to the intended one.
Seventh step. Final grinding and sharpening
Now we will need the help of a grinding machine. We finally form the blade profile, and also sharpen it. In addition, it will be necessary to carefully sand the surface of the blade to make it shiny. If you want, the metal can be brought to a mirror shine.
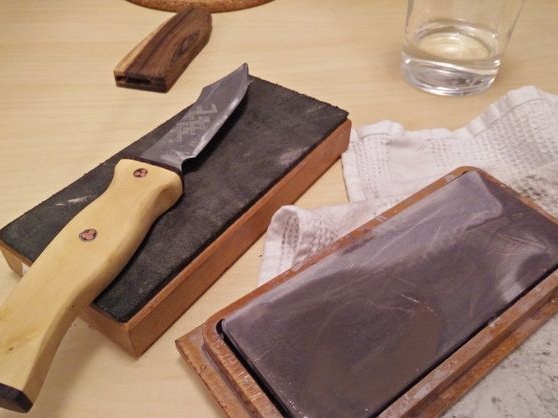
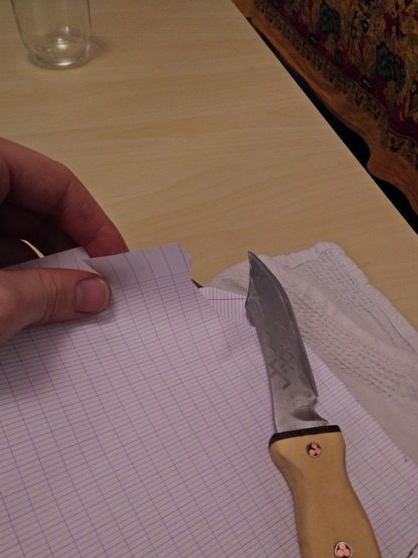
Finally, you can bring the blade to a razor state.Then a water stone will come to your aid. Ideally, there should be several cameos, with a larger and finer grain size.
That's all, the knife is ready. At the end, do not forget to impregnate the handle wood with protective substances. You can use linseed oil or more modern analogues.