
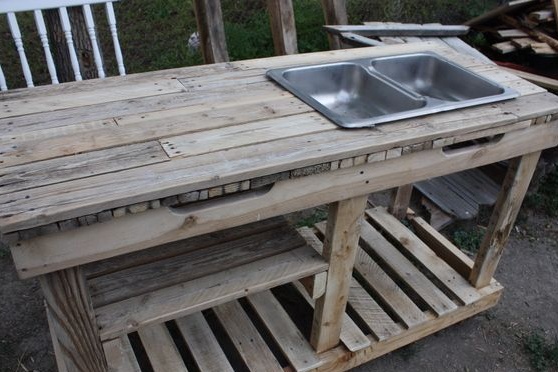
In this instruction, we will consider a method of making such an important thing as a desktop from pallets. The choice fell on the pallets because it is often free material. If you have access to pallets, then this is a great source for making various of furniture and not only.
On this table you can carry out conservation, engage in processing work home animals, and so on, because this material is not particularly pathetic, but it’s nice to work in nature.
Materials and tools for homemade:
- pallets;
- self-tapping screws and a screwdriver;
- hammers;
- mount;
- metal sink;
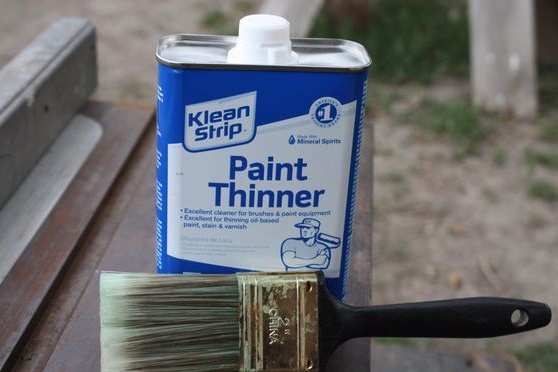
- paint;
- manual grinder (if any, good);
- tools for cutting wood (at least a gas or electric saw);
- you may need nails and other little things.
Table assembly process:
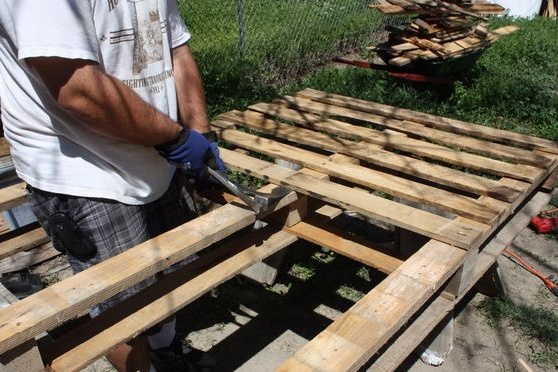
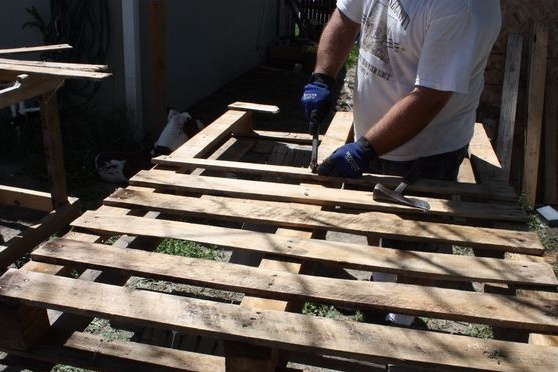
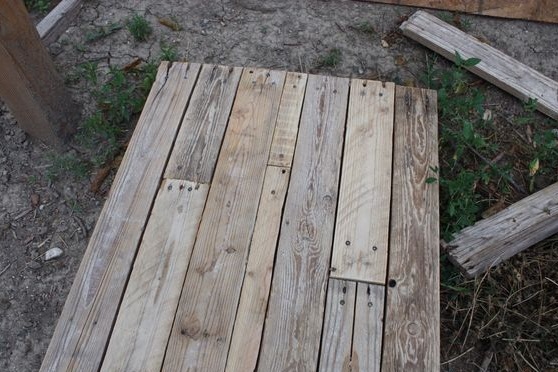
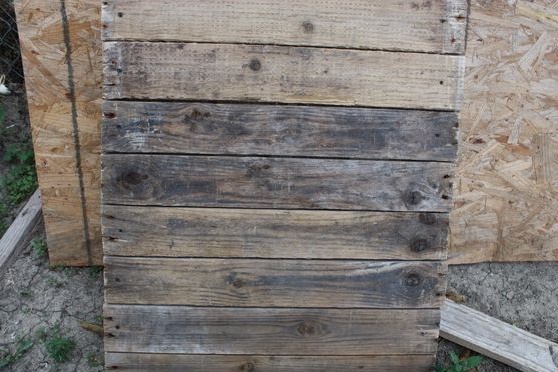
Step one. Countertop Making
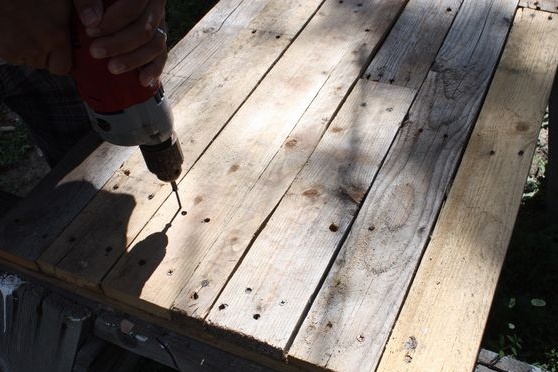
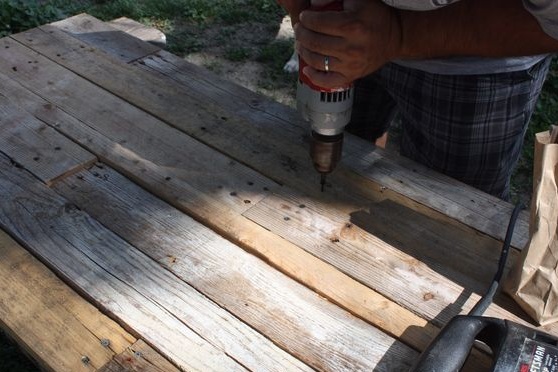
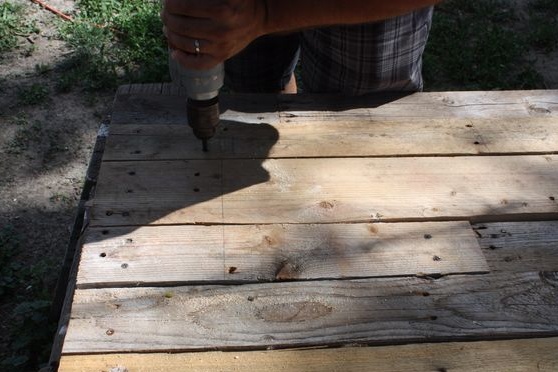
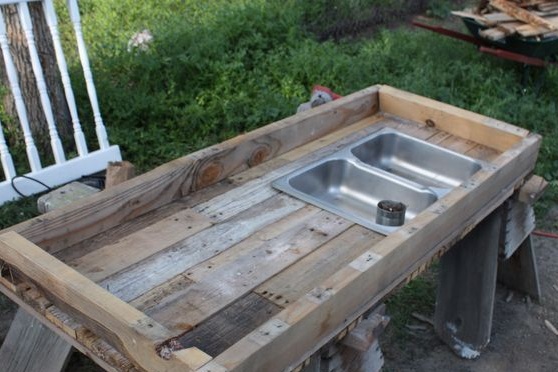
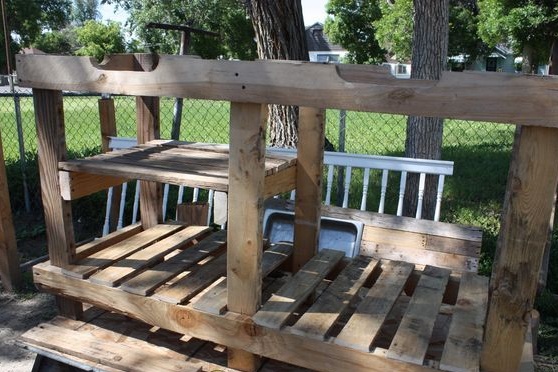
First of all, the author proceeds to manufacture the most important part - countertops. You can choose the sizes at your discretion. As you can see in the photo, everything is done simply. We disassemble the pallets to get boards for the countertops, cut to the desired length, well, then knock down, and better twist with screws, so the table will last longer.
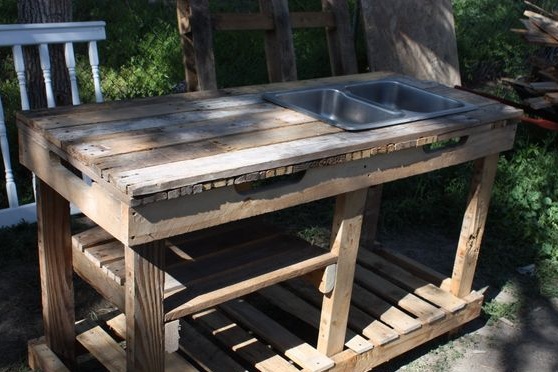
Step Two Install the sink
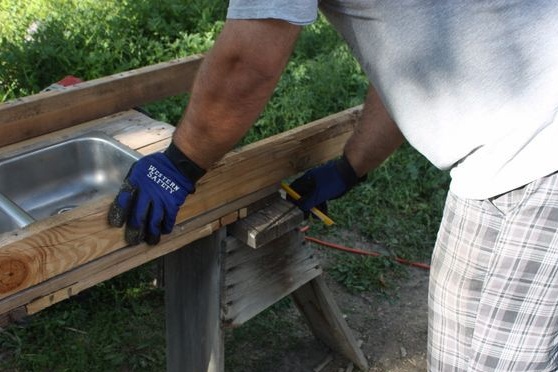
To make a table you need a metal sink. We apply it to the countertop and circle around with a felt-tip pen. As a result, an area is formed that will need to be cut.
Before cutting, we will need to strengthen the bottom of the tabletop with boards, because if you do not do this and just cut a hole, the boards will begin to hang out. We arm ourselves with a screwdriver, screws and fasten on the reverse side in a circle around the shell of the board, thereby strengthening the future hole.
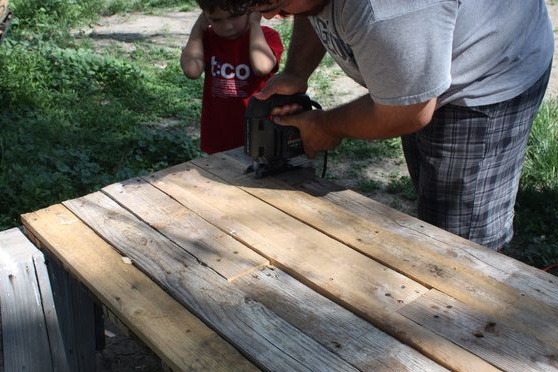

Now everything is ready to cut a hole for the sink. For work, you can use a jigsaw. If this is not the case, then with experience, the window can easily be cut with an electric or chainsaw. But be careful and do not get on a self-tapping screw or nail.
When the window was cut out, we install a sink there. It is not necessary to fix it with anything else, it should sit well in its place.
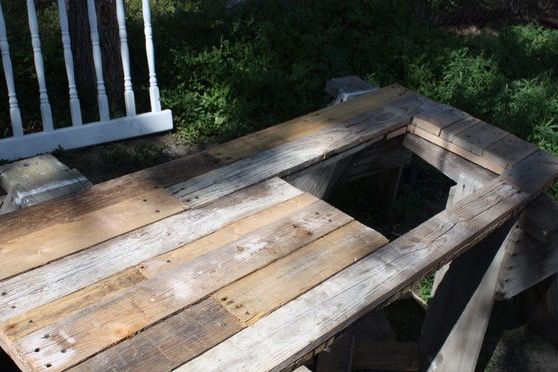
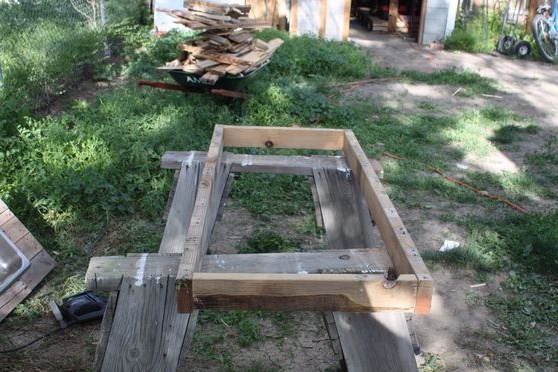
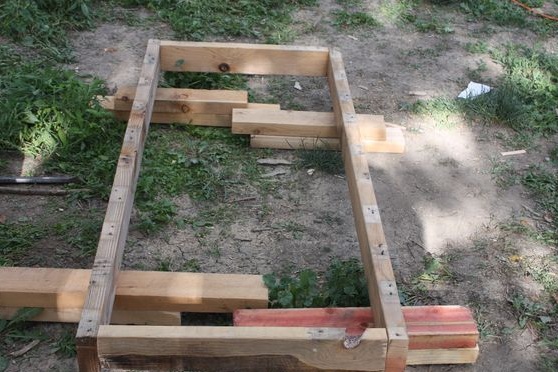
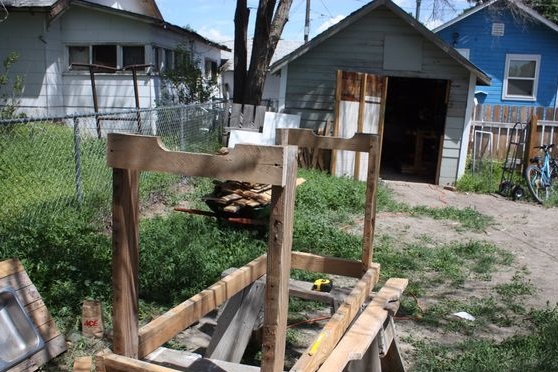
Step Three Making a table frame
To make a frame, you will need to get a beam from all the same pallets. As you might guess, you will need two long and two short bars, if your table, of course, is not square. The author decided to collect the frame at the top of his countertop, so as not to be wiser with calculating dimensions and so on. We select the necessary materials and twist them using self-tapping screws.It is not necessary to screw the corners here, since the frame will be strengthened with legs.
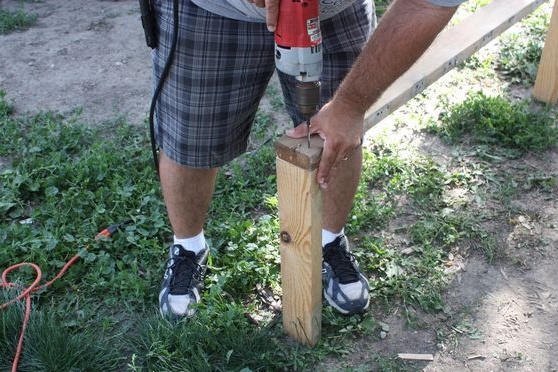
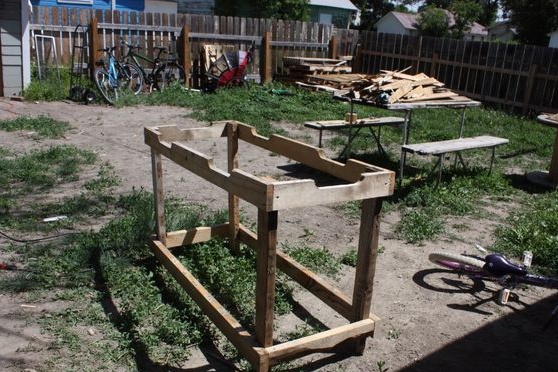
Step Four Fasten the legs
To make the legs, you will need all the same bars. We select the bars in height, and then fasten the legs with screws. Fasten each leg with at least two screws on each side of the frame. As a result, we further strengthen the frame, and it will not walk.
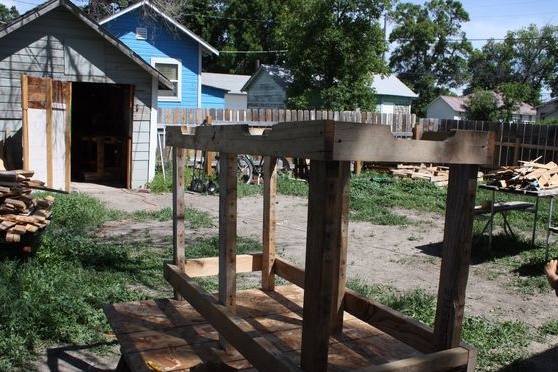
The author also fastens the bars with grooves on top of the legs, they will serve as a support for the countertop. In addition, they also, like the lower ones, fix the legs.
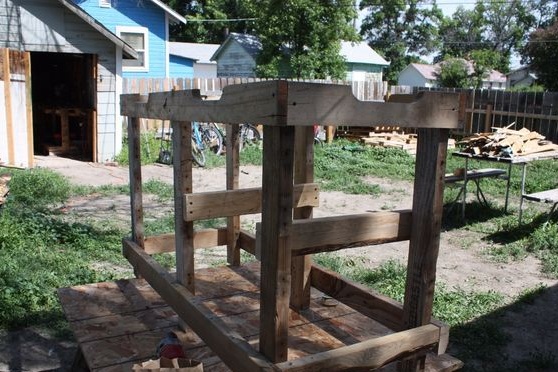

In the end, you only need to fix the countertop on the manufactured frame. Here you can use screws and corners. Then fix on the table the necessary shelves, compartments and the assembly of the technical part can be considered finished.
Step Five Table decoration
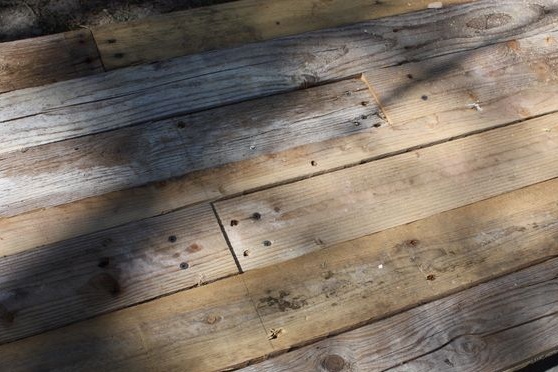
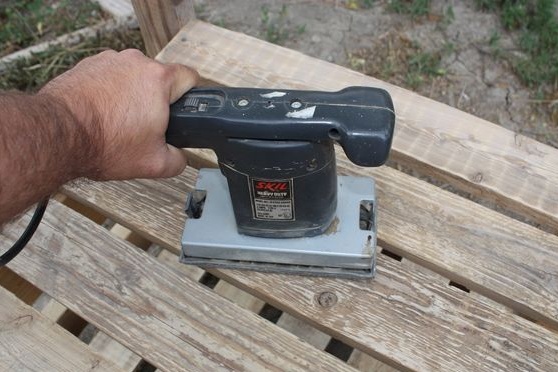
The table is made of pallets, so that the boards will have a large number of bumps and sharp edges, which during operation will lead to the formation of splinters and other injuries. To smooth the table, especially for the countertop, you will need a grinder. We remove all unnecessary and make the surface smooth. This can be done manually using sandpaper.
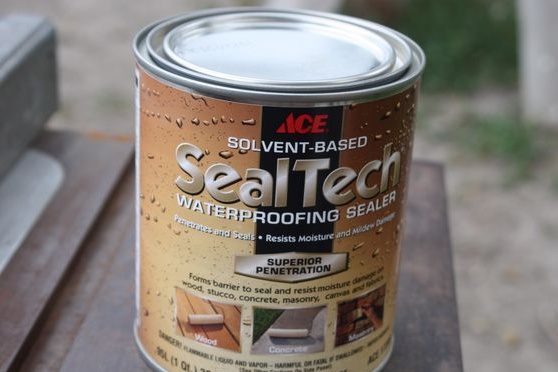
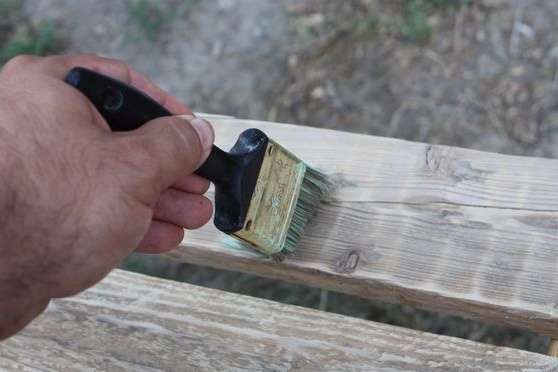
Half the job is done, now we need to protect the tree from moisture and dirt, because even in the rain, not counting the work, it will quickly rot. It is advisable to impregnate the wood with something to protect it from decay. Another table can be painted.
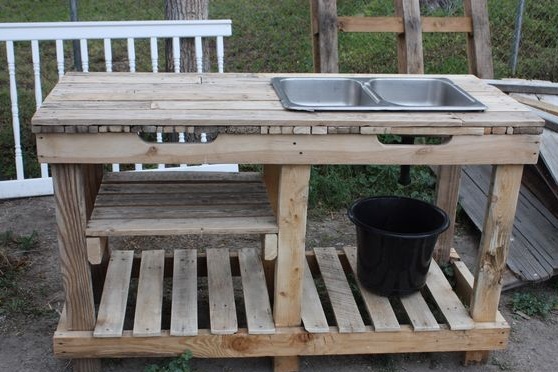

That's all, the table is ready, enjoyable to use. In conclusion, we can say that for drainage it is better to install a hose on the sink and dig a small hole. Otherwise, constant splashes of dirty water and periodically overflowing water over the edge of the bucket will quickly render the table unusable.