
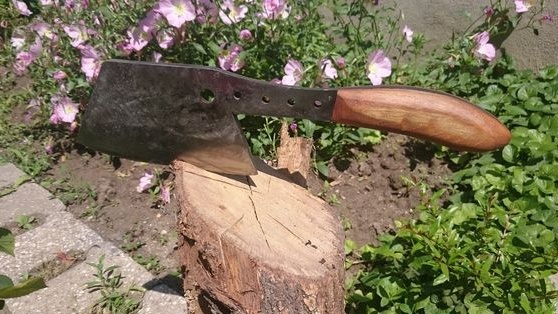
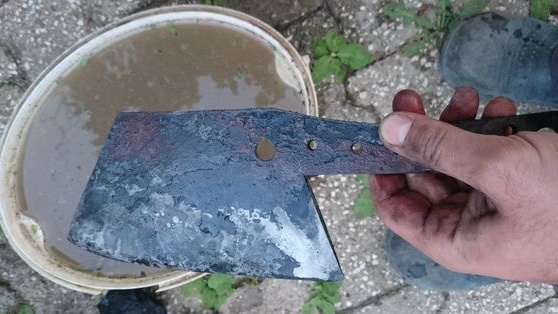
These instructions will help you make a good, strong, small but heavy hatchet. You can chop meat, firewood, take it with you on a camping trip, and so on. The metal necessarily undergoes hardening, so the ax does not blunt for a long time. As a material, the author used a plow from a tractor.
It is not difficult to make an ax, you can display the necessary profiles with an ordinary grinder. For ease of work, of course, it is desirable to have a belt sander, but this is not necessary.
Materials and tools for homemade:
- a source of steel with a high carbon content (the author used a tractor plow);
- Bulgarian with cutting and grinding discs;
- a set of files;
- wood for the manufacture of pens;
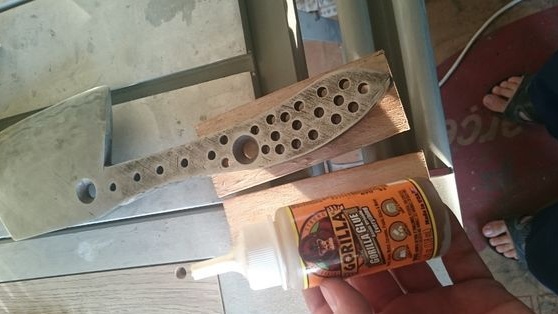
- epoxy adhesive;
- drill with drills;
- it is advisable to look for material for the manufacture of pins;
- sandpaper of different grain size.
Ax manufacturing process:
Step one. Hatchet Profile
First, imagine what your hatchet should be. It is advisable to draw it on thick cardboard and cut it out. This will give you the opportunity to hold it in your hands and evaluate whether it will be convenient. Next, transfer the profile to the metal and cut it out. For work, you need a grinder with a cutting disc.
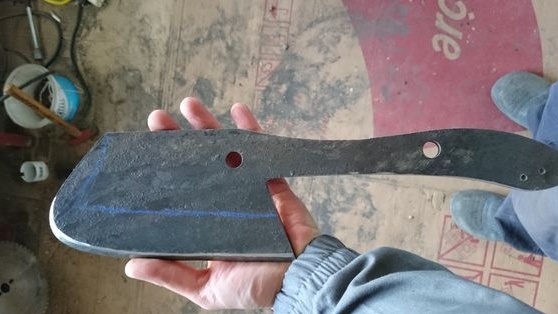
Step Two Grind and set the blade profile
After working with a grinder, the profile must be carefully sanded in a circle, remove burrs and smooth out other irregularities. The metal here is quite thick, a serious mistake cannot be made, so work as a mono grinder.
You will also need to carefully grind the entire surface of the metal, since there will certainly be rust, dirt and so on. This can be done with the help of the same grinder, installing a nozzle for grinding on it.
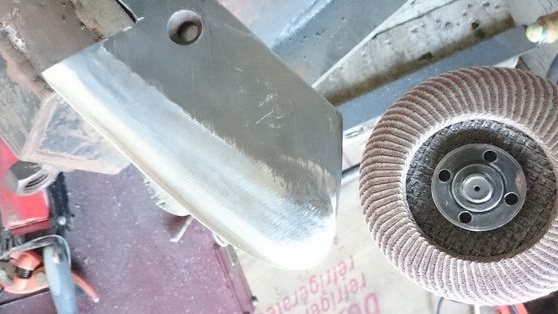
Then you can proceed to the manufacture of bevels, that is, the formation of the profile of the blade. If you need the most sharp ax that will practically cut rather than chop, bevel as far as possible. That is, the blade should be as thin as possible. And if you are thinking of constantly chopping something with an ax, subjecting it to heavy loads.Make the bevel smaller.
The author forms bevels with a grinder, although more professionally this is done on a belt grinder.
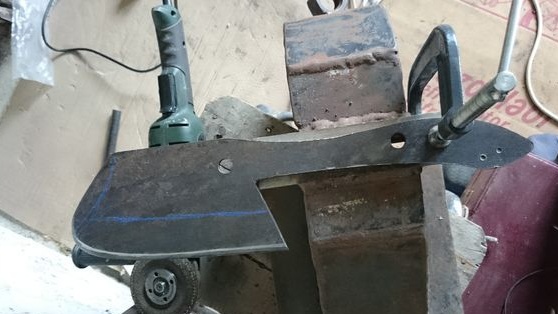
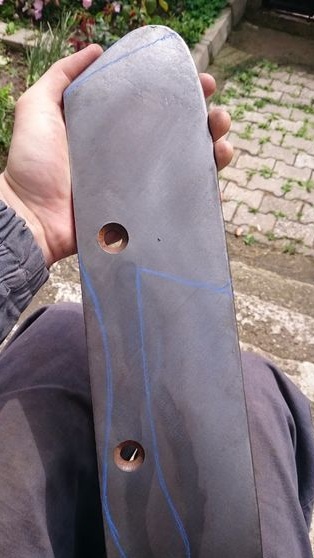
To form the bevels you must first place everything on an ax. Draw a line to which the bevel will go, and also divide the future blade into two parts so that you are guided by this center line when working with a grinder.
In conclusion, you will need sandpaper to use it to even out the roughness left by the grinder. Files will also come to the rescue.
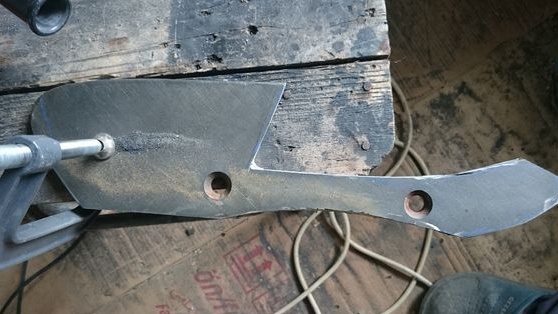
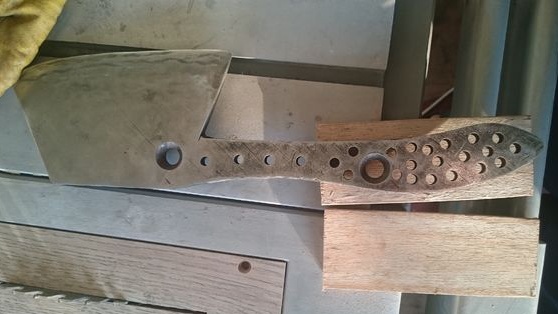
Step Three Drill holes
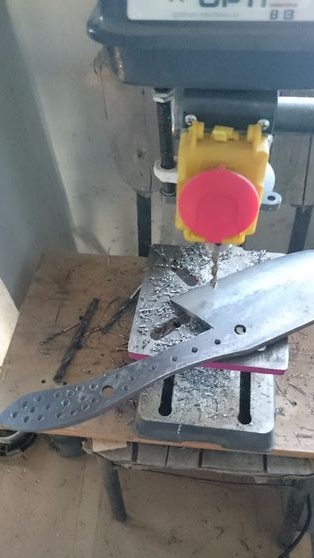
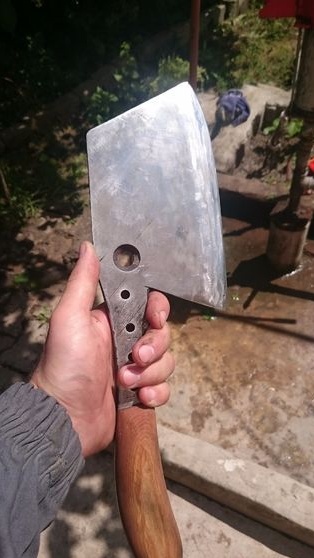
Until we have hardened the steel, be sure to drill holes for the pins in the workpiece. The author decided not to install them, but this is highly recommended, since the handle is strong, and the appearance of the ax becomes more attractive.
Even if you do not put pins, you will still need to make holes, because thanks to them, the handle will stick well.
Step Four Metal hardening
If you need a really strong ax, harden the metal. To warm such a piece of iron to a bright yellow color will be problematic, you need a powerful oven. However, you can try to harden only the blade. The author uses gol for such purposes. The metal cools the author in water.
In general, the hardening method described above is doubtful, since not all metal is heated, and no one produces tempering. Instead of water, it is recommended to use oil, as water cools the steel very quickly, and this is fraught with the fact that the workpiece may crack or deform.

Step Five We make and install the handle
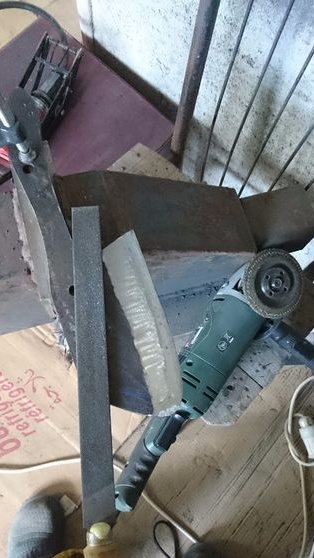
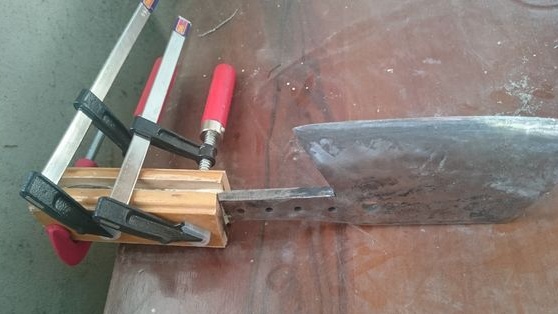
To make a pen you will need two pieces of wood. We attach the ax to the tree and circle. Cut out the formed forms using a jigsaw or other tools. Then the author simply glues the handle and clamps it with a clamp until the glue hardens.
For reliability, it is recommended to install pins in the handle.
After waiting for the glue to dry completely, proceed to grinding the handle. Your task will be to smooth out all the bumps, to make the handle smooth and smooth. Here, at first, files will be needed, and then sandpaper with grit from the largest to the smallest.

In the end, you will need to sharpen the ax well until the blade is standing. It is also important to protect the wooden handle from moisture. To do this, it must be soaked with linseed oil.