
To make such a cool knife, you don't need super mega cool tools. Everything is done with familiar metalworking tools. Of course, it’s good if you have a belt grinder, a belt cutting machine, a milling machine and more. It’s easier to make knives with them, but if not, it doesn’t matter, everything can be done with a grinder, but with files, though you will have to try.
Materials and tools for a homemade knife:
- a source of high carbon steel (such steels are used in cutting tools, etc.);
- knife patterns;
- tools for cutting metal (at least a hacksaw, preferably a grinder, excellent - a band saw);
- belt sander (facilitates work);
- drill with drills;
- a good set of files;
- different grit sandpaper;
- marker;
- sharpened (can be replaced by a grinder);
- wood or other material for finishing the handle;
- pins;
- polishing wheel;
- leather and sewing tools for the manufacture of scabbard;
- bolts and other little things.
The process of making a knife:
Step one. Cut the blanks
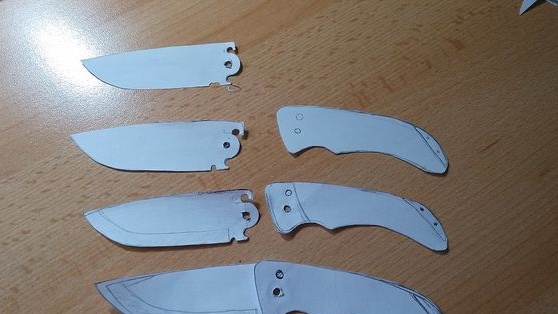
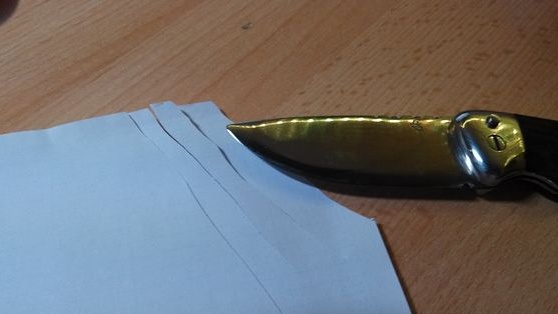
To make such a knife, you need to print and cut all the necessary patterns. Unfortunately, in the author’s article, I did not find the files to download, so I’ll have to do the template myself.
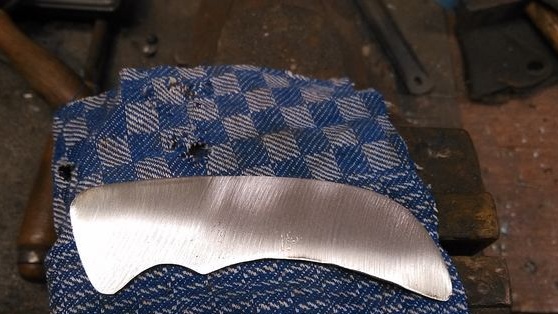
Blade
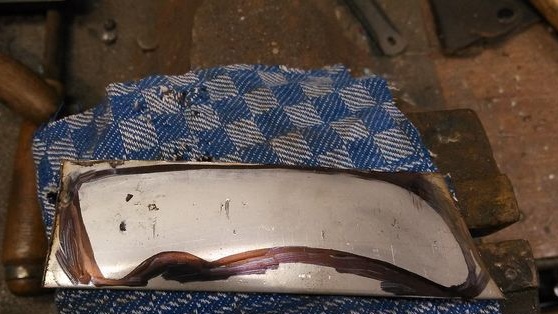
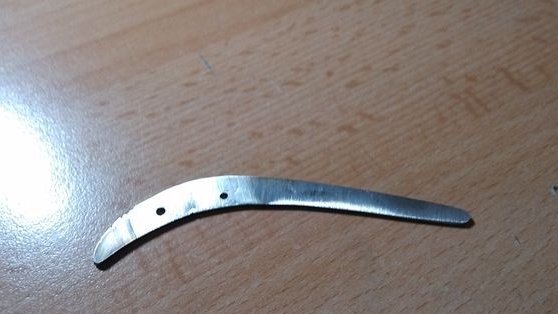
First of all, we cut out the blade, for this you will need high-carbon steel, which can then be hardened. As a source, you can use saw blades, files and more. Surely the metal will be too strong for processing, so it will have to be released first. Throw the metal into the fire and let it cool smoothly. As a result, you will have a soft metal that can be processed even with a file.
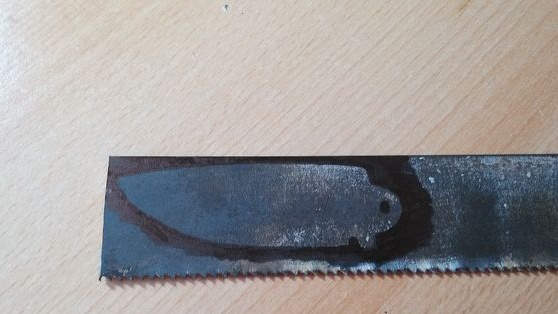
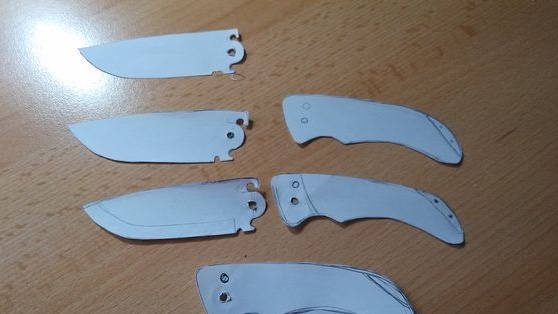
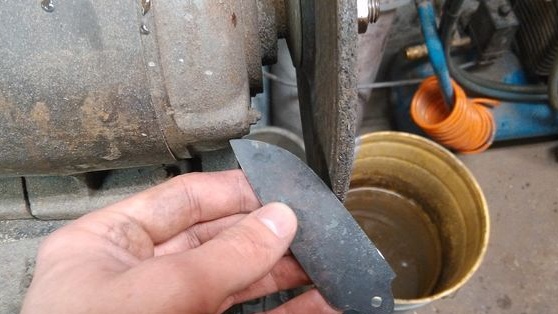
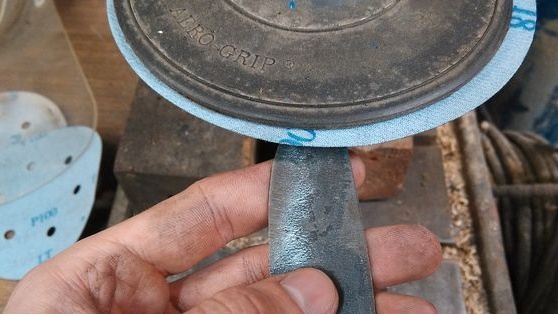
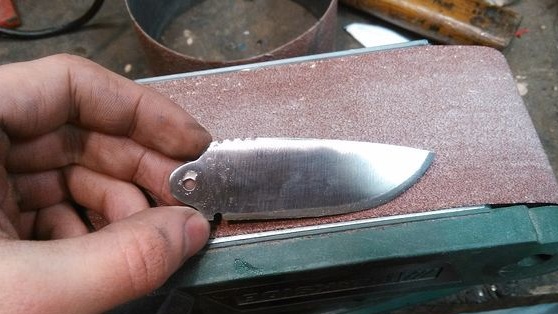
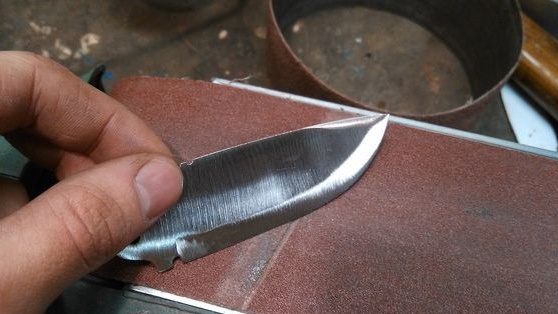
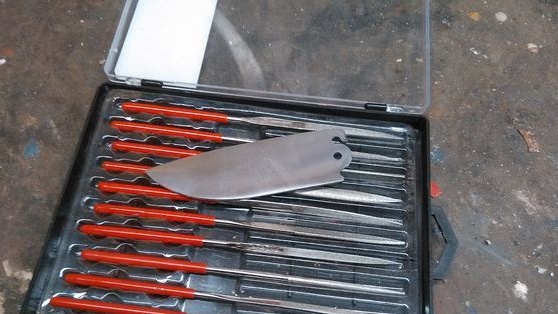
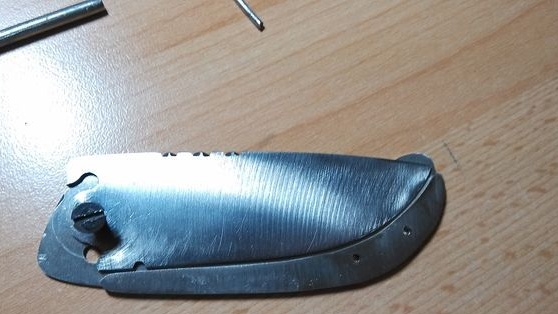
We take the template of the blade, circle on the metal with a felt-tip pen and cut it out. Well, then grinding, grinding and grinding again. As a result, you should get a ready-made blade with bevels, but do not sharpen the knife too much, hardening is still ahead, and heating is harmful for thin metal.
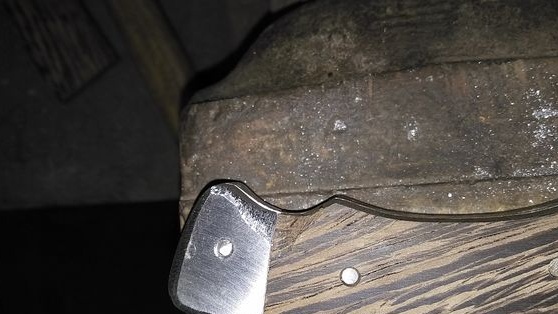
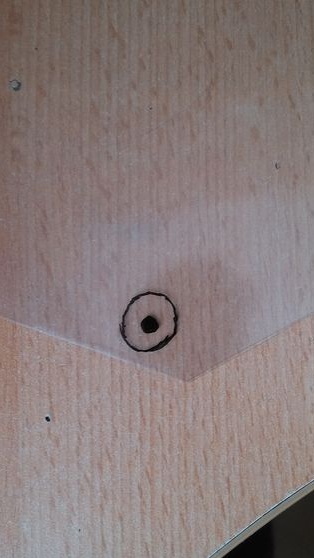
Do not forget to also drill a hole in the knife for attaching to the handle.
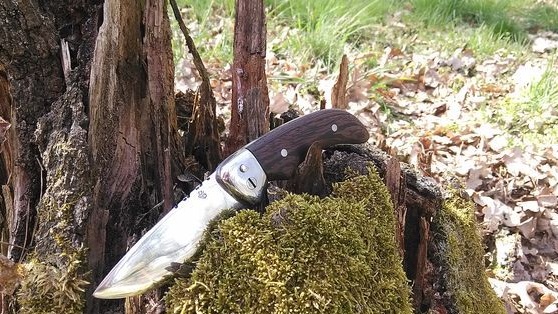
A pen
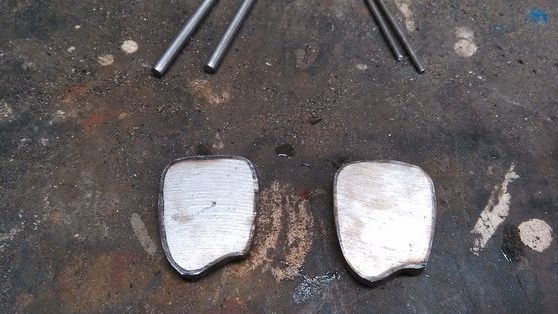
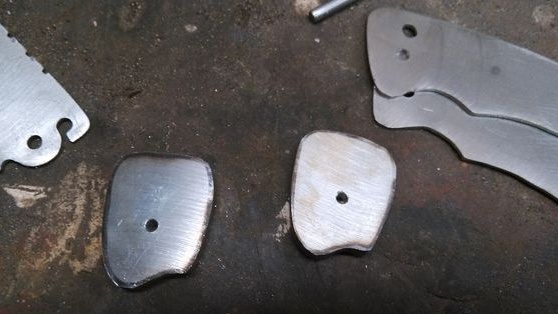
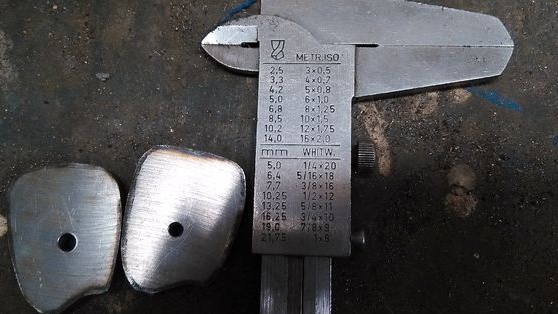
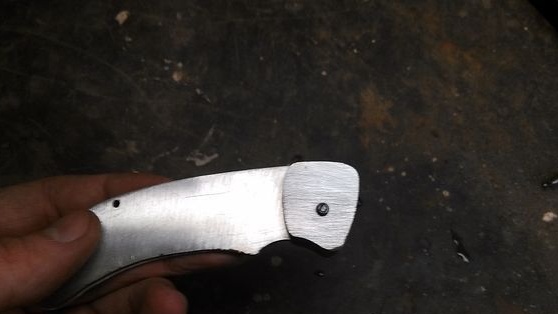
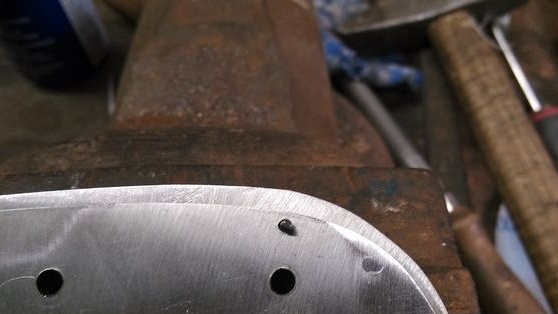
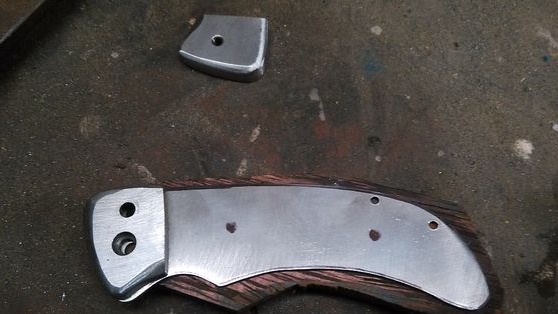
The handle carves in the same way. We transfer the template, cut it out, grind it ... By the way, the author used stainless steel to make a pen. It’s not more difficult to work with, but it is a guarantee that the knife will not rust inside, where it is difficult to clean the rust. As a result, you should get two halves with the corresponding holes.

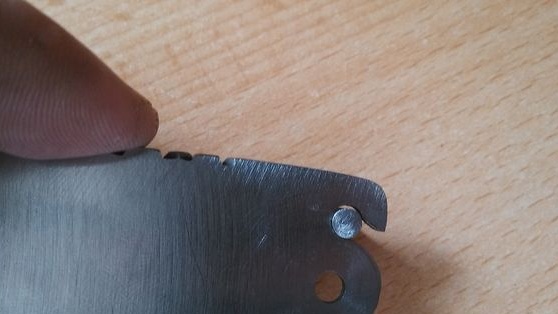
In front of the handle, the author has provided special pads. They are used as a fortification for the castle that fixes the blade. We cut, grind, drill ...
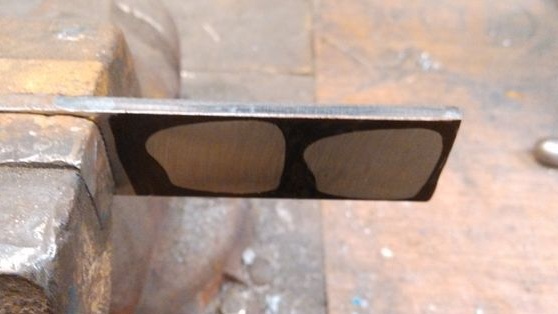
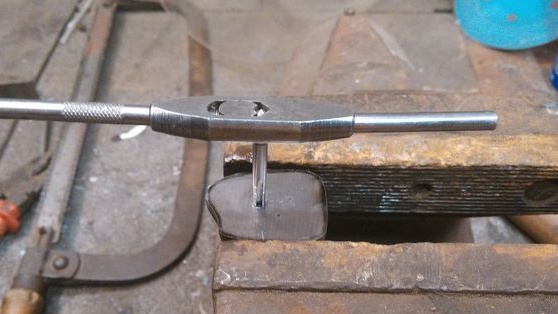

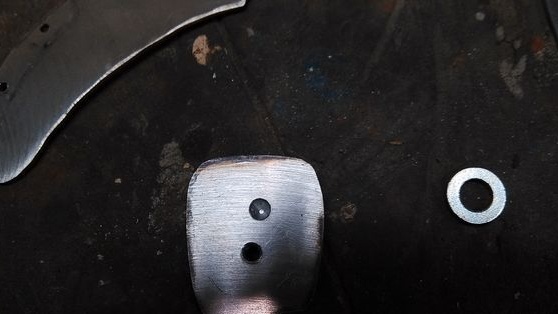
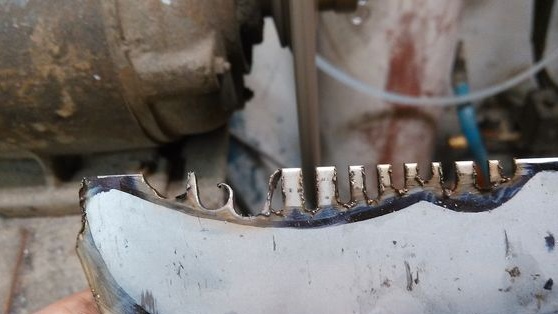
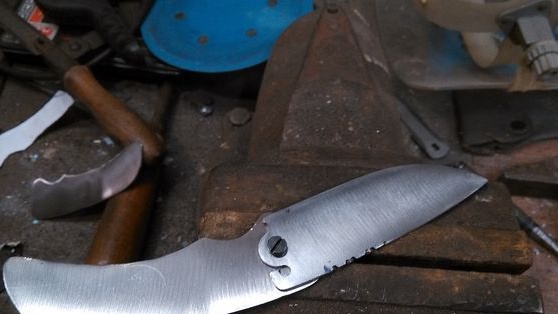
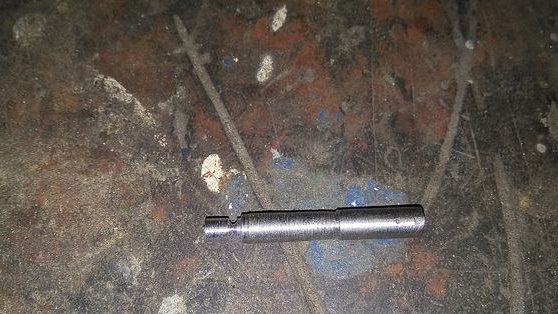
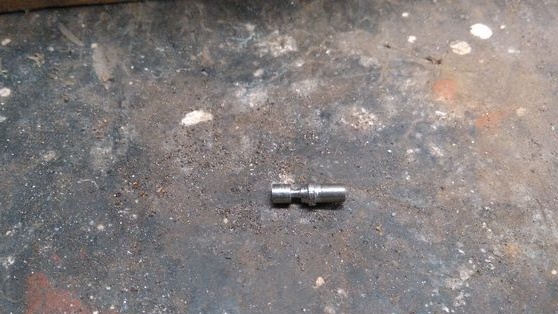
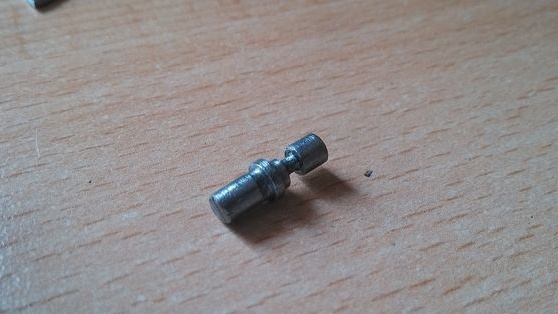
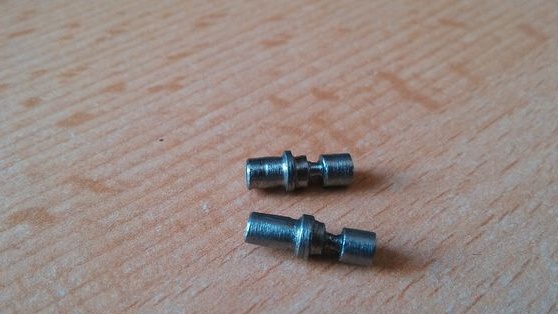
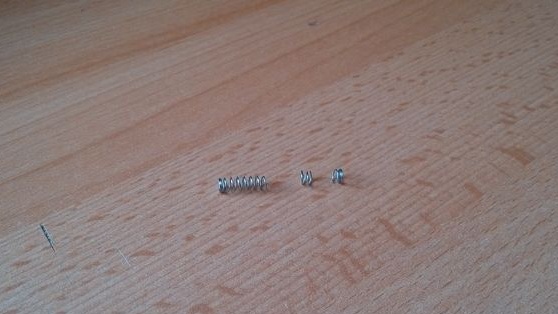
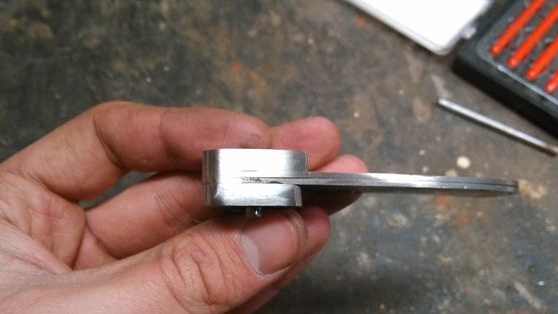
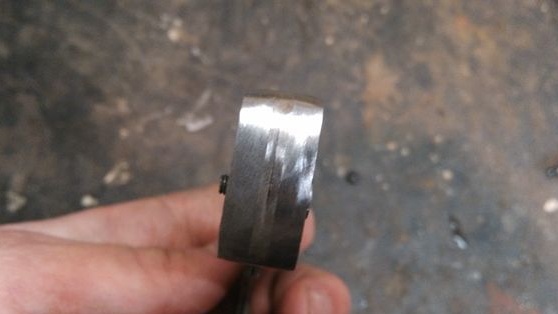
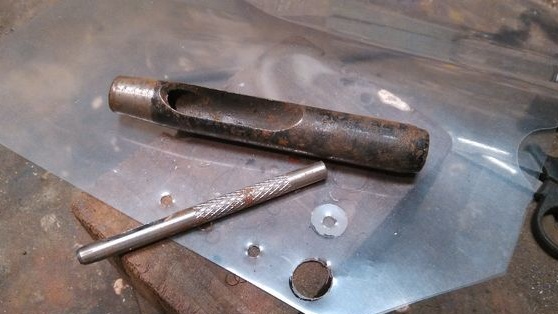
Step Two Locking pin
This is perhaps the most difficult stage in the manufacture of a knife. You need a lathe, and you can get out of the situation using a conventional drill. We take a suitable bolt or other pin in diameter and sharpen it as in the photo. The idea is that when you press the button, the narrower part is extended and the blade is released. And releasing the button, it comes back thanks to a small spring. Just in case, the author made two such buttons.
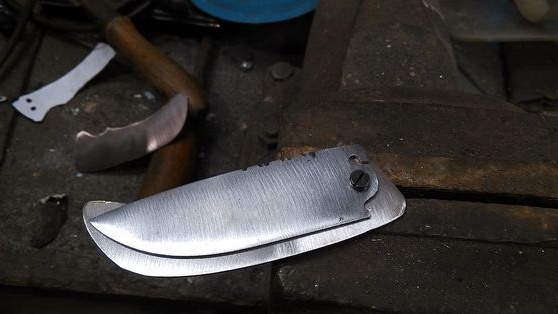
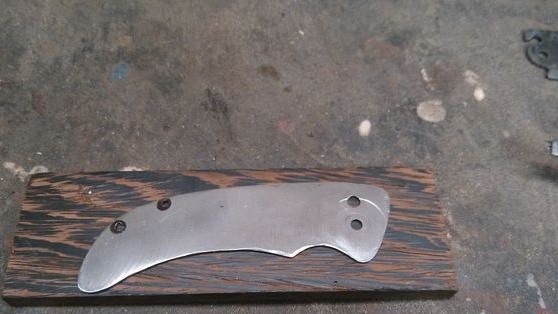
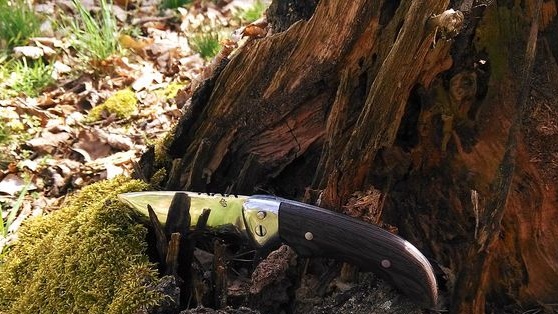
Step Three We assemble the metal part of the knife
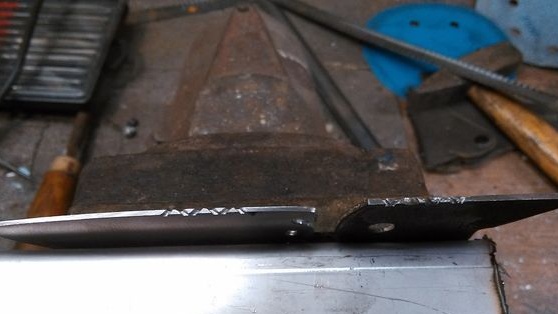
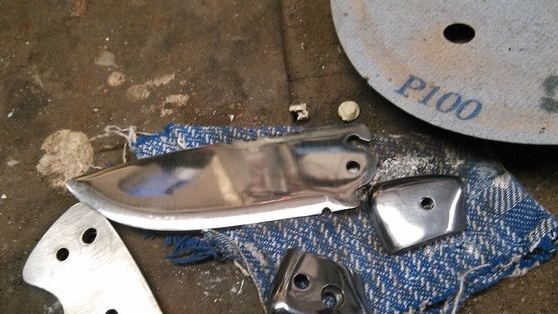
Before this step, do not forget to harden your blade if you made metal tempering. Heat the metal to a bright yellow color and cool in oil. Then do not forget to let the metal go in the oven.
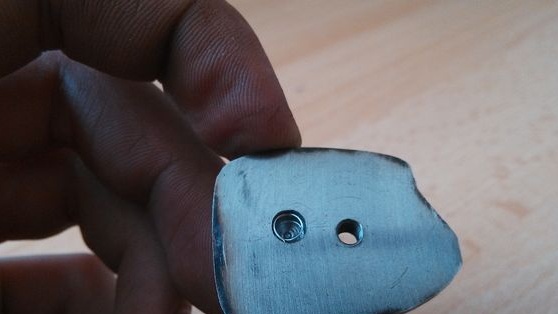

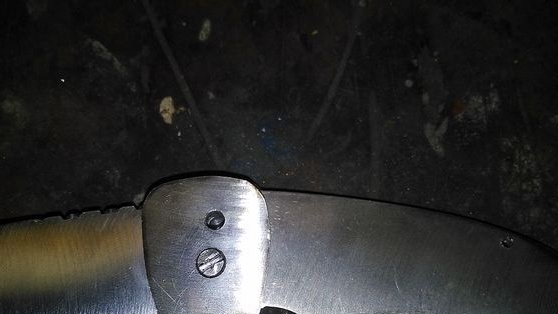
If all the parts are ready, proceed to the assembly of the knife. Install the blade and pads. Everything is assembled easily and simply, with the help of several screws, all thanks to the thread that is cut into the workpieces. In some places, steel pins can be used.
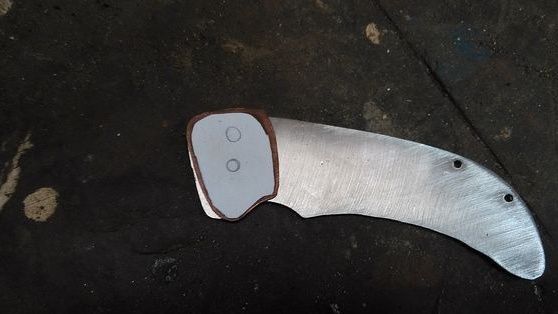
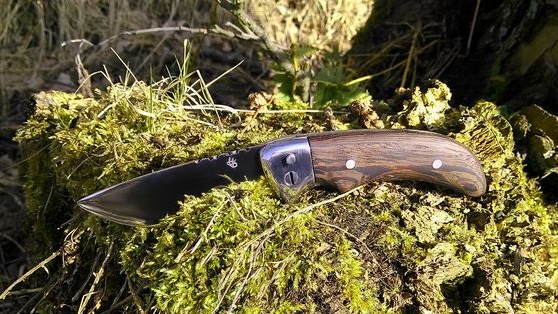
Step Four Wood Handles
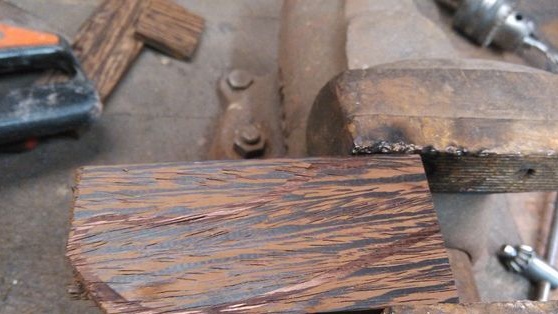
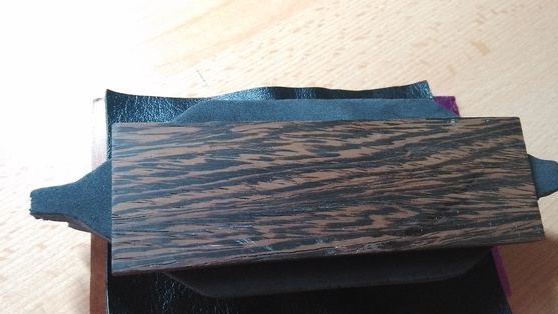
The author decided to decorate the pen with wood, but you can use horns, animal bones, plastic and other materials. In this case, it was decided to use zebrano. We attach the steel handle to the tree, circle with a felt-tip pen and cut out the blanks. You should get two pads.
Now you need to make some effort to make the lining perfectly smooth. We work with sandpaper, gradually reducing the grain size to nothing.
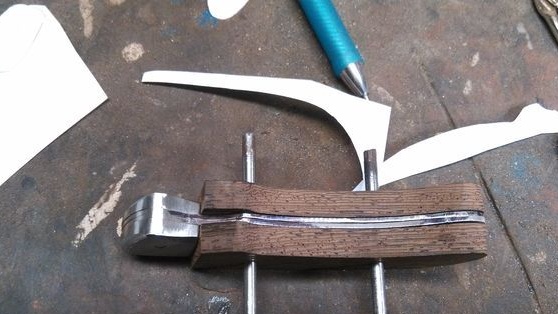
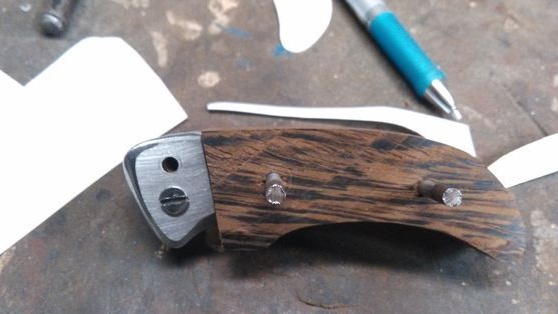
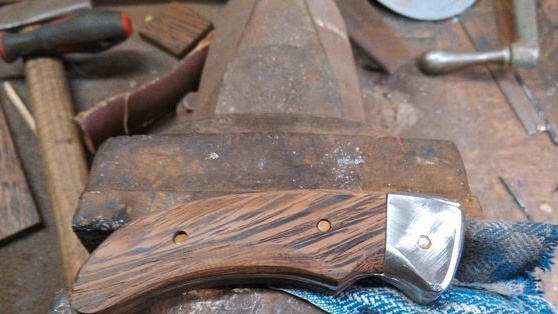
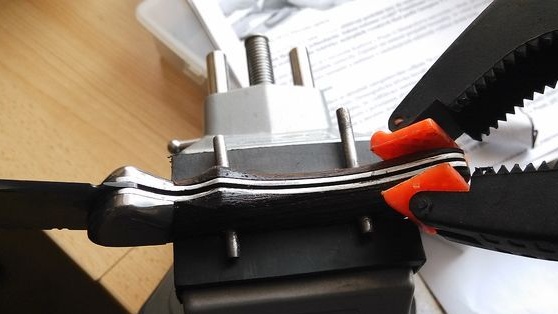
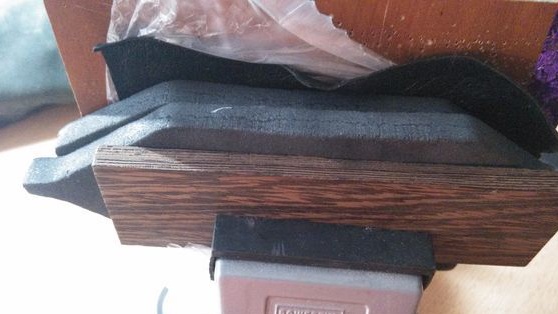
When the linings are ready, they can be glued. Here you will need an epoxy, as well as steel pins. Insert the pins and prepare the pads for installation. Then gently coat the pads with glue and hold the handle in a vise until it dries.
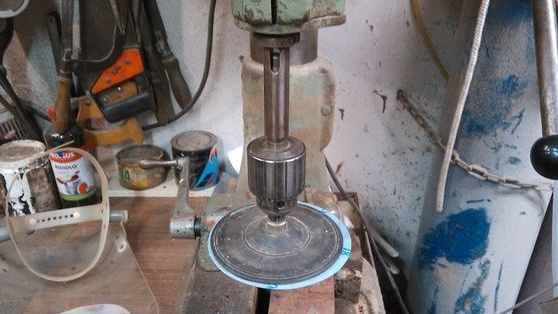
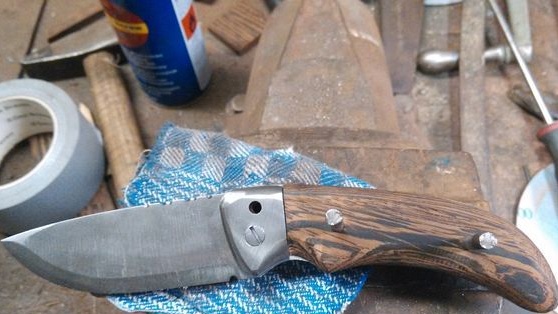
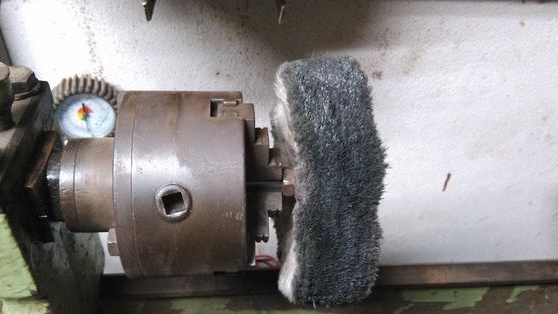
After the glue has completely dried, it usually takes a day, take out a knife and carefully cut off the pins. At the end you will need a polishing wheel to finally polish the handle and make the steel sparkle. The author adapted his lathe for these purposes.


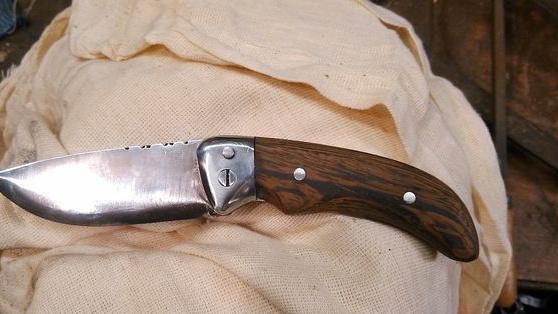
Step Five Finishing the knife
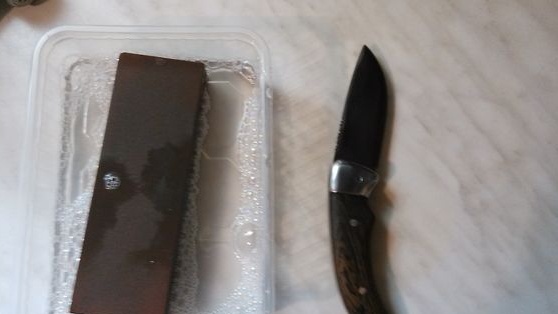
In the end, do not forget to soak the handle with linseed oil or other impregnation for protection. In the end, you just have to sharpen the knife. Get a true blade will help you water stone, when sharpening, moisten it with water.
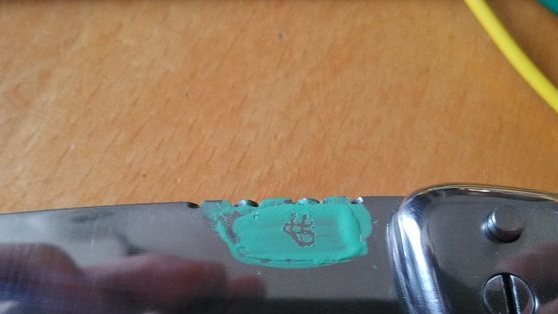
By etching, the author also decided to apply a drawing to the blade.


Step Six Make the scabbard
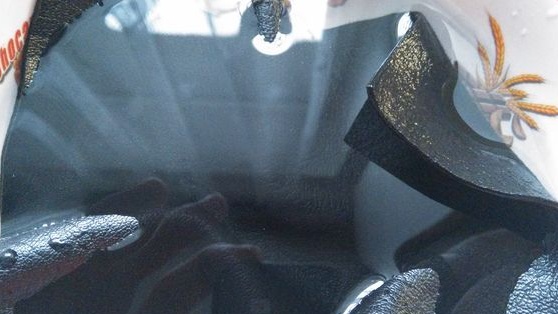
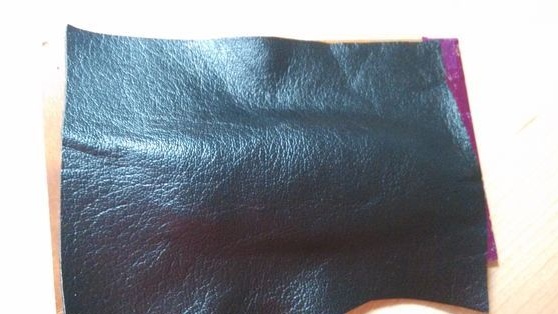
To make the knife comfortable to wear on your belt and not to lose it, make a sheath for it. They are made according to a simplified scheme. You will need a piece of foam and soft skin. In two pieces of polystyrene, we cut openings according to the size of the knife. Hold the skin in hot water for a while to make it soft. Next, put the knife in a bag so that it is not wet, and on both sides we apply skin to the knife. So that the skin fits well around the knife, we clamp the whole thing in a vice between two pieces of polystyrene foam. We leave the design for a while, so that the skin takes the desired shape.
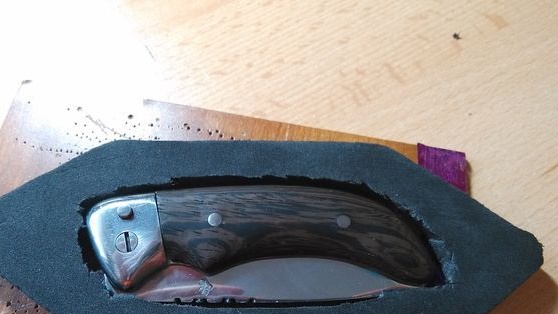
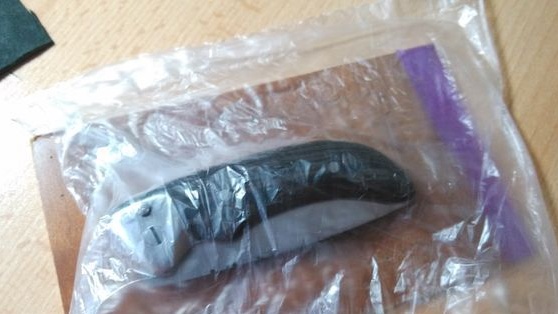
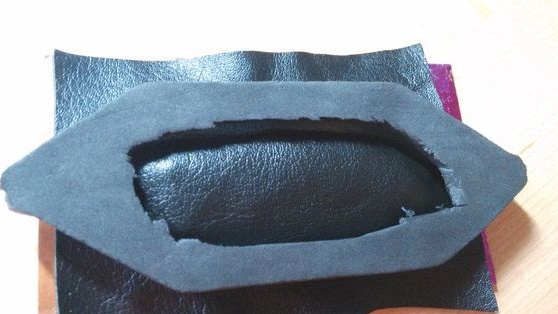
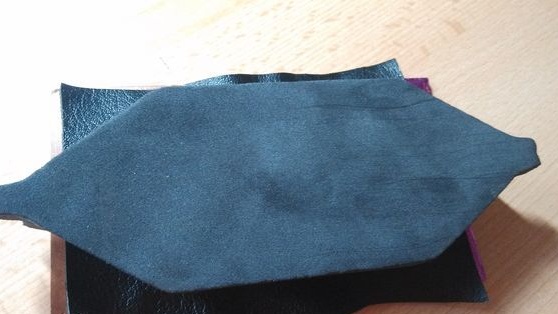
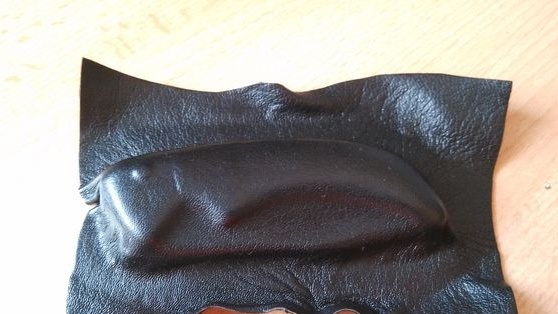
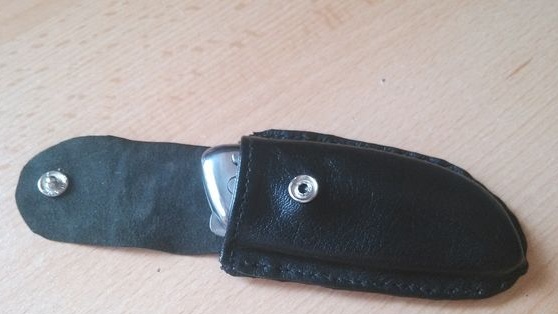
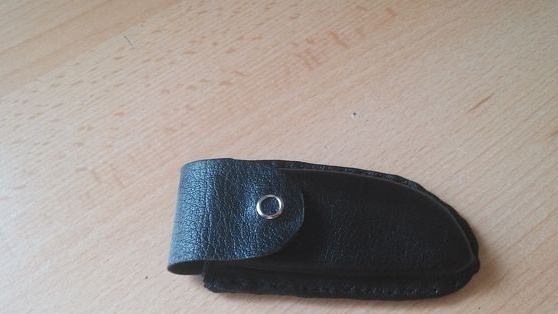
Now ready-made blanks for the manufacture of the sheath can be pulled out. Two halves need to be sewn or glued, but you can all at once. We cut the excess. The scabbard is almost ready, you just have to attach a button that will close them, as well as a strap on the back so that the knife can be worn on the belt.


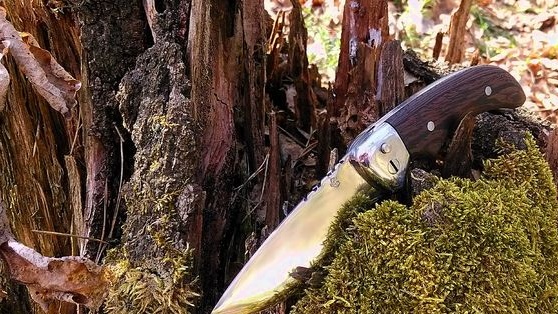
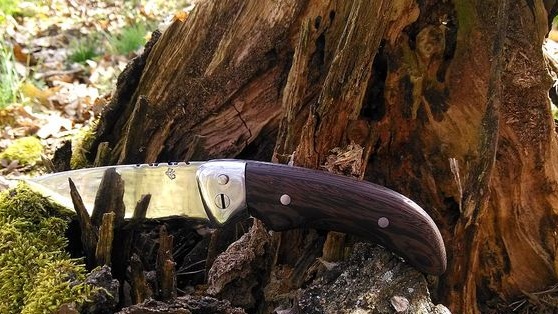
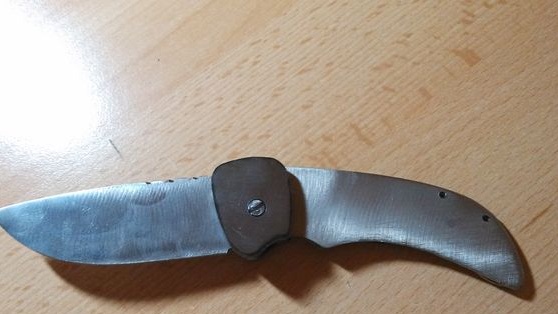
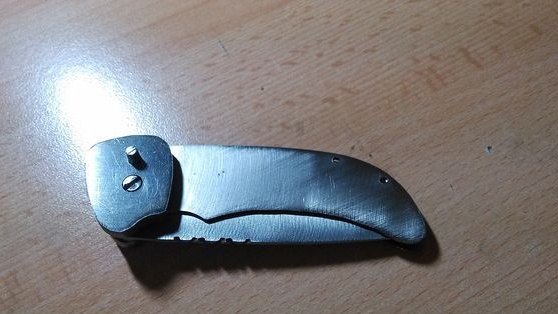
That's all, the knife is completely ready. It is assembled easily, but looks solid and expensive.Of course, in its reliability, it significantly surpasses many store ones. In addition, if you decide to give it, you can not help but mention that it is unique and made by hand.