
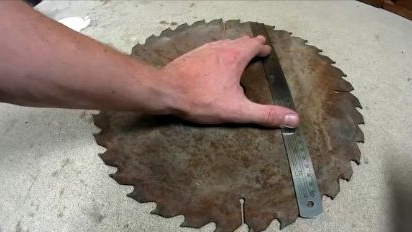
I bring to your attention the instructions for making a knife from a saw blade. Plywood was used here as a material for the manufacture of pens. The author needed a not-so-large arsenal of tools to make such a knife. At a minimum, you will need a grinder to cut the profile without much effort. For all other work you will need a belt sander, but you can do with hand tools if you try.
Materials and tools for making a knife:
- grinder;
- belt grinding machine;
- sandpaper;
- Saw on wood, so that you can cut the handle;
- felt-tip pen;
- preferably dremel (to form waves on the blade);
- clamps;
- epoxy adhesive;
- fire source for metal hardening;
- wax for wood impregnation;
- a piece of plywood and a saw blade.
The process of making a knife:
Step one. Cut a rough profile
First of all, you need to figure out what your knife will look like, what size it will be, and so on. You can make a template on cardboard, and then cut it out. After that, you can hold the profile in your hands and figure out whether it will be convenient.
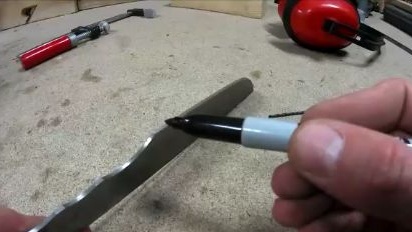
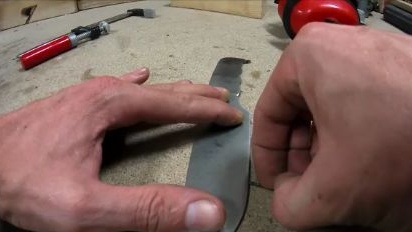
The author does not make a template, he simply draws a knife template on the eye with metal and cuts it out. Cut most quickly with a grinder or a band saw, but, in extreme cases, this can be done with a hacksaw, though the metal may have to be released first.
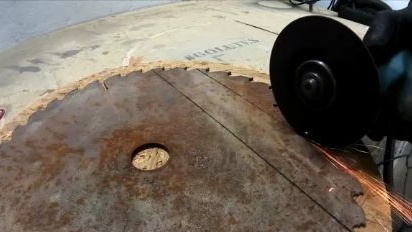
When you cut out the main profile, you can modify it with files or on a grinding machine. The most important thing in mechanical work is not to overheat the metal, this can be seen by a color change. To cool the workpiece, use water. Grind the profile in a circle and outward, removing burrs, dirt and rust.

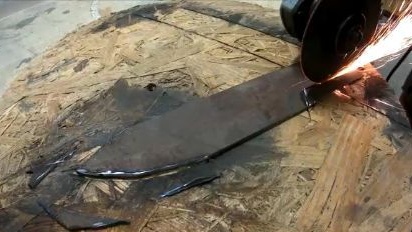
Step Two We form bevels
Knife bevels - this is the angle of sharpening the blade. The thinner the blade, the better it will give in to sharpening and the sharper it will be. But keep in mind that a thin blade means that they will not be able to carry out rough work, such as cutting, etc.
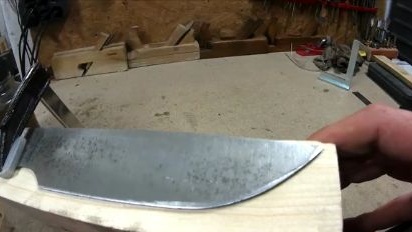
To get even bevels, first mark them on the blade. You need to draw a line that will limit the width of the bevel.Also, using a drill of the same diameter as the thickness of the workpiece, divide the future blade into two parts. As a result, you get a center that you will be guided by when forming bevels.
To simplify these works, the author used bars. The most important thing here is not to rush or overheat the metal.
Step Three Workpiece hardening
Before hardening, think carefully about whether you have completed the final work on metal processing, how then it will be difficult to do. If you will fasten the handle with pins, do not forget to drill holes.
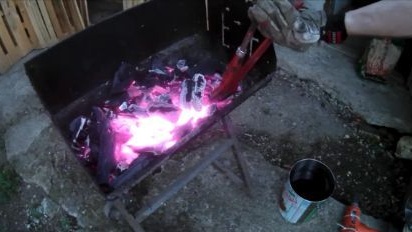
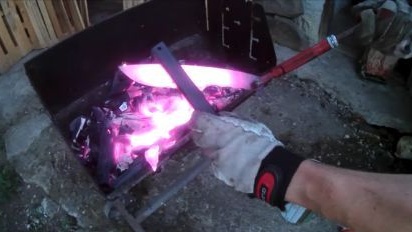
For hardening you will need coals, light a good bonfire. To raise the temperature to the desired value, you will need a forced air supply. To do this, you can use a vacuum cleaner, household or construction hair dryer and so on. The author adapted the old charcoal grill for such purposes.
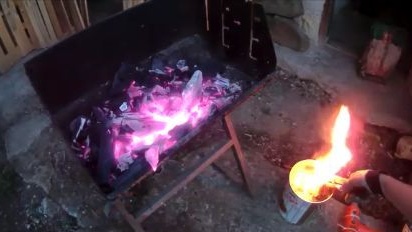
Up to what point should steel be heated? The first thing you should pay attention to is color. The metal should become a bright yellow color. Take a permanent magnet and, observing safety measures, check up, whether the heated metal is attracted to a magnet. If not, excellent, steel can be cooled. Here you will need oil, you can use motor oil, you can vegetable ... Oil does not cool the metal so intensively as water, so there is less chance that the workpiece is skewed or cracked.
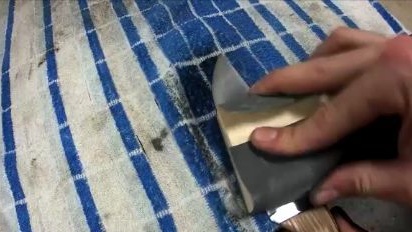
This is not the quenching. Carefully clean the metal from carbon deposits with the help of sandpaper. Do not drop the workpiece, as it will fly apart. You still have to make a vacation of metal. This will allow the steel to spring, and it will no longer be fragile.
For a vacation you will need a household oven, warm it to a temperature of 200aboutC and place the blade for an hour. Then let the oven cool with the blade without opening the door. Everything, vacation is made.
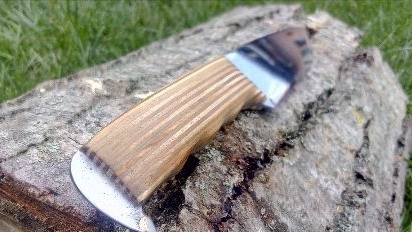
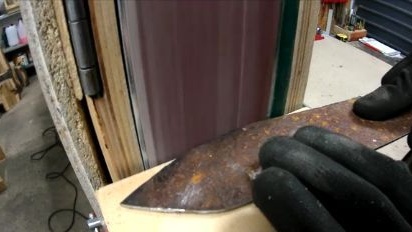
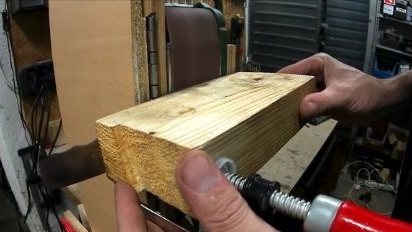
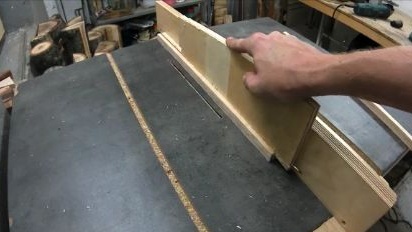
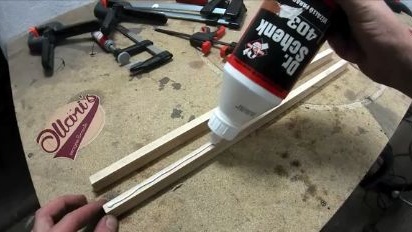
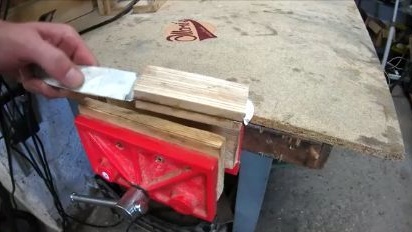
Step Four Getting to the handle
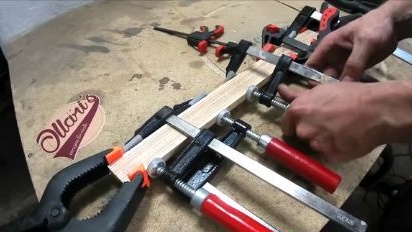
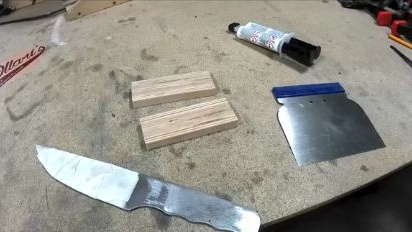
To make a pen, take two pieces of plywood so that they are slightly larger in size than the metal part. Next, mix epoxy with hardener and glue the workpieces to the knife. You will need a clamp or vise to properly press the parts together. We leave this matter for a day, the glue should completely dry.
To fix the pen, the author used only glue. But you can install the pins if you wish. In addition, it will decorate the pen.
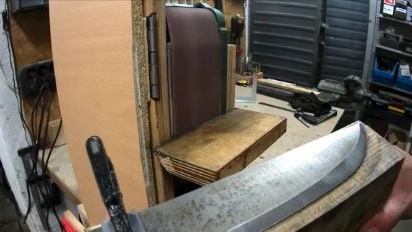
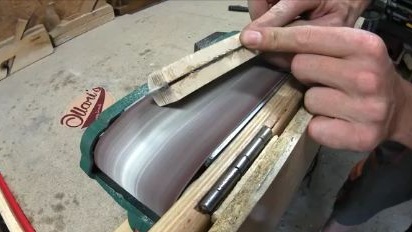
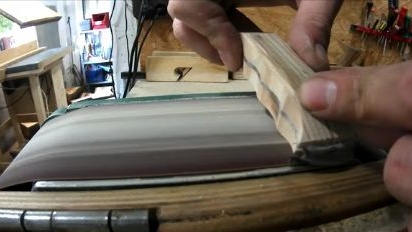
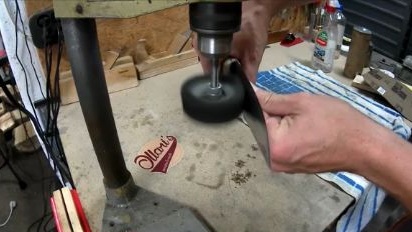
Step Five Grind the handle
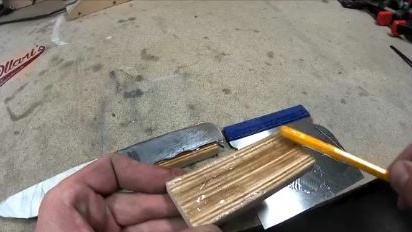
At this stage, you need to finally form the handle profile. First use a larger emery sandpaper to grind coarse parts. If there is no grinder, use files. Gradually reduce the grain of the paper to make the pen smooth.
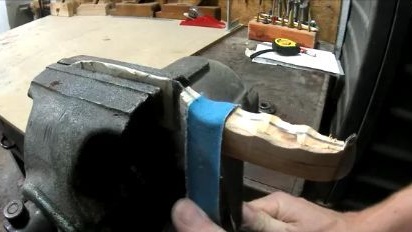
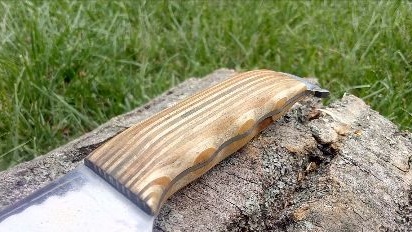
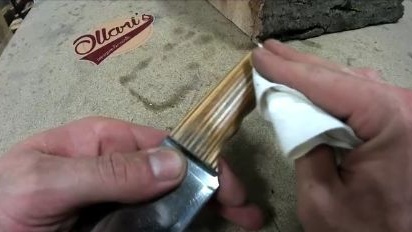
Step Six Completion. Final work
Take the smallest sandpaper and grind the handle to a perfectly smooth state. When it is ready, the wood must be protected from moisture and dirt. You will need wax or linseed oil. Some craftsmen mix wax with oil by heating and then apply to the handle. If you wish, you also wash it with varnish.
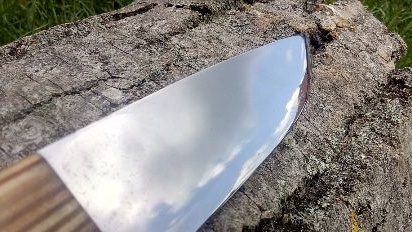
After that, you need to bring the blade to perfection. Polish it to a shine using hand or power tools. It is advisable to sharpen the knife before polishing, since after sharpening the blade will remain micro-scratched. For sharpening, usually fine sandpaper is used, or rather water stone.
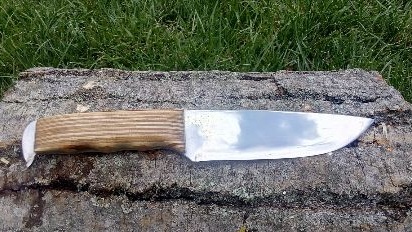
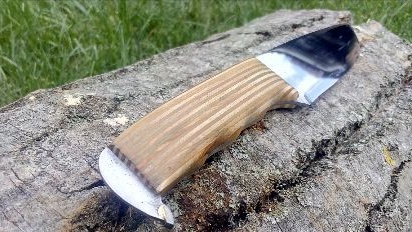
That's all, the knife is completely ready. If you want, you can make a scabbard for him.